Grand Tetons and Yellowstone
This is a complete breakdown of our eight-day trip through Grand Teton National Park and Yellowstone National Park from June 20th to June 27th. We managed to hit some of the best trails, see an incredible amount of wildlife, and figure out the logistics that make or break a trip like this.
Overall Logistics and Planning Tips
When to Book
The first thing I'll say is reservations for this are rough.
For loding, you absolutely want to stay in the park (more on that later), but that takes planning very far out or getting lucky to get what you need. We initially planned the whole trip about 9 months out and even then, hotel/cabin reservations in the park were slim pickings. We ended up having to do a last minute rescheduling about a month out because of work, and while there was significantly less hotel availability in the park, we were able to get pretty good rooms for only slightly more than we were originally planning to spend.
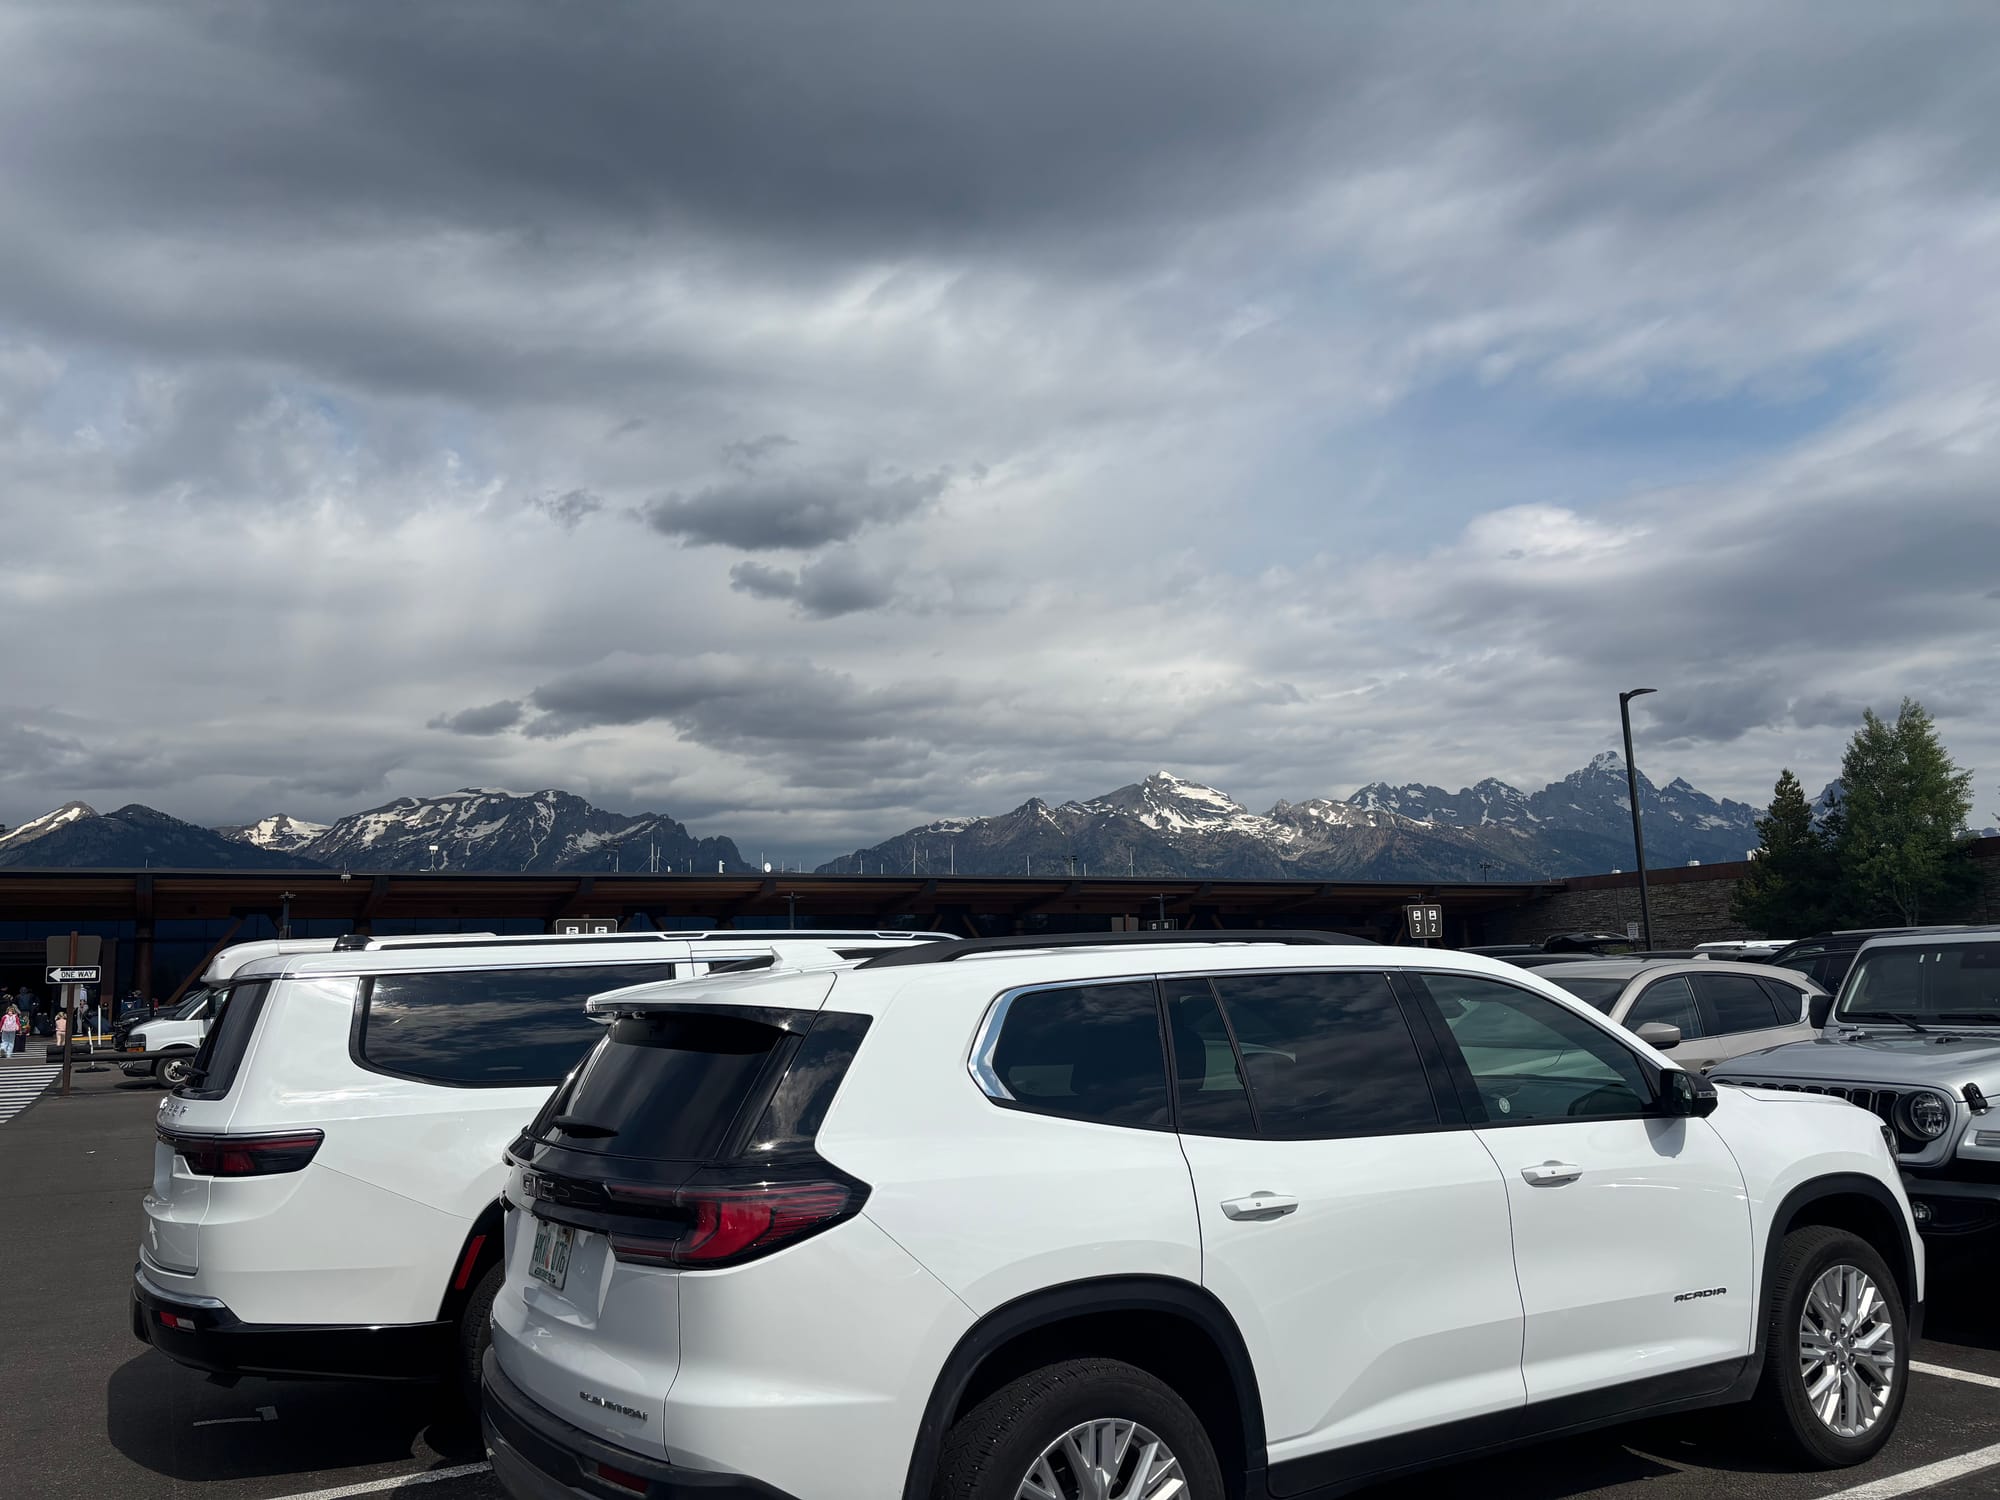
The hard part of that switch was the rental car. We definitely wanted a midsize SUV (compromise of larger, higher vehicle and gas mileage). During the orignal booking I had no problem shopping around for the best deal. During the rebooking only Avis had any cars in that class available, so booking a rental early is probably the most critical.
Flights and Driving Route
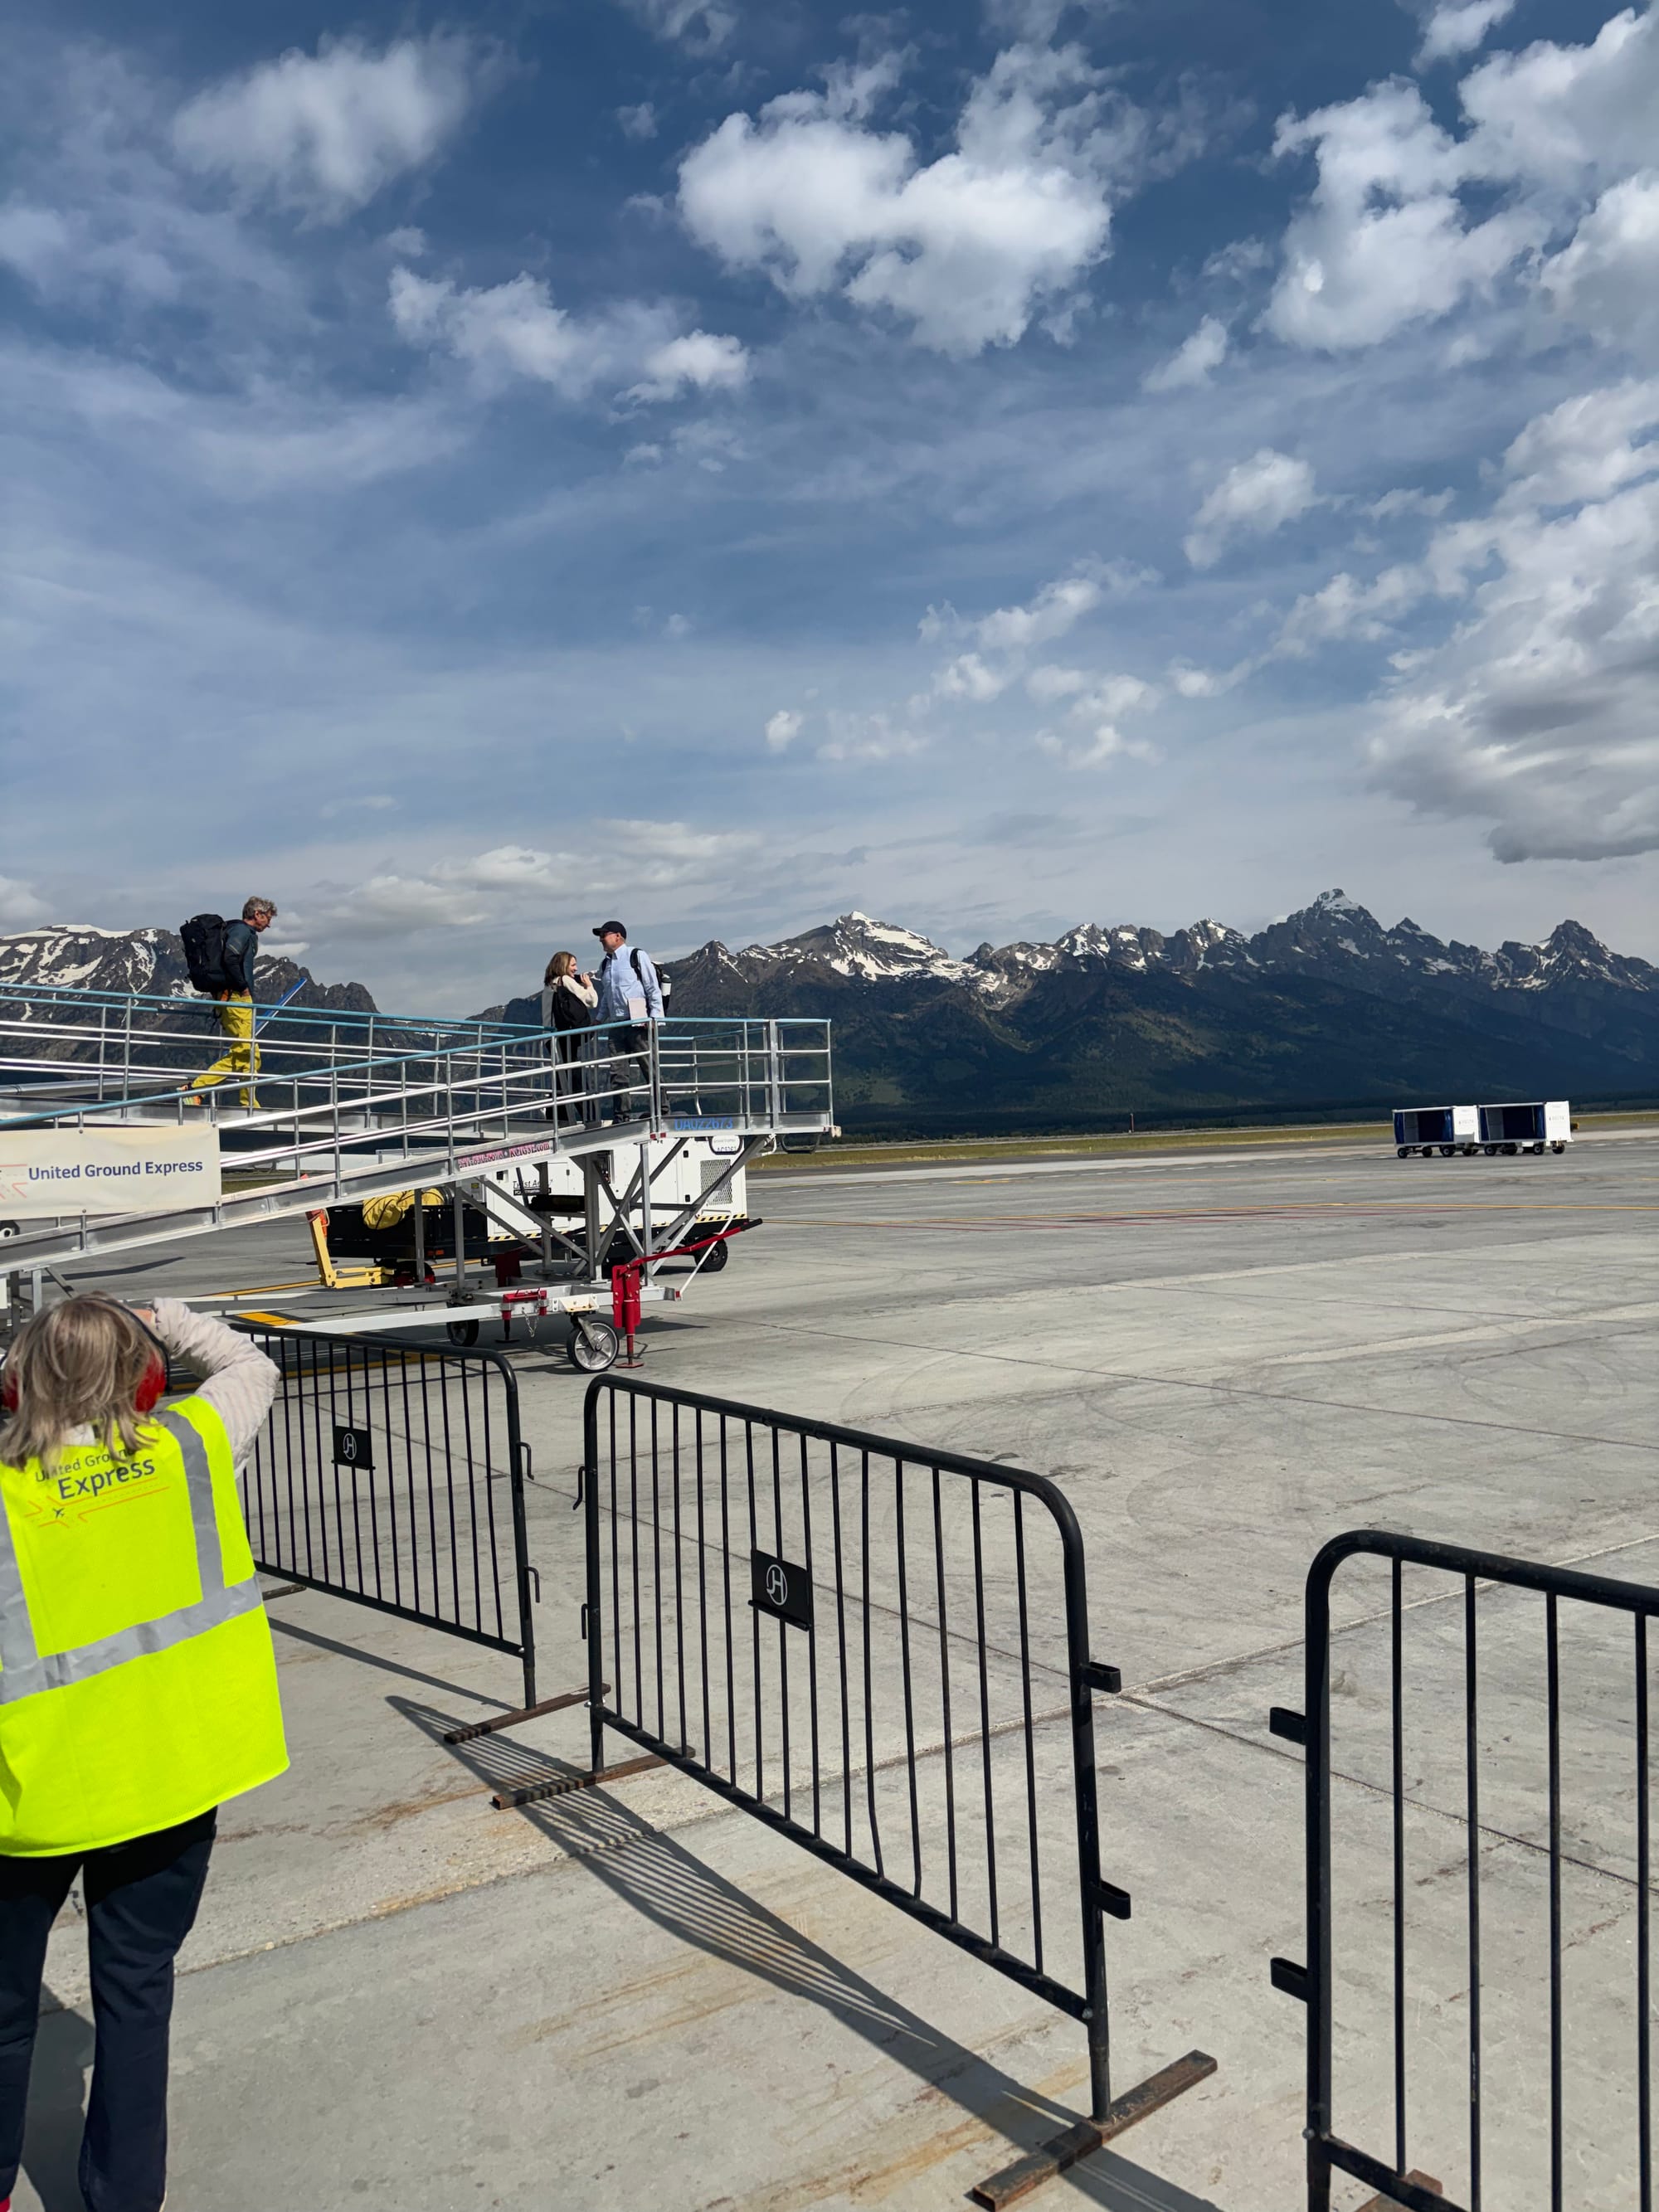
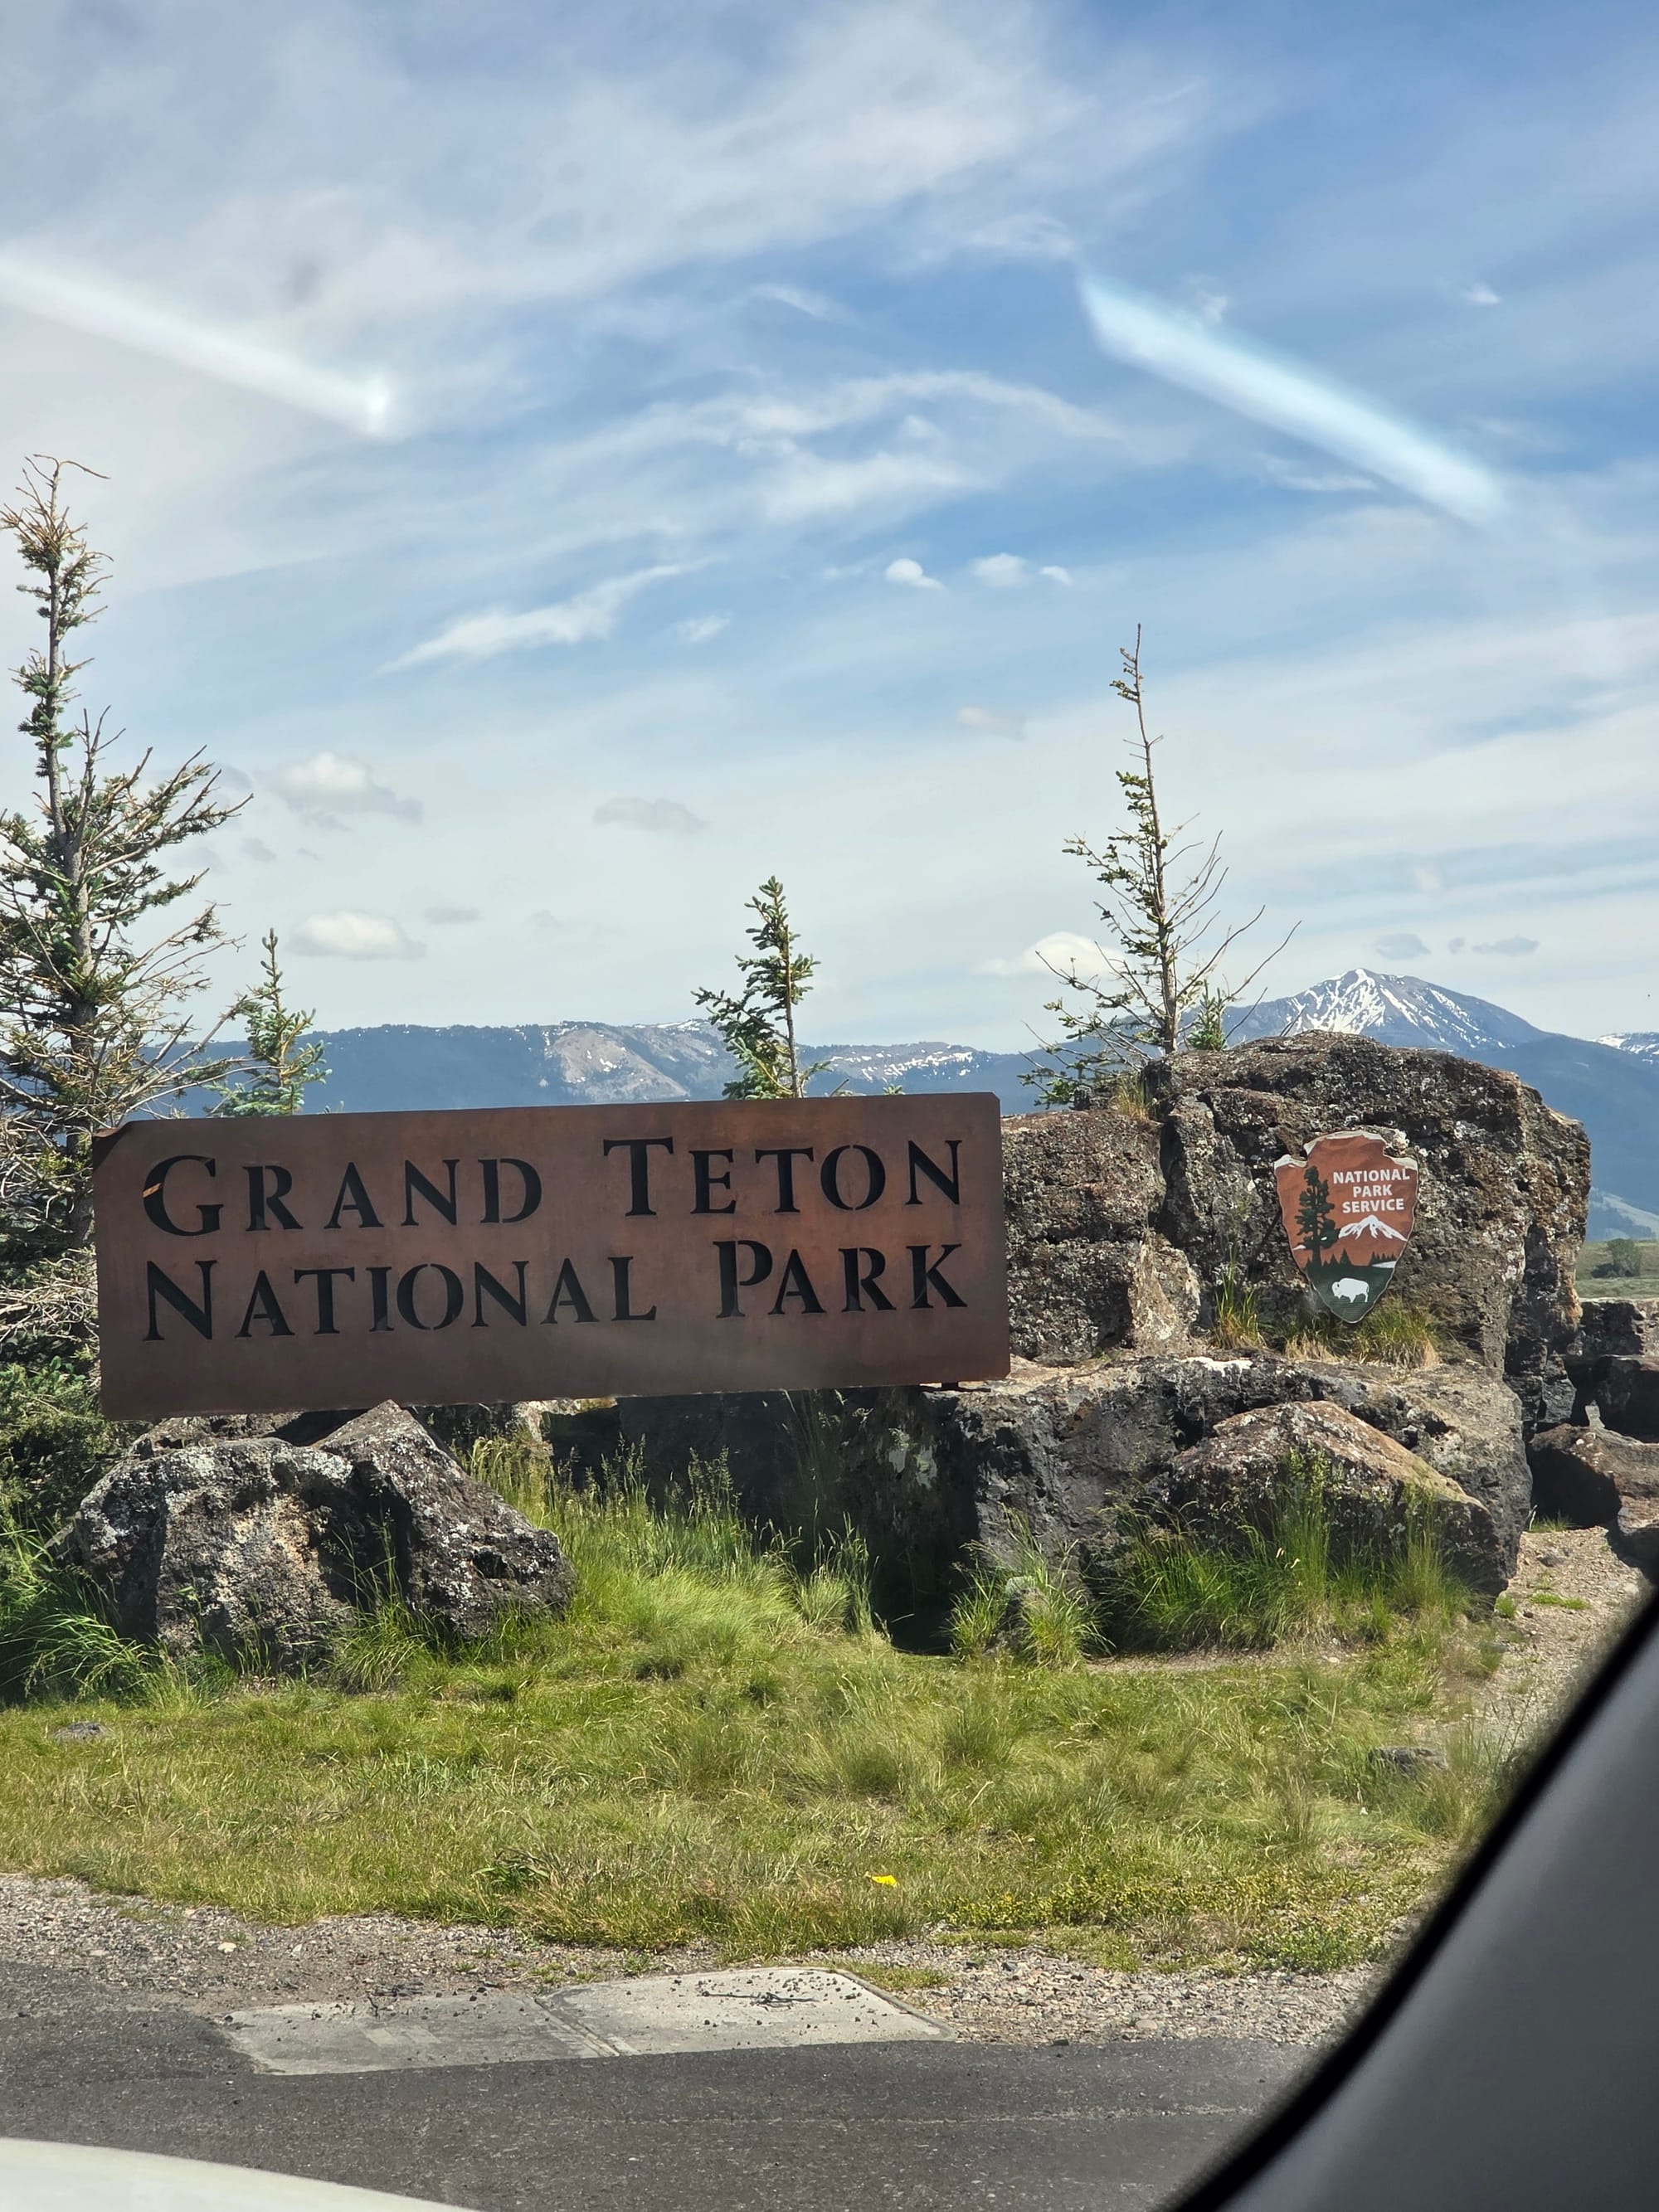
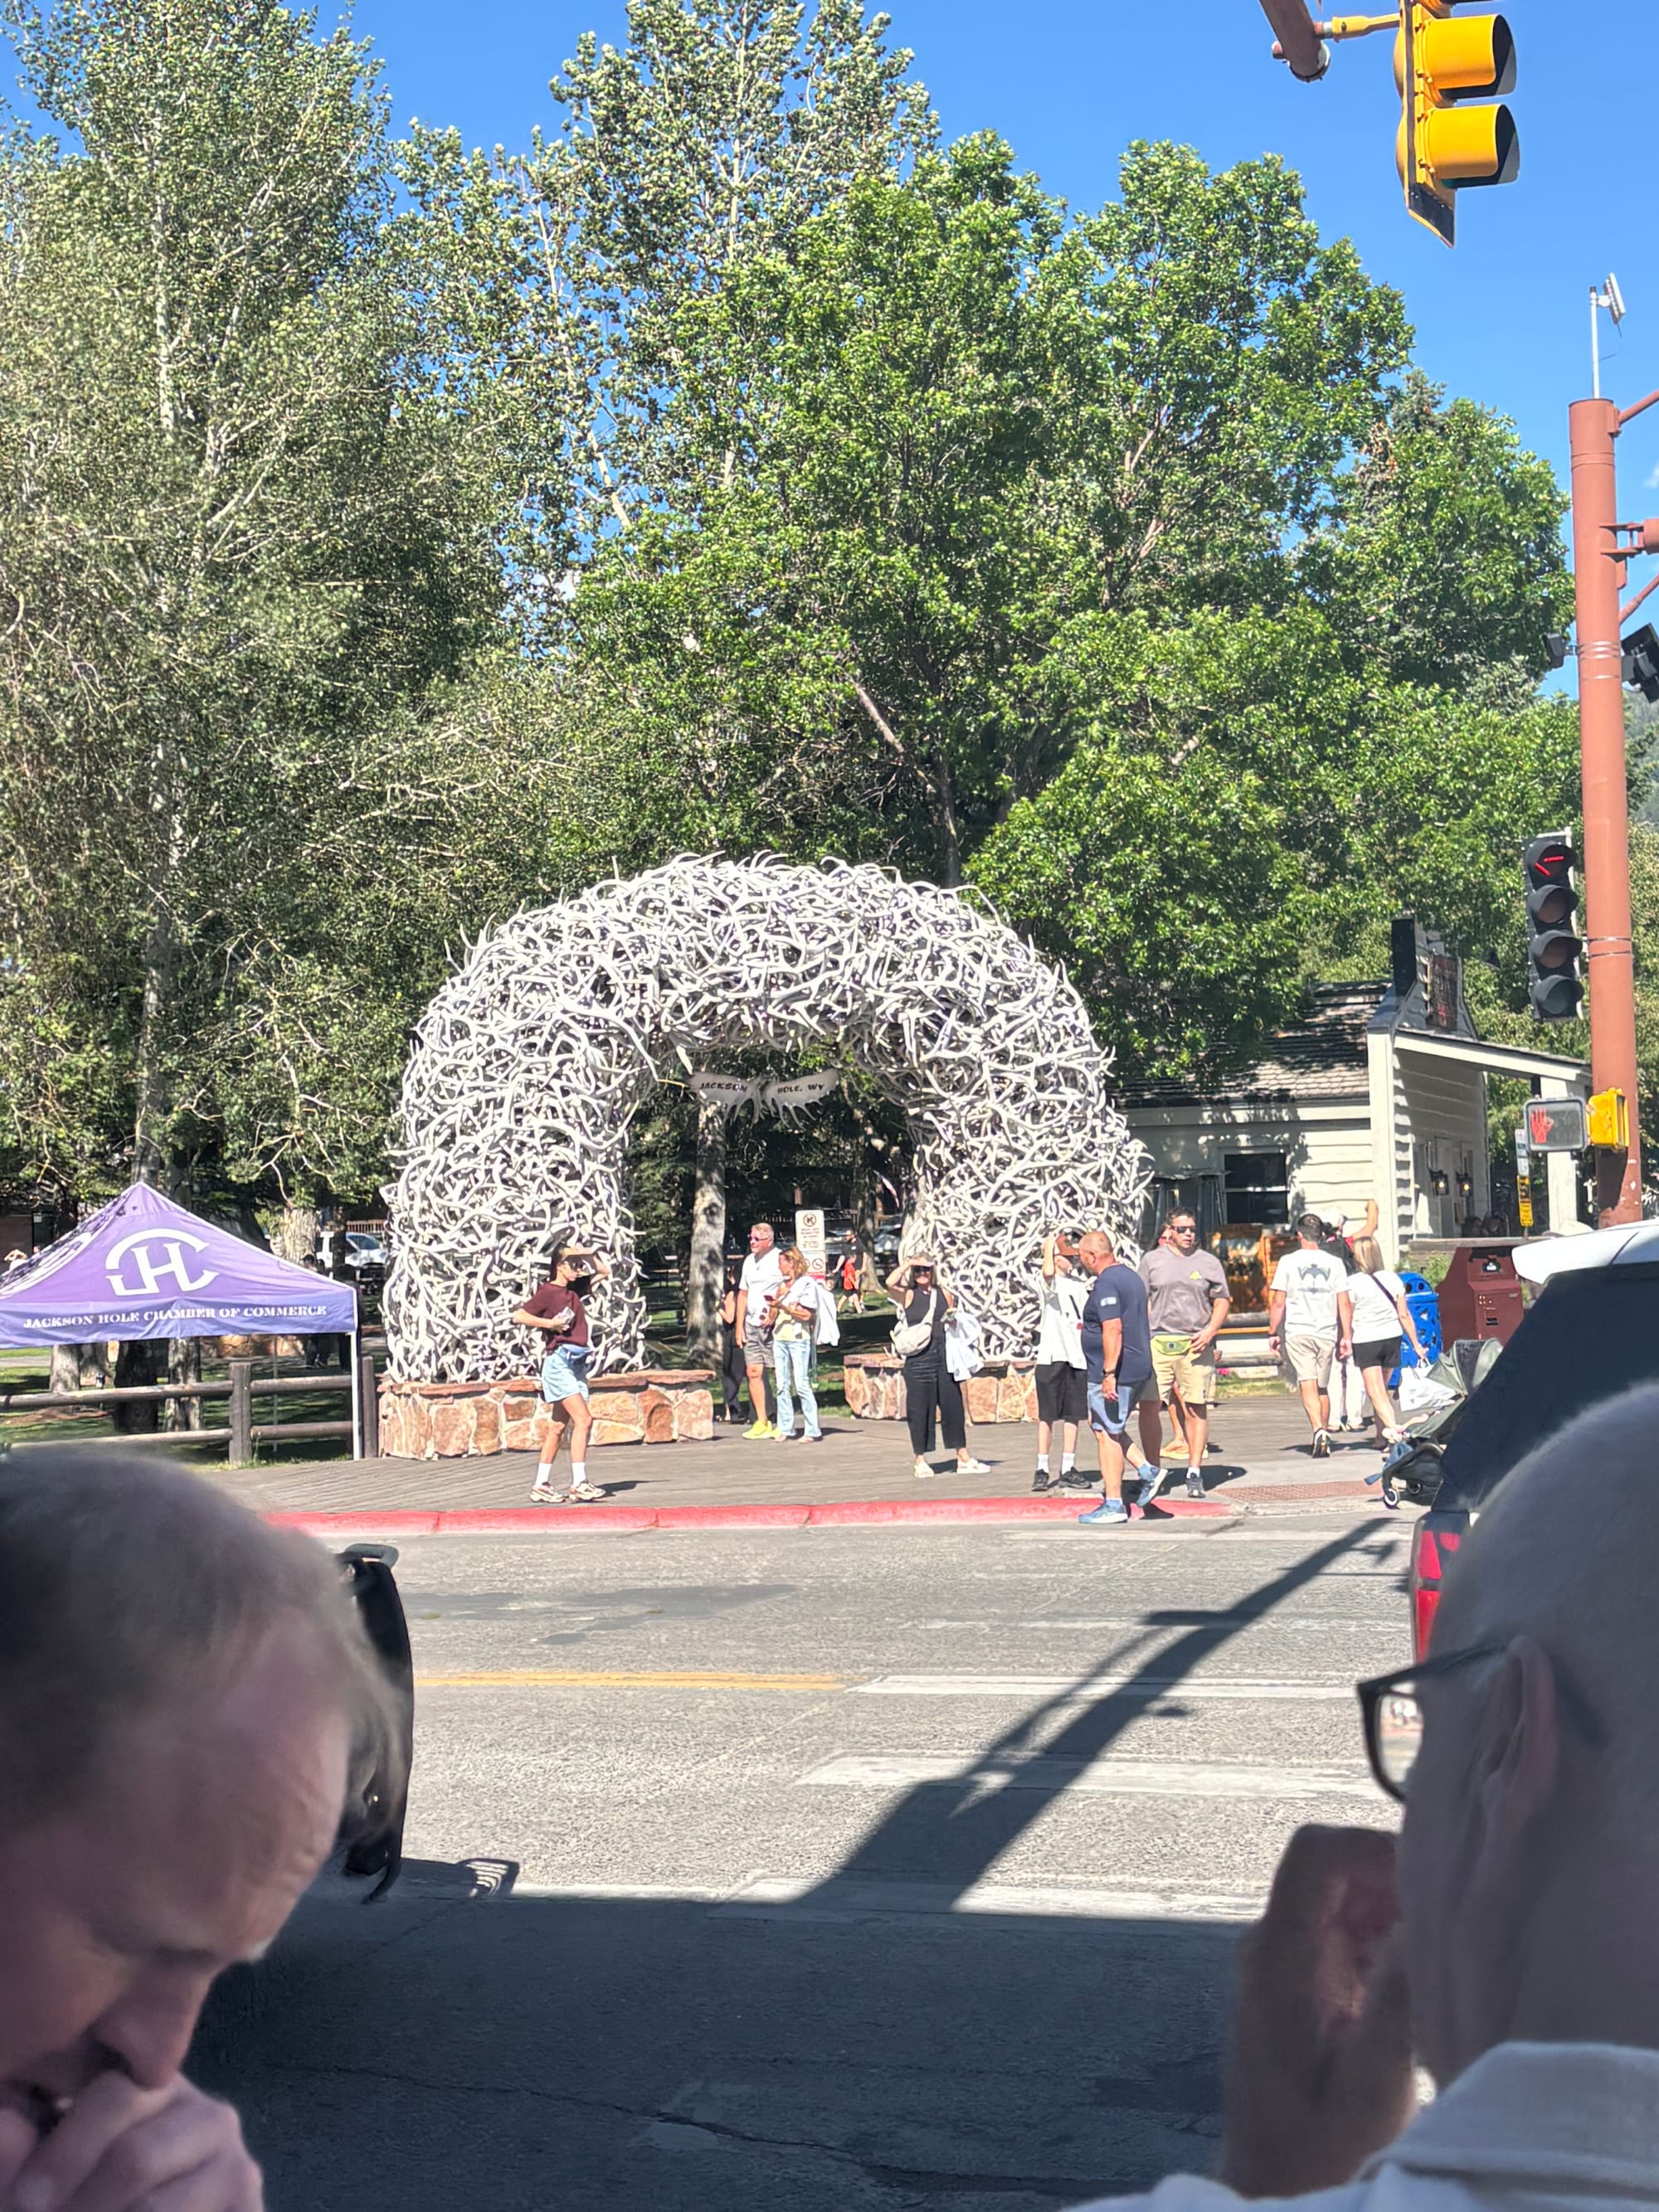
We flew into Jackson Hole (JAC) and out of Bozeman (BZN) and I think that is the best way to do it. Flying into Jackson Hole was very convenient and allowed us to tackle the Grand Tetons first while our legs were still fresh for the harder hikes. Flying out of Bozeman meant we did not have to waste half a day backtracking south through the Tetons at the end of the week.
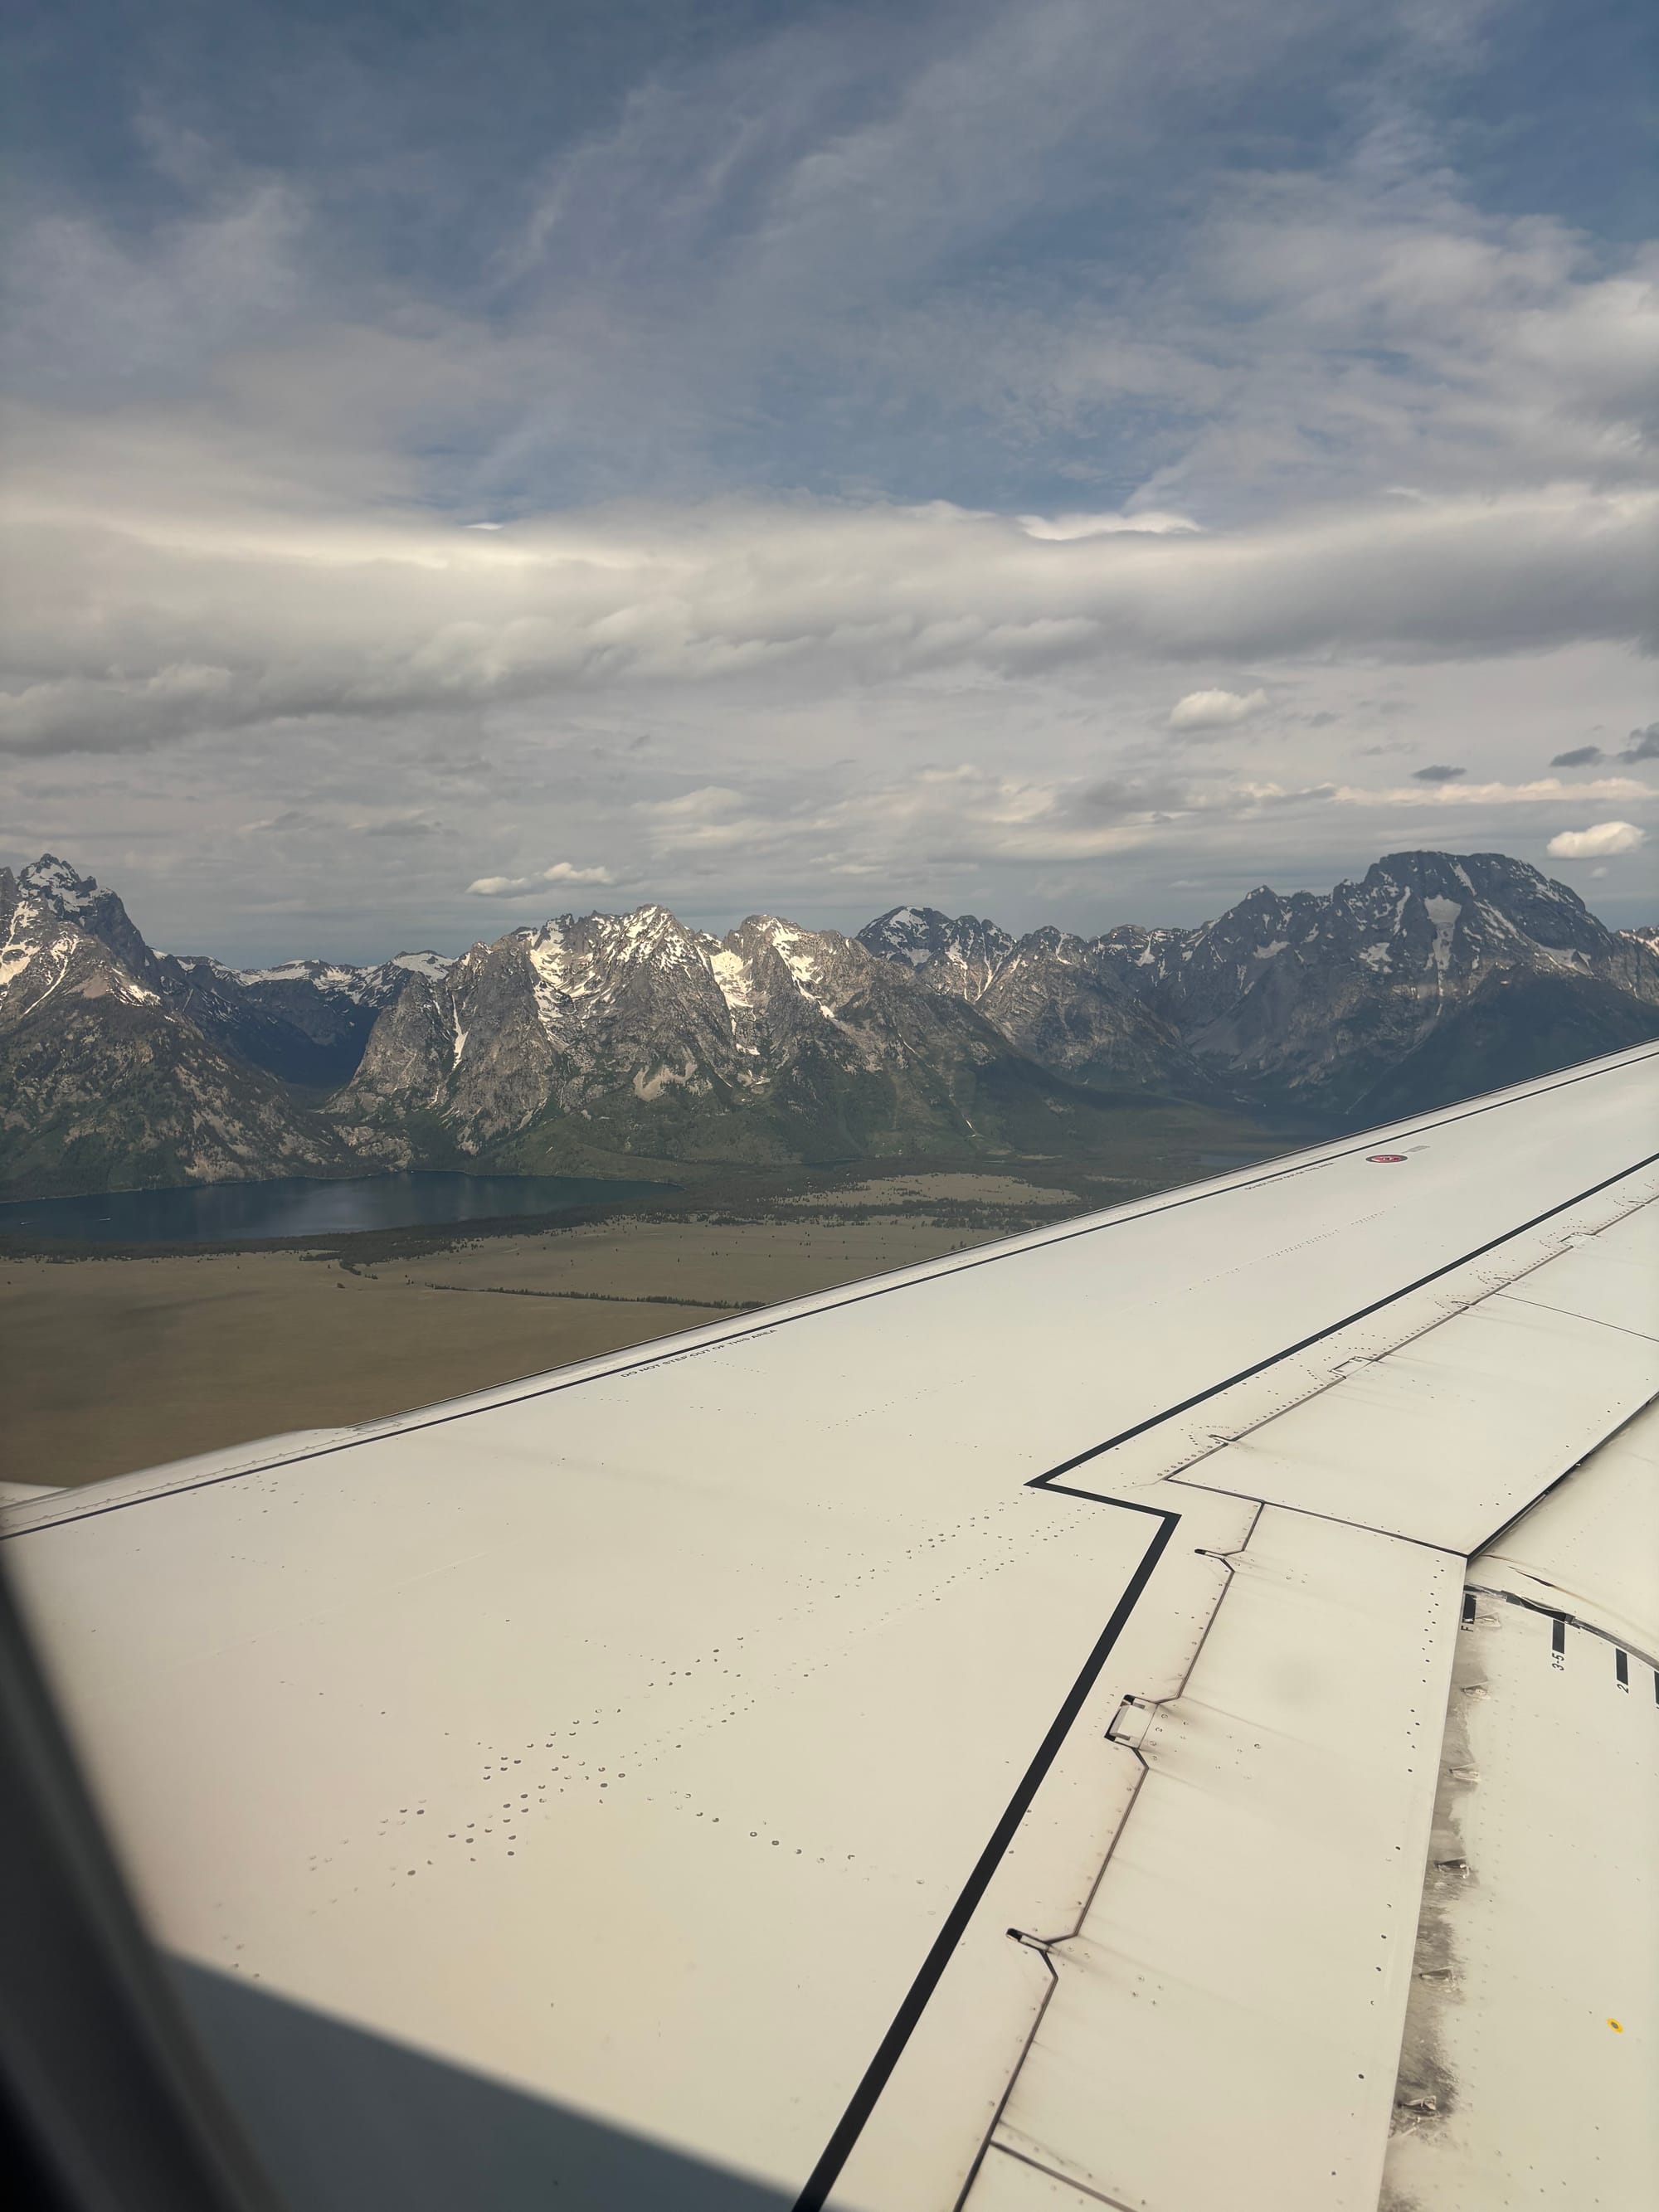
I would be hesitant to reverse this route unless reservations really aren't working out. Starting in Bozeman puts you too far away from the parks, forces an unnecessary extra driving leg, and the airport itself was a headache. On our way out we witnessed the nightmare of the rental car desks in Bozeman, it seemed much more stressful than our experience in Jackson Hole. In contrast, at Jackson Hole, we got to walk right off the plane onto the tarmac directly in front of the mountains, which was an amazing way to start the trip.
As for timing, we went the last week of June. The weather was perfect for us, but the weeks right before and after our trip had poor weather. While going as late in June as possible seems like the best strategy, our great weather might have just been lucky.
Food, Water, and Gear on the Trail
To save time and money, we packed MREs and meal bars for lunch mid-hike almost every day. Eating inside the parks gets expensive quickly, usually costing $20 or more per person for basic, stadium-quality food. Carrying high-calorie meals and a hydration pack is a must. I have been eating Plenny Bars for a while and we brought some of those, but a lot of my friends say they taste like cardboard (I guess it is an acquired taste, I really like them). My go to for some extra flavor is MET-Rx's meal bars. They aren't as "complete" as Plenny, but fill the calories and a lot of nutrient goals. The peanut butter chocolate chip granola are really good and have a bit less sugar/more fiber than the standard bars, but the flavors in the variety pack are shockingly good for a meal replacement bar.
I picked up a new HydraPak Force 3L bladder for this trip, and was really surprised how much better it was than the cheap ones I have been using for years. The construction was much sturdier than I was used to, so not worried about leaks, the quick disconnect hose made getting it in and out of my bag way easier, and the slide top makes way more sense than the standard screw lids that end up spilling water everywhere.
For safety, we also kept a stop-the-bleed emergency kit in our packs (I keep one in my car year round). They are a bit pricey, but you are often far from immediate medical help, so having a proper trauma kit on hand is a smart precaution. We did not see it ourselves, but while we were there a child was charged by a bison, and we saw a post by NA Rescue on Facebook that one of their kits was used to save the child, made me confident in my decision to lug it around.
For wildlife viewing, a lot of the stuff I read recommended carrying a spotting scope. I felt like lugging a big scope around would have been impractical relative to the opportunities to use it. I just picked up a good pair of binoculars, and I never felt like I was missing out. We bought a pair of Vortex Triumph 10x42 binoculars. The included chest holster was really great. They were more than sufficient for the entire trip, we even had an opportunity to see wolves far off through some professional spotting scopes (thanks to some super helpful wolf spotters), and the scopes did not make that big of a difference. IMO anything past the ranges of these binoculars would have been near impossible to spot without serious knowledge of the local area anyway.
We rented a car for this trip, which was a smart decision given the sheer number of miles we put on the vehicle. Gas is expensive inside the park boundaries, but stations are well-spaced near the hotels in the Tetons and across Yellowstone. We made a rule to keep our gas tank above half, which is important because the drive from the Tetons to Yellowstone has significant elevation changes that consume more fuel than you might expect.
I am sure you will see plenty of warnings to get bear spray. Just do it. Bear Aware made it super easy, they have a full service location inside the Jackson Hole airport, and a drop off location right outside the Bozeman airport. If you fly into Bozeman, there were a few places in the park to pick it up.
The Daily Schedule and Parking
In Grand Tetons, we got into a routine of waking up at about 5:00 AM and leaving our hotel by 5:30 AM to hit the trailheads before 7:00 AM. Keeping these hours was pretty important for getting parking spots at the trailheads. By 7:30 AM, the trailhead lots were more than half full, and they were usually completely packed by 8:00 AM. Because Teton hikes are long and demanding, people do not leave their parking spots quickly, meaning once a lot is full, you are out of luck.
In Yellowstone, the early schedule was still helpful for beating the worst of the crowds, which peaked around 11:00 AM, but parking was much less competitive. Yellowstone has shorter, faster stops. If a parking lot is full, you usually only have to wait 10 to 15 minutes for a spot to open up as other visitors finish up.
Navigation and Service
Do not count on having cell service. In Grand Tetons, we had decent service through most of the valley and even most of the way up the trails, only losing it deep in the canyons. Yellowstone, however, has virtually no service. Even the Wi-Fi at the visitor centers and hotels was terrible. Make sure all your research, routes, and maps are saved before you drive in.
We used three navigation tools:
- Google Maps: You must download offline maps before your trip. When planning, make sure you look up the names of your destinations, we noticed that the national parks app, onX, and Google Maps often had slightly different names for trailheads, and finding them without service is annoying.
- onX Backcountry: This app was incredibly helpful and well worth the subscription. The trail maps are highly detailed, and I was surprised by the number of well maintained paths that do not appear on official park maps. You can download high-quality satellite maps for offline use, and the 3D mode was excellent in the Tetons for visualizing our exact location and elevation relative to the mountain peaks.
- GuideAlong: This is a map-based audio app that tracks your location via GPS and narrates history, geology, and stop suggestions as you pass specific spots. (Just a heads up because I was worried about it: it automatically pauses your music or podcasts and resumes them afterward, but it will talk over google maps directions). The only issue is that it does not remember what it has already played, so if you have to backtrack over the same road, it will repeat itself. We had to turn it off on repeat drives when it got annoying.
Lodging and Gateway Towns
Staying inside the park was huge for the quality of our trip. Any time we were near an entrance, we saw lines of cars waiting at the entrance stations. Staying inside the park easily saves you hours of commuting and sitting in gridlock traffic. Evening getting out seemed to get blocked up for some reason.
If you do stay inside the park but want to drive out to gateway towns like Jackson or West Yellowstone for dinner, the traffic getting back in or out can be a bottleneck. Both of our dinner trips outside the park were worth the drive, but you have to plan around the evening rush.
Our best advice is to eat dinner early, around 4:00 PM or 4:30 PM. Trying to get a table or drive through the gates at 5:30 PM or 6:00 PM is when everything gets backed up.
Day-by-Day
Day 1: Arrival, Altitude Adjustment, and Valley Scouting
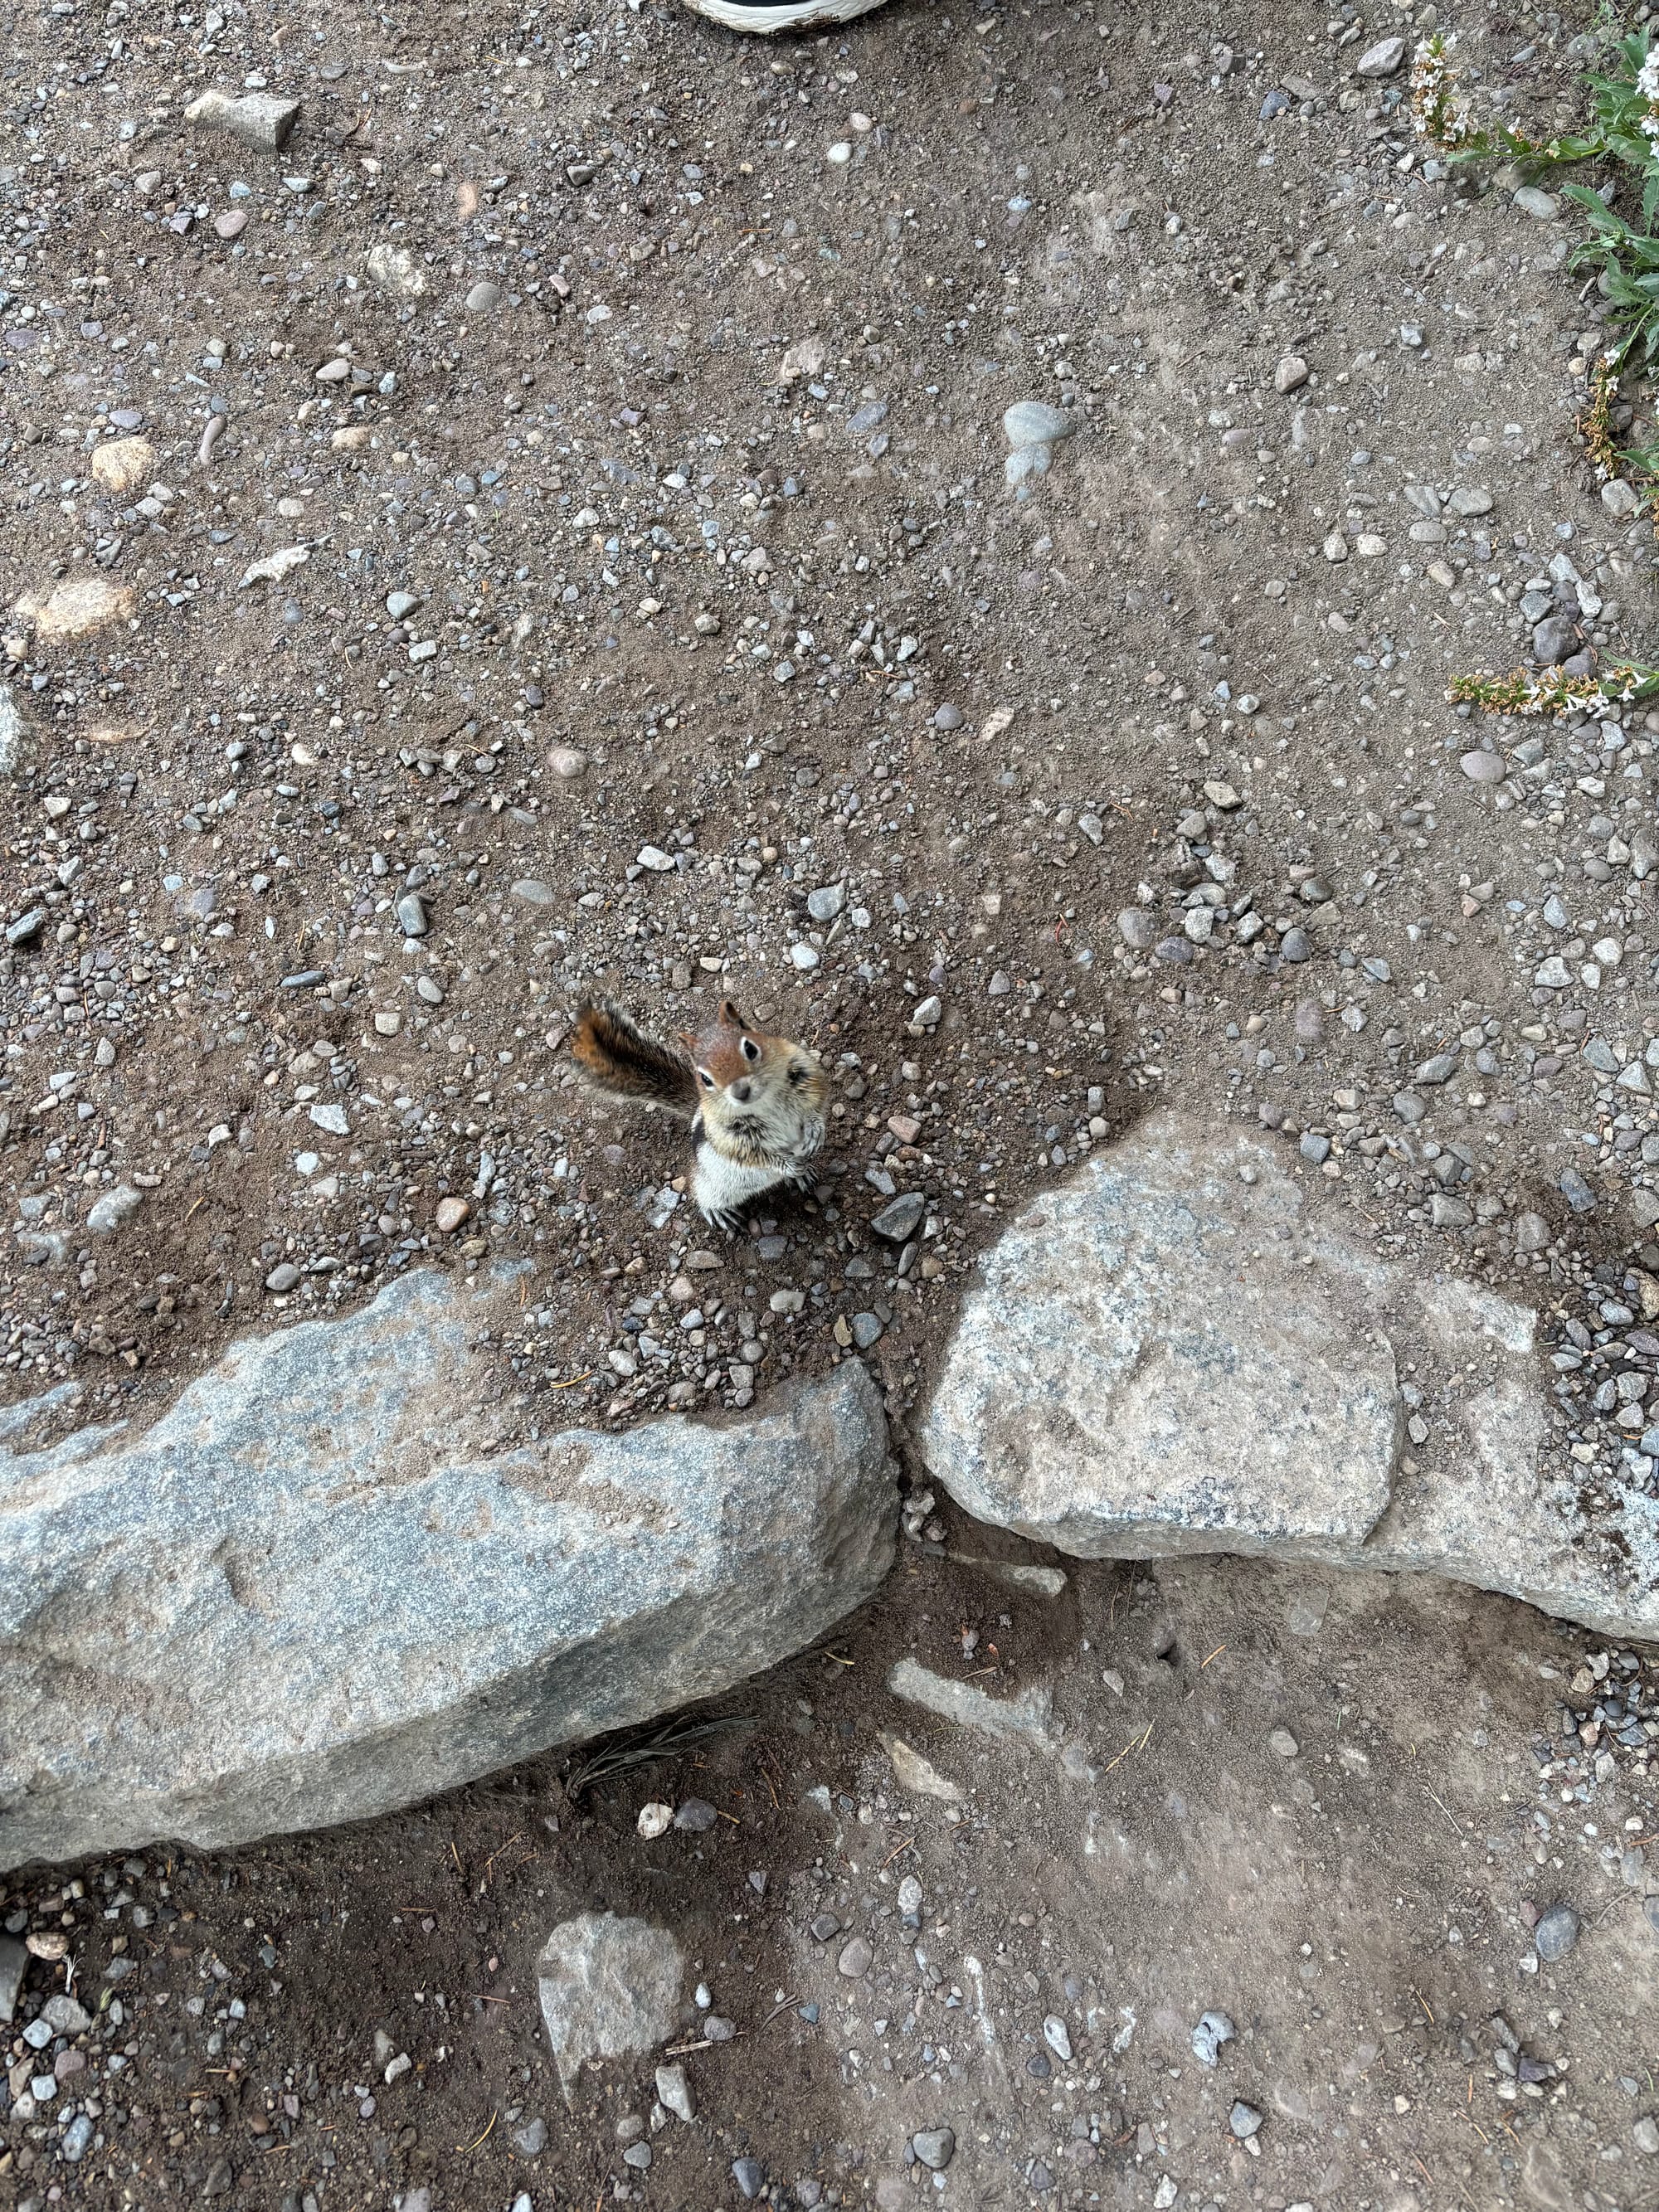
We wanted to take it easy on our first afternoon to give our bodies time to adjust to the altitude. By random chance we ended up not taking the main road to Mormon Row, instead Maps took us further away onto Antelope Flats Road. This is a long, bumpy dirt road that was much quieter than the paved route. Along the way, we spotted an antelope in the fields, stopped at the first parking lot to see the historic barn, and watched the ground squirrels running around before driving past the busier, paved section of Mormon Row. It was worth the extra little drive.
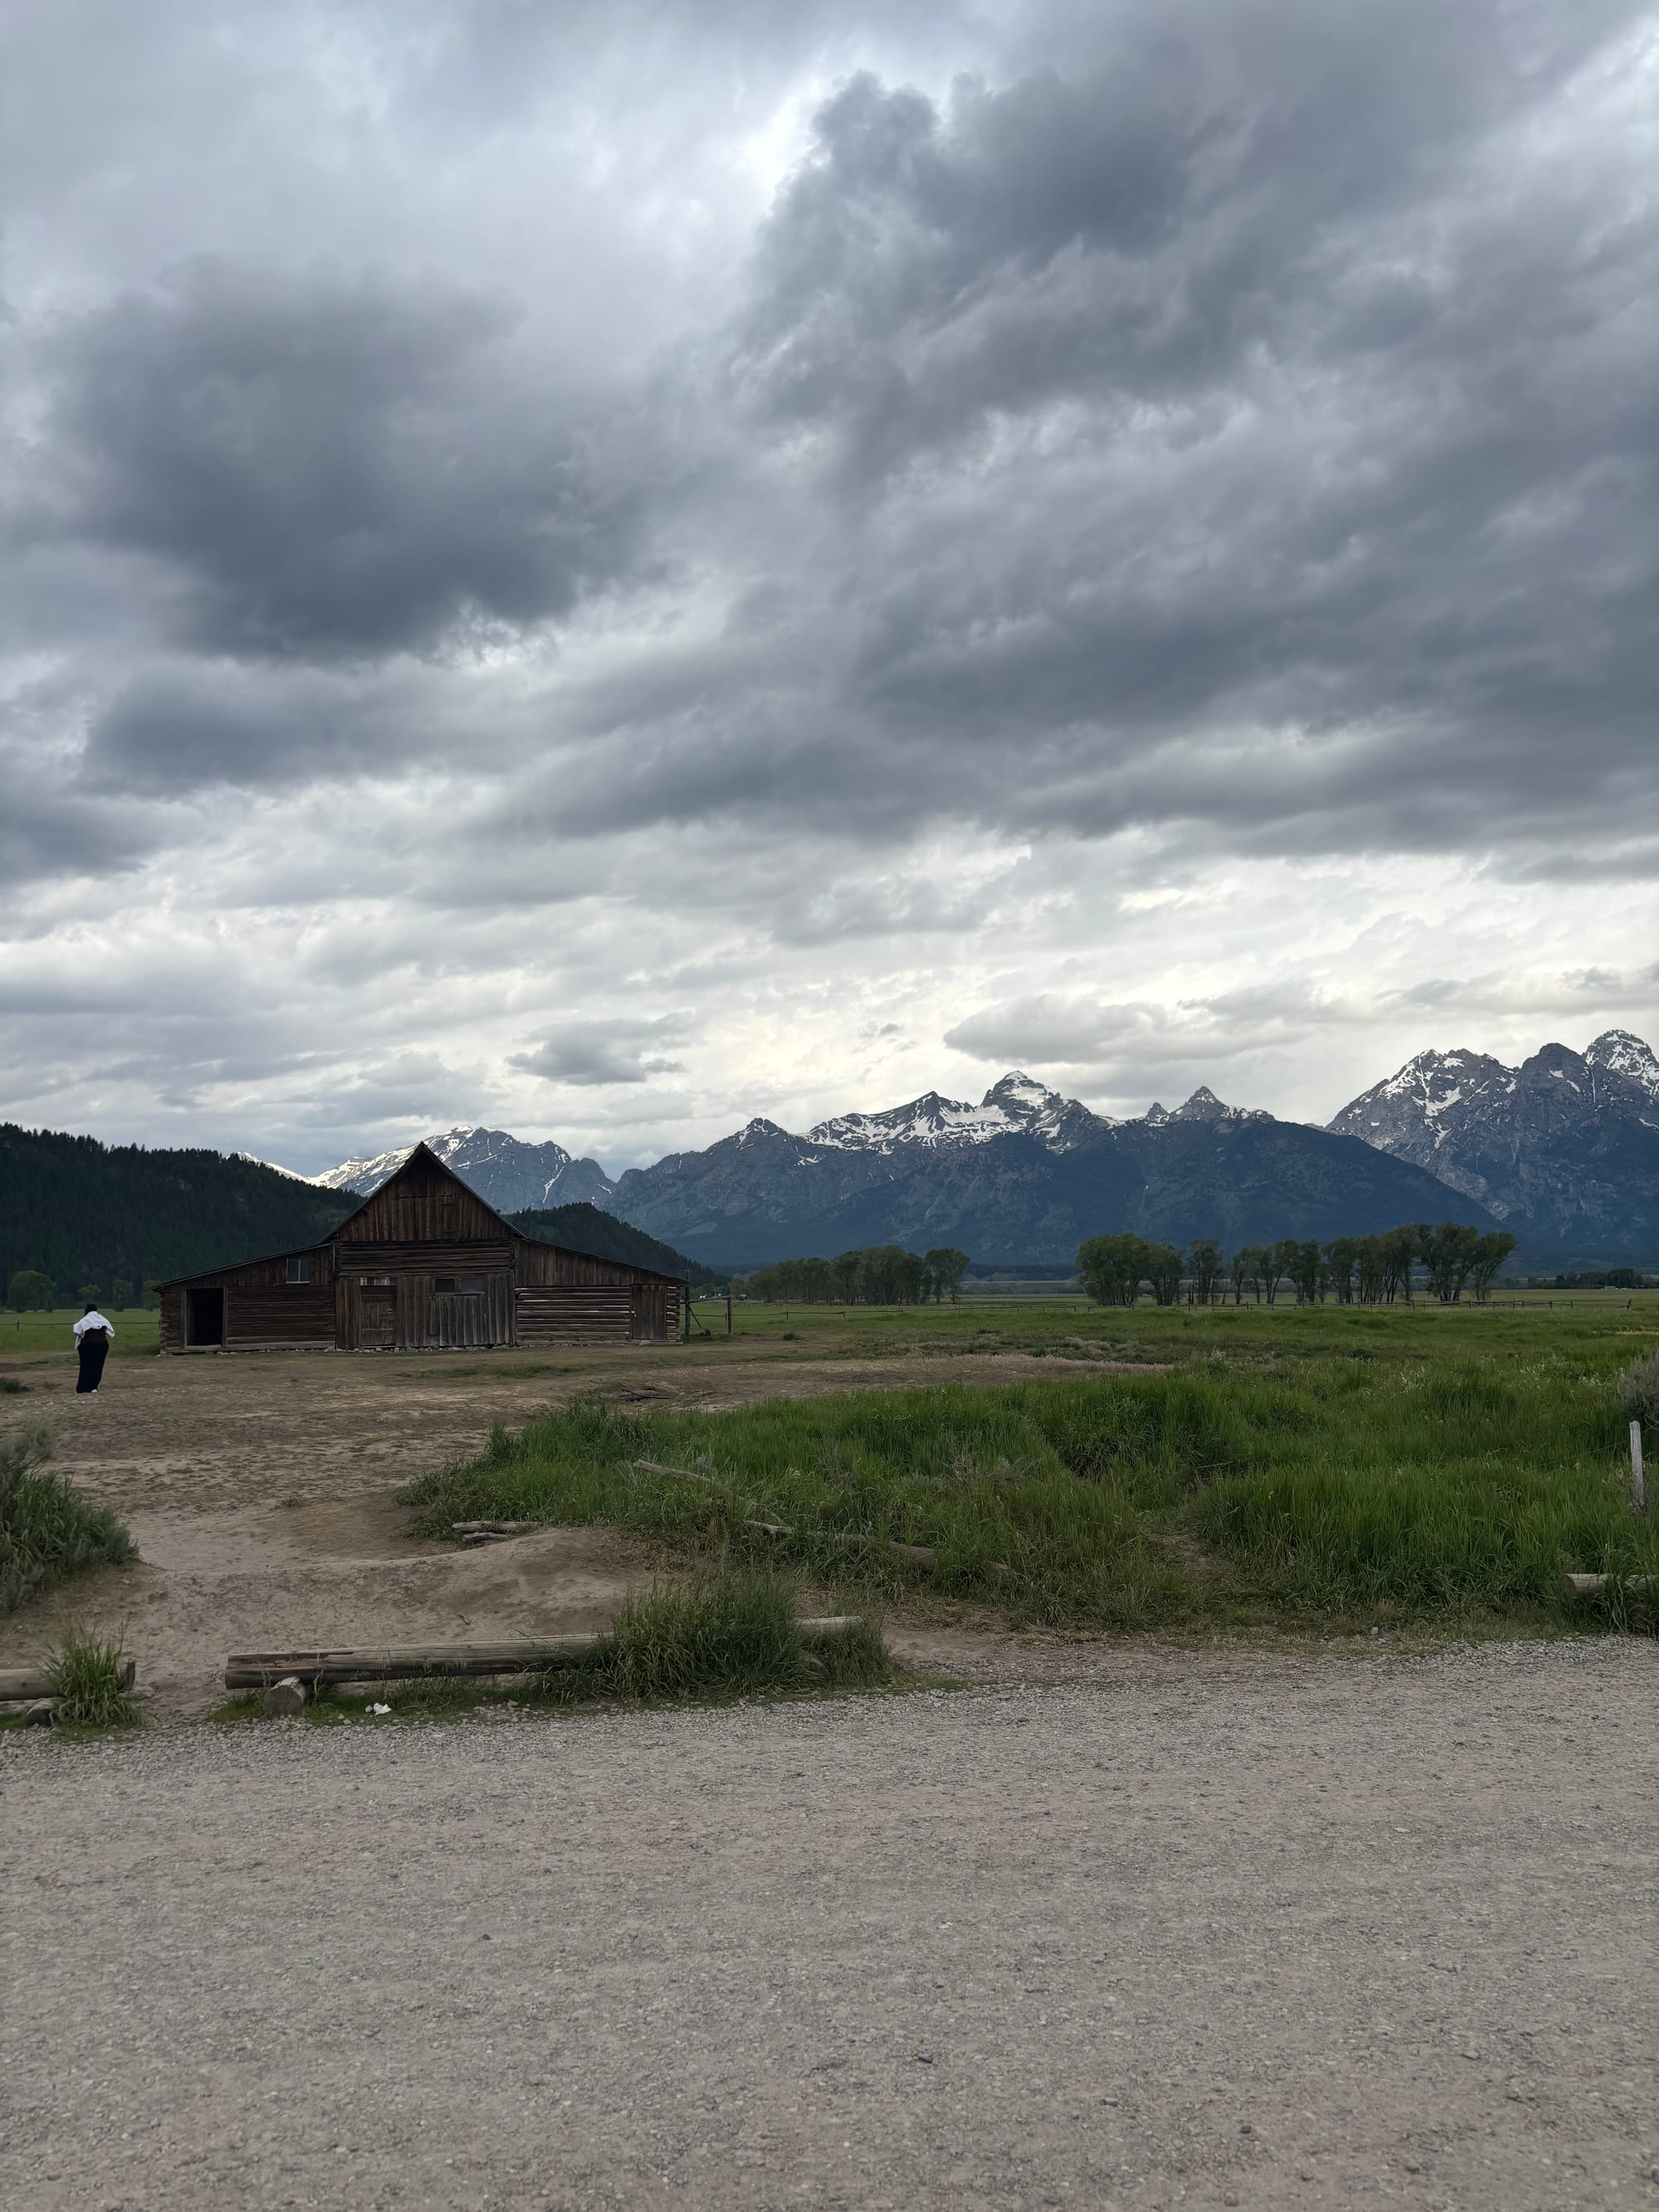
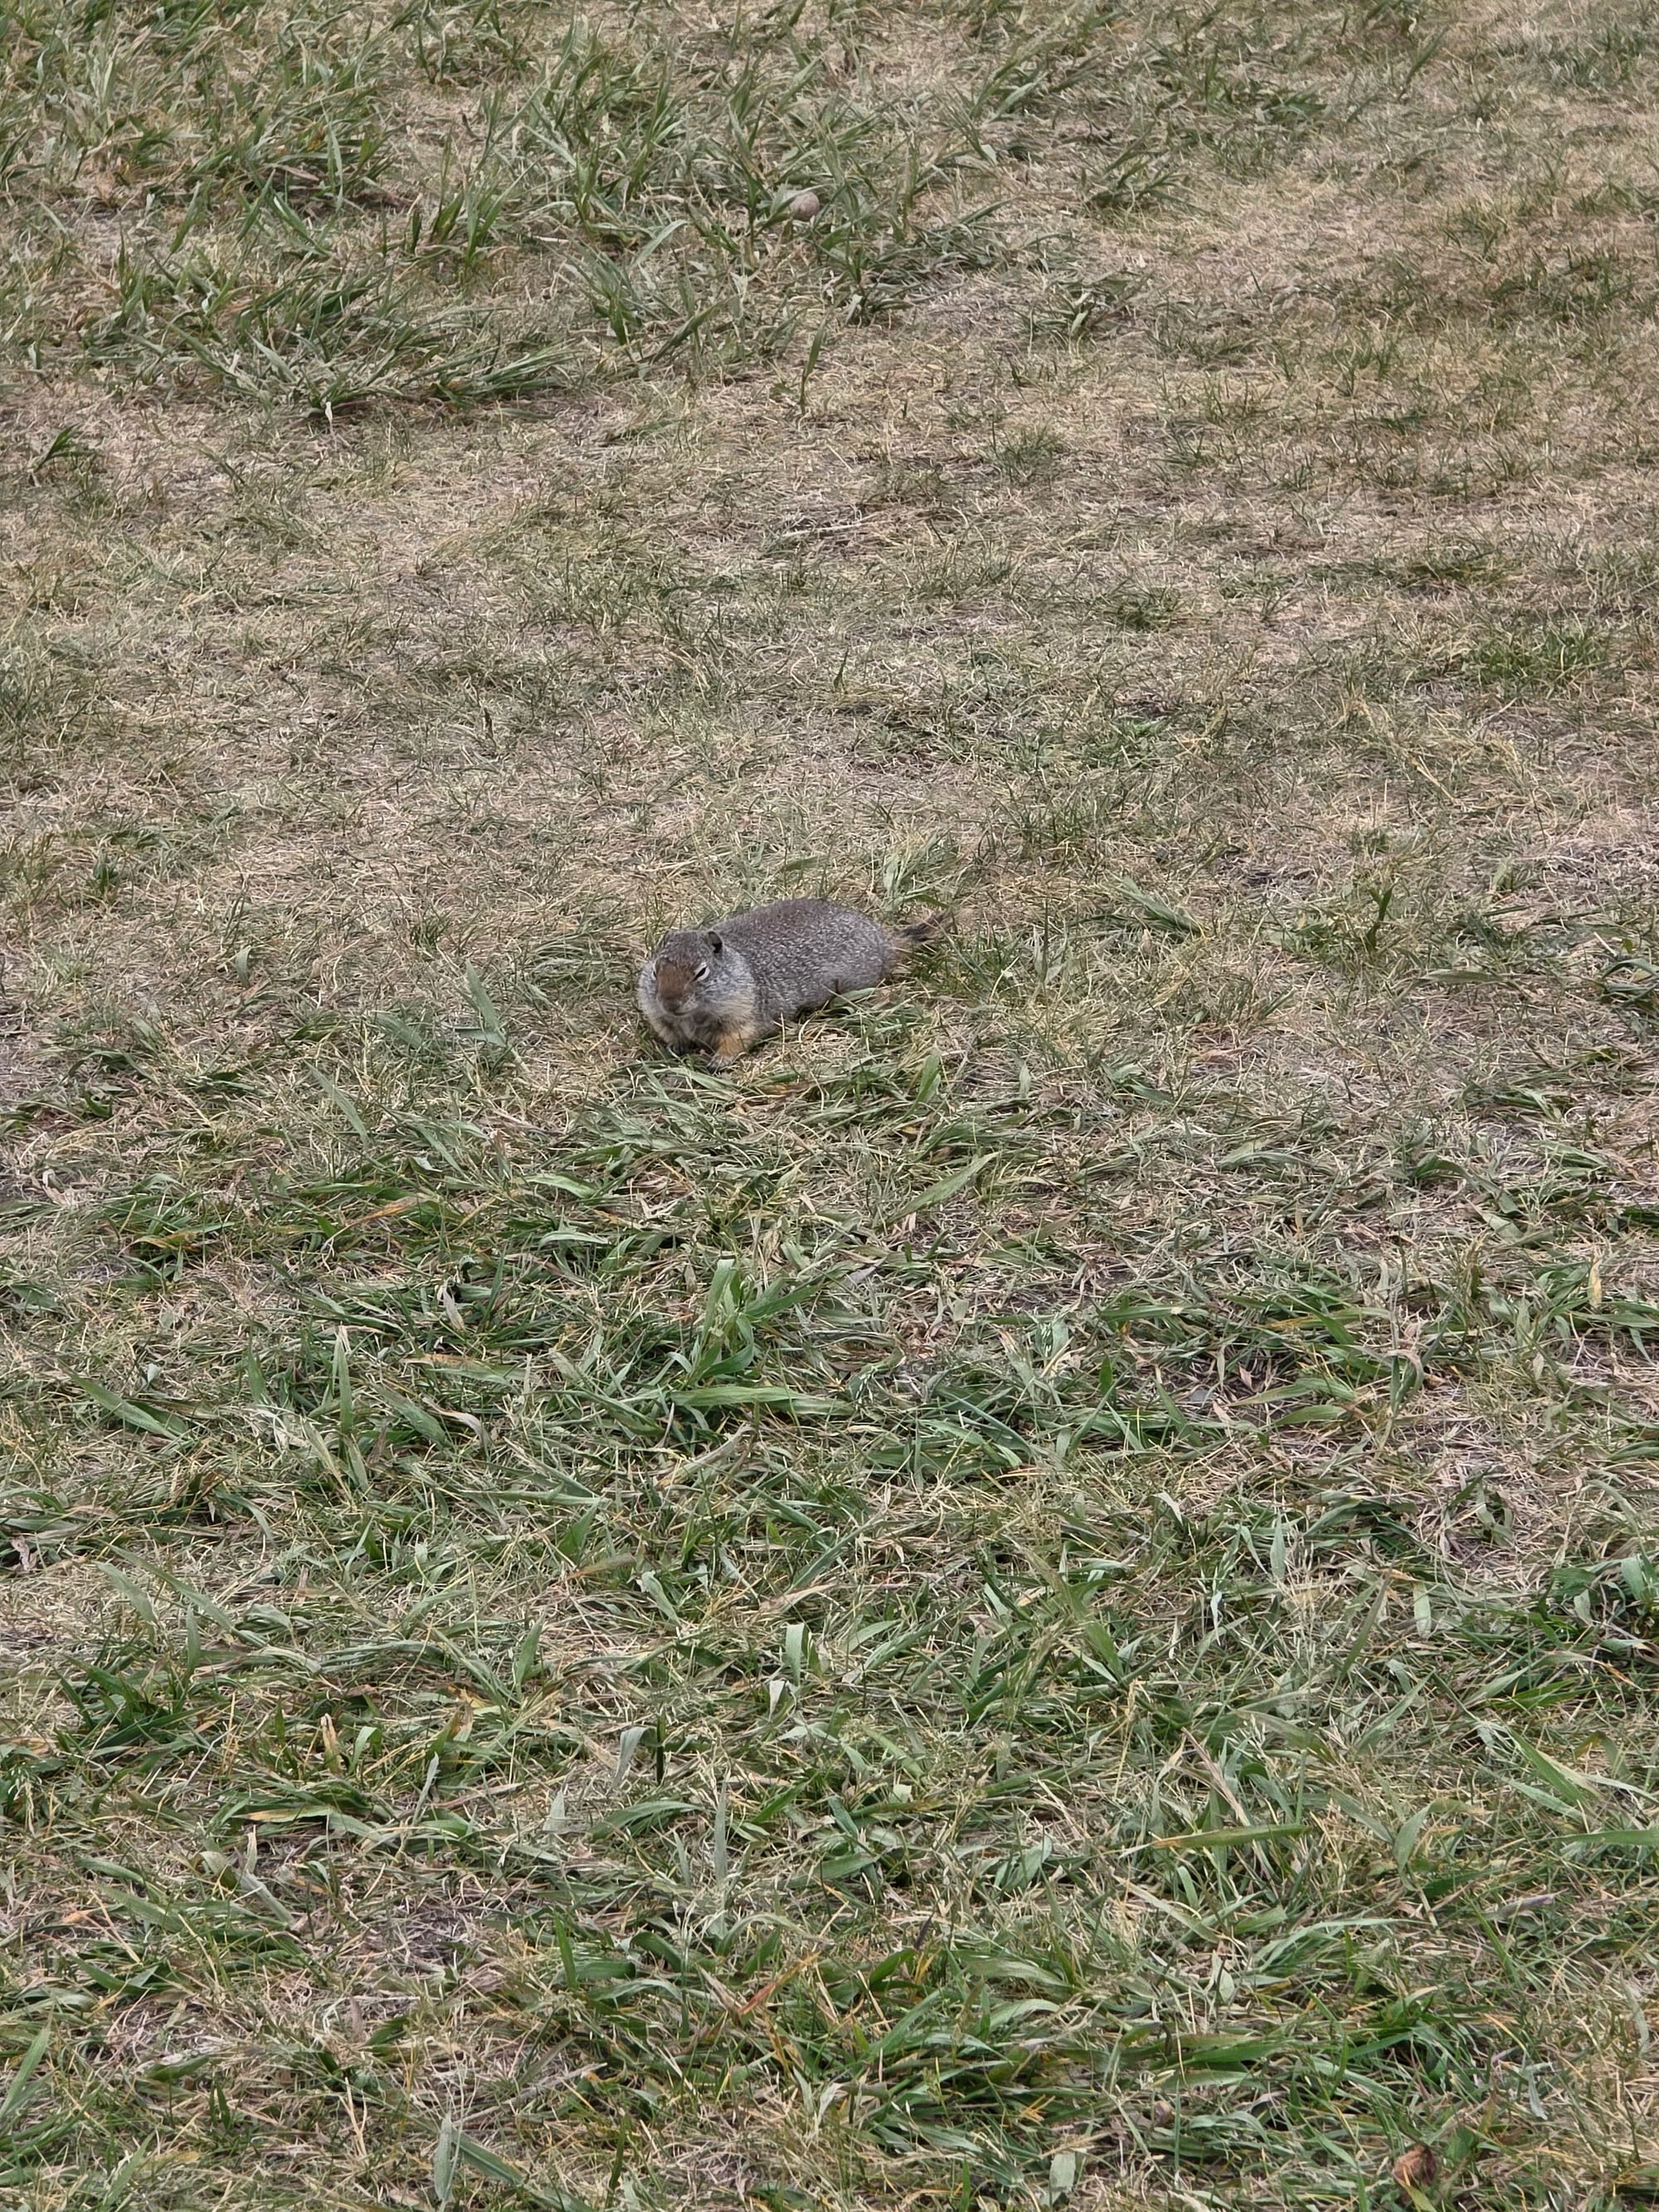
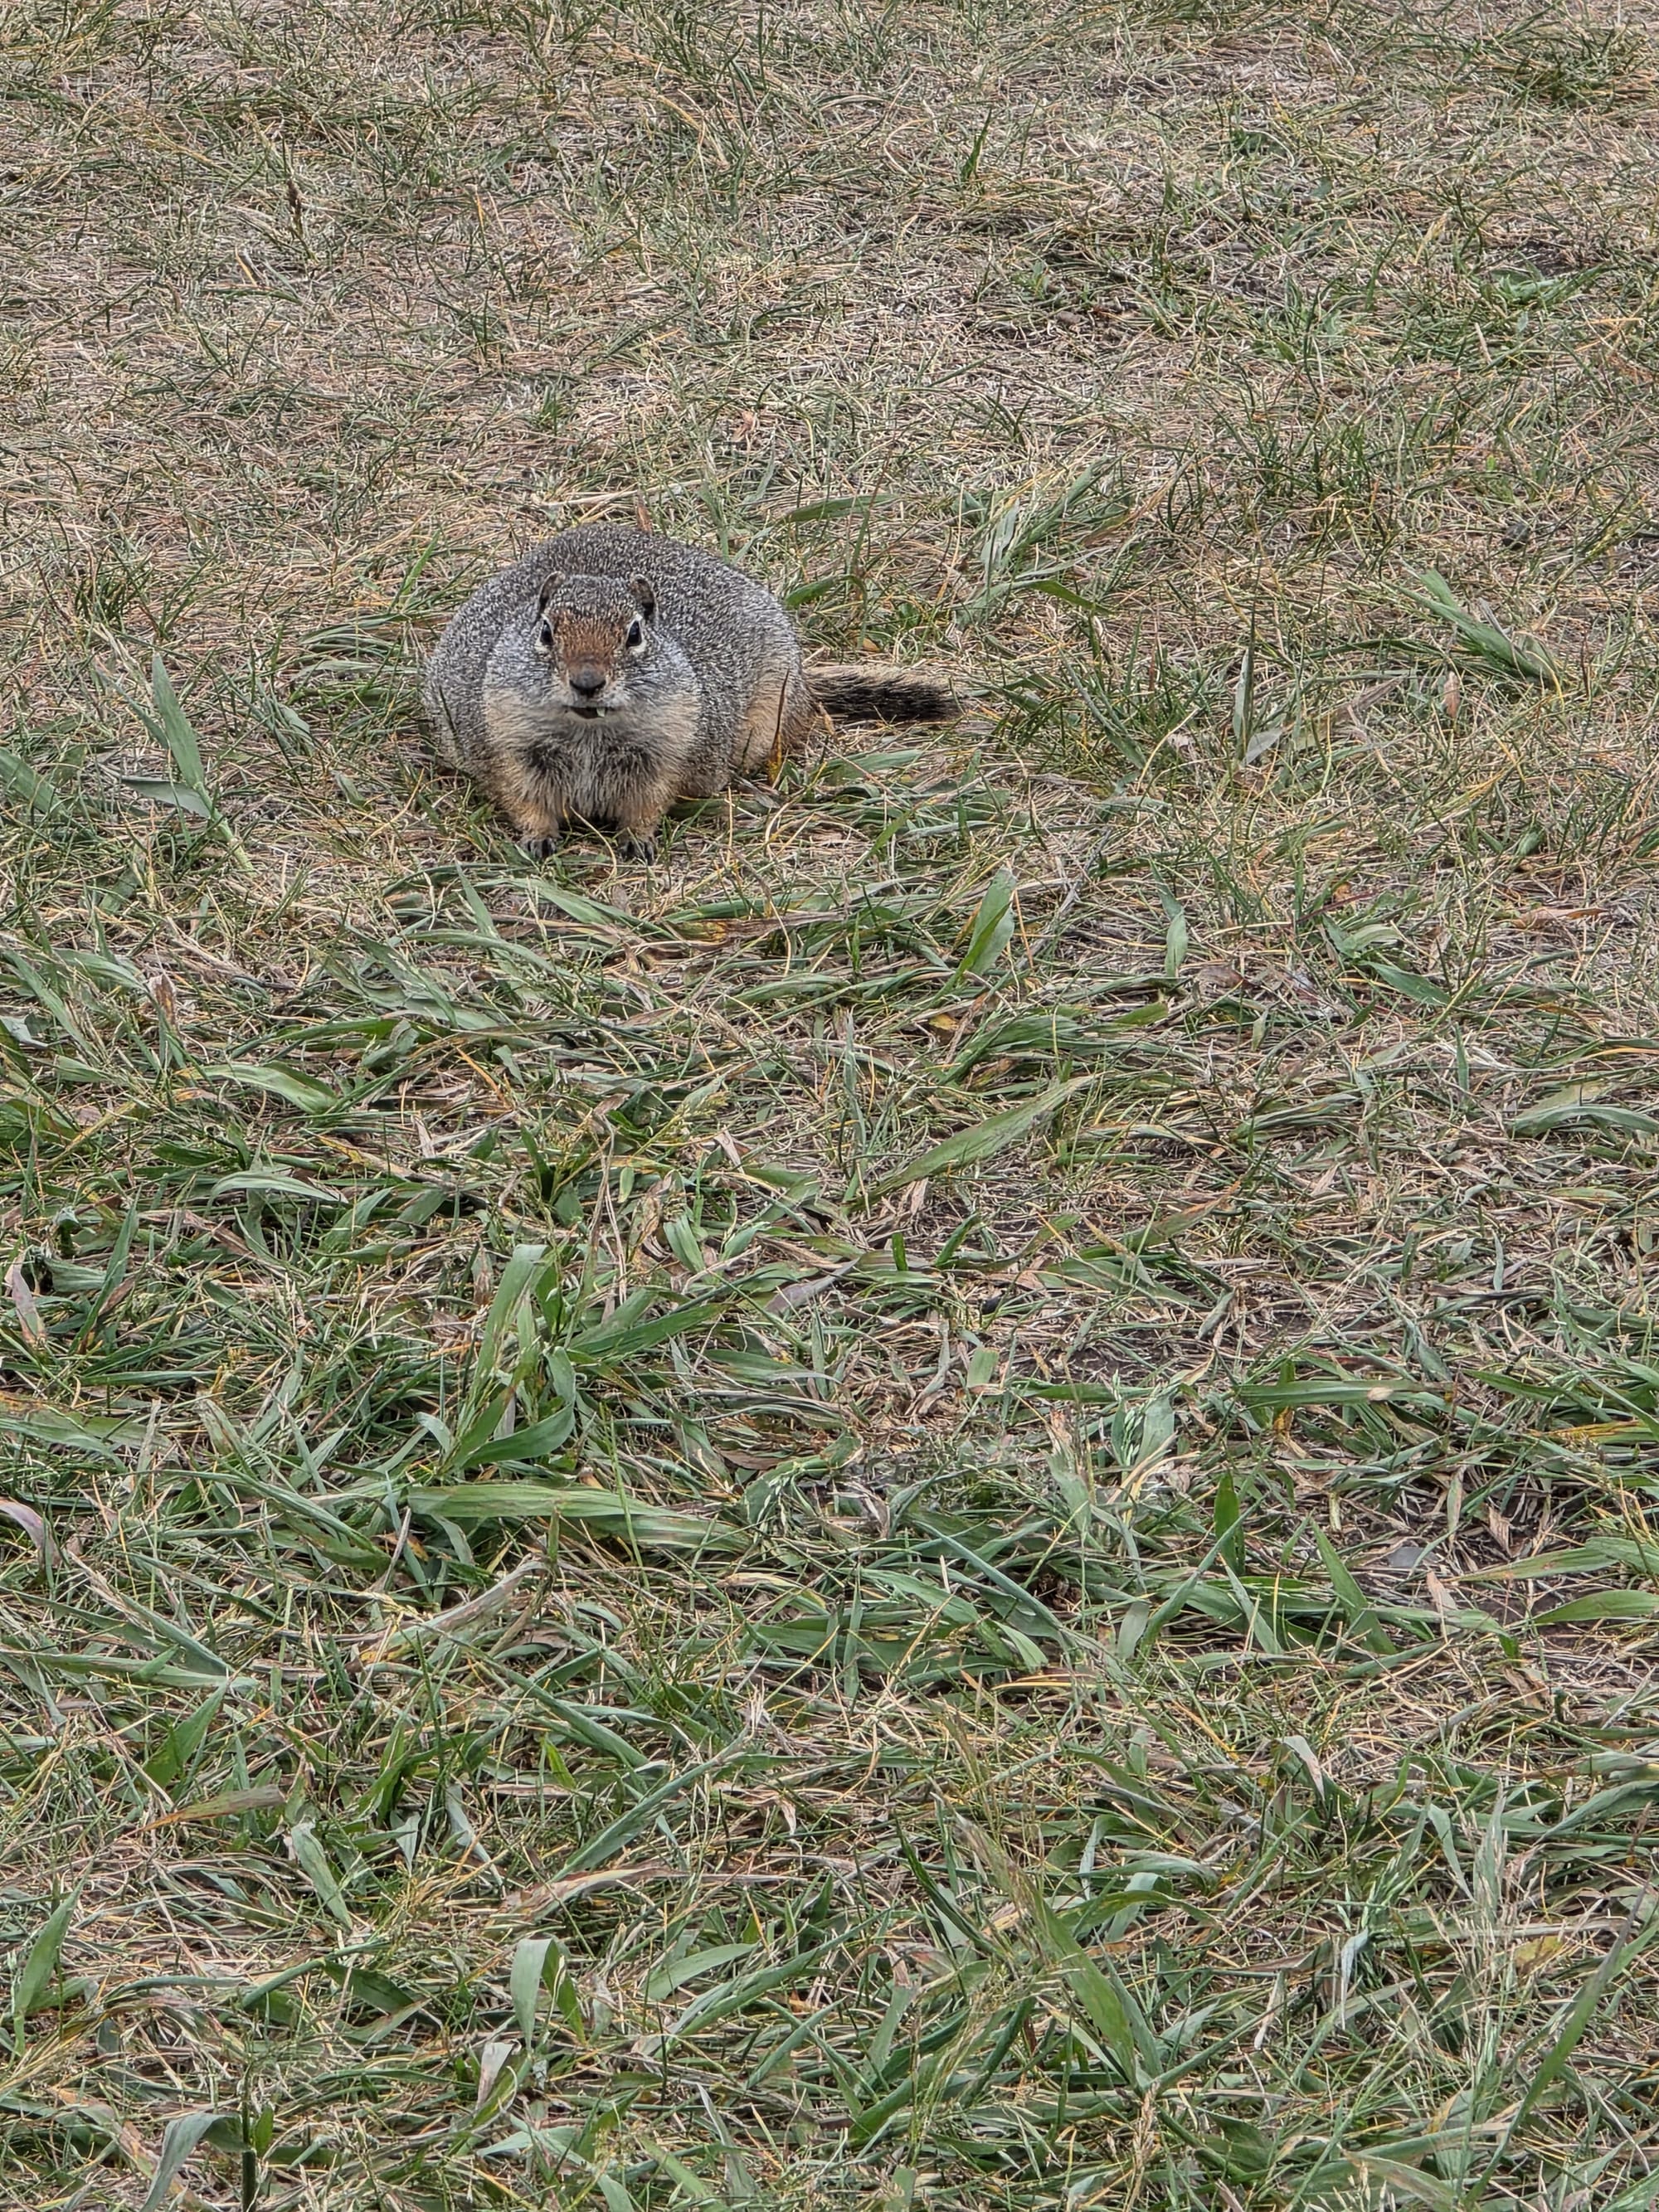
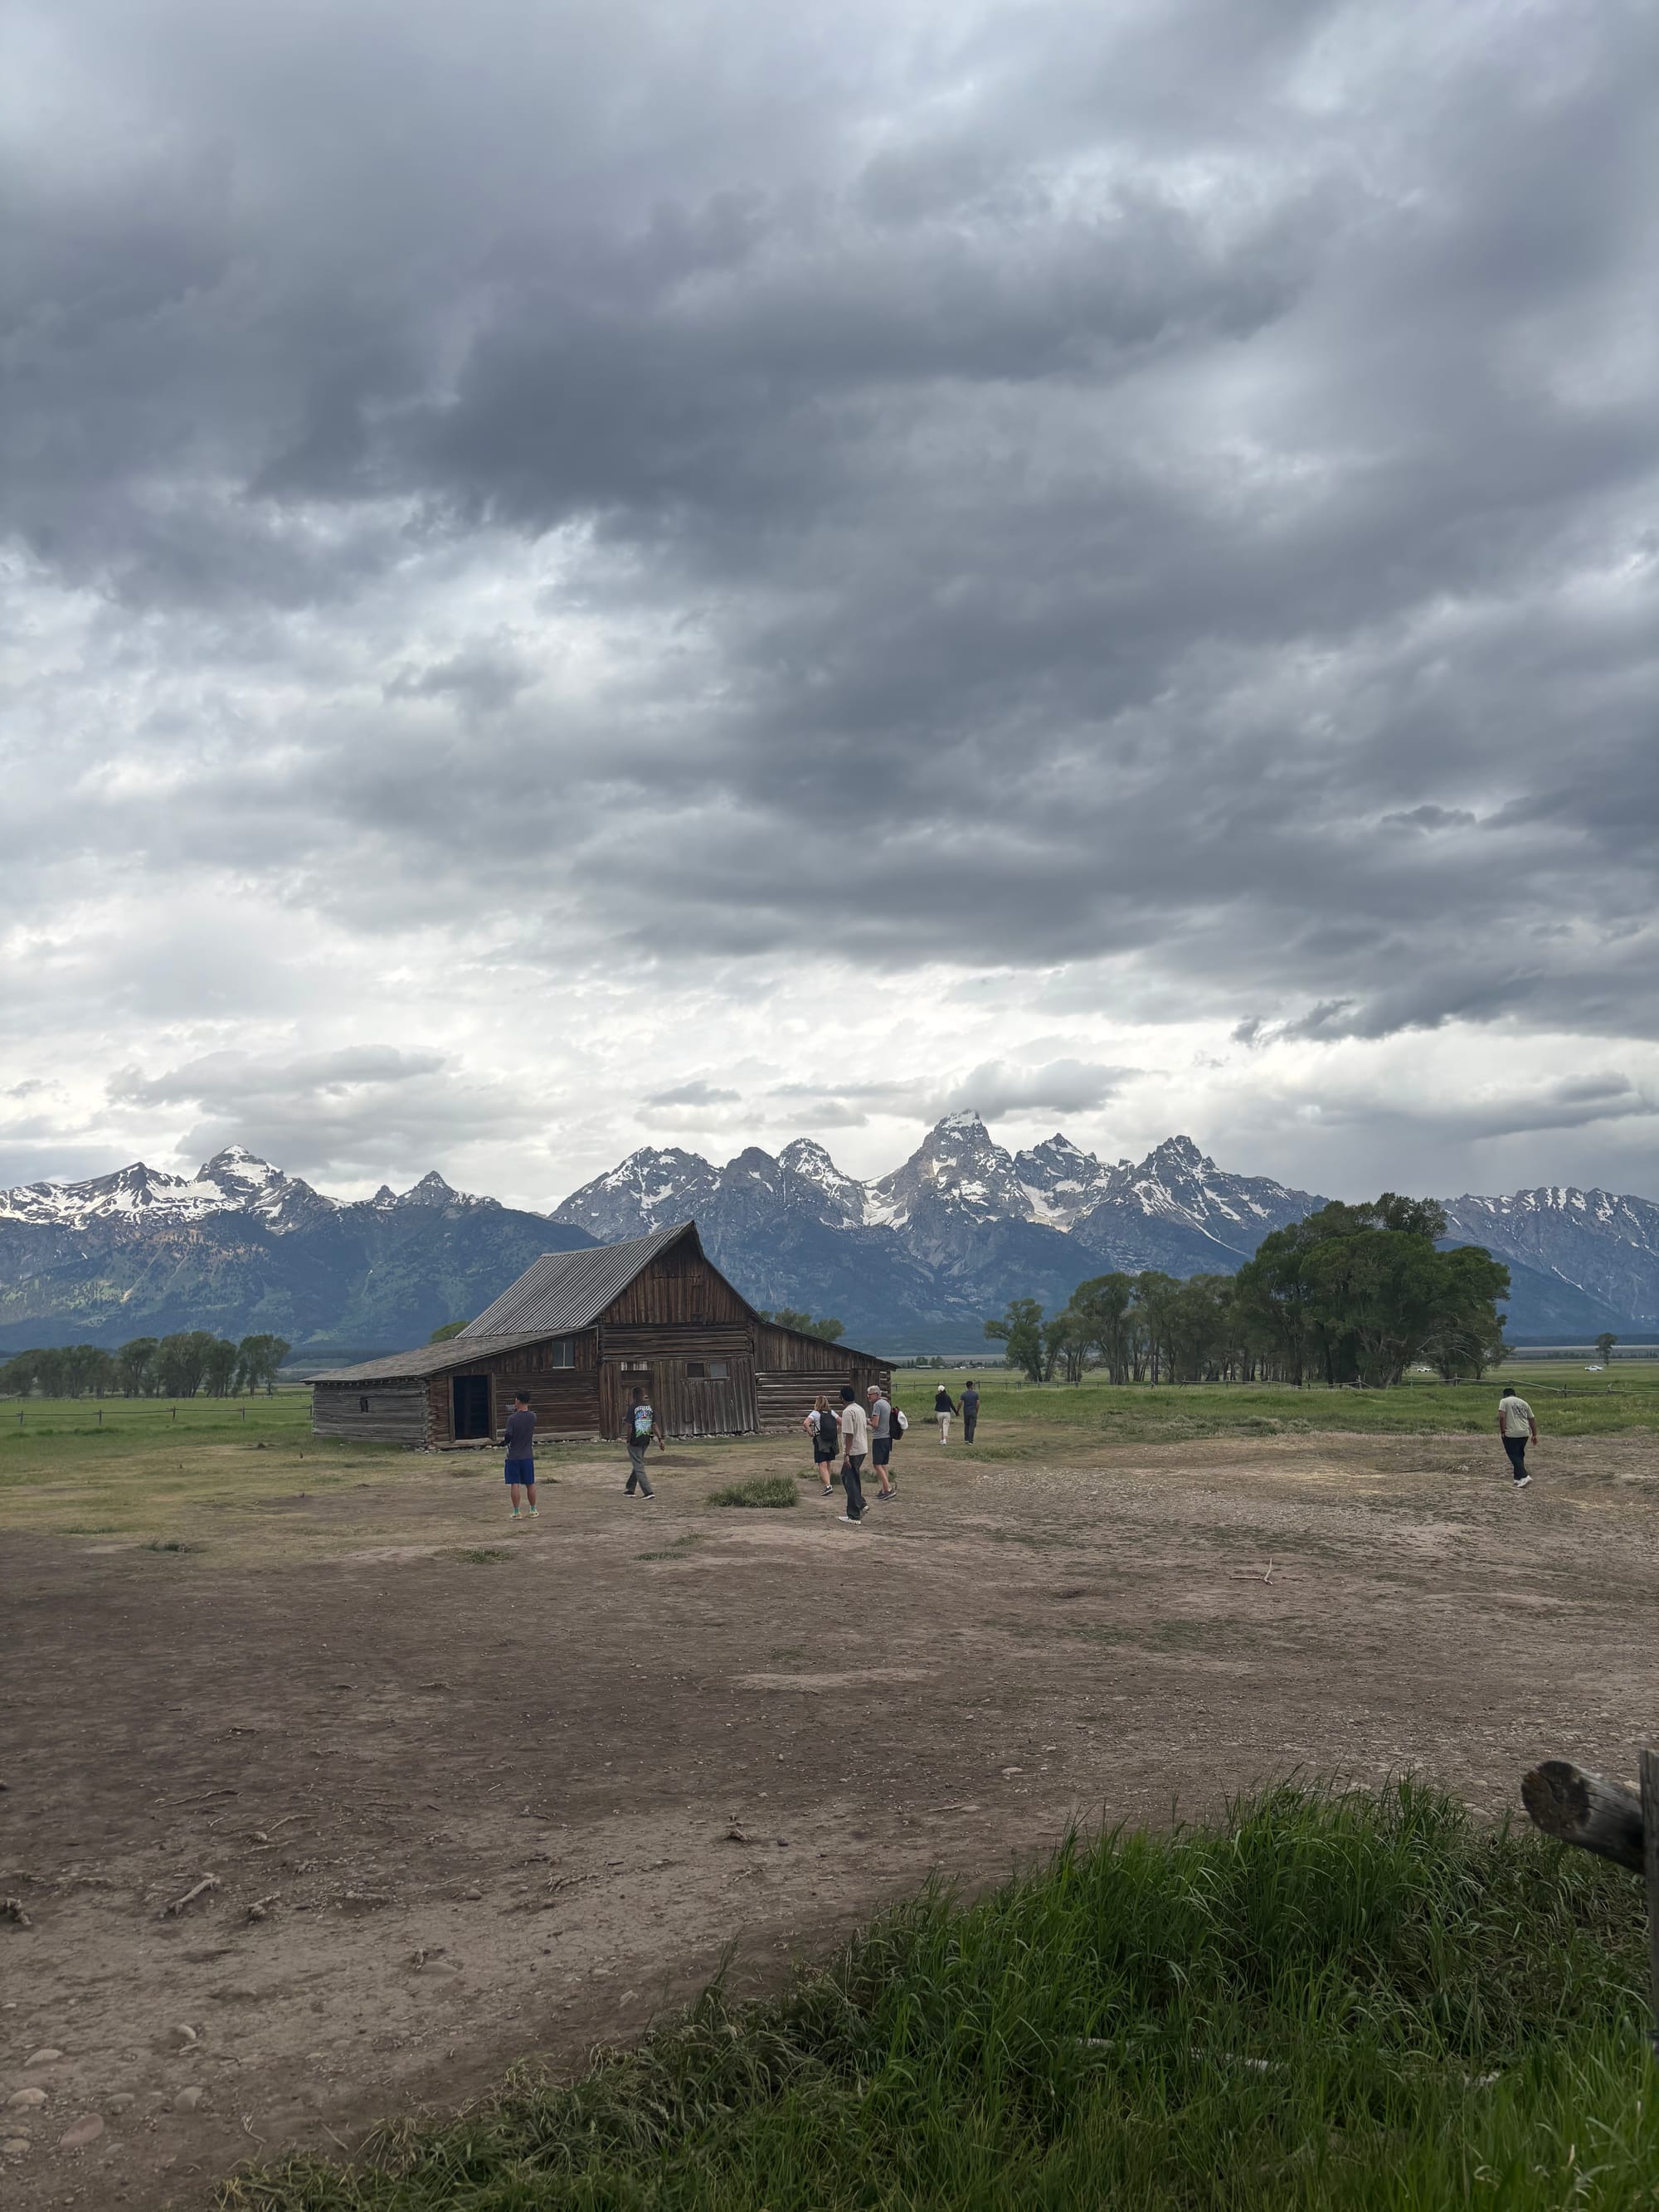
Views and ground squirrels at Mormon Row
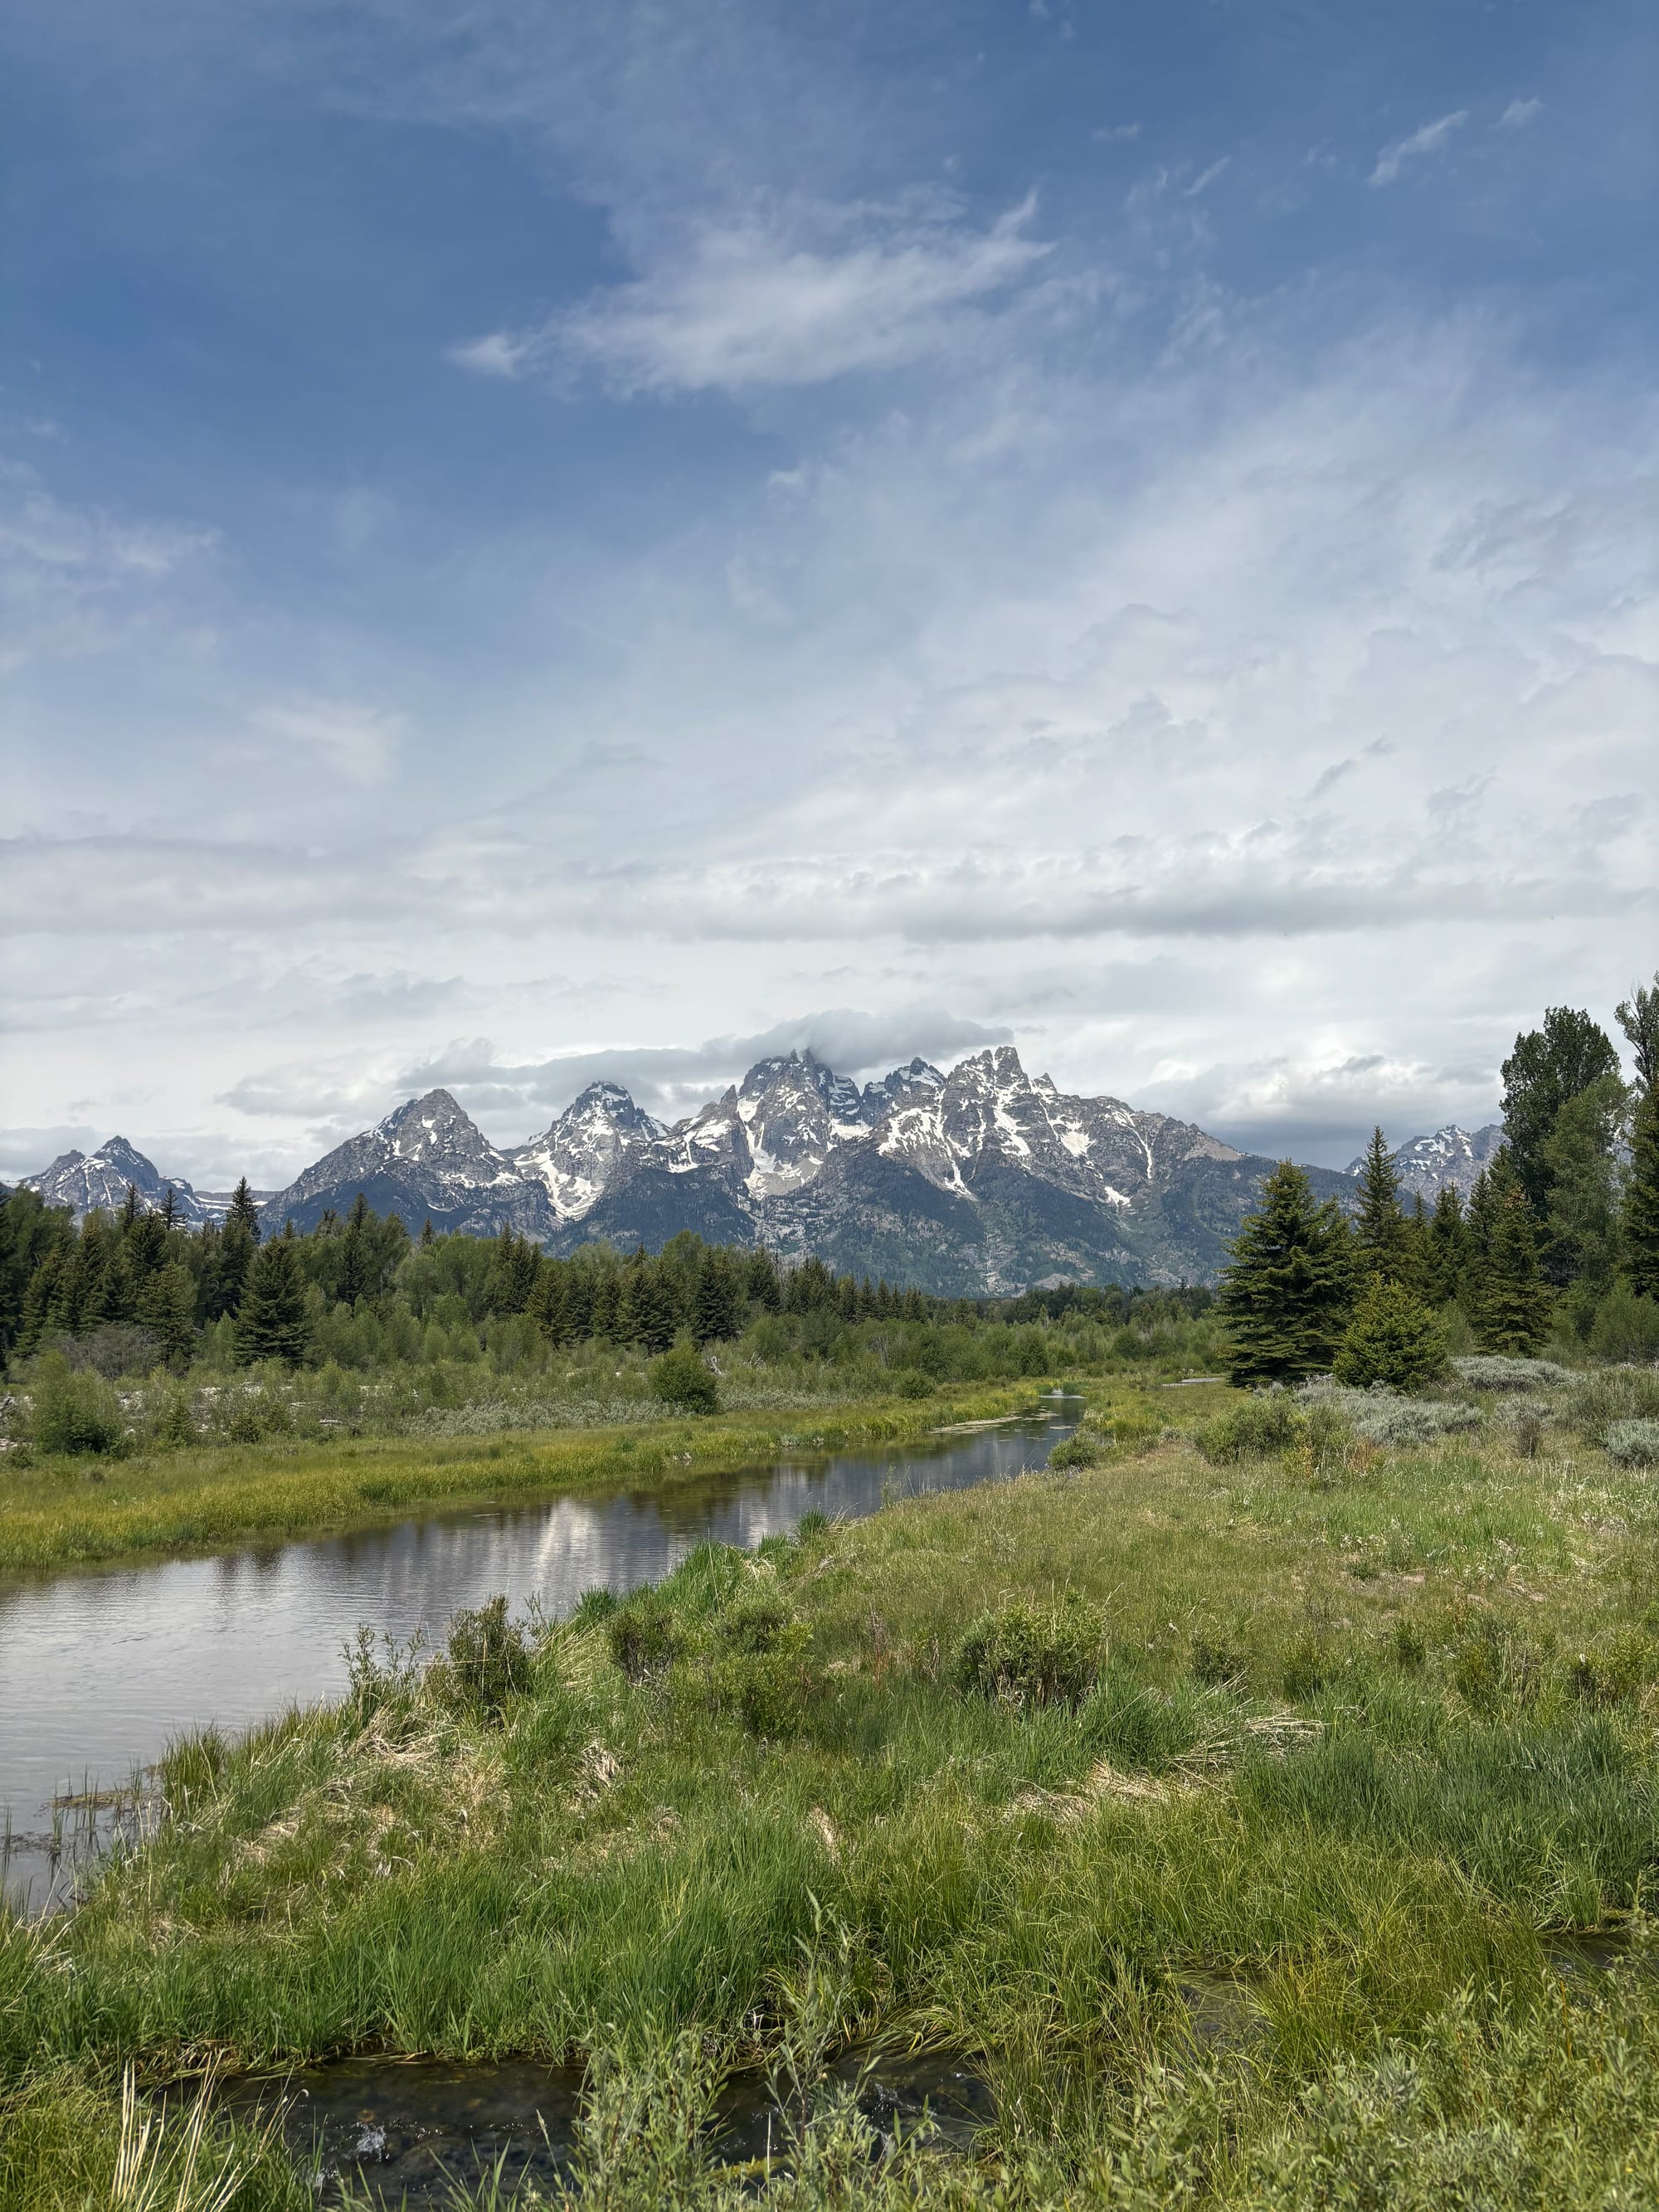
Next, we did the walk at Schwabacher’s Landing. This is a flat, easy path along the river that requires very little effort. There is a secondary, less-developed parking lot further up the road that is much quieter than the main lot, which I would recommend stopping at before/after you hit the main path there.
For lunch, we stopped at Dornan’s in Moose and grabbed food from the deli counter, which was good. We also stopped at the nearby Craig Thomas Visitor Center. It is a neat building to look at, but ultimately skippable. We had planned to walk a trail that starts at the visitor center, but a heavy rainstorm started, so we decided to skip it and head north.
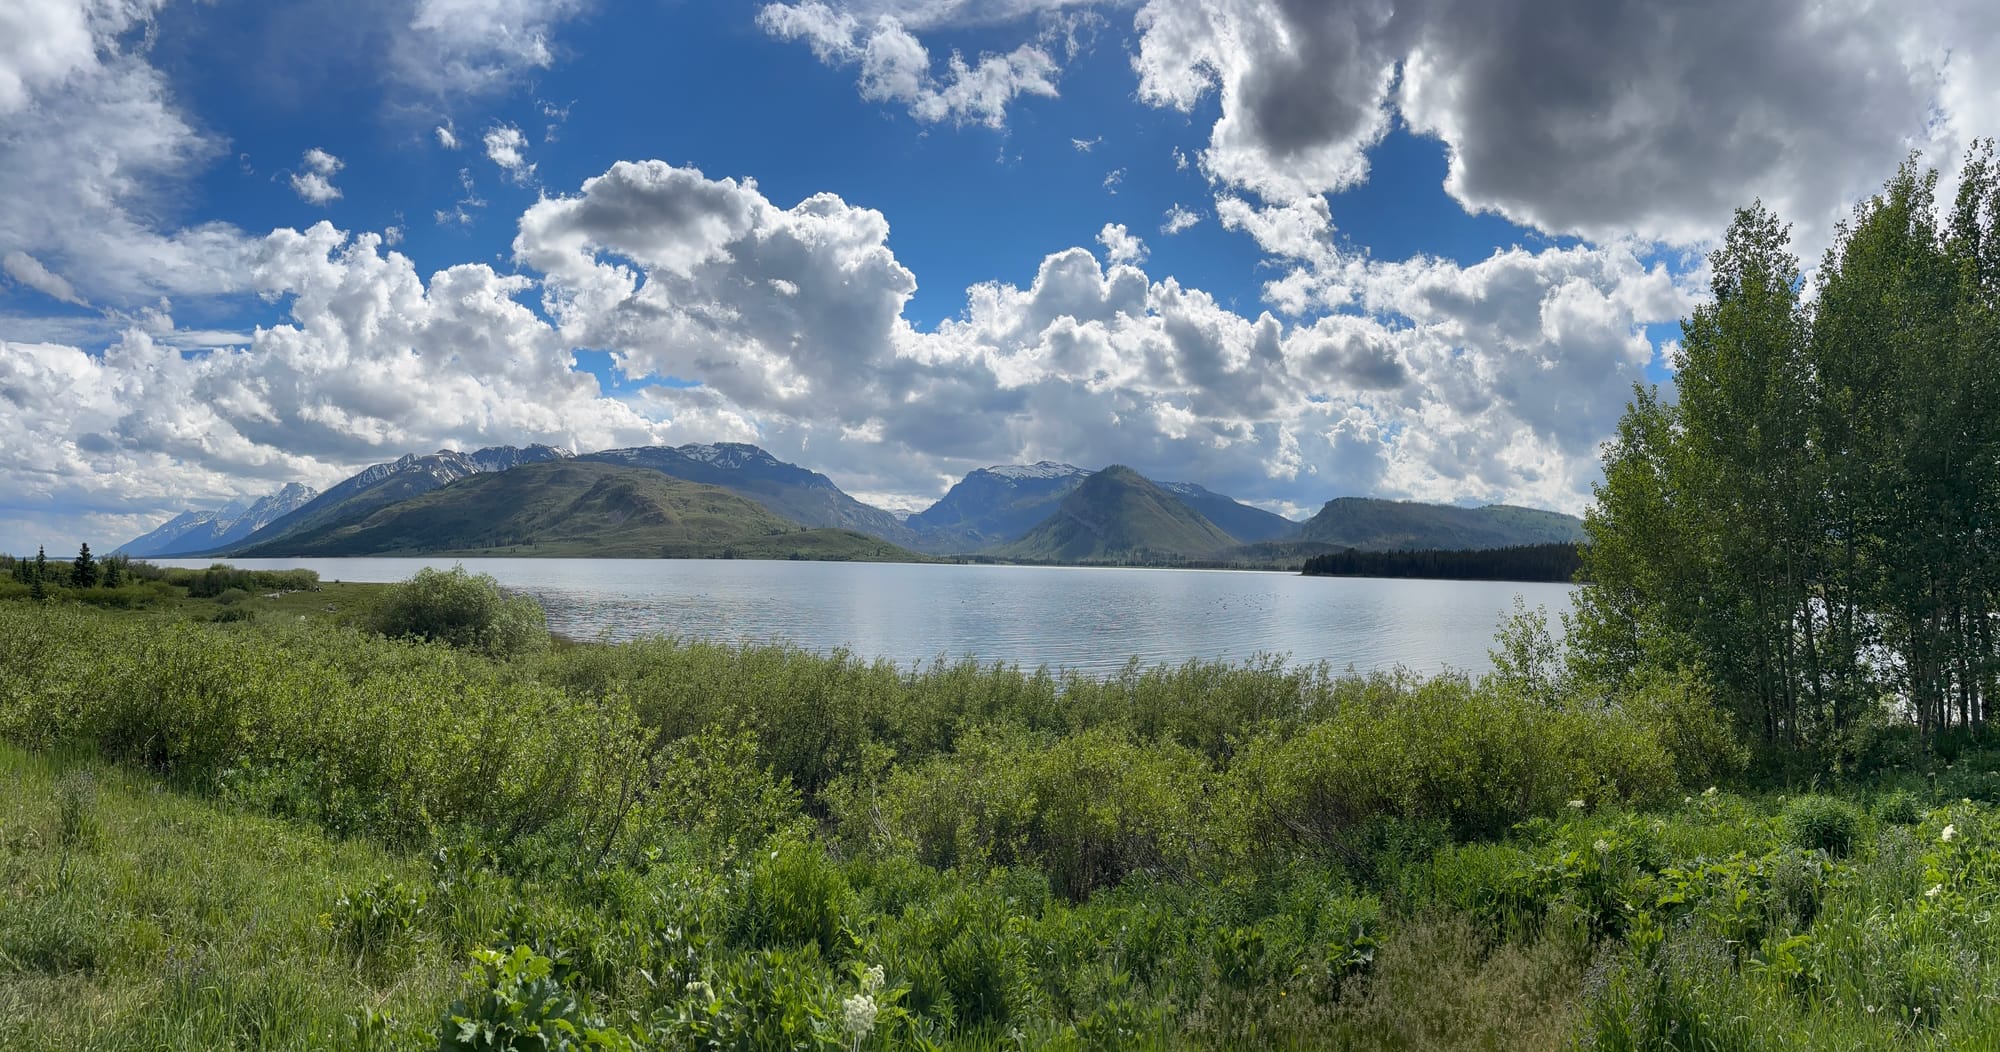
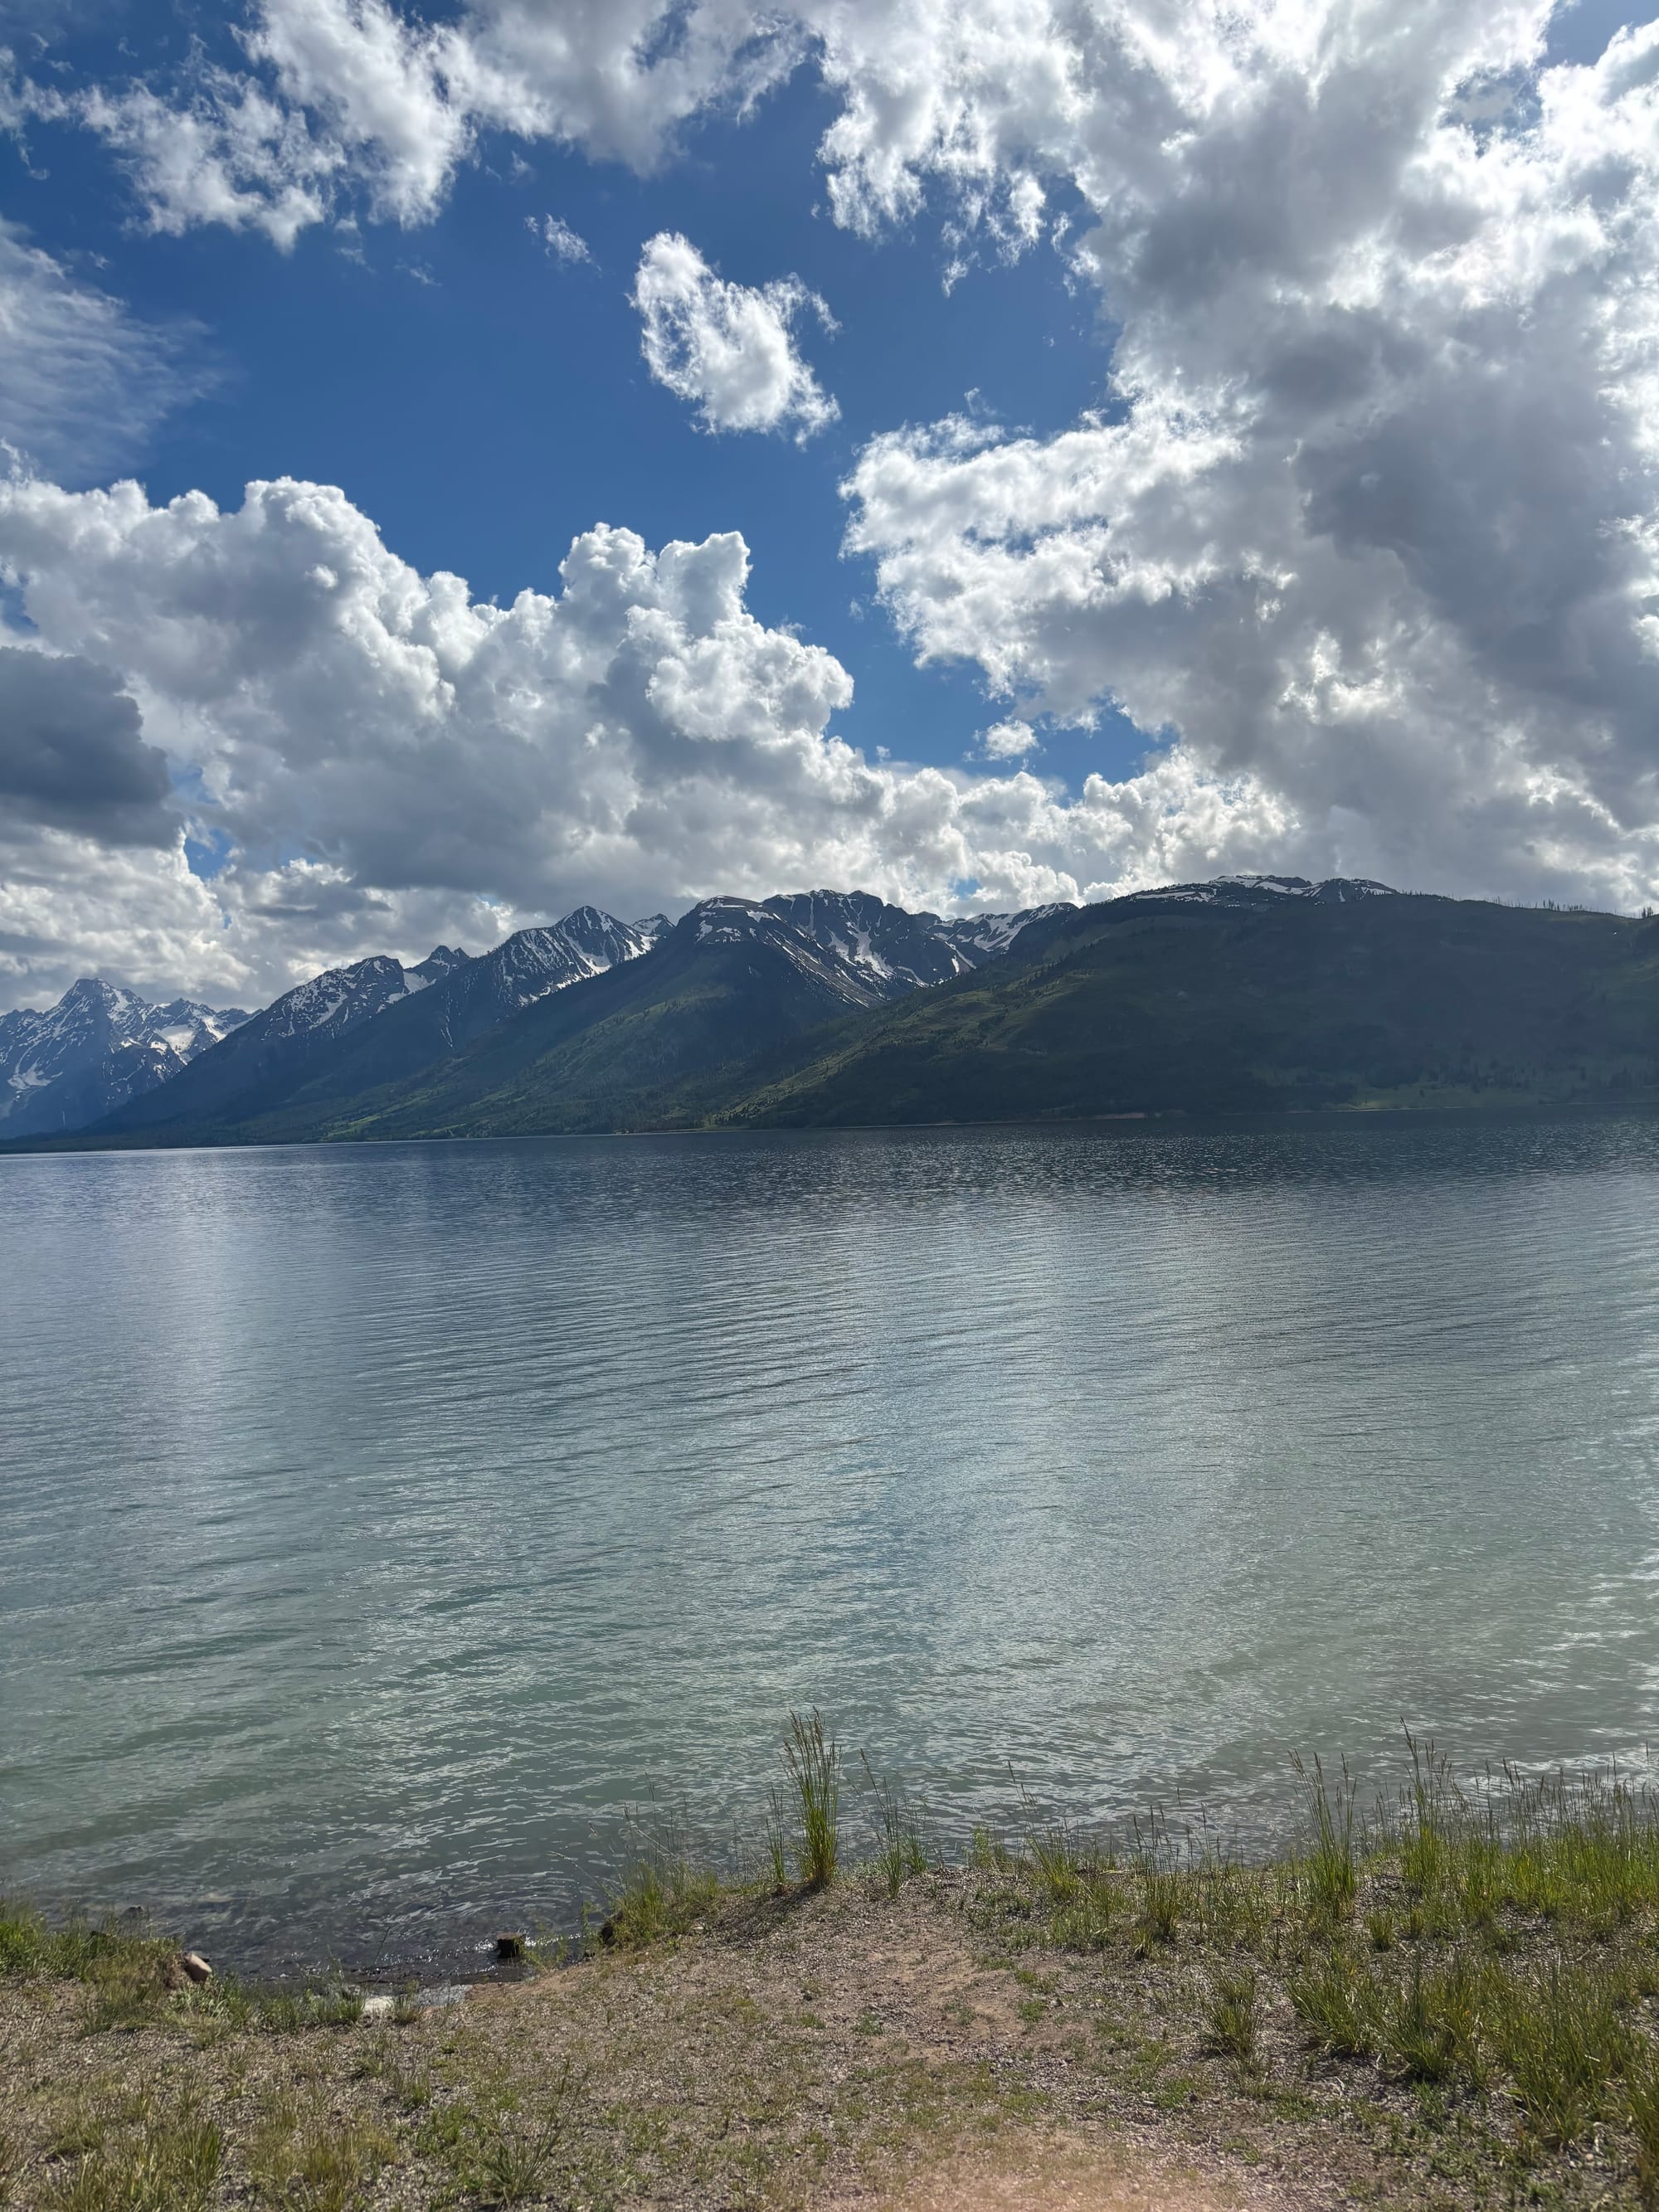

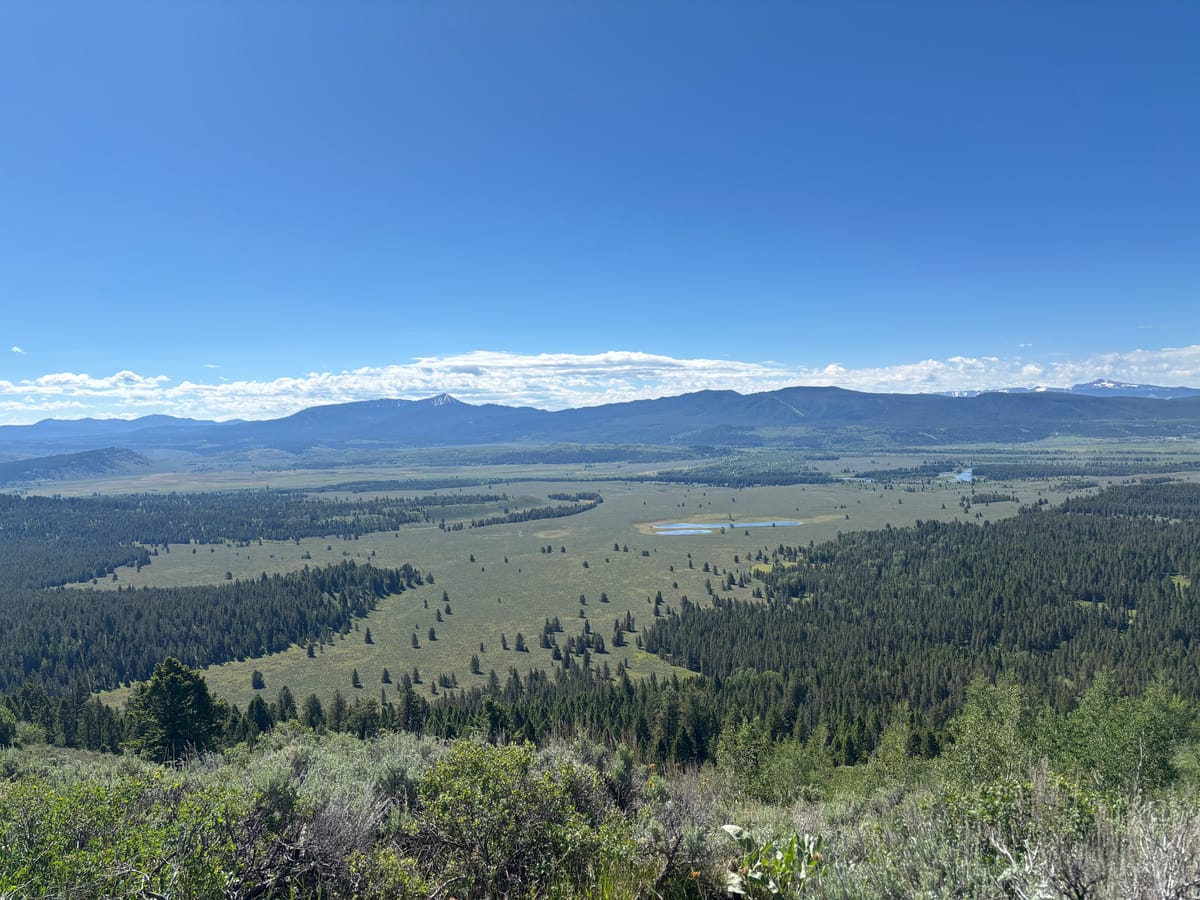
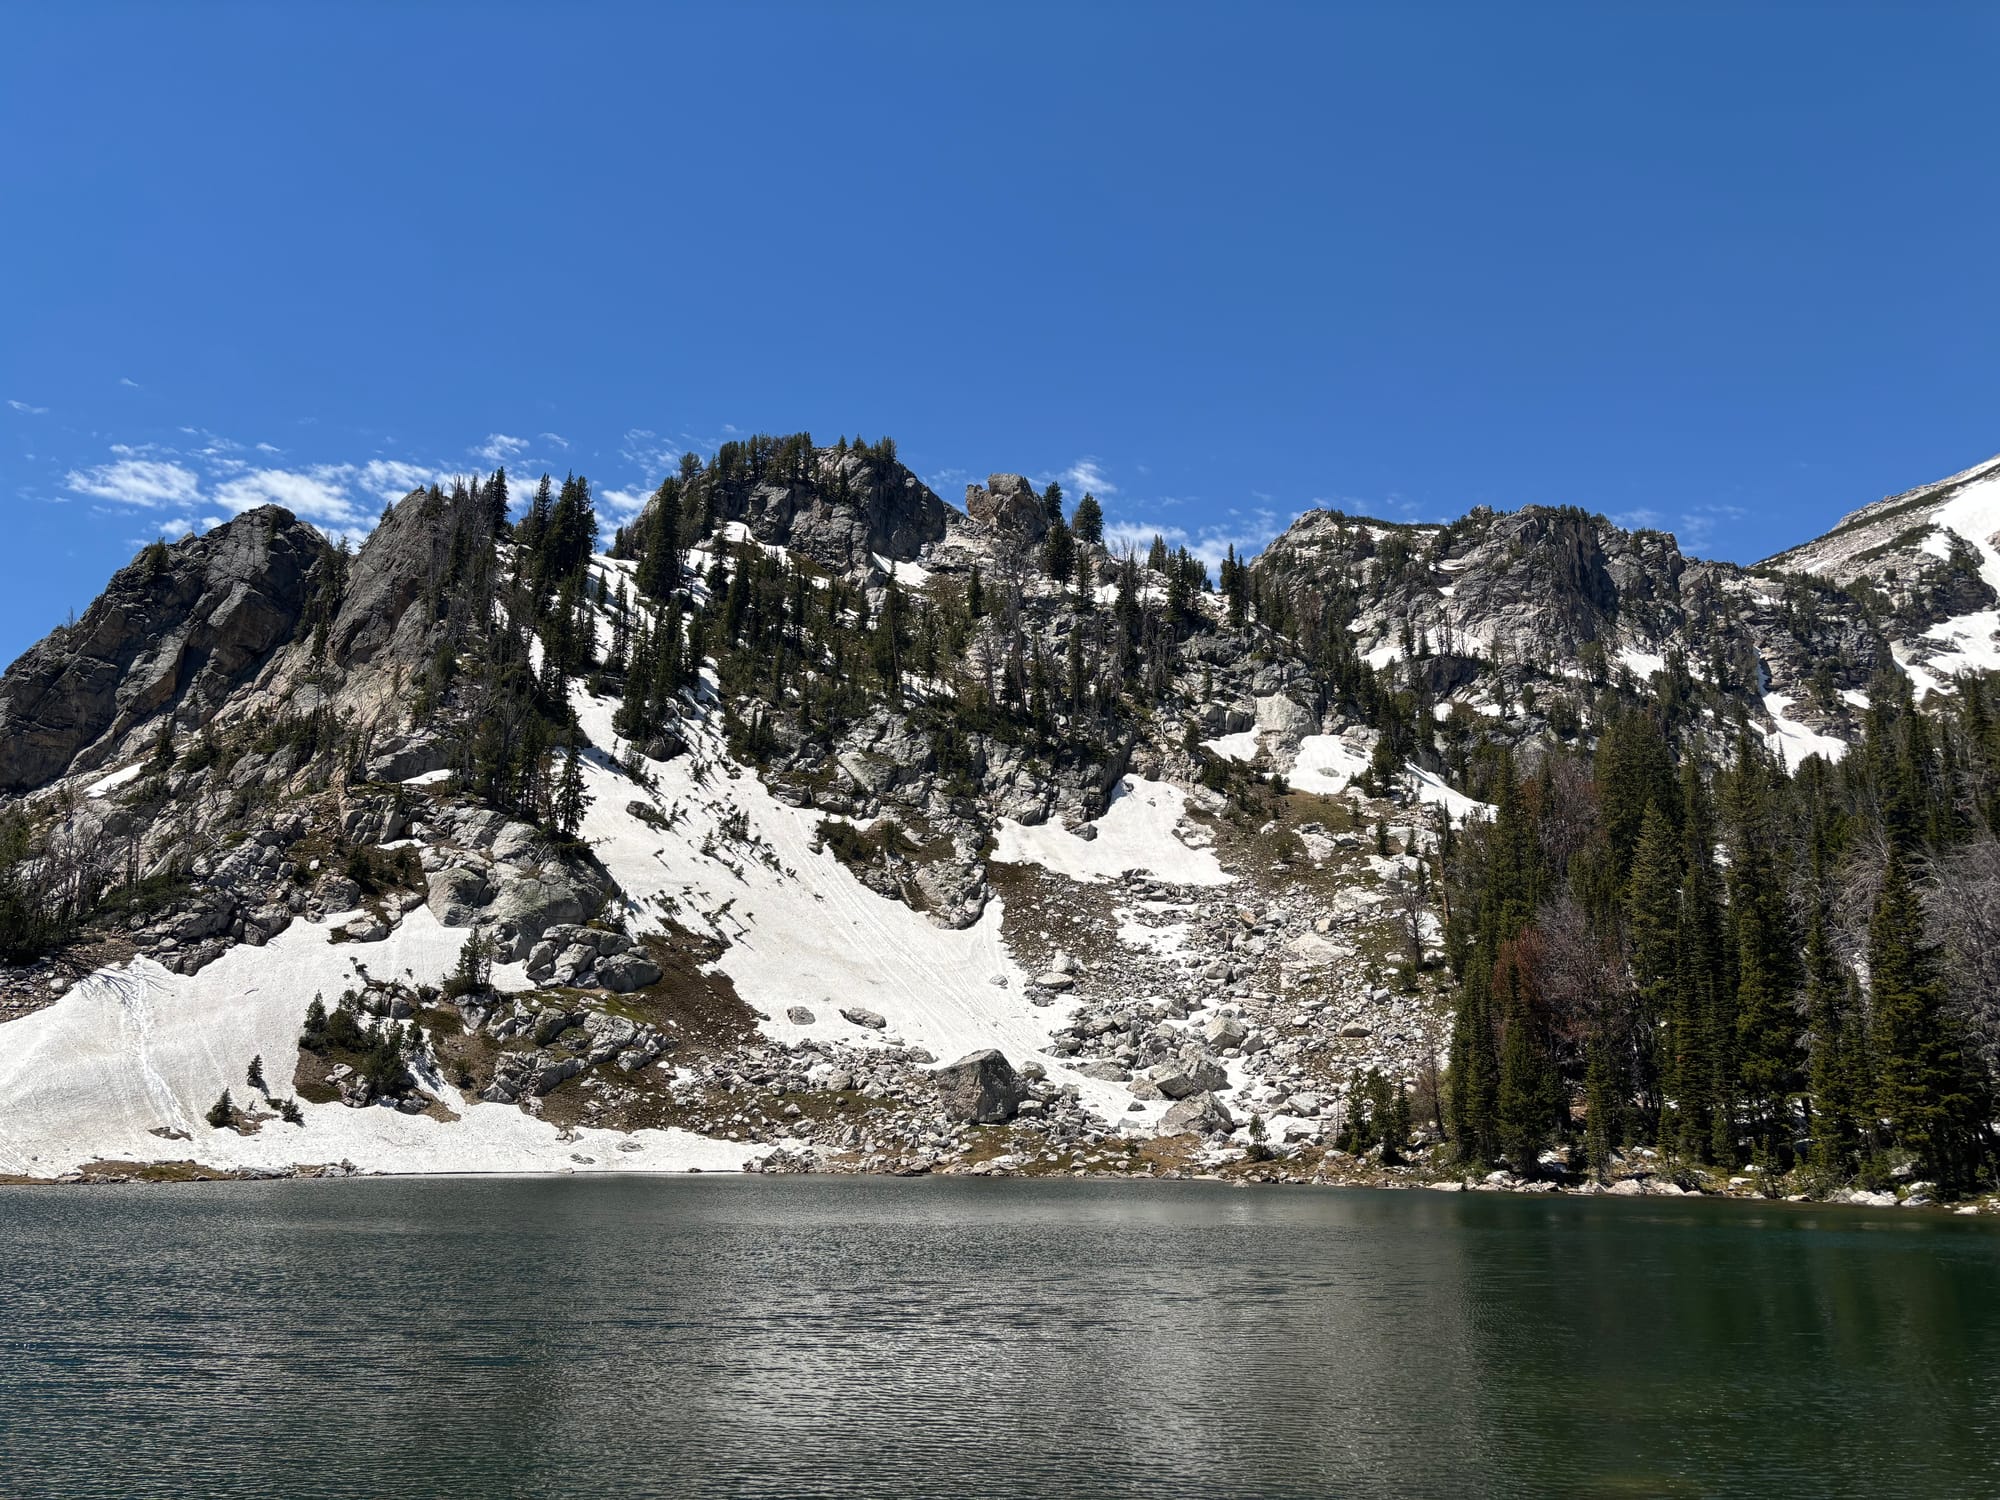
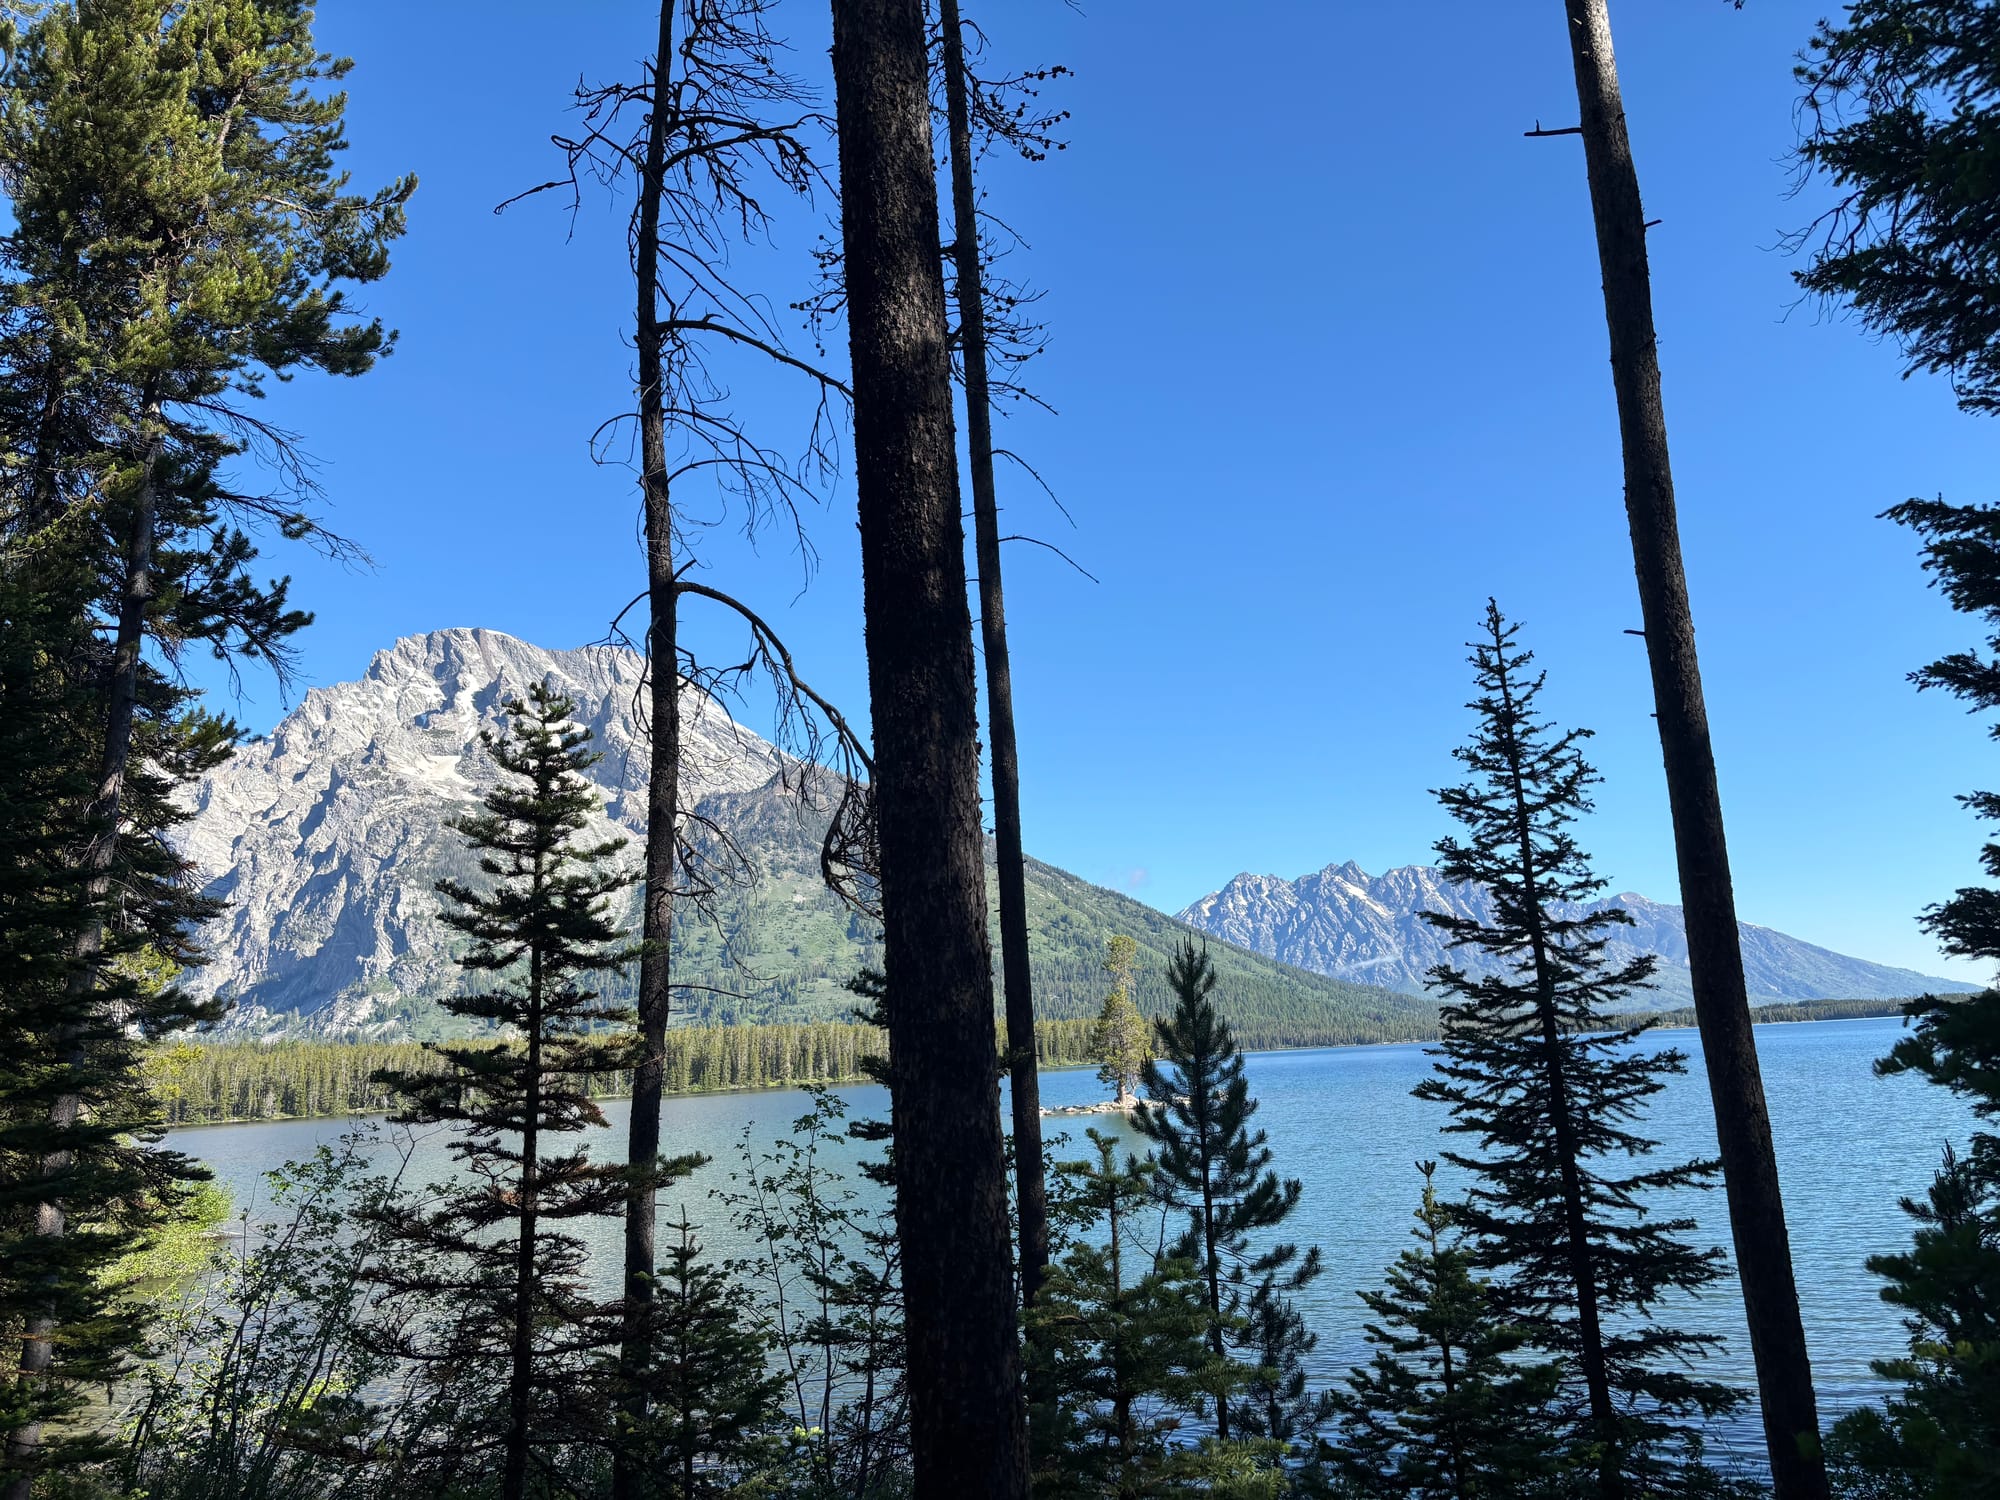
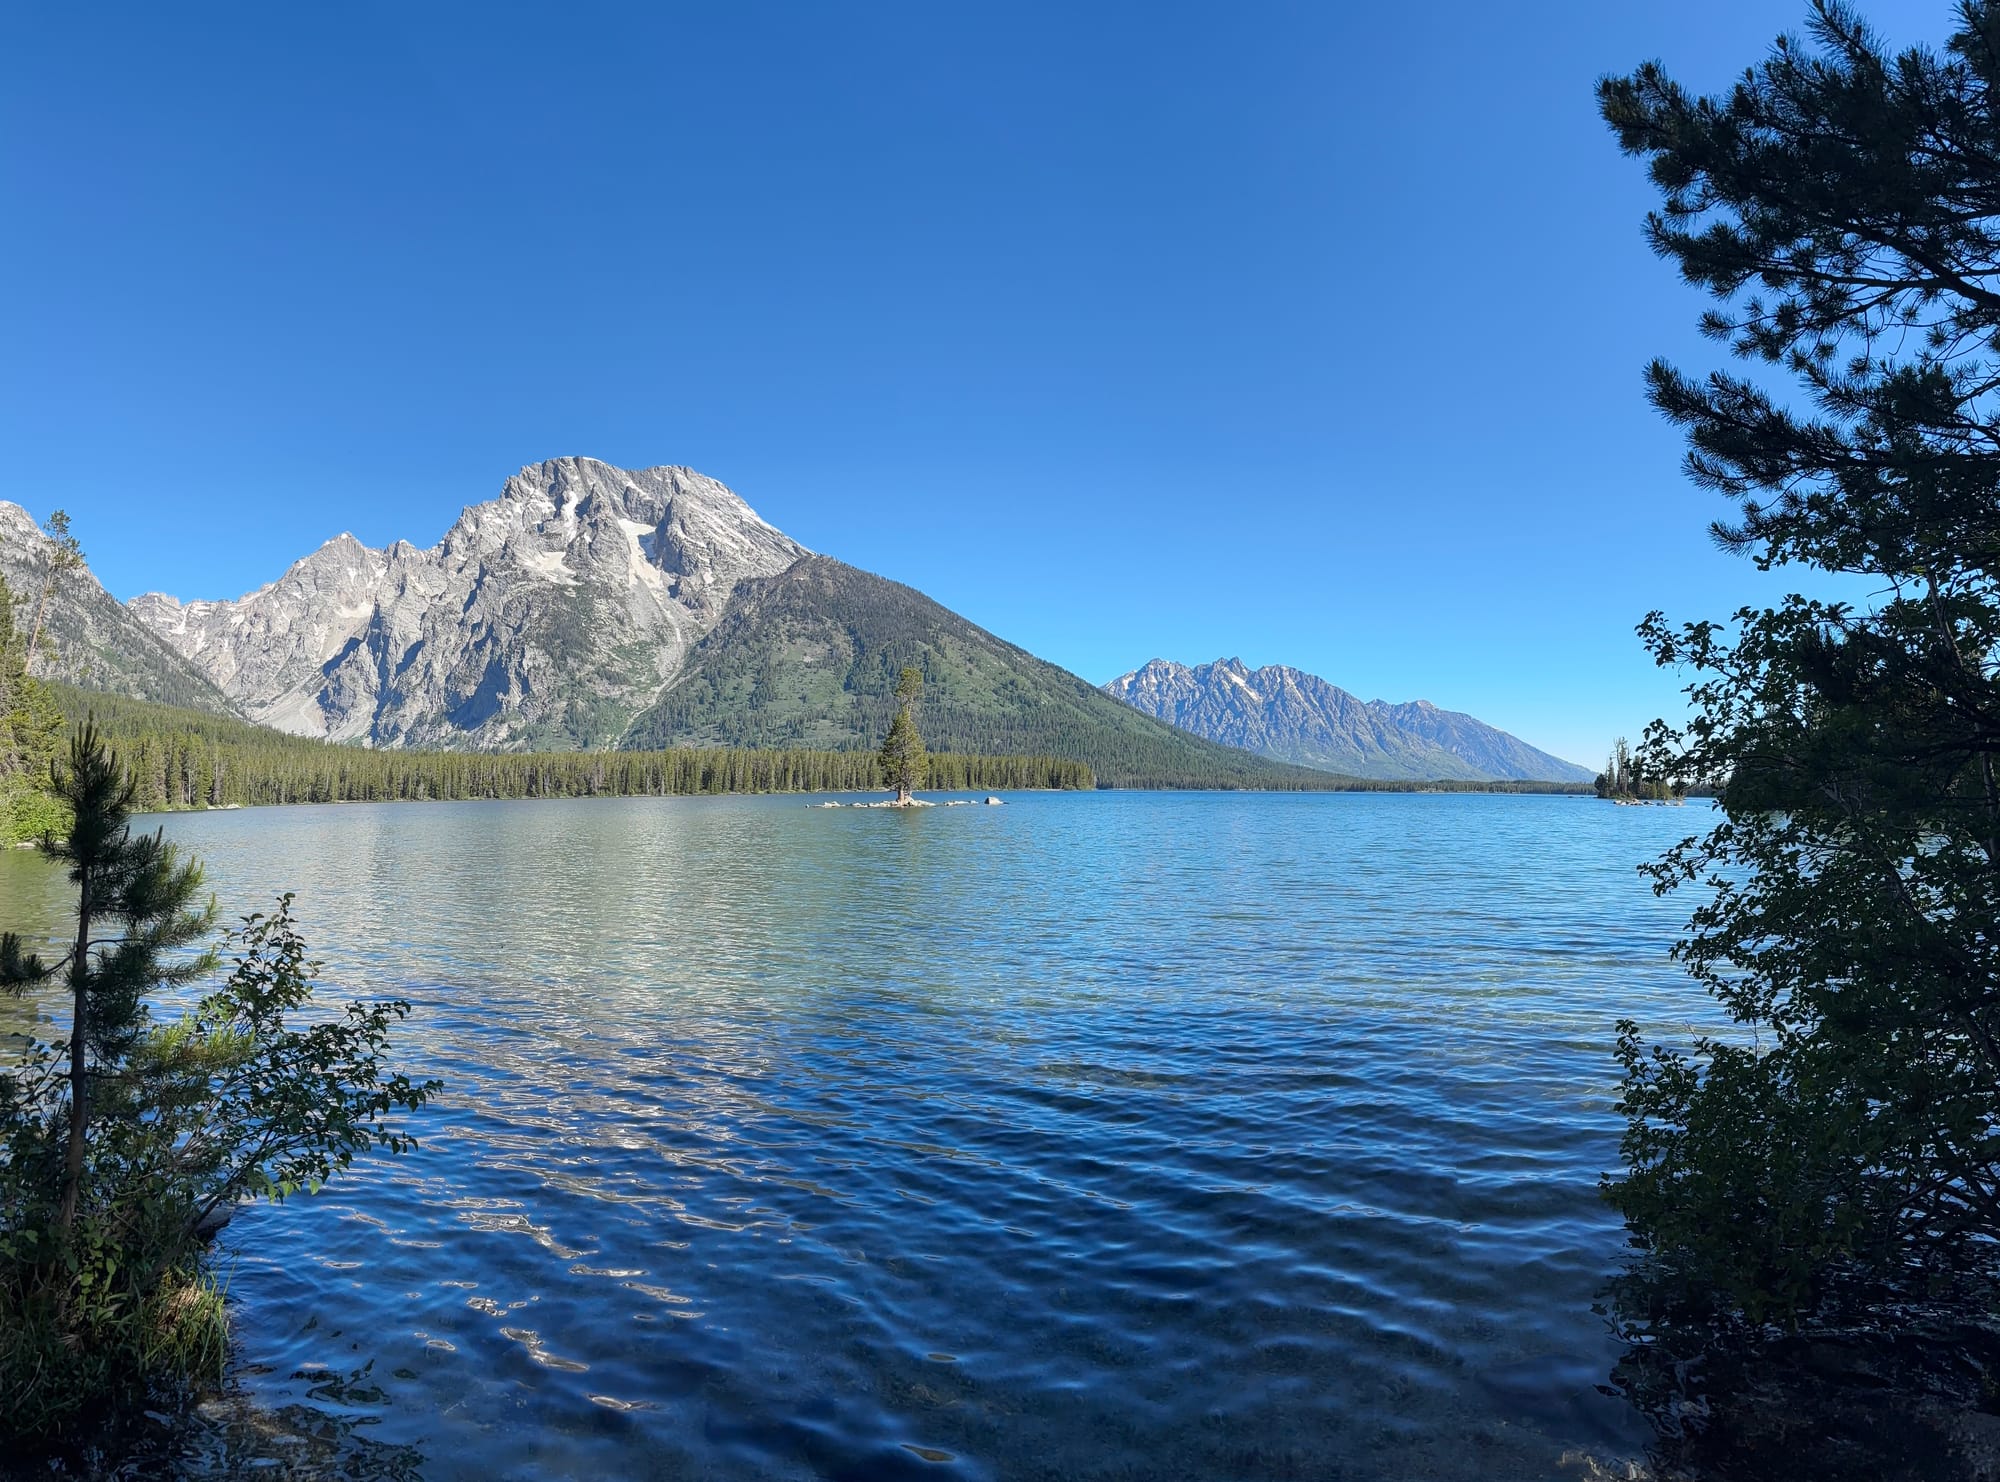
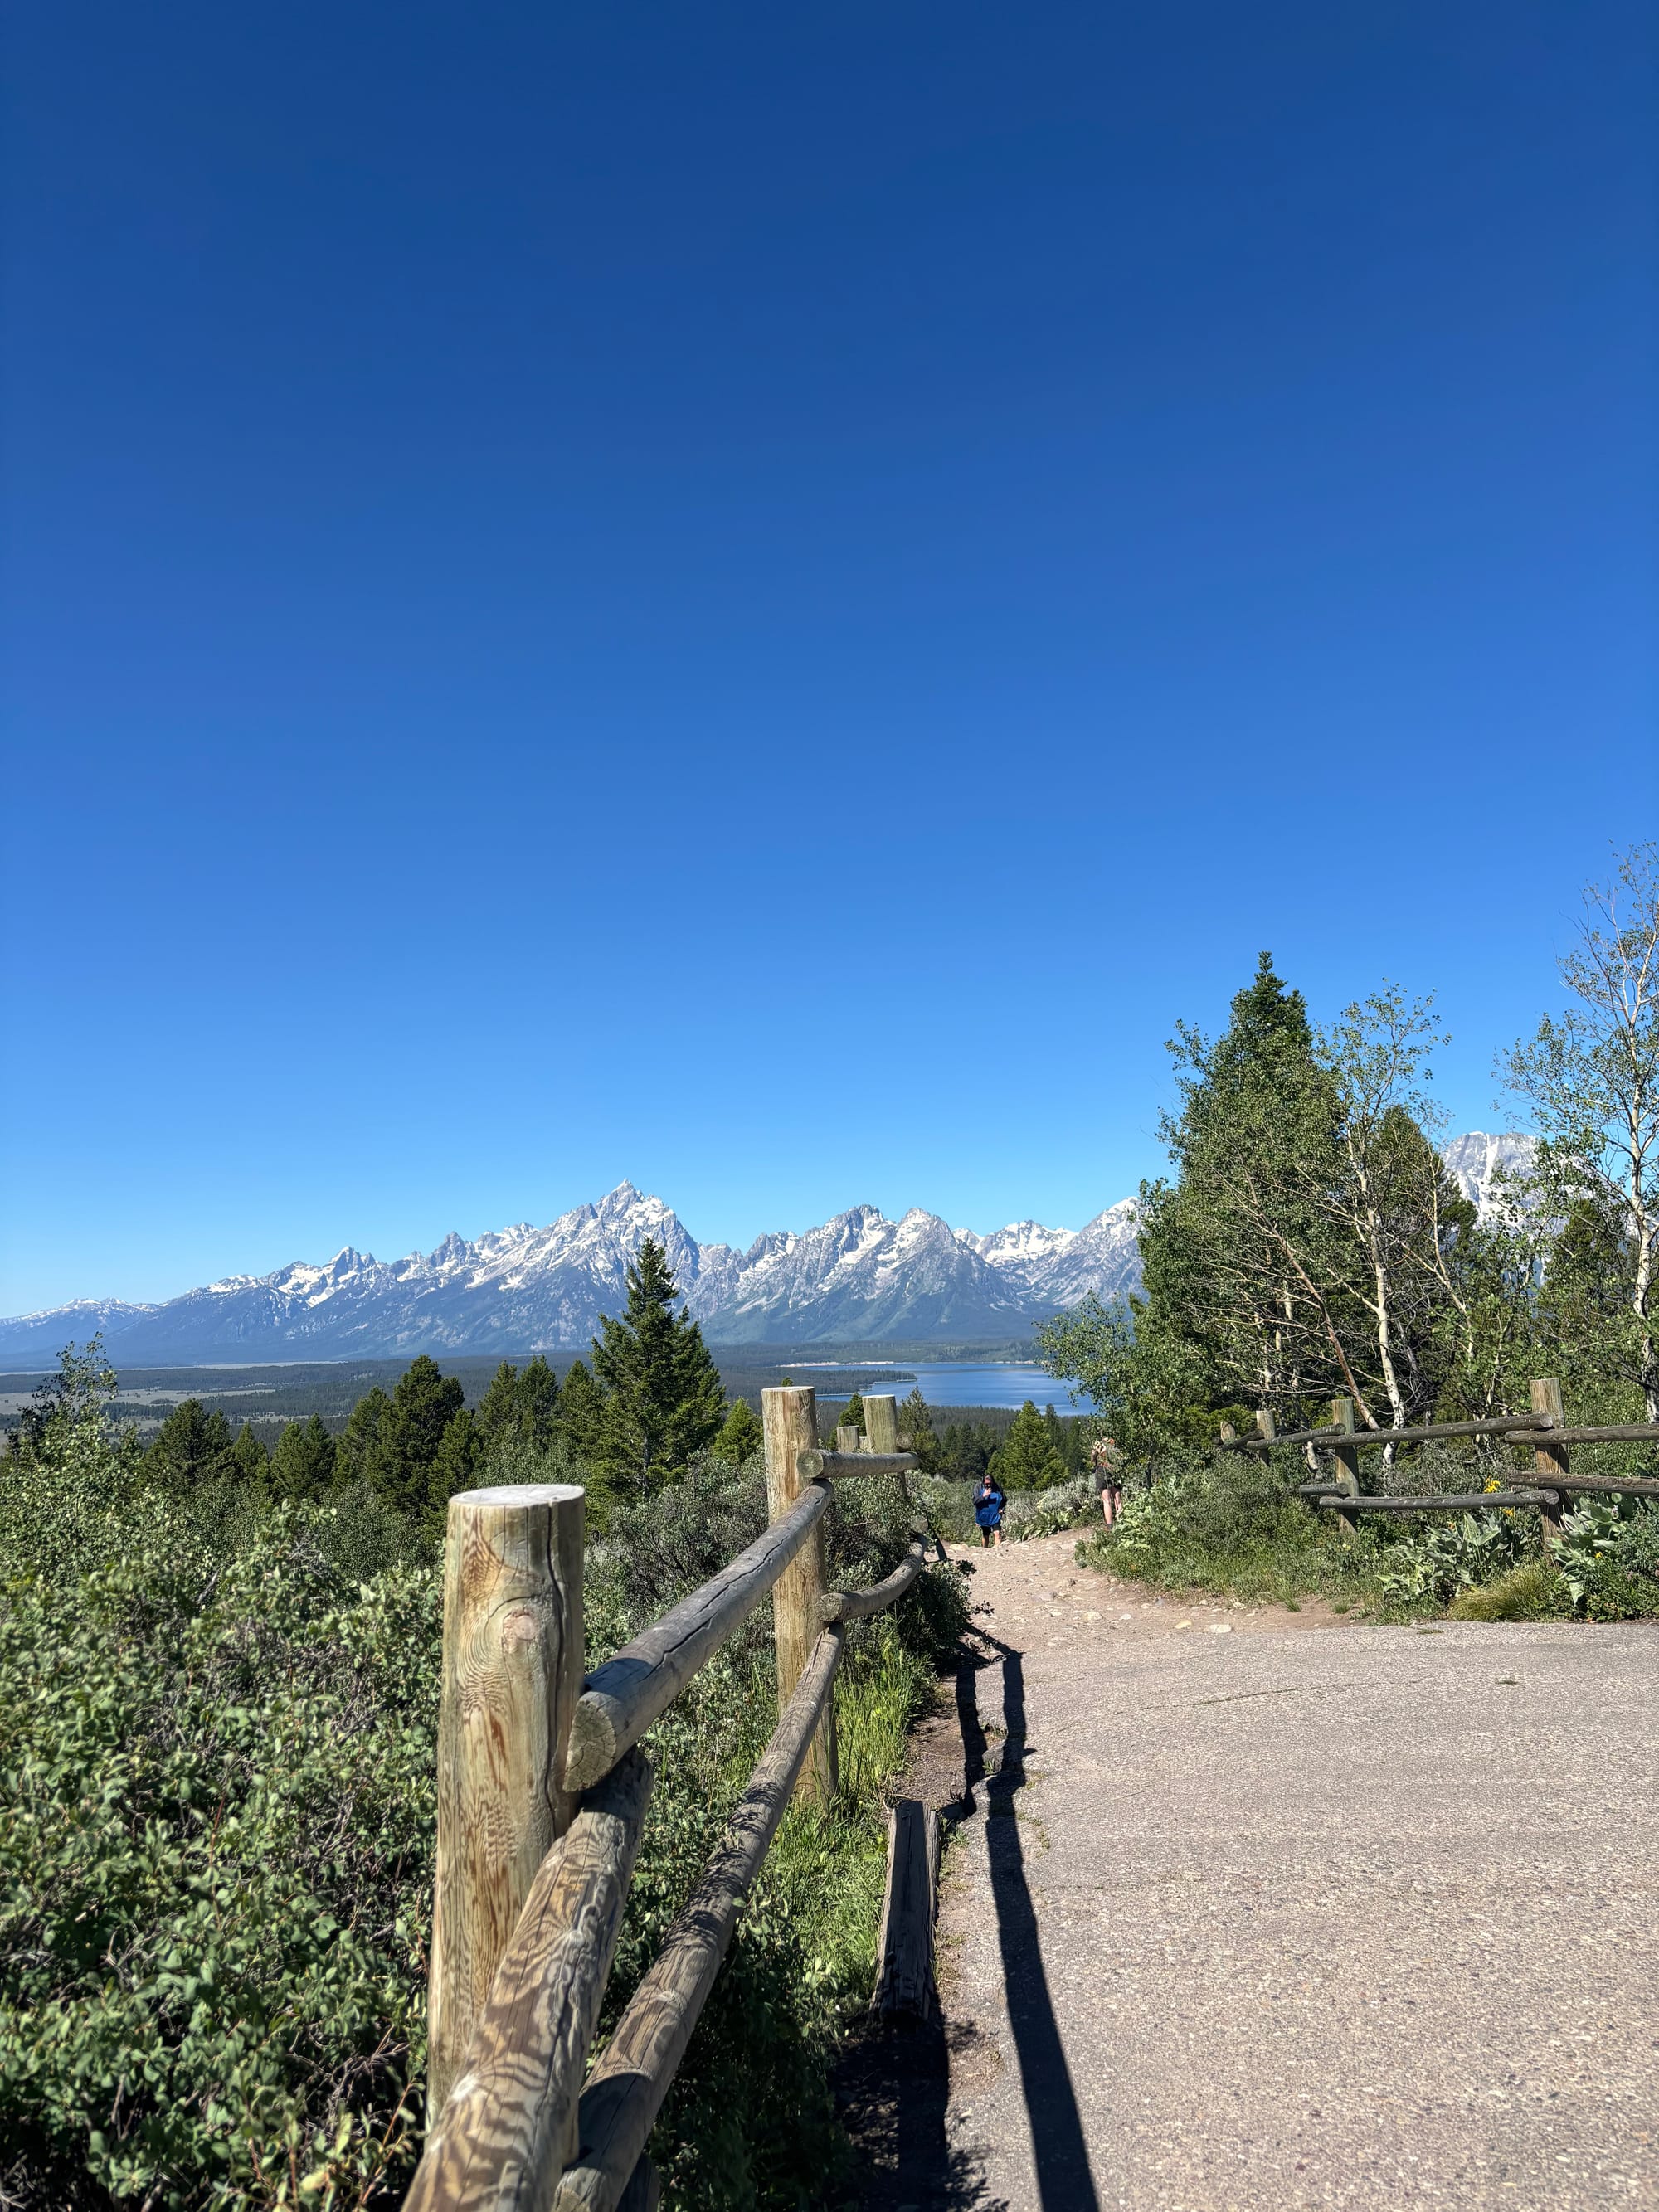
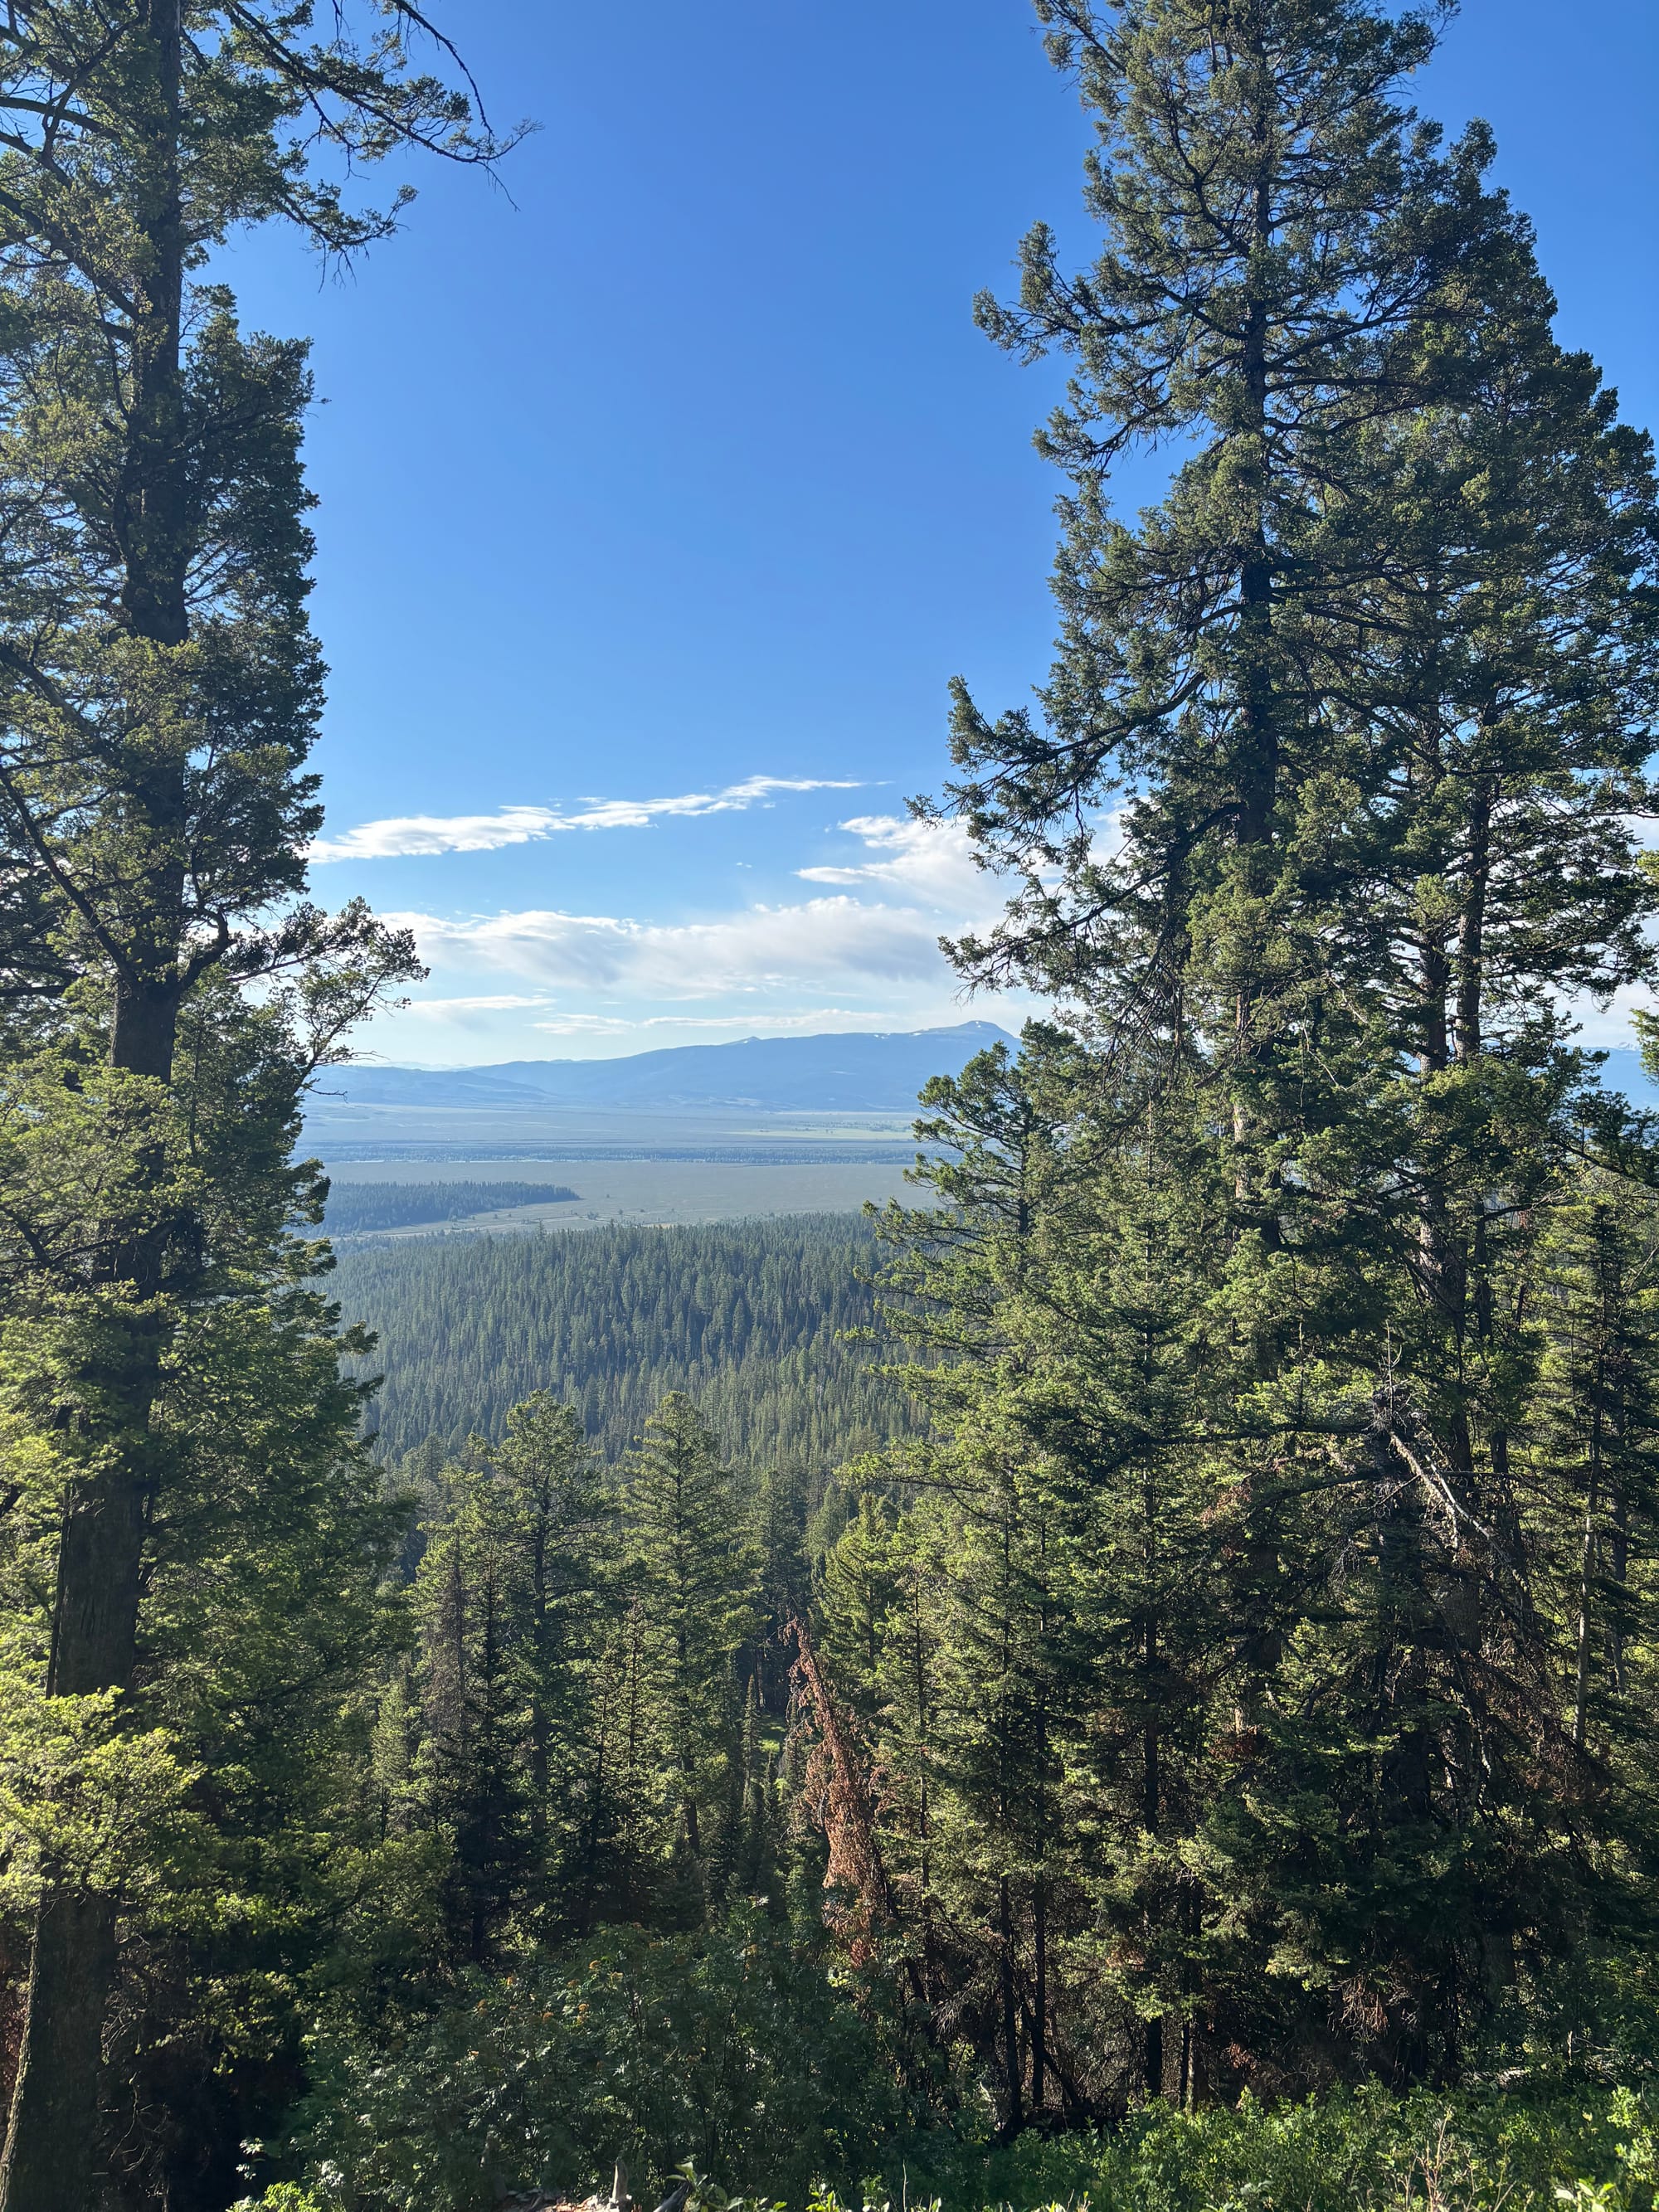
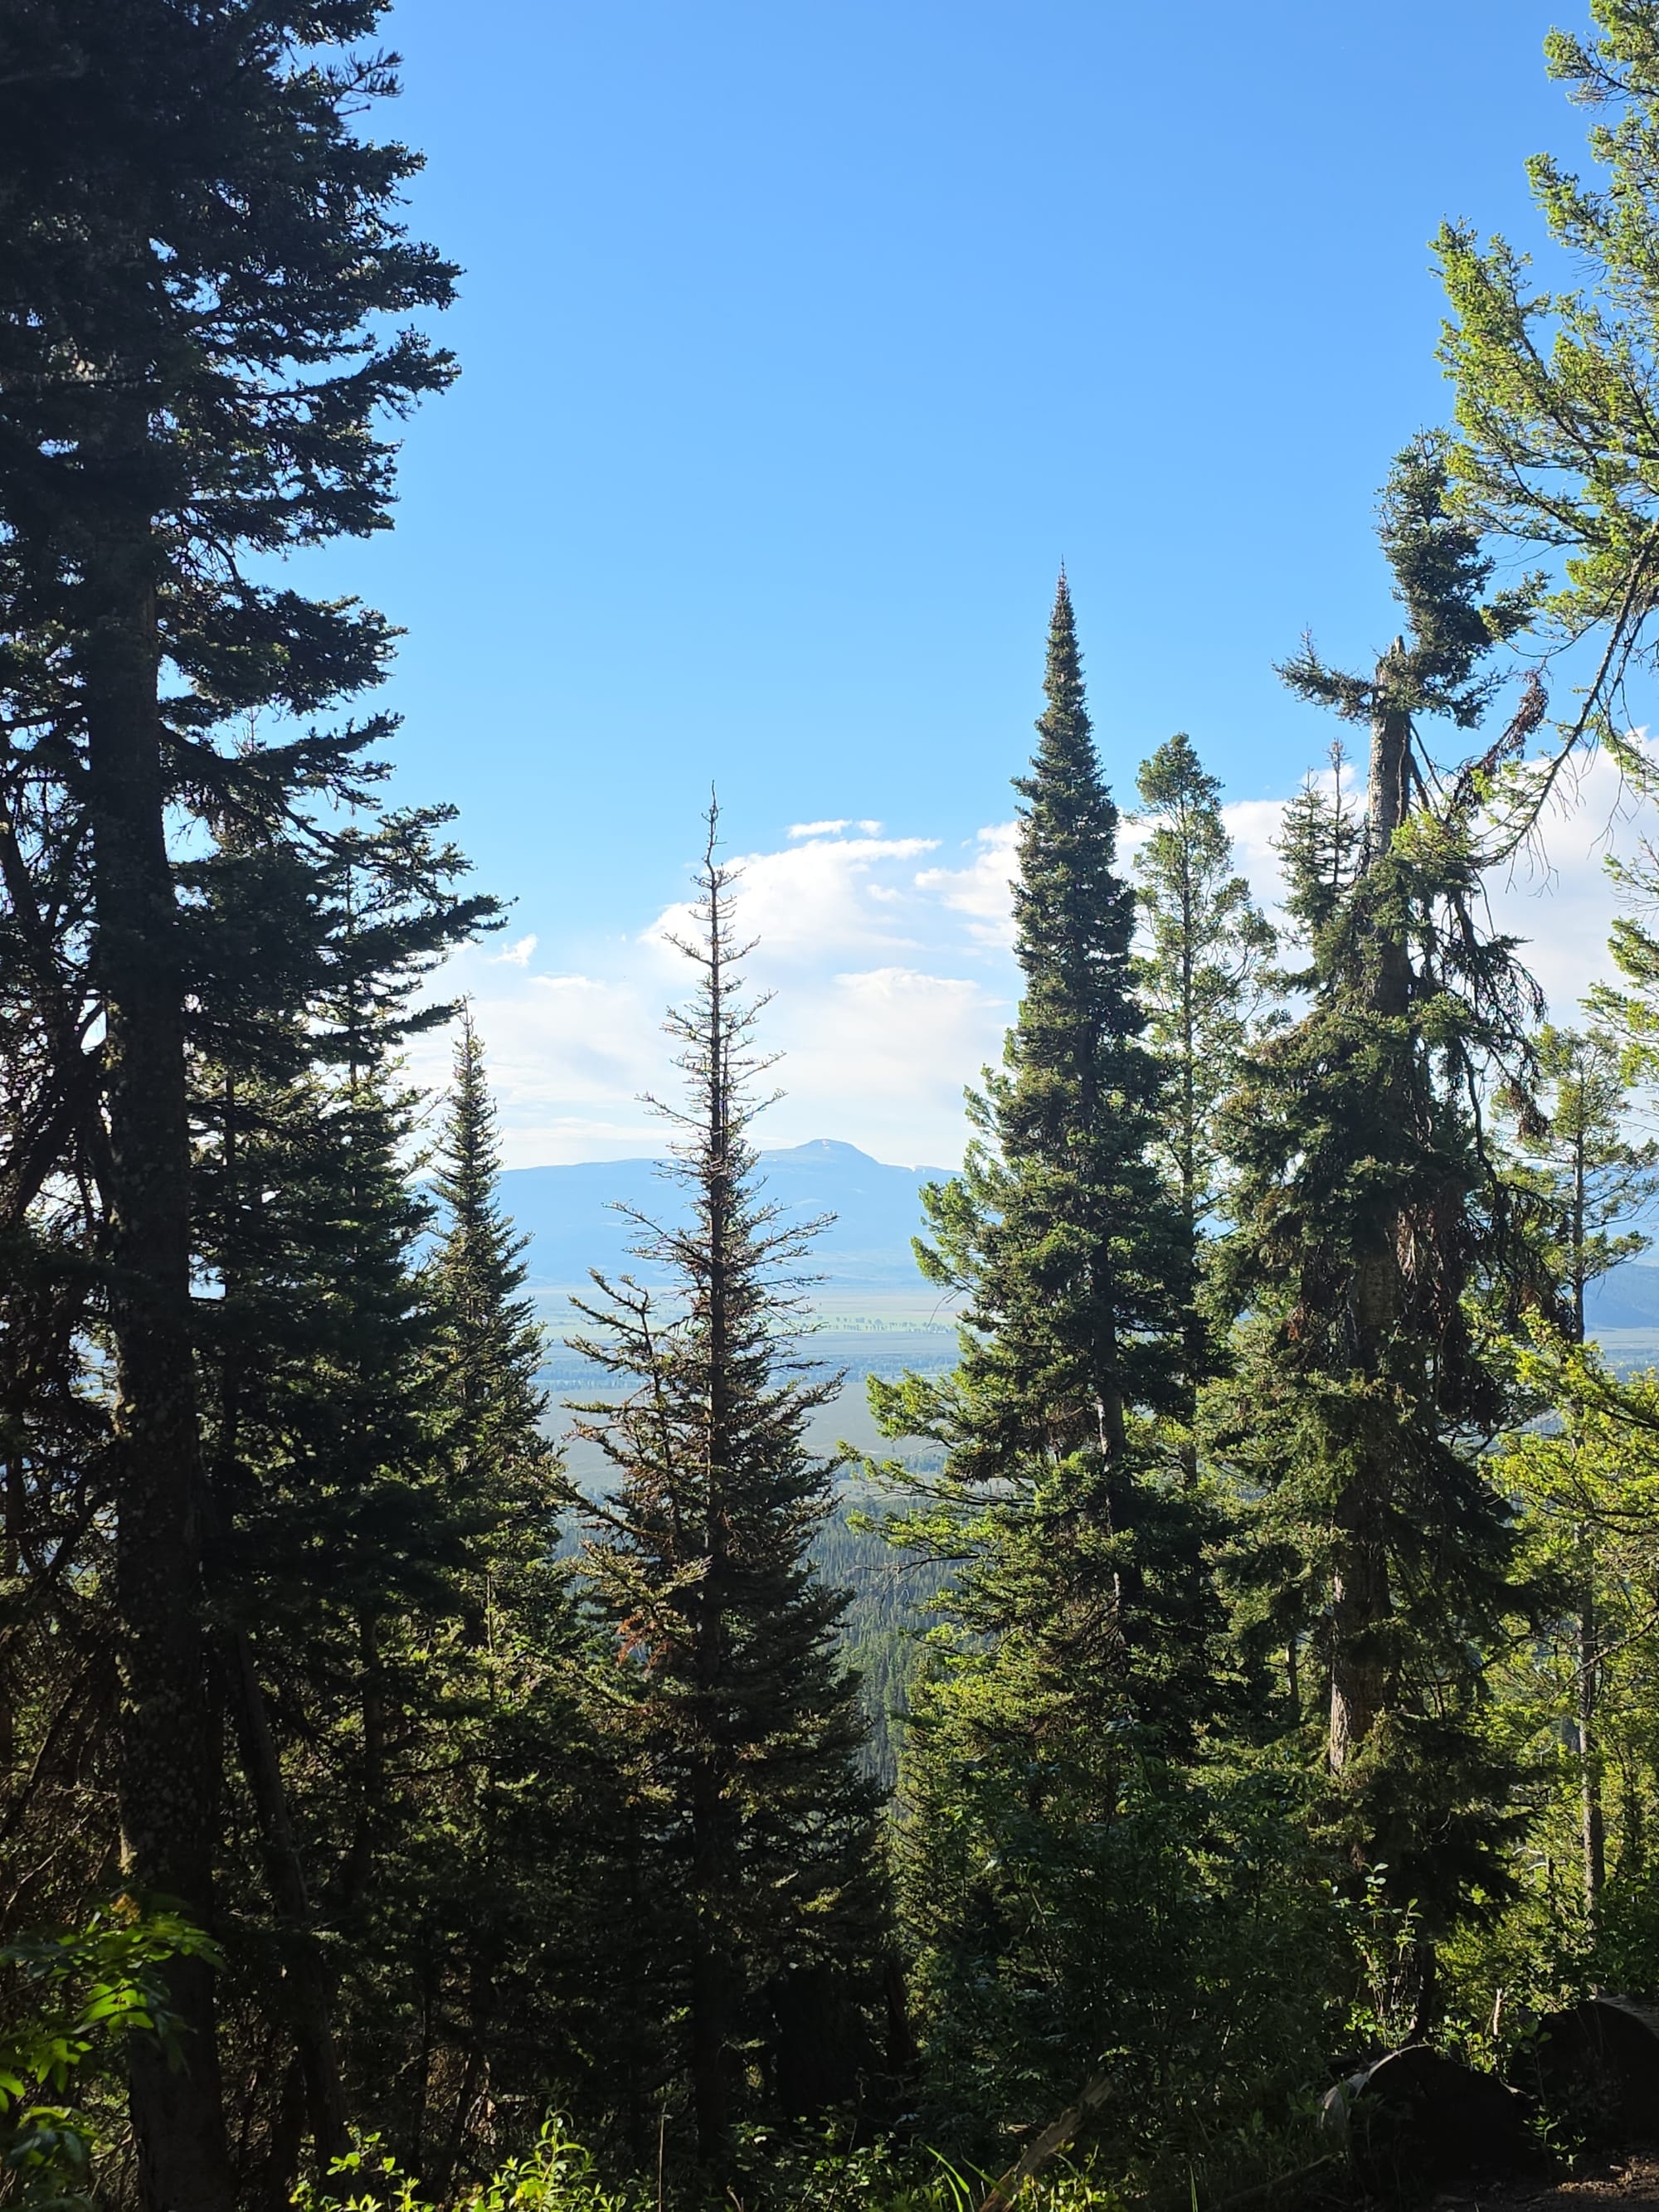
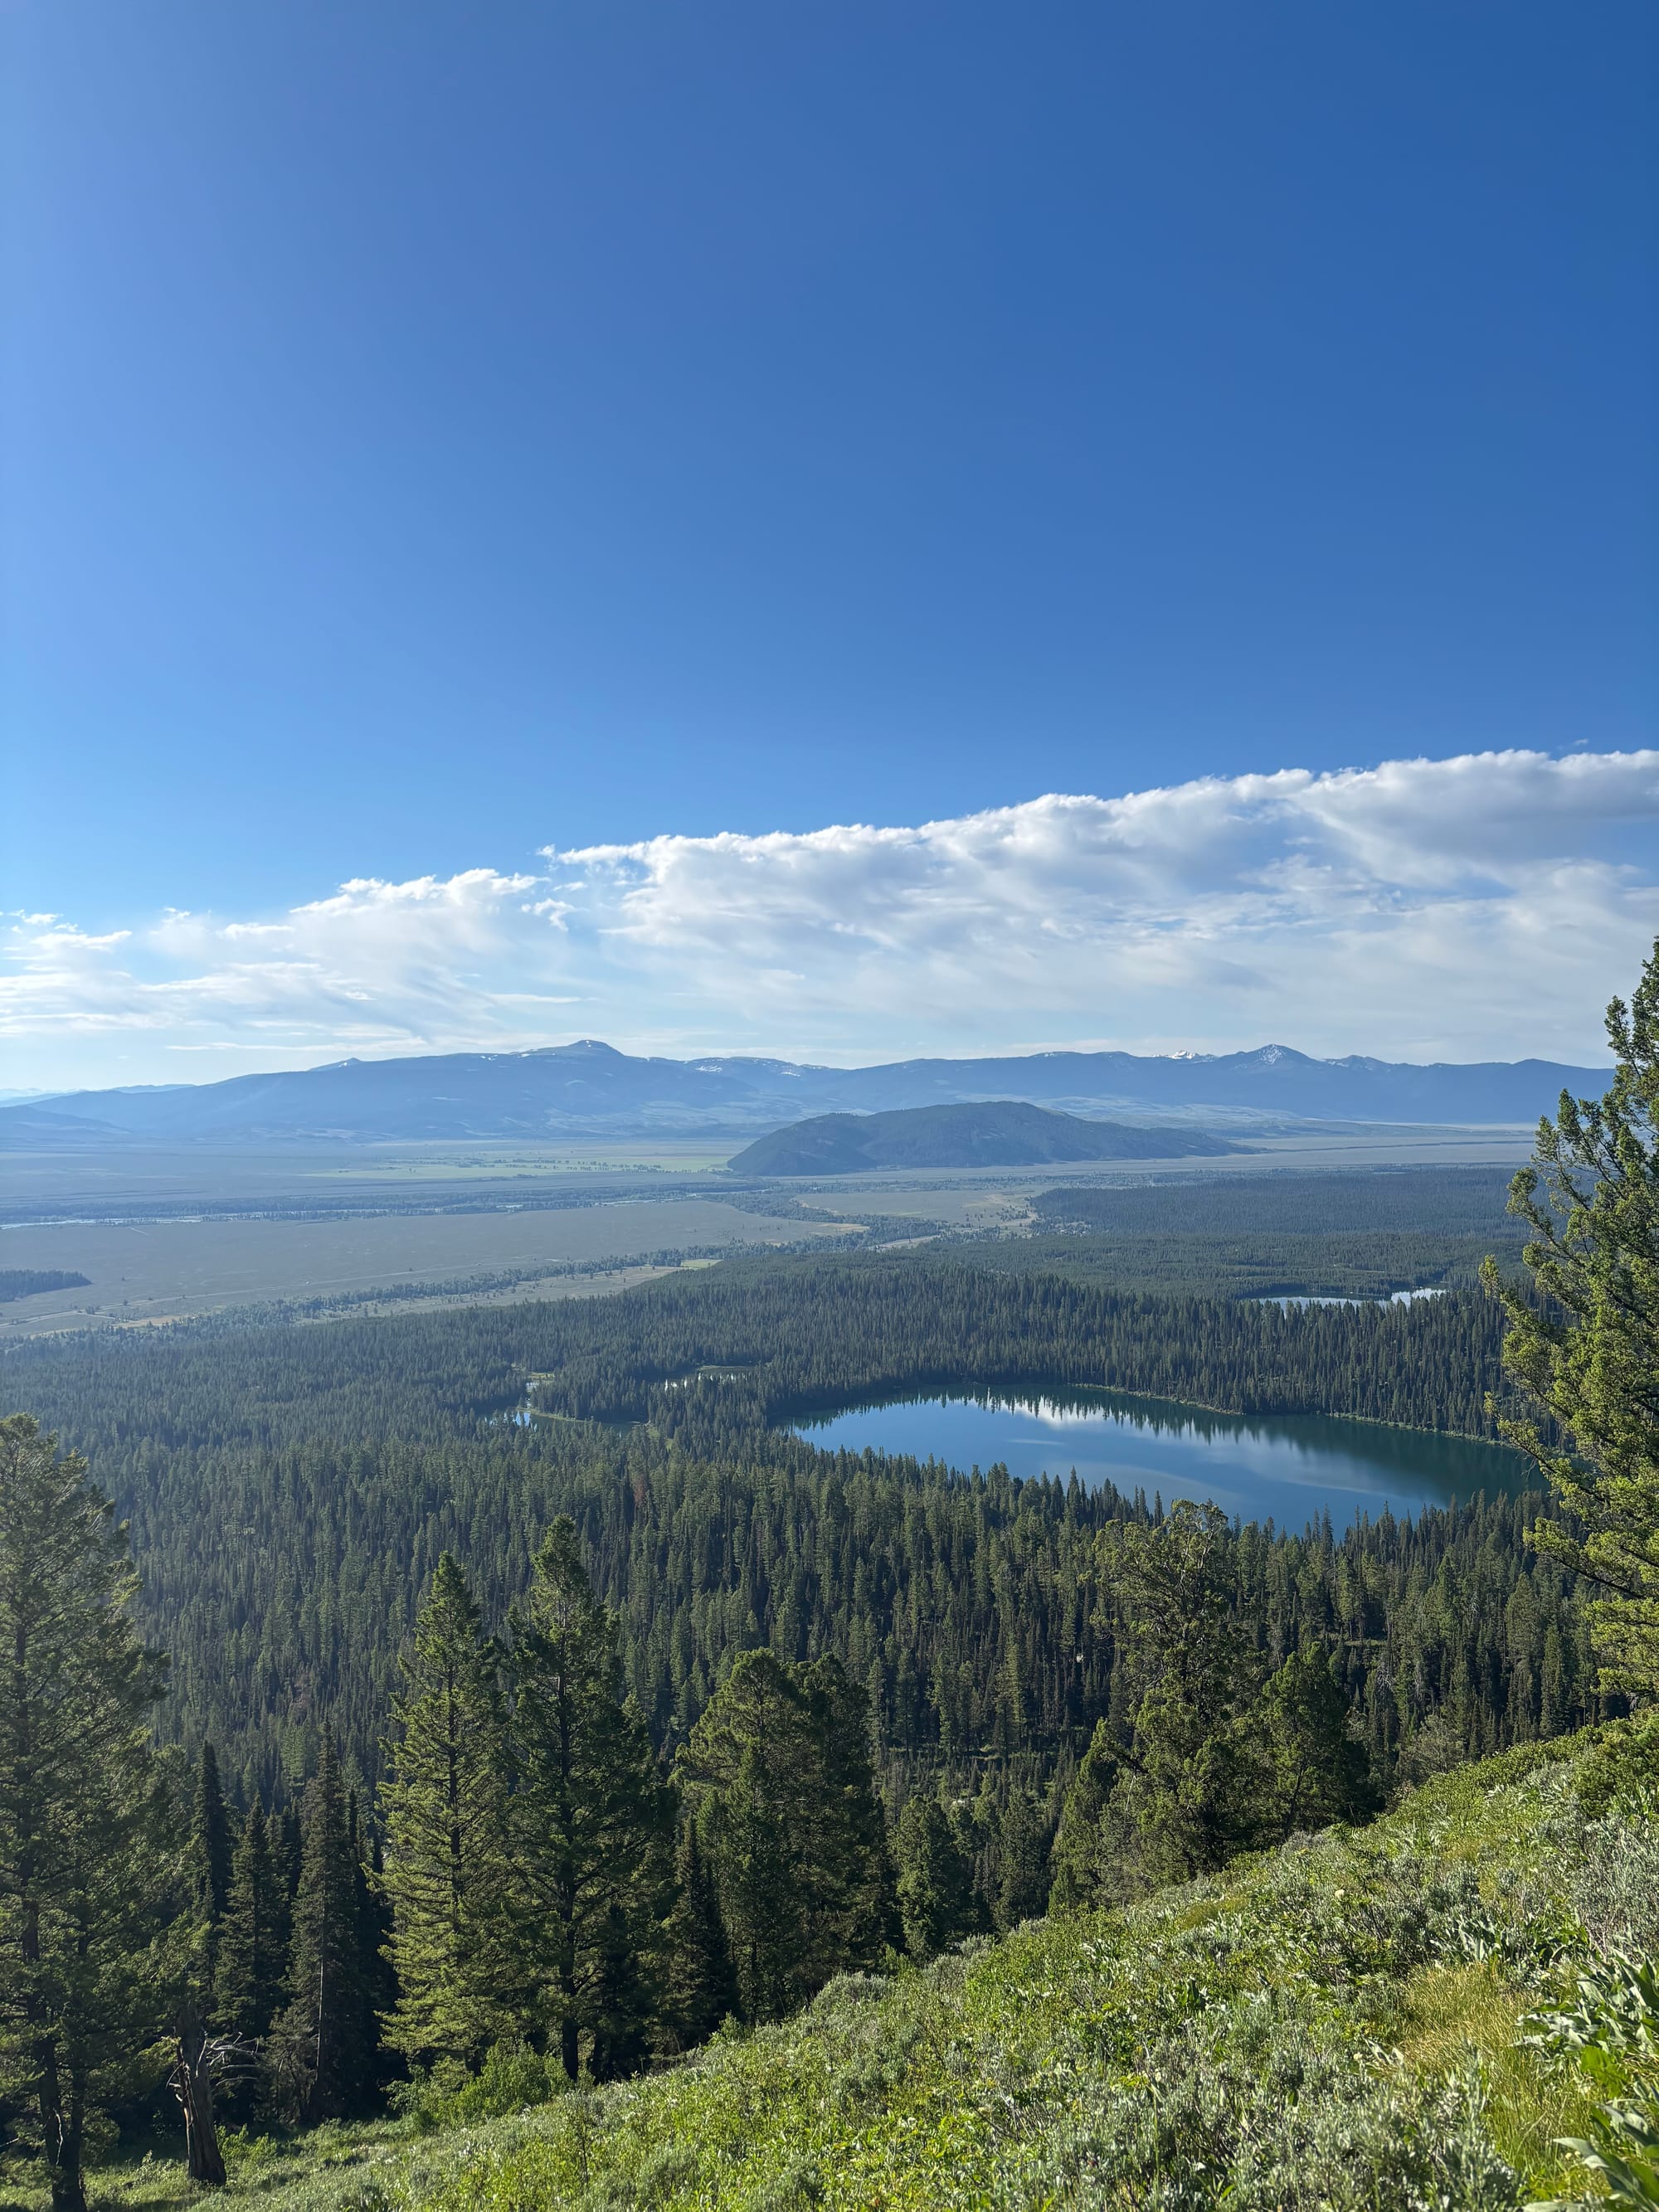
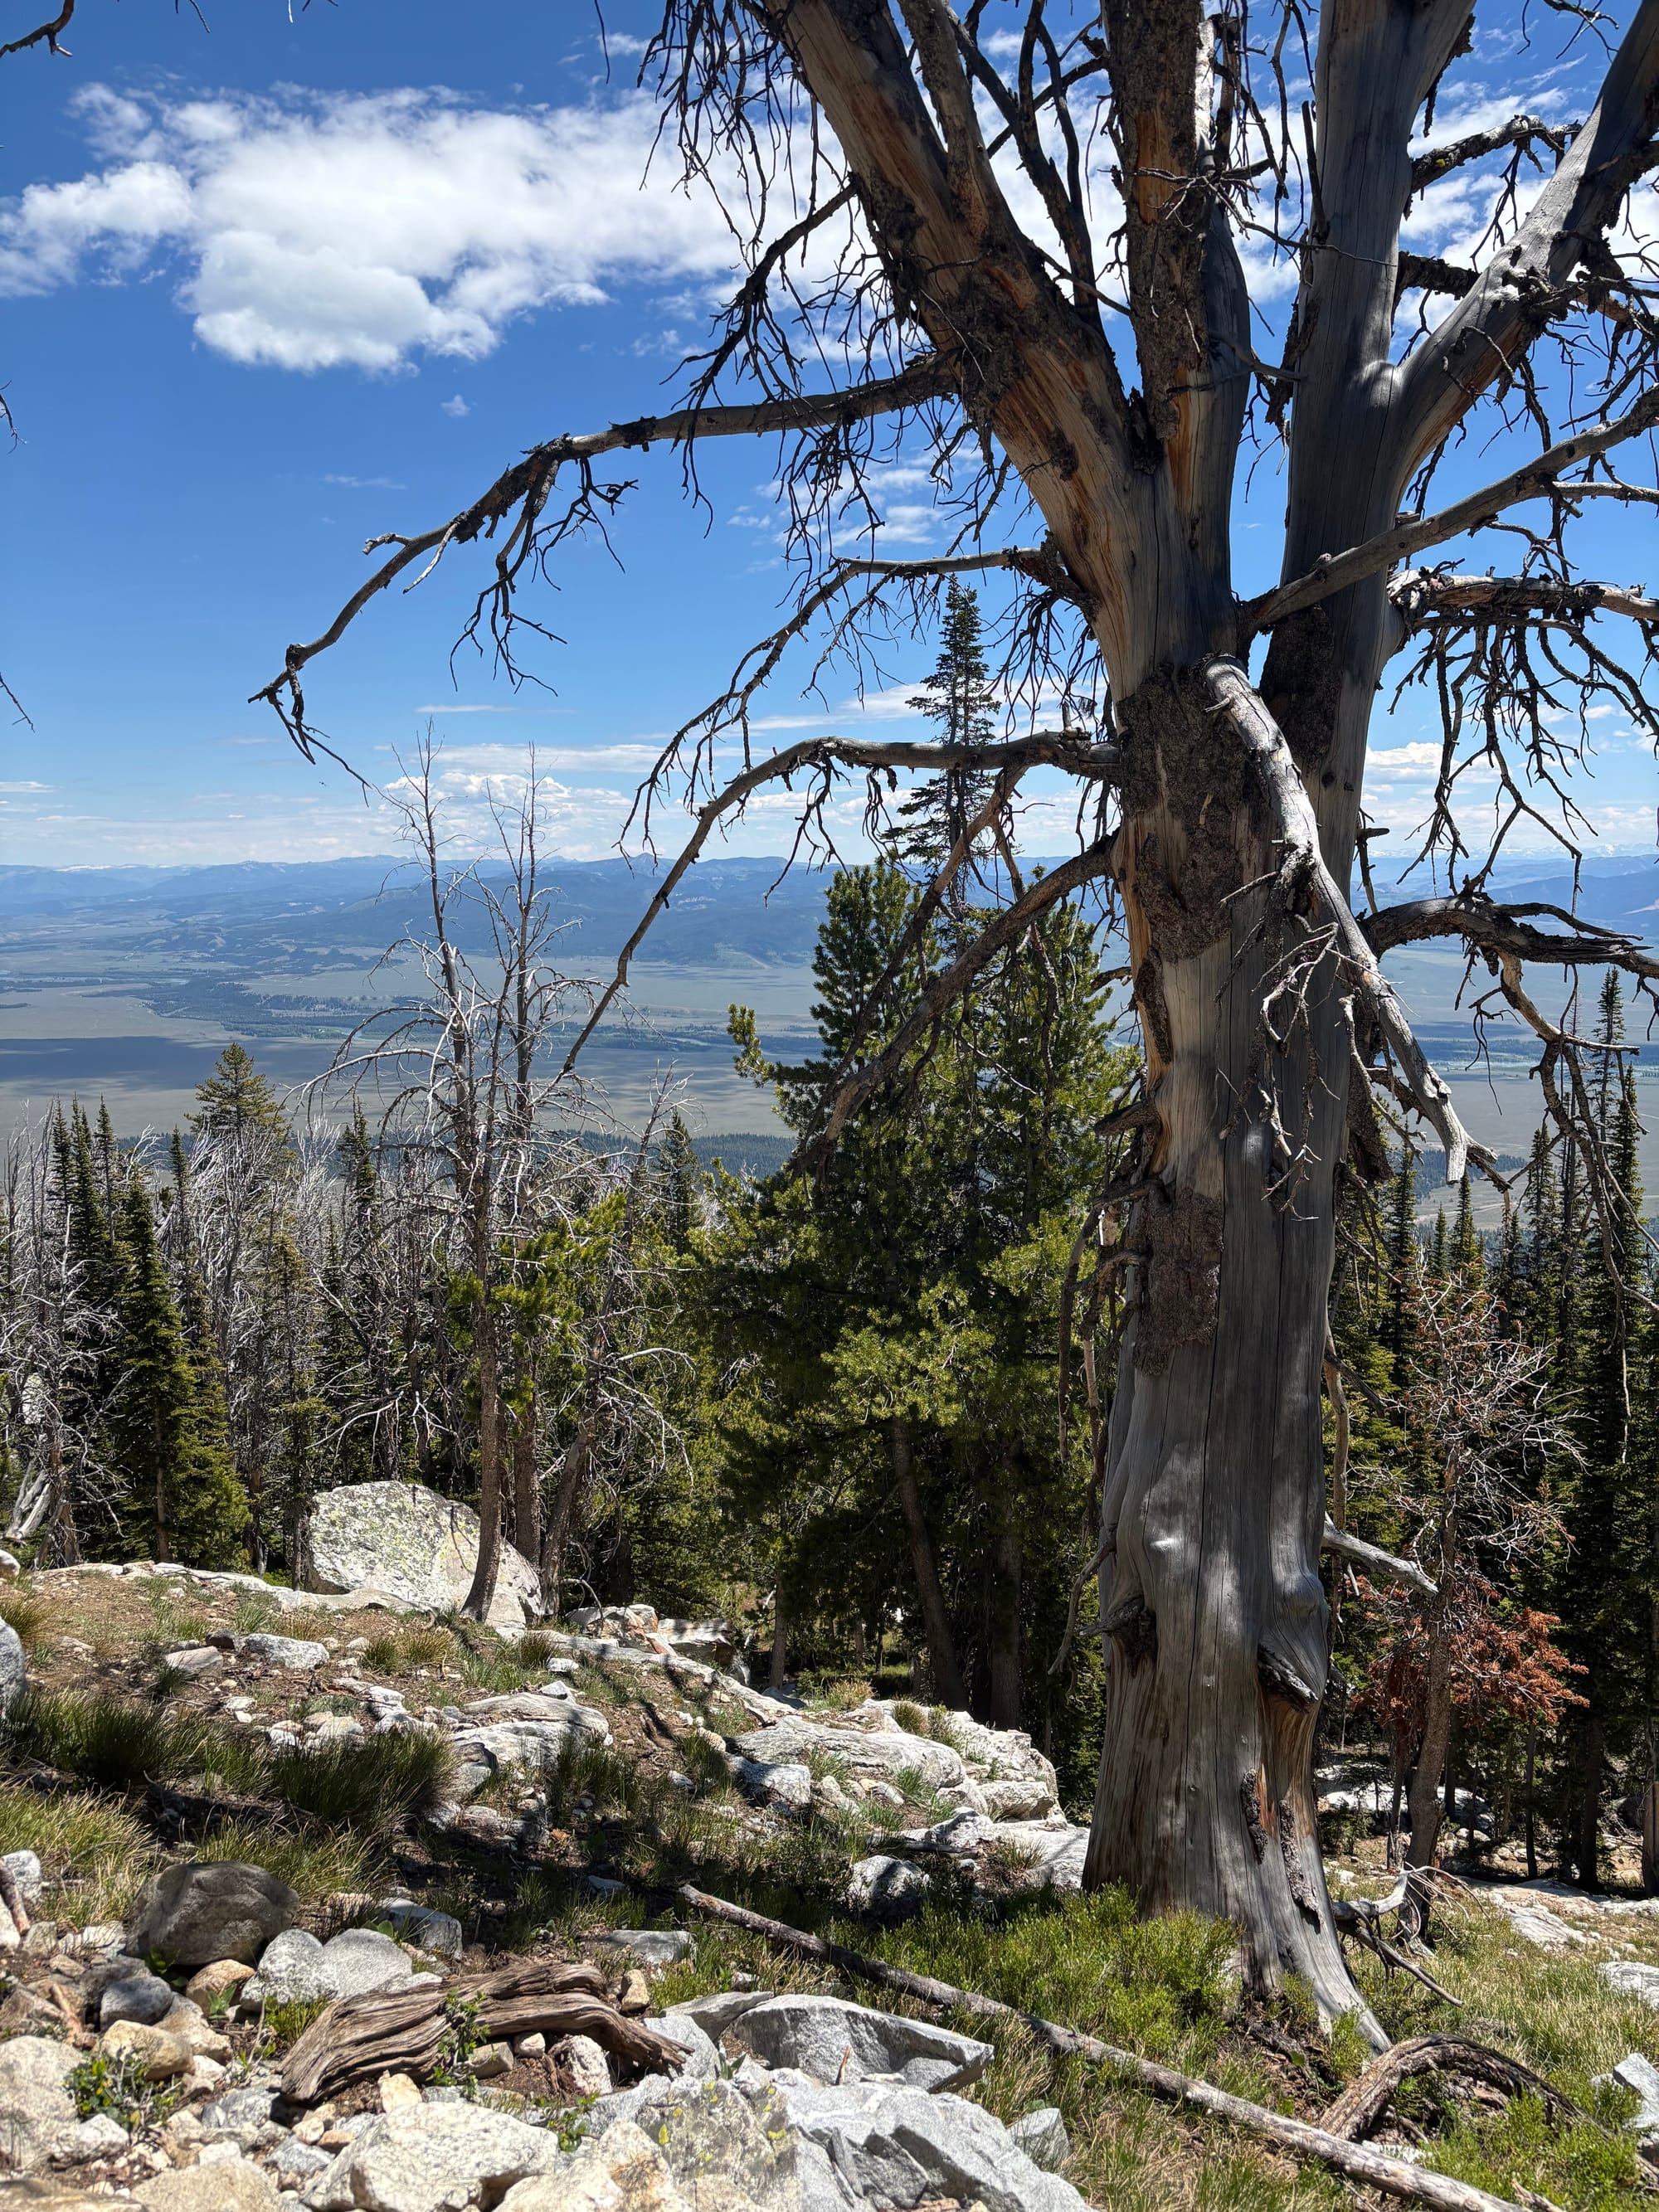
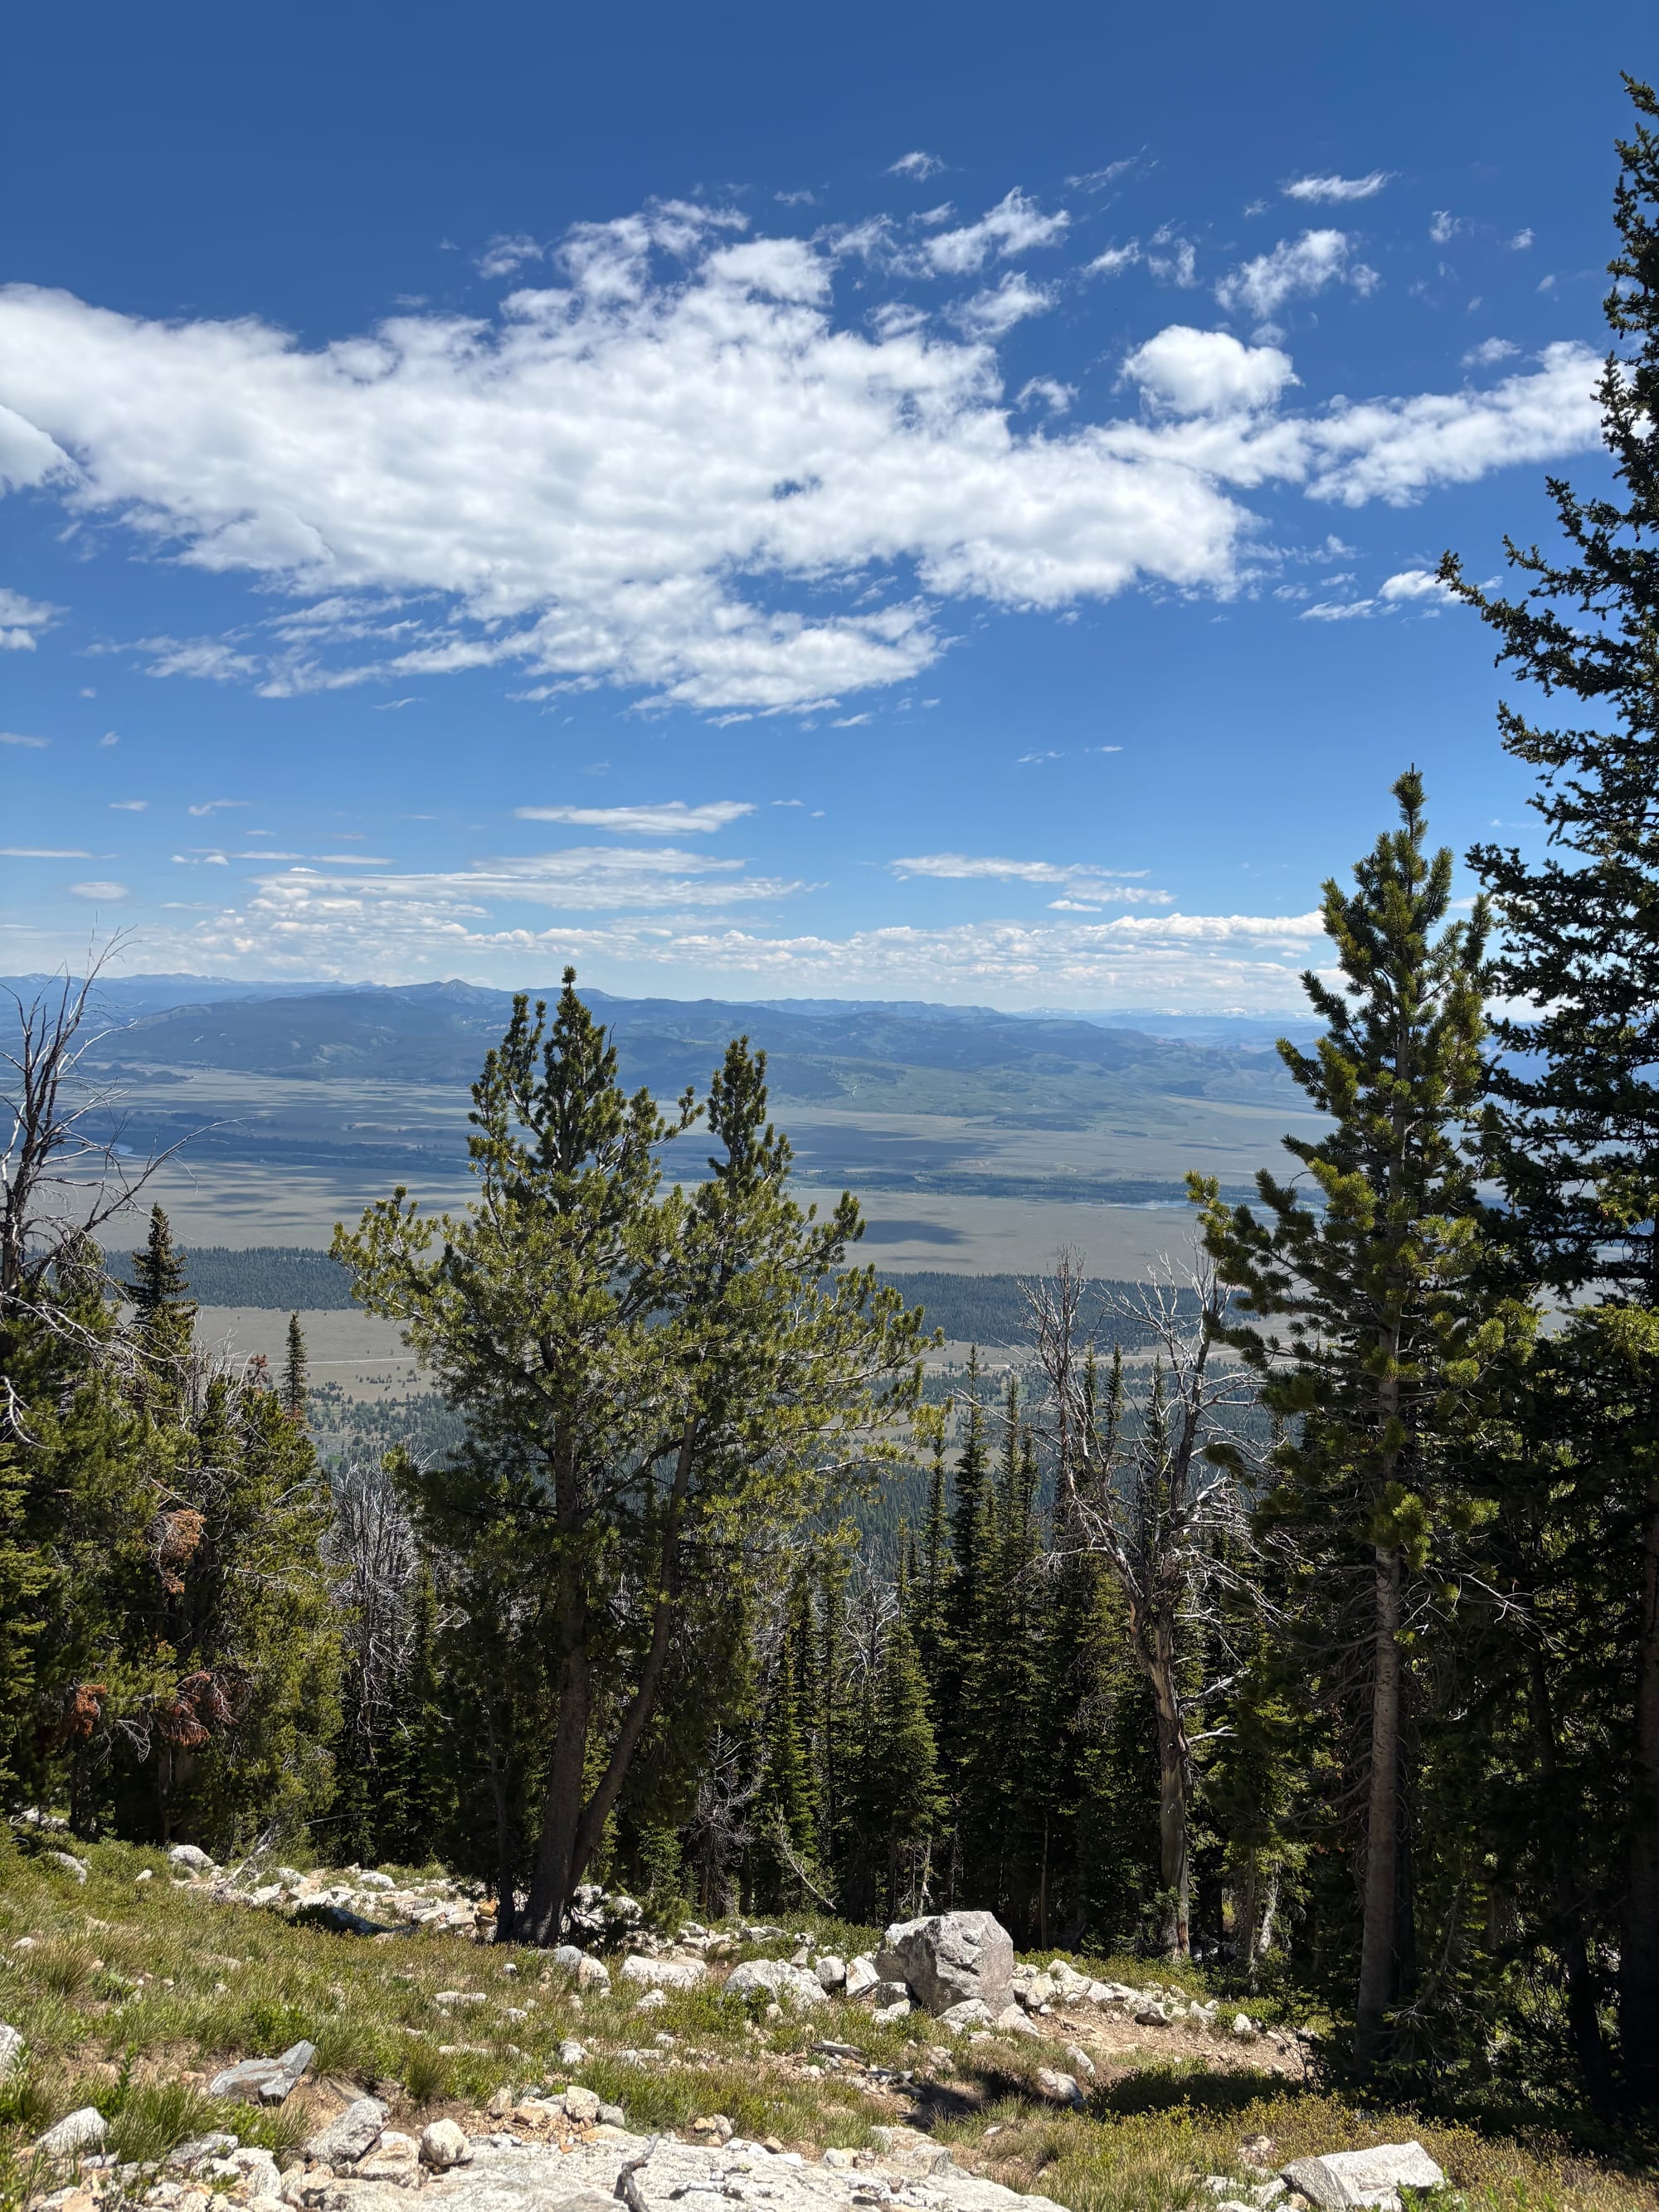
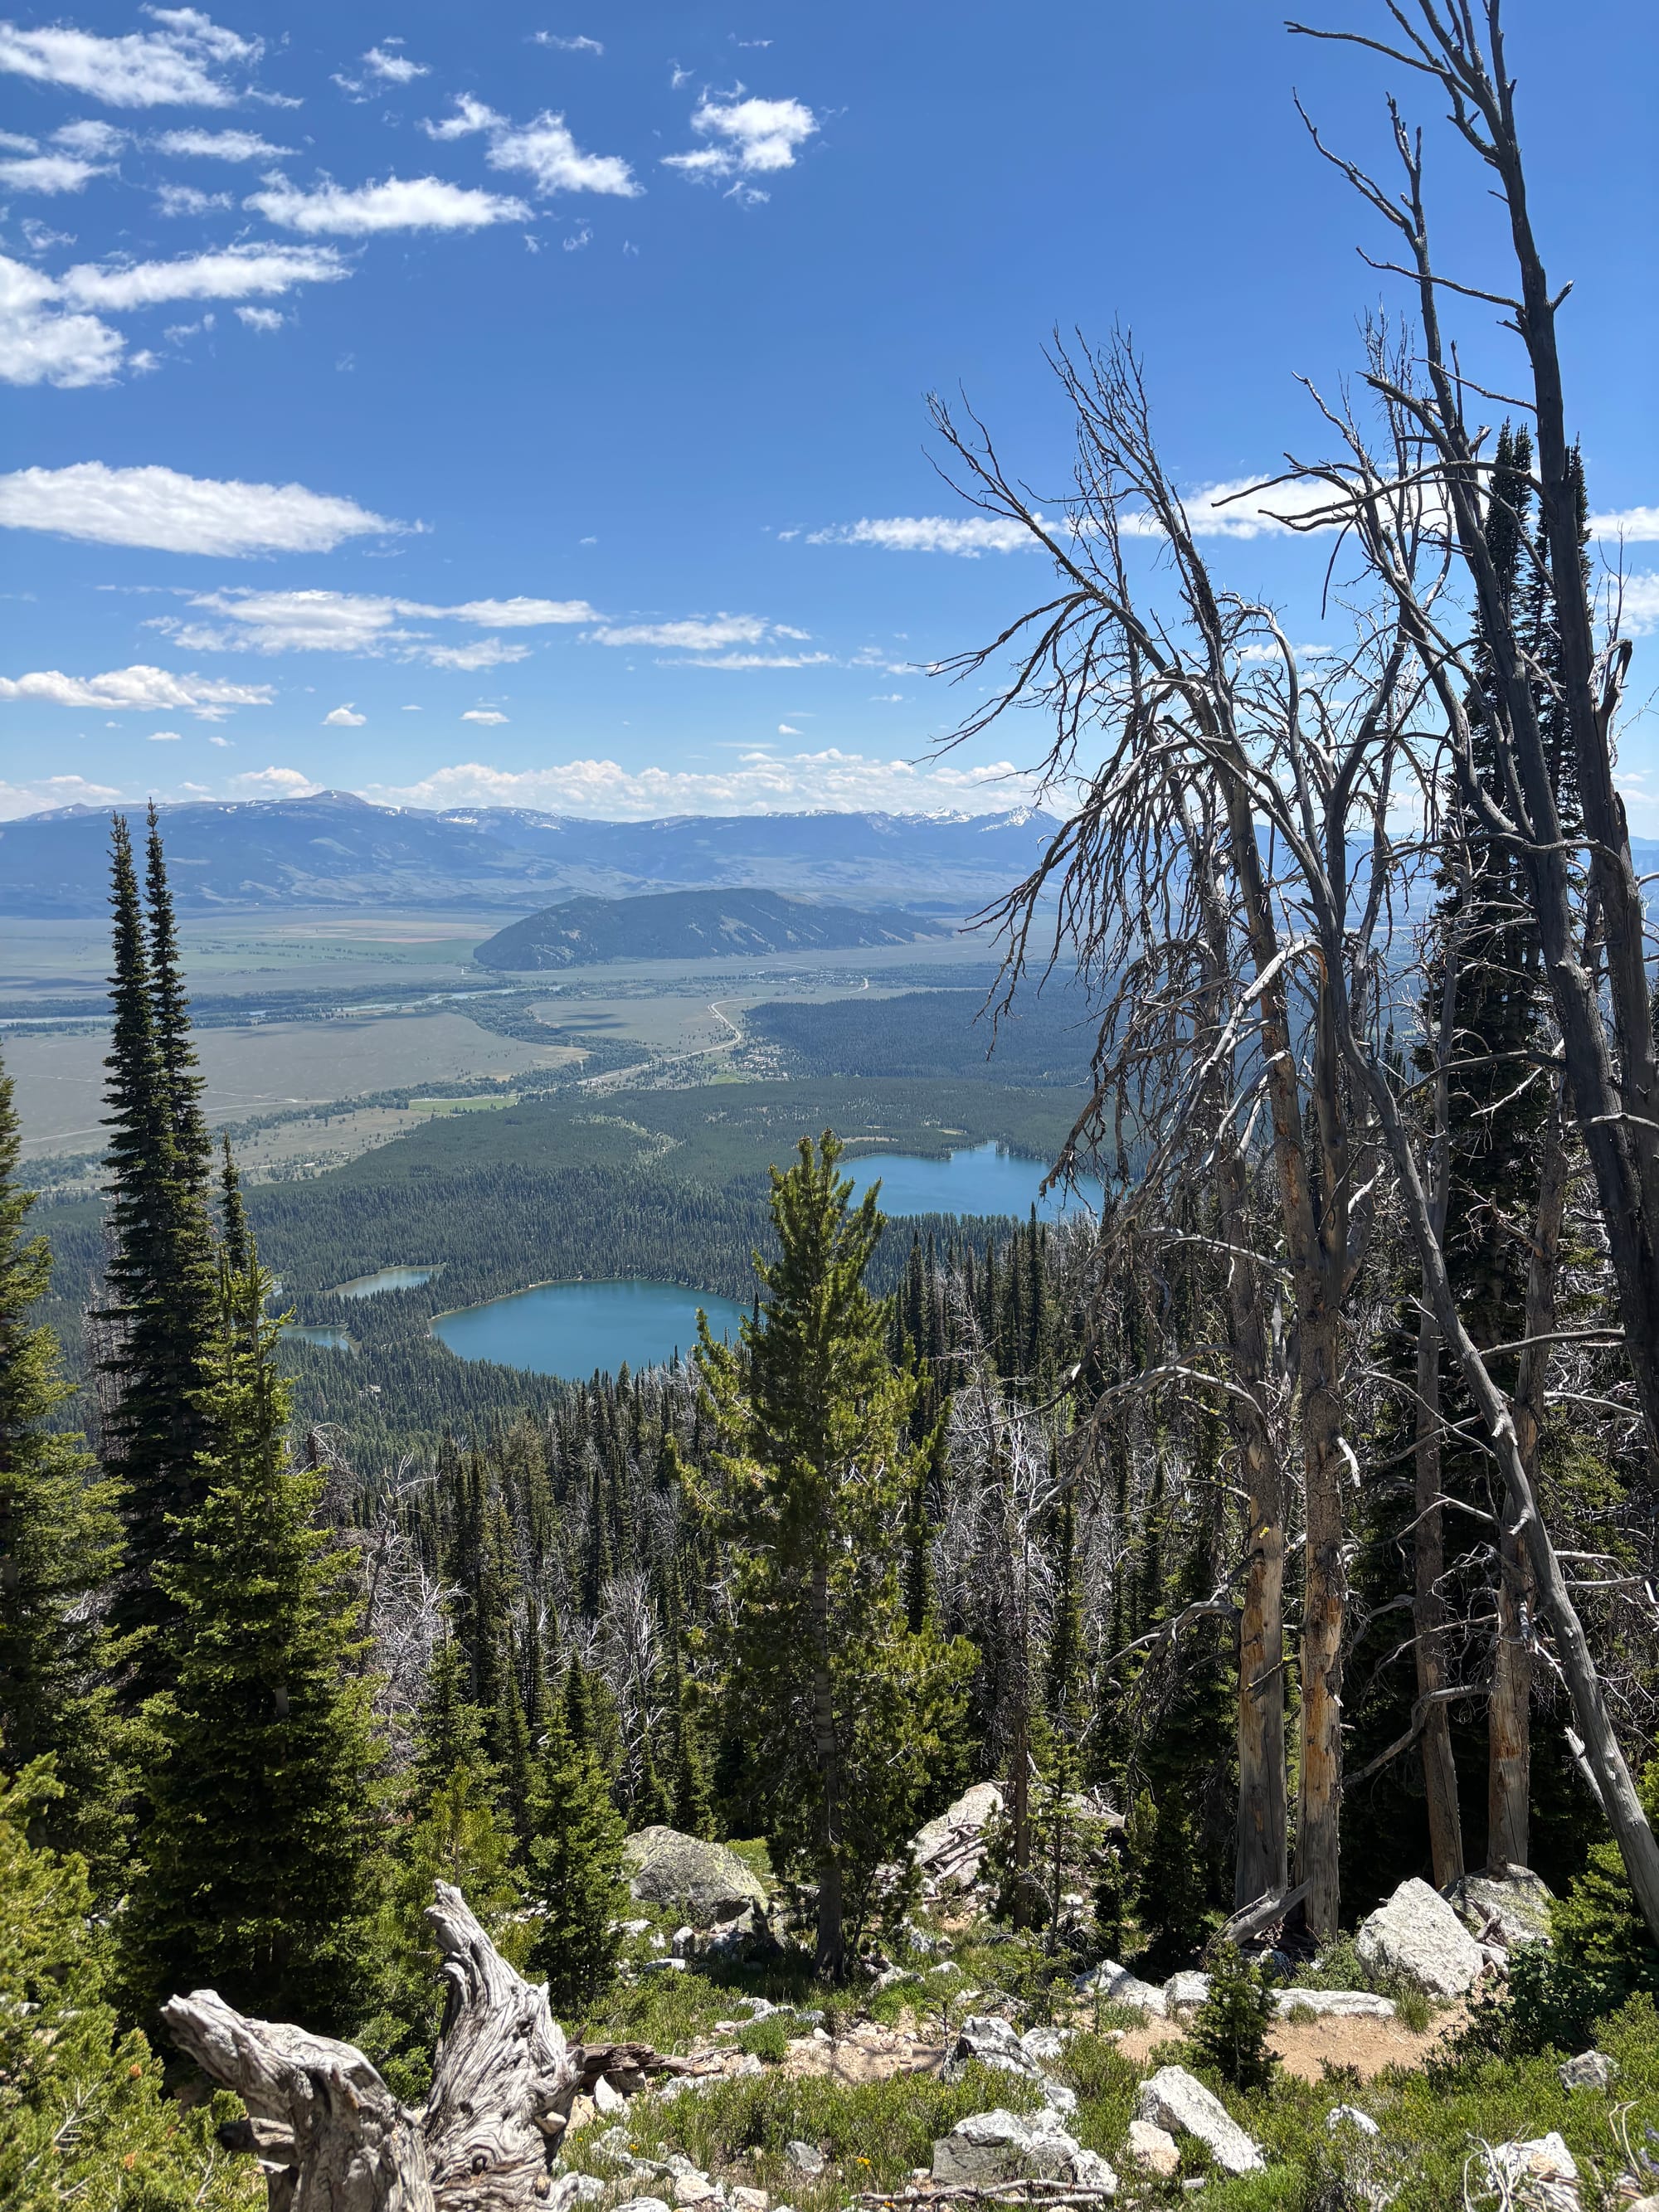
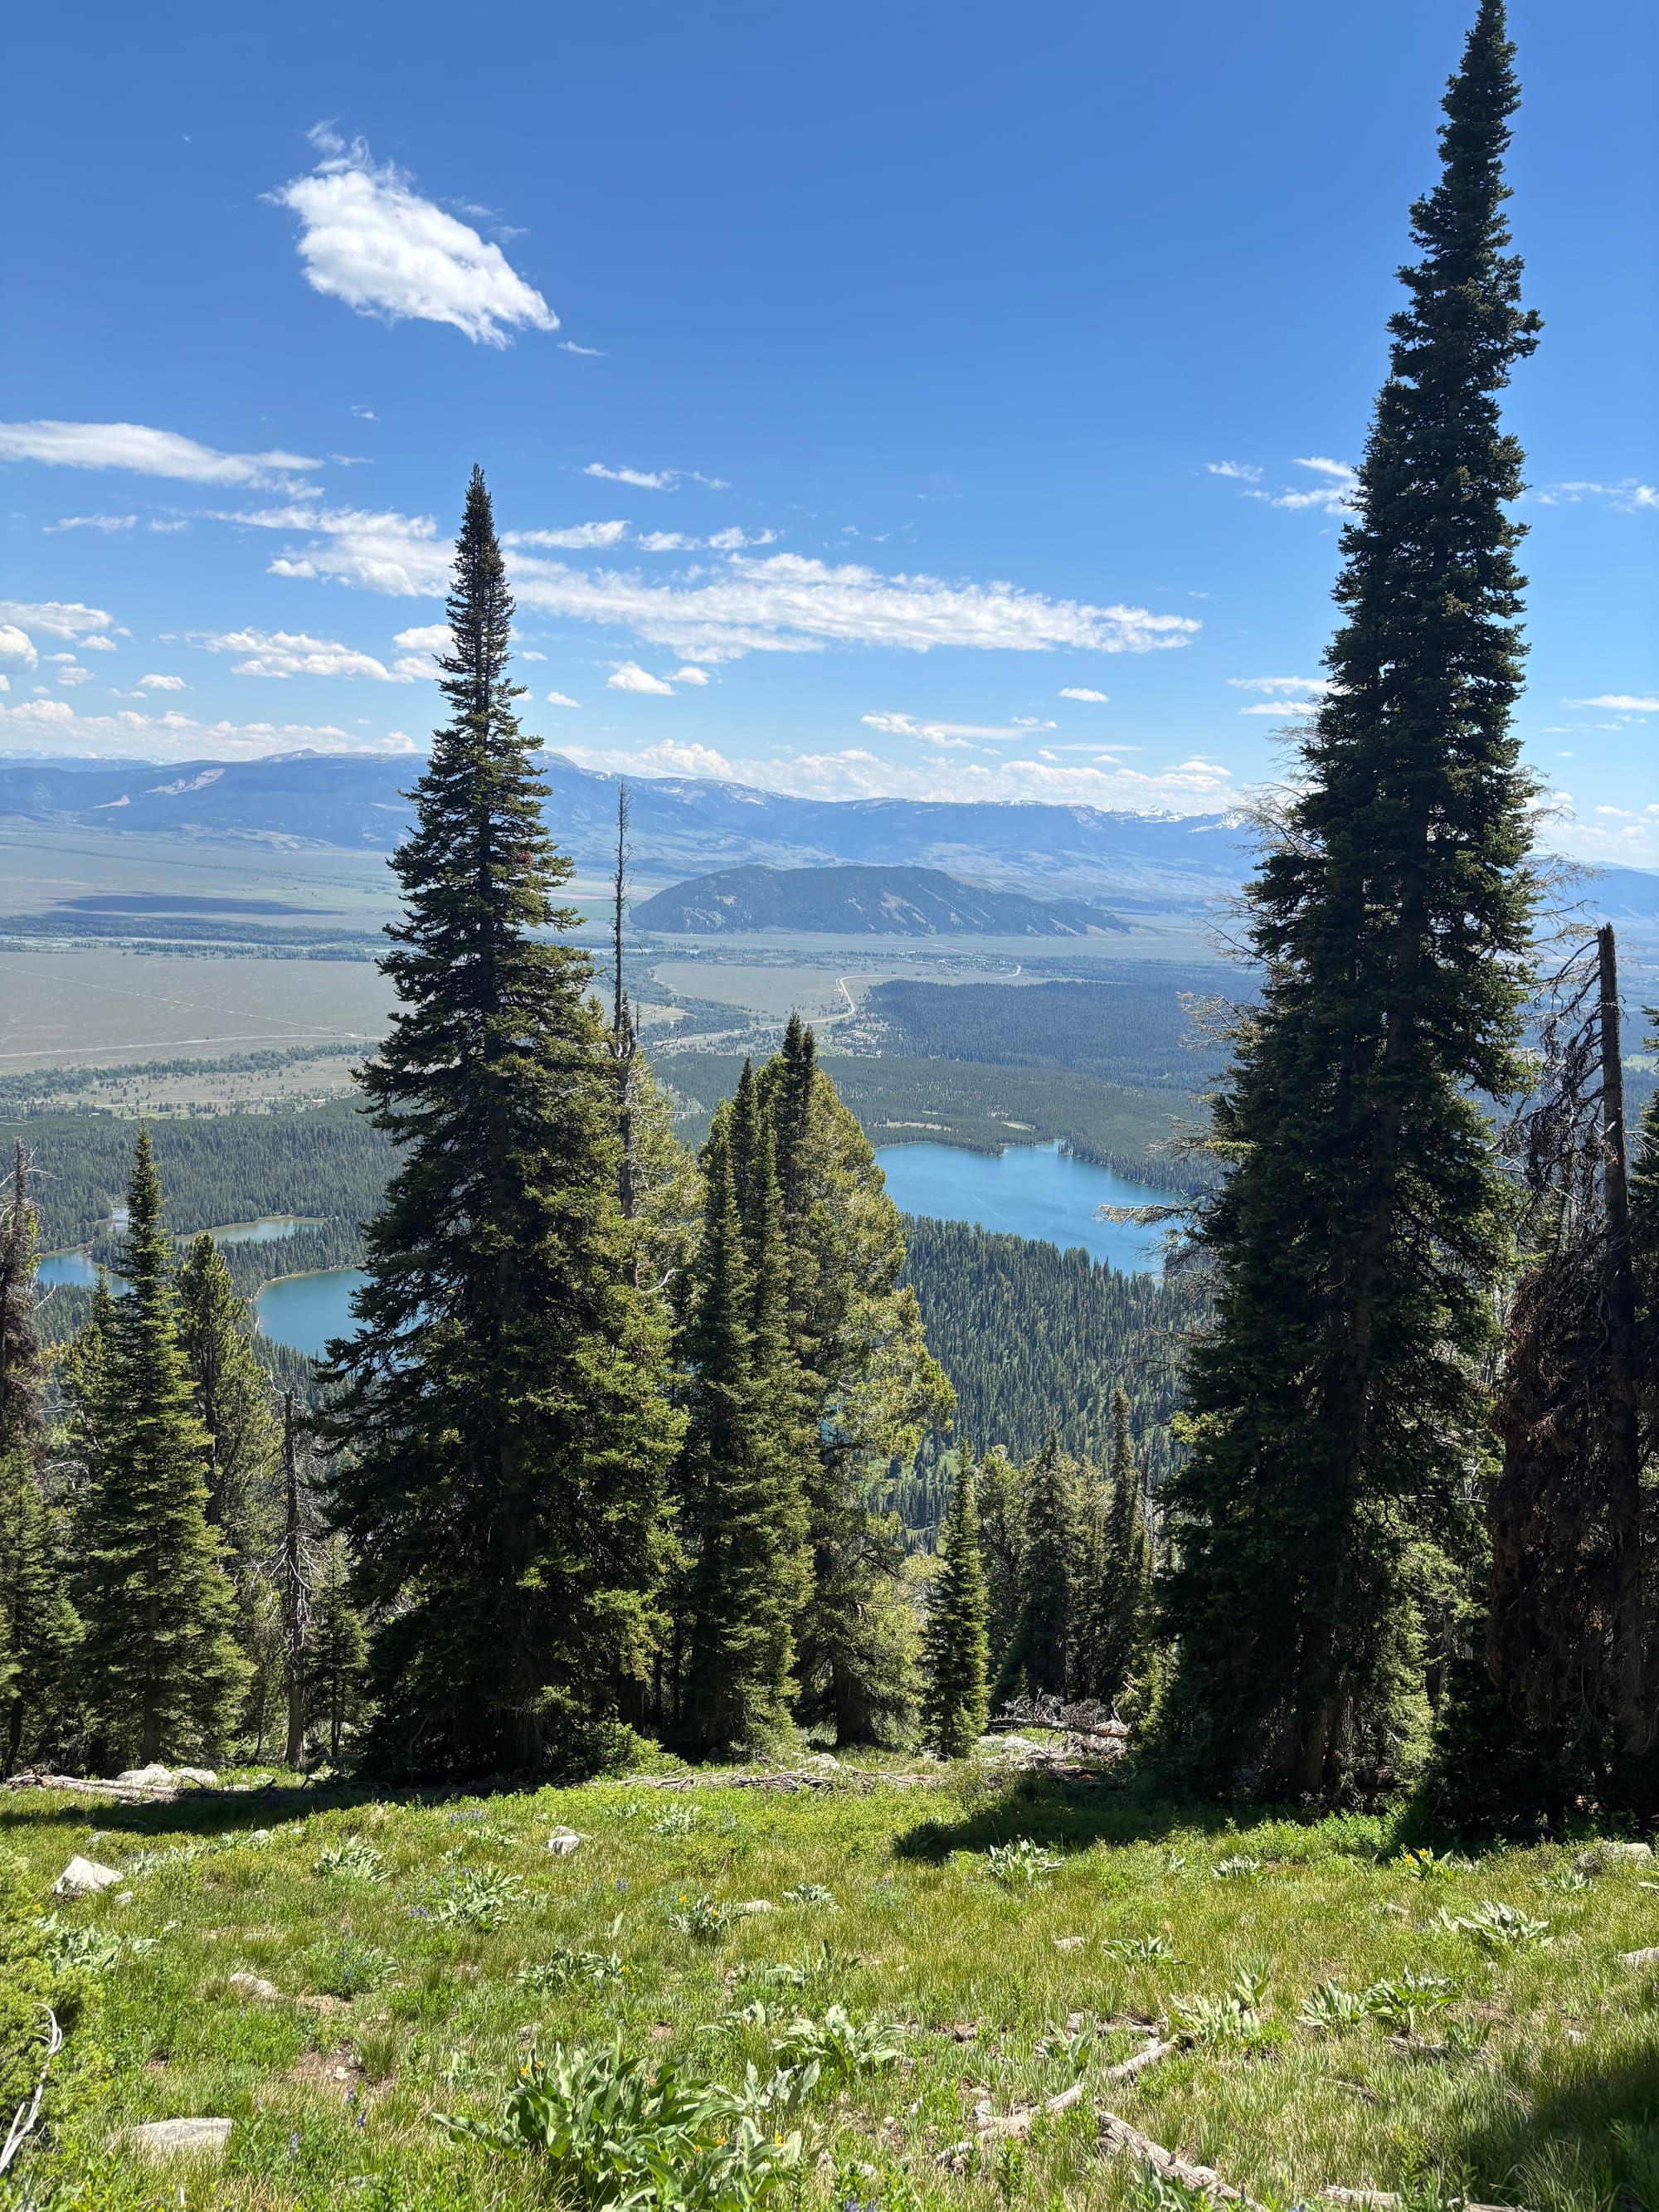
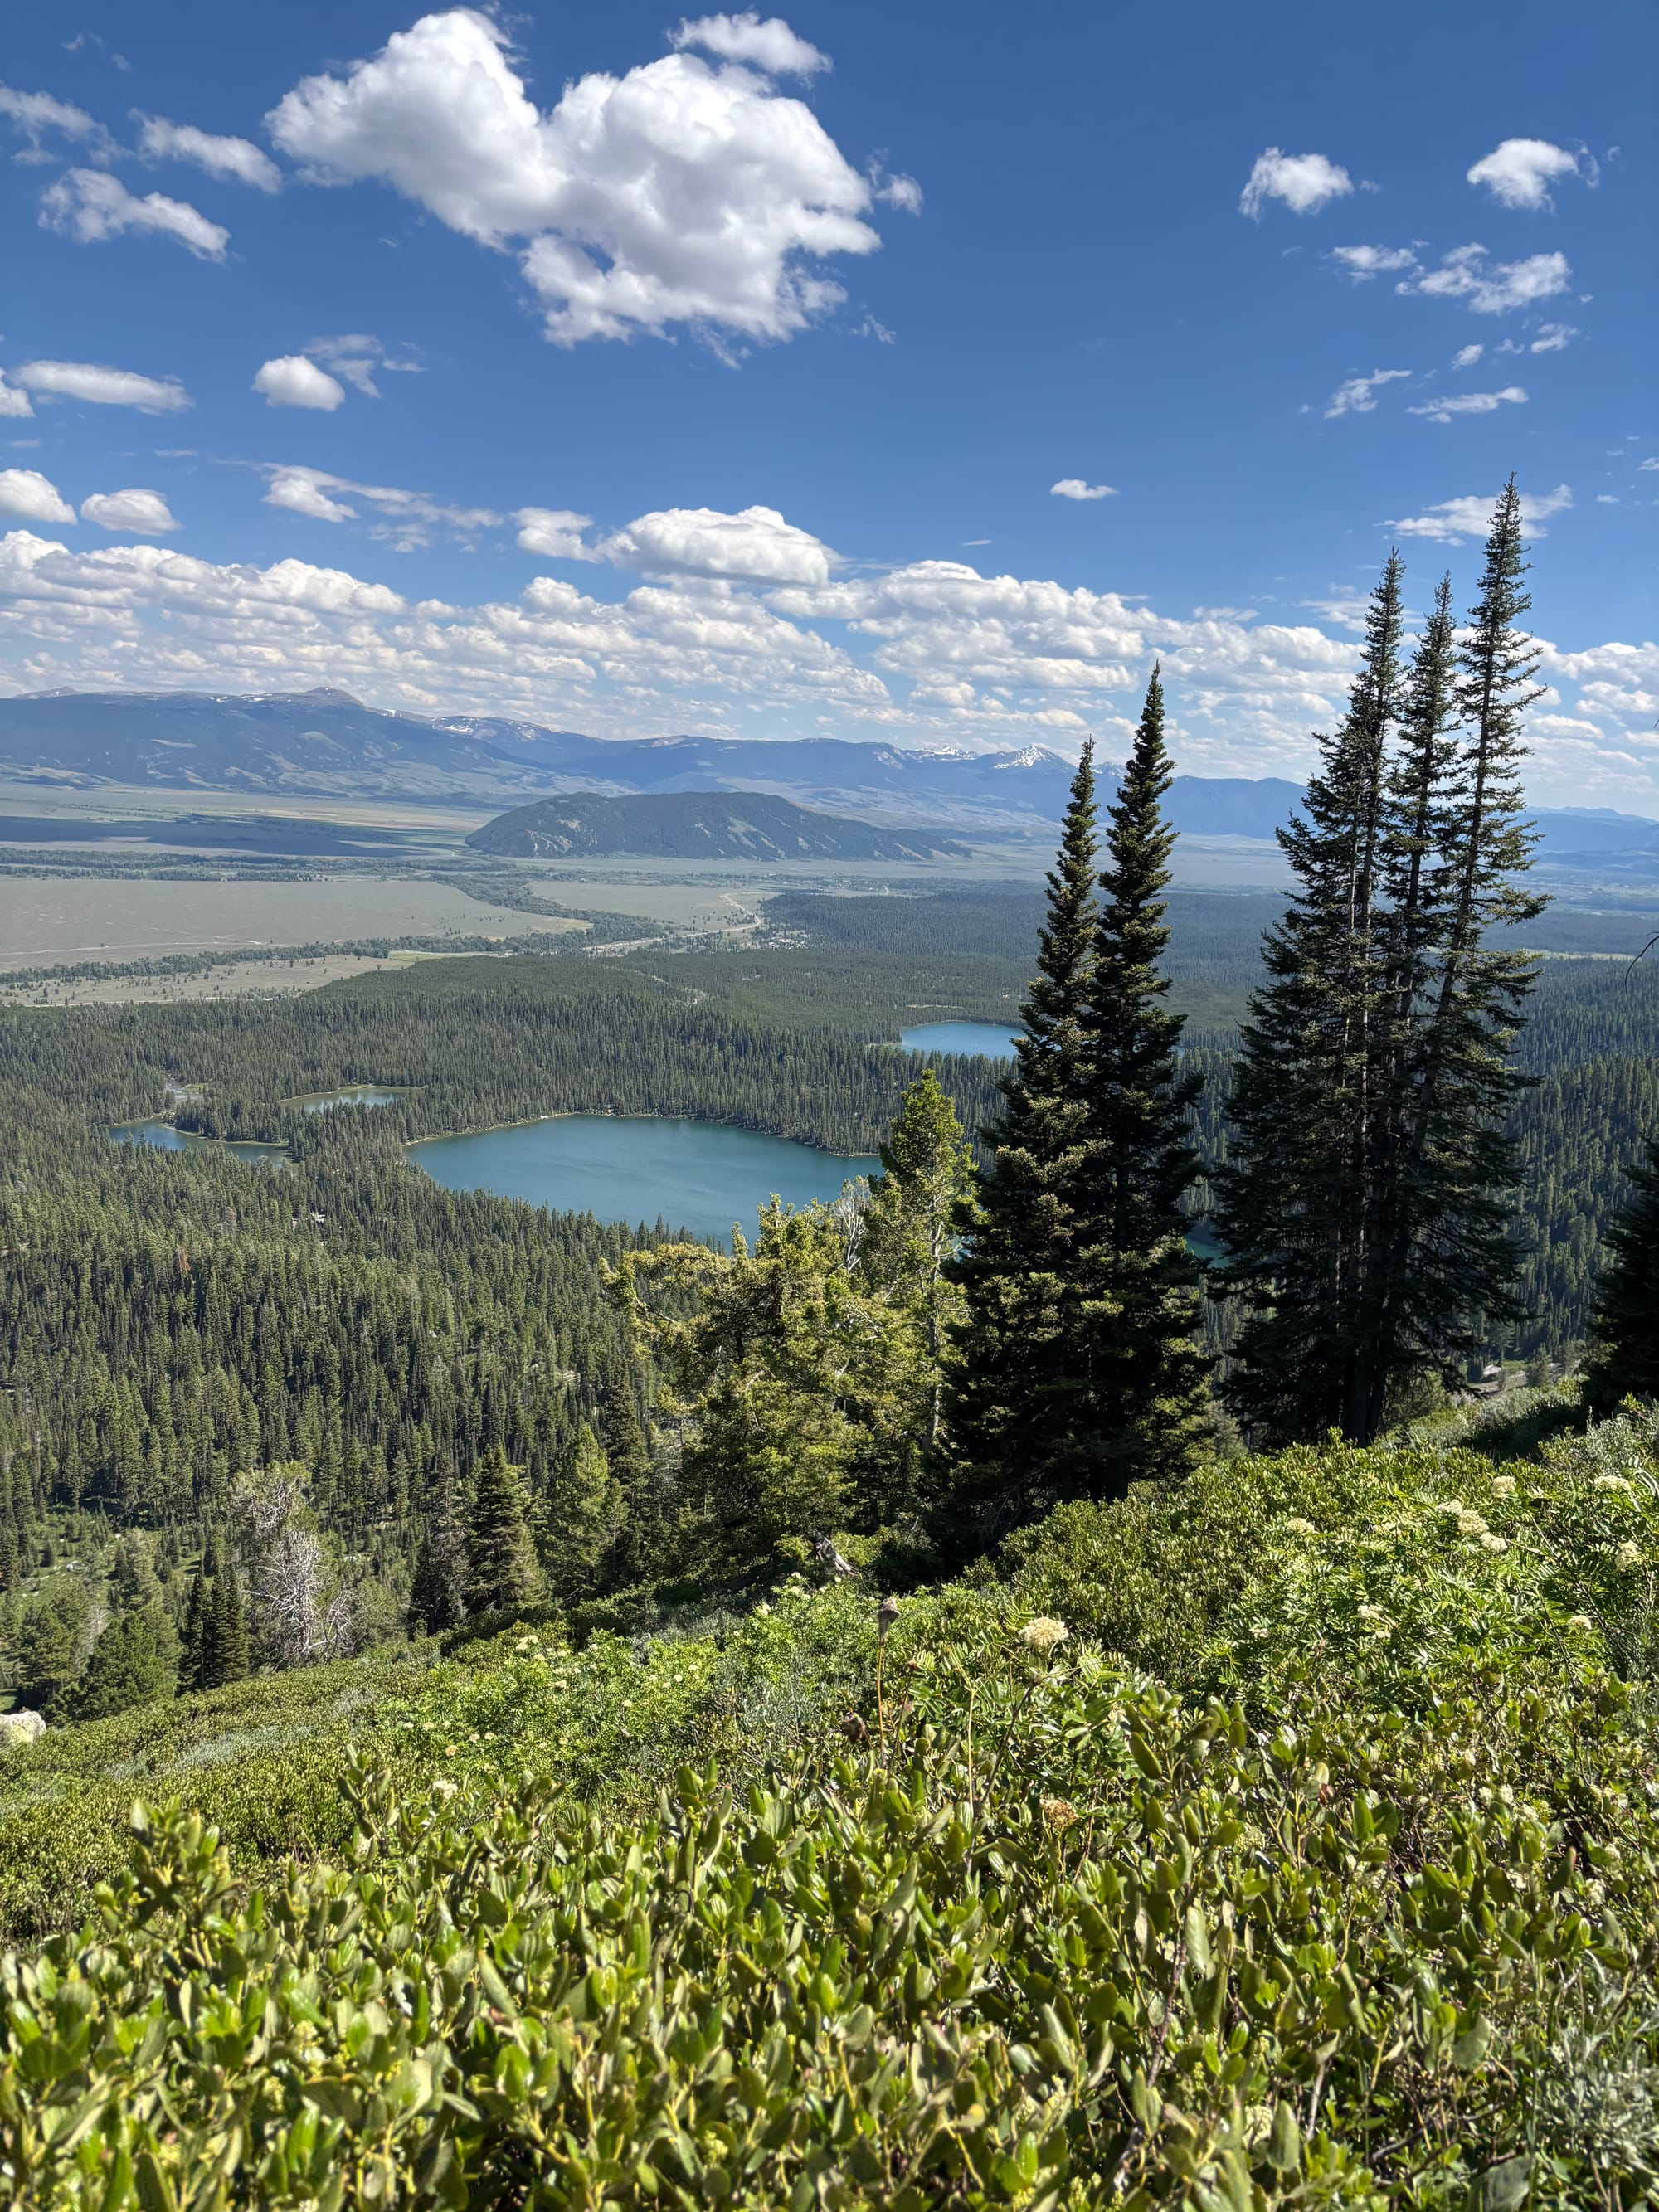
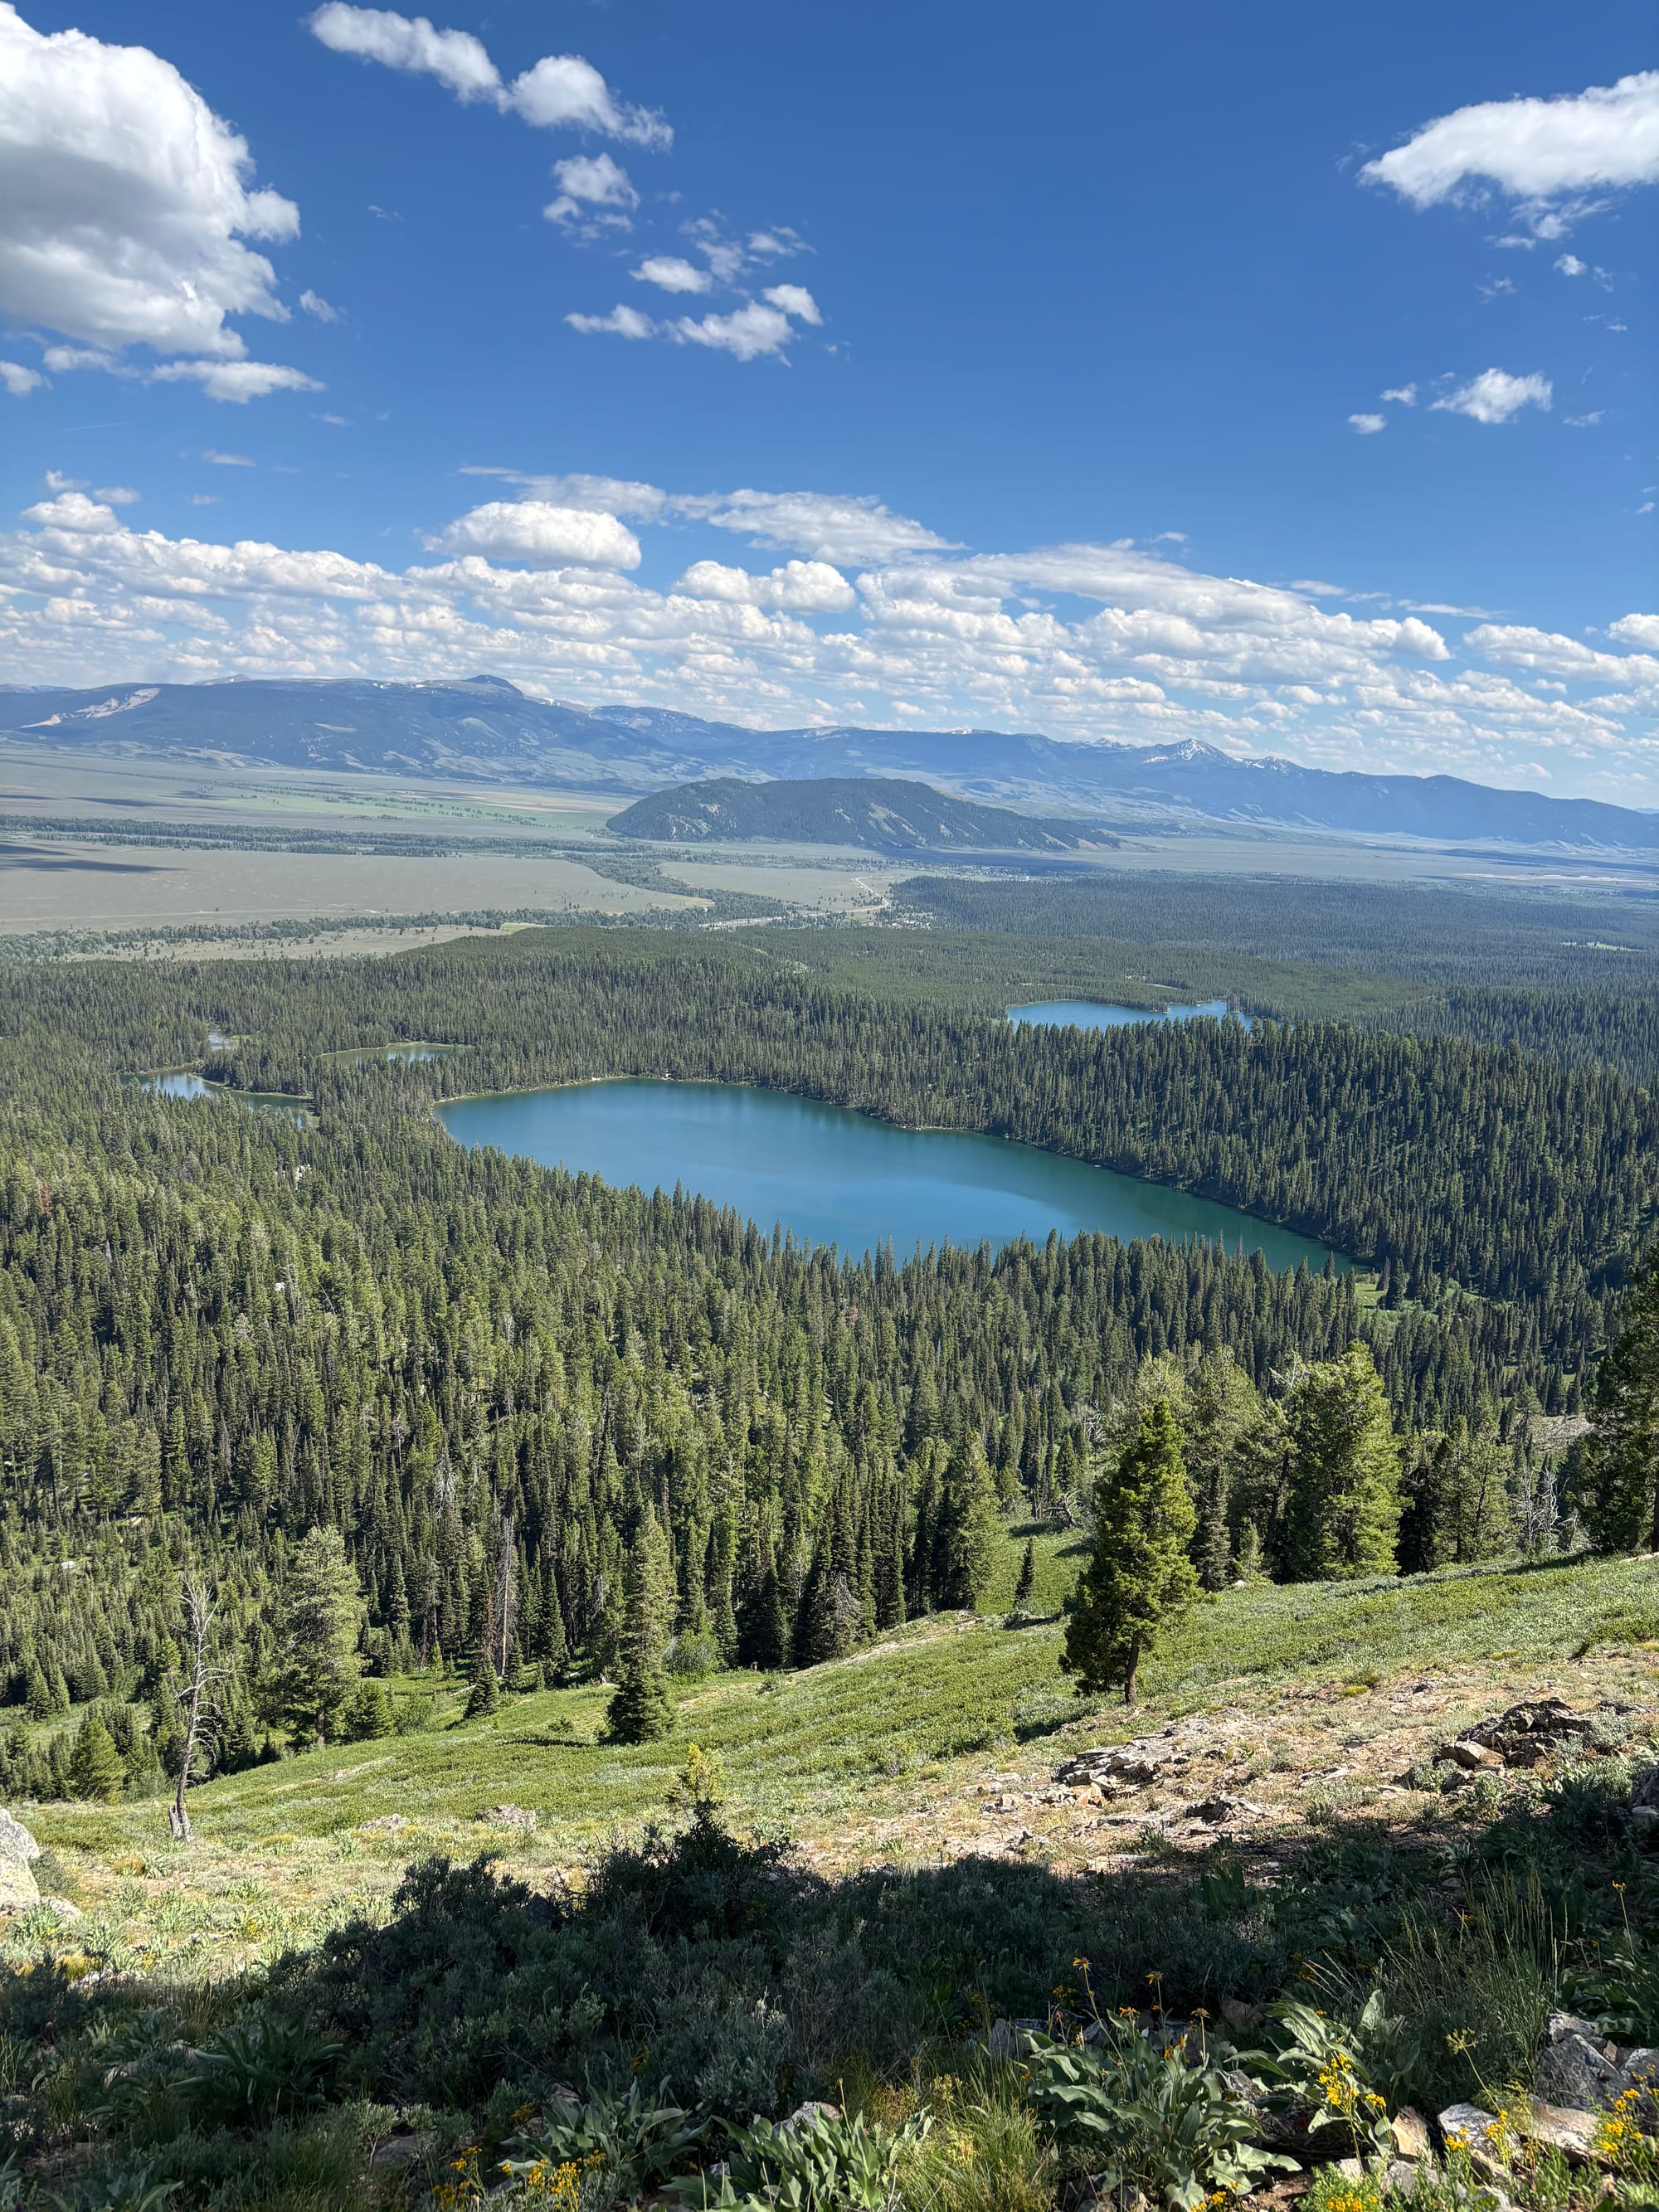
Lake views on the way up to our lodging
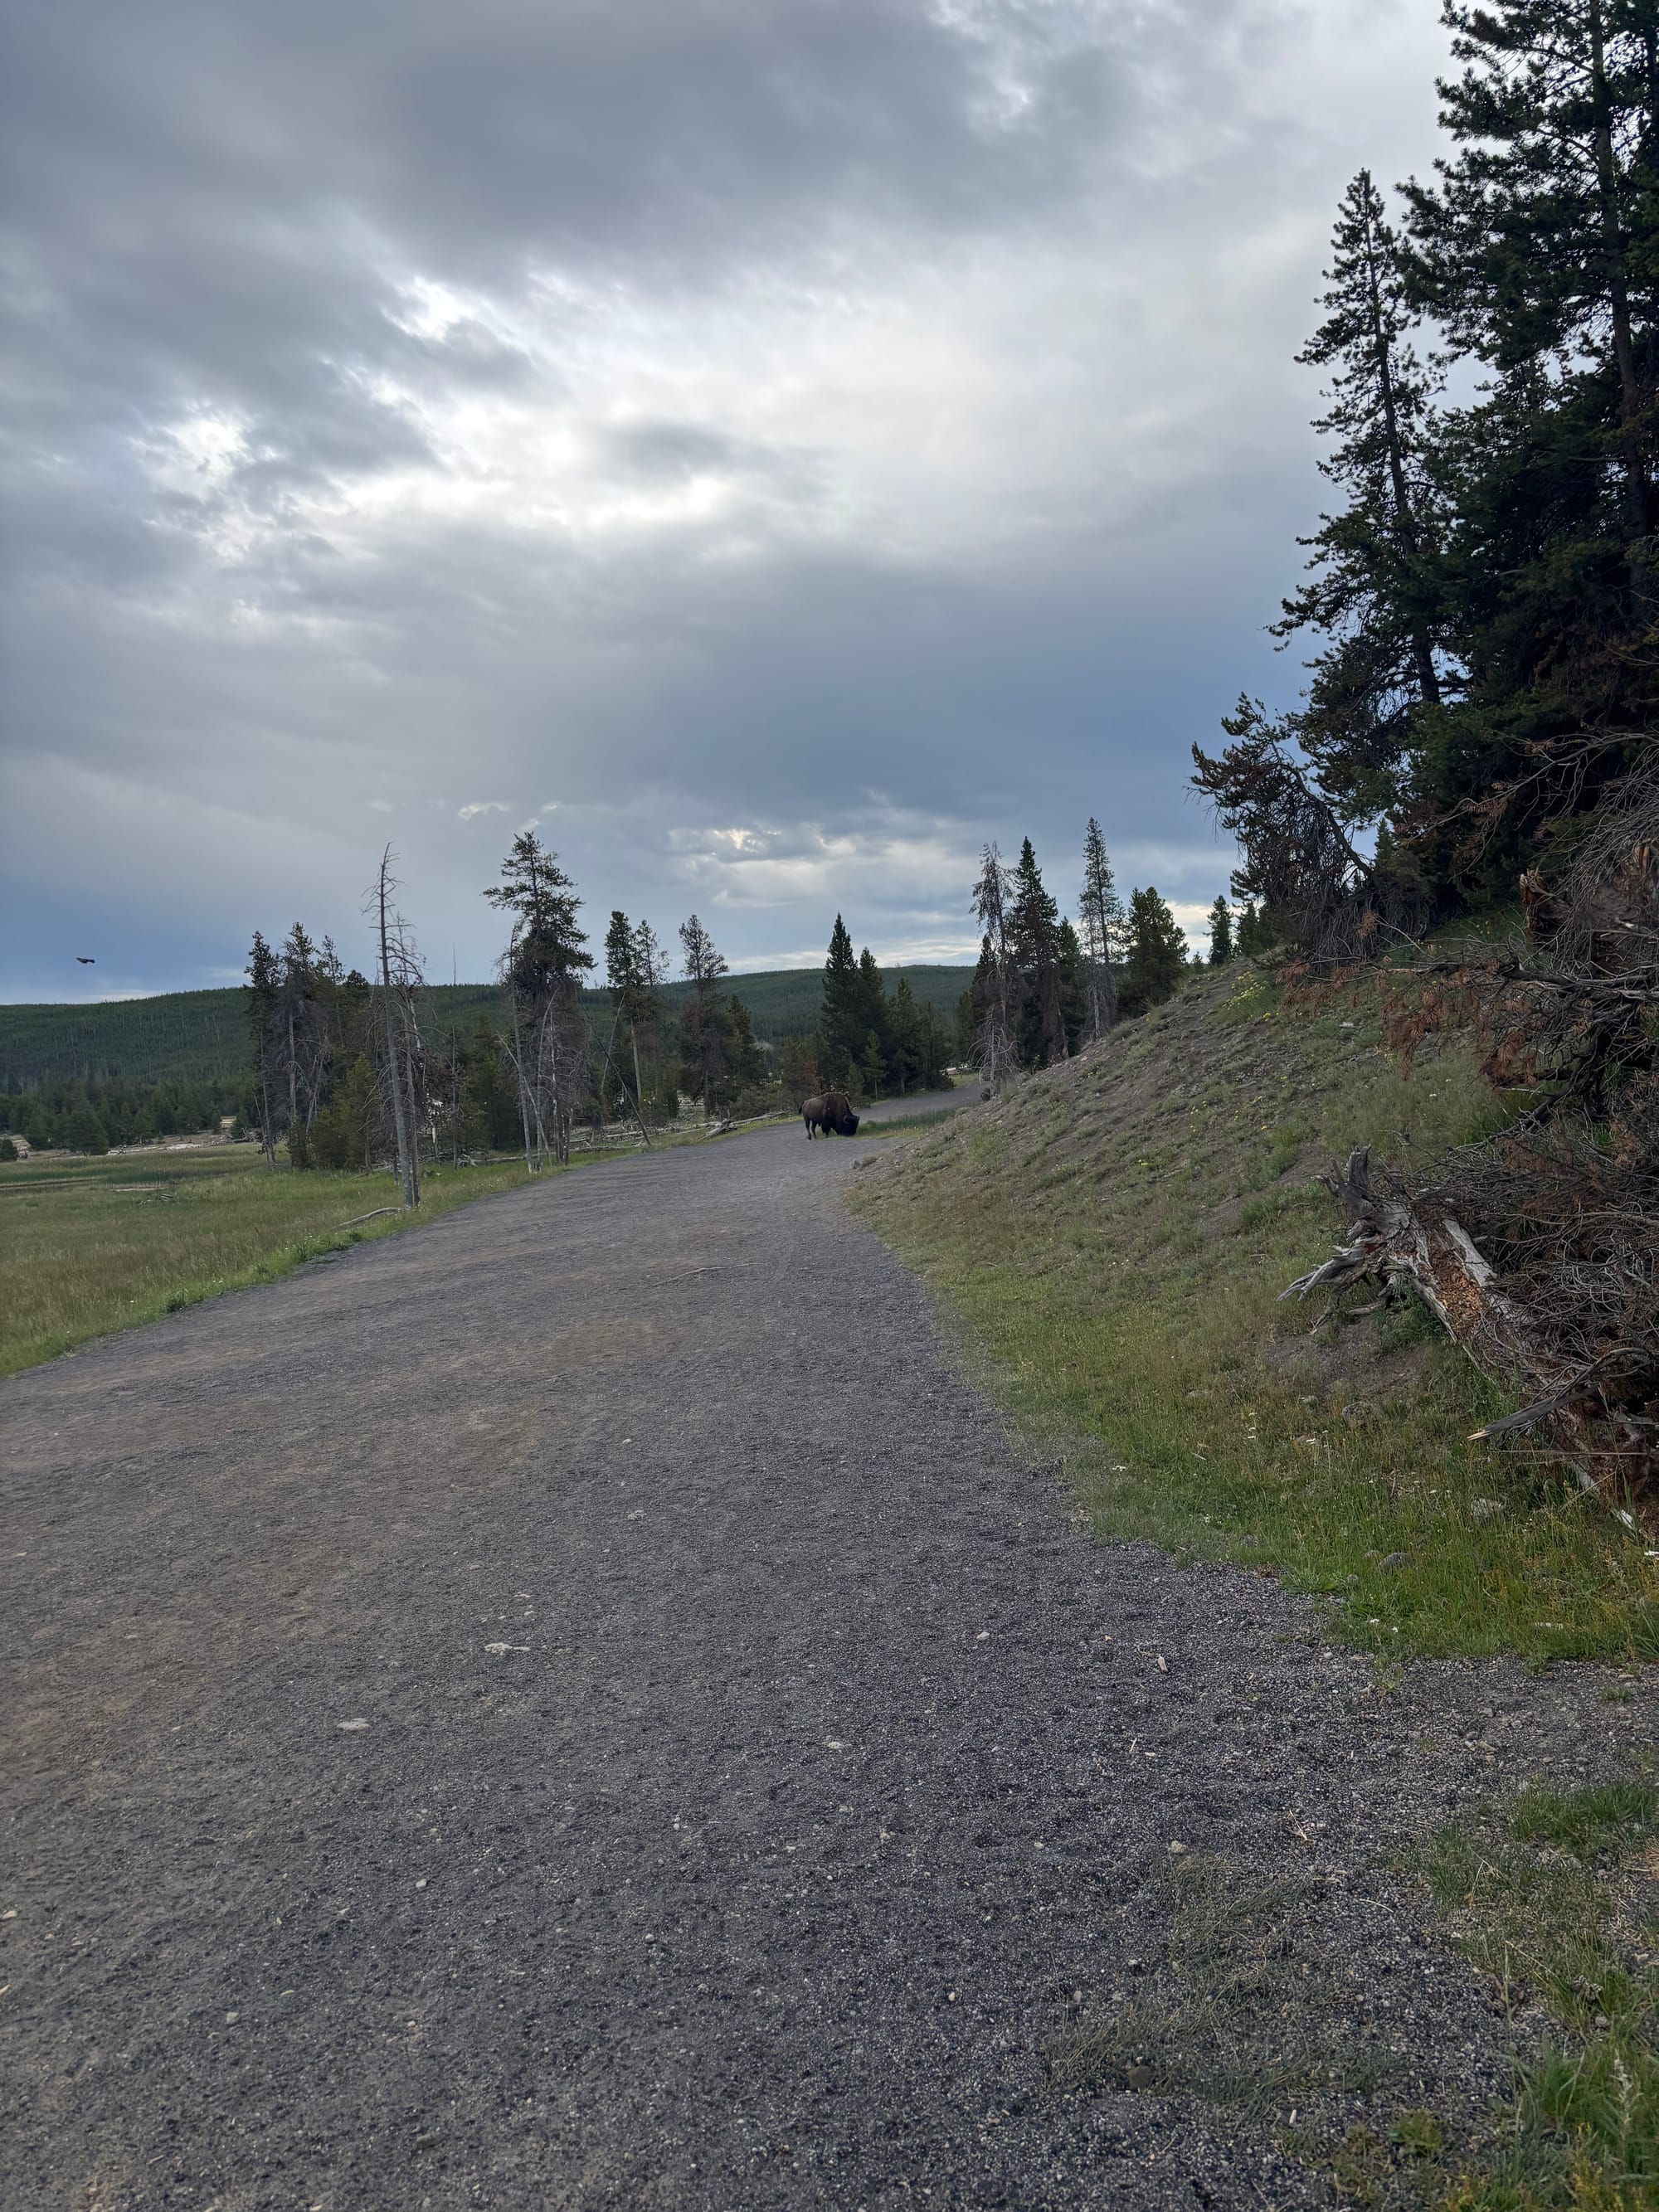
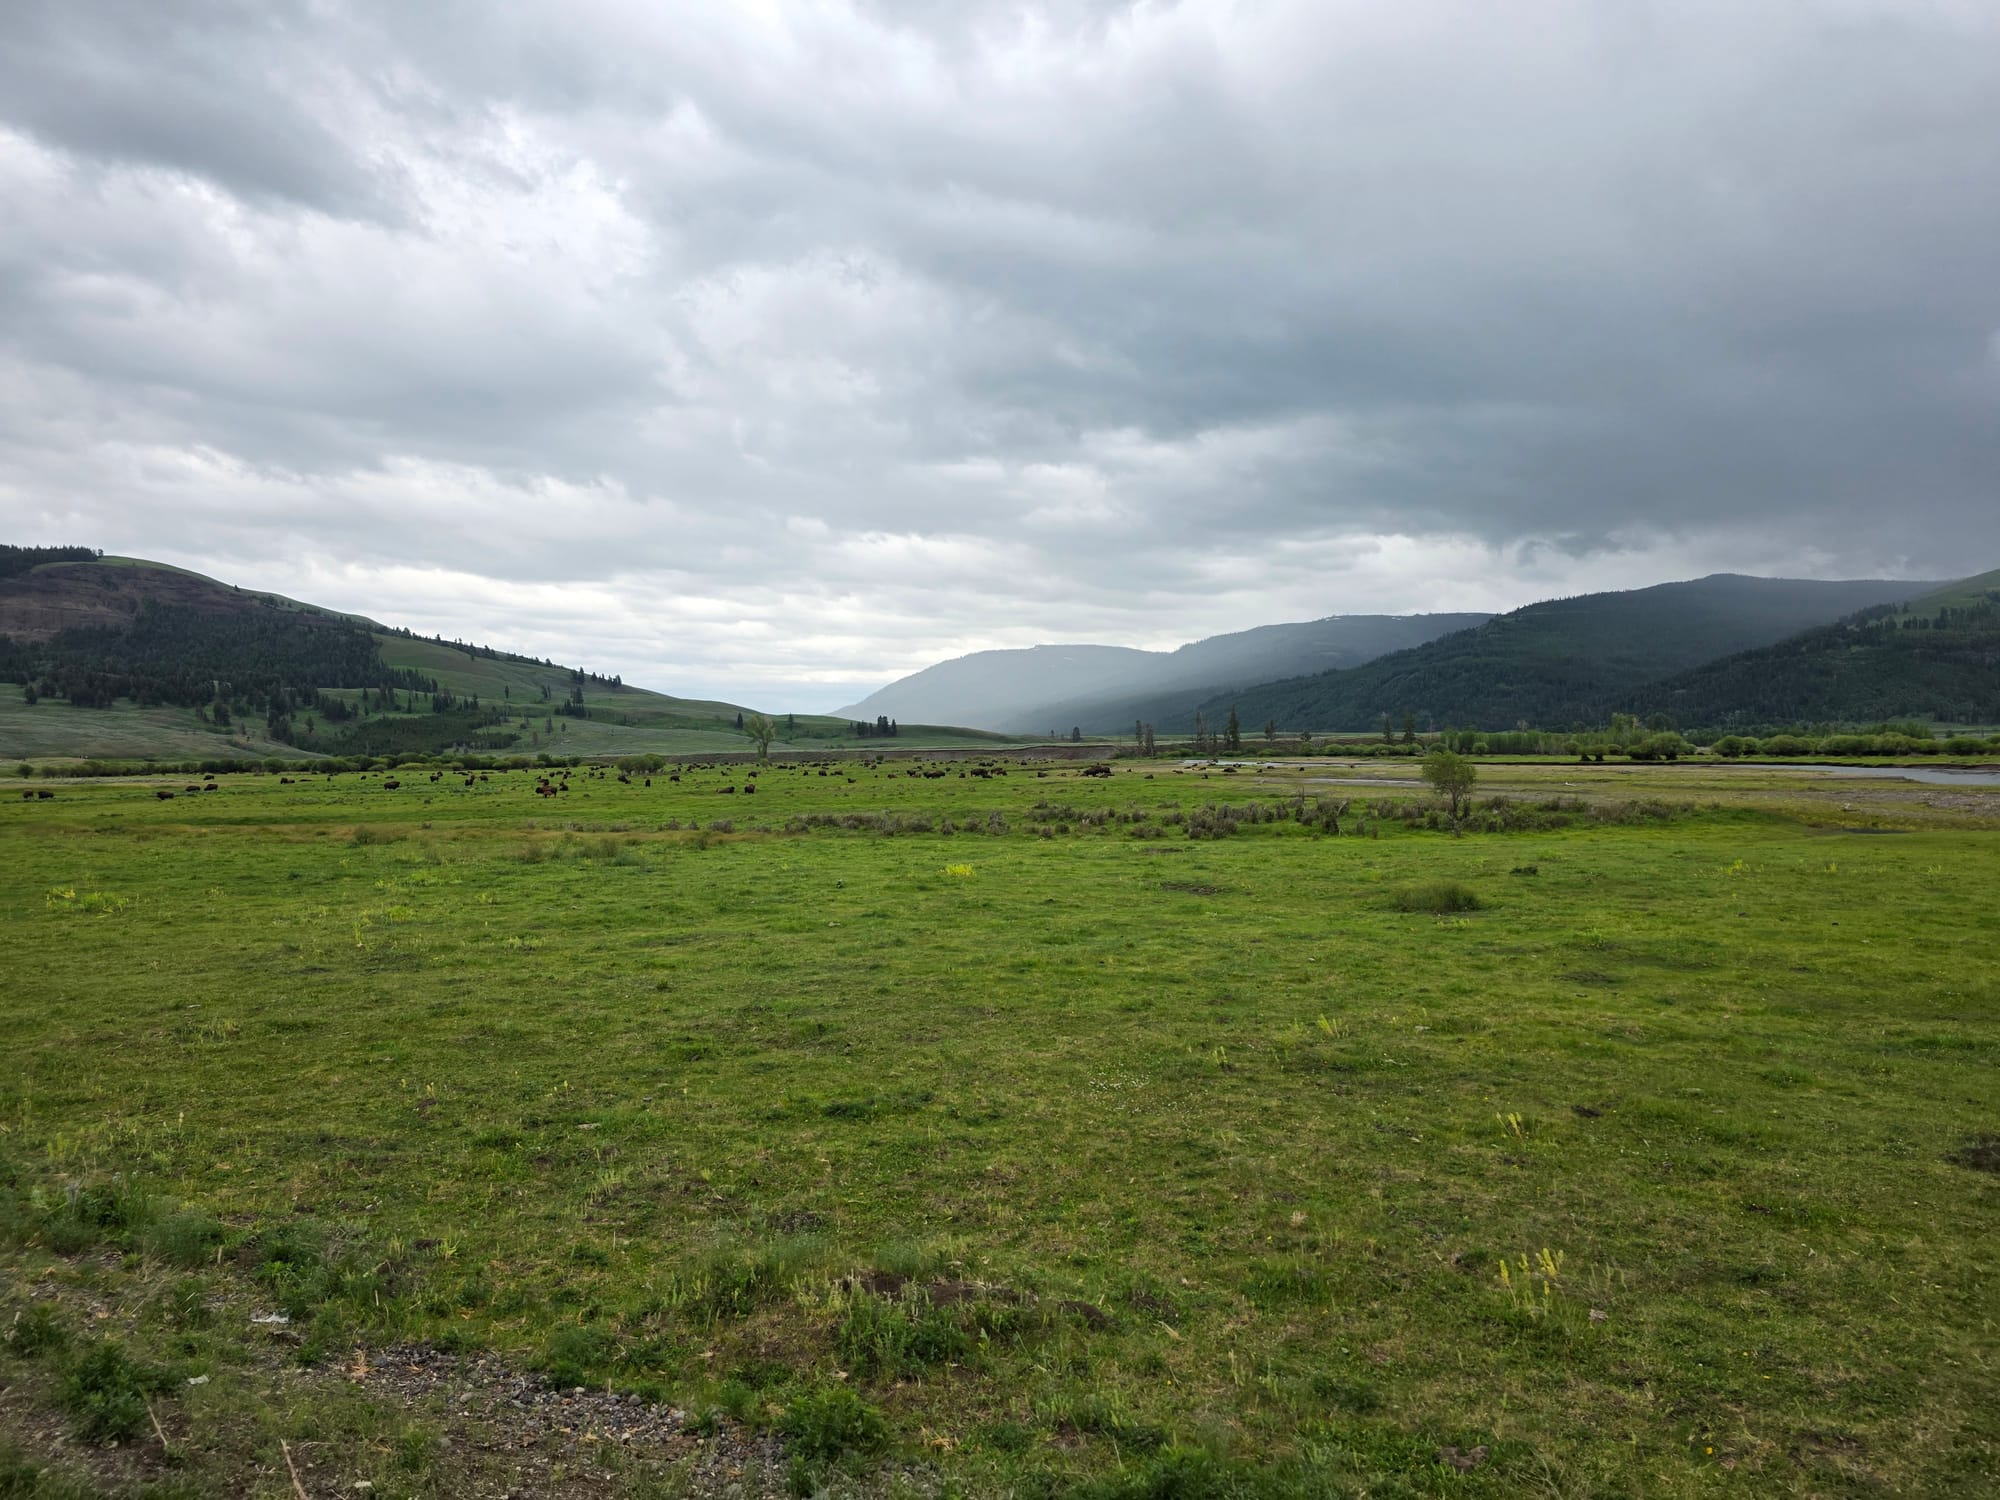
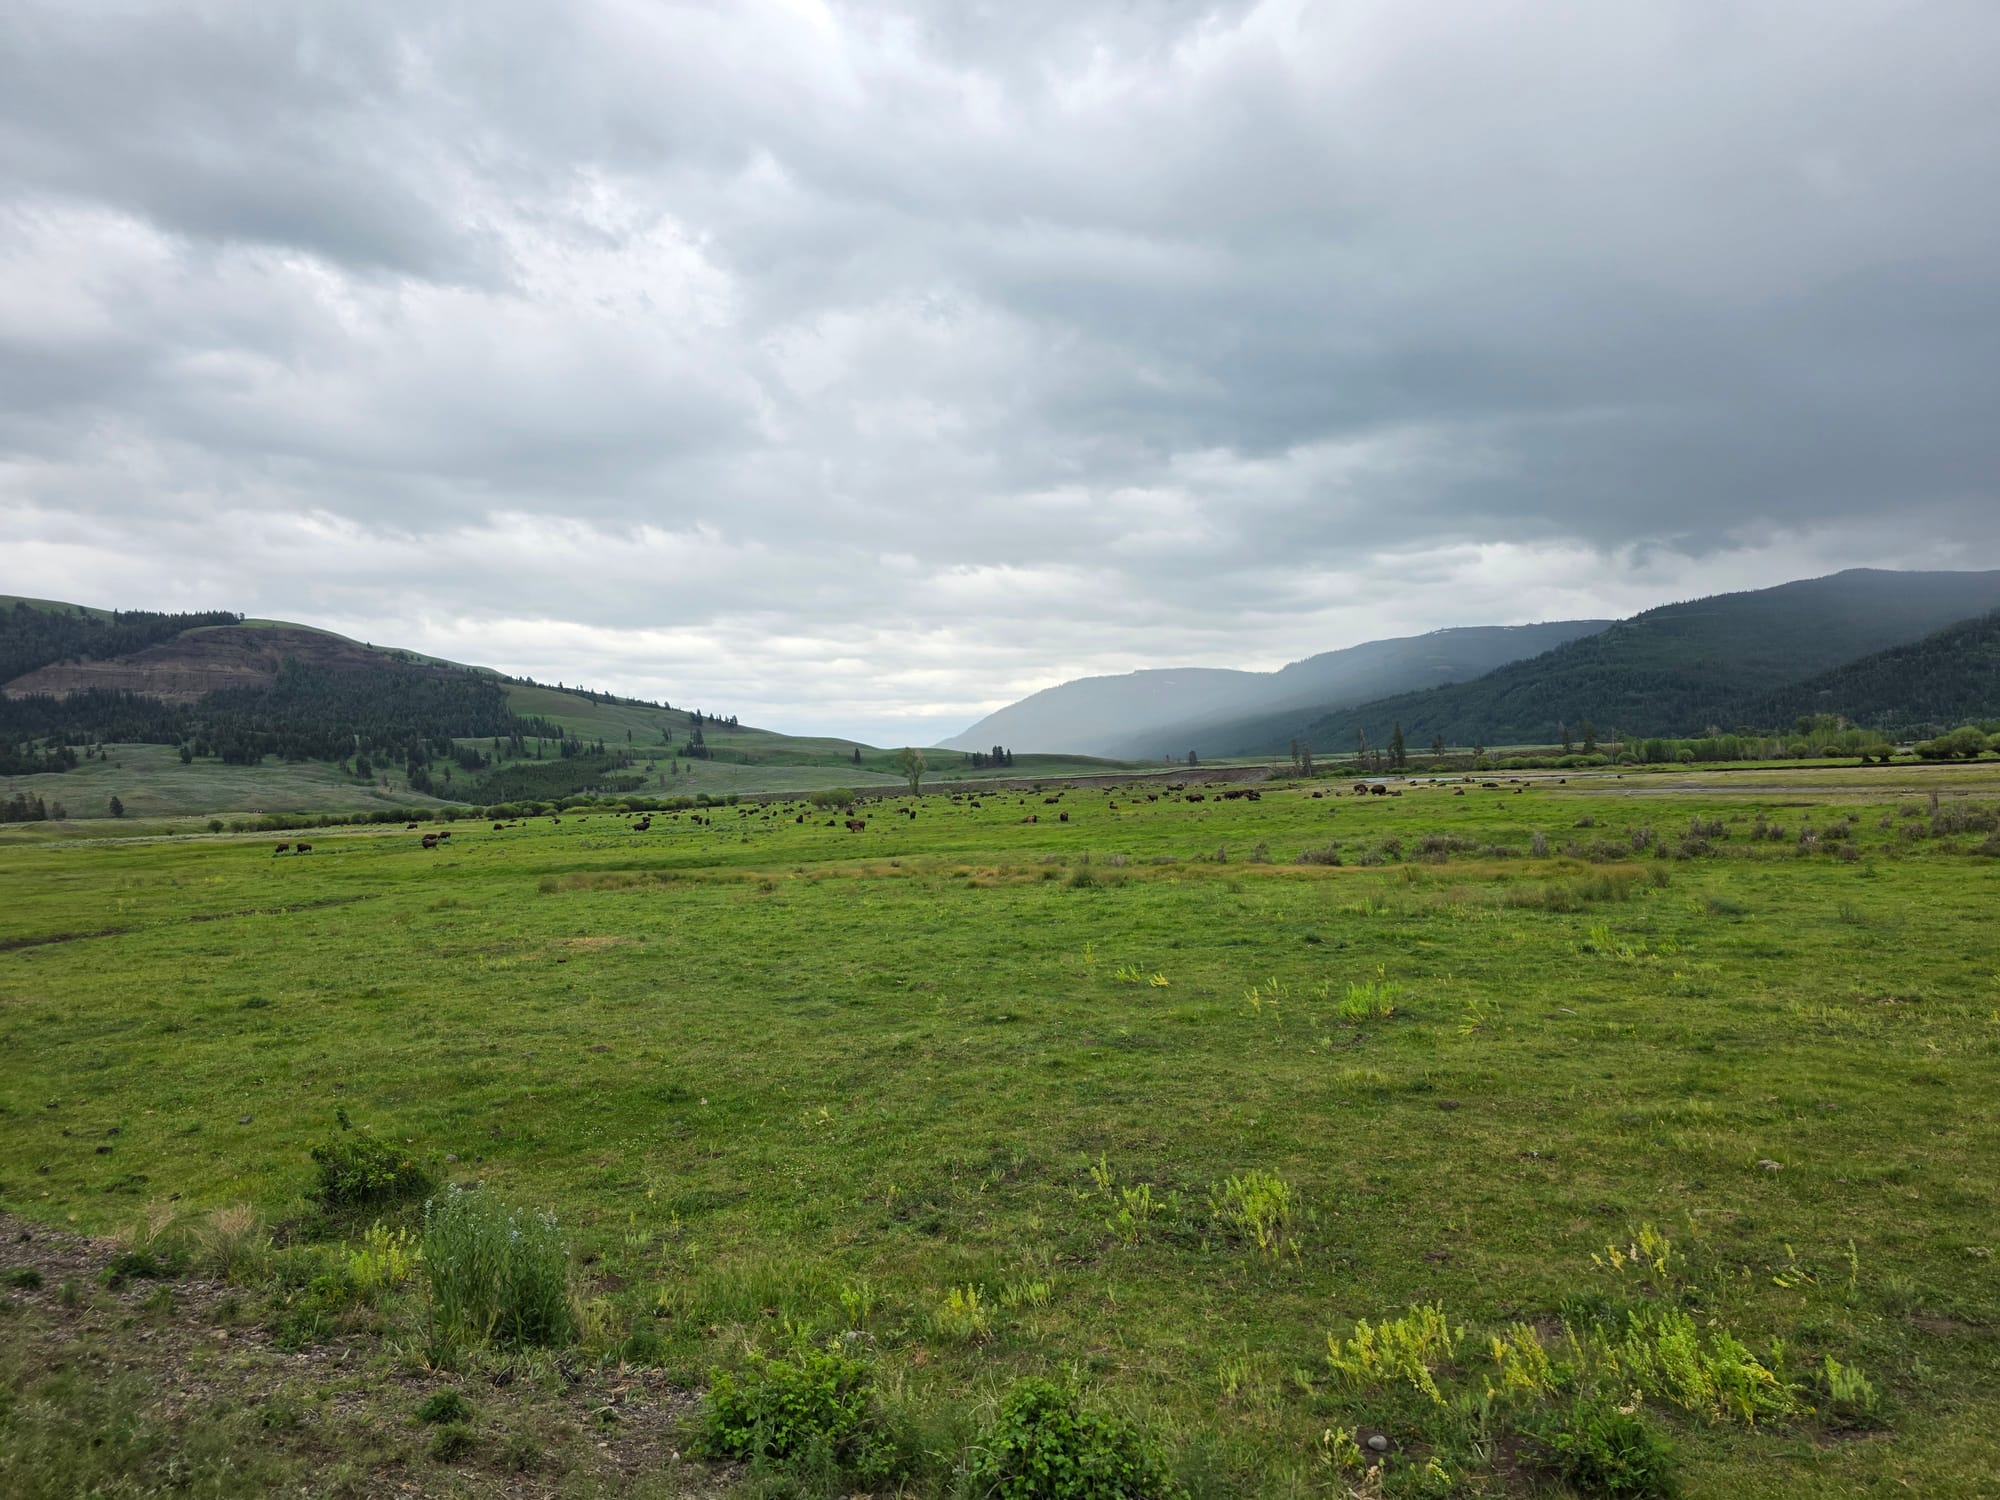
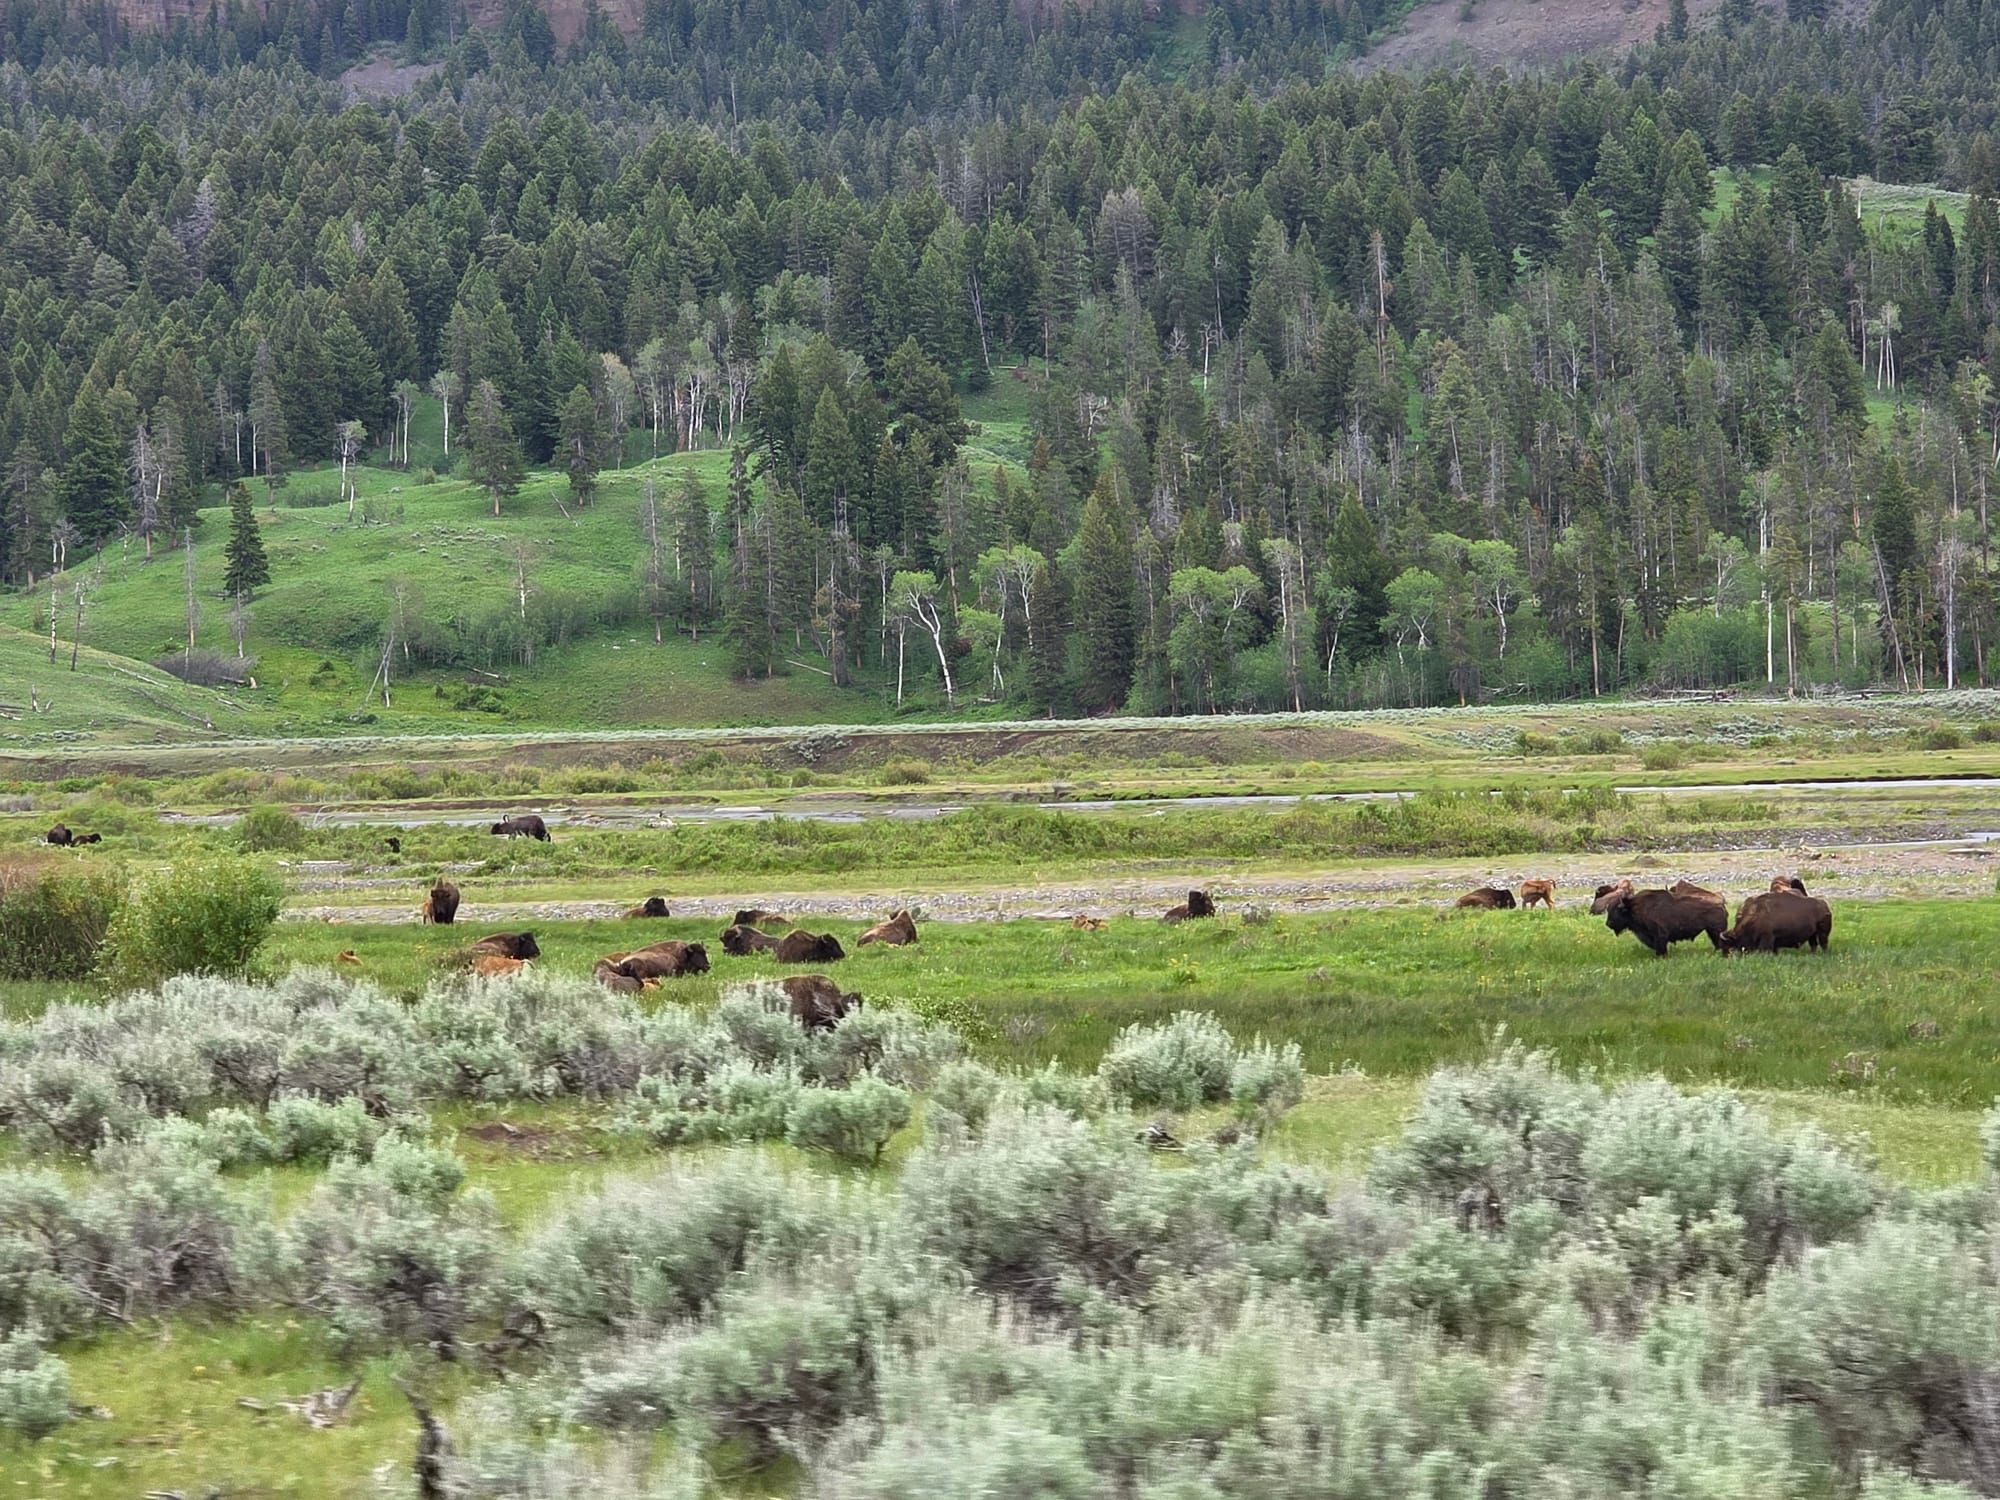
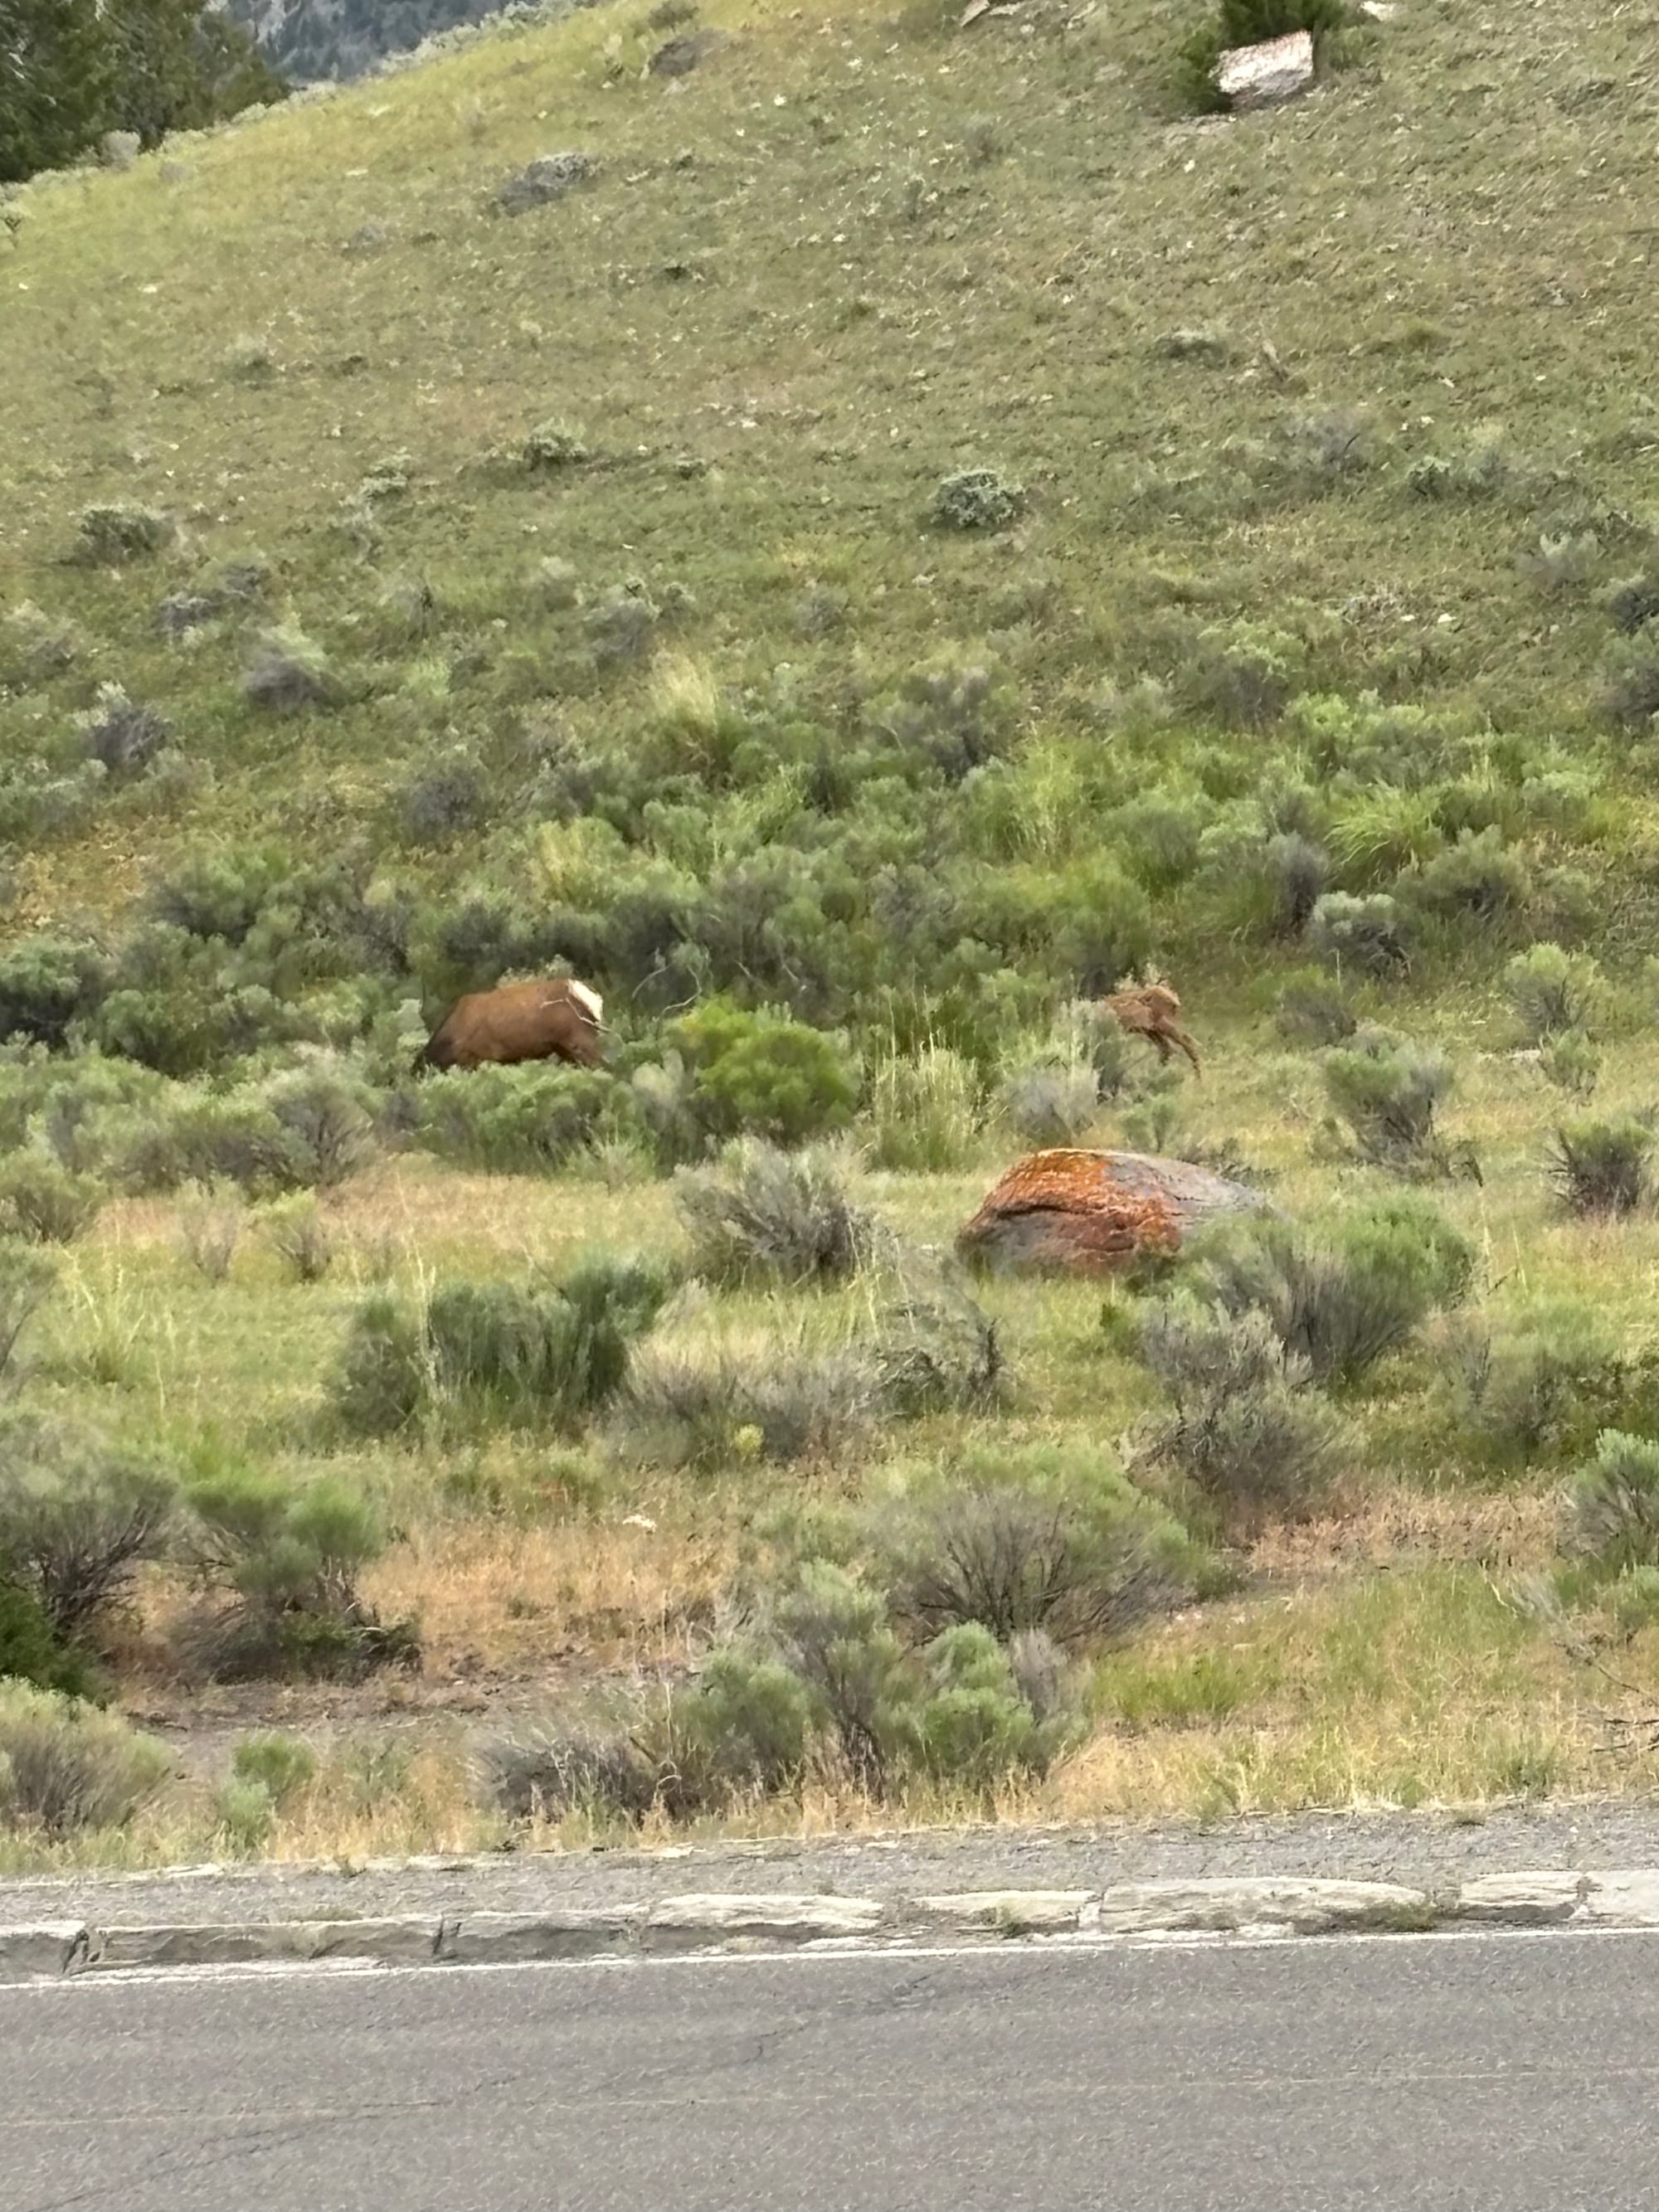
We took the Inner Park Road up to our hotel. While it is not the quickest route to the northern end of the park, the mountain views make it worth driving at least once. A quick note: along the highway, we noticed an active cattle ranch next to a field where a local bison herd seems to spend most of its time. If you see them, there is no need to scramble to pull over for photos the first time; they will likely be right there the next time you drive past. We could even see the herd hanging out from overlooks on our mountain hikes/drive up Signal Mountain.
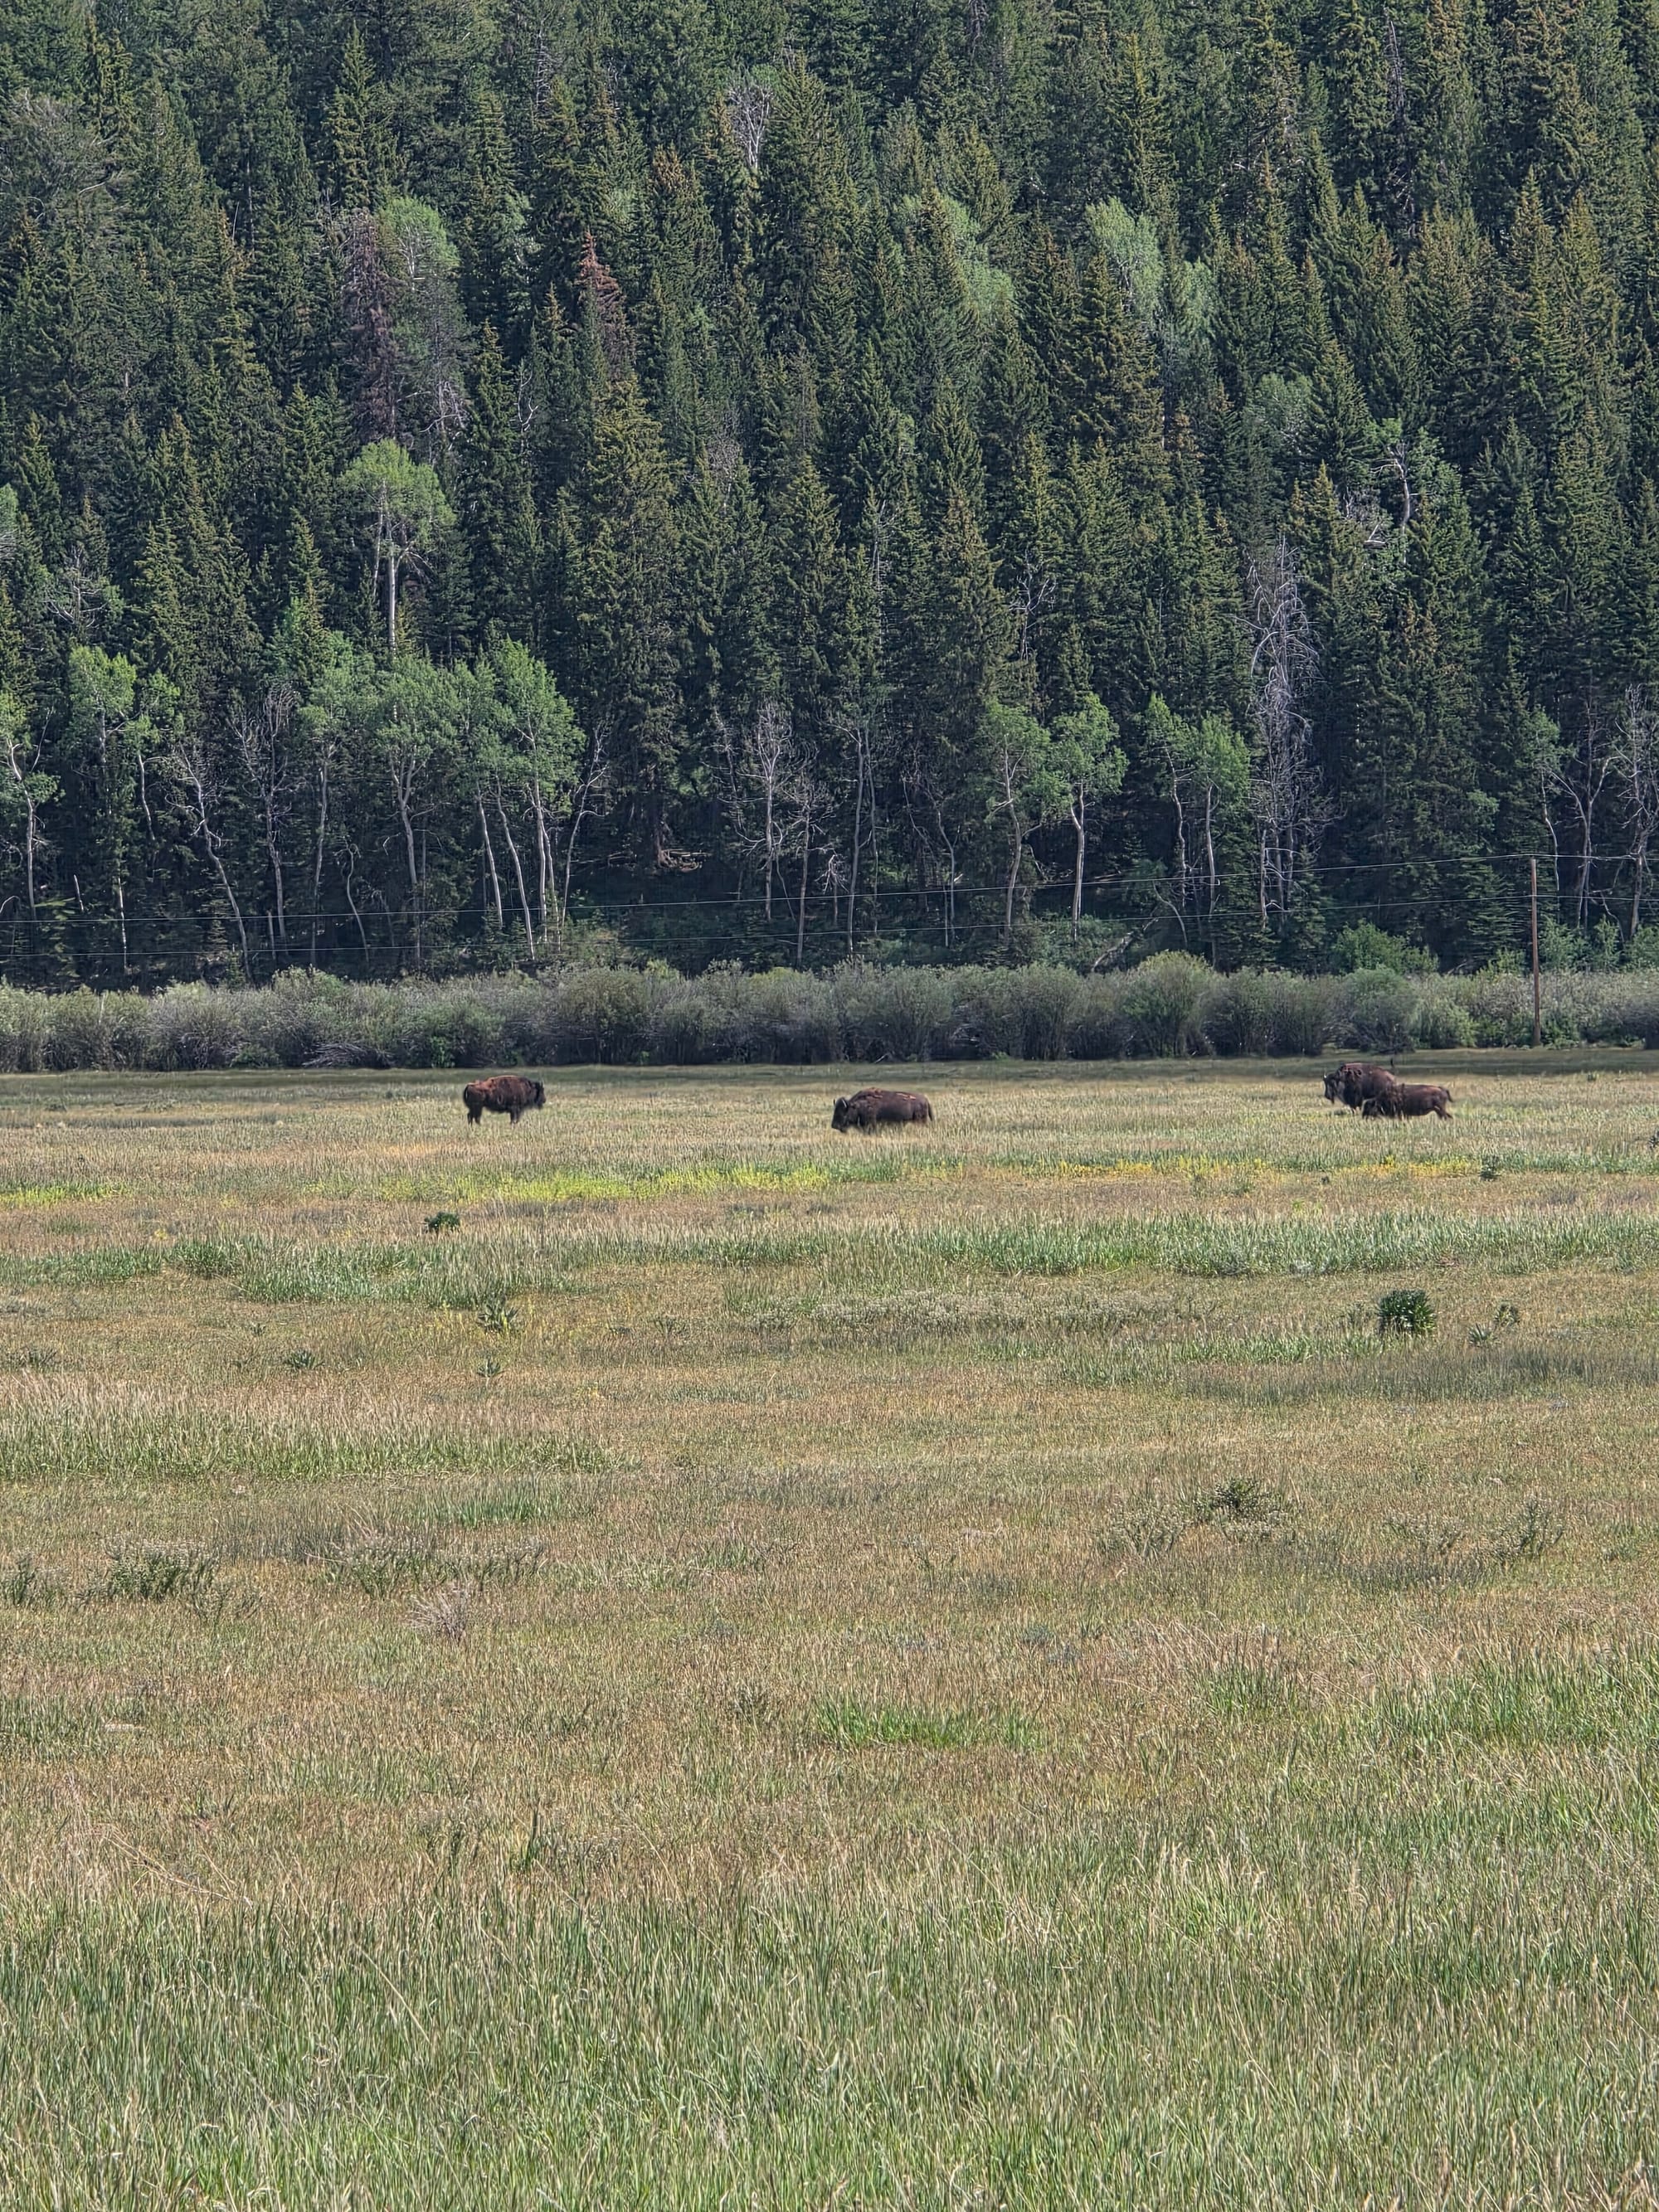
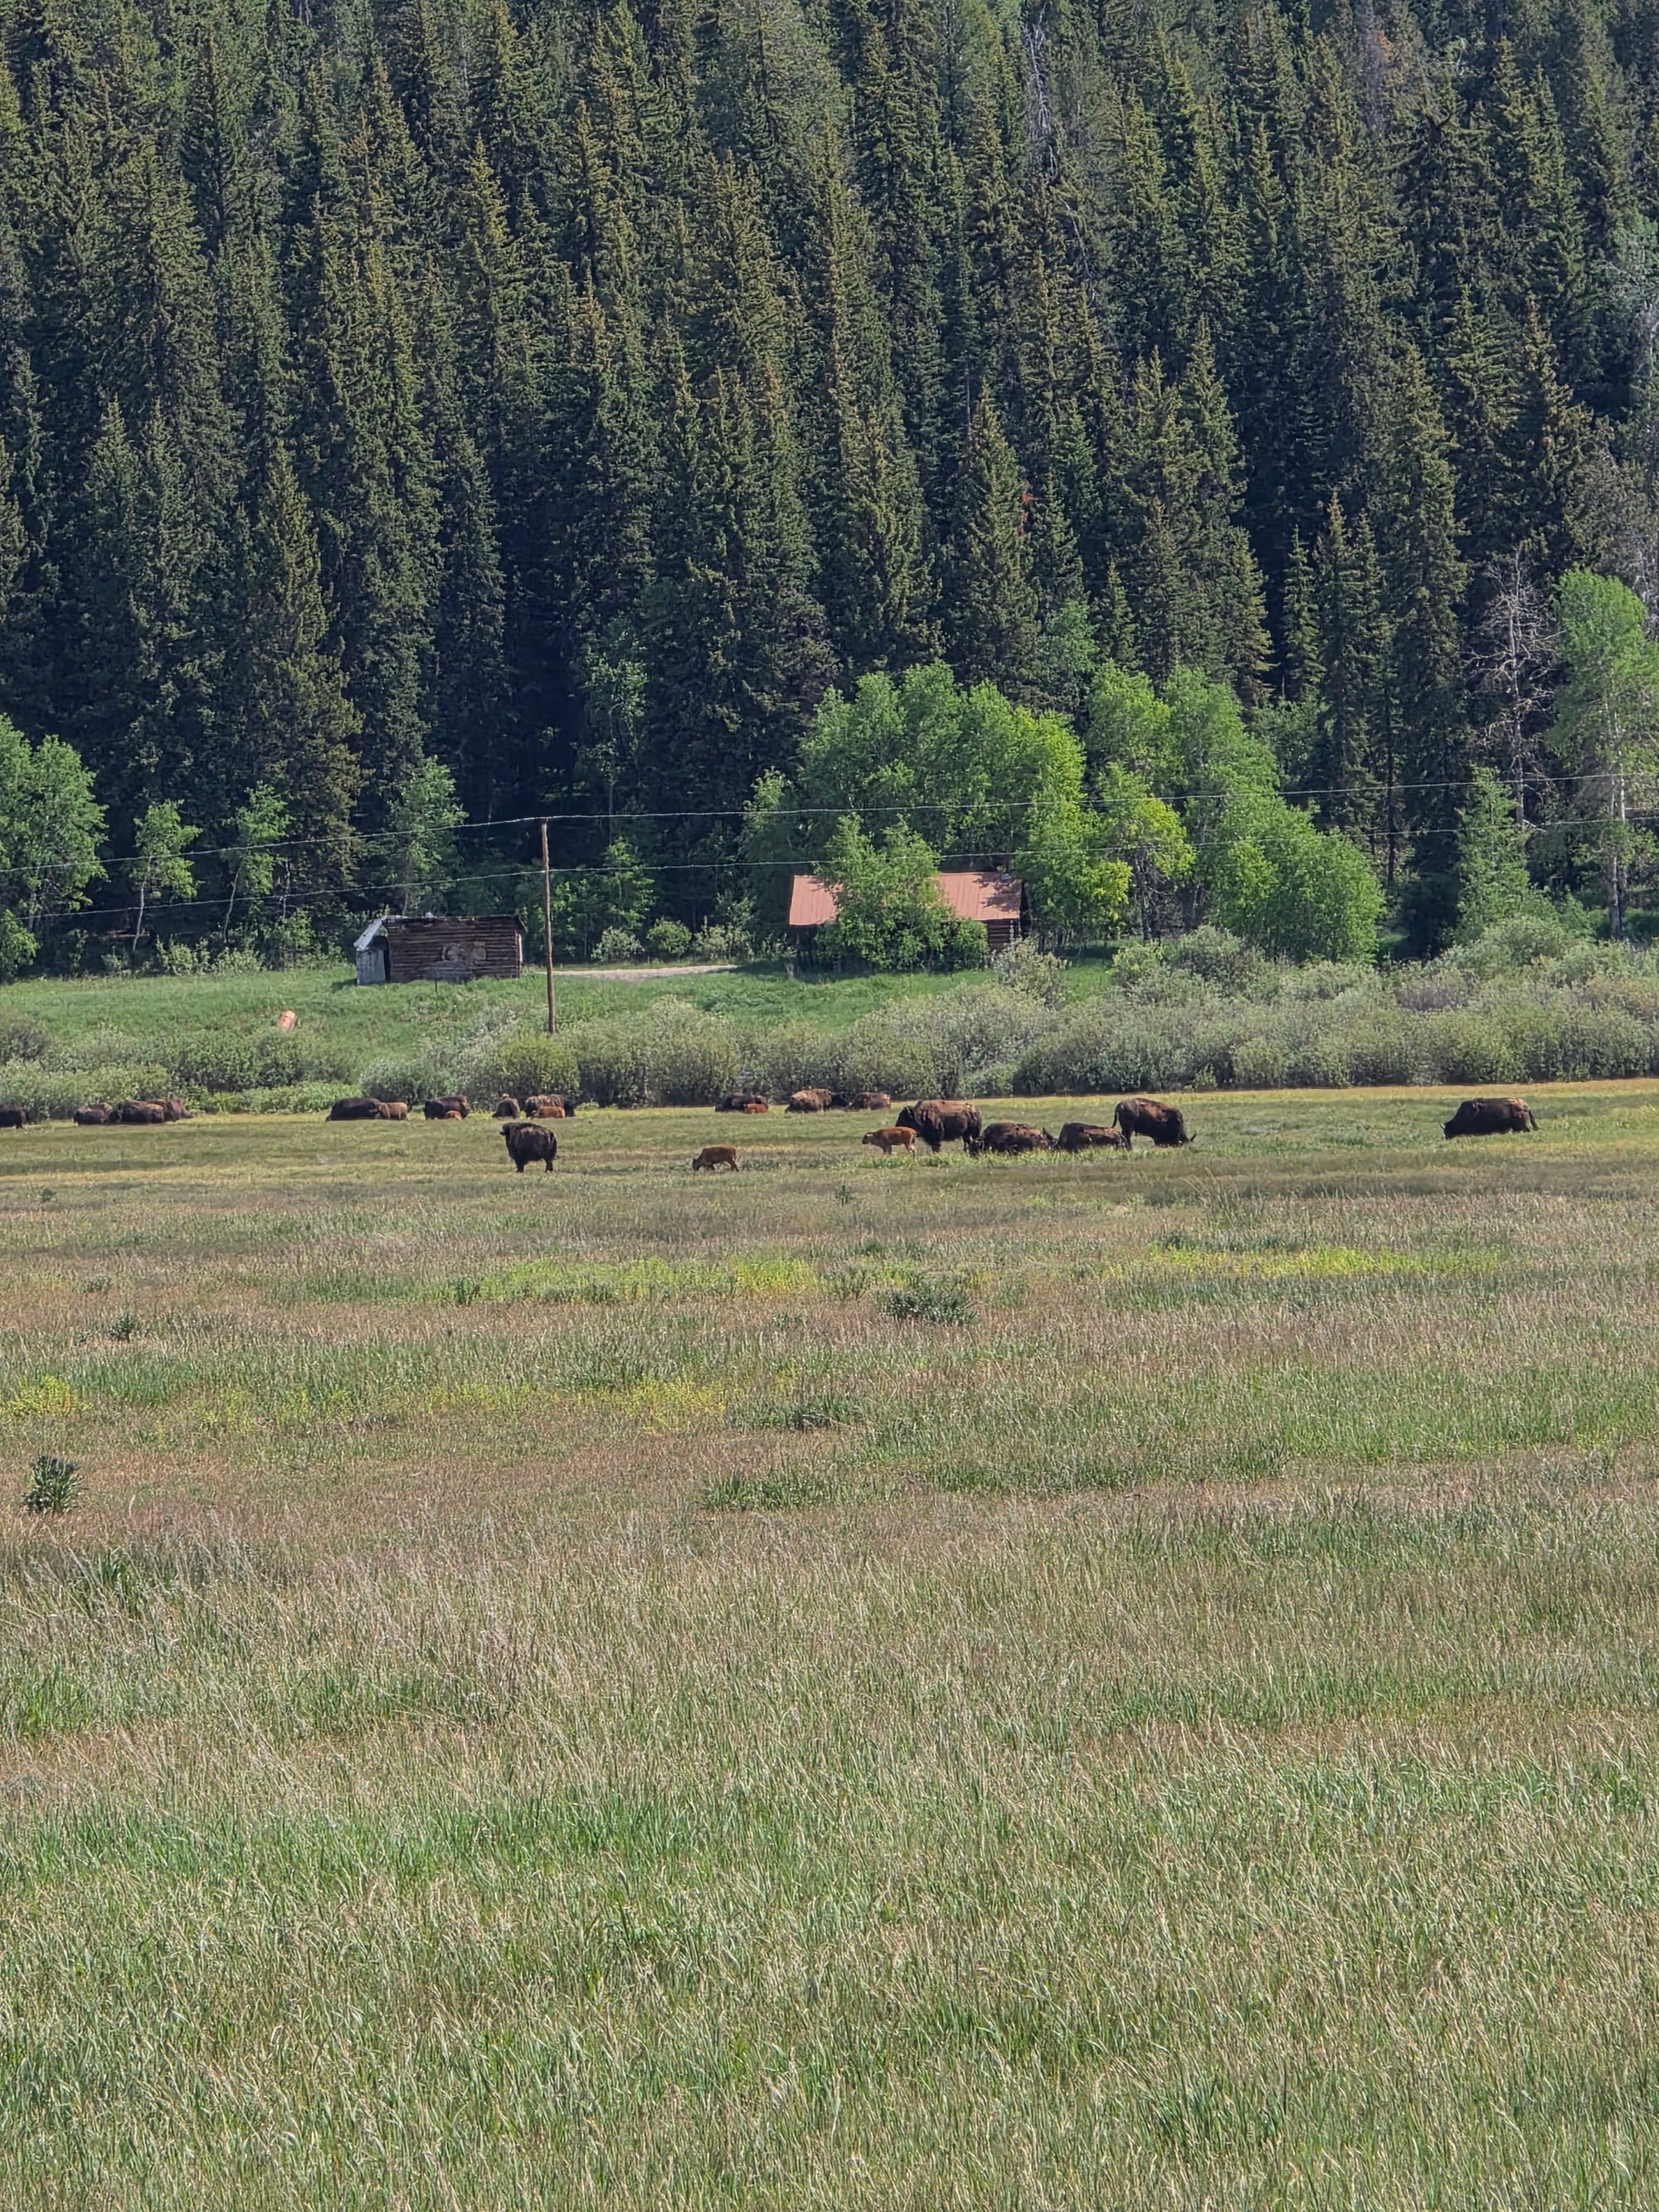
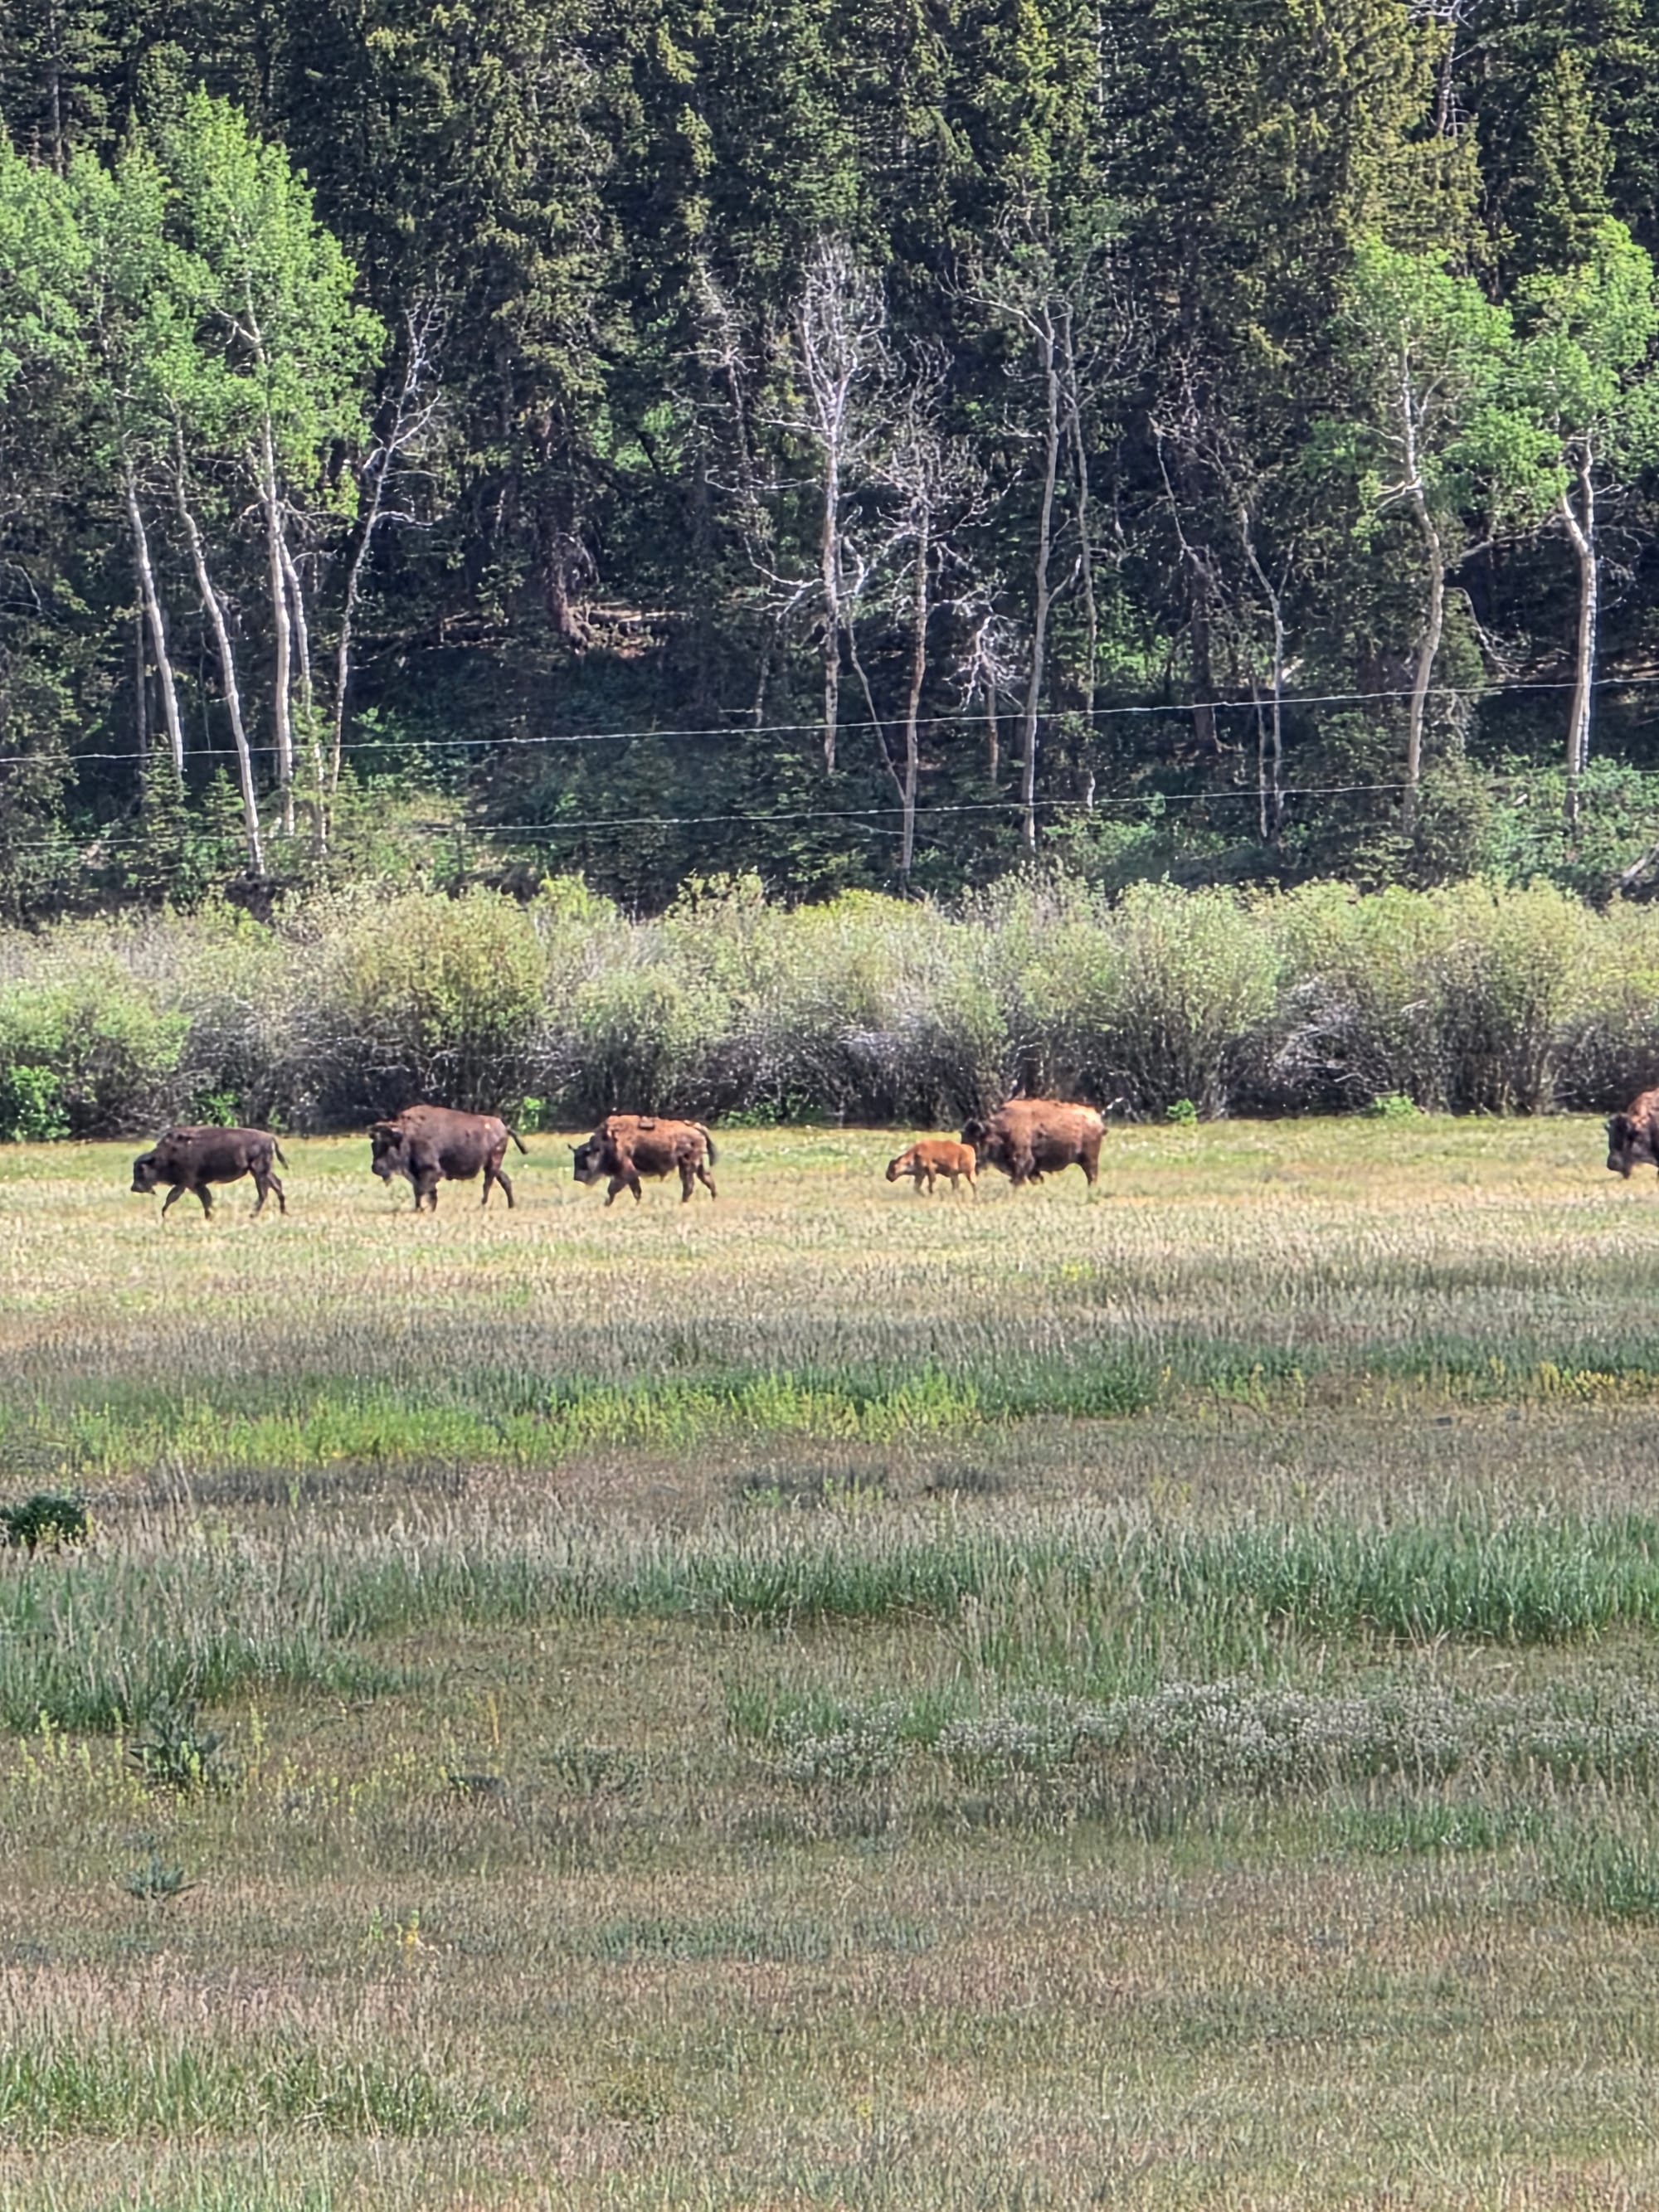
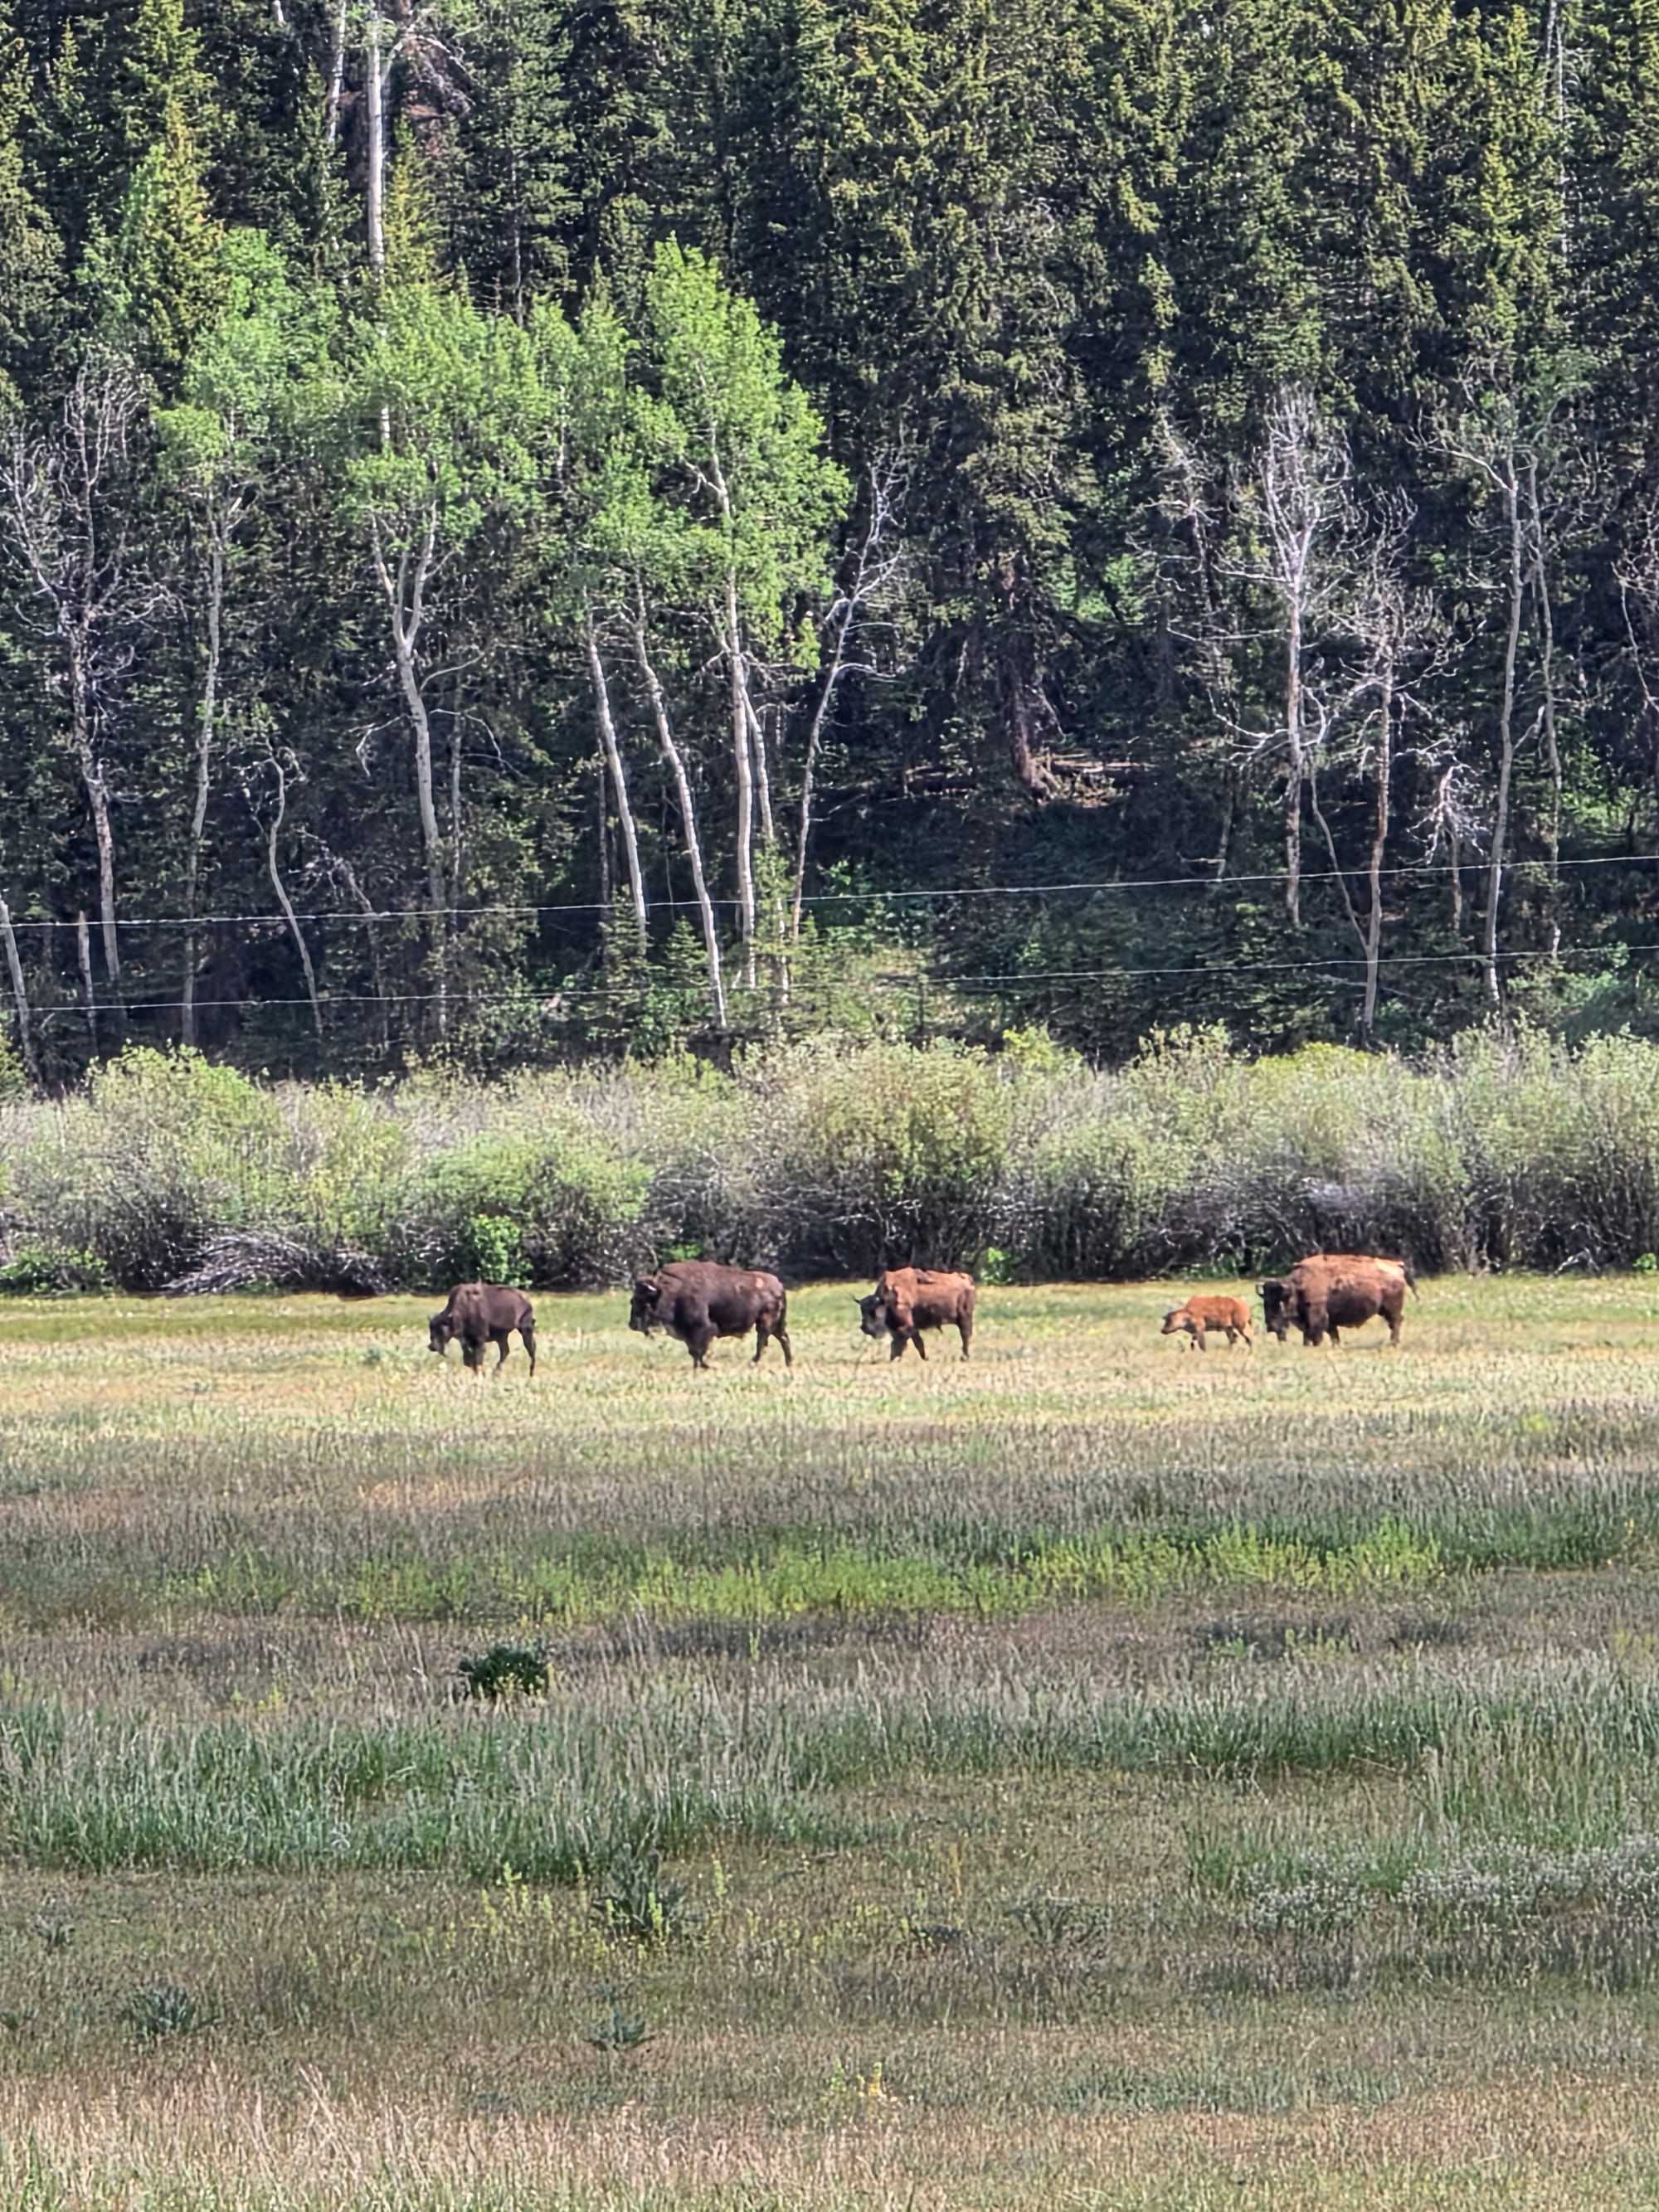
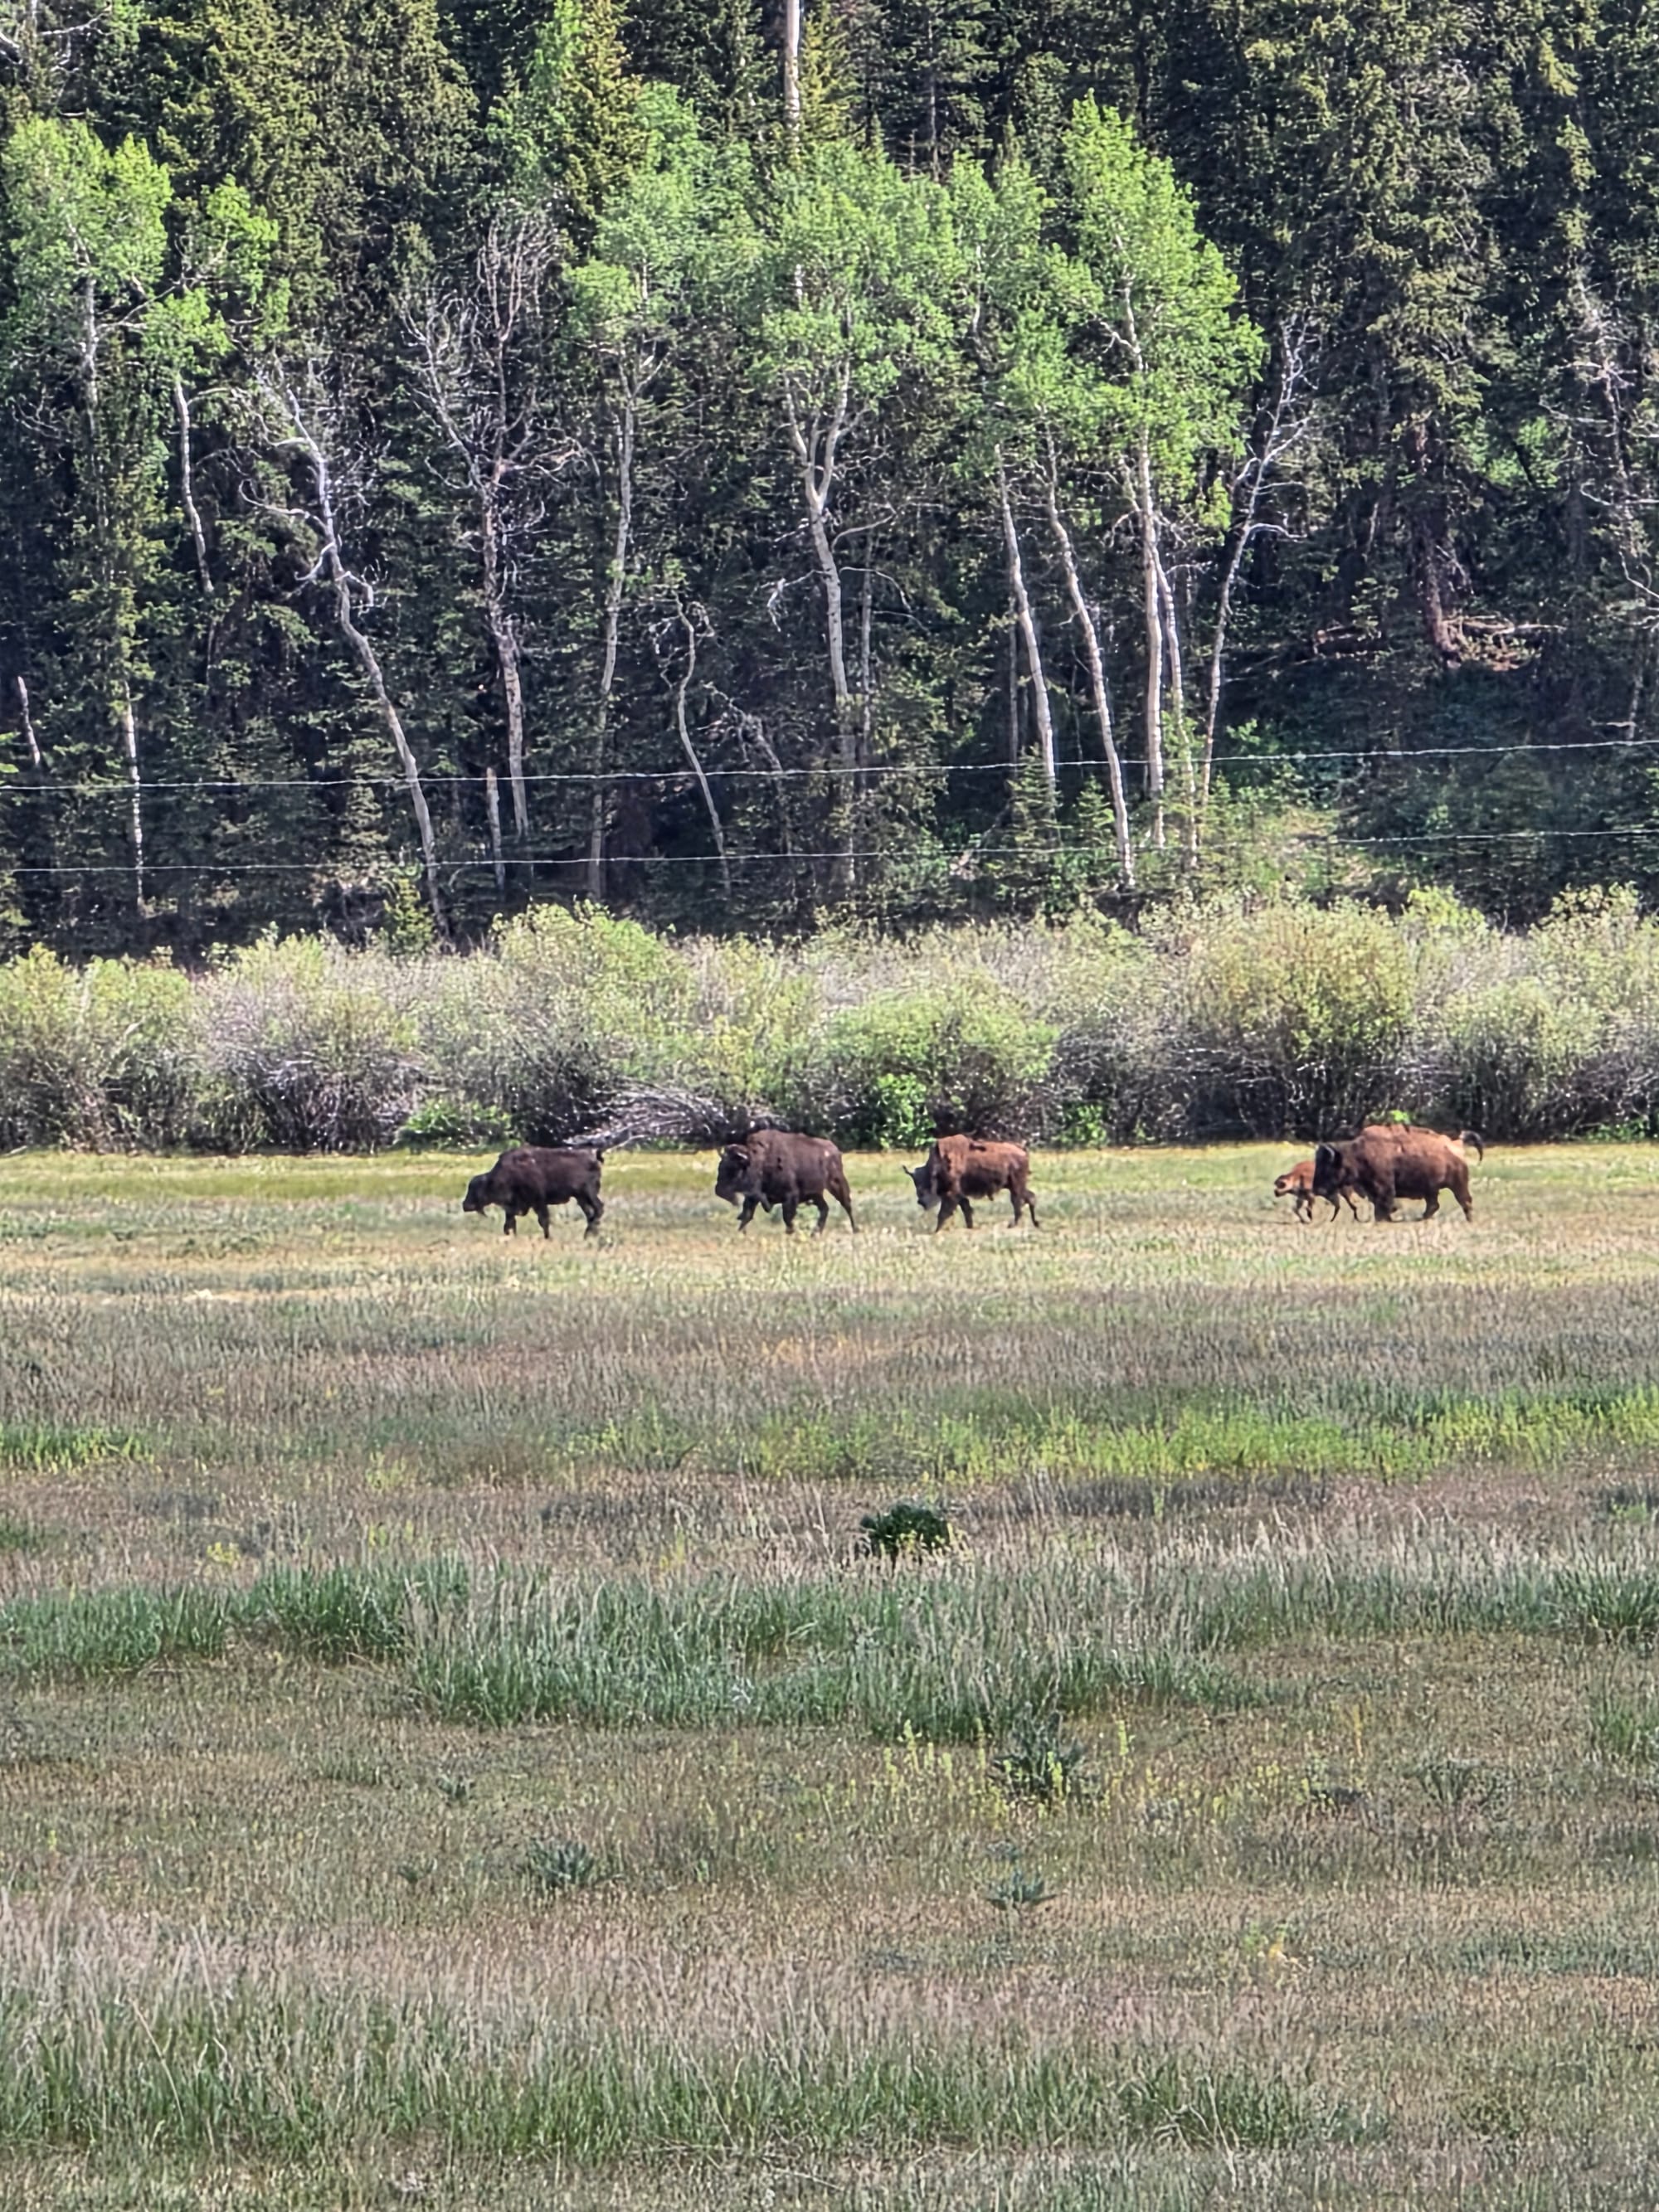
A quick peek at the herd
We stayed at Headwaters Lodge, the northernmost hotel in the Grand Tetons. The lodge was nice and not overly priced for the accommodations, but its location is isolated. We had a 45-minute drive over the exact same stretch of road every single morning to reach the main trailheads. We ended up with a Premium Cabin after the rebooking swap, I would have opted for one of the lesser cabins, but he porch area was nice to sit after a long day, and the room was slightly bigger/nicer than an average hotel room. If the price is comparable, staying further south in the Tetons is definitely worth it to save driving time.
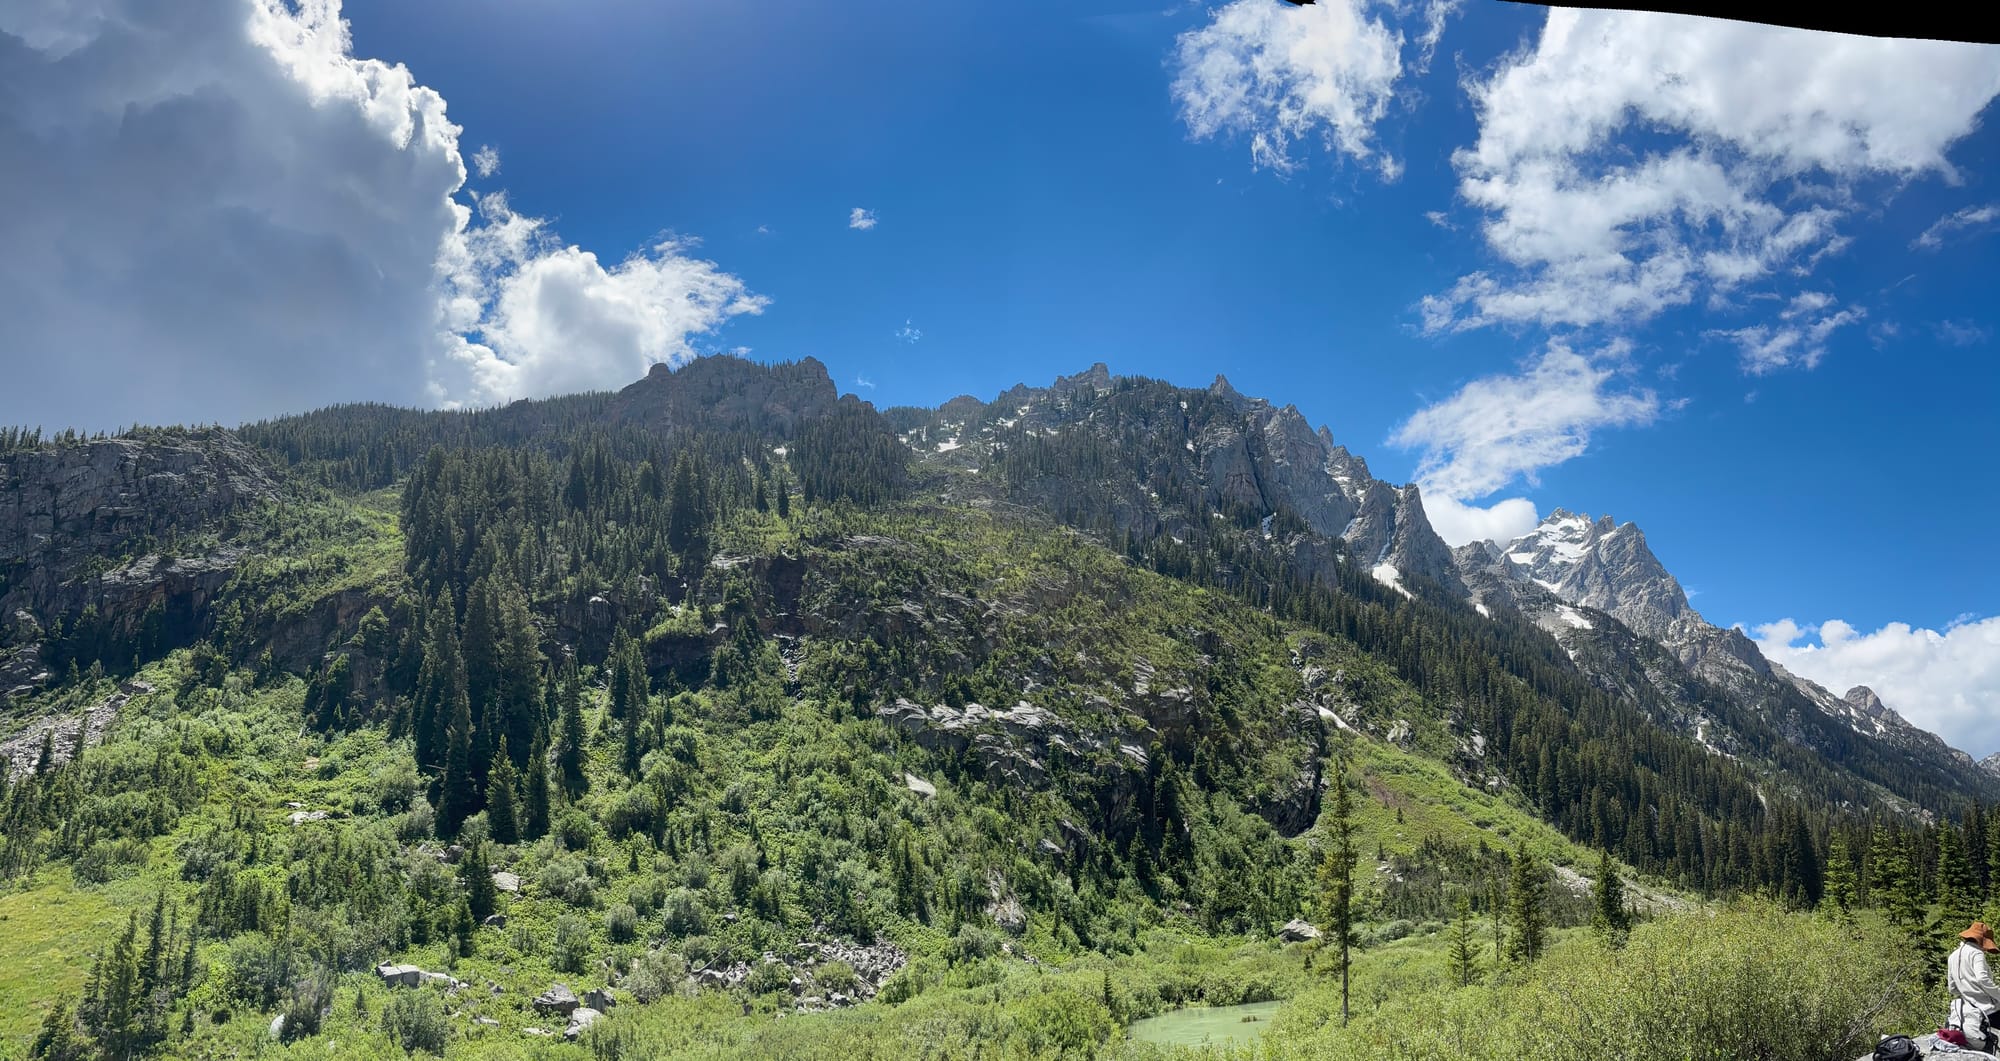
Day 2: Jenny Lake and Cascade Canyon Hike
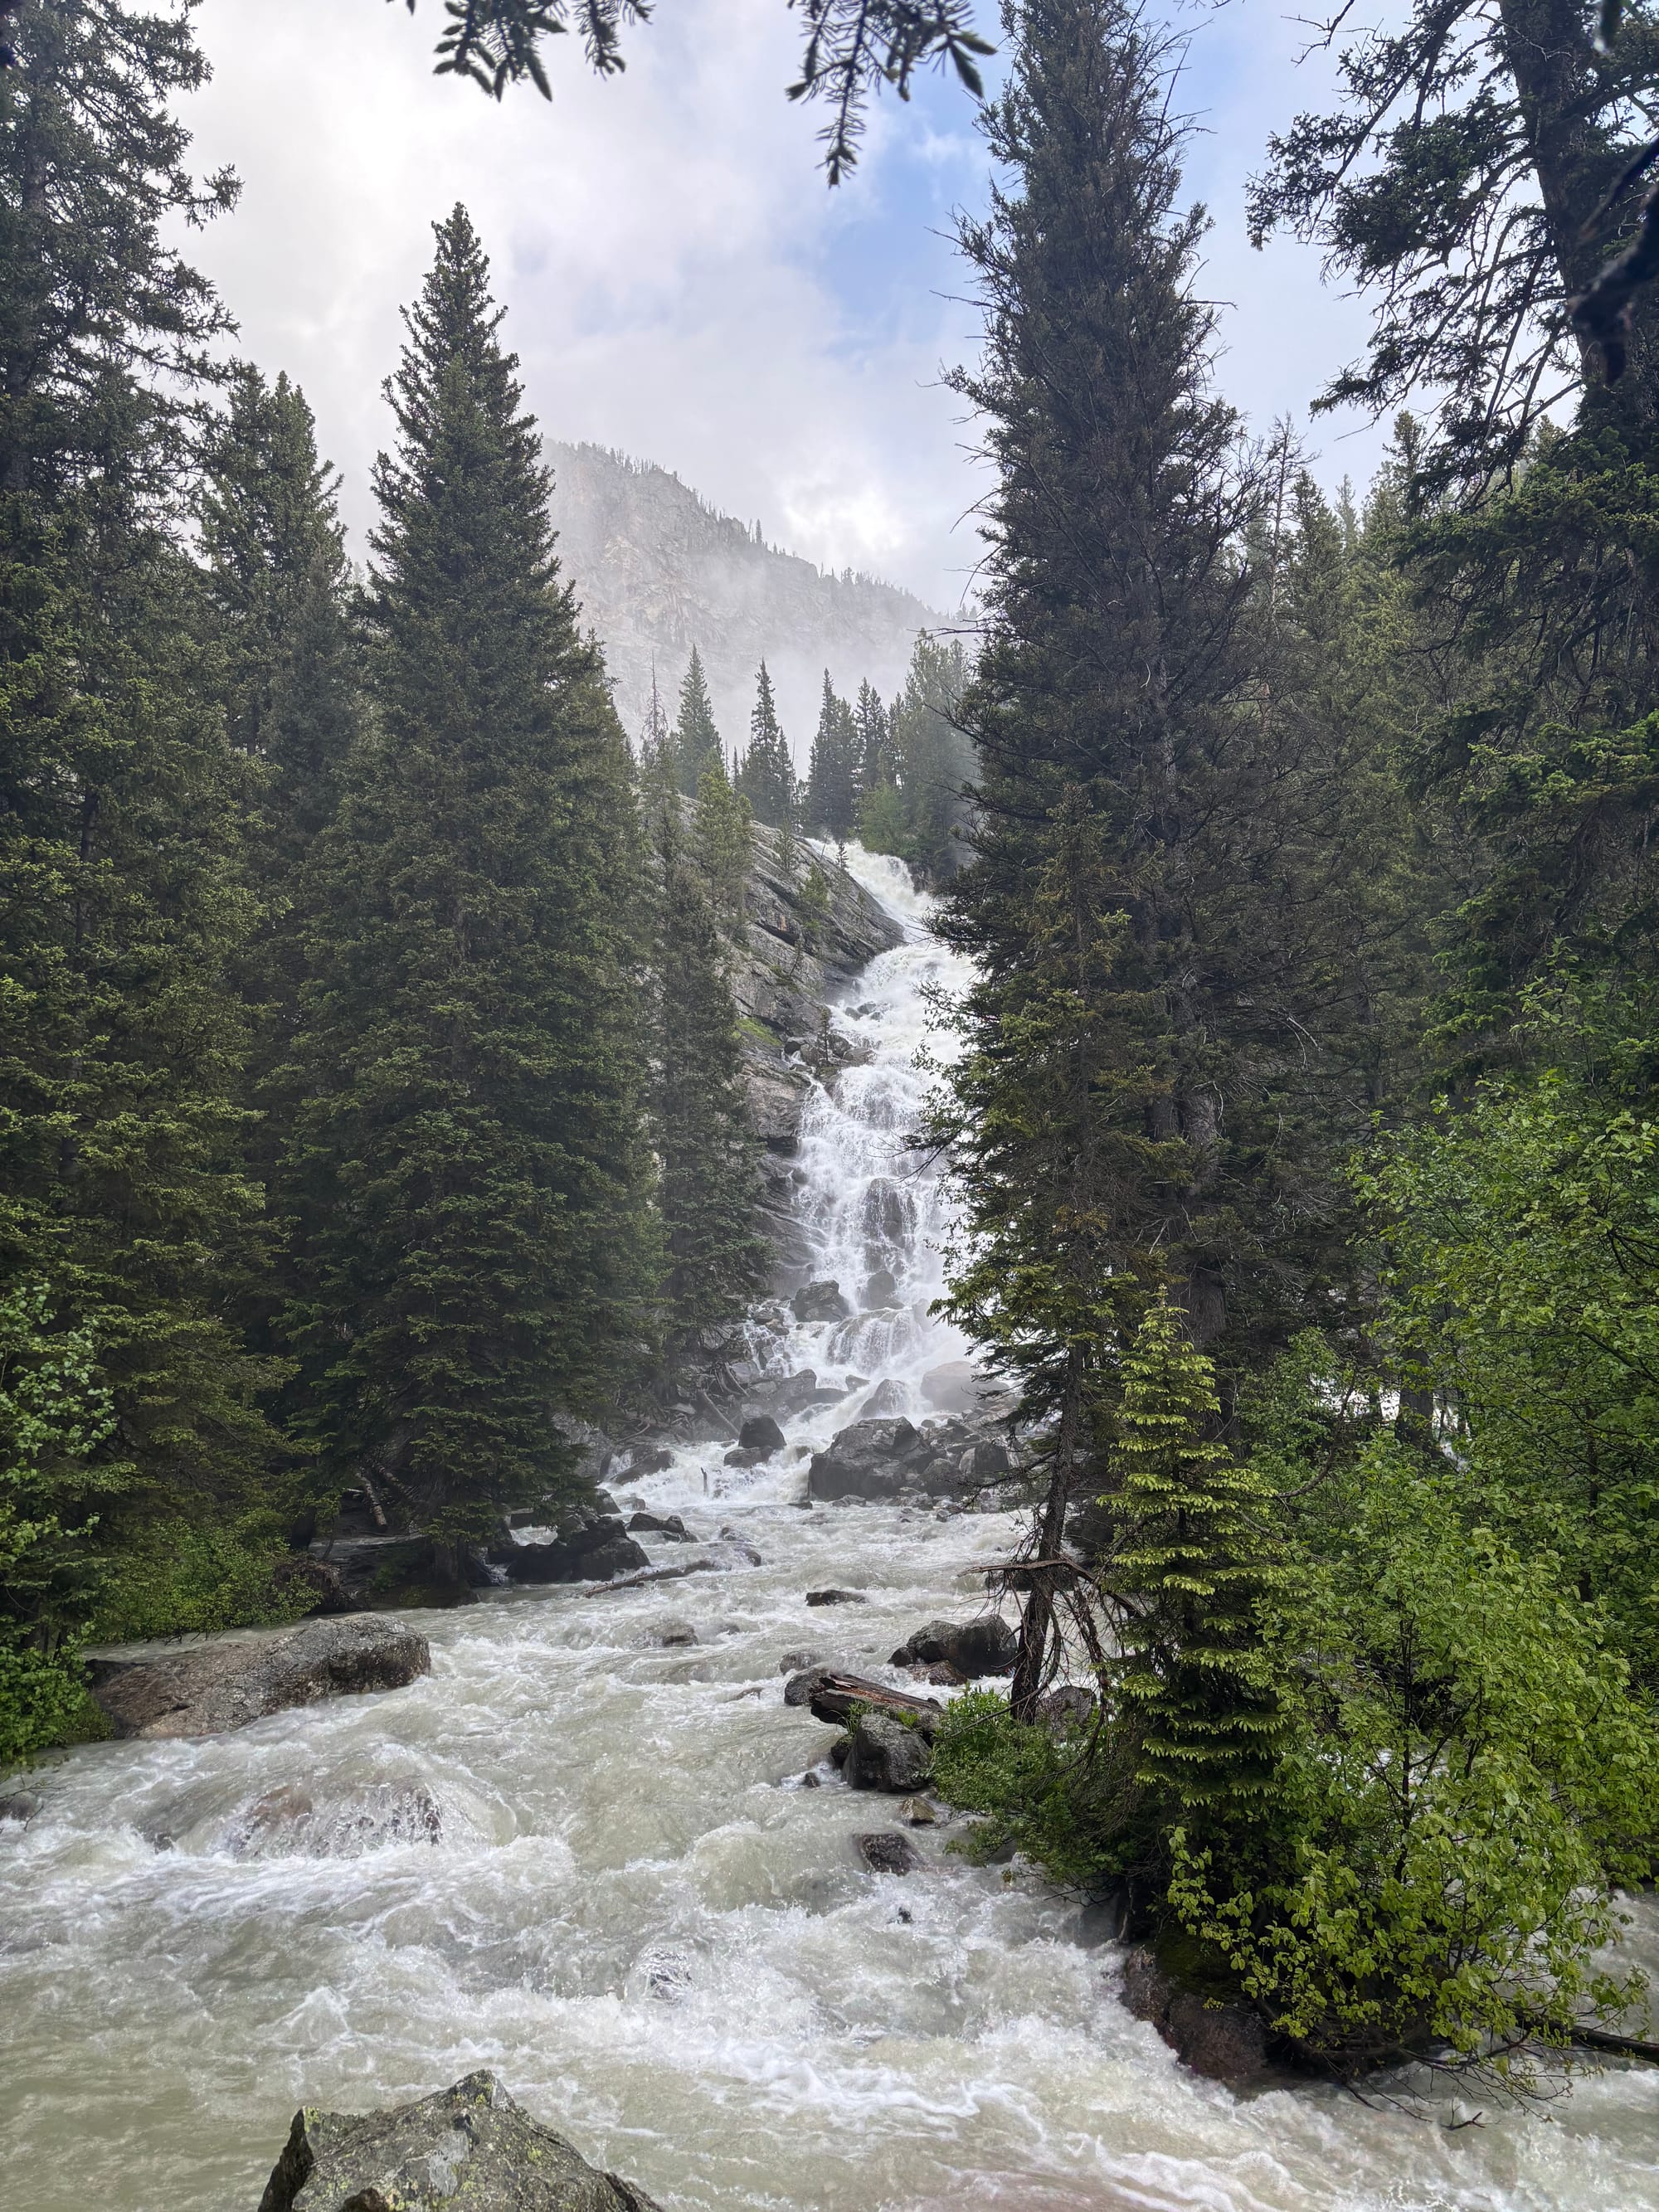
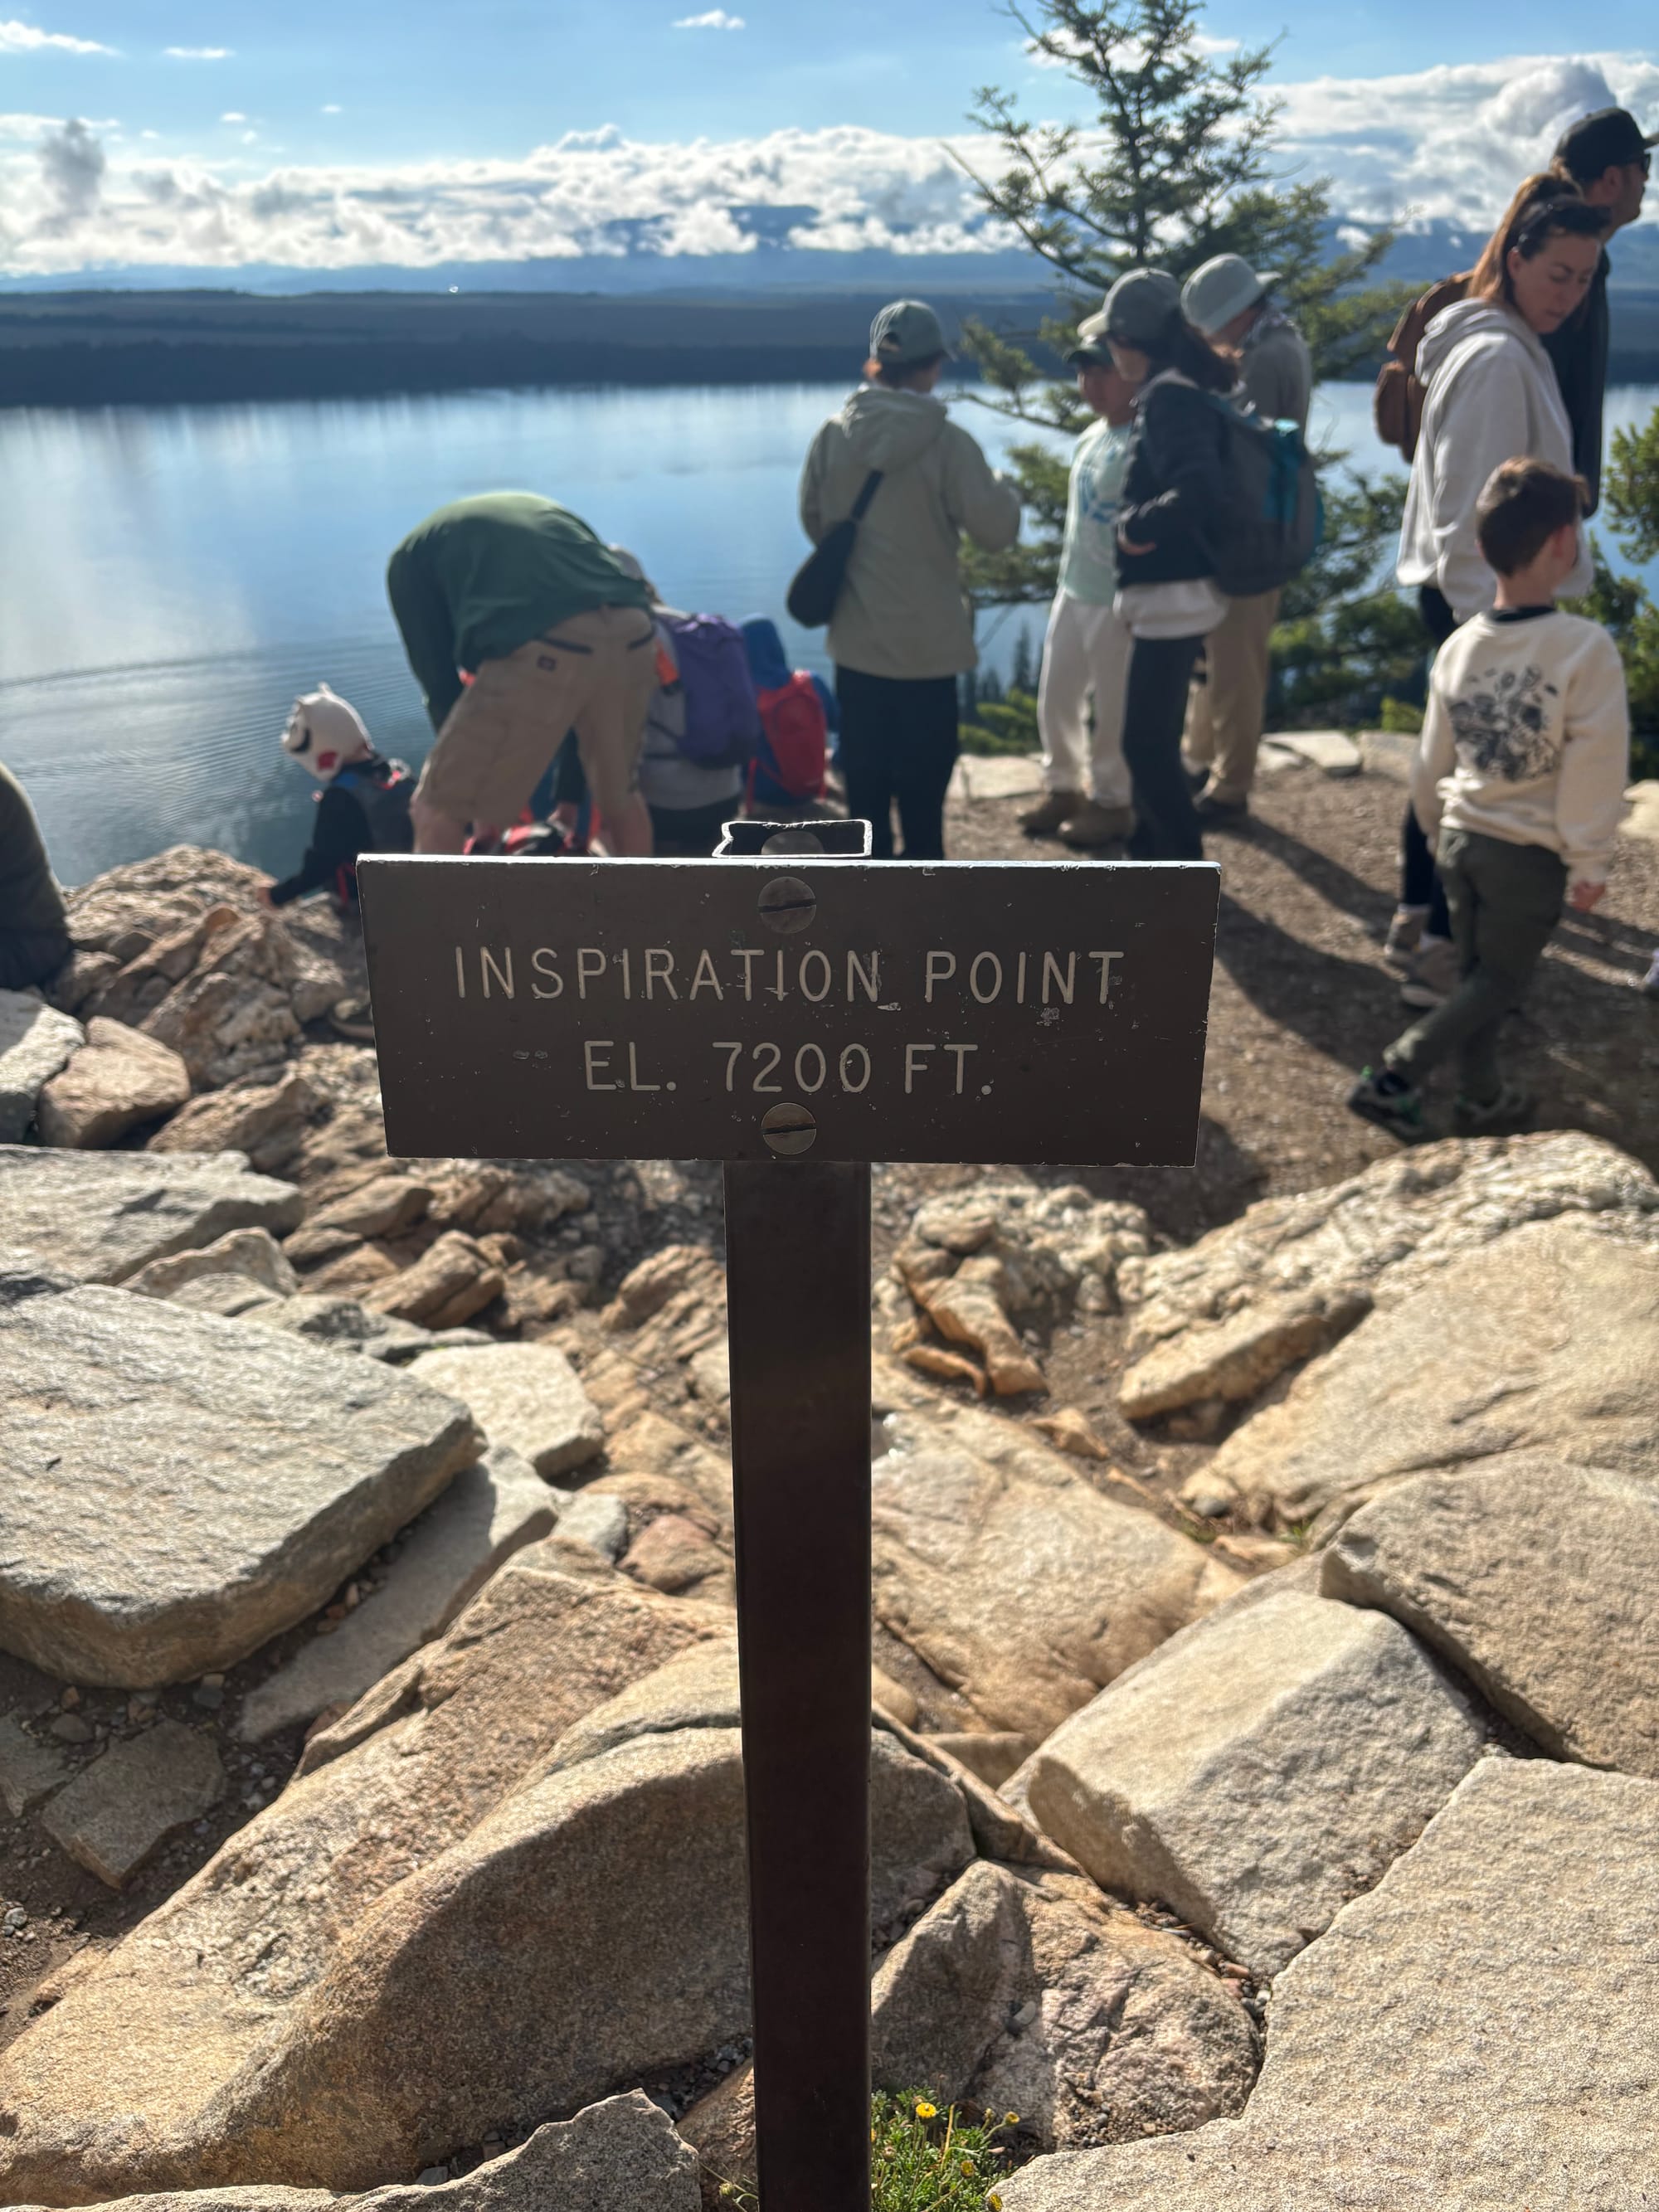
We left Headwaters Lodge early and arrived at the Jenny Lake parking lot around 7:00 AM. The lot was already almost full. We waited about 30 to 45 minutes to board the shuttle ferry, which costs $20 per person for a round trip. While you can walk the flat two-mile path around the lake to reach the trailhead, paying for the ferry is worth it to save your leg energy for the actual canyon. Getting on one of the first few boats also allows you to see Hidden Falls and Inspiration Point before they get completely packed with crowds. Both sights were spectacular.
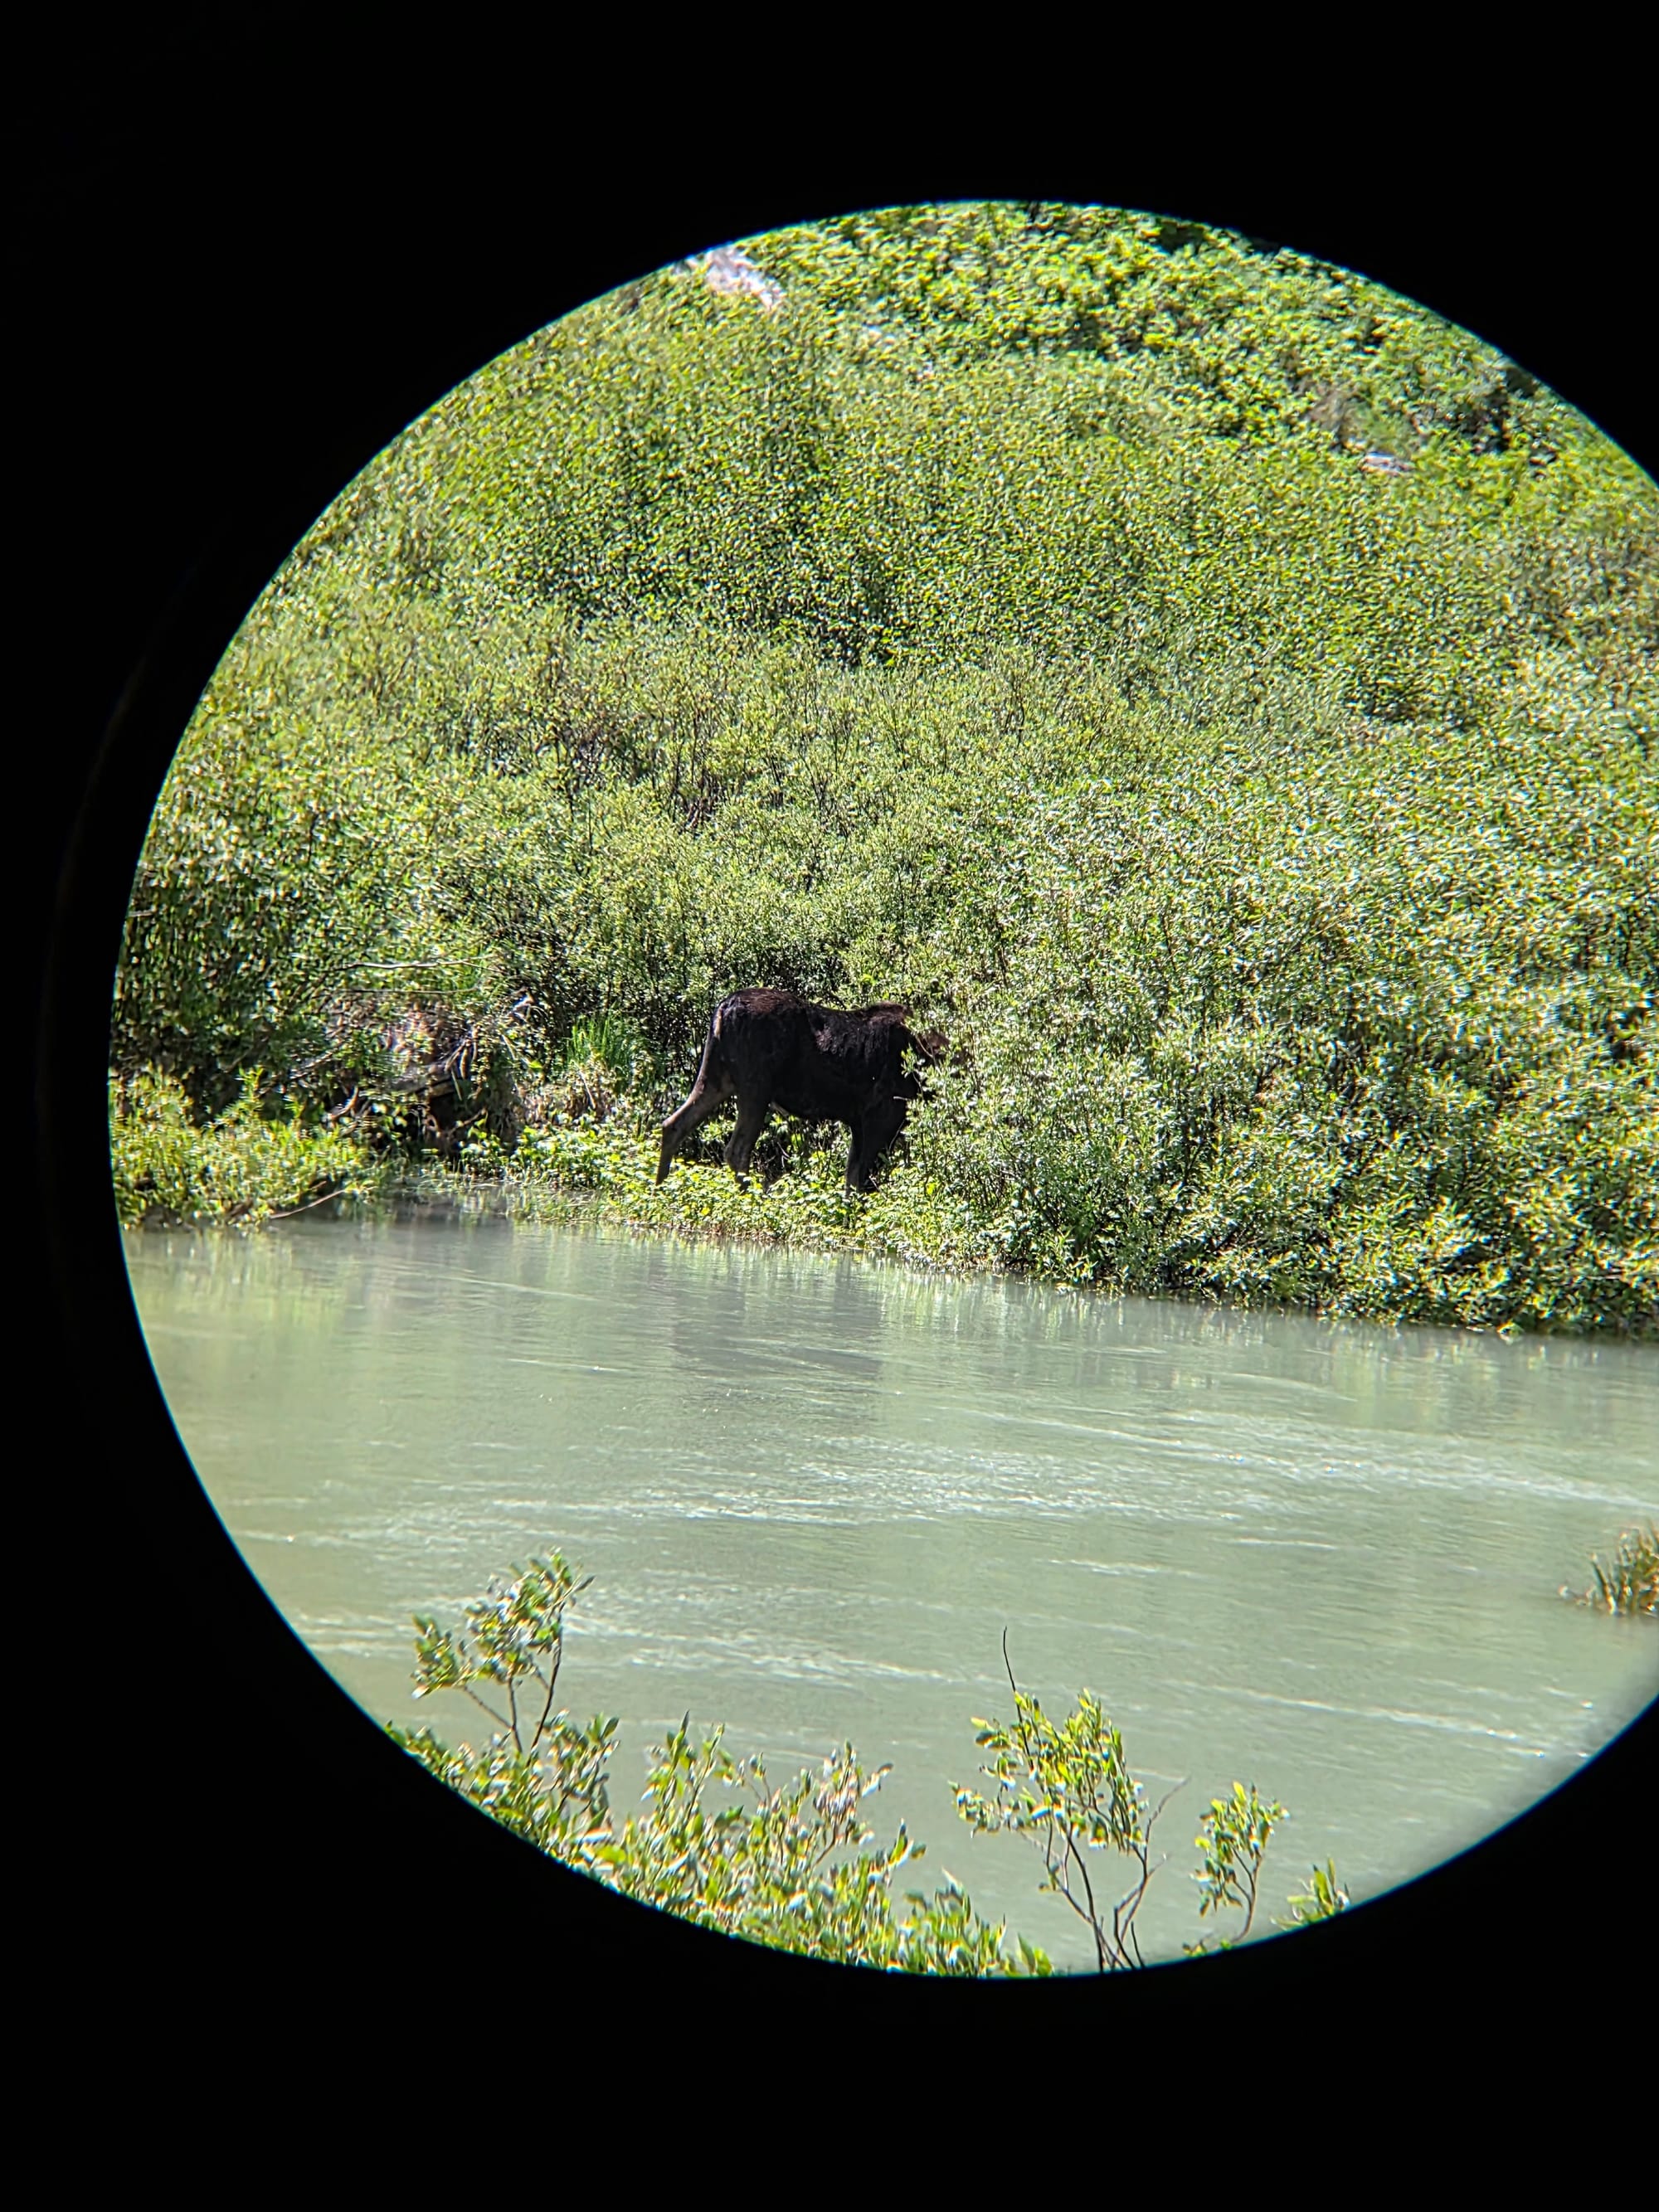
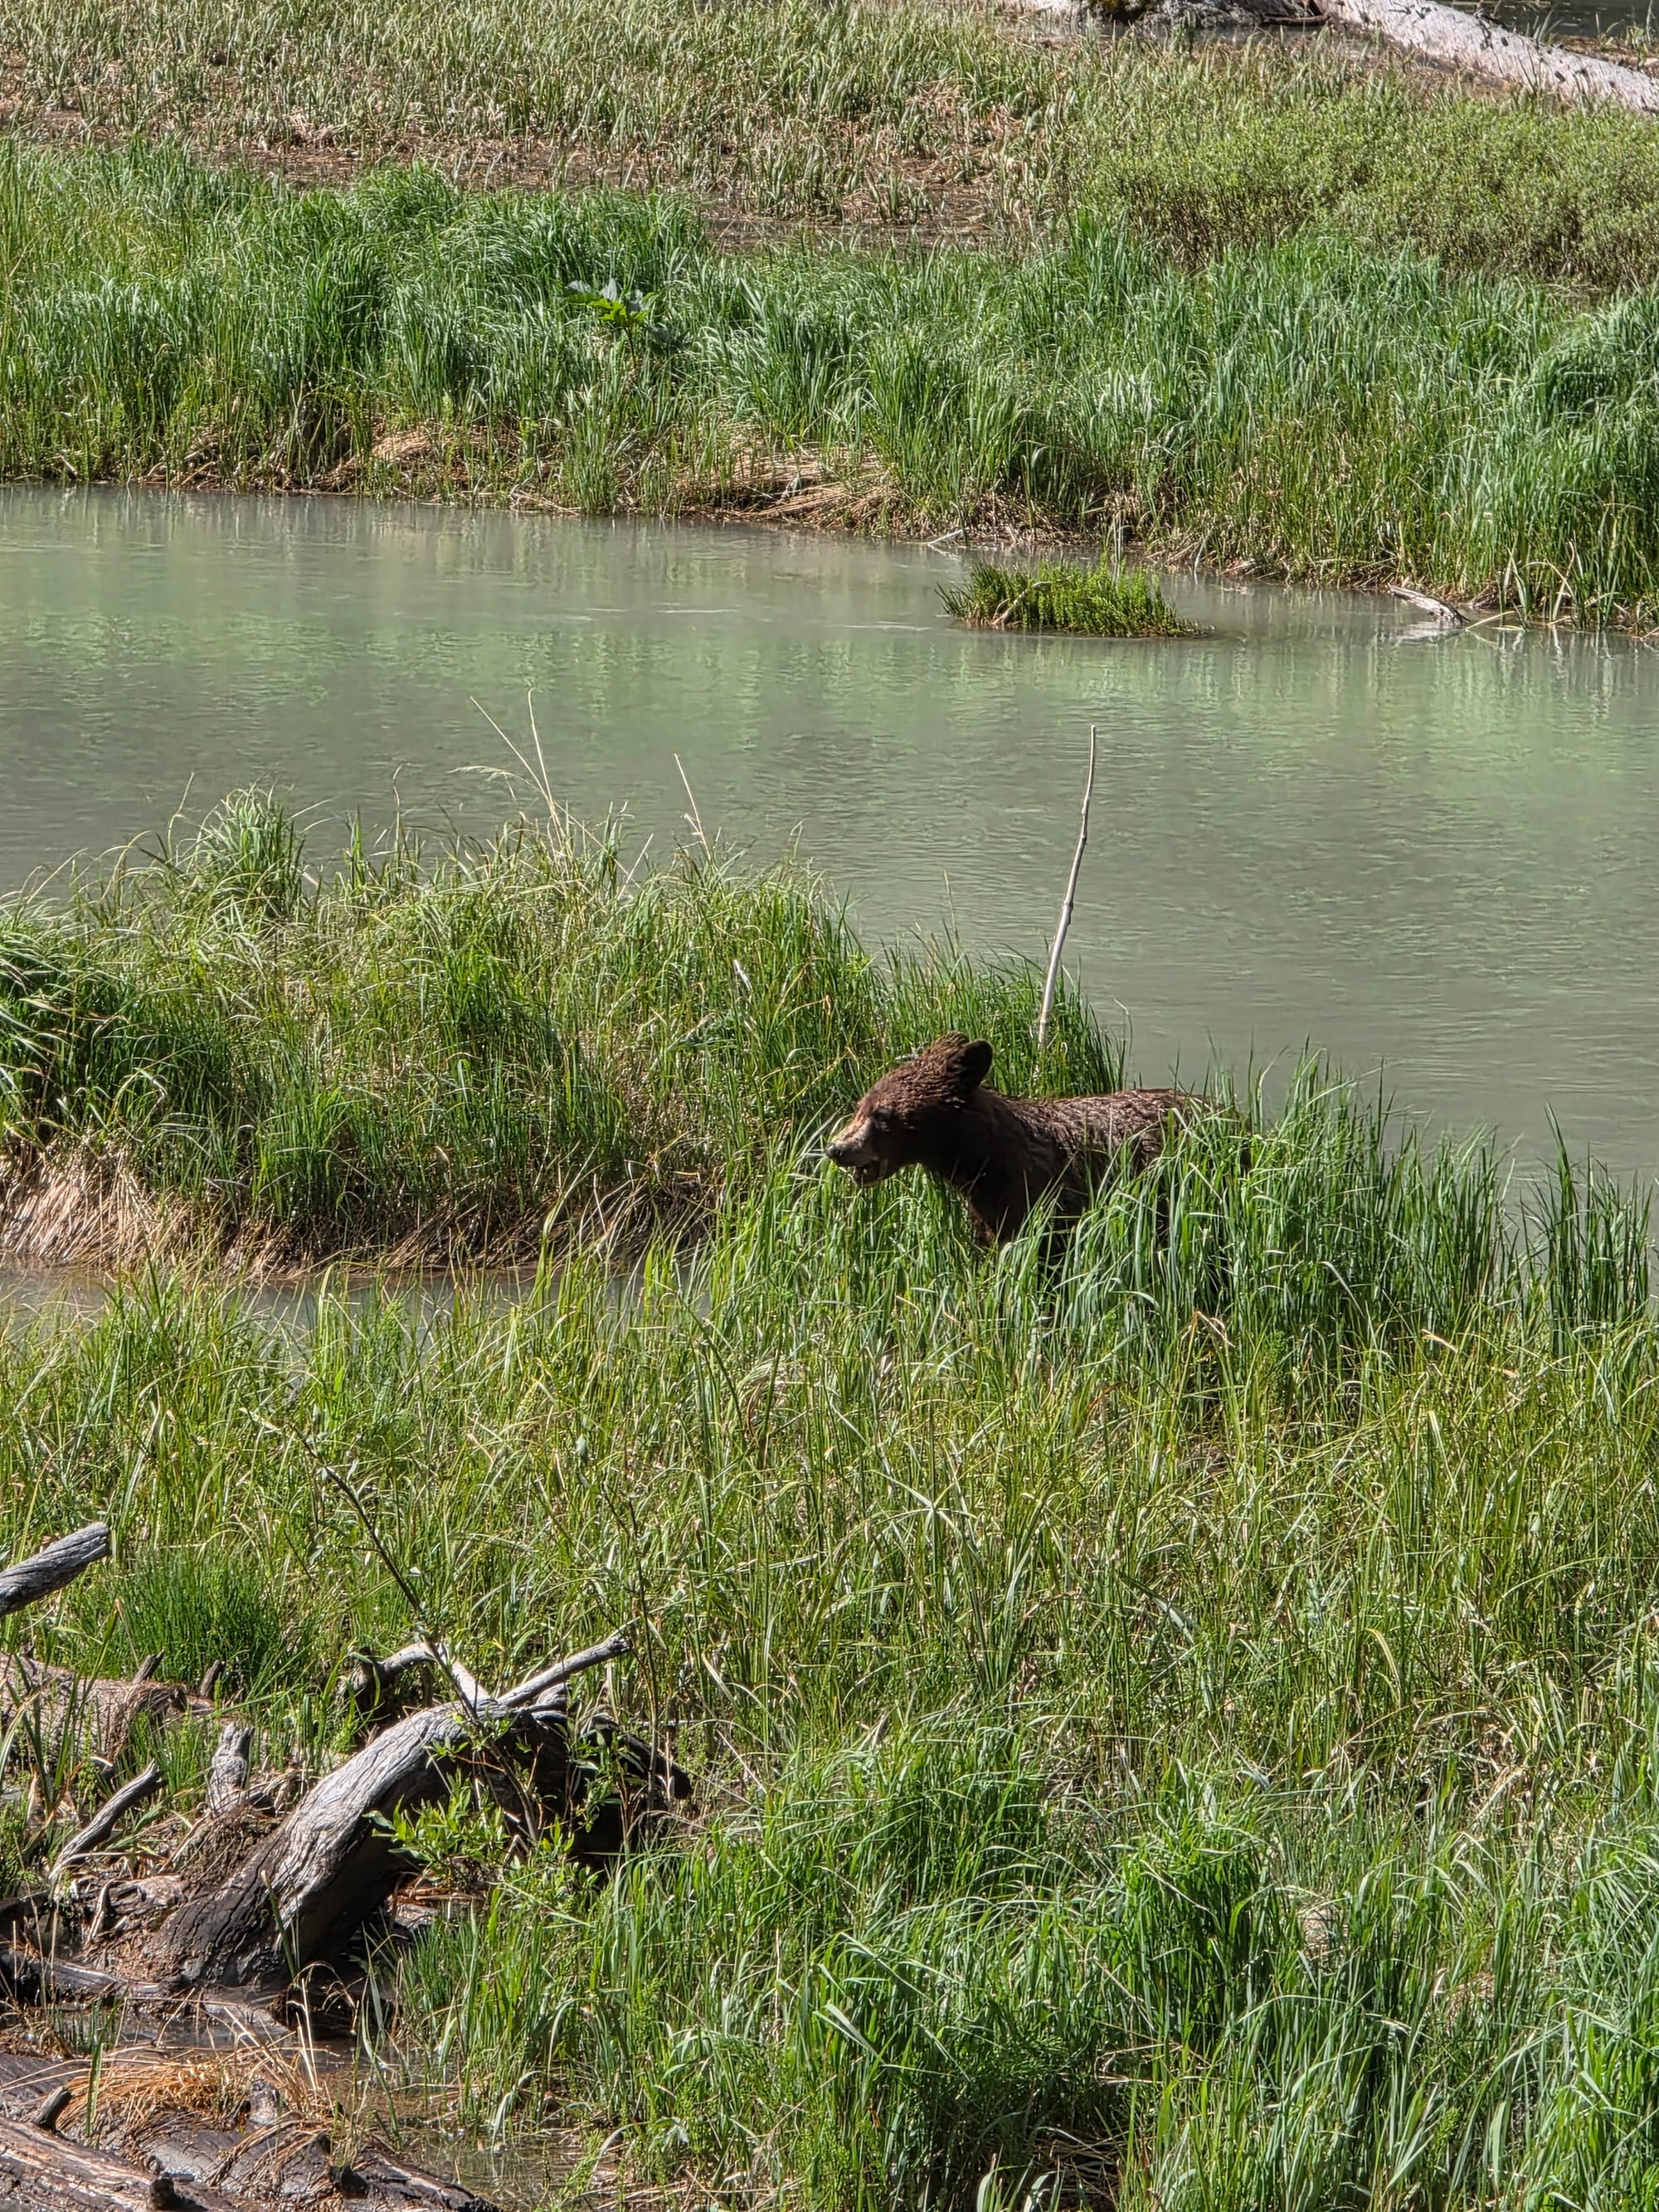
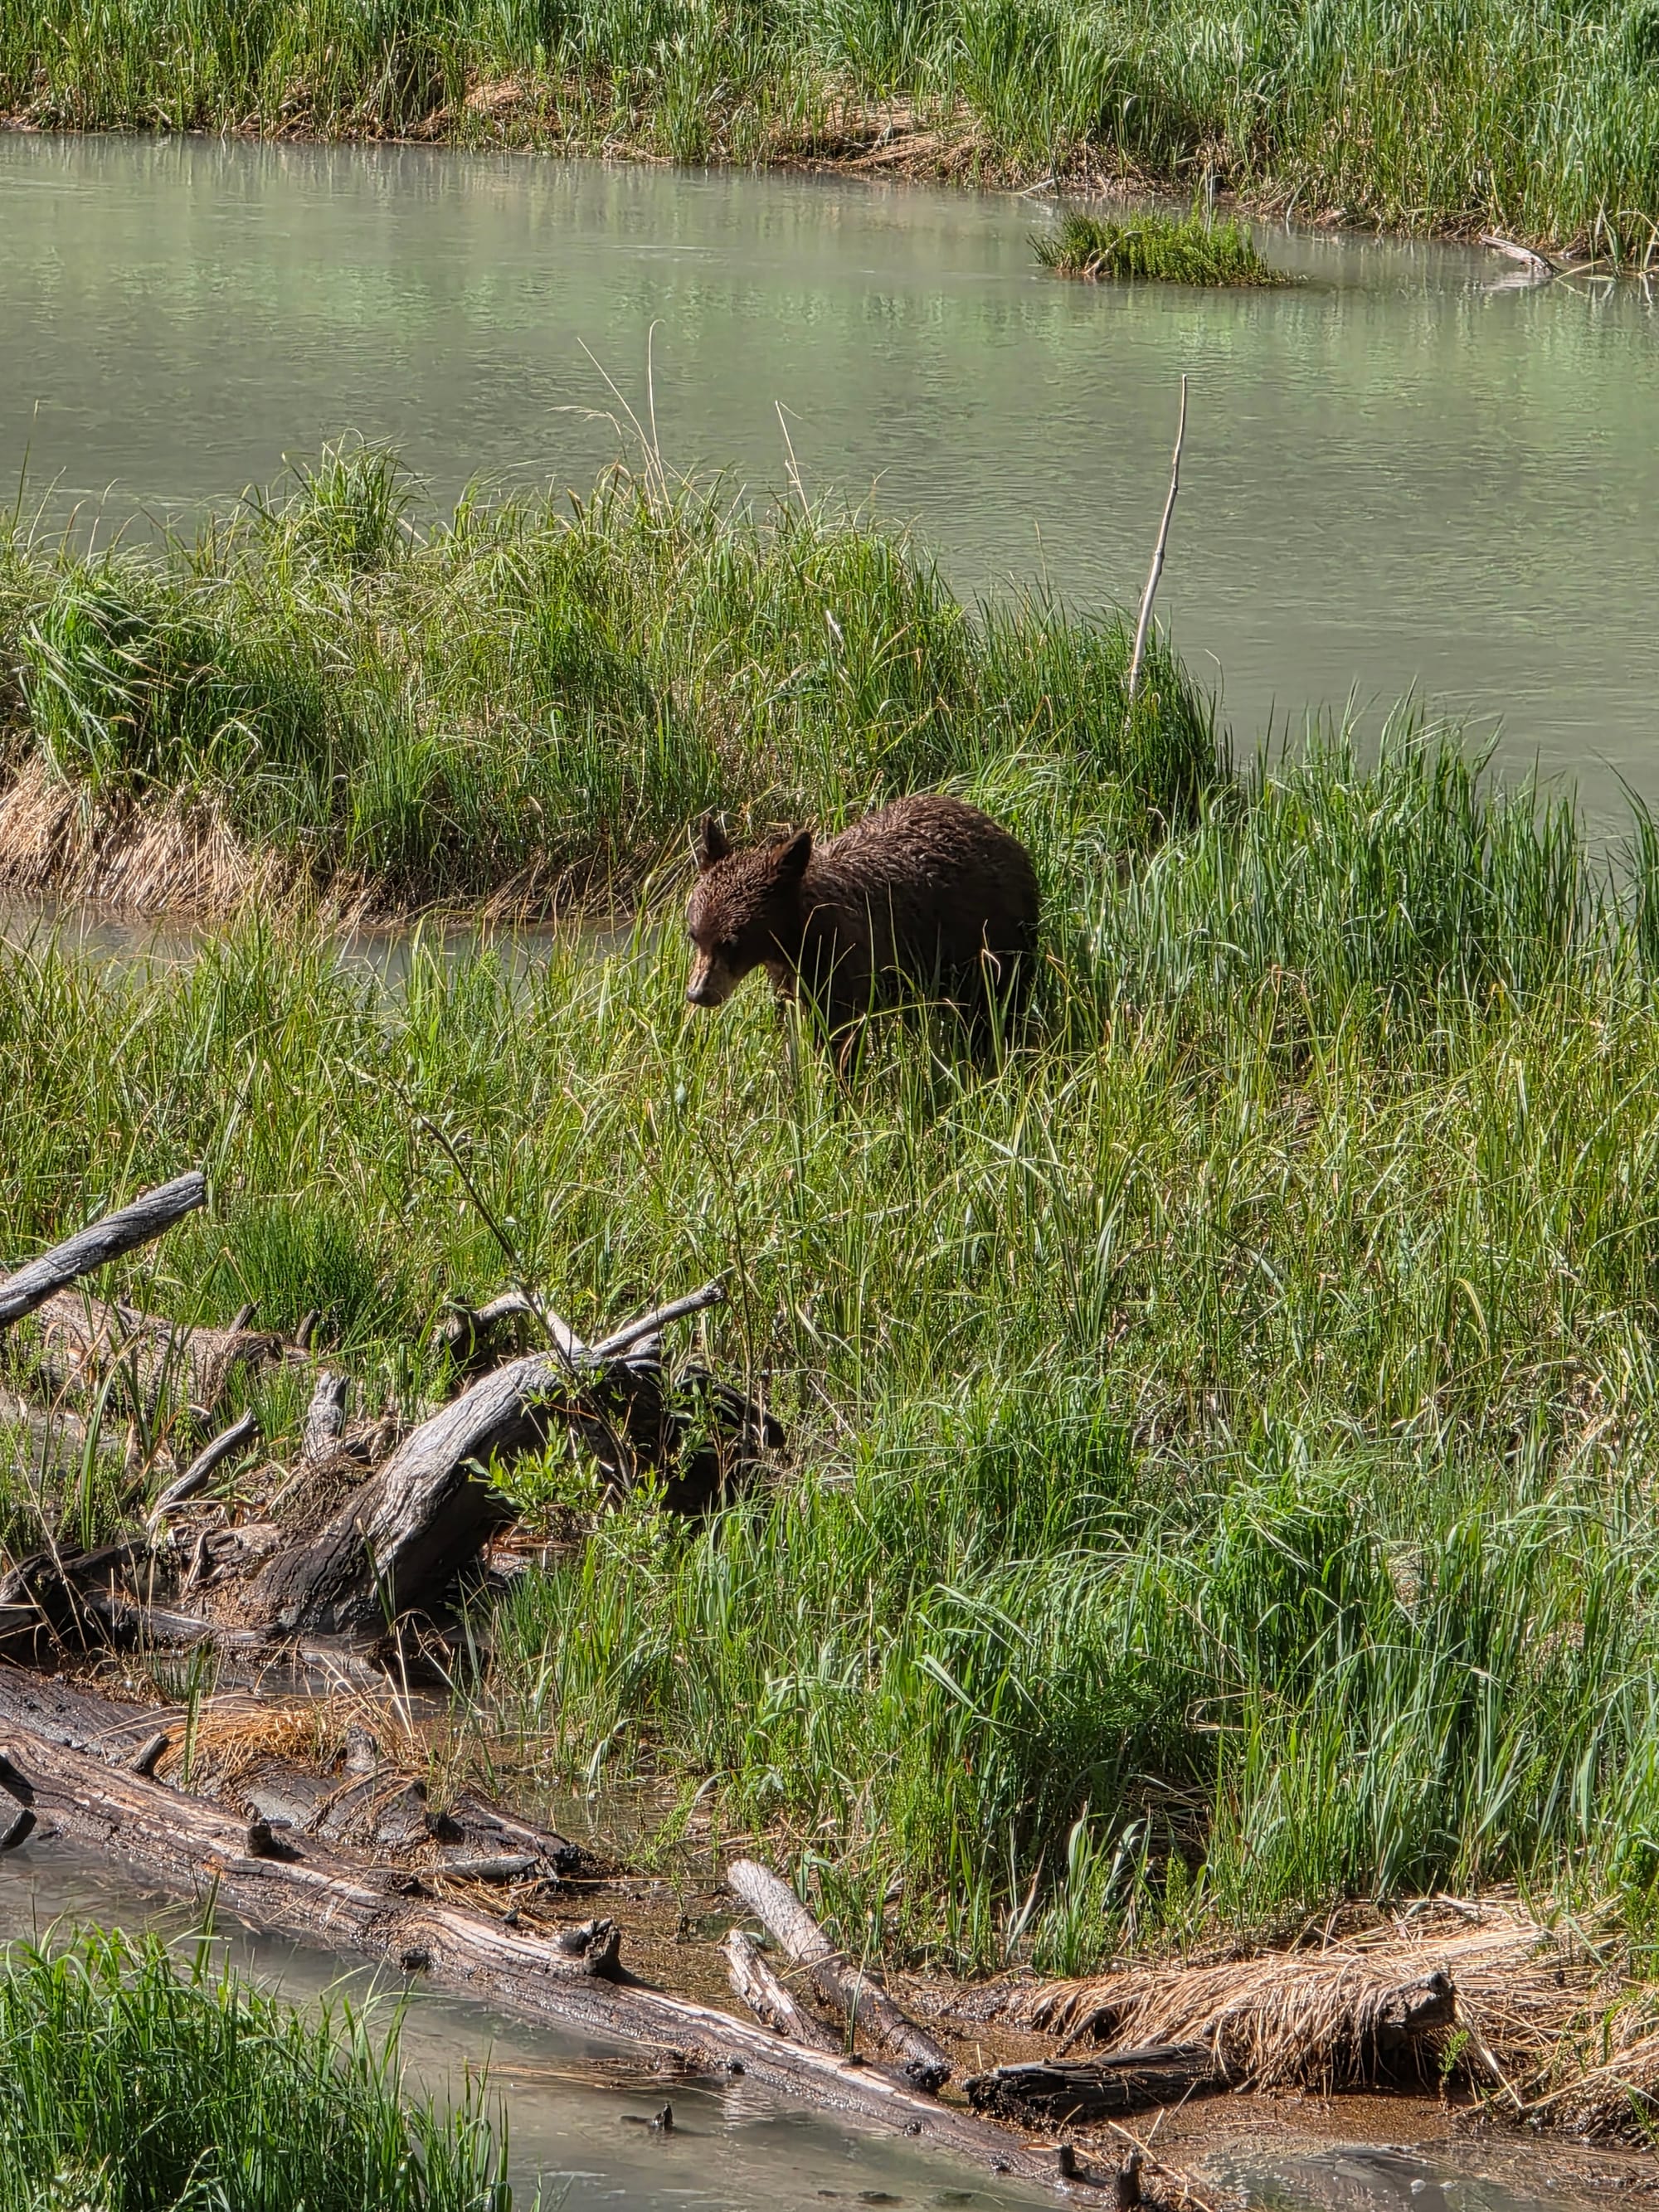
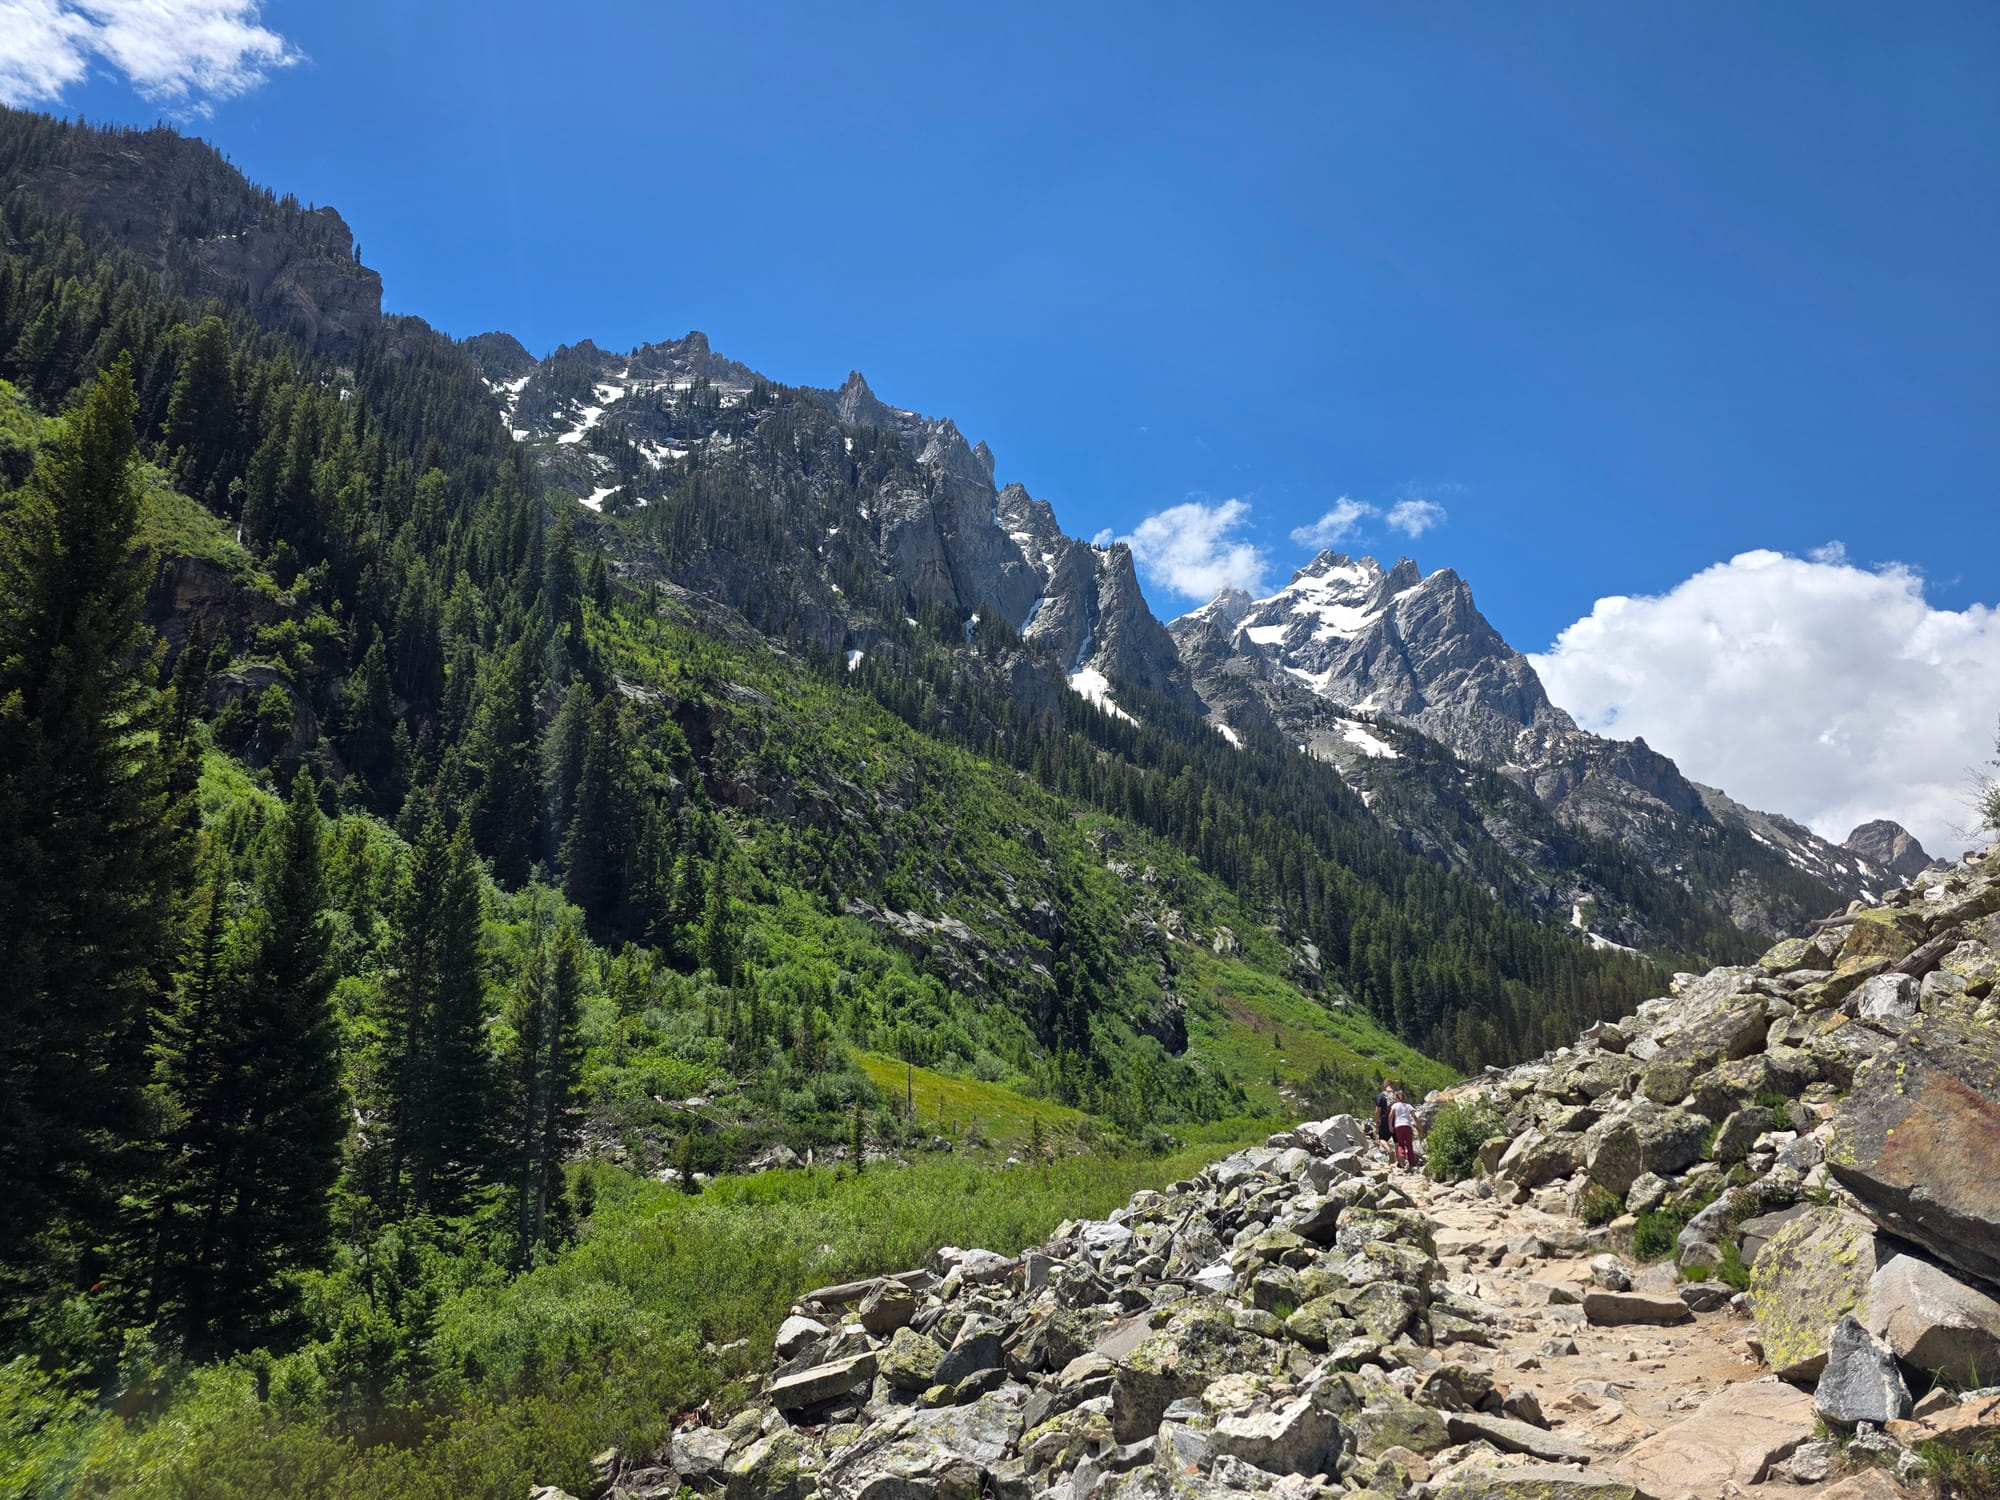
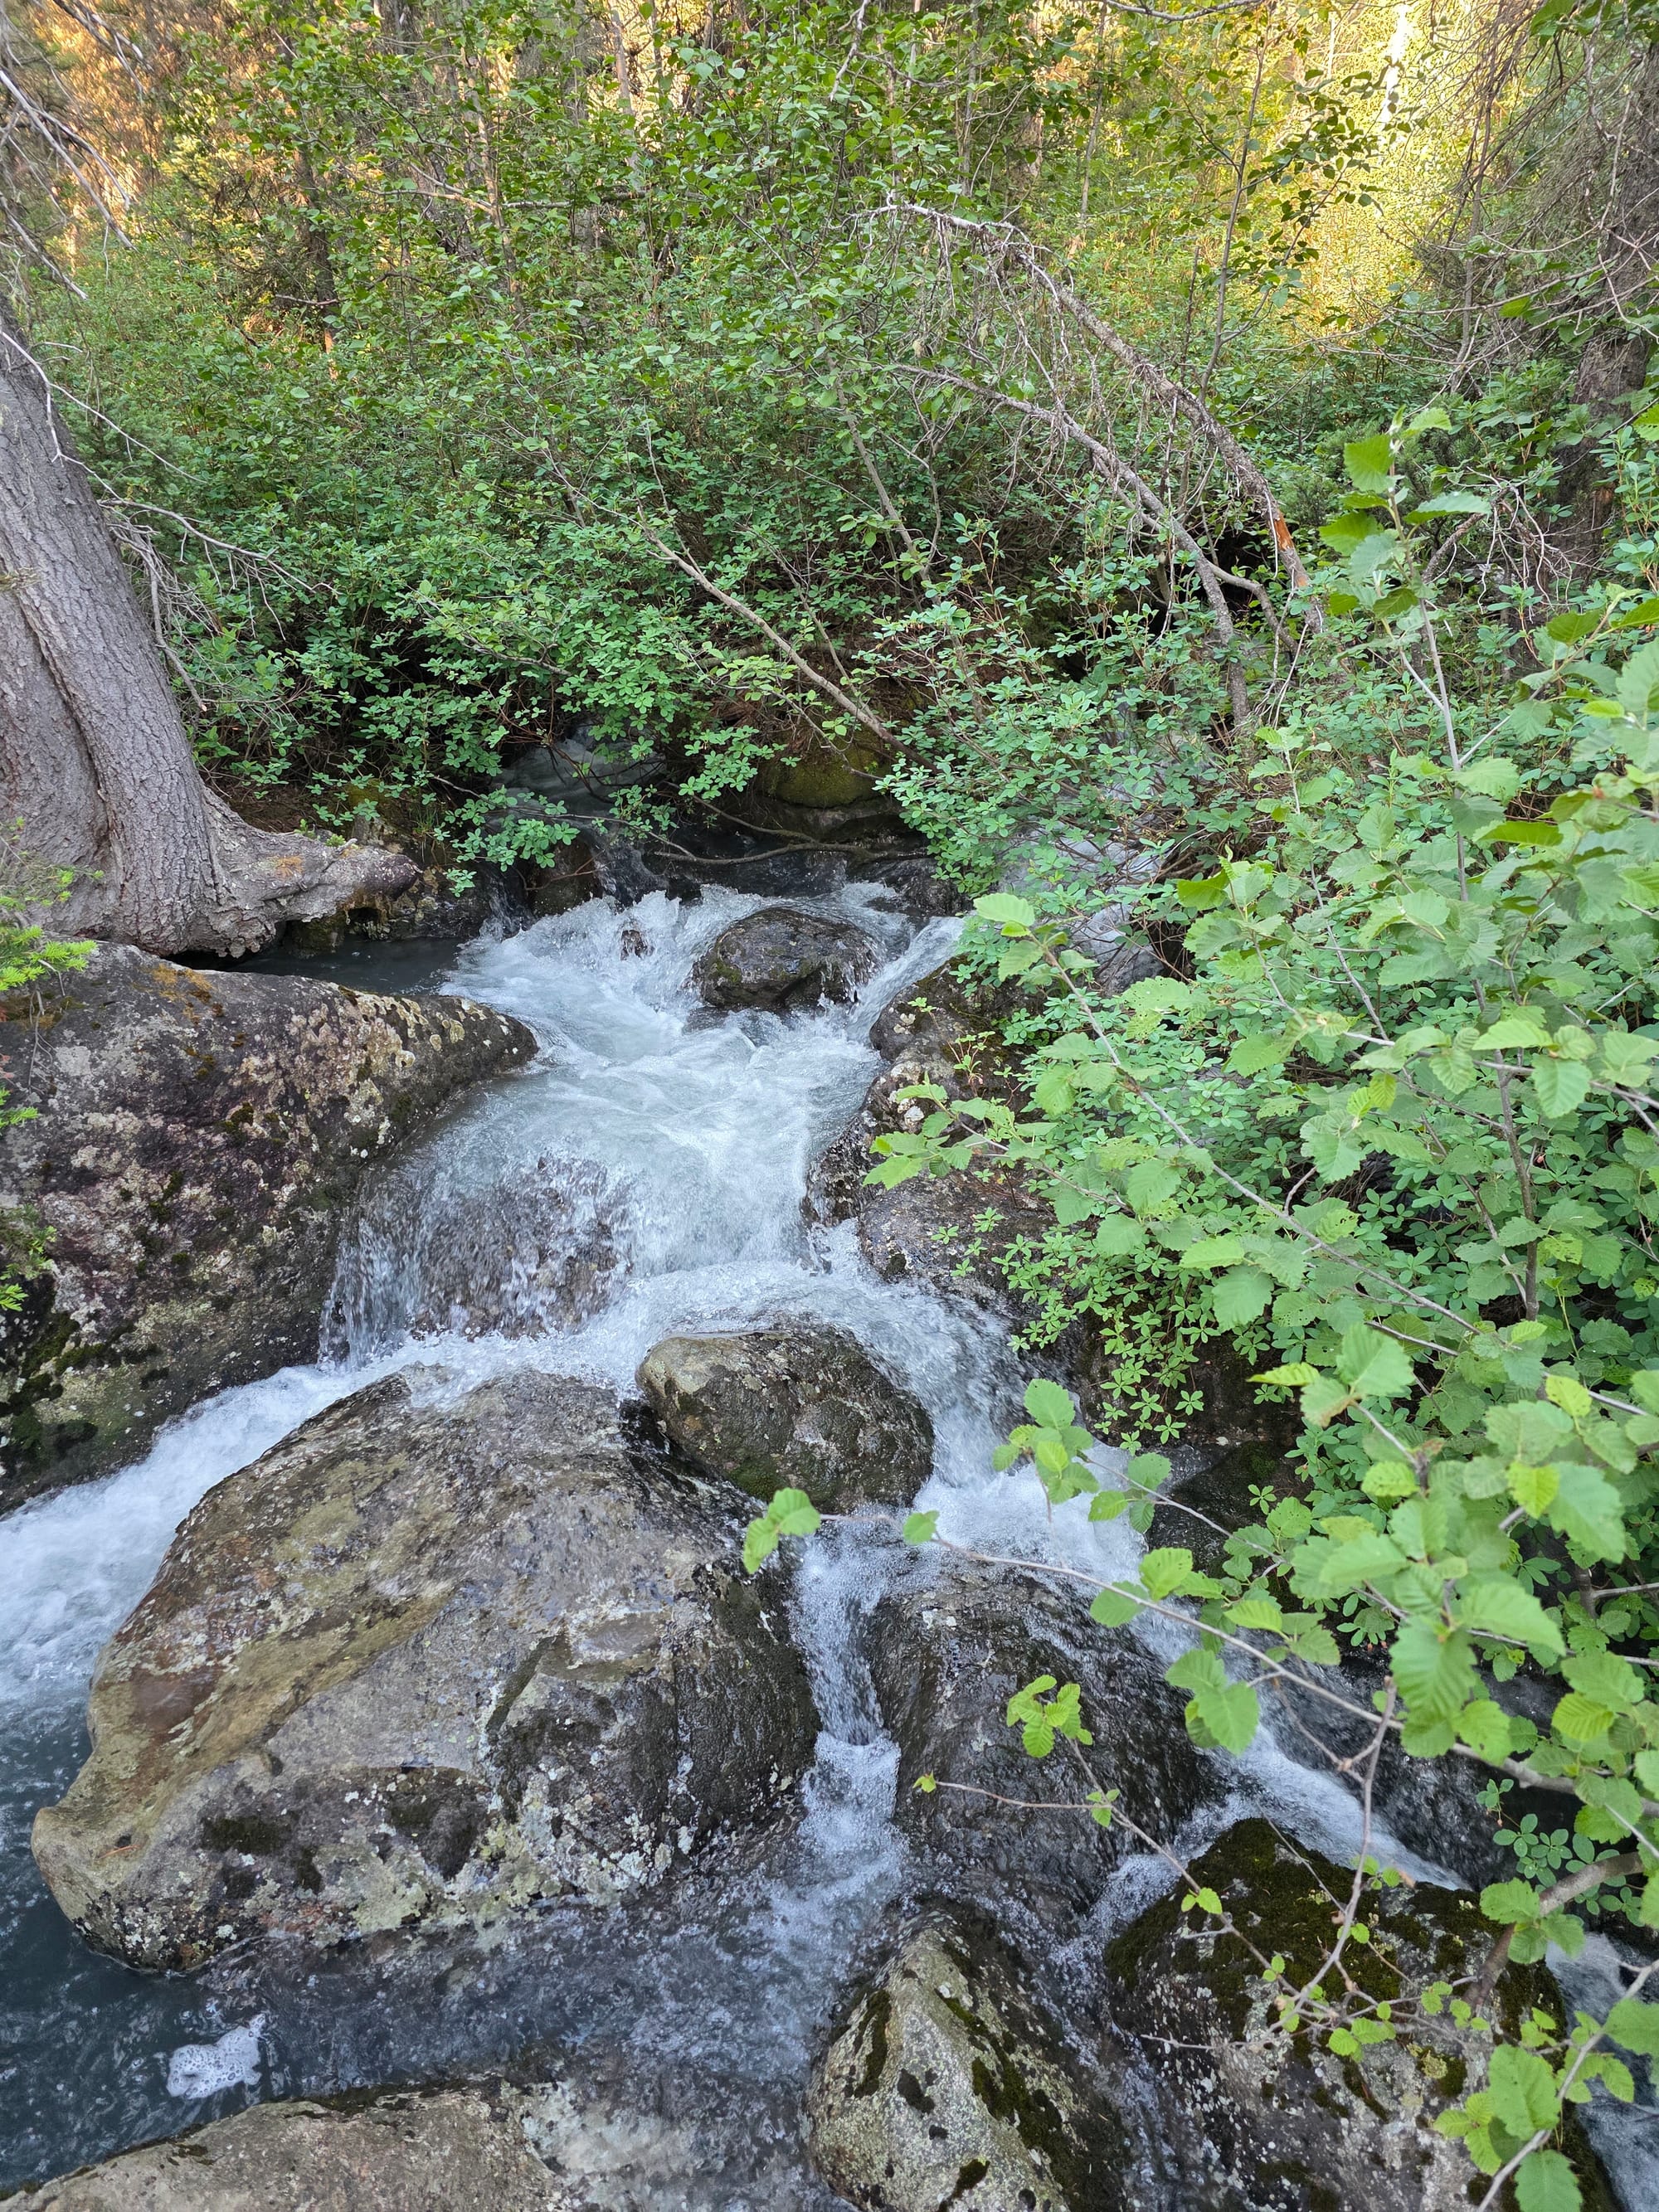
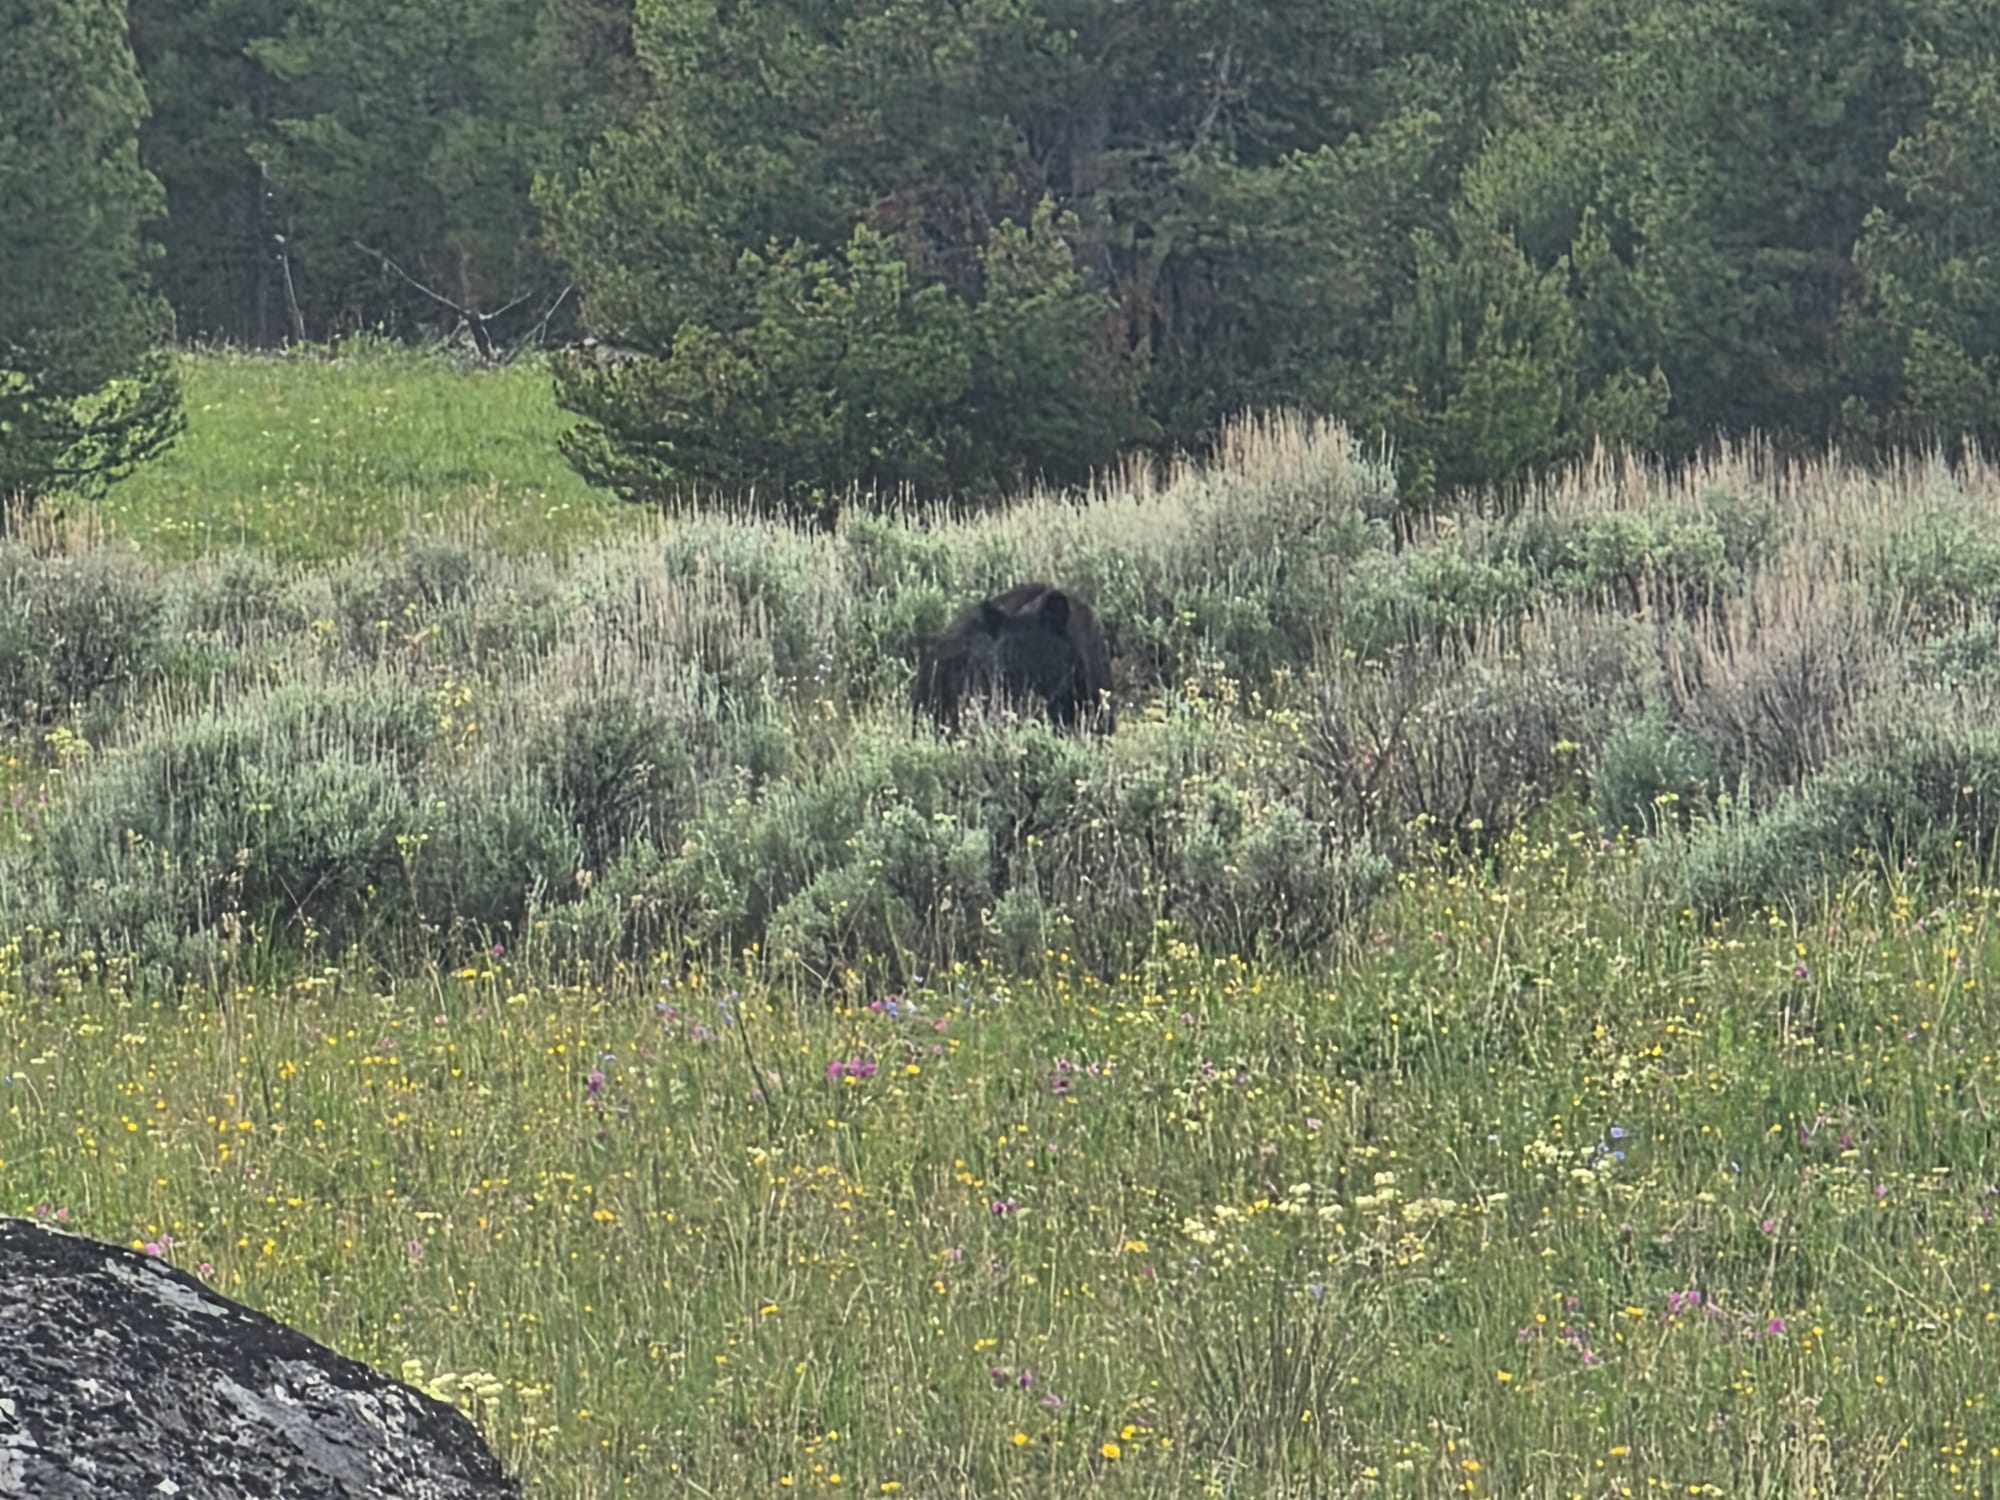
From Inspiration Point, we hiked up Cascade Canyon to the backcountry fork where the trail splits toward Lake Solitude. We considered continuing to the lake but decided against it because we were getting tired. This turned out to be a great decision, as our timing on the return hike was perfect for seeing wildlife. On the way up, we only saw marmots and one young black bear grazing about 50 yards off the trail, completely unbothered by the nearby hikers.
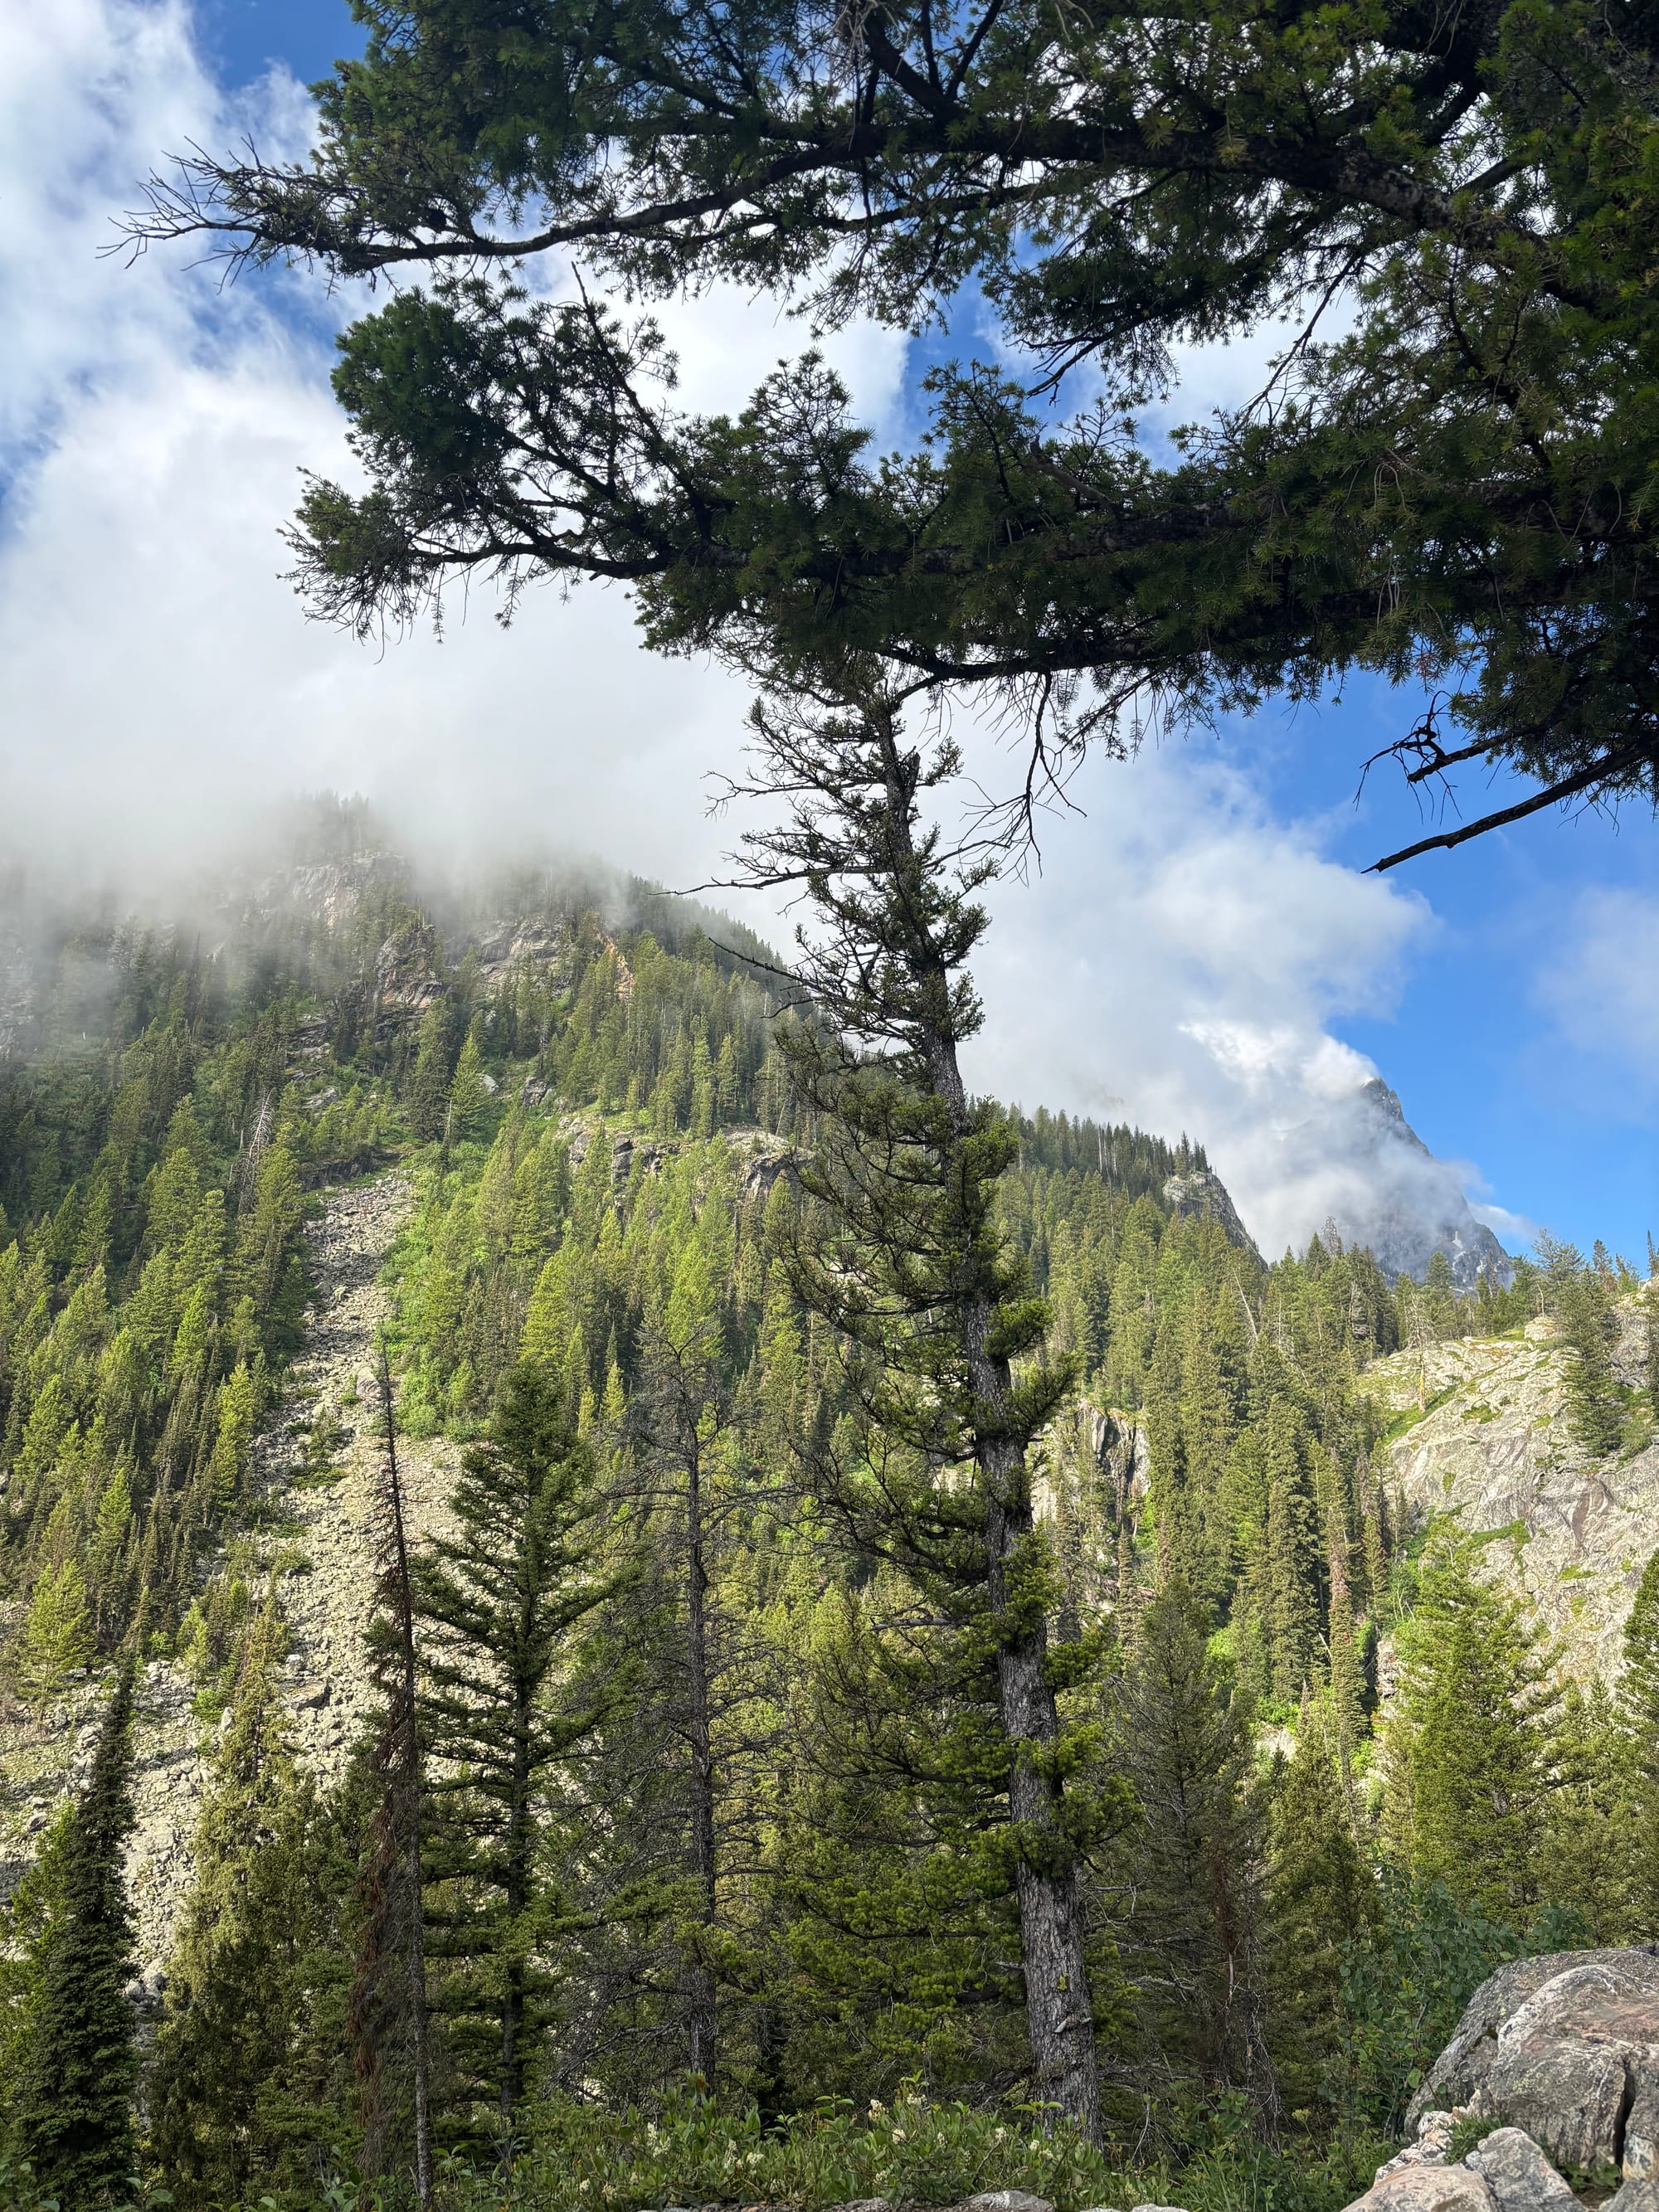
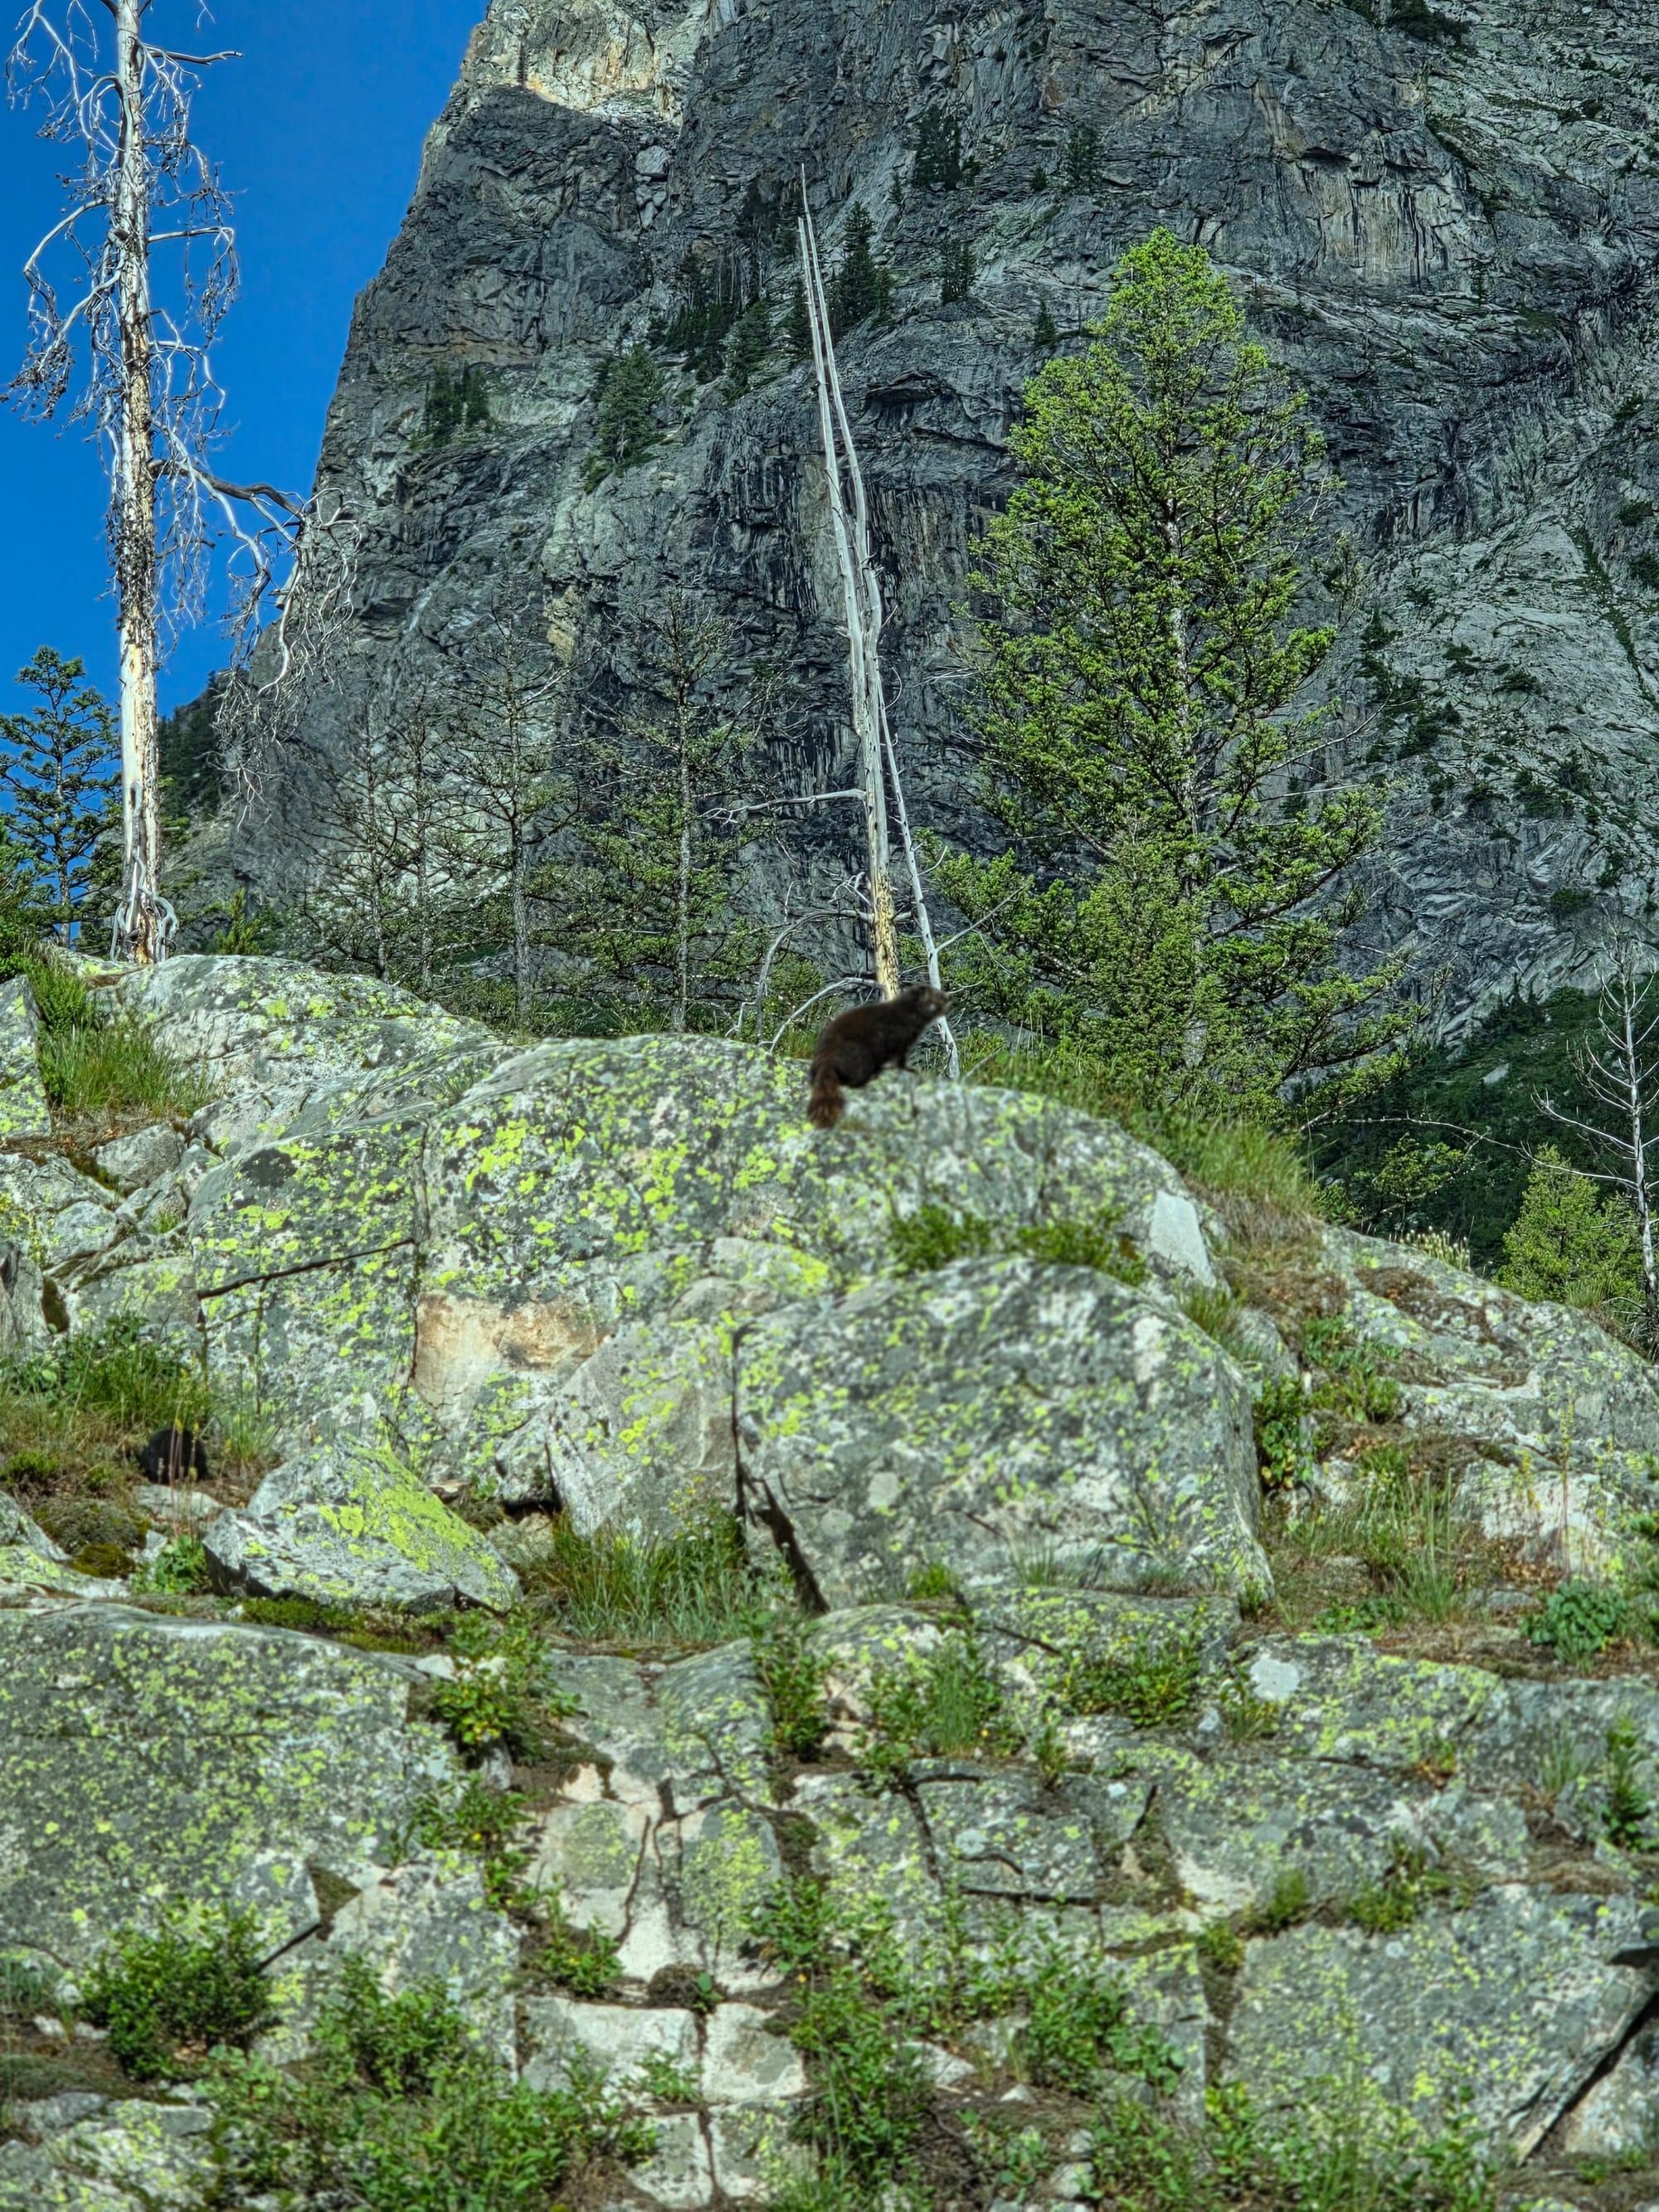
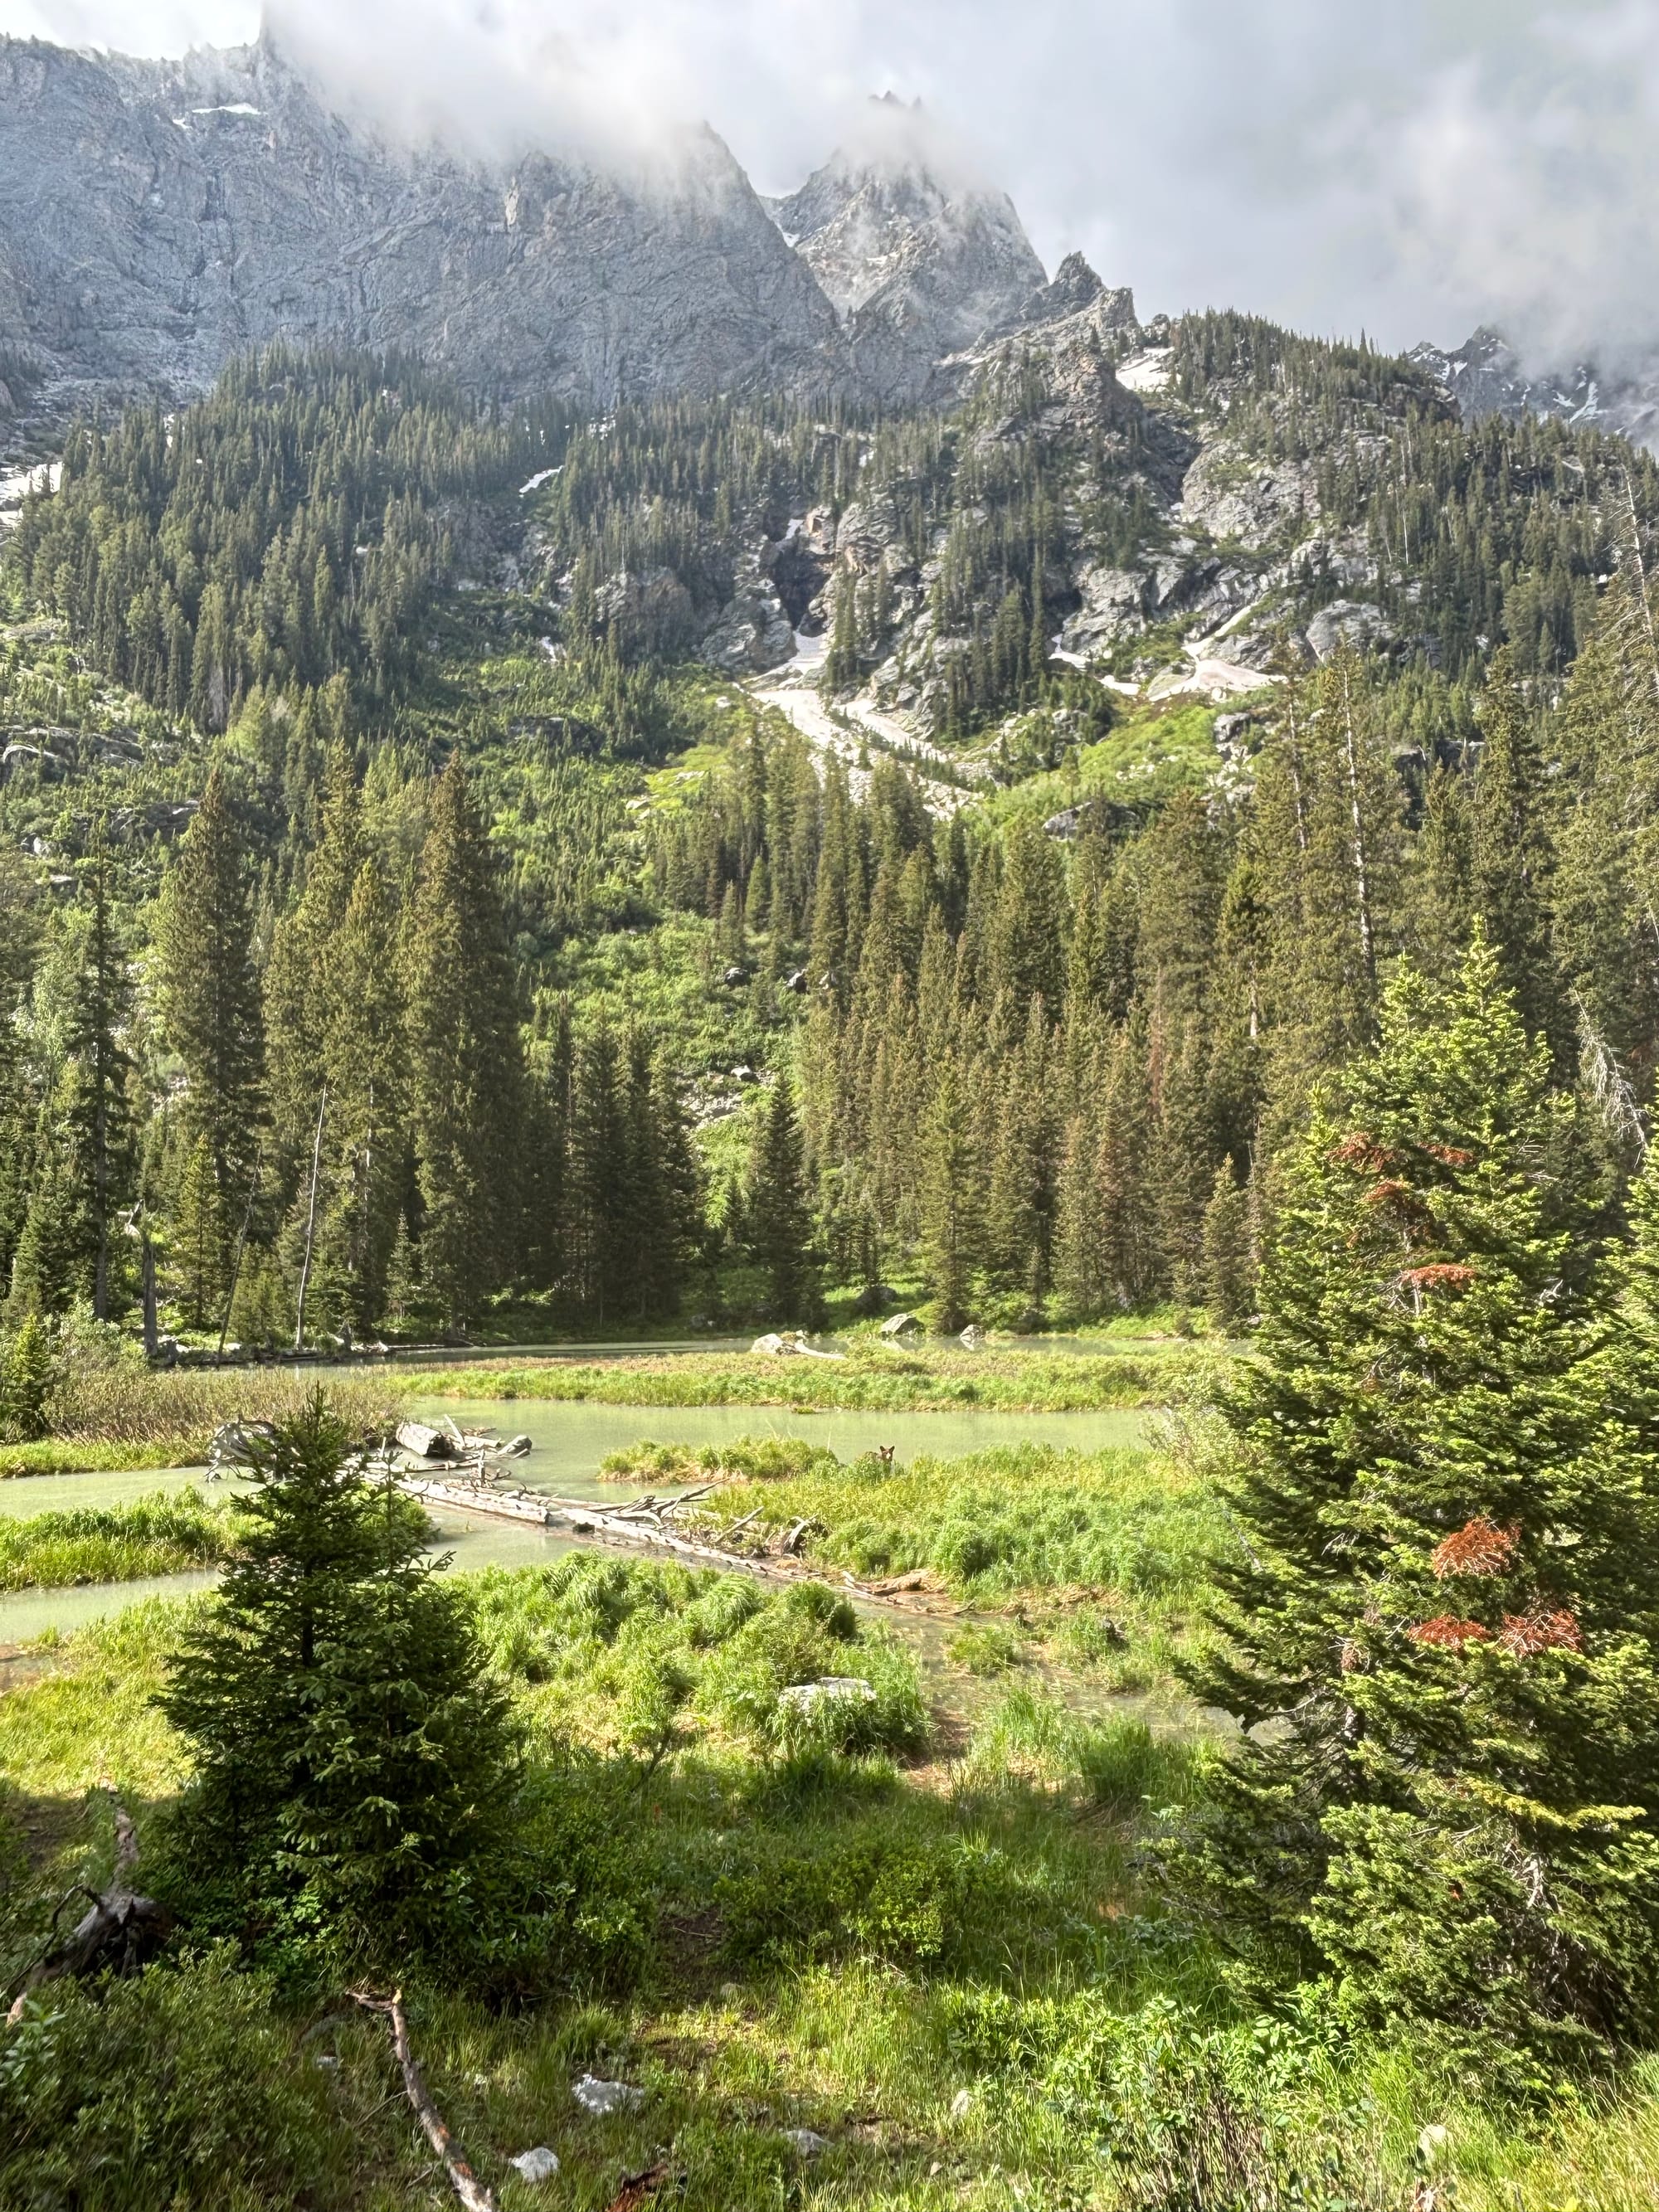
The way up
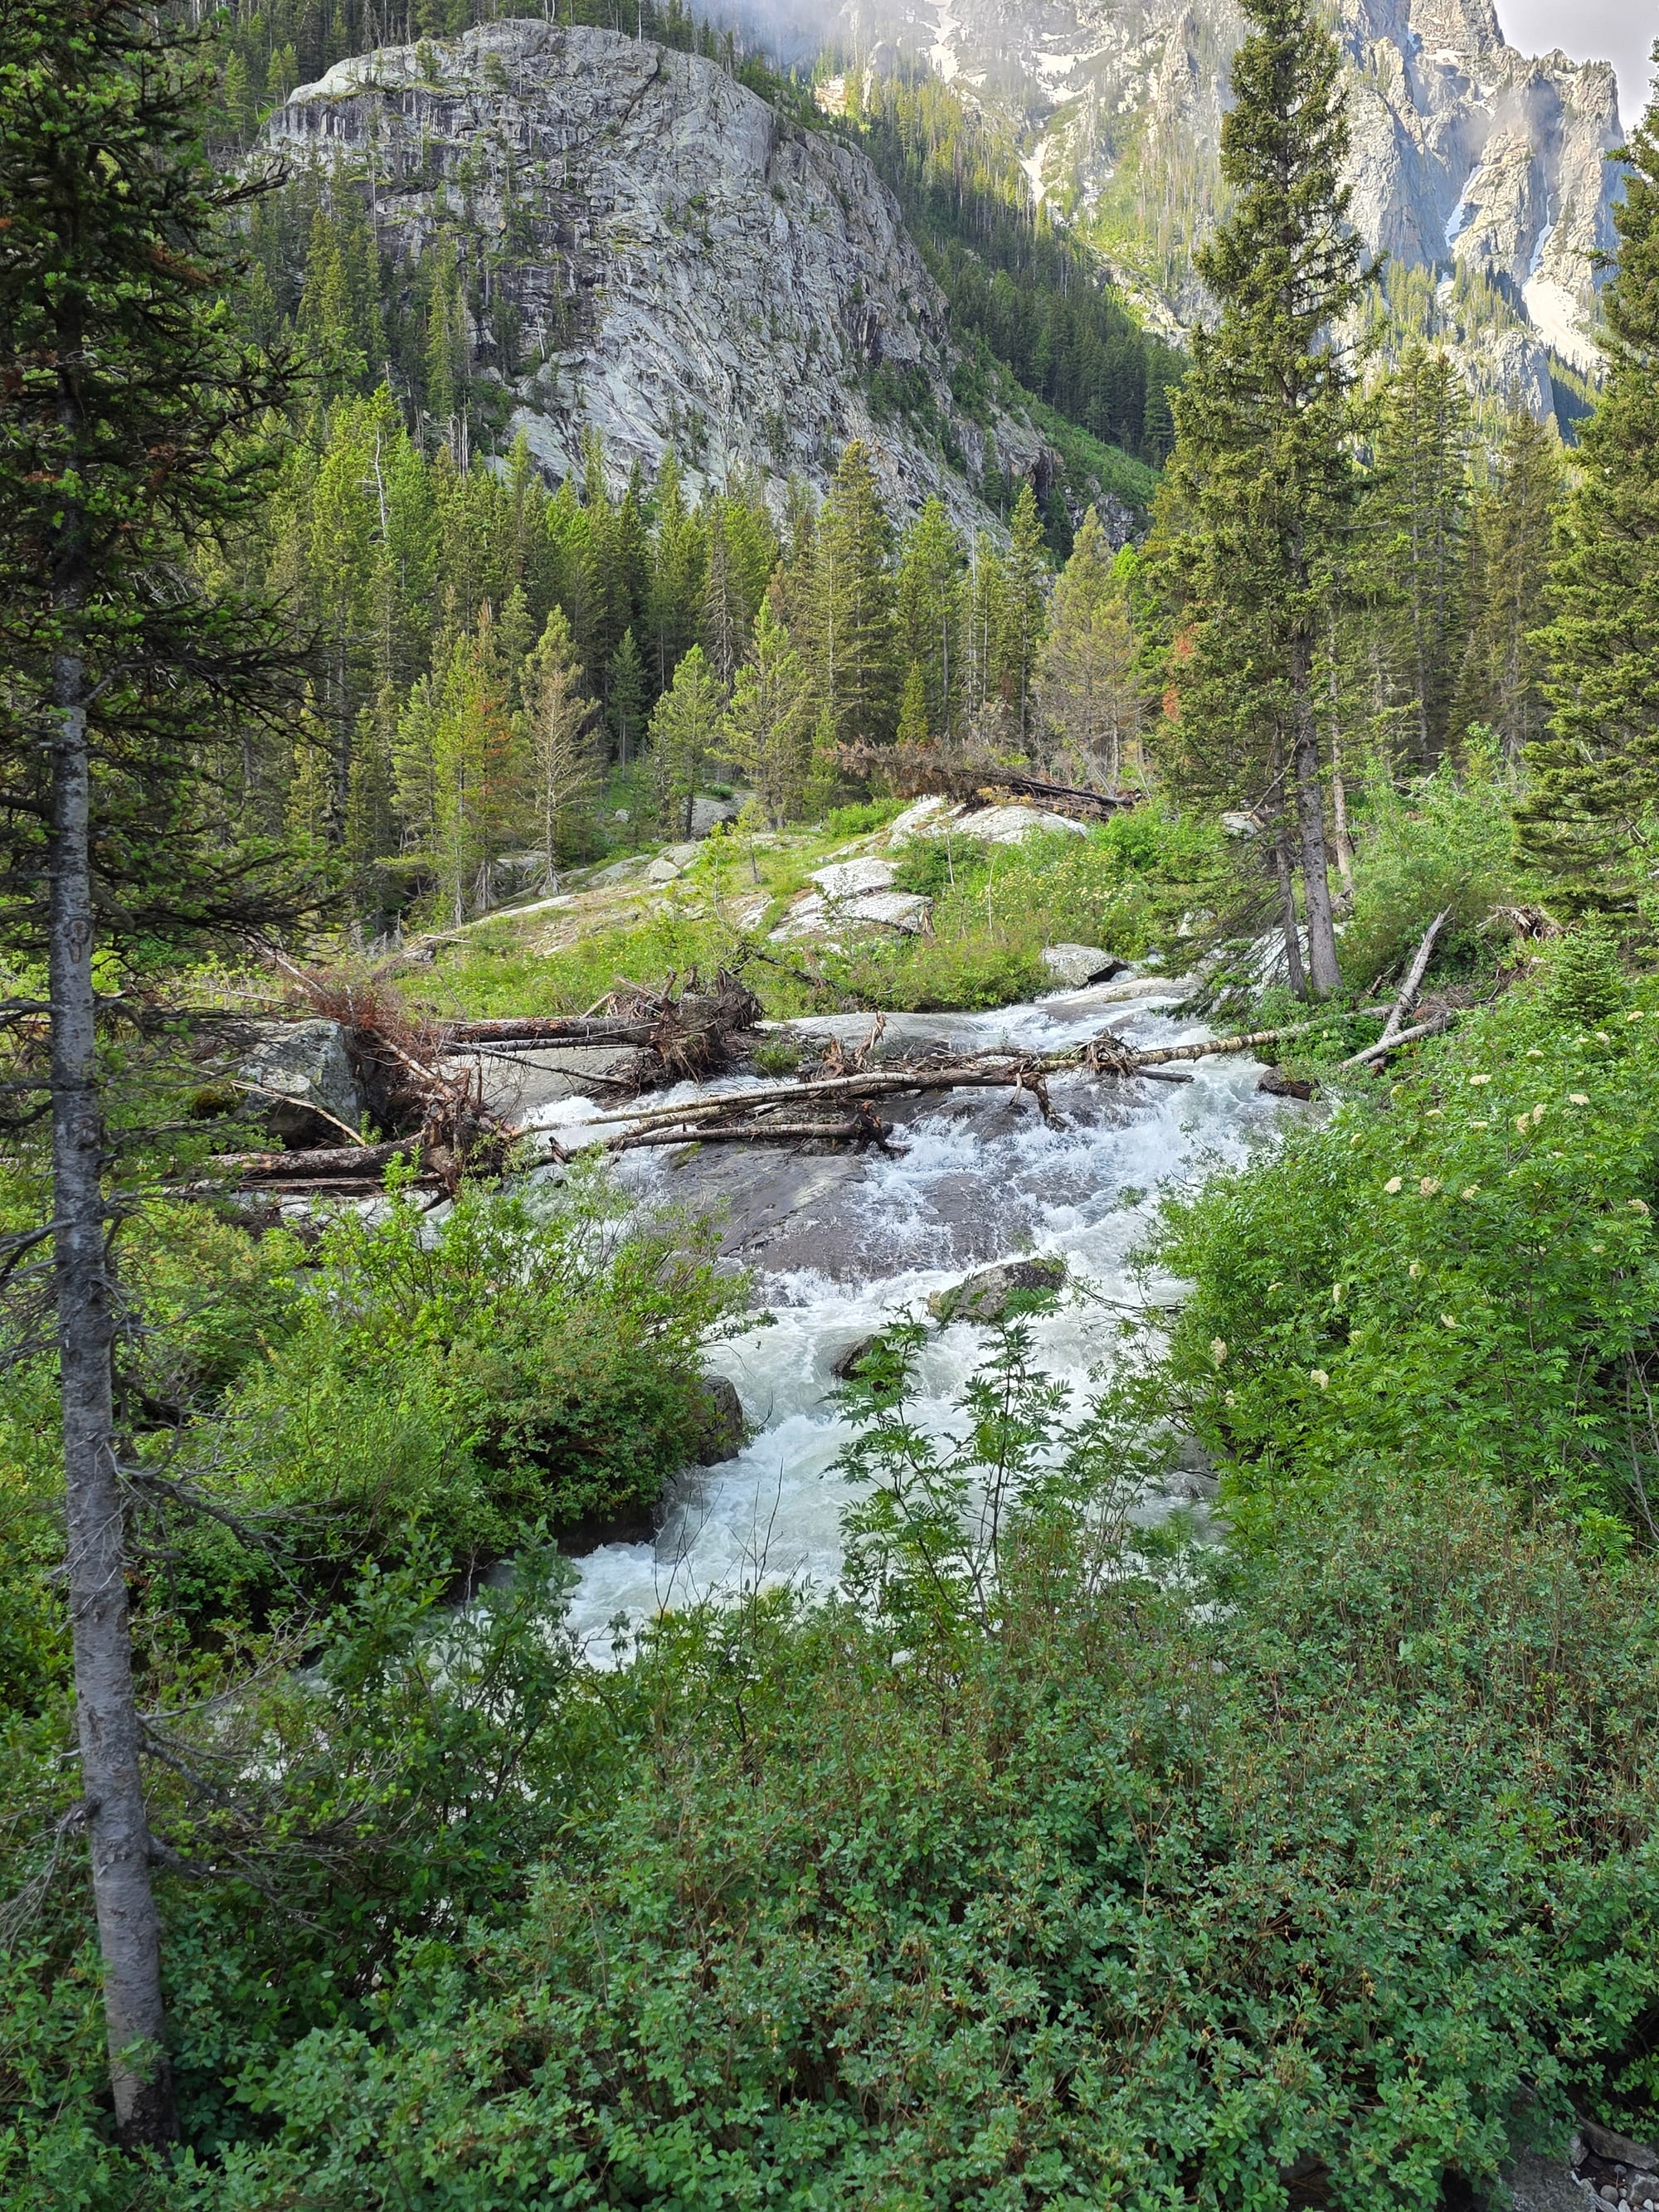
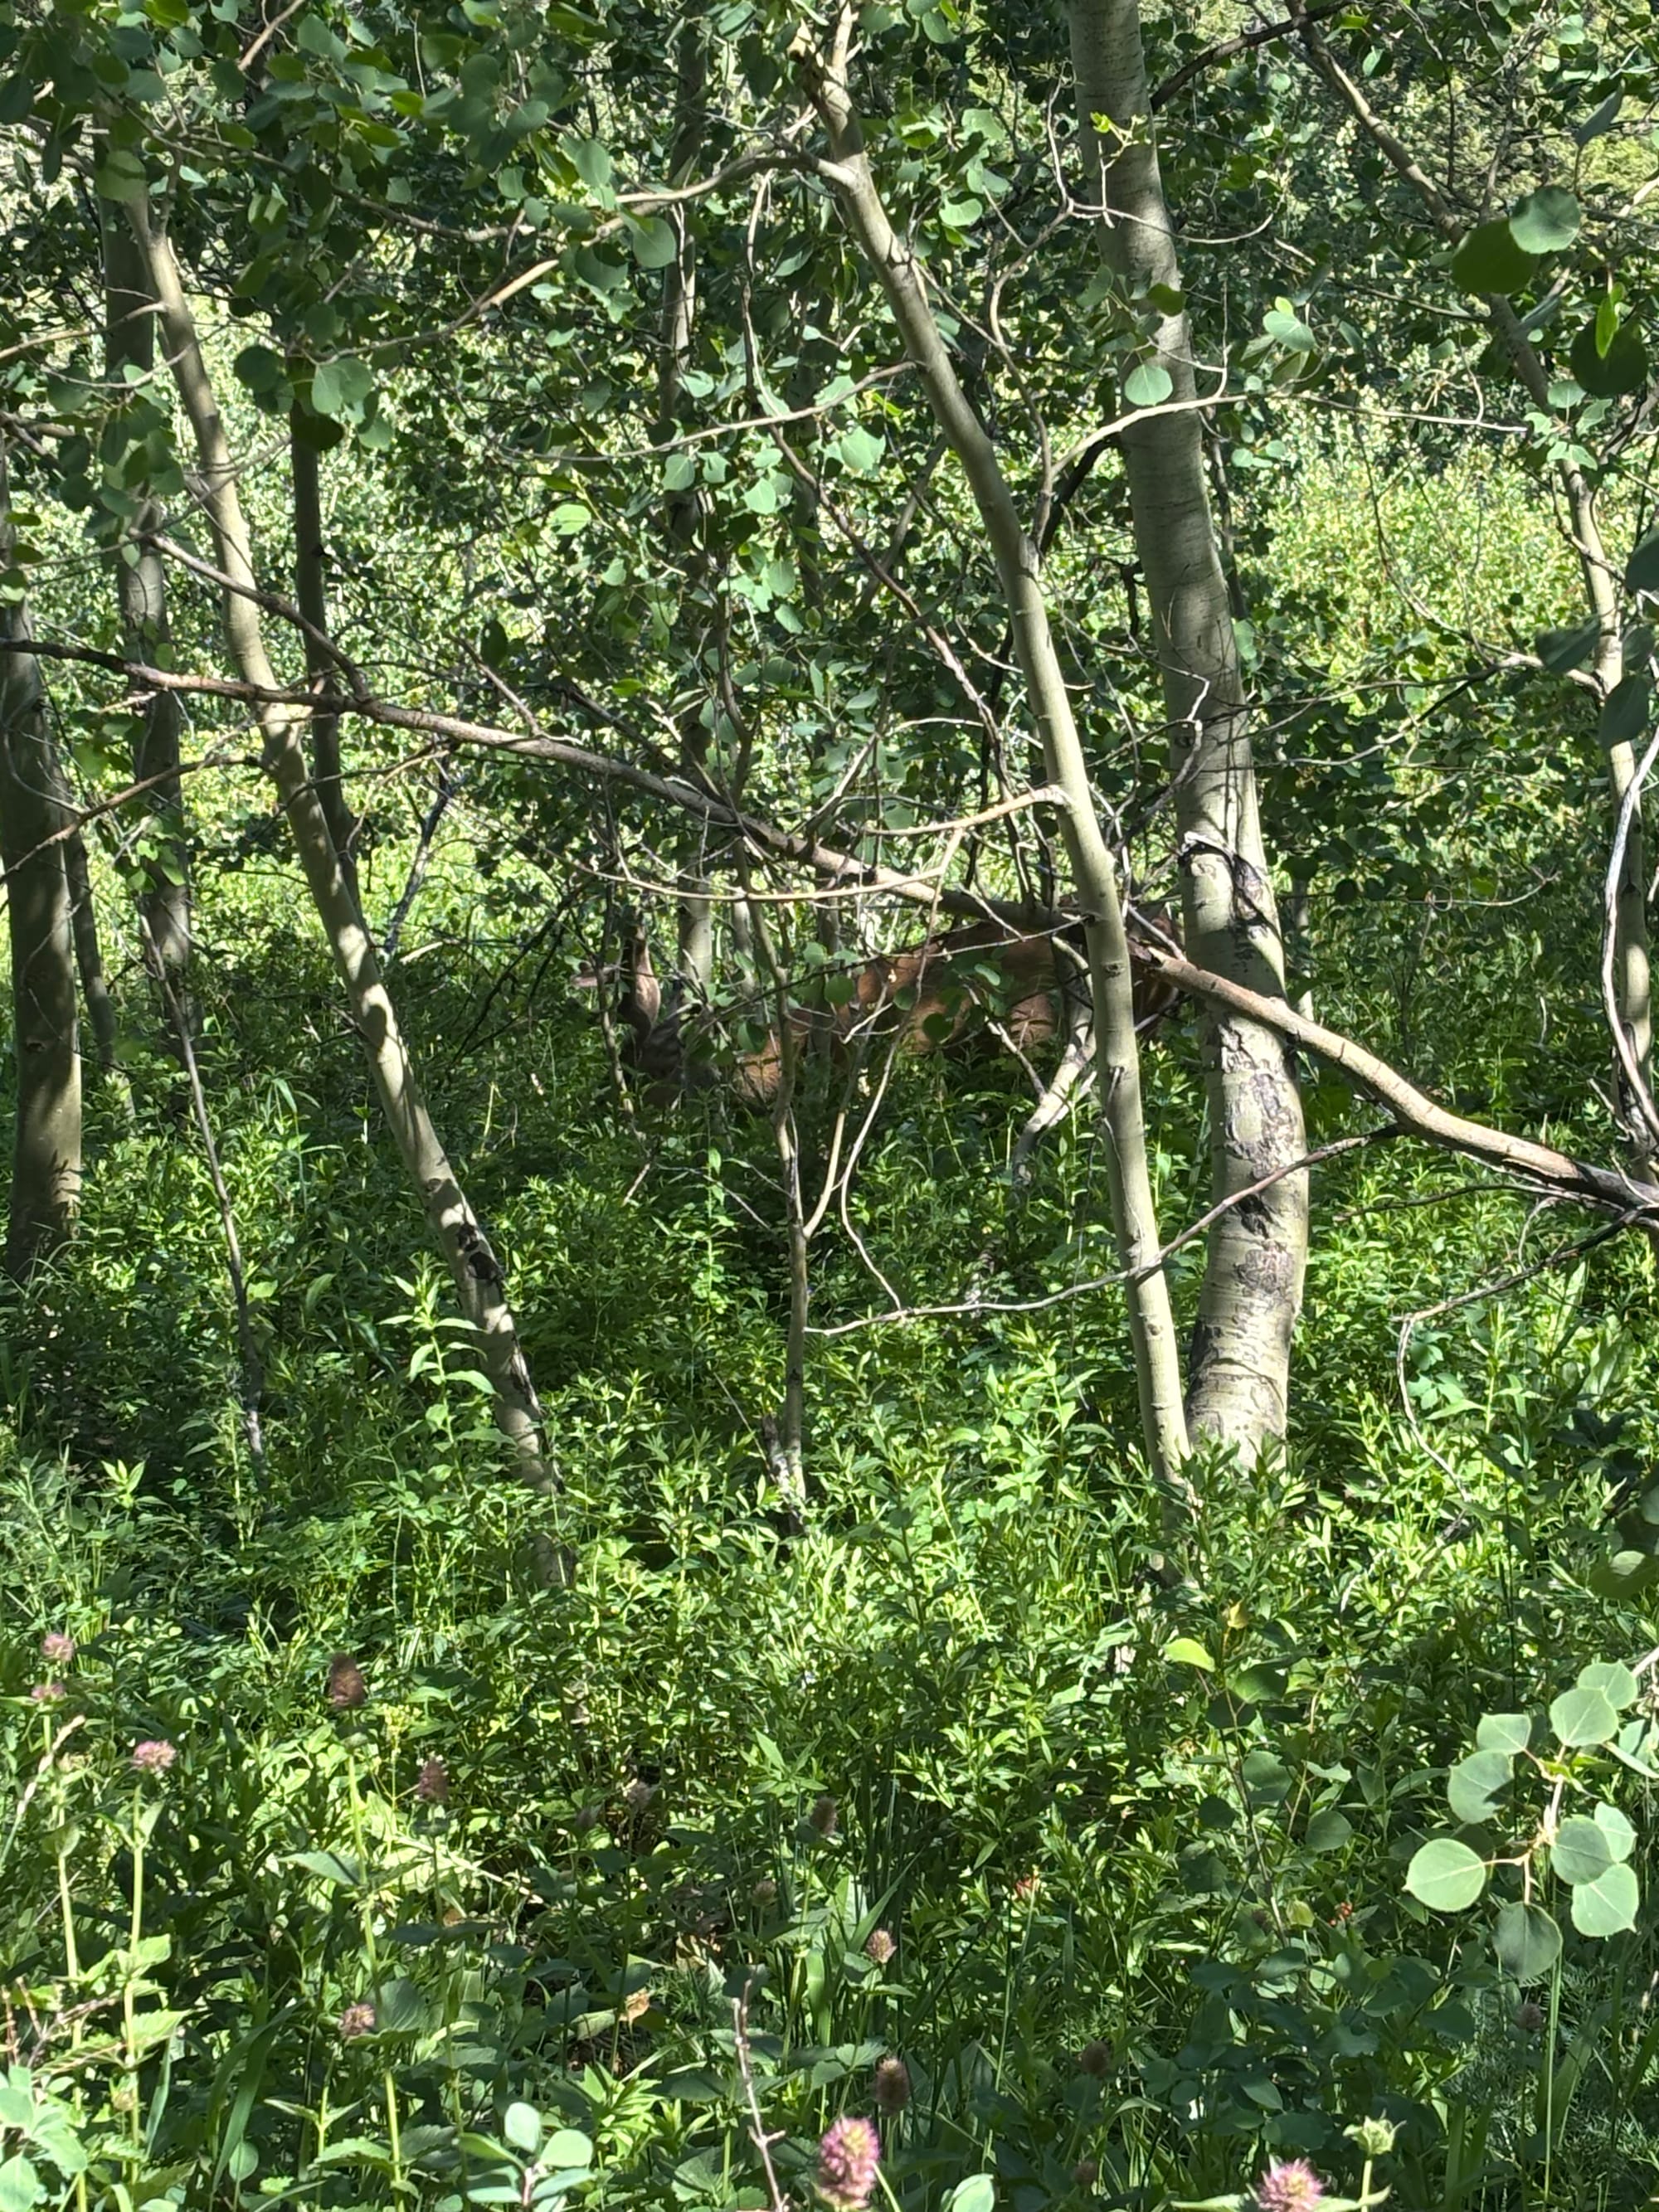
The hike back down was where we saw the majority of our wildlife, including five or six cow moose (with calves in tow) right along the trail. They were close enough to appreciate but far enough to be safe. The boulder fields along the trail were a great spot to sit on a rock and watch the moose graze.
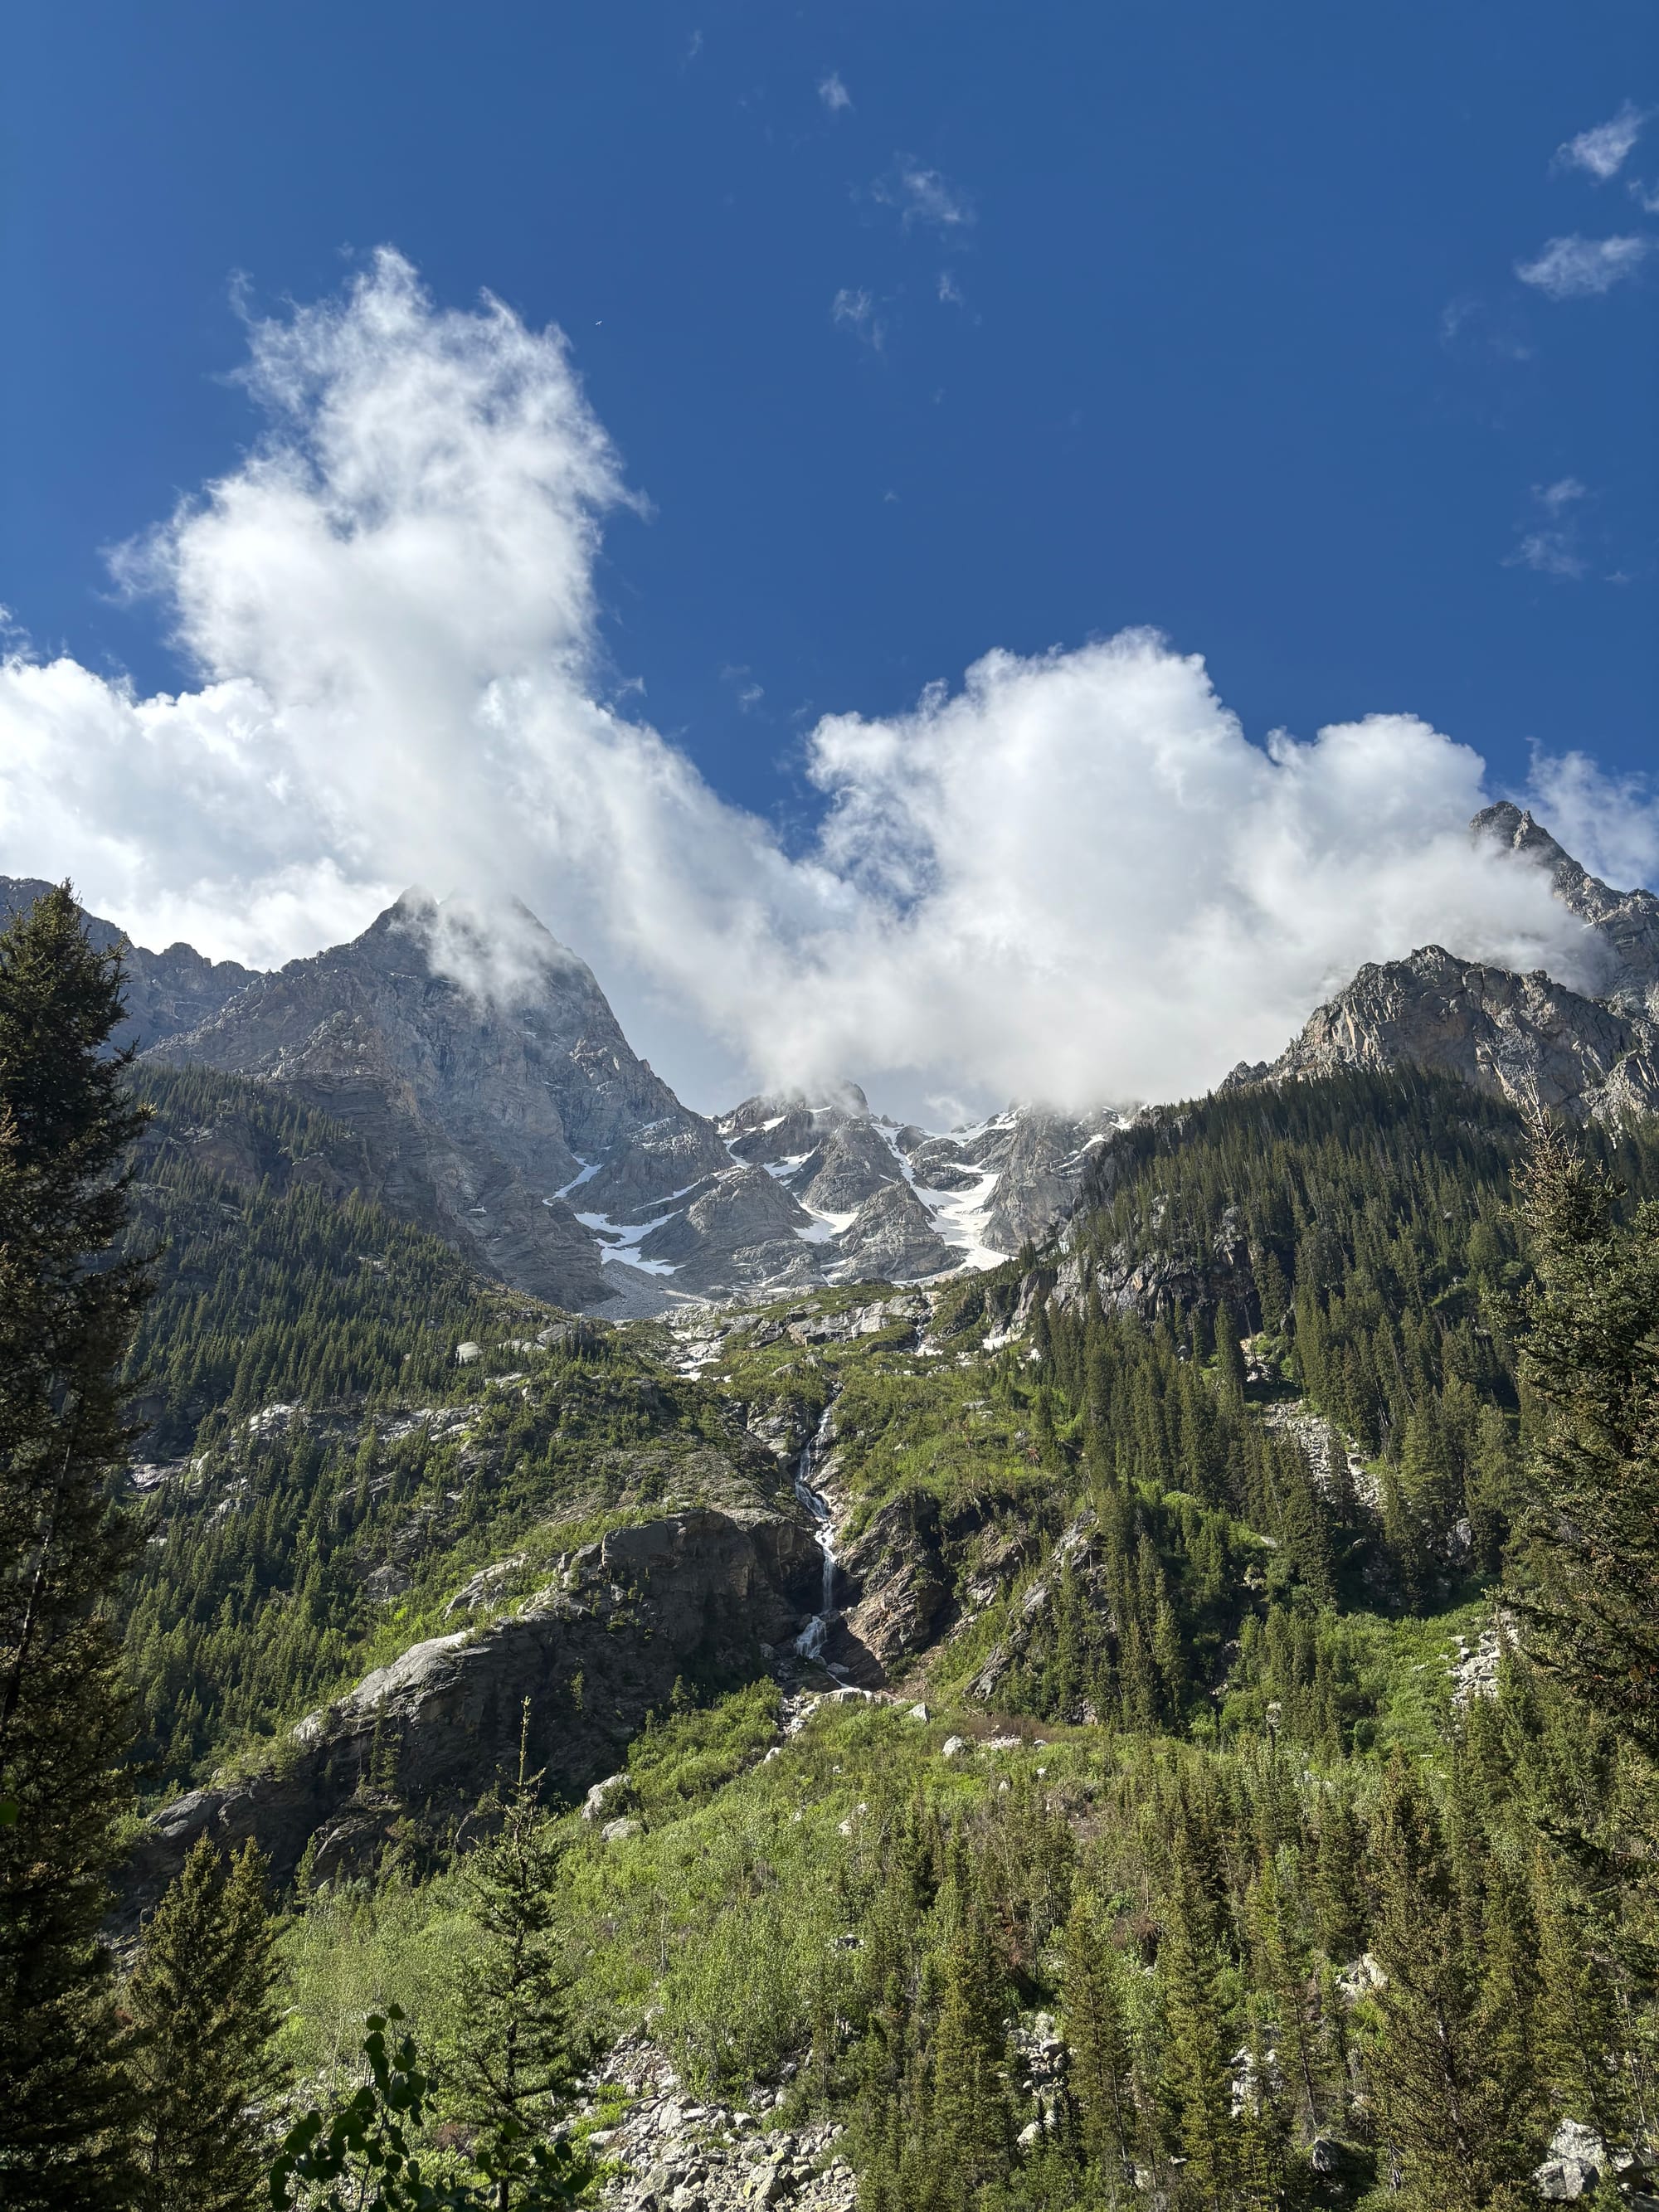
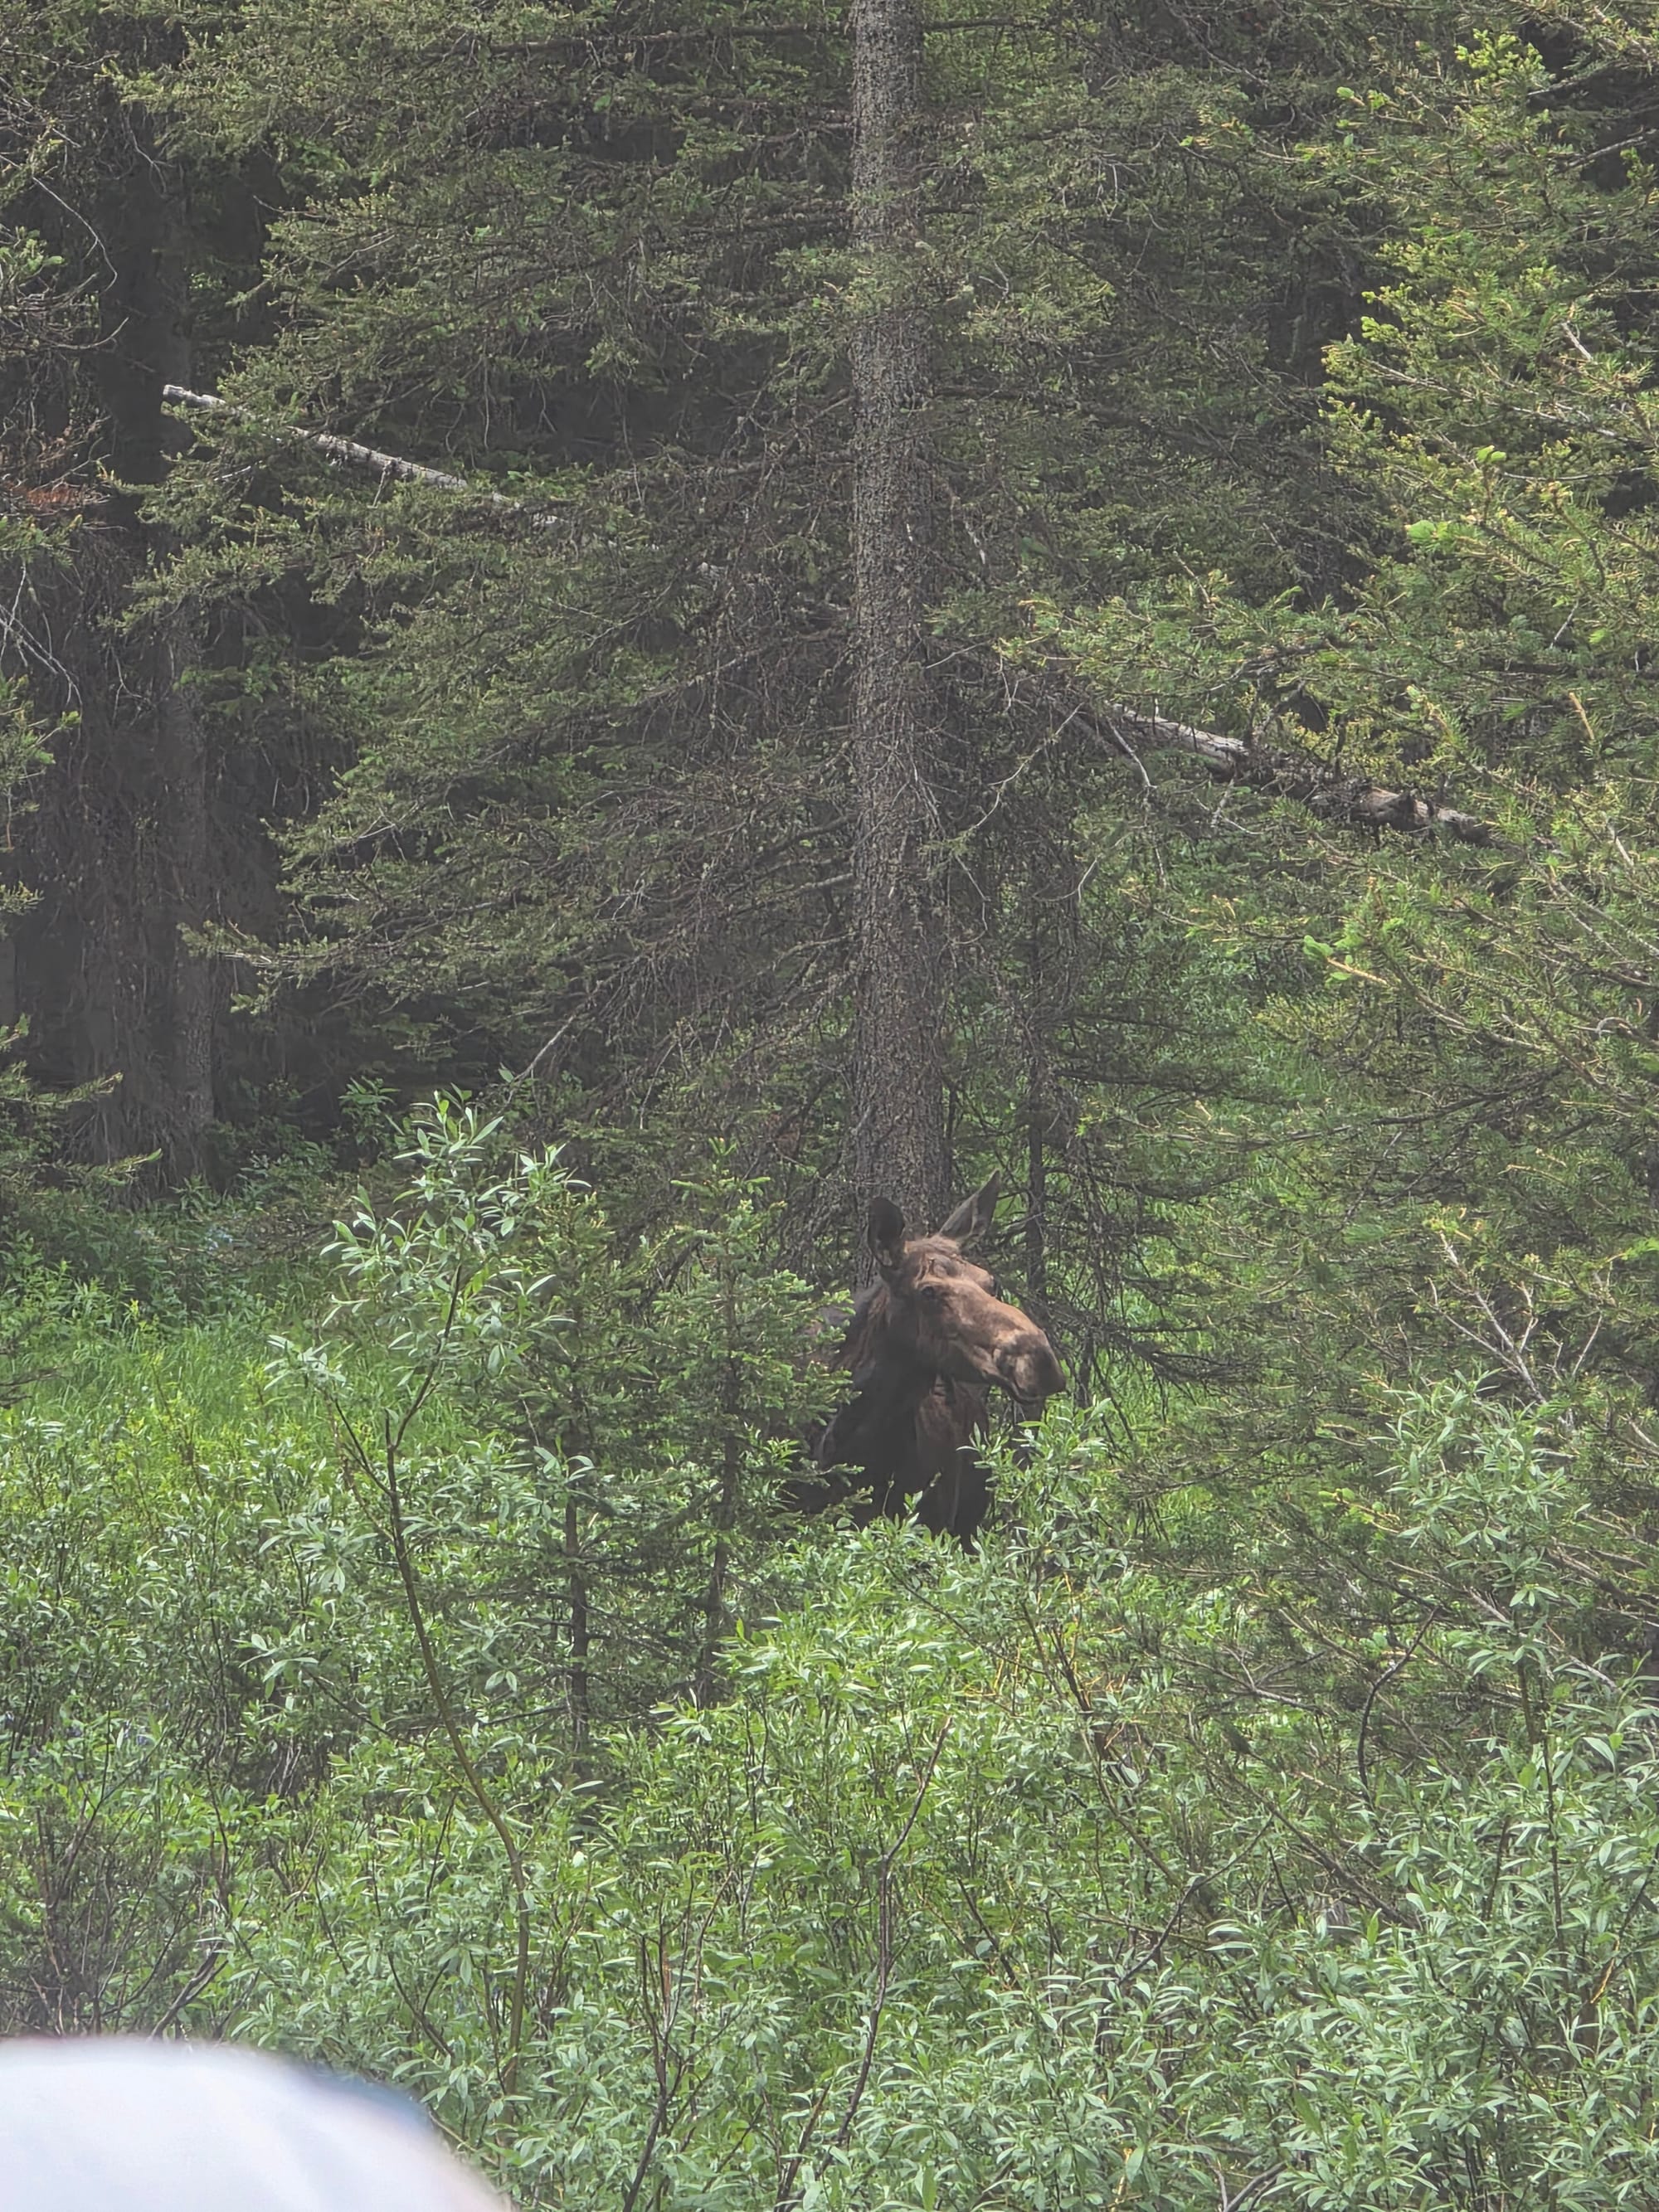
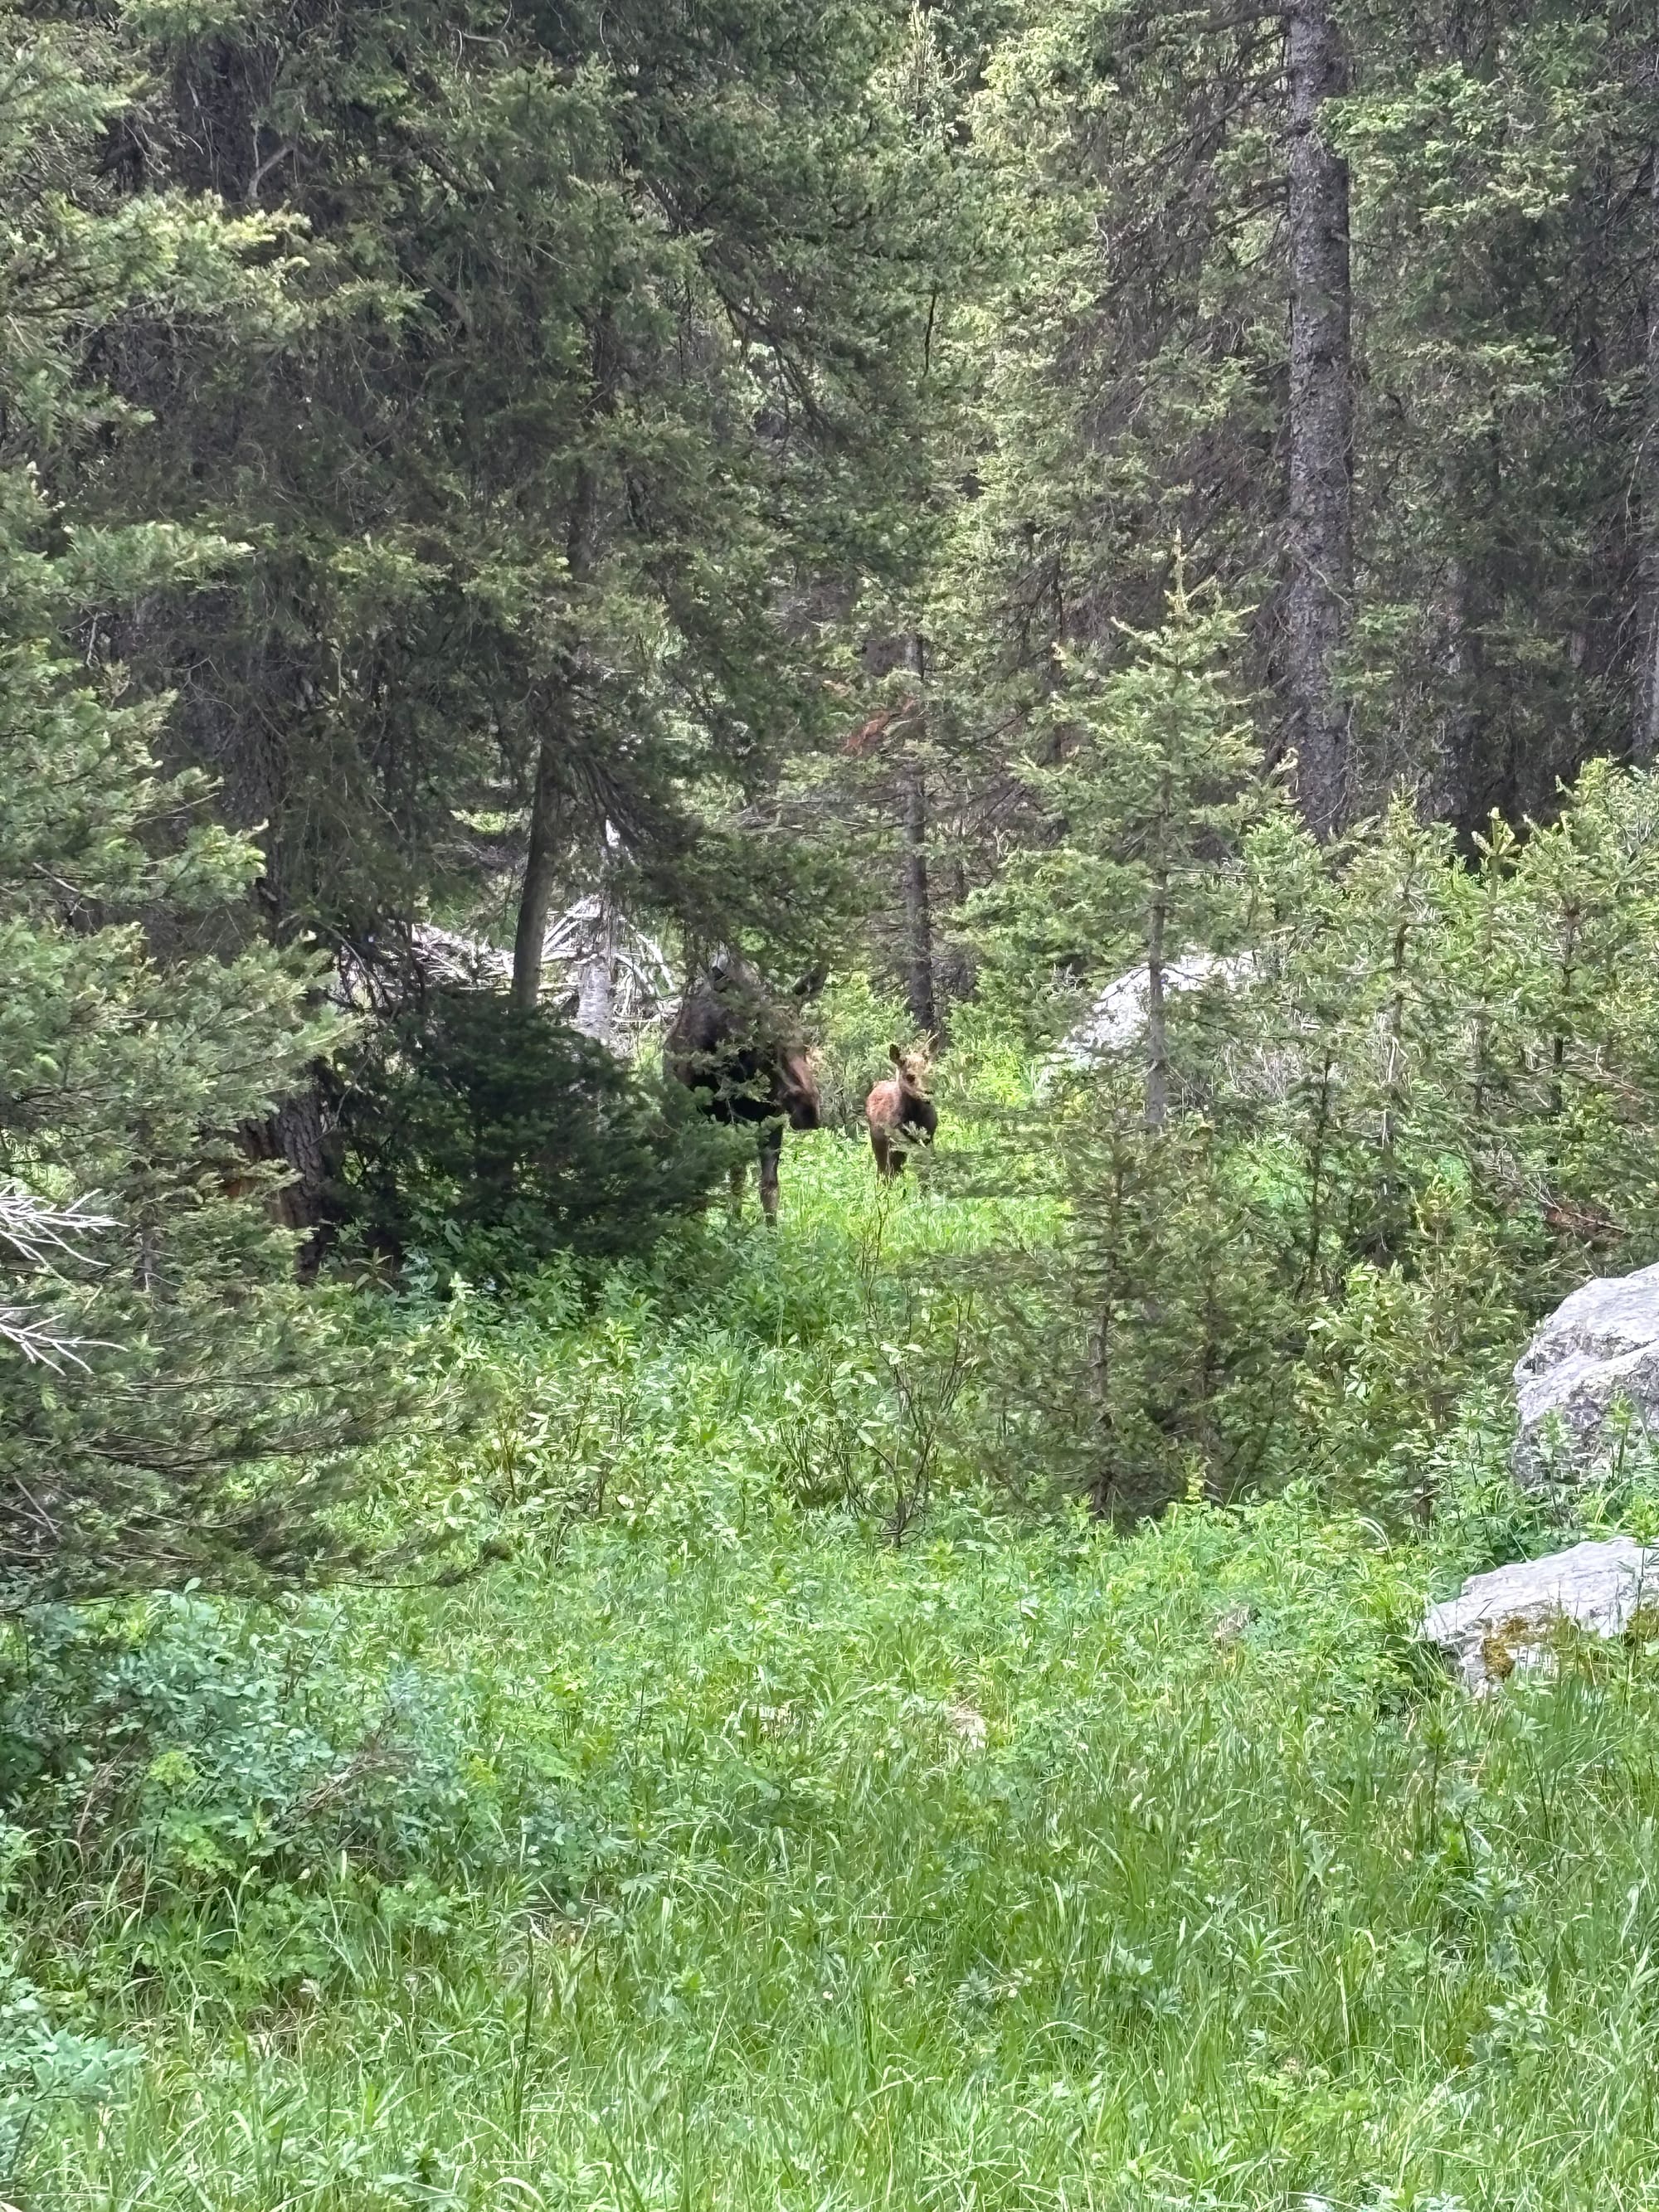
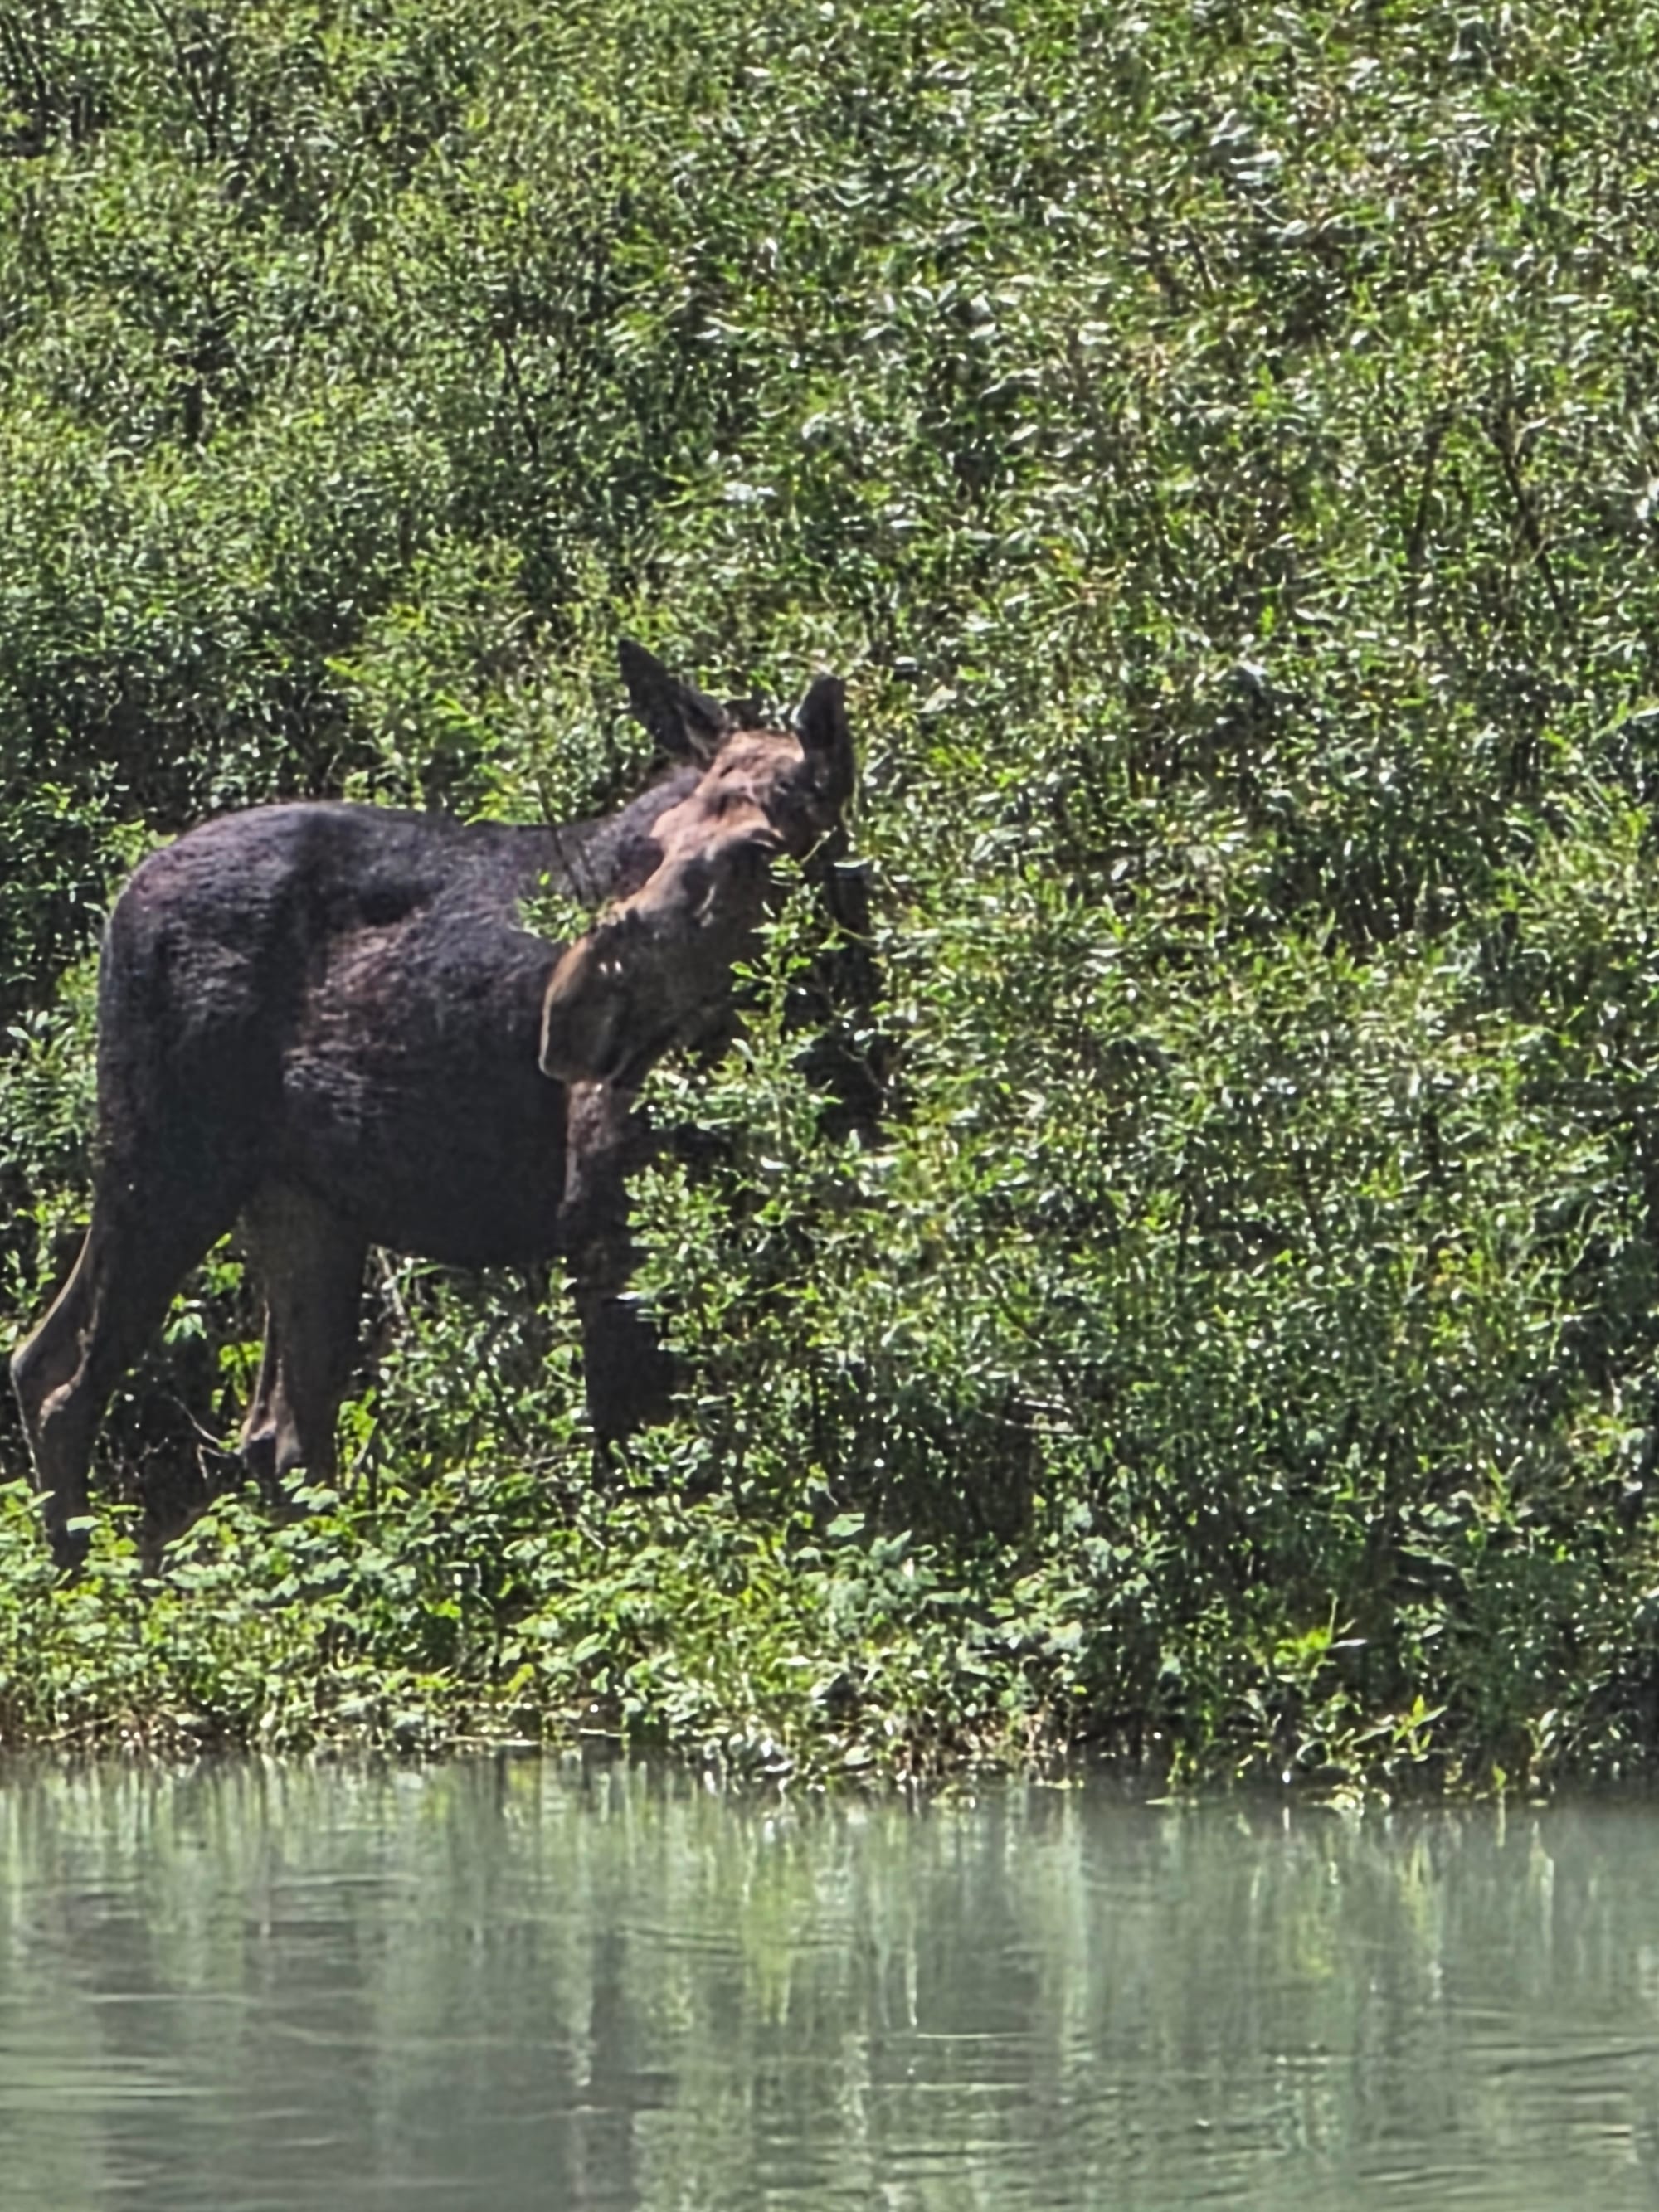
The way down
We made it back to the boat dock around 2:00 PM and had to wait about 45 minutes to an hour in the sun for the return ferry. The queue has no shade, so packing sunscreen is essential.
For dinner, we drove to Leek’s Marina and Pizzeria. Many online reviews hype this up as amazing pizza. While it is likely the best pizza you will find inside the park boundaries, by normal standards, it is just average. It is still a convenient and decent place to stop after a grueling hiking day, but keep your expectations realistic.
Day 3: Oxbow Bend, Valley Hikes, and Dinner in Jackson
We woke up early to catch the sunrise at Oxbow Bend. Because sunrise is incredibly early in June, we missed the exact moment the sun crested the peaks, but the morning view was still beautiful and it was a natural stop on our way to String Lake. We also managed to spot a few elk through the fog on the way
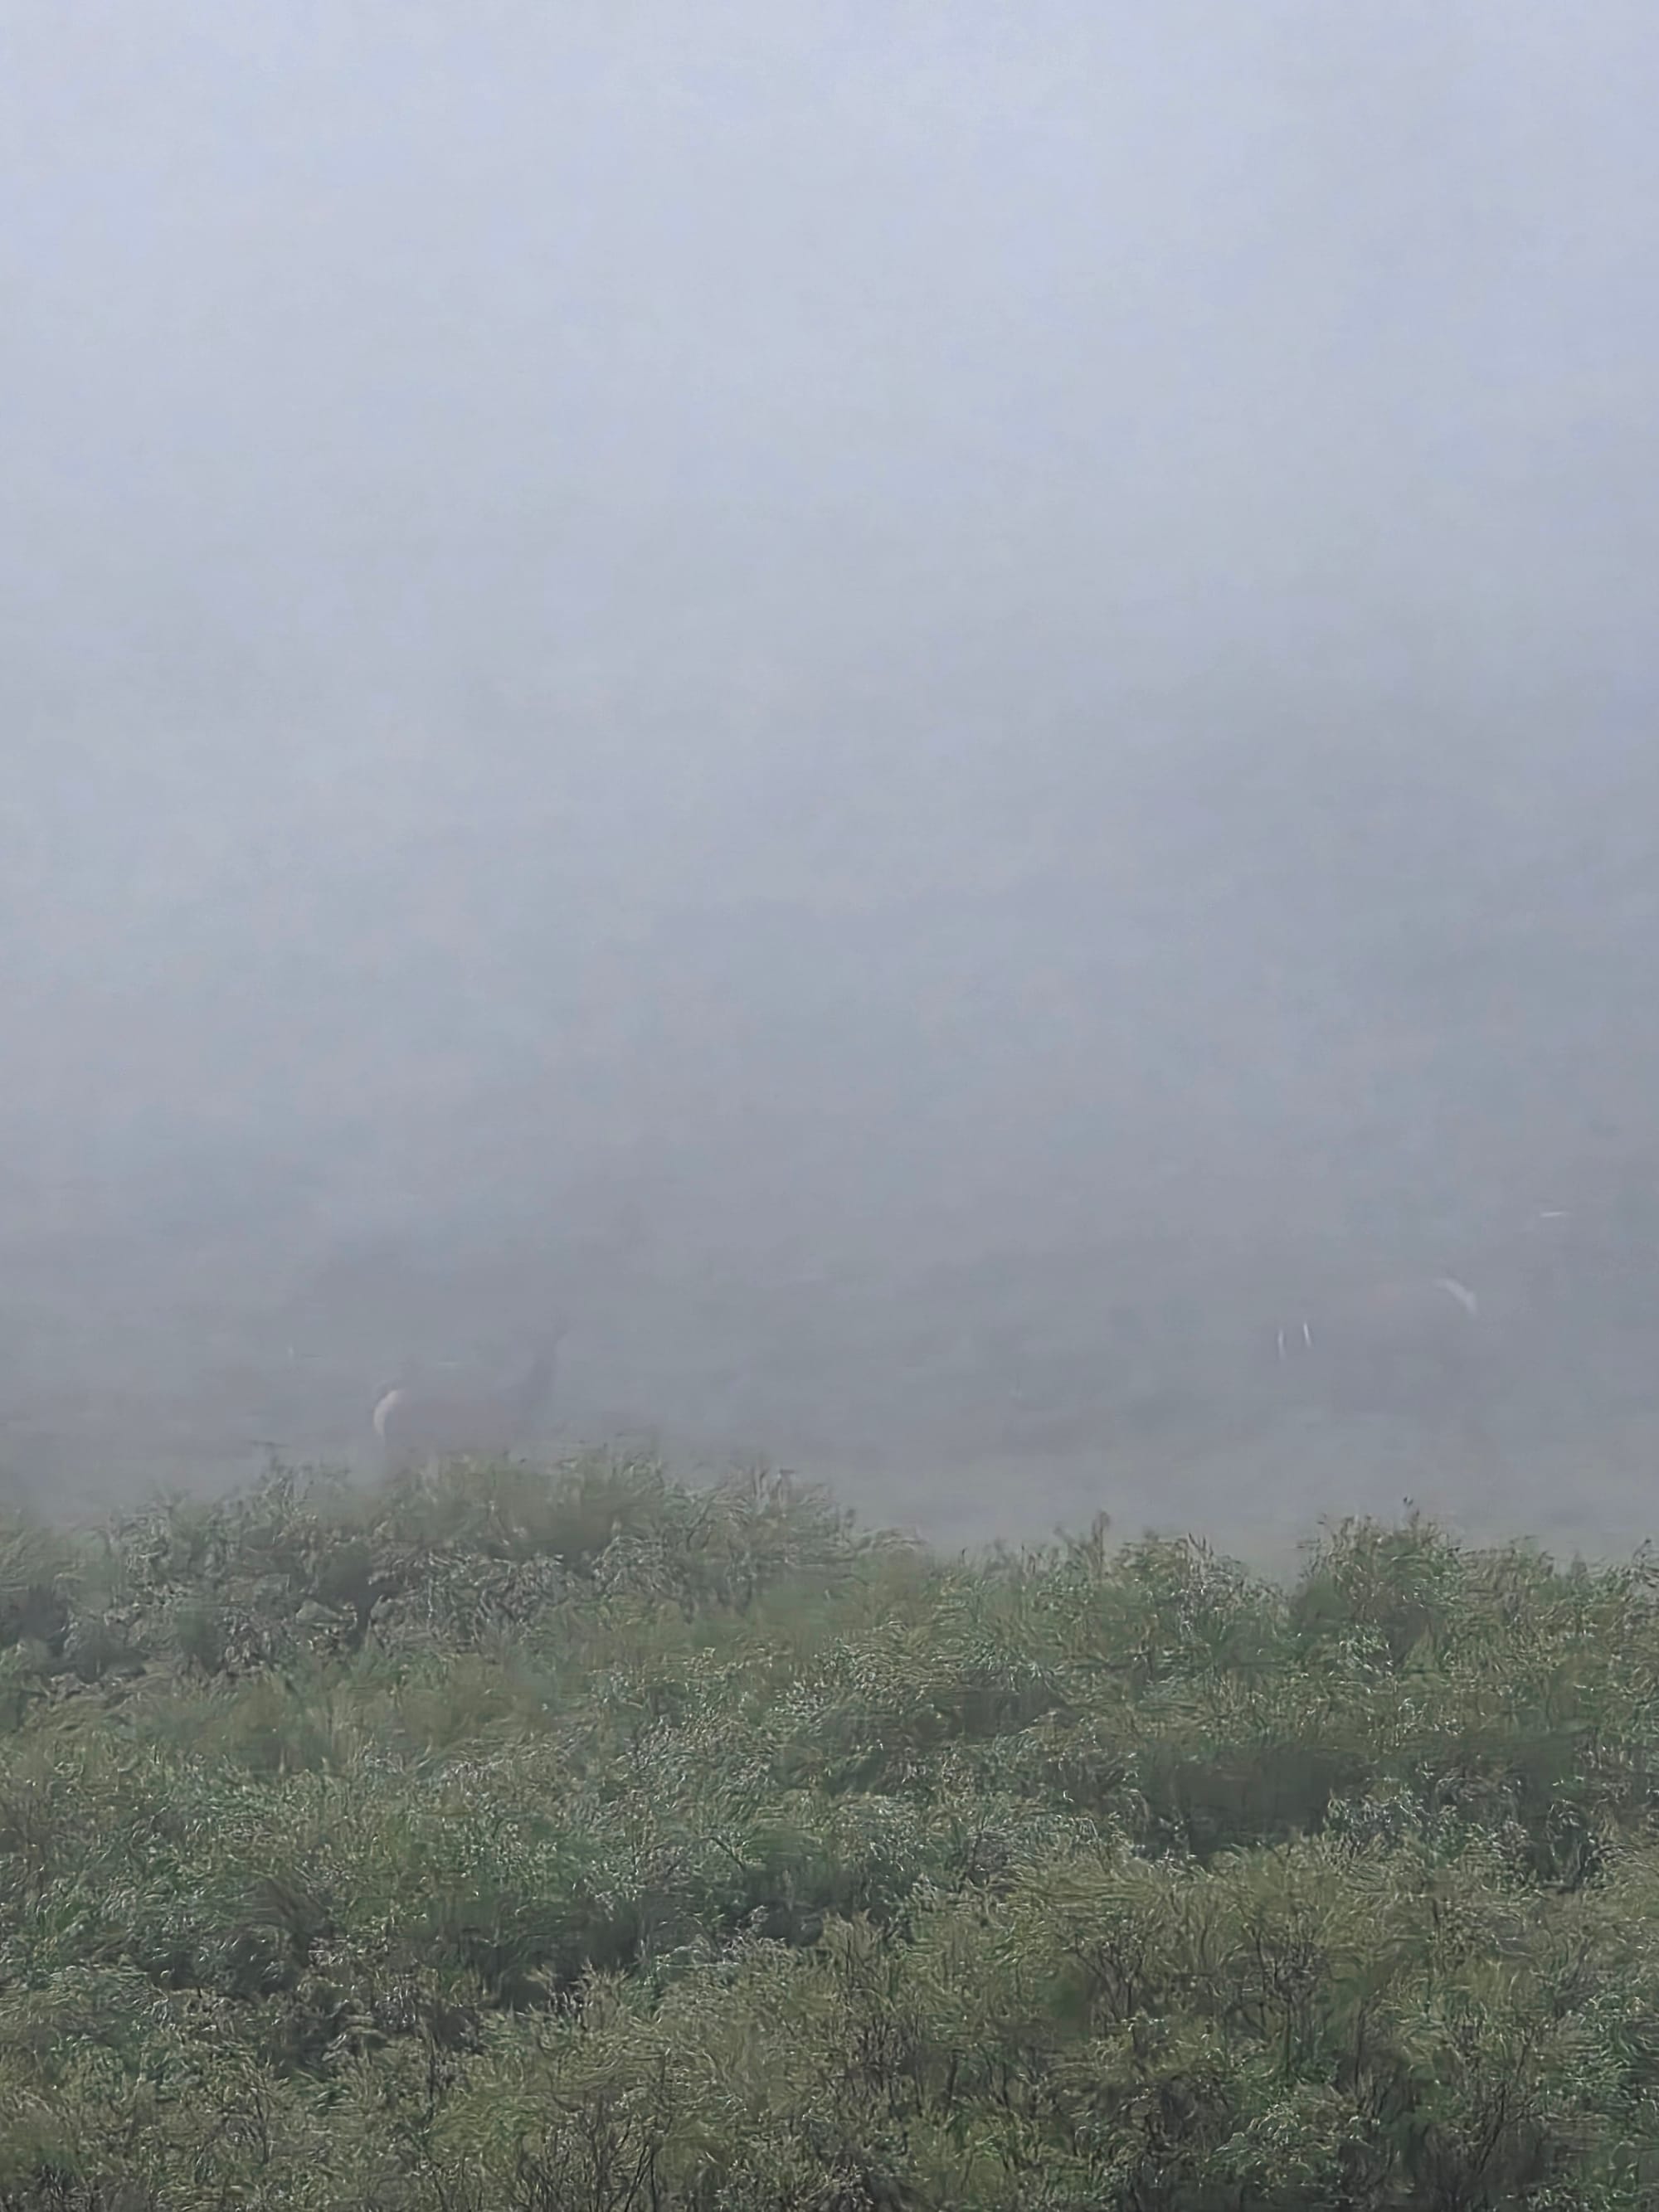
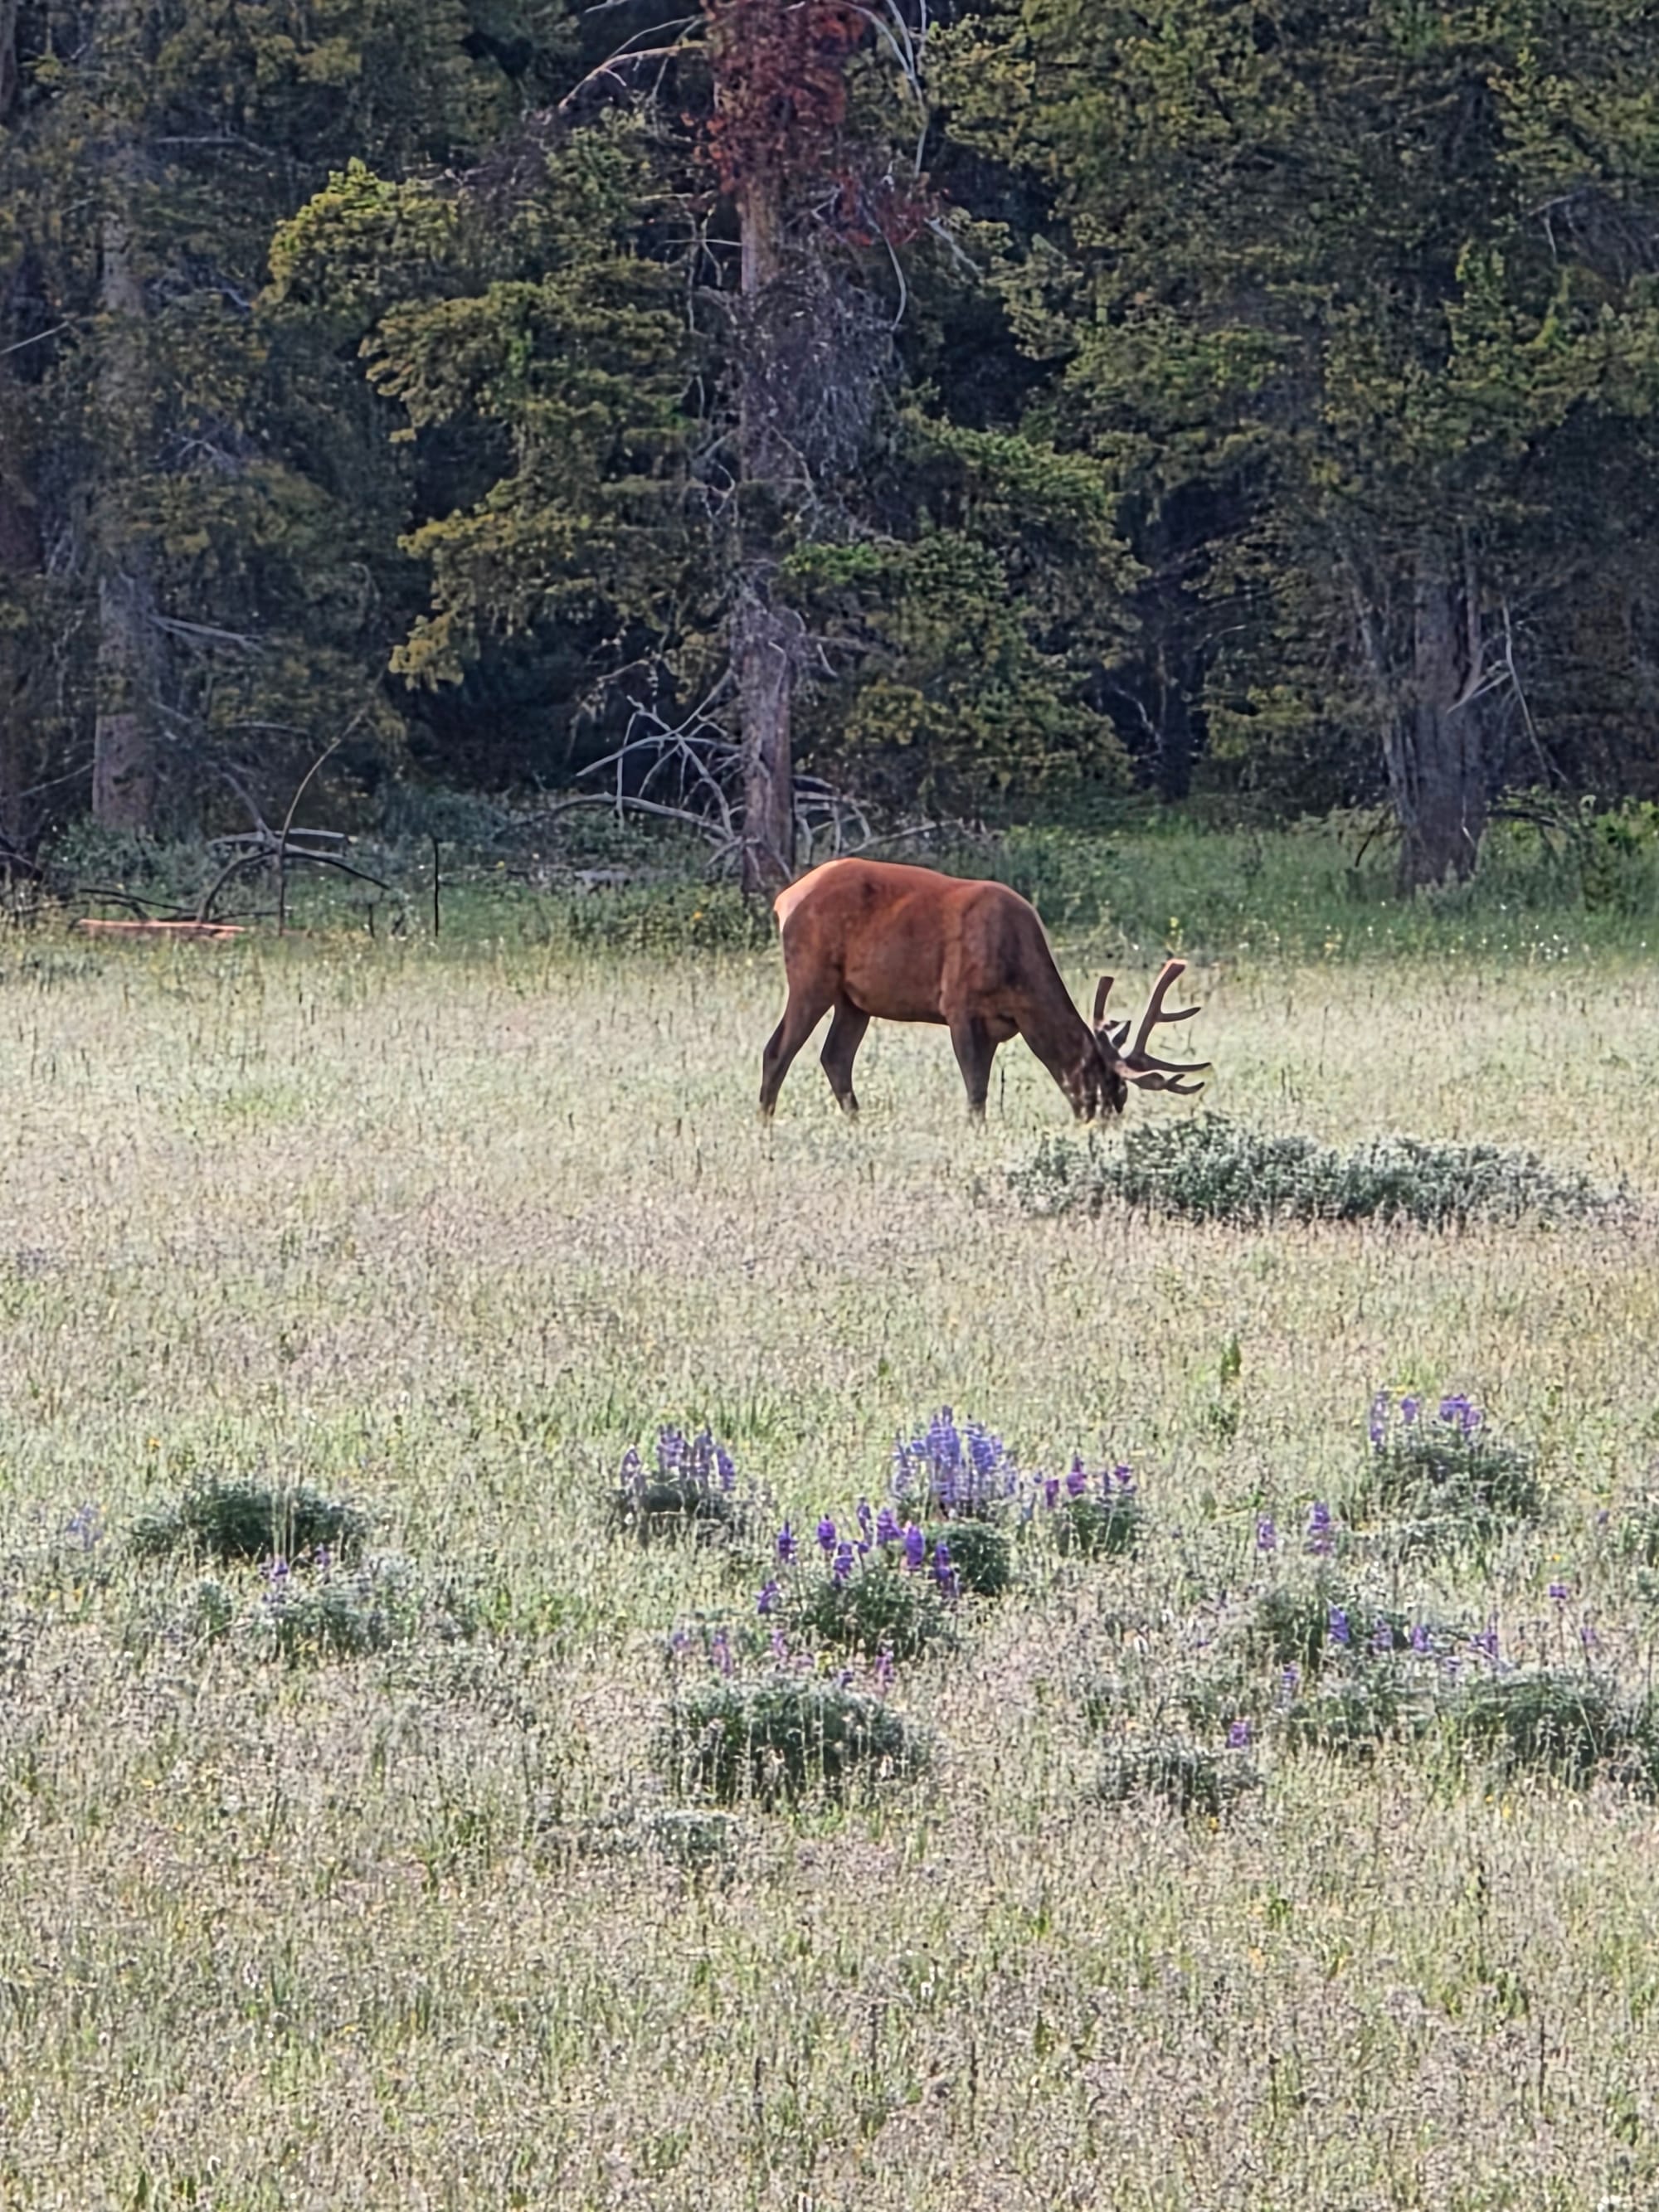
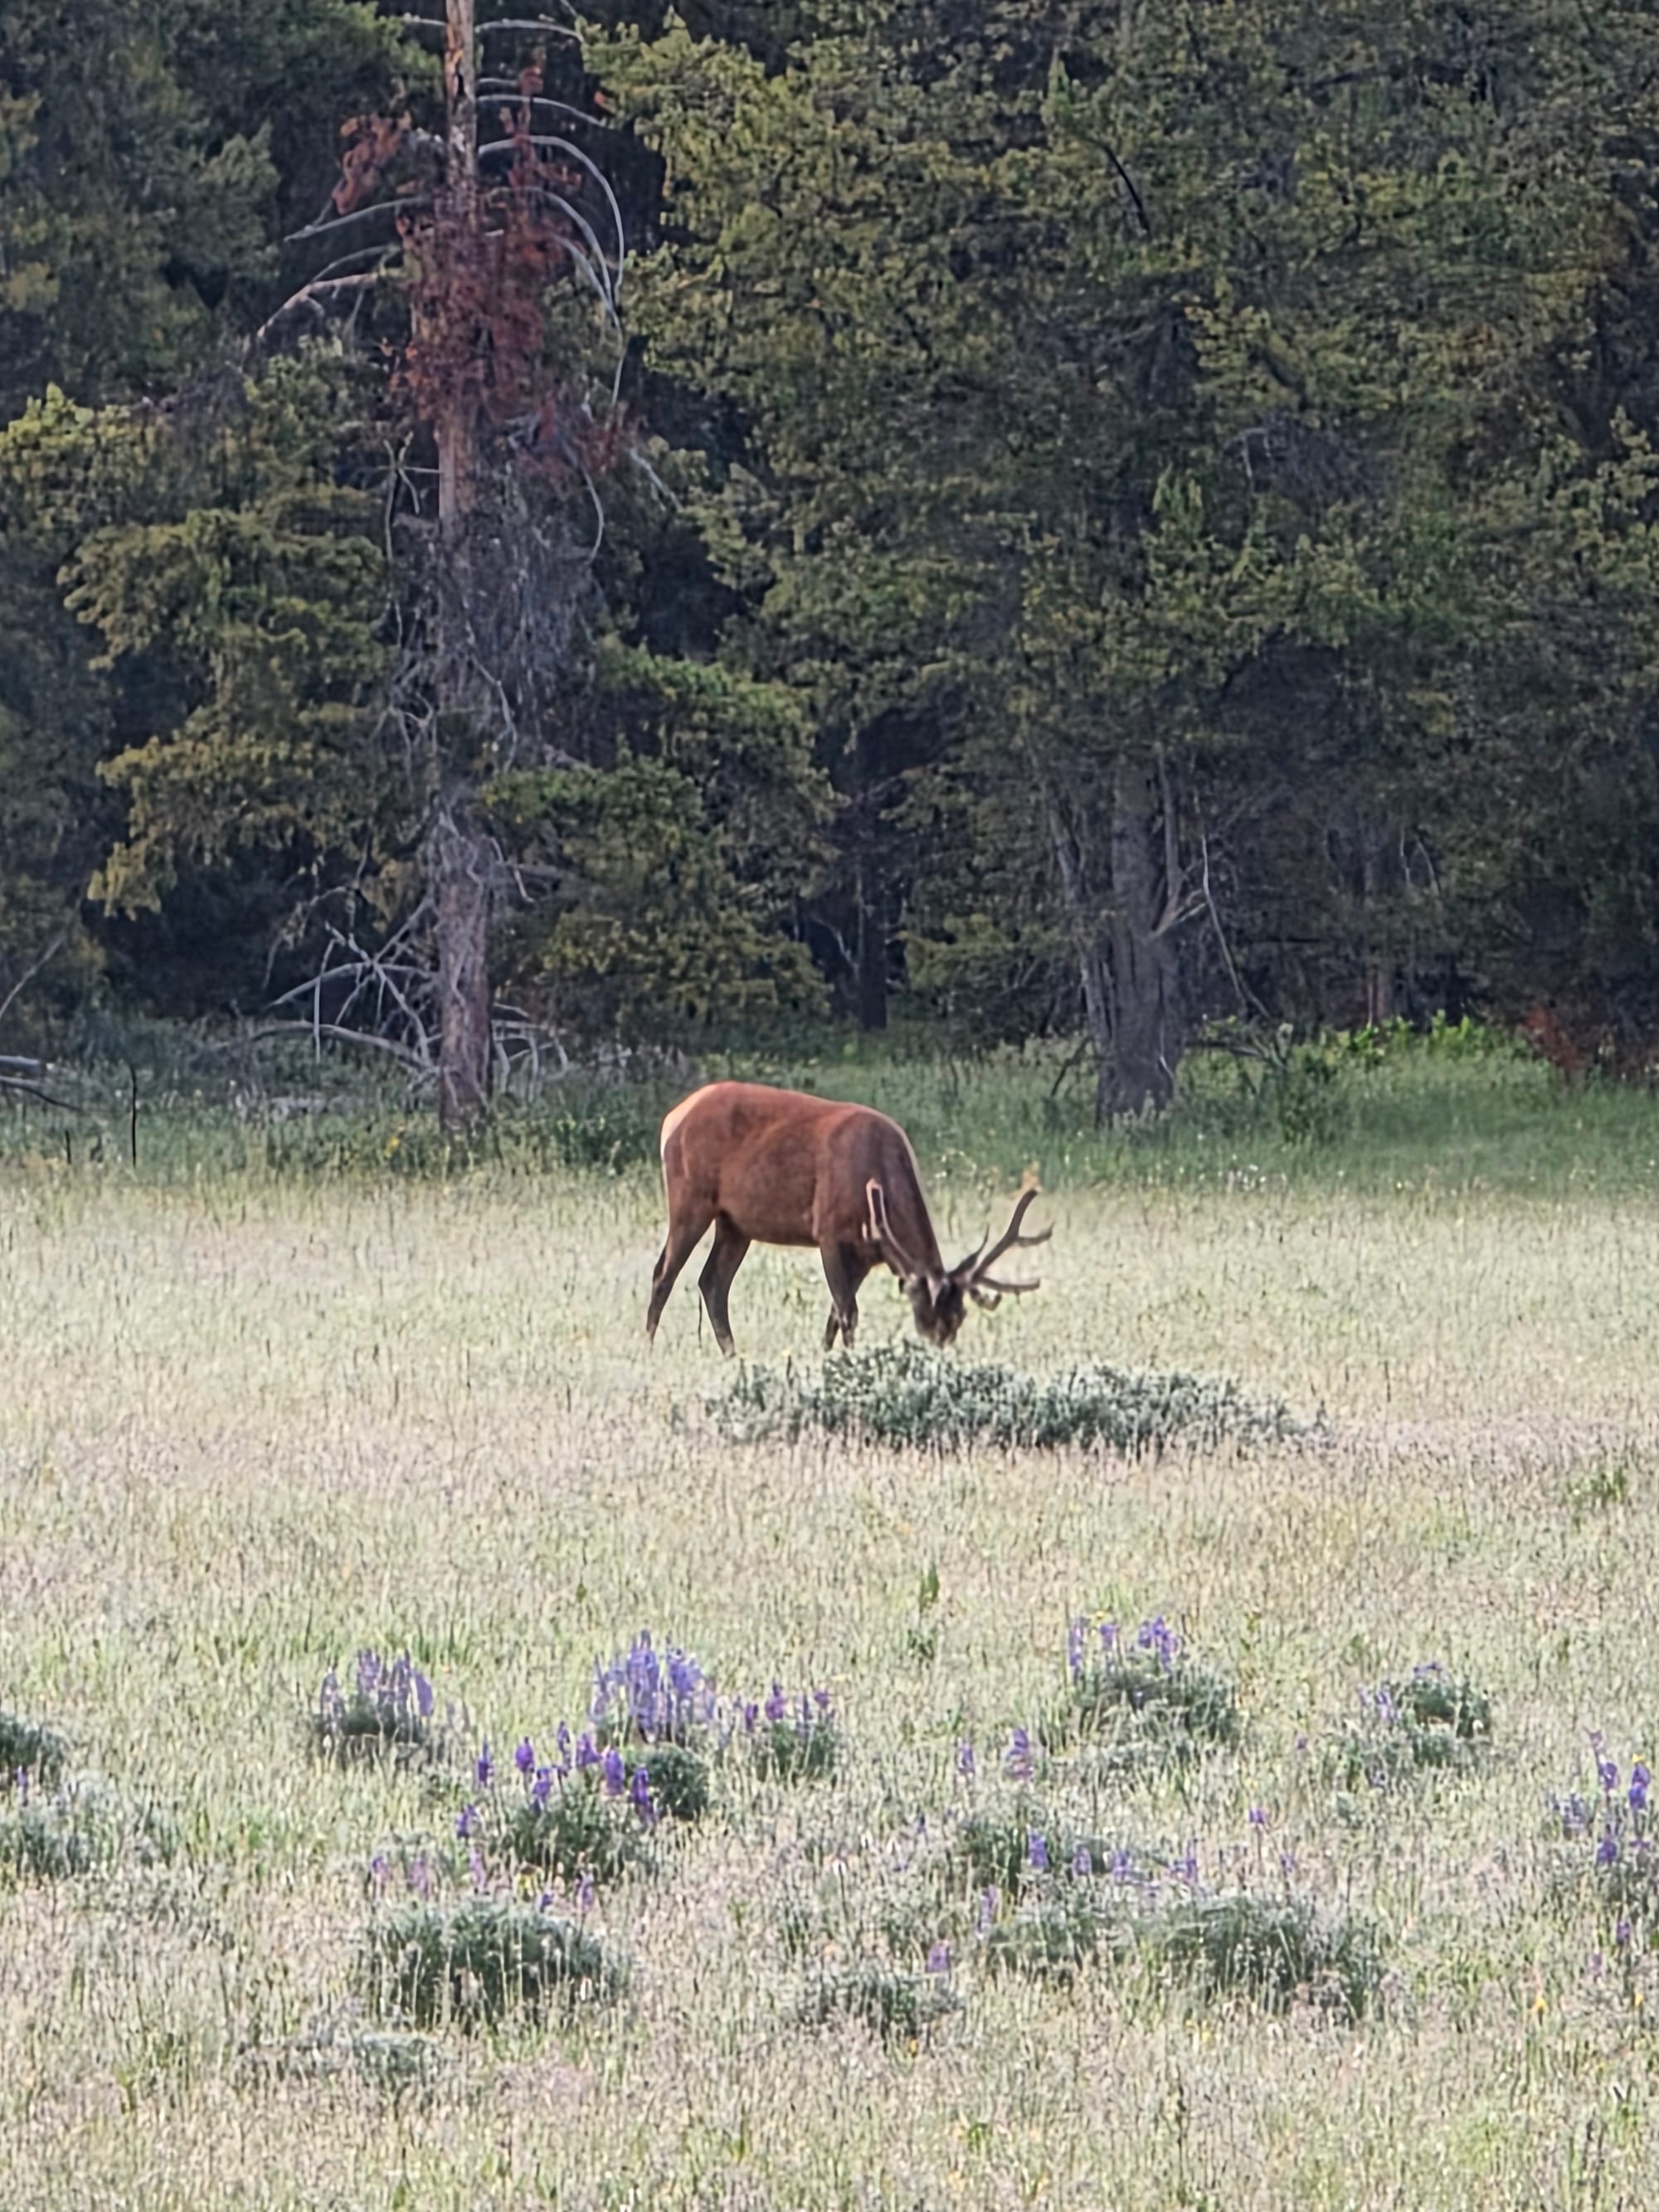
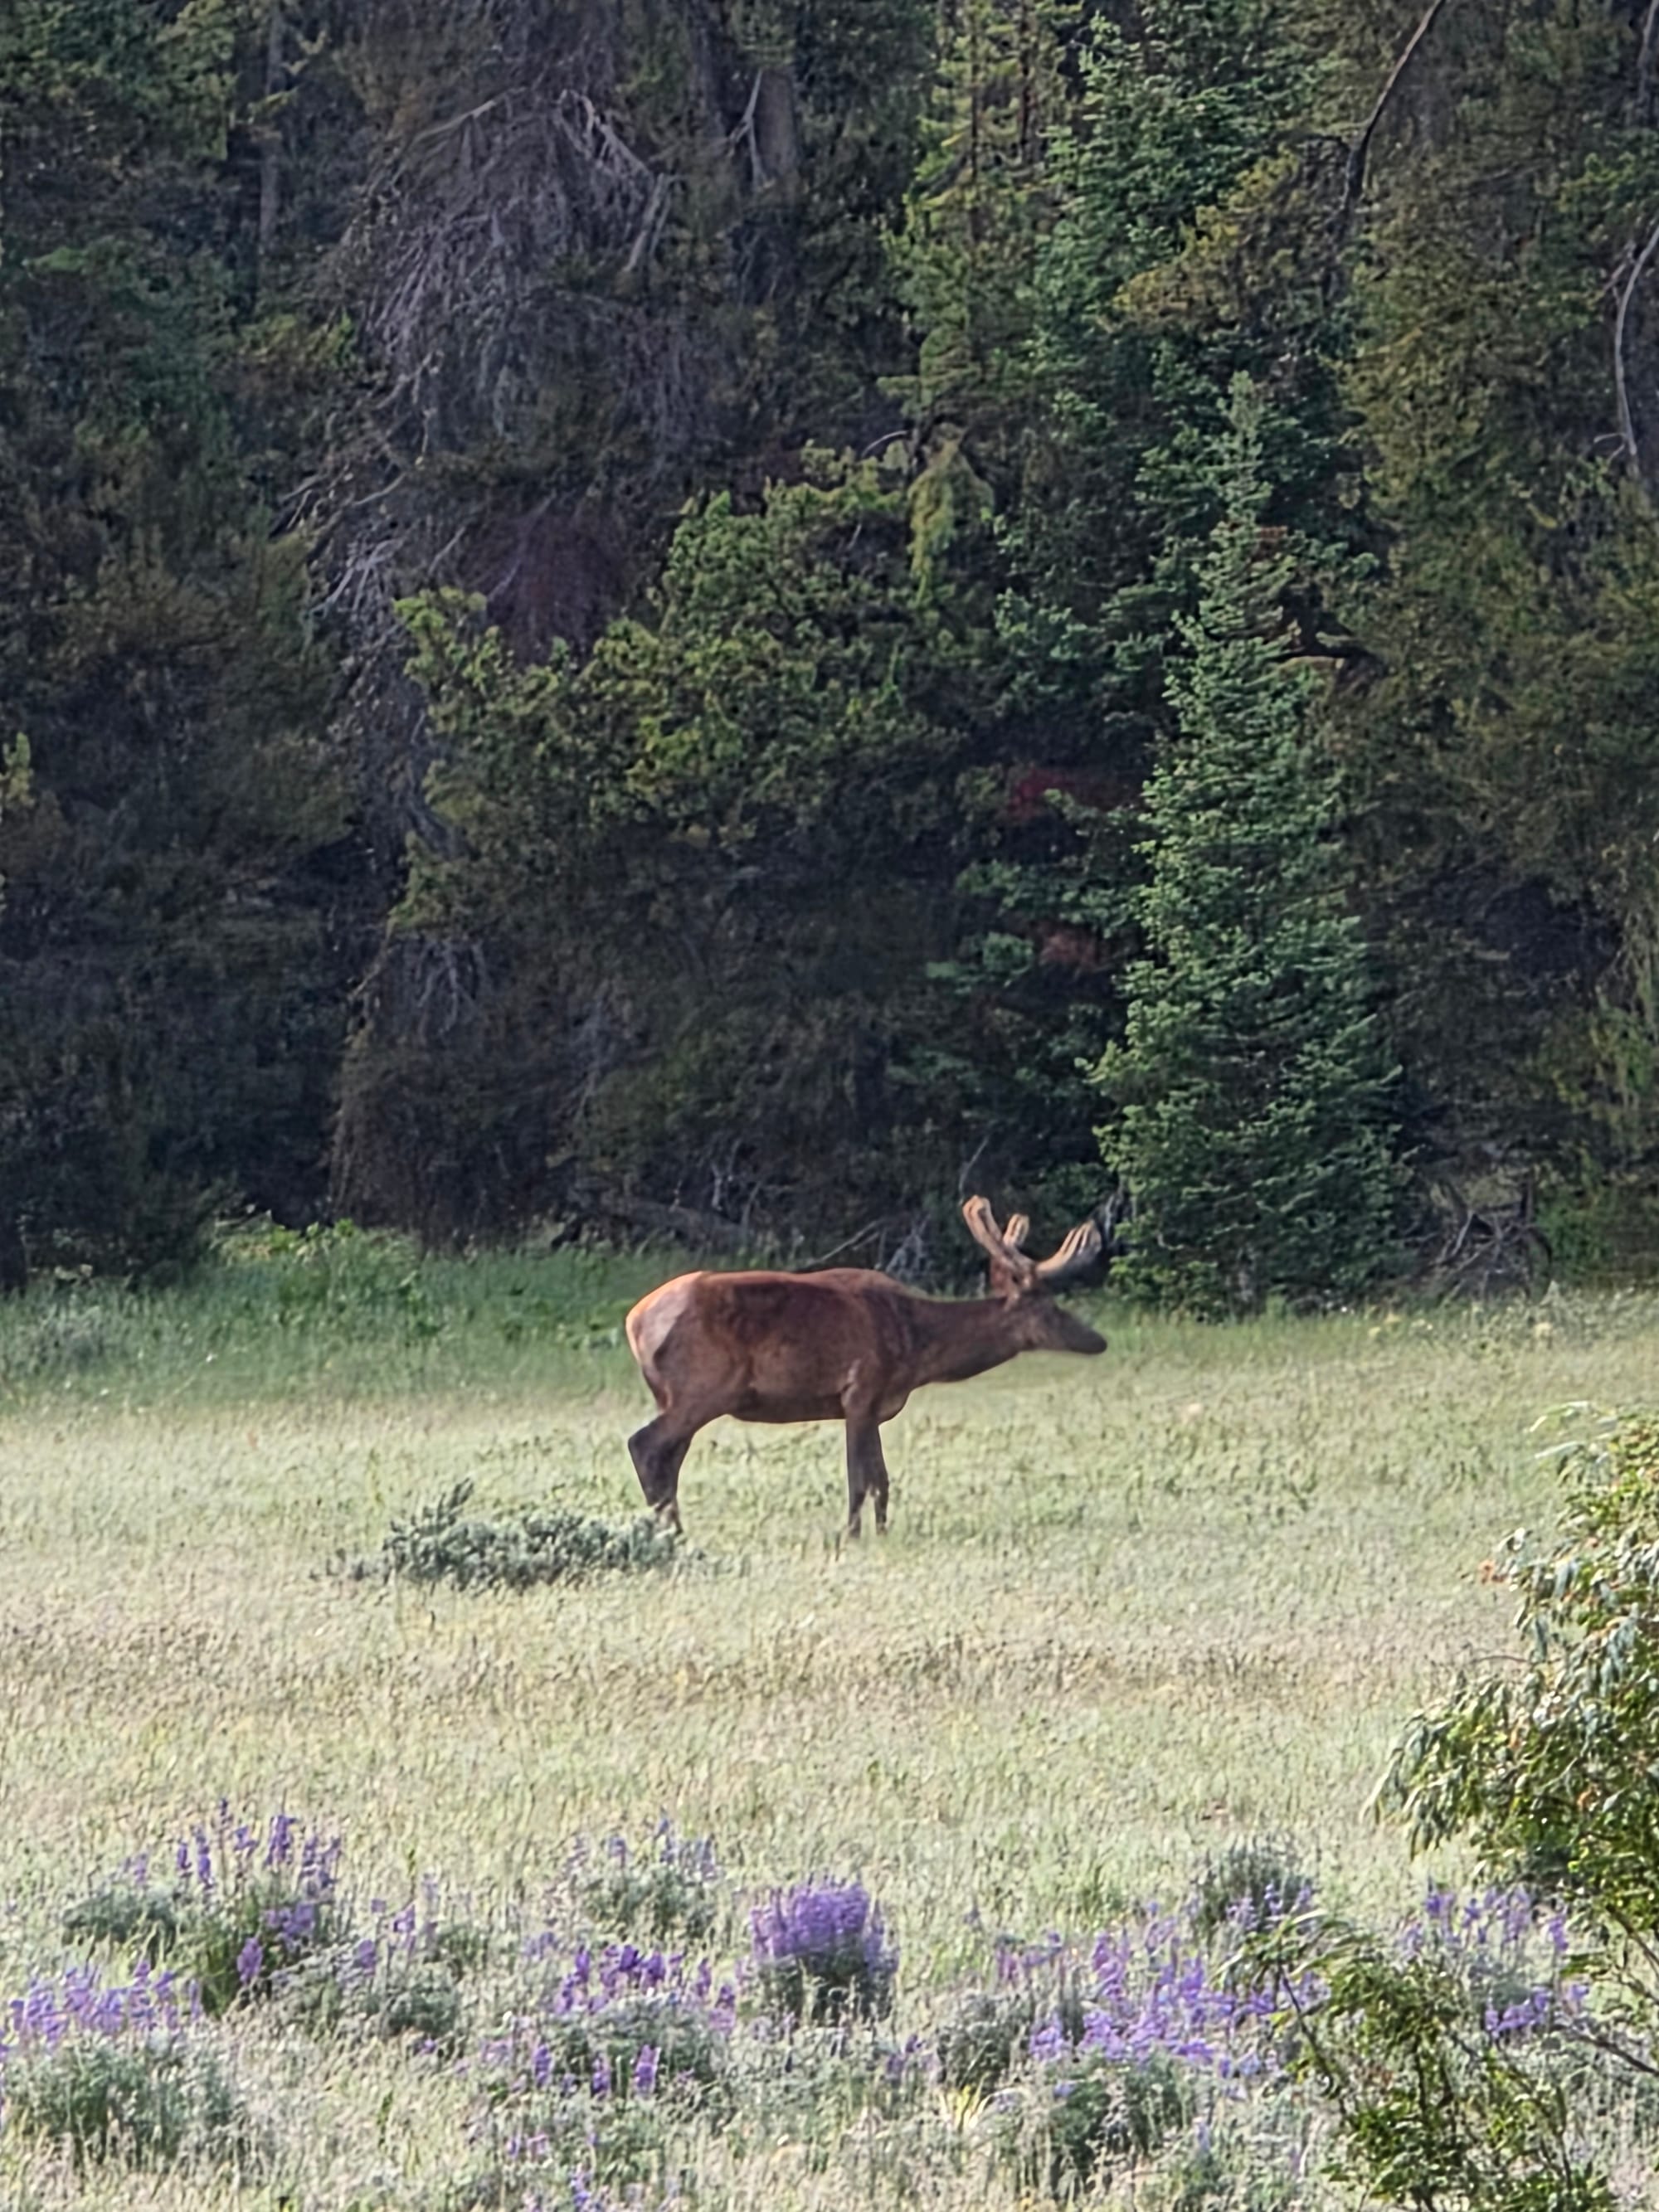
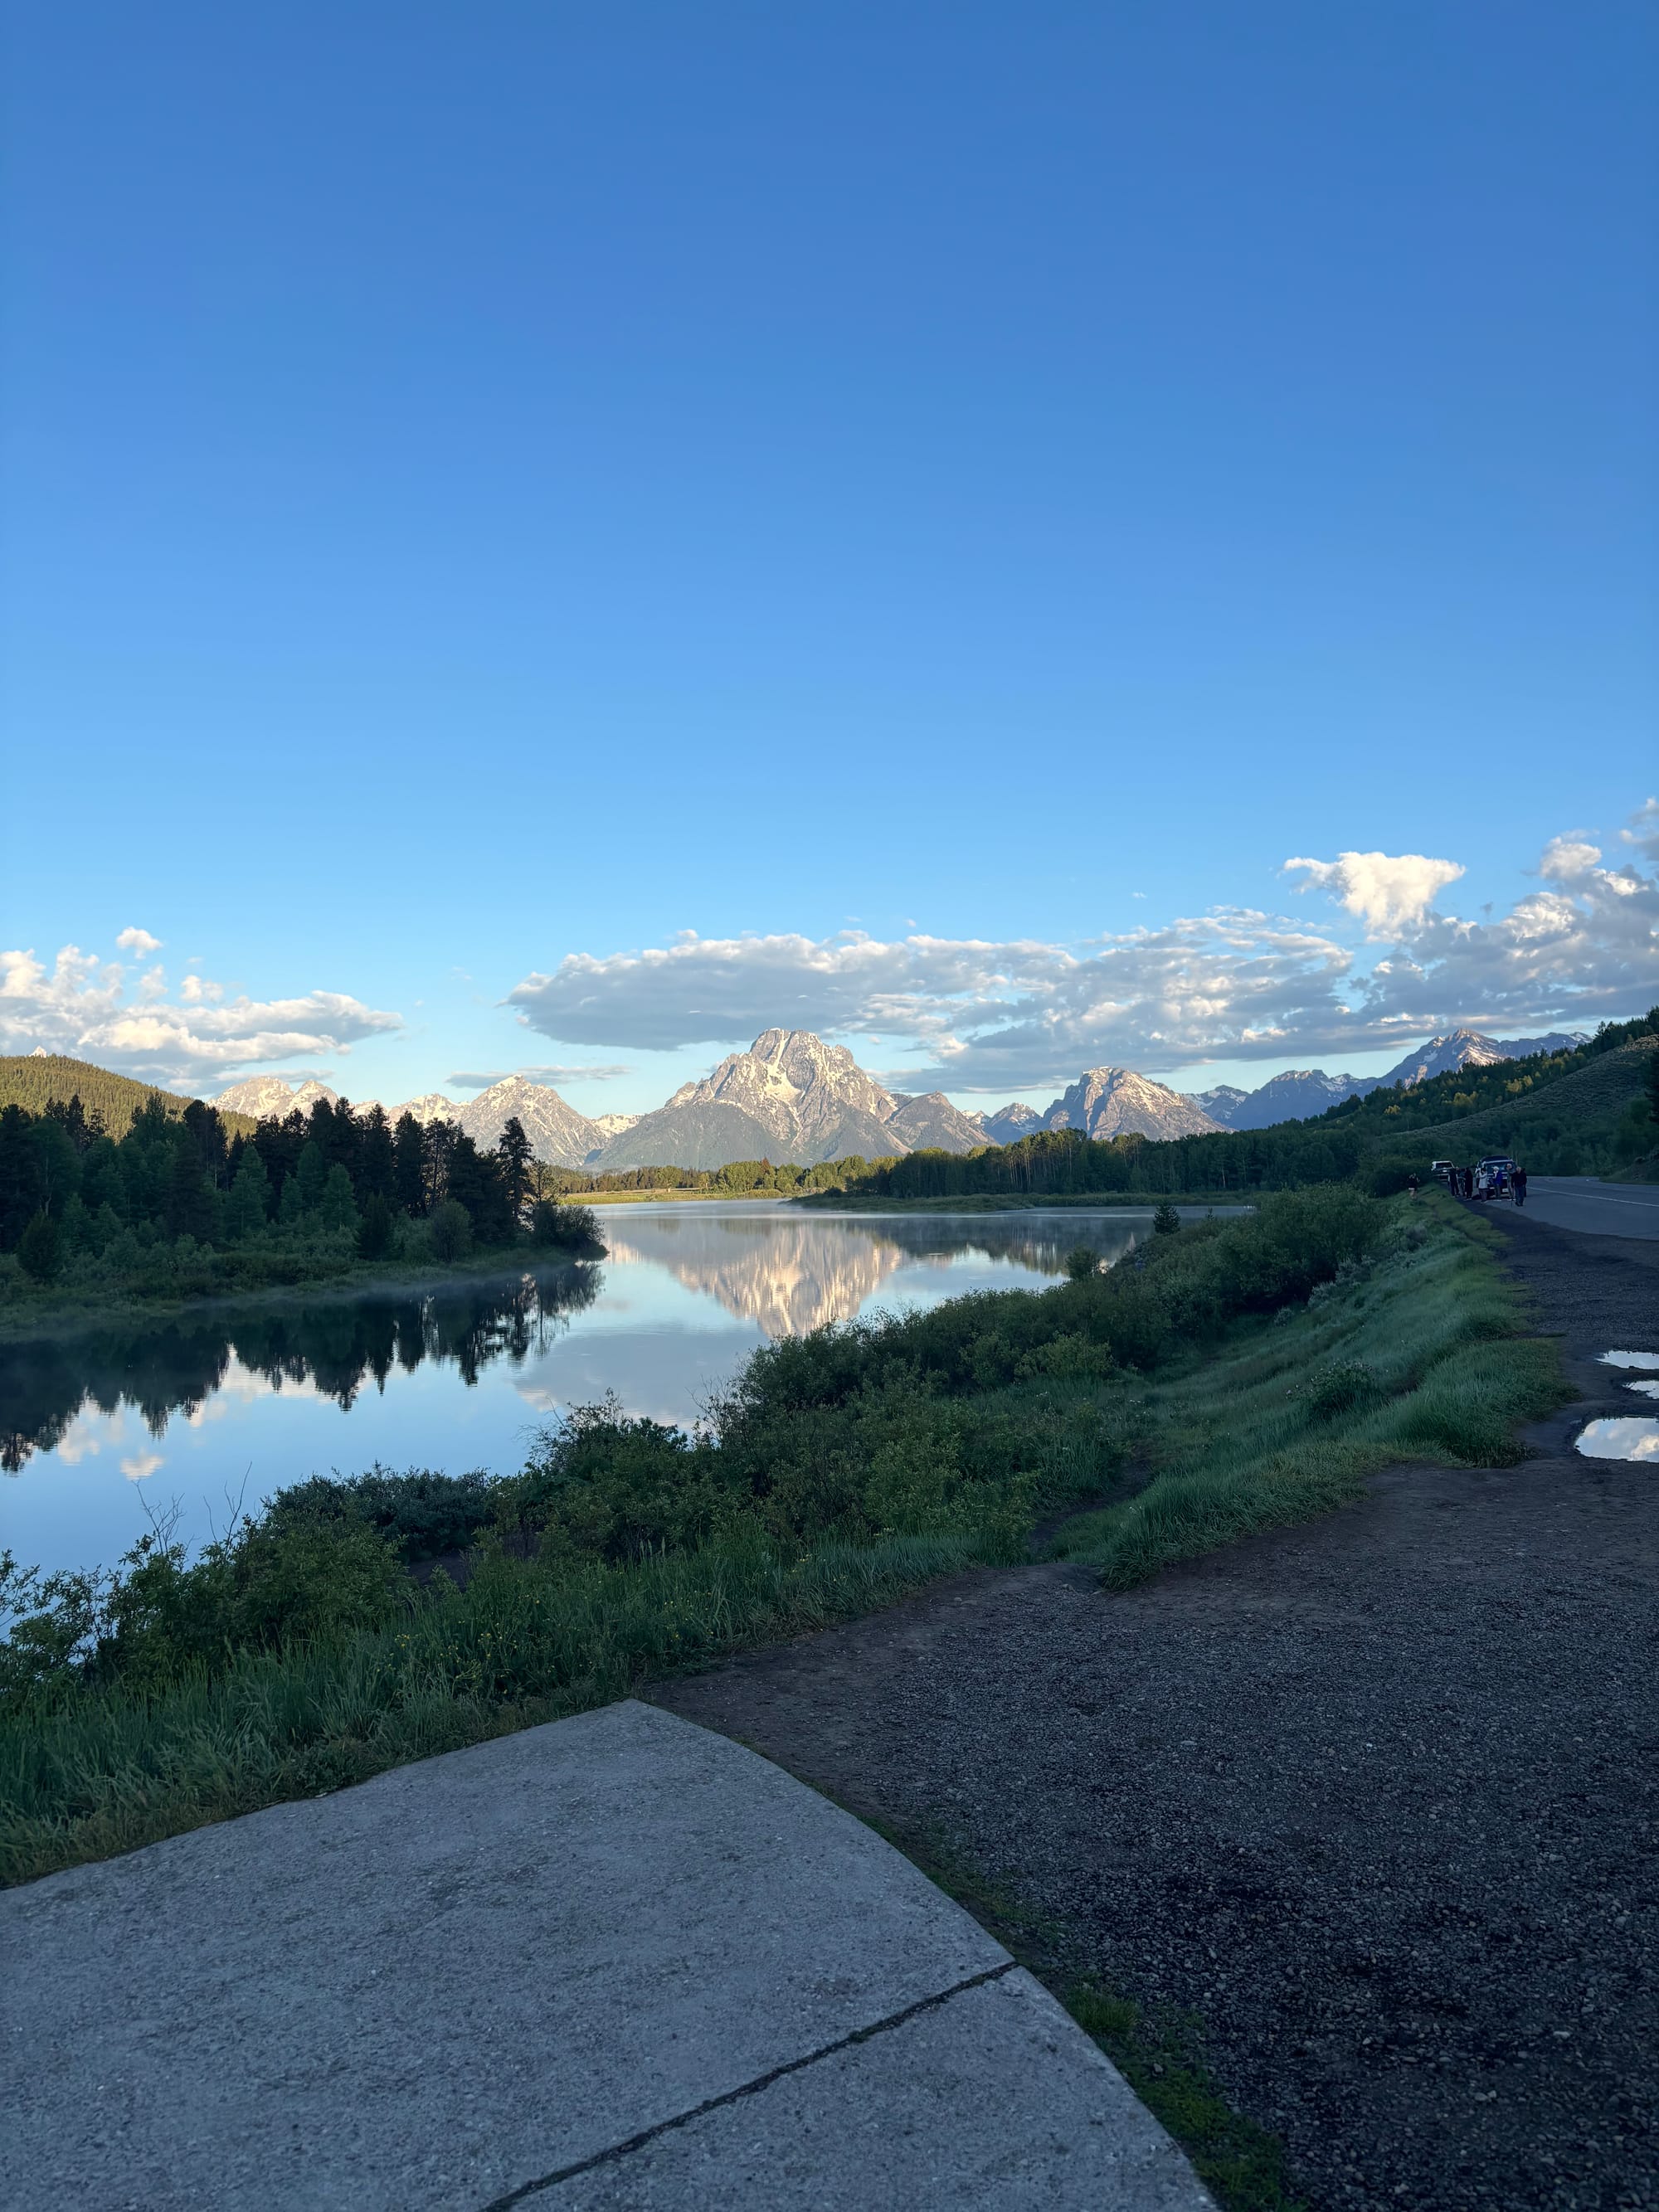
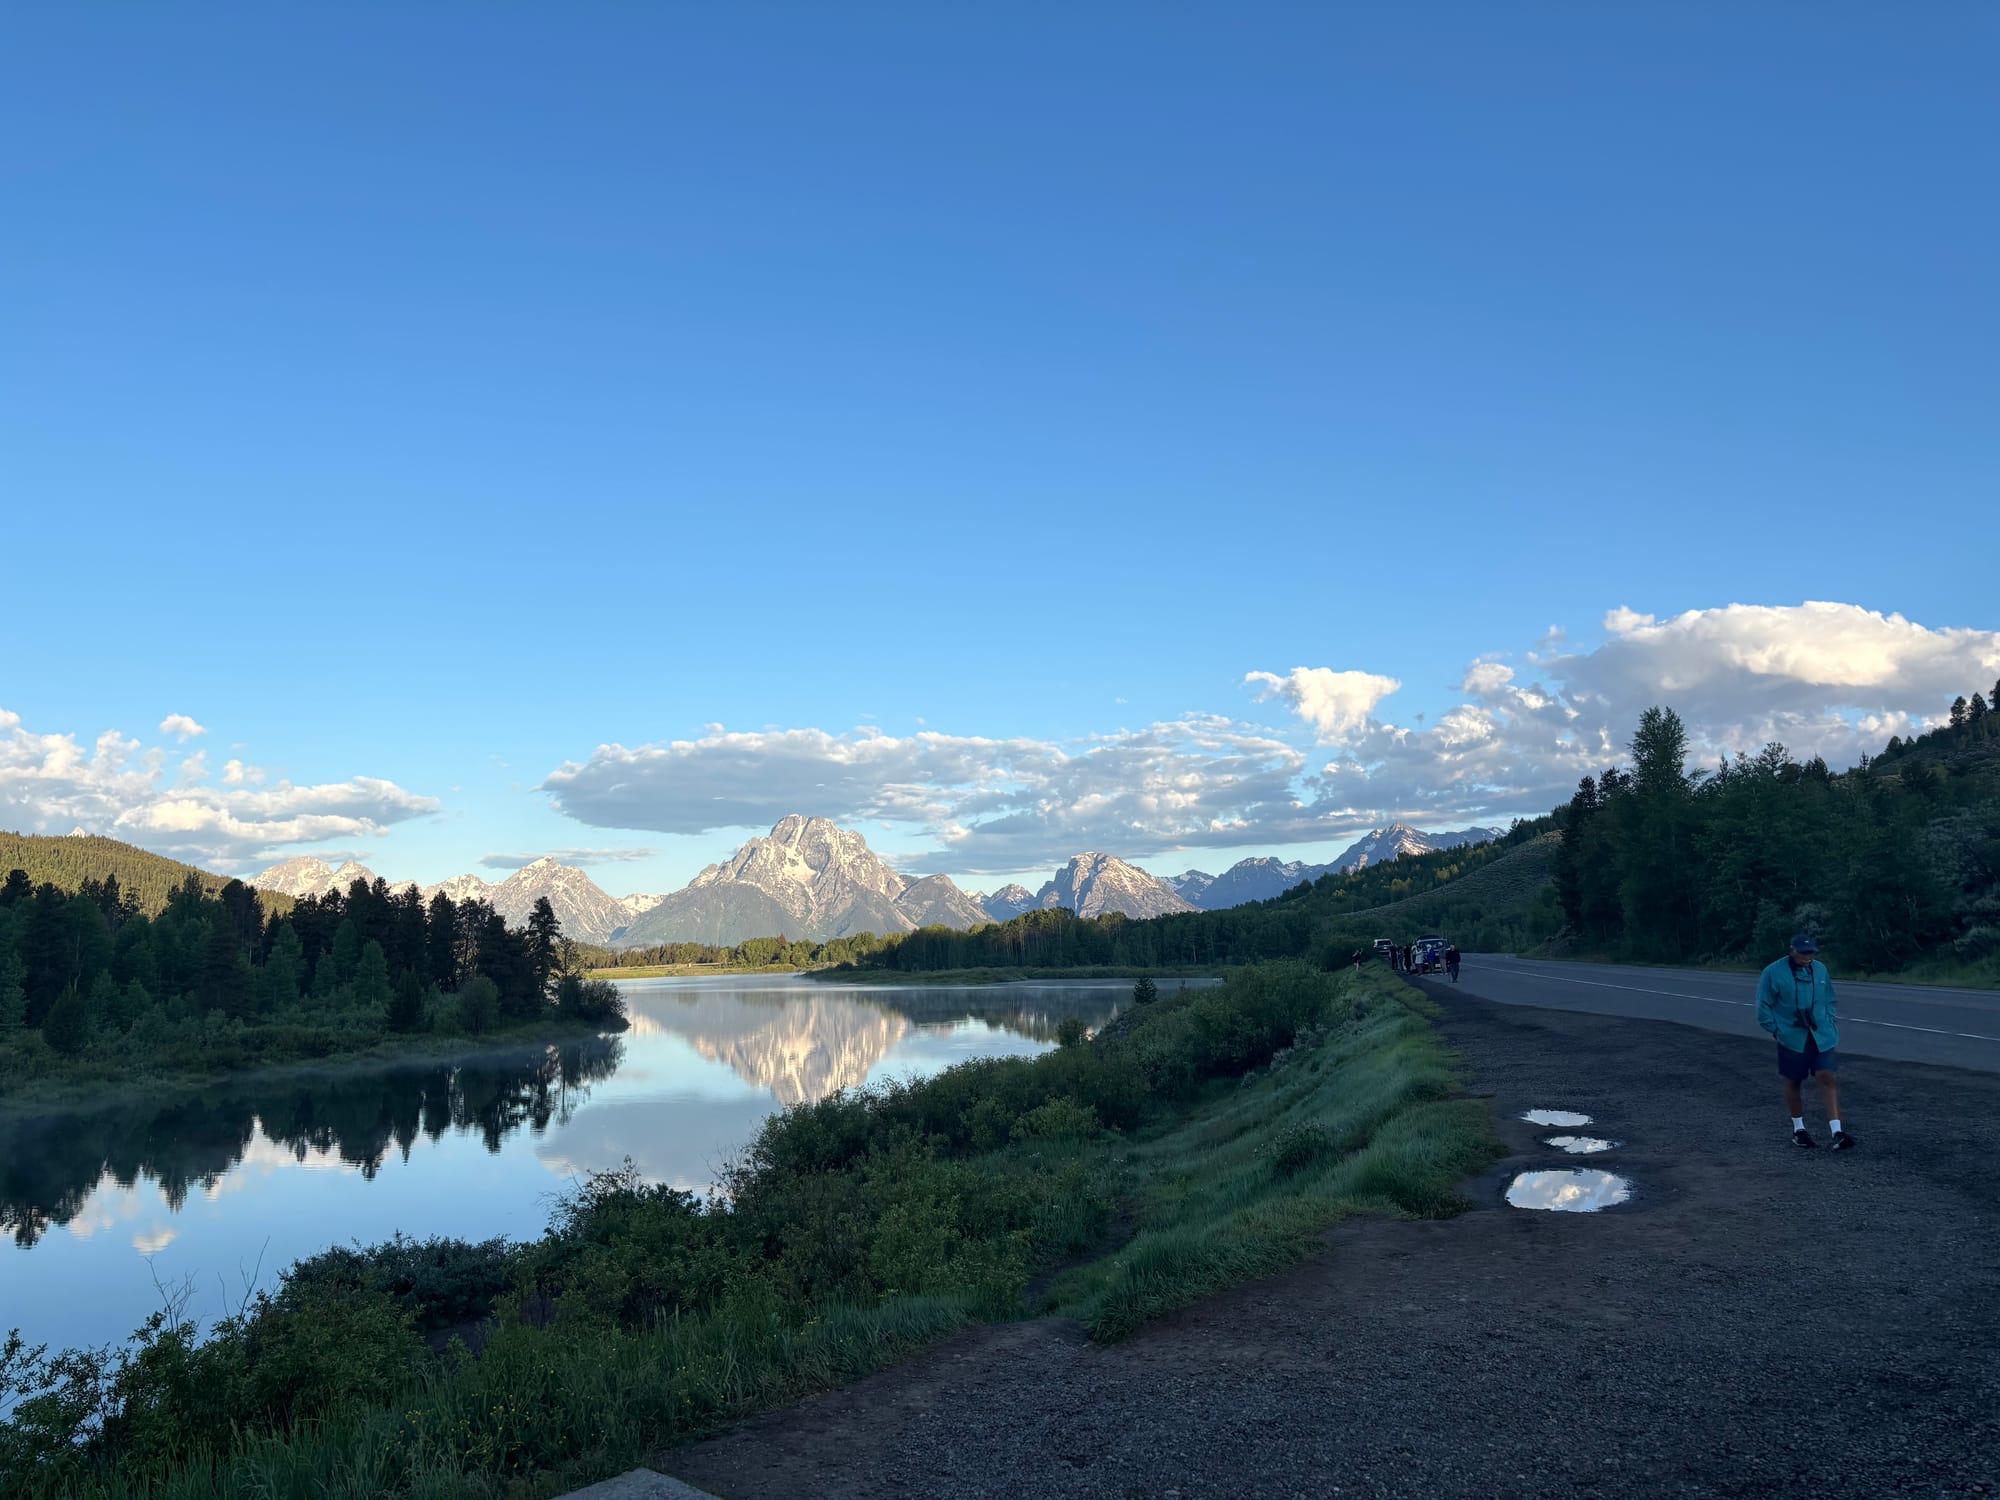
"Sunrise" and early morning elk
We did the String and Leigh Lakes loop, which is an easy, low-impact hike of about four miles round trip. We did not see any large wildlife, though there were warning signs for elk and moose. It is a scenic, flat walk, and we saw plenty of ducks and pelicans.

Lake loop sights
Next, we drove up the Signal Mountain Summit Road. The winding mountain road can feel a bit stressful to drive, but the overlooks at the summit are absolutely worth the trip. There are a couple of different parking lots at the top, and we recommend stopping at both to take in the views.
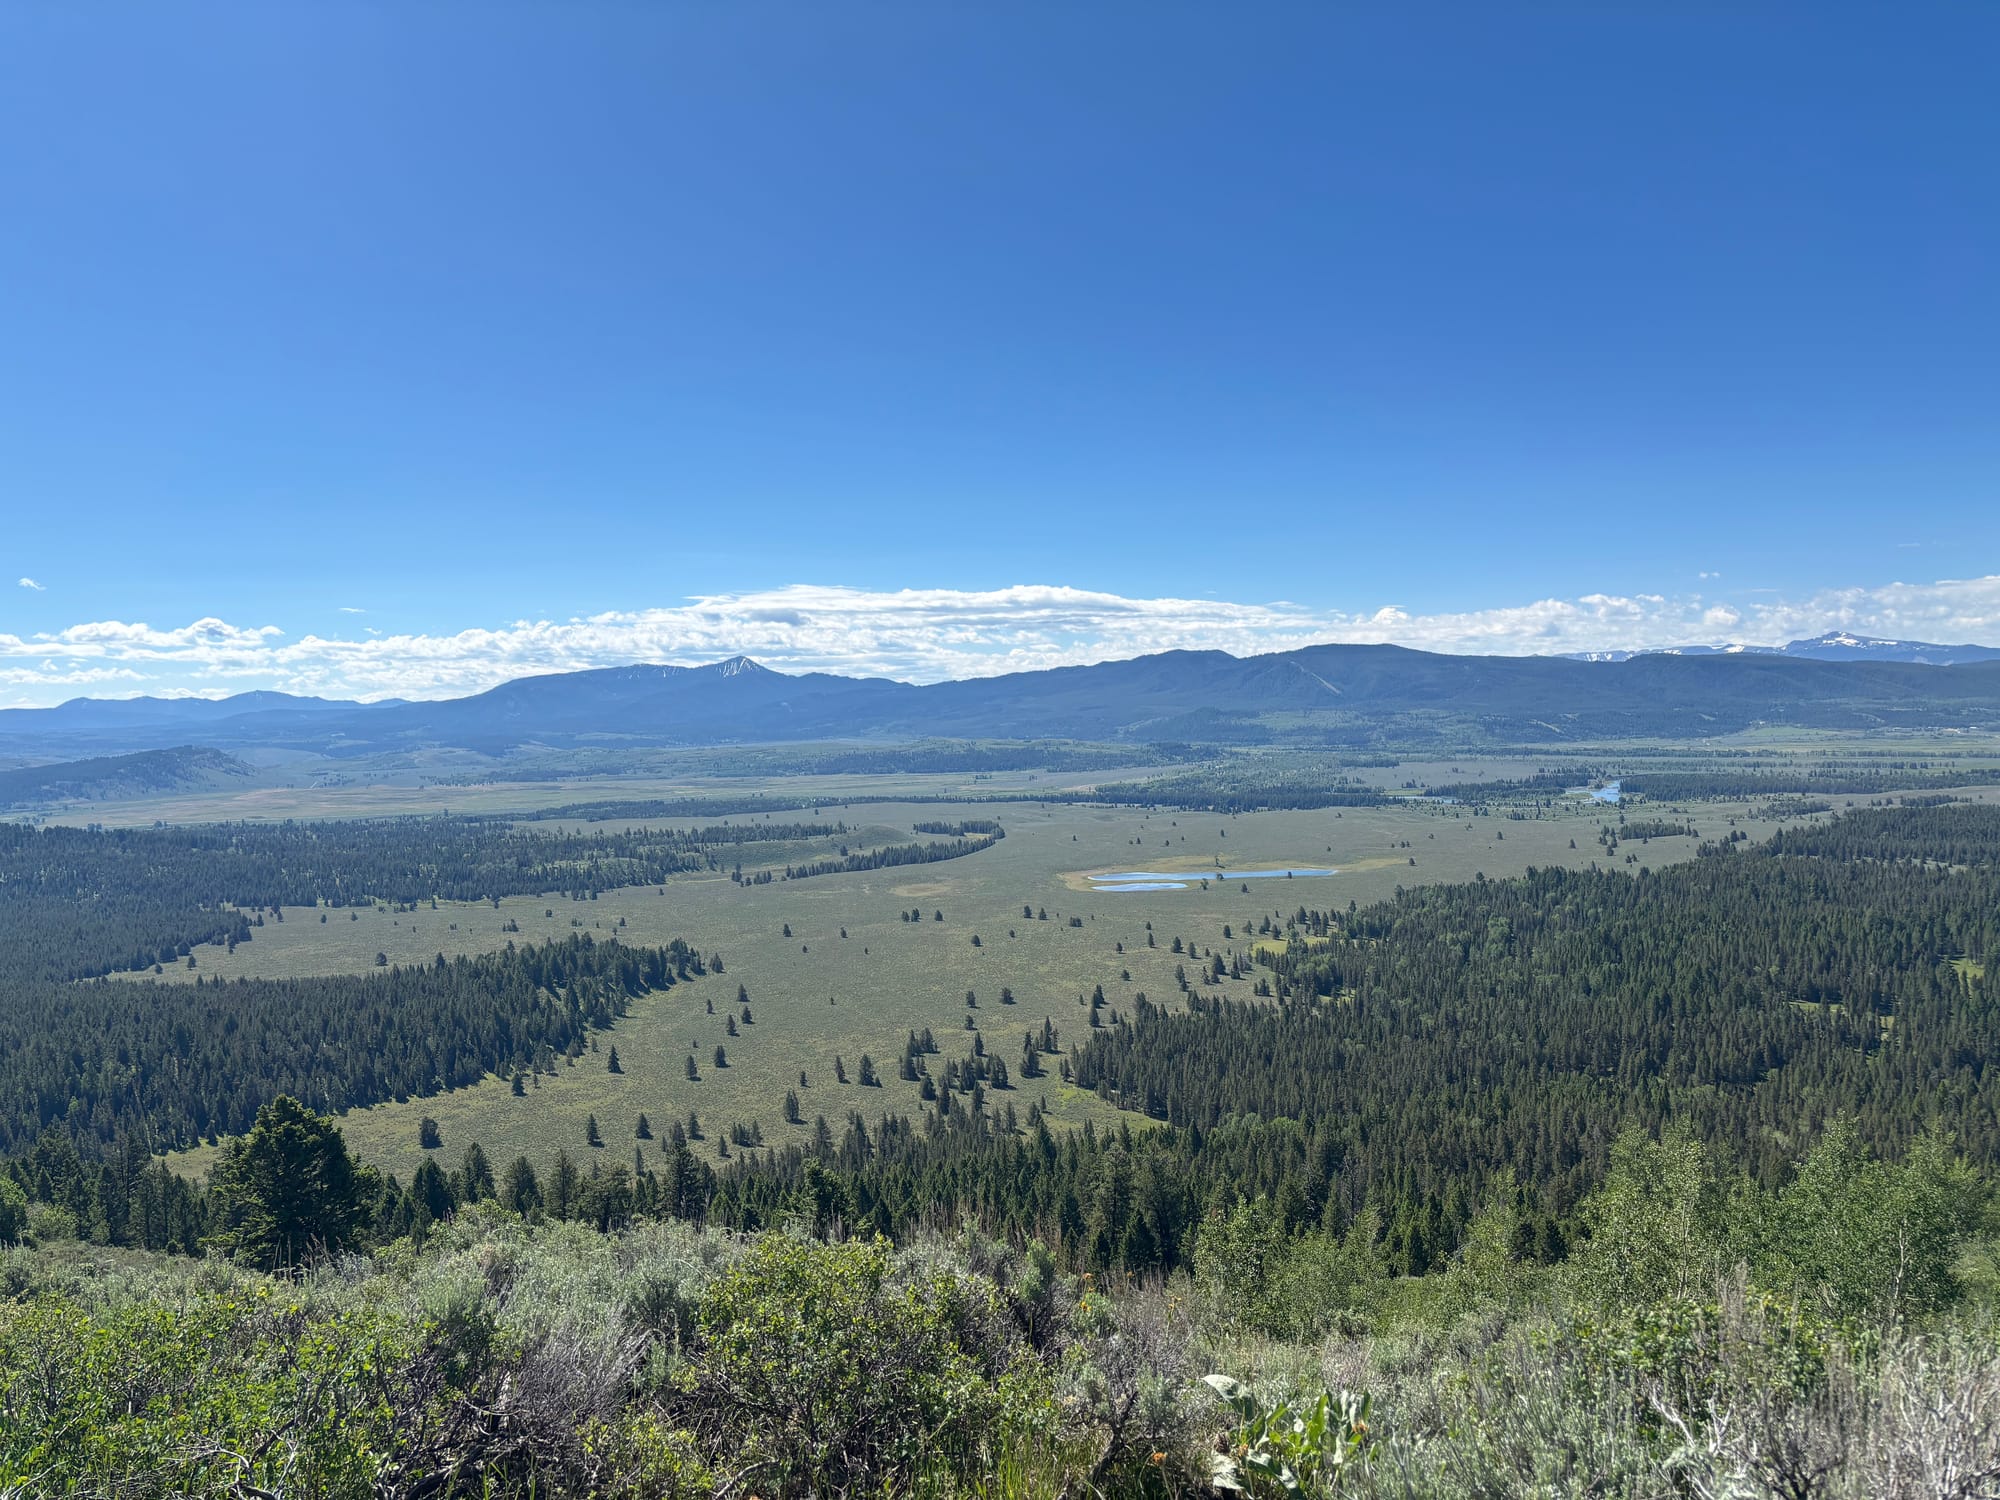

Summit views
In the afternoon, we walked the Heron Pond and Swan Lake Loop. It was another easy walk where we saw more ducks, pelicans, and a few beaver lodges, though no actual beavers. A large section of this trail was closed due to a bear safety zone, but the inner loop still offered plenty of views.
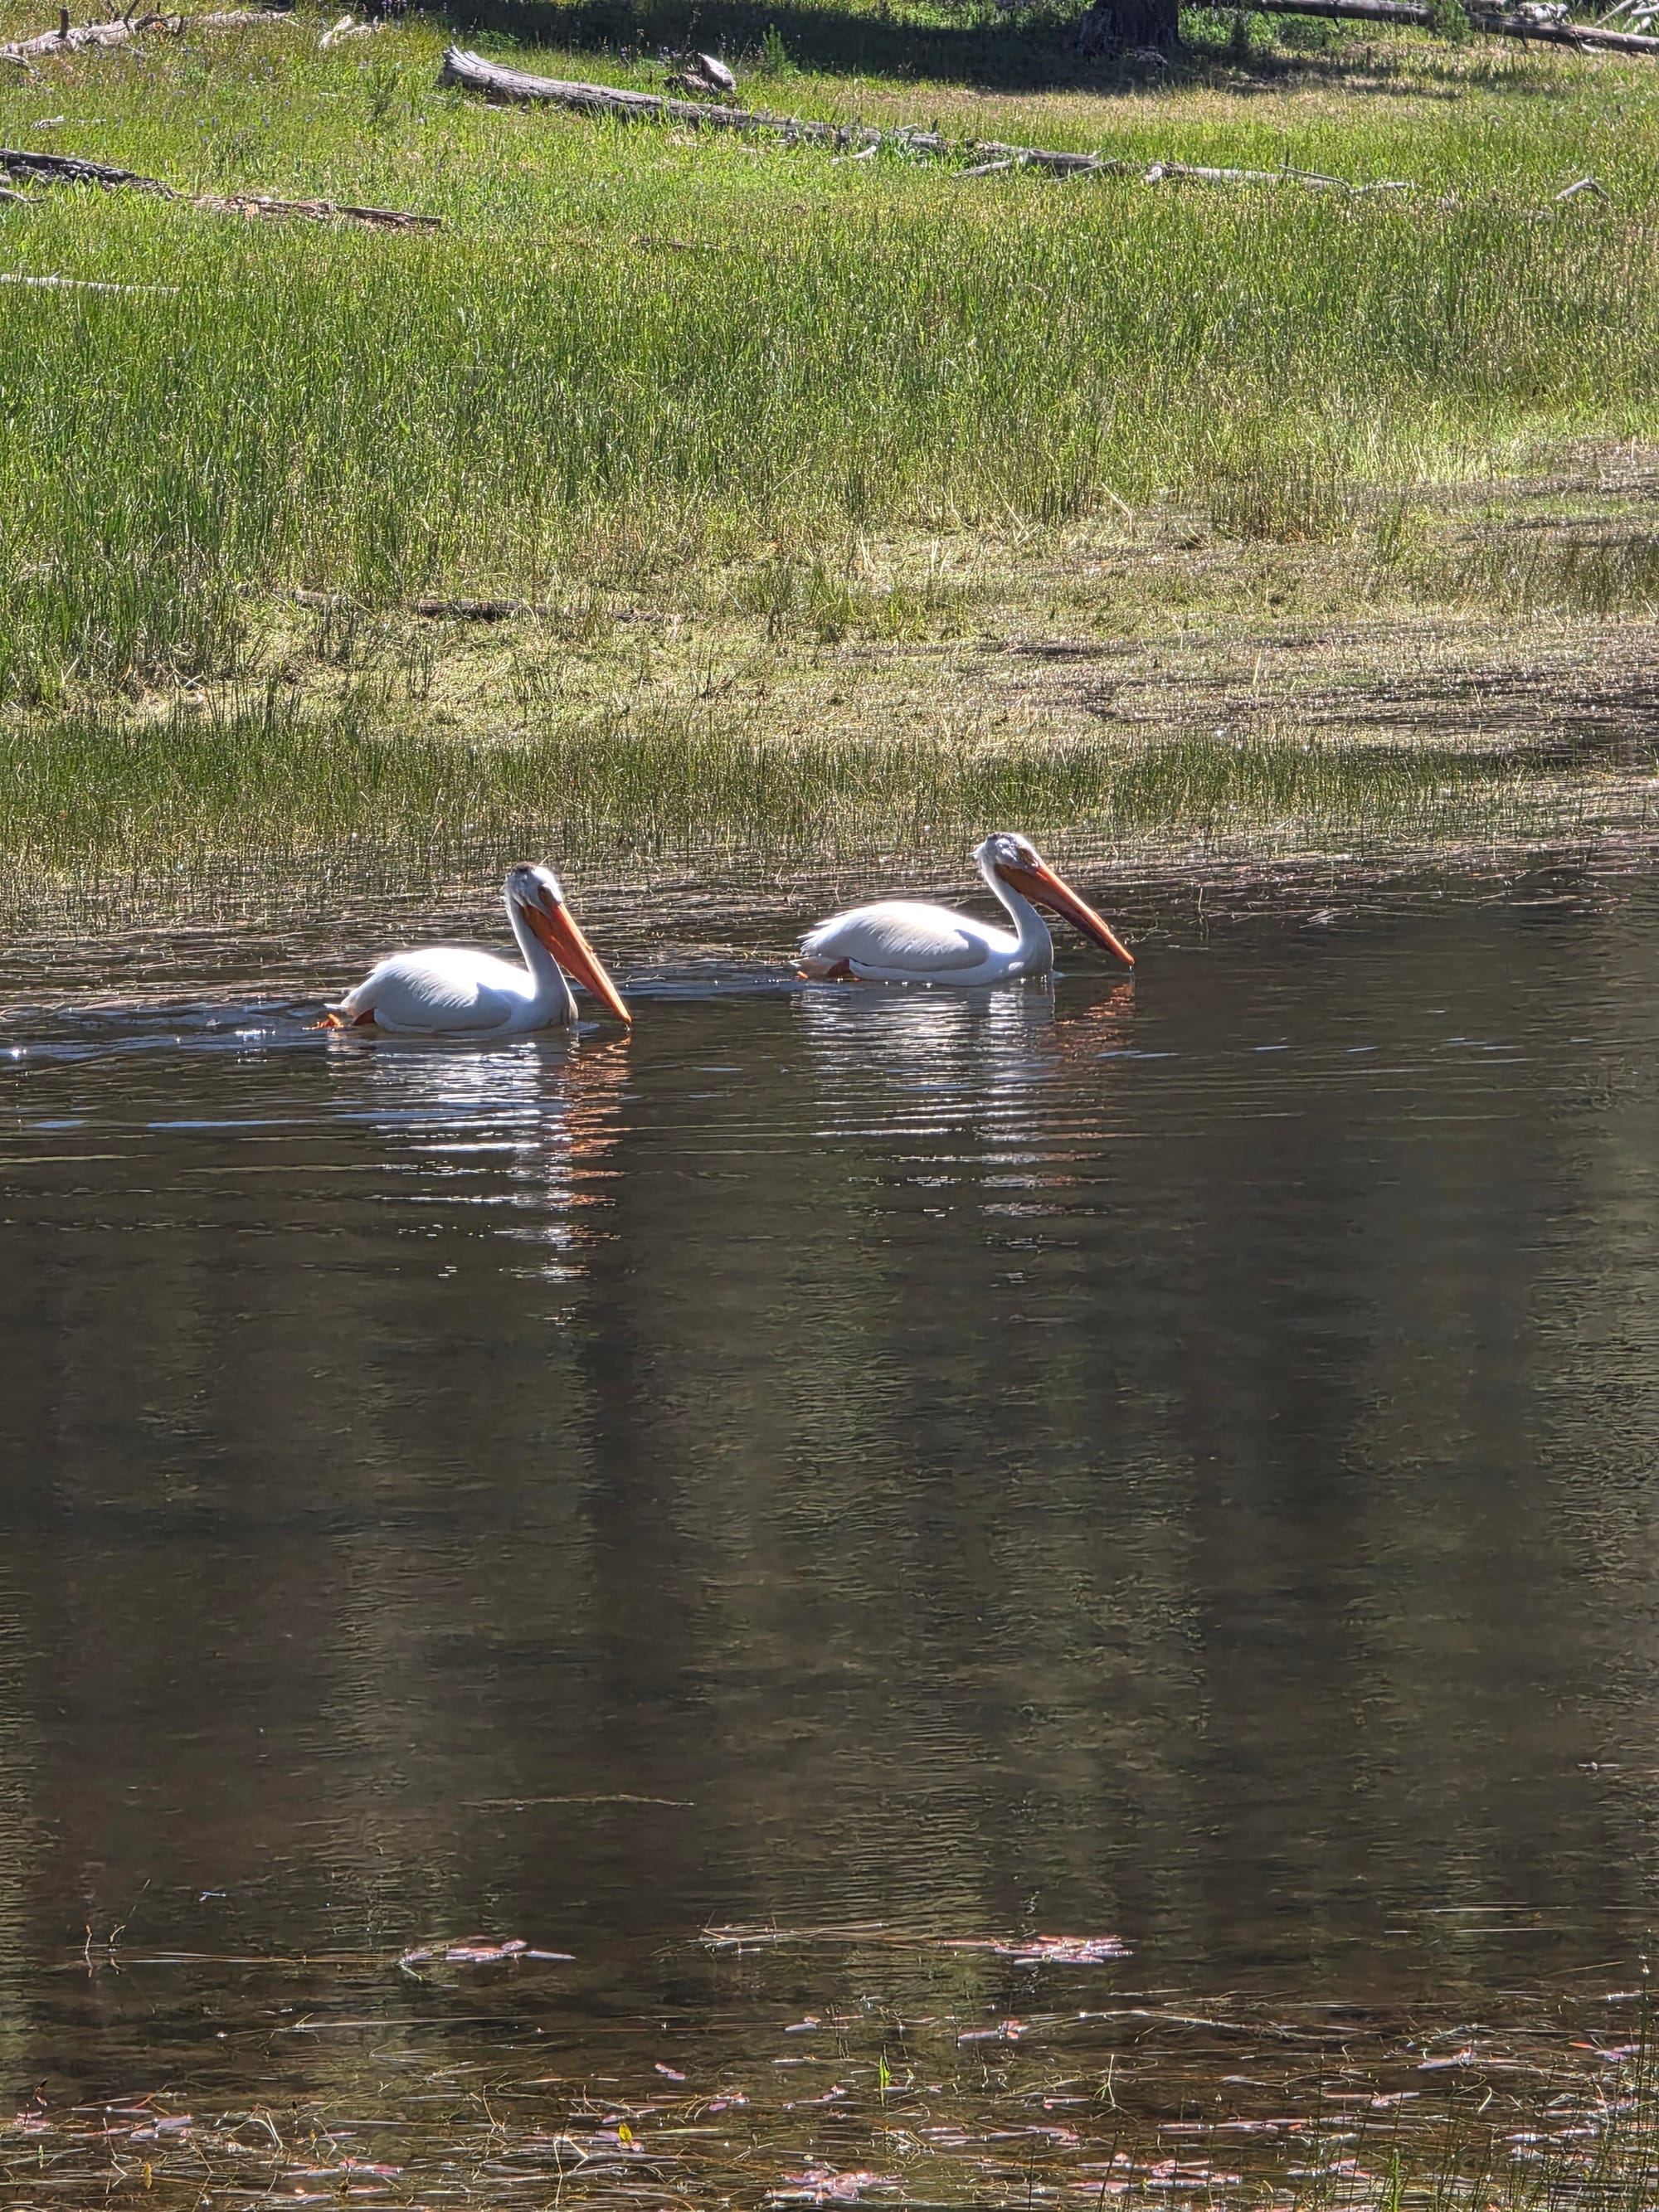
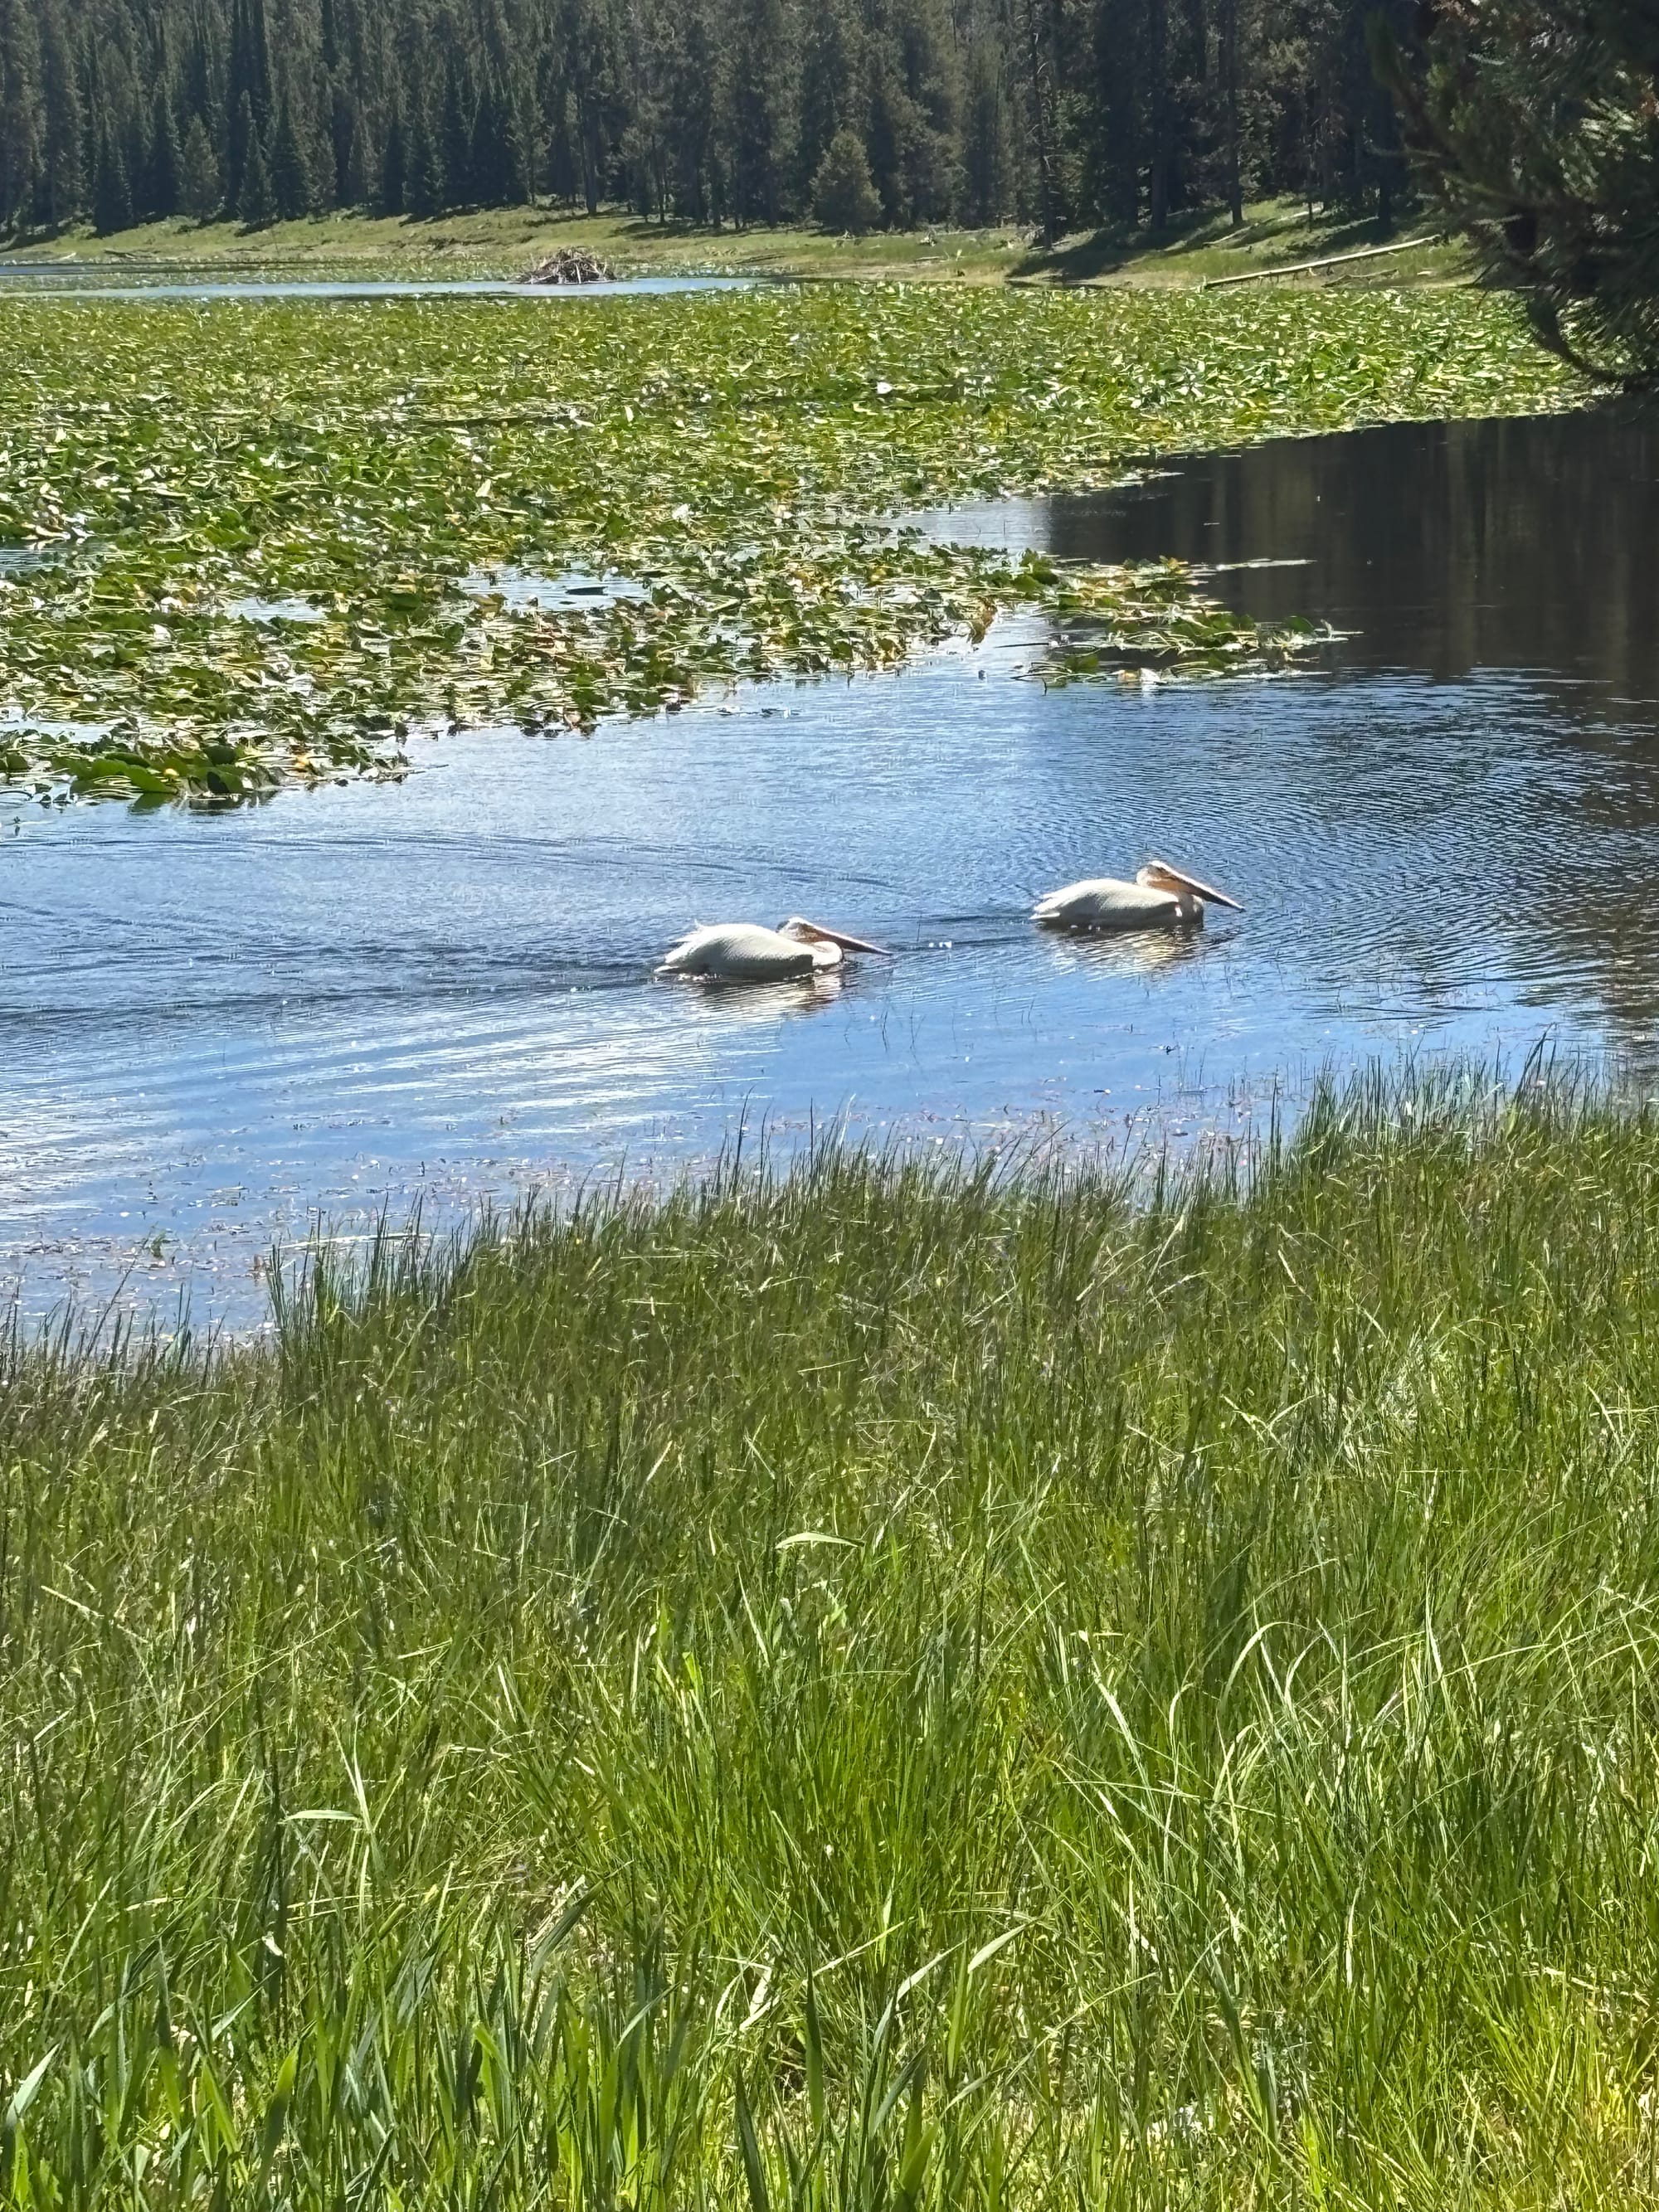
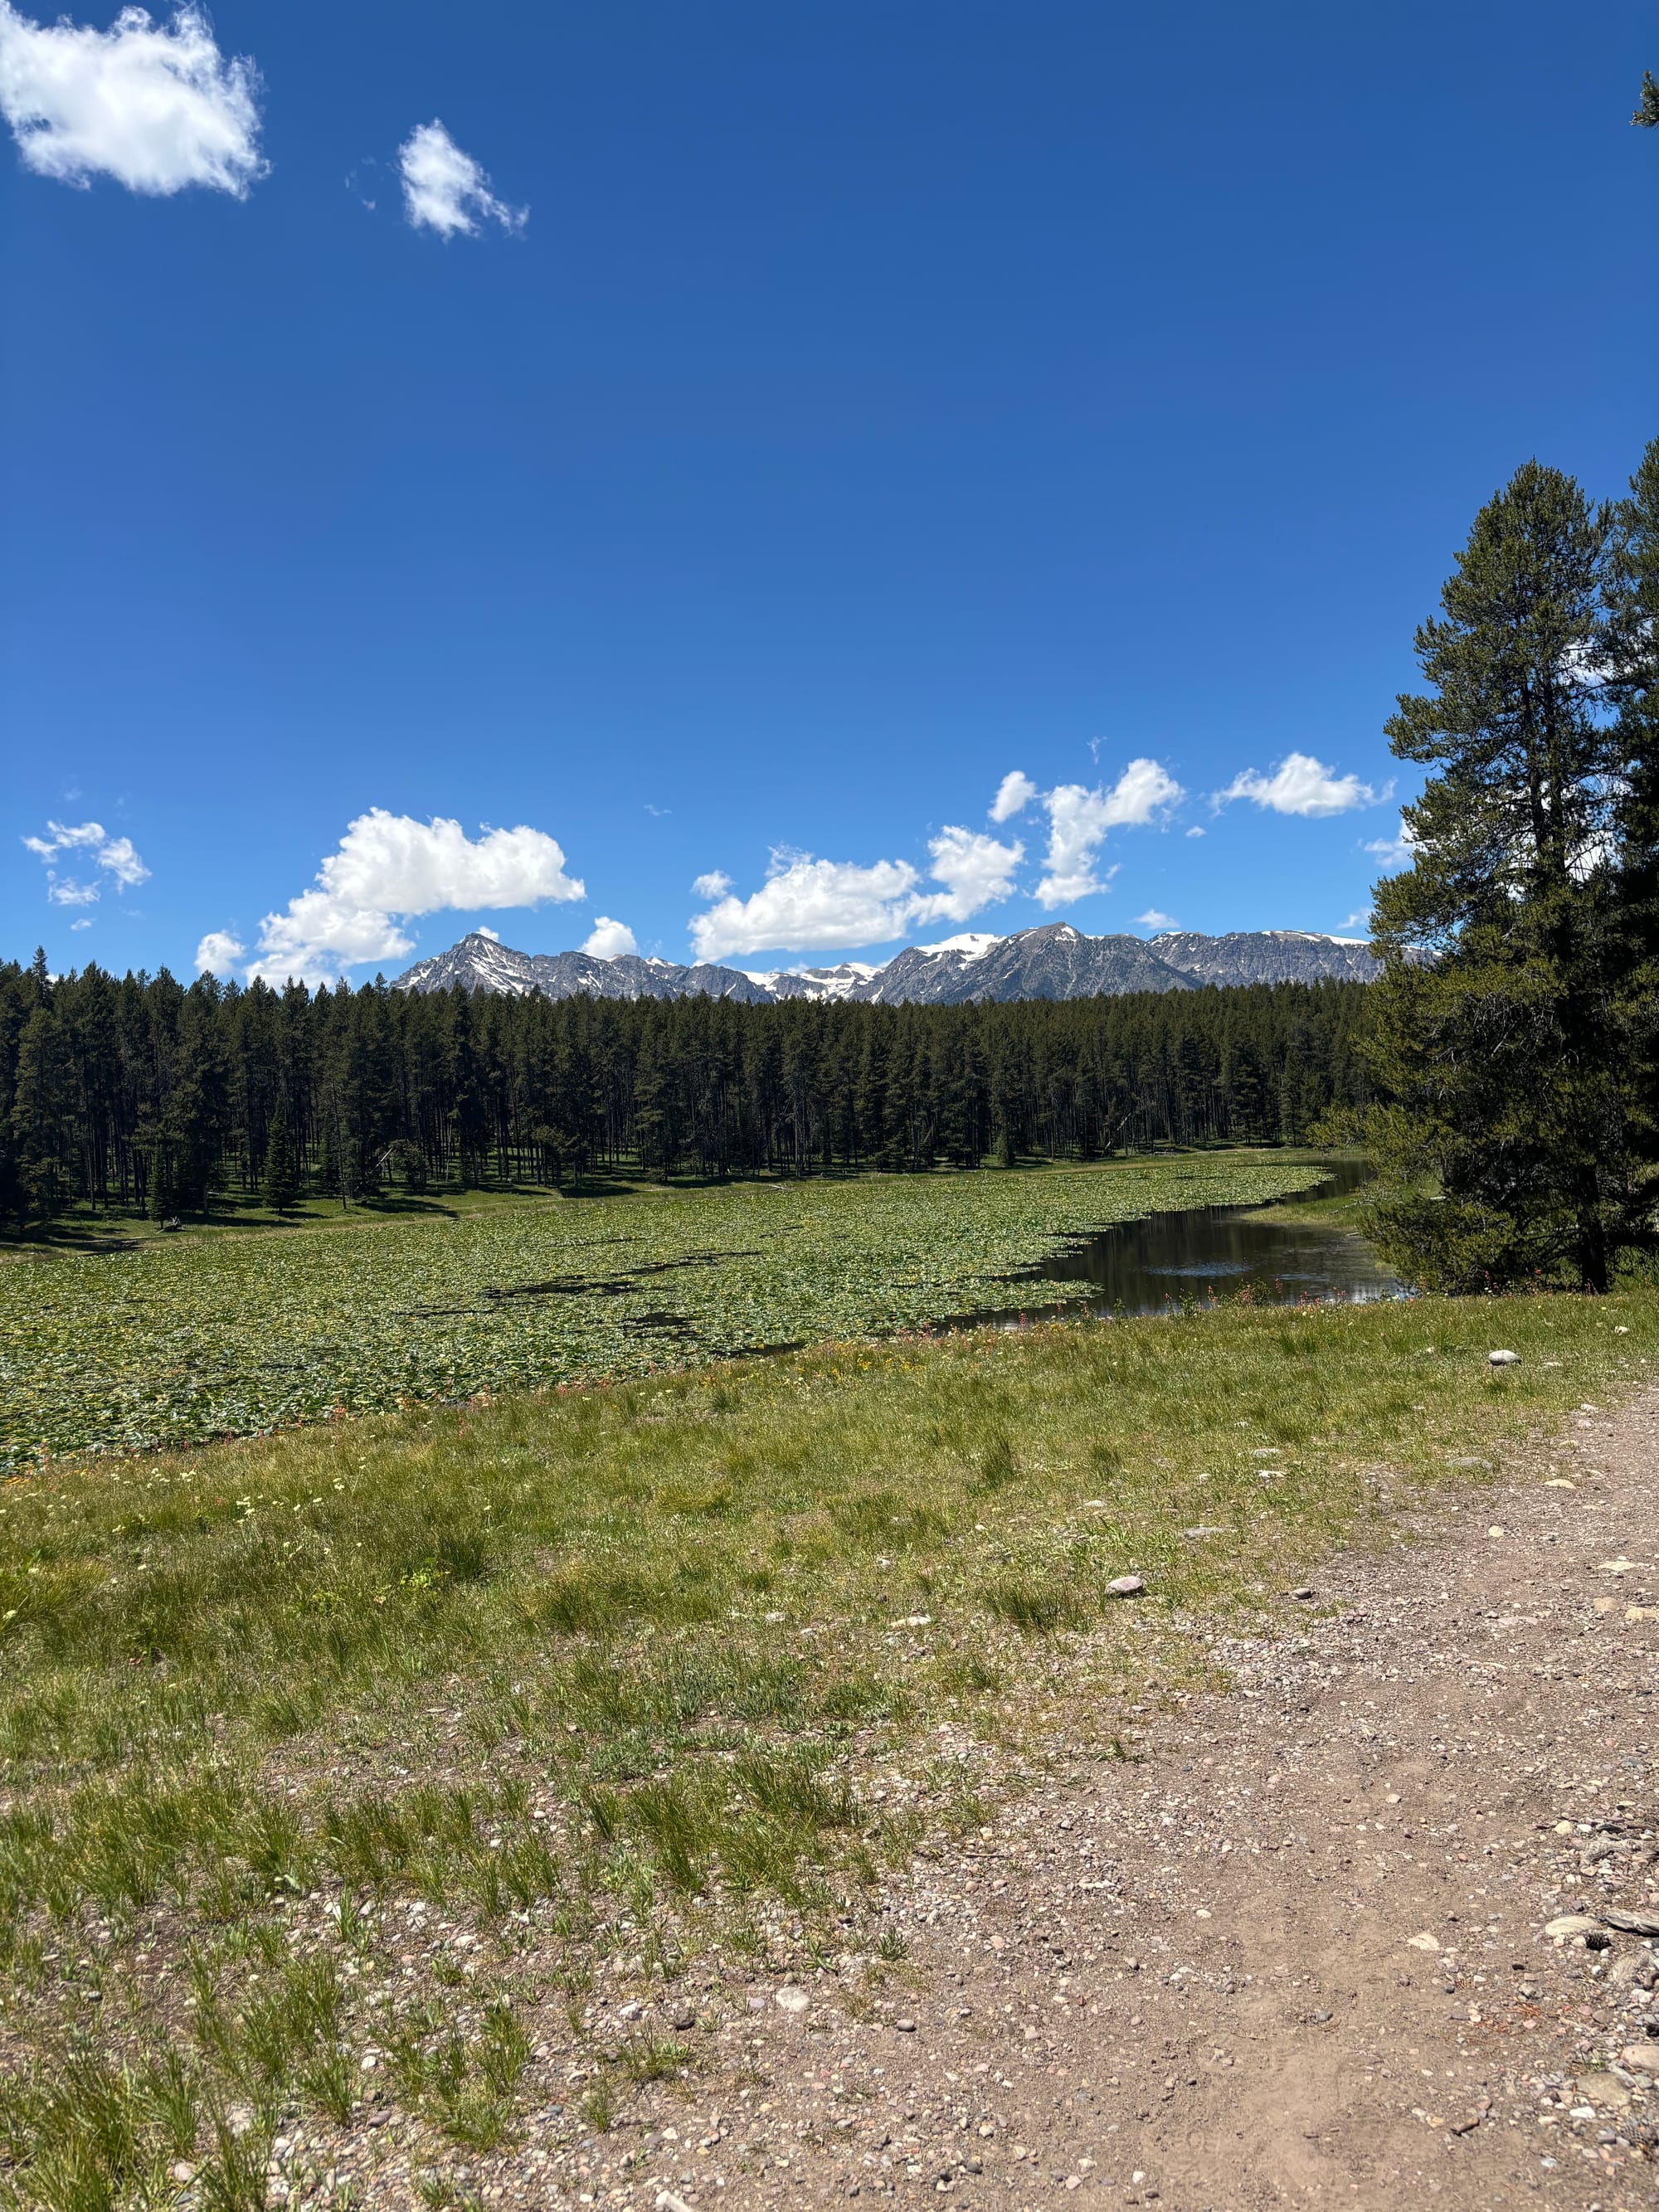
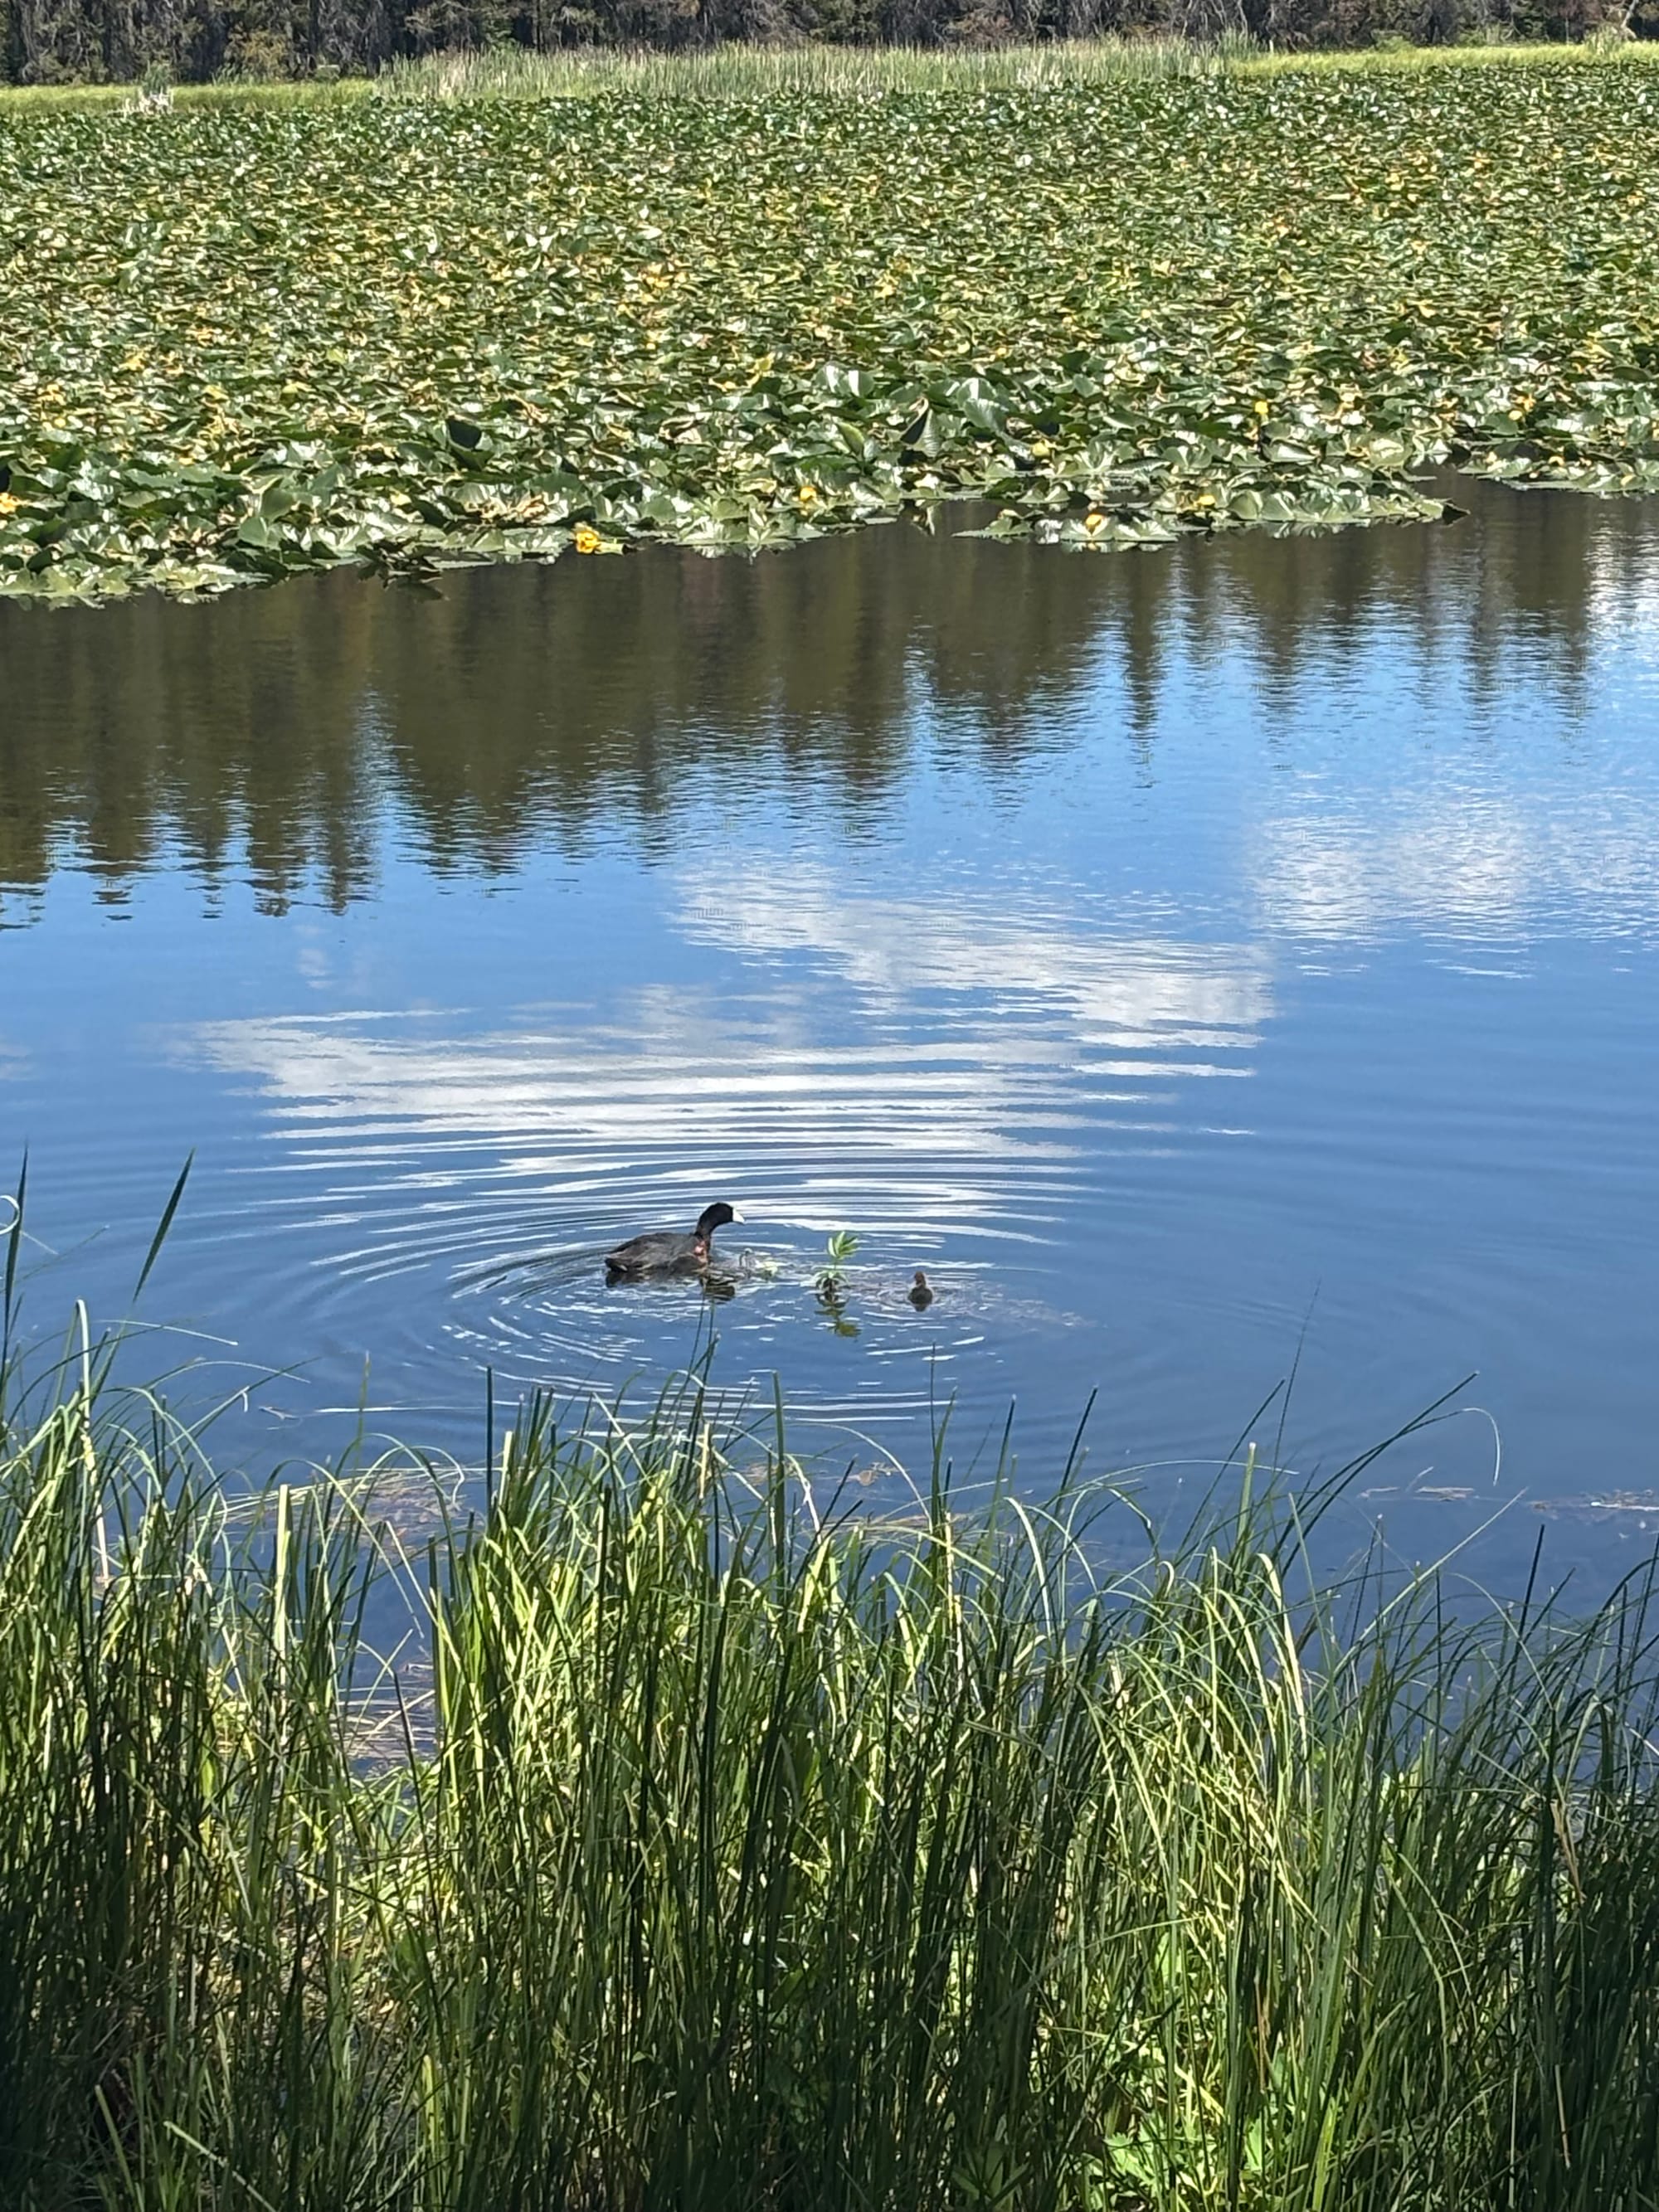
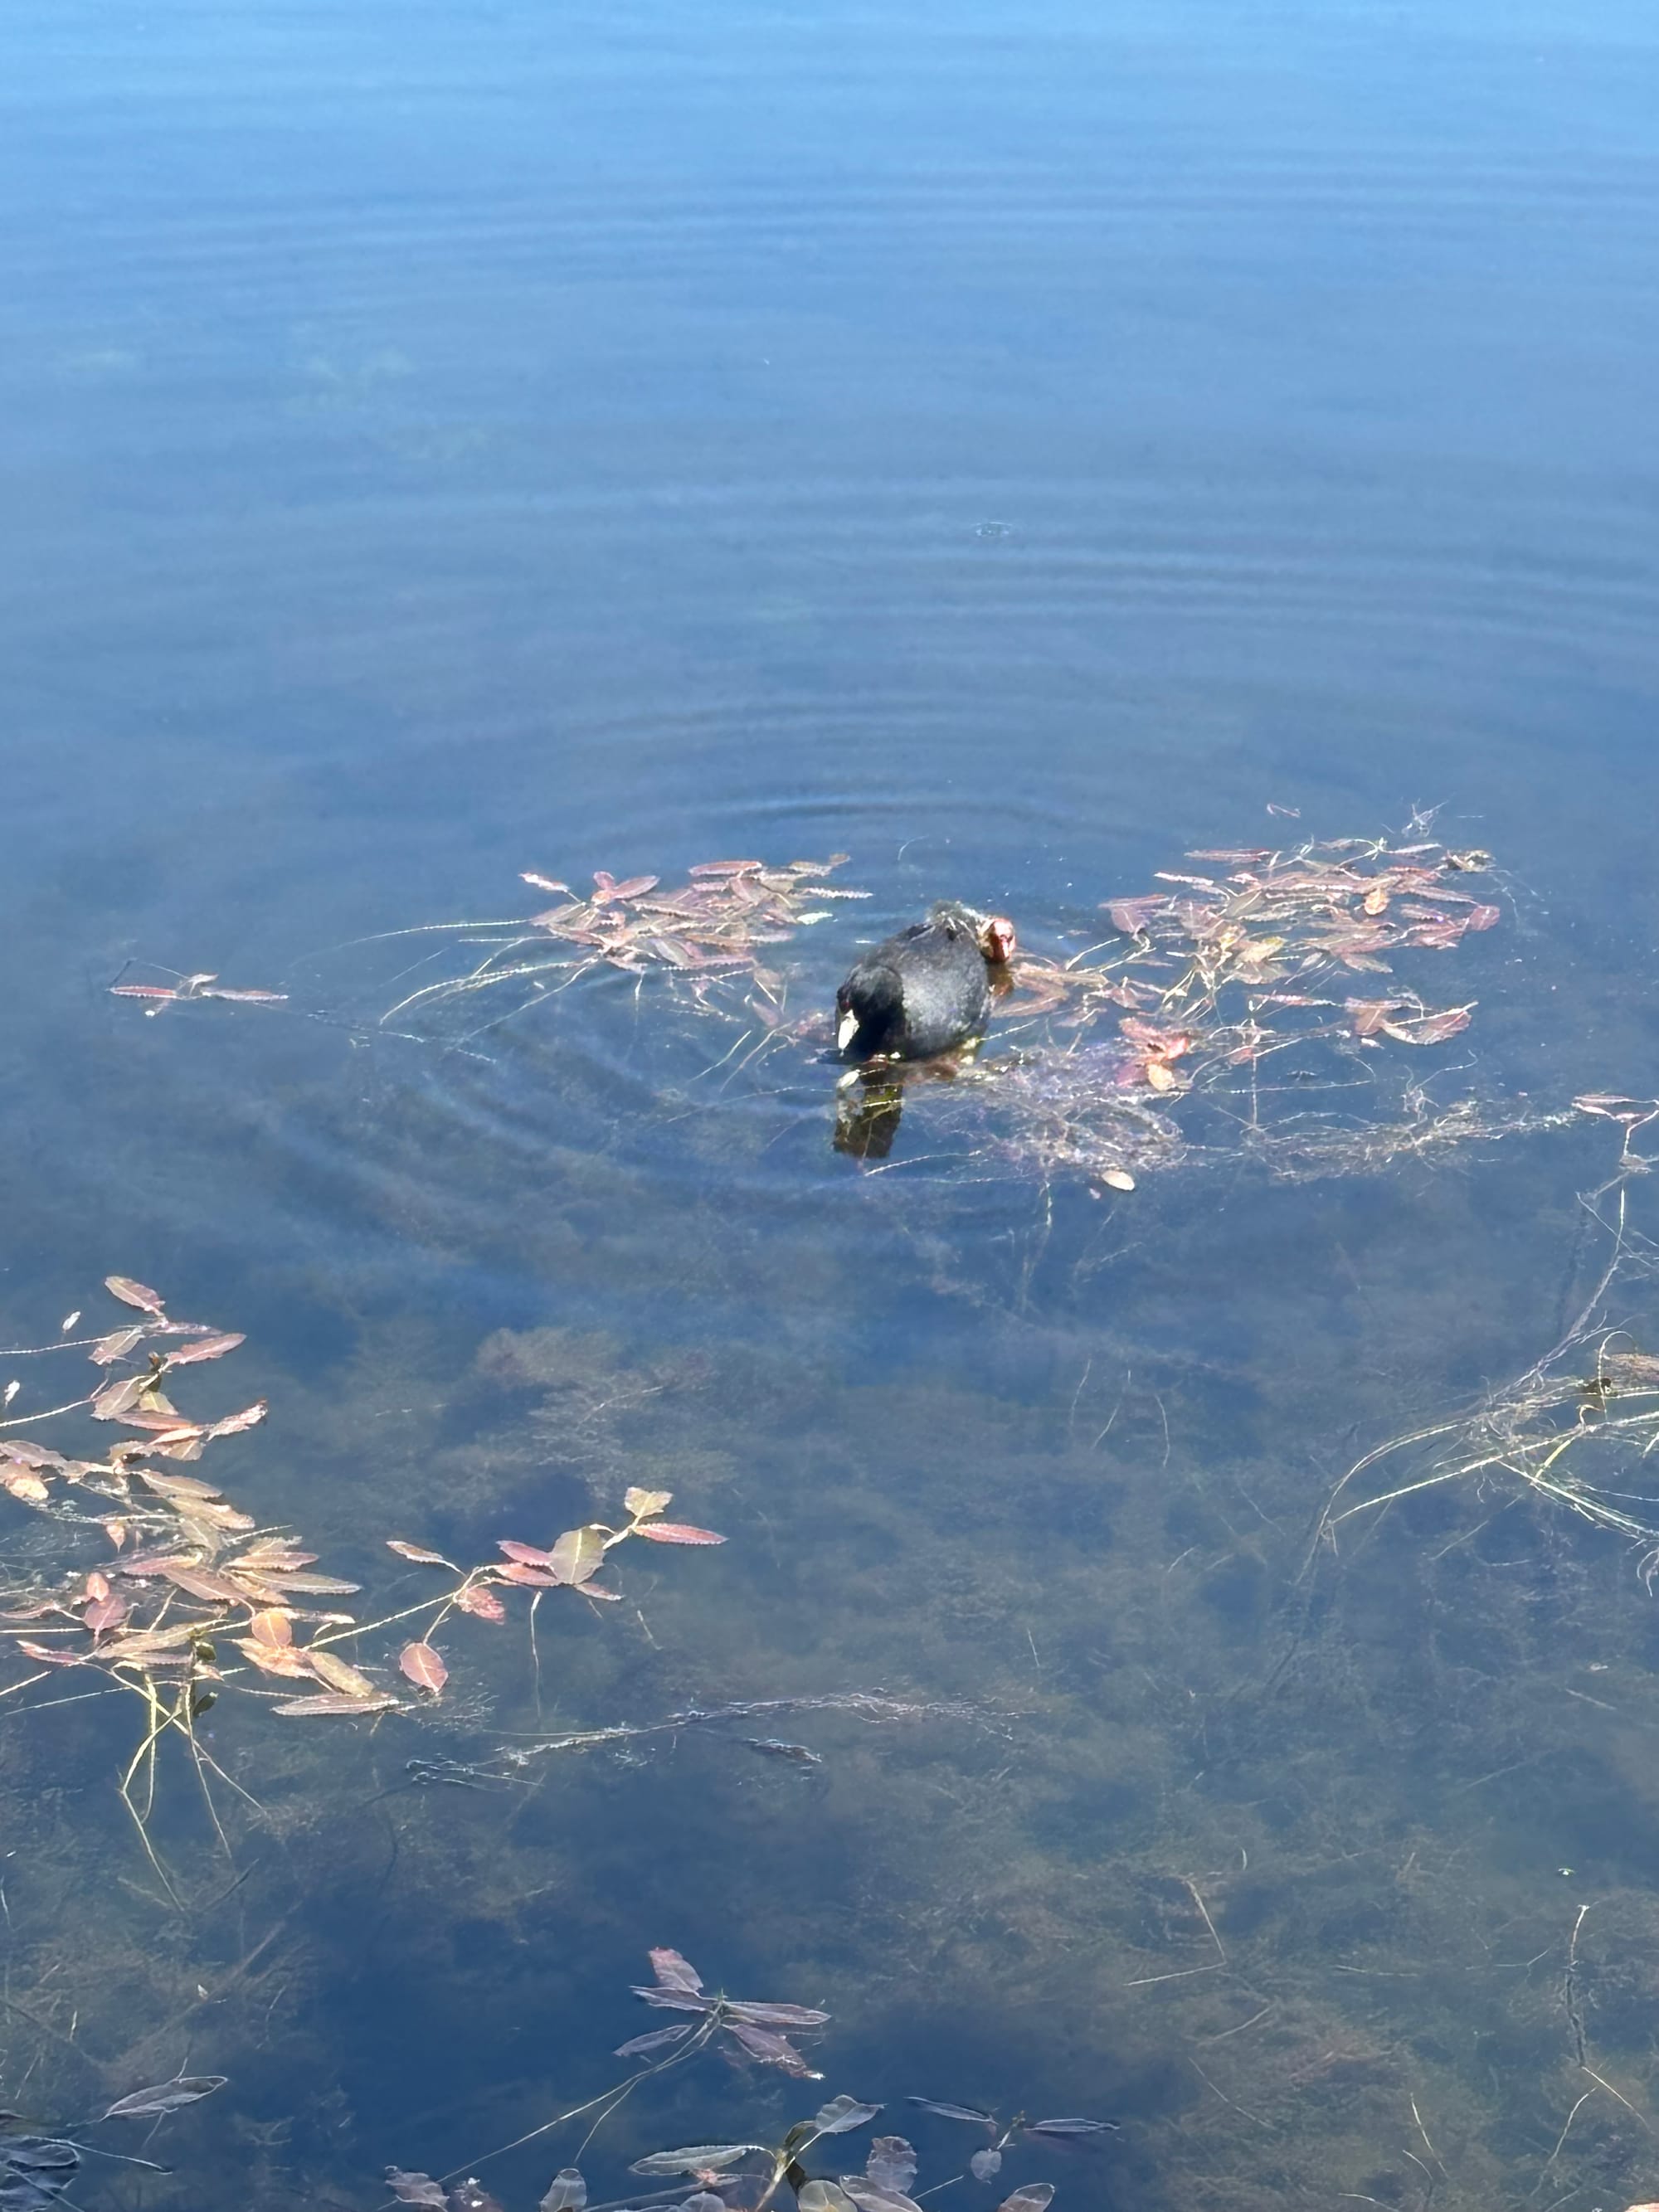
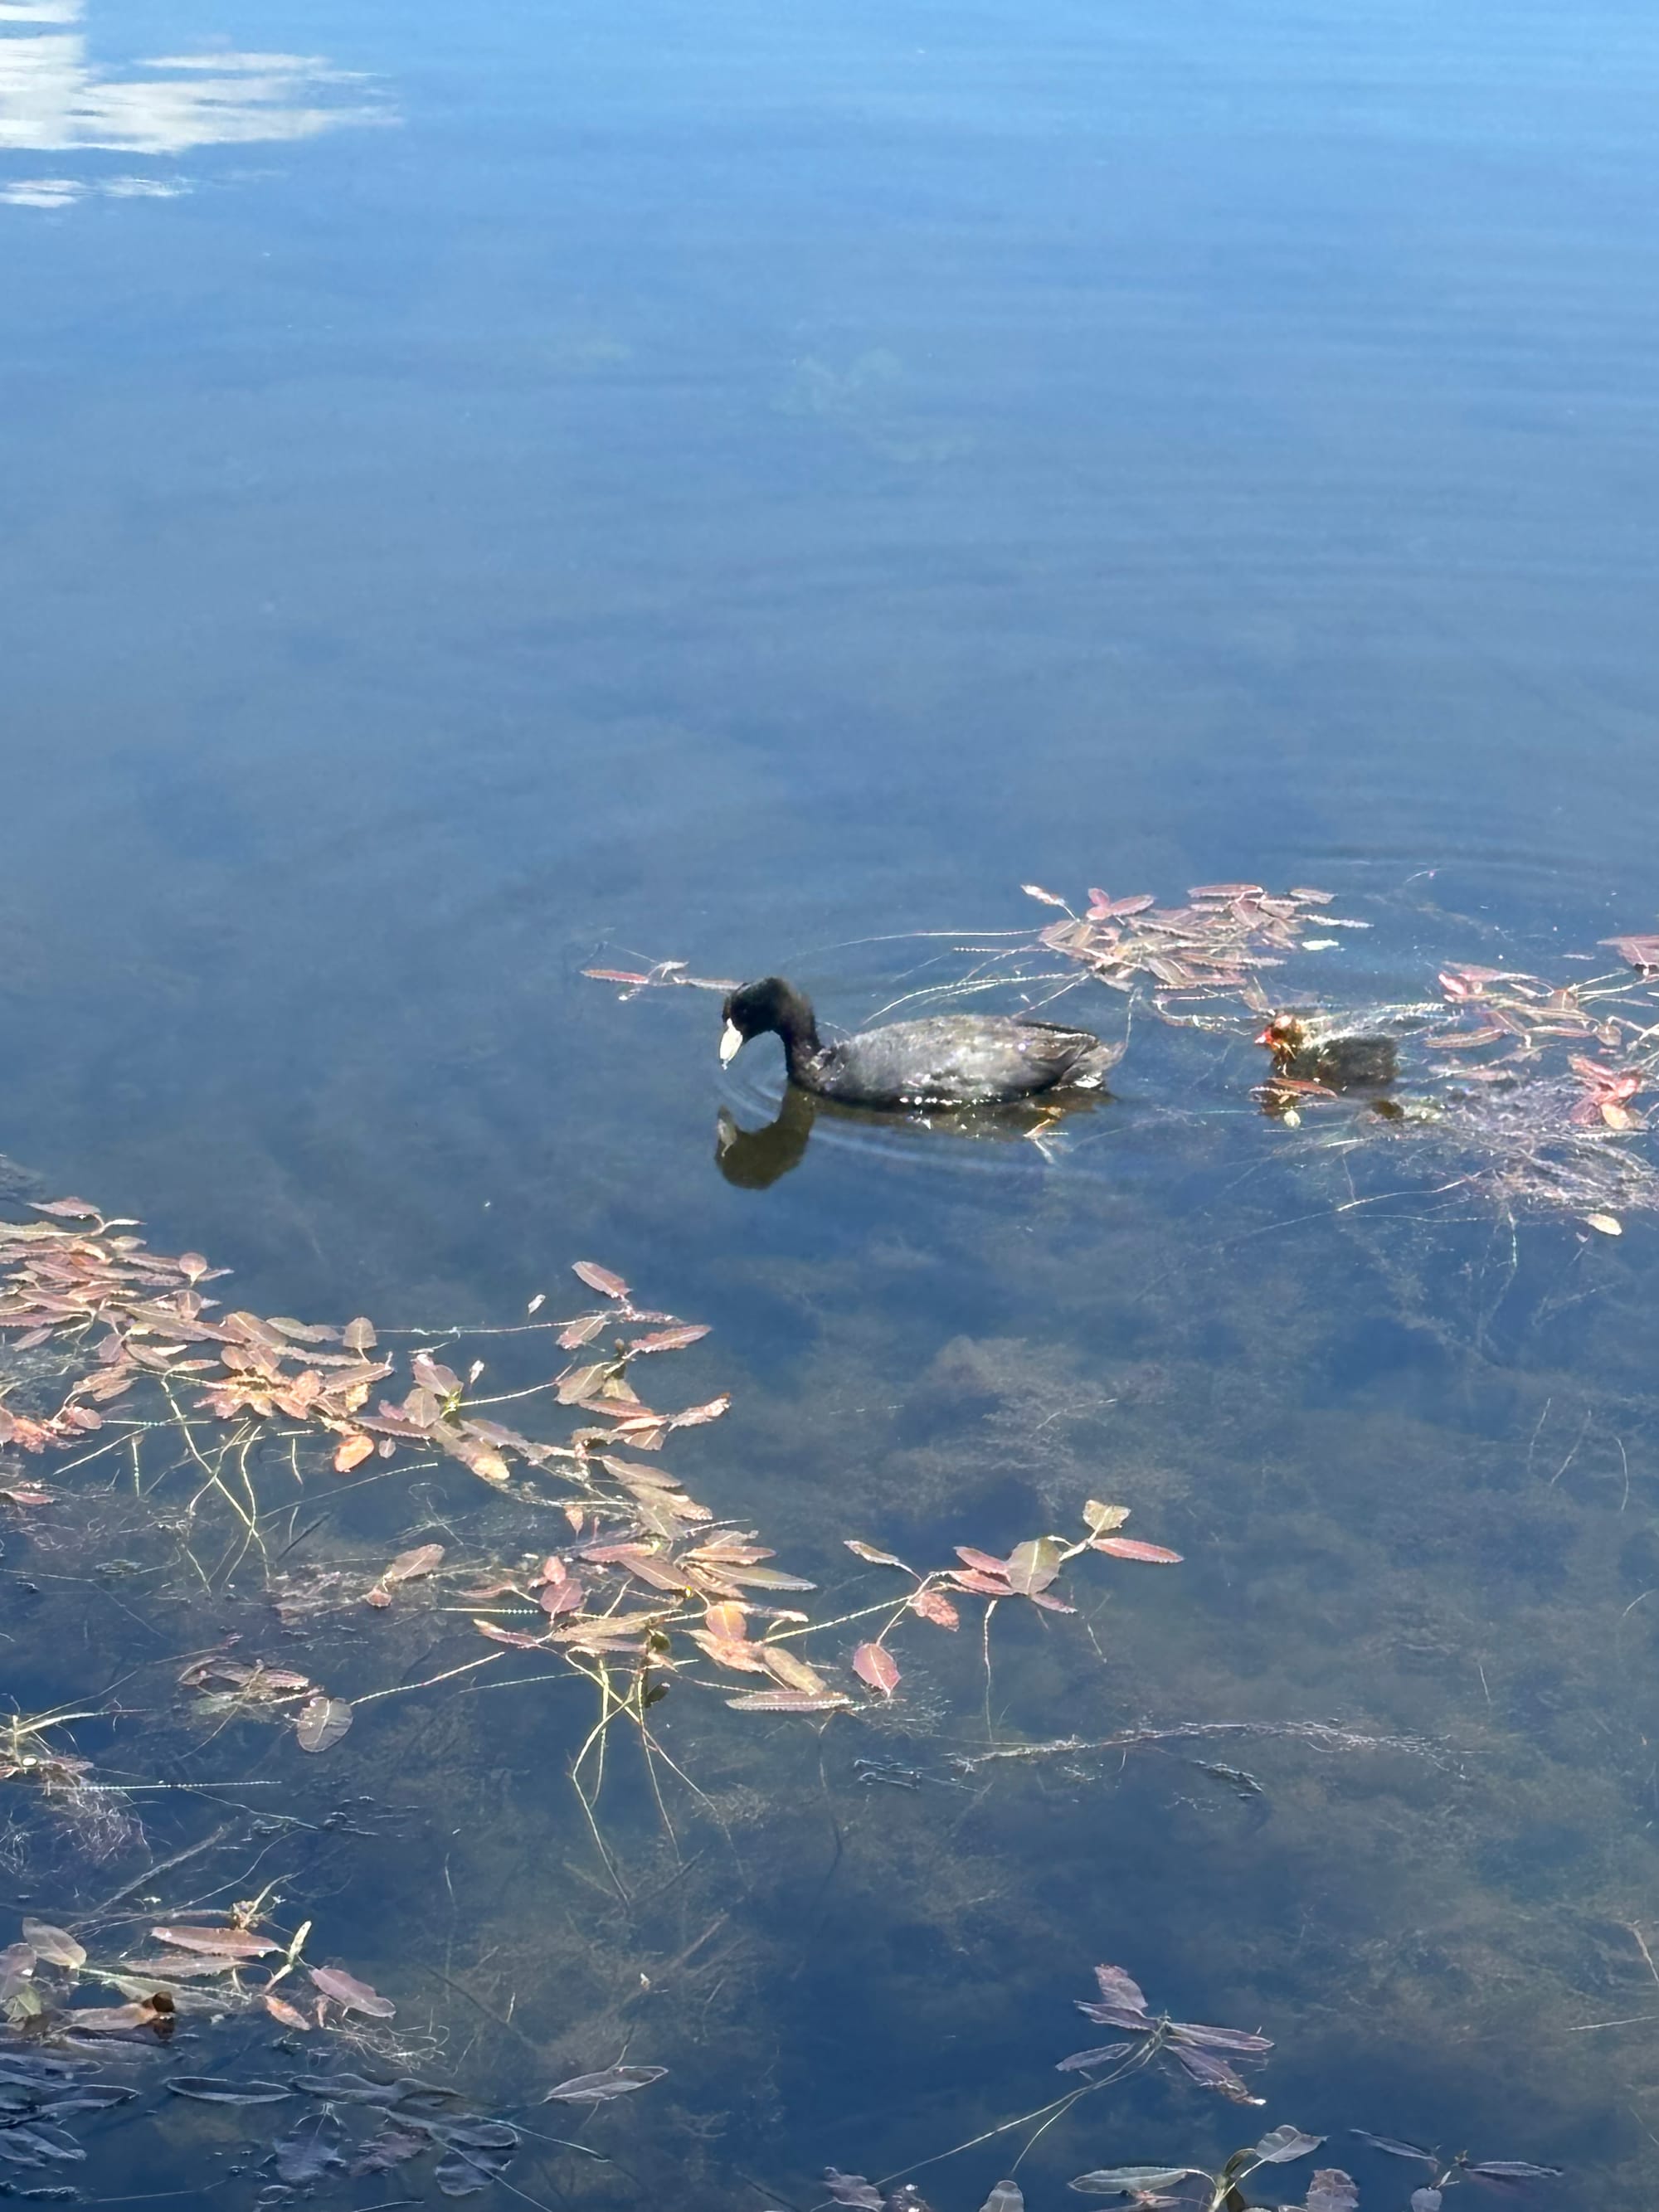
No swans on Swan Lake, but there are pelicans
If you are feeling fatigued, recovering from an injury, or saving your strength for a big hike the next day, you can safely cut String Lake or Heron Pond from your plans. They are pleasant walks, but the mountain hikes like Cascade Canyon or Amphitheater Lake are vastly superior. Save your energy for the big ones, but do not skip the drive up Signal Mountain.
For dinner, we drove out of the park to Jackson and ate at Big Hole Barbecue. The prices were comparable to the restaurants inside the park, but the quality and quantity of the food were much higher, making the drive worth it. I ordered the mixed meat plate; the ribs were amazing, the chicken was good, and it came with a generous side of fries and coleslaw. My wife got a Philly cheesesteak and onion rings and was very happy with her meal.
Day 4: Surprise and Amphitheater Lakes (And the Delta Lake Warning)
I had originally planned to do some smaller trails in the south of Yellowstone, but after Cascade Canyon, I wanted to get back up into the high peaks. The Death Canyon trailhead was closed for the season, which was disappointing because starting those hikes from other trailheads added too much mileage. Instead, we decided to hike from the Lupine Meadows trailhead up to Surprise and Amphitheater Lakes. Lupine Meadows was another popular lot where you must arrive early to secure a parking spot.

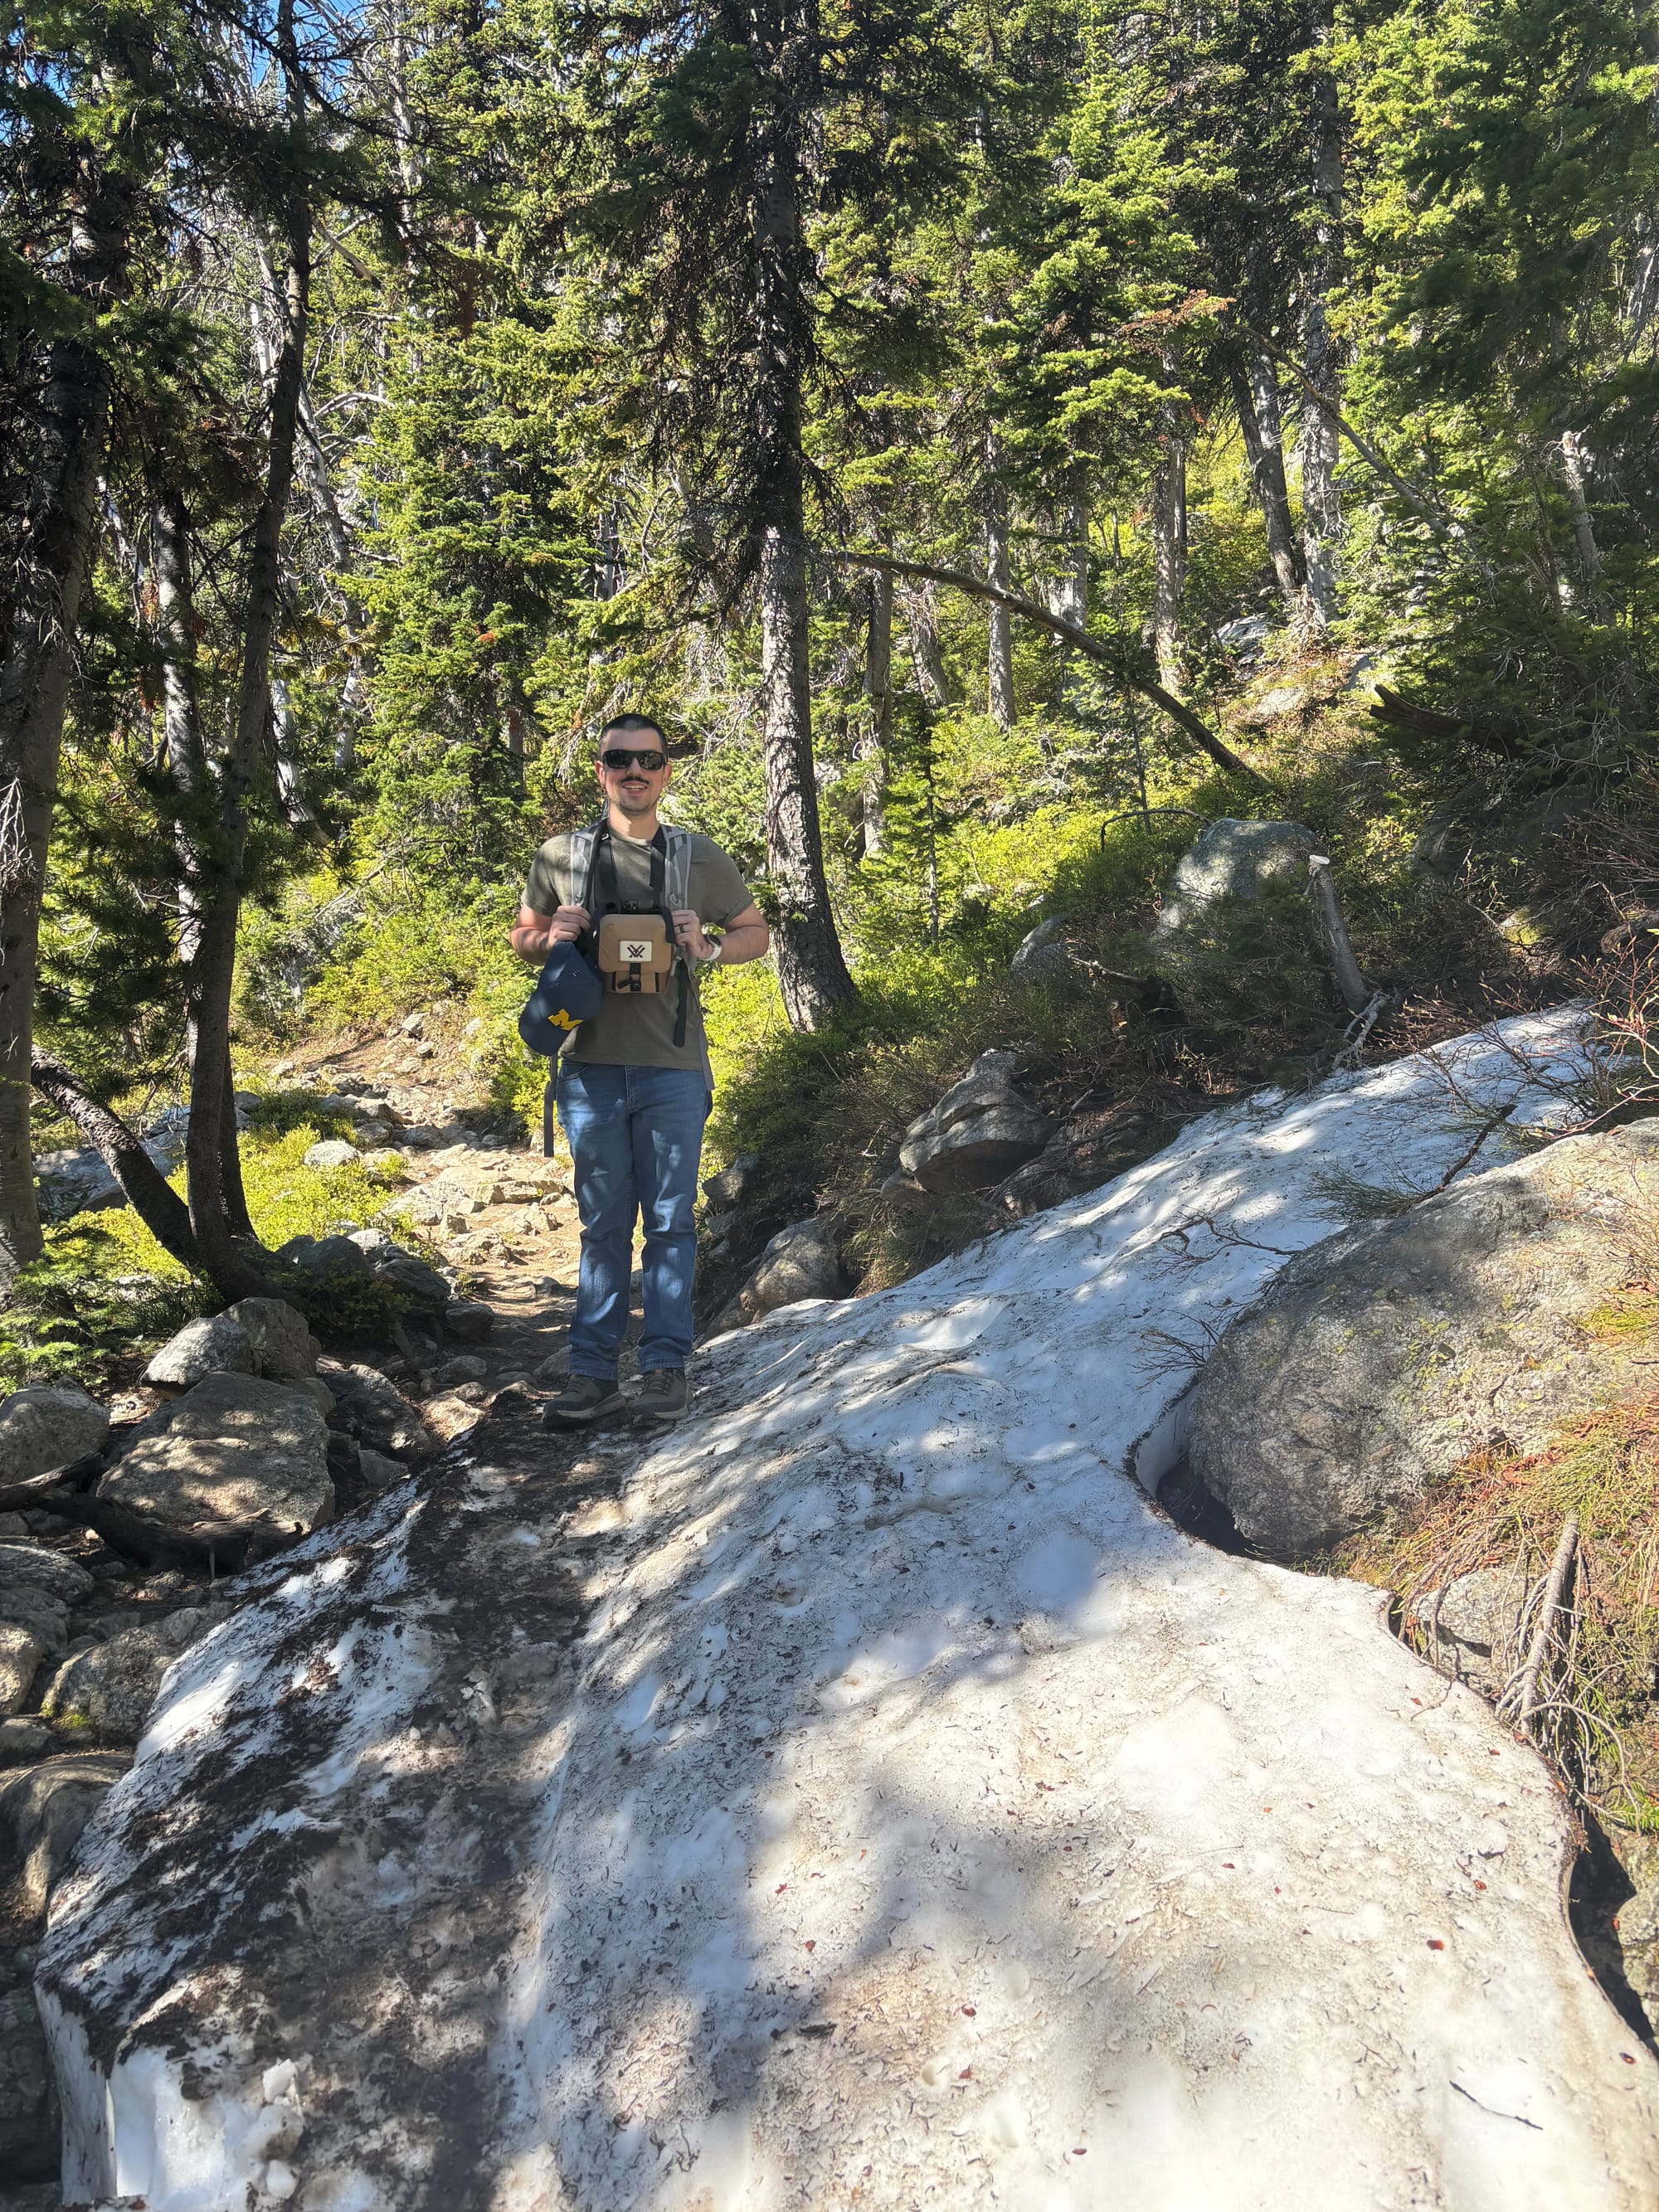
Early and full of energy
This was a long climb, none of the switchbacks were particularly steep, but you are uphill at a decent grade most of the way. We had to take regular breaks, and I highly recommend you bring plenty of snacks, and carry a lot of water. The two of us easily drank over four liters of water on this hike alone.
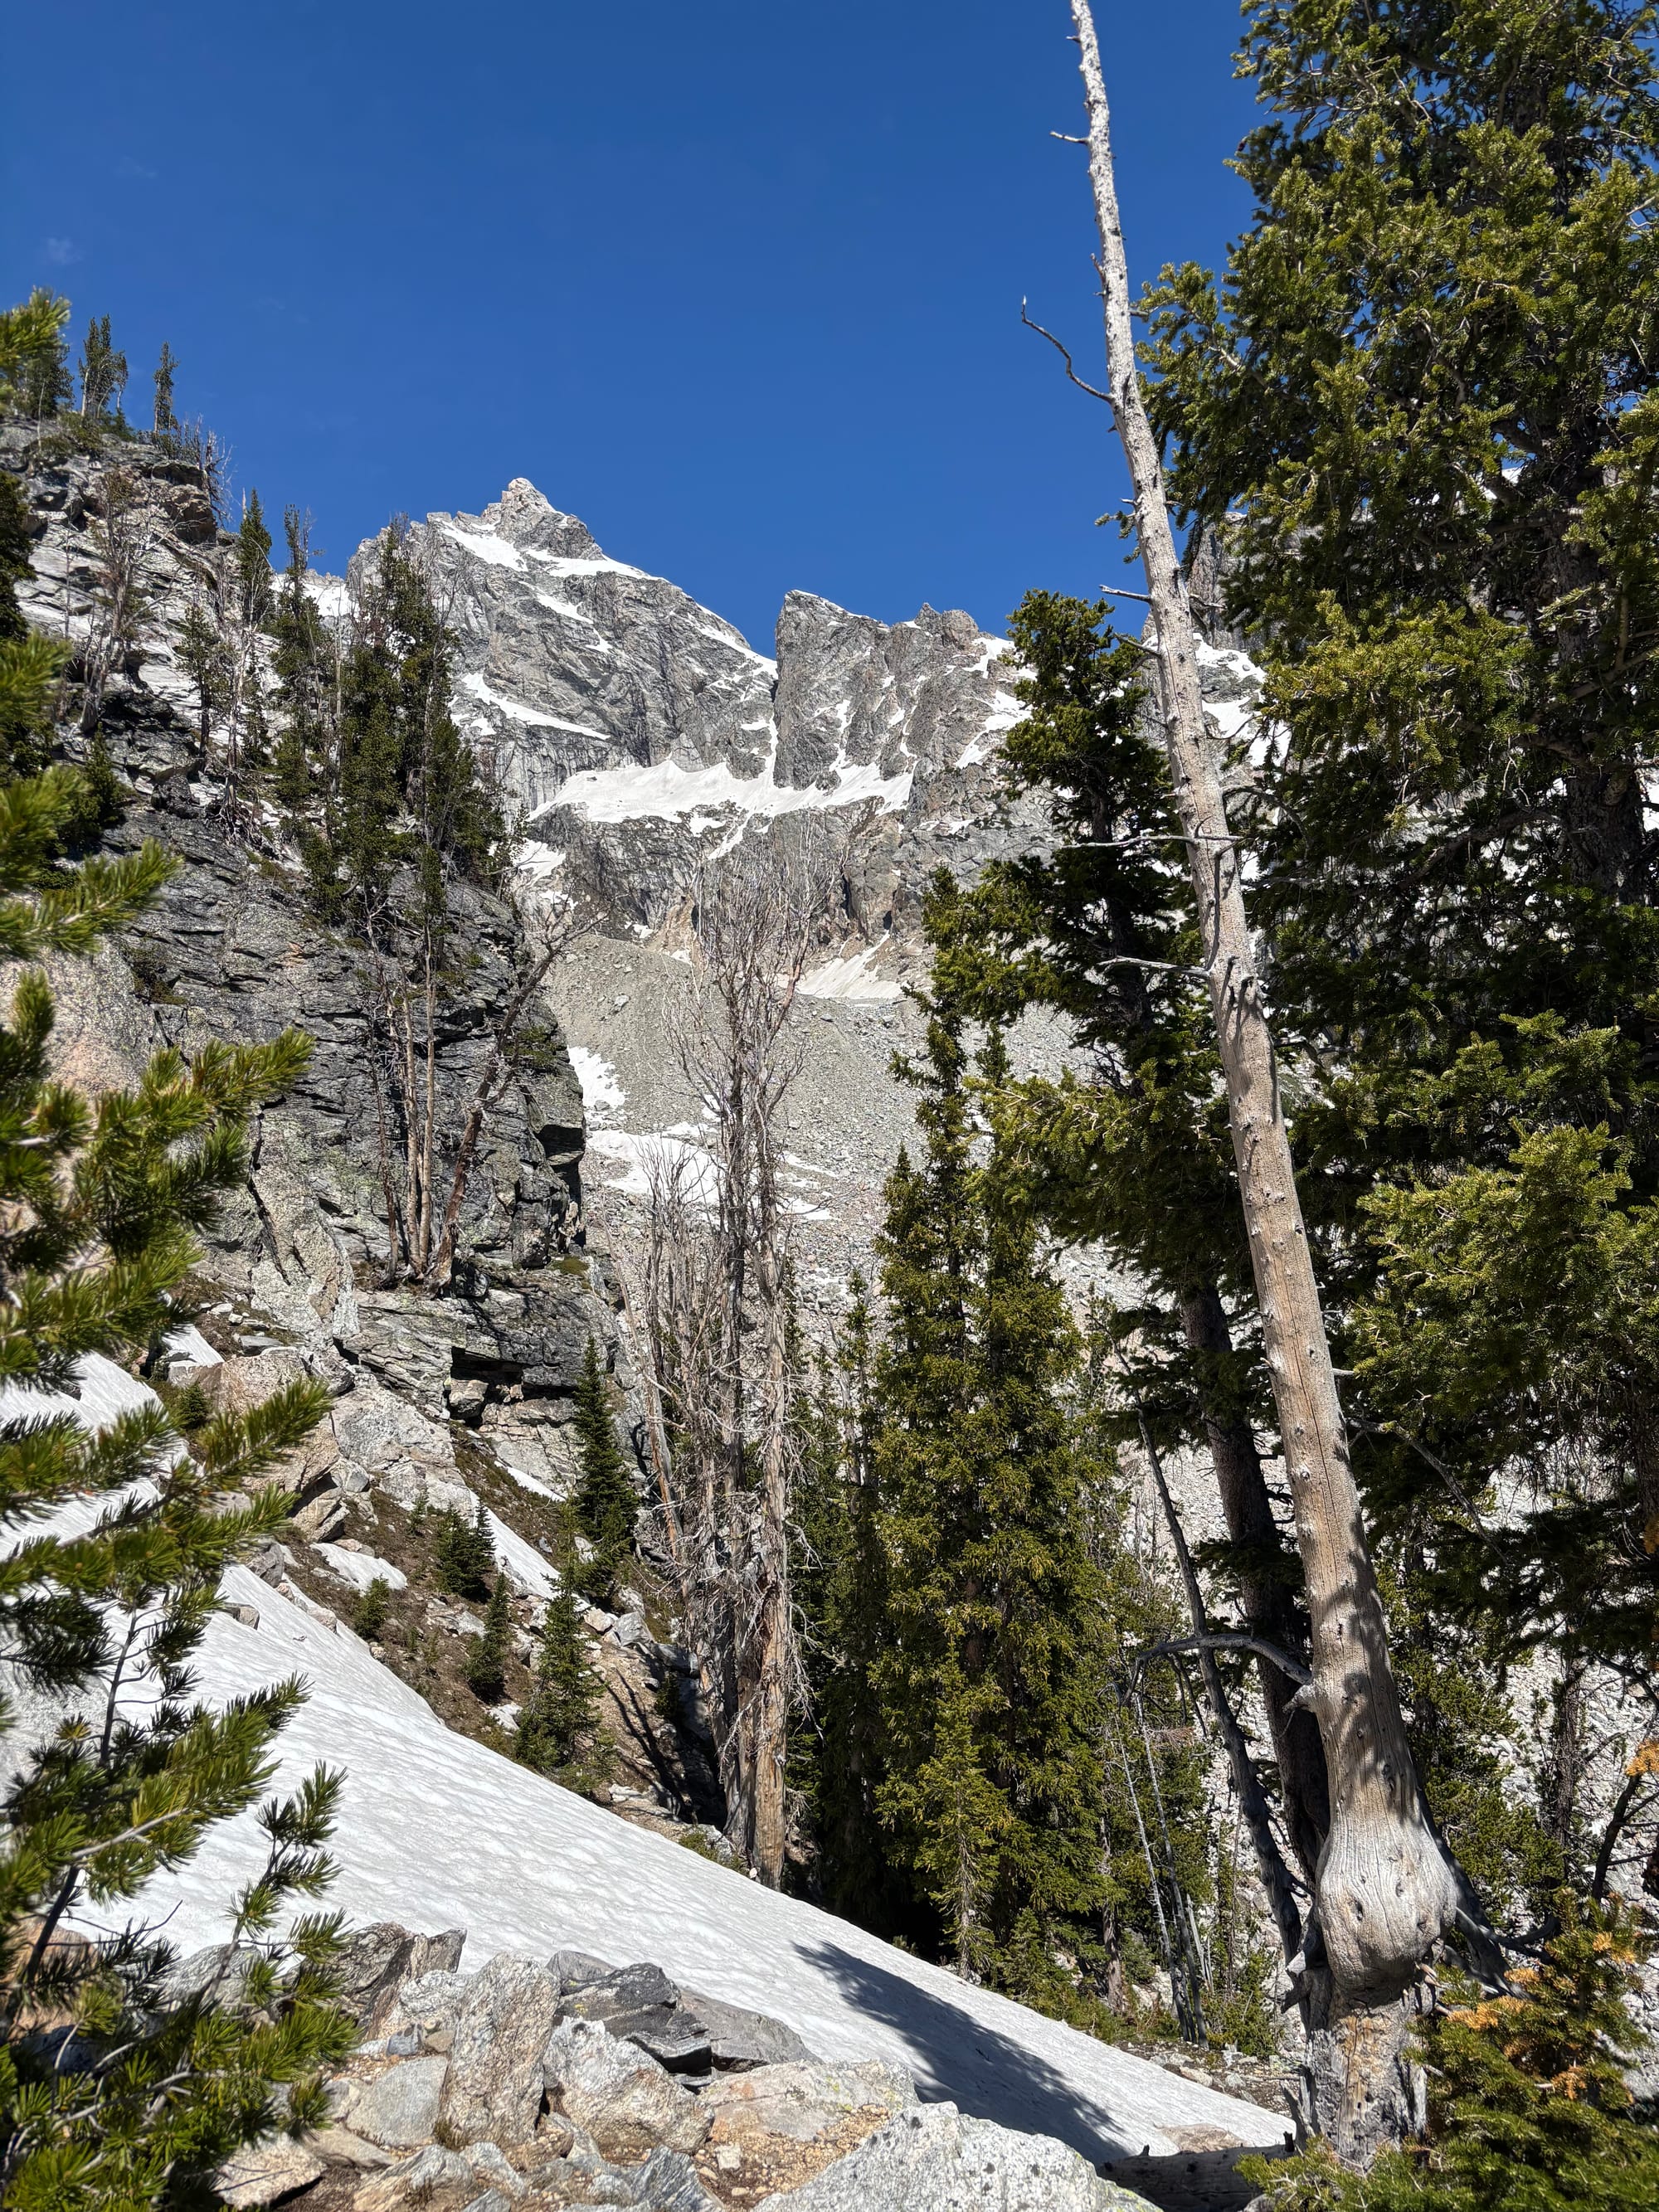
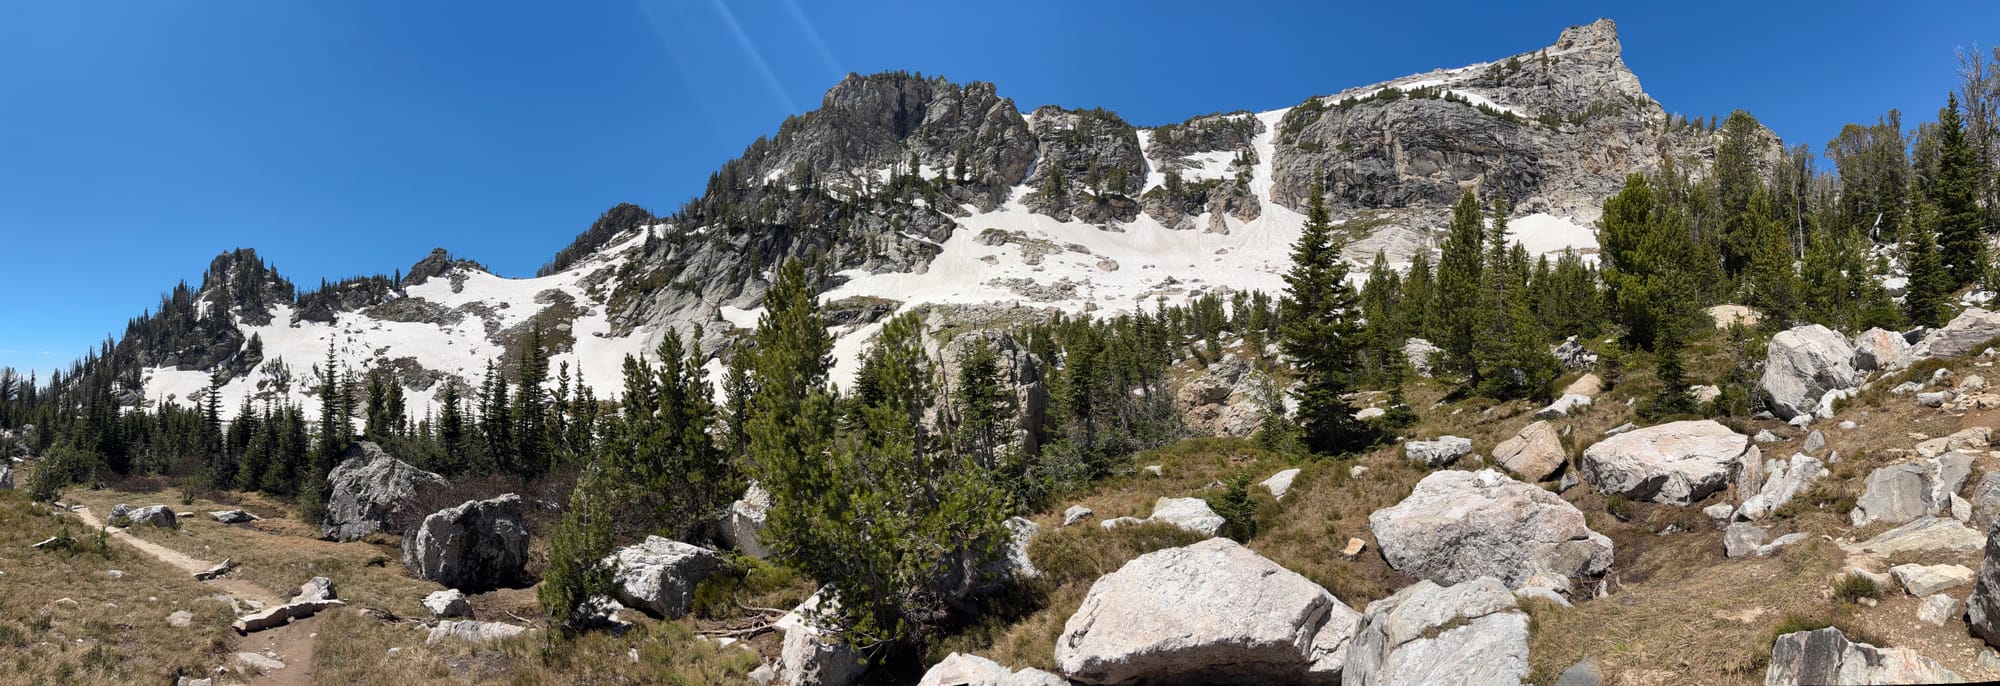
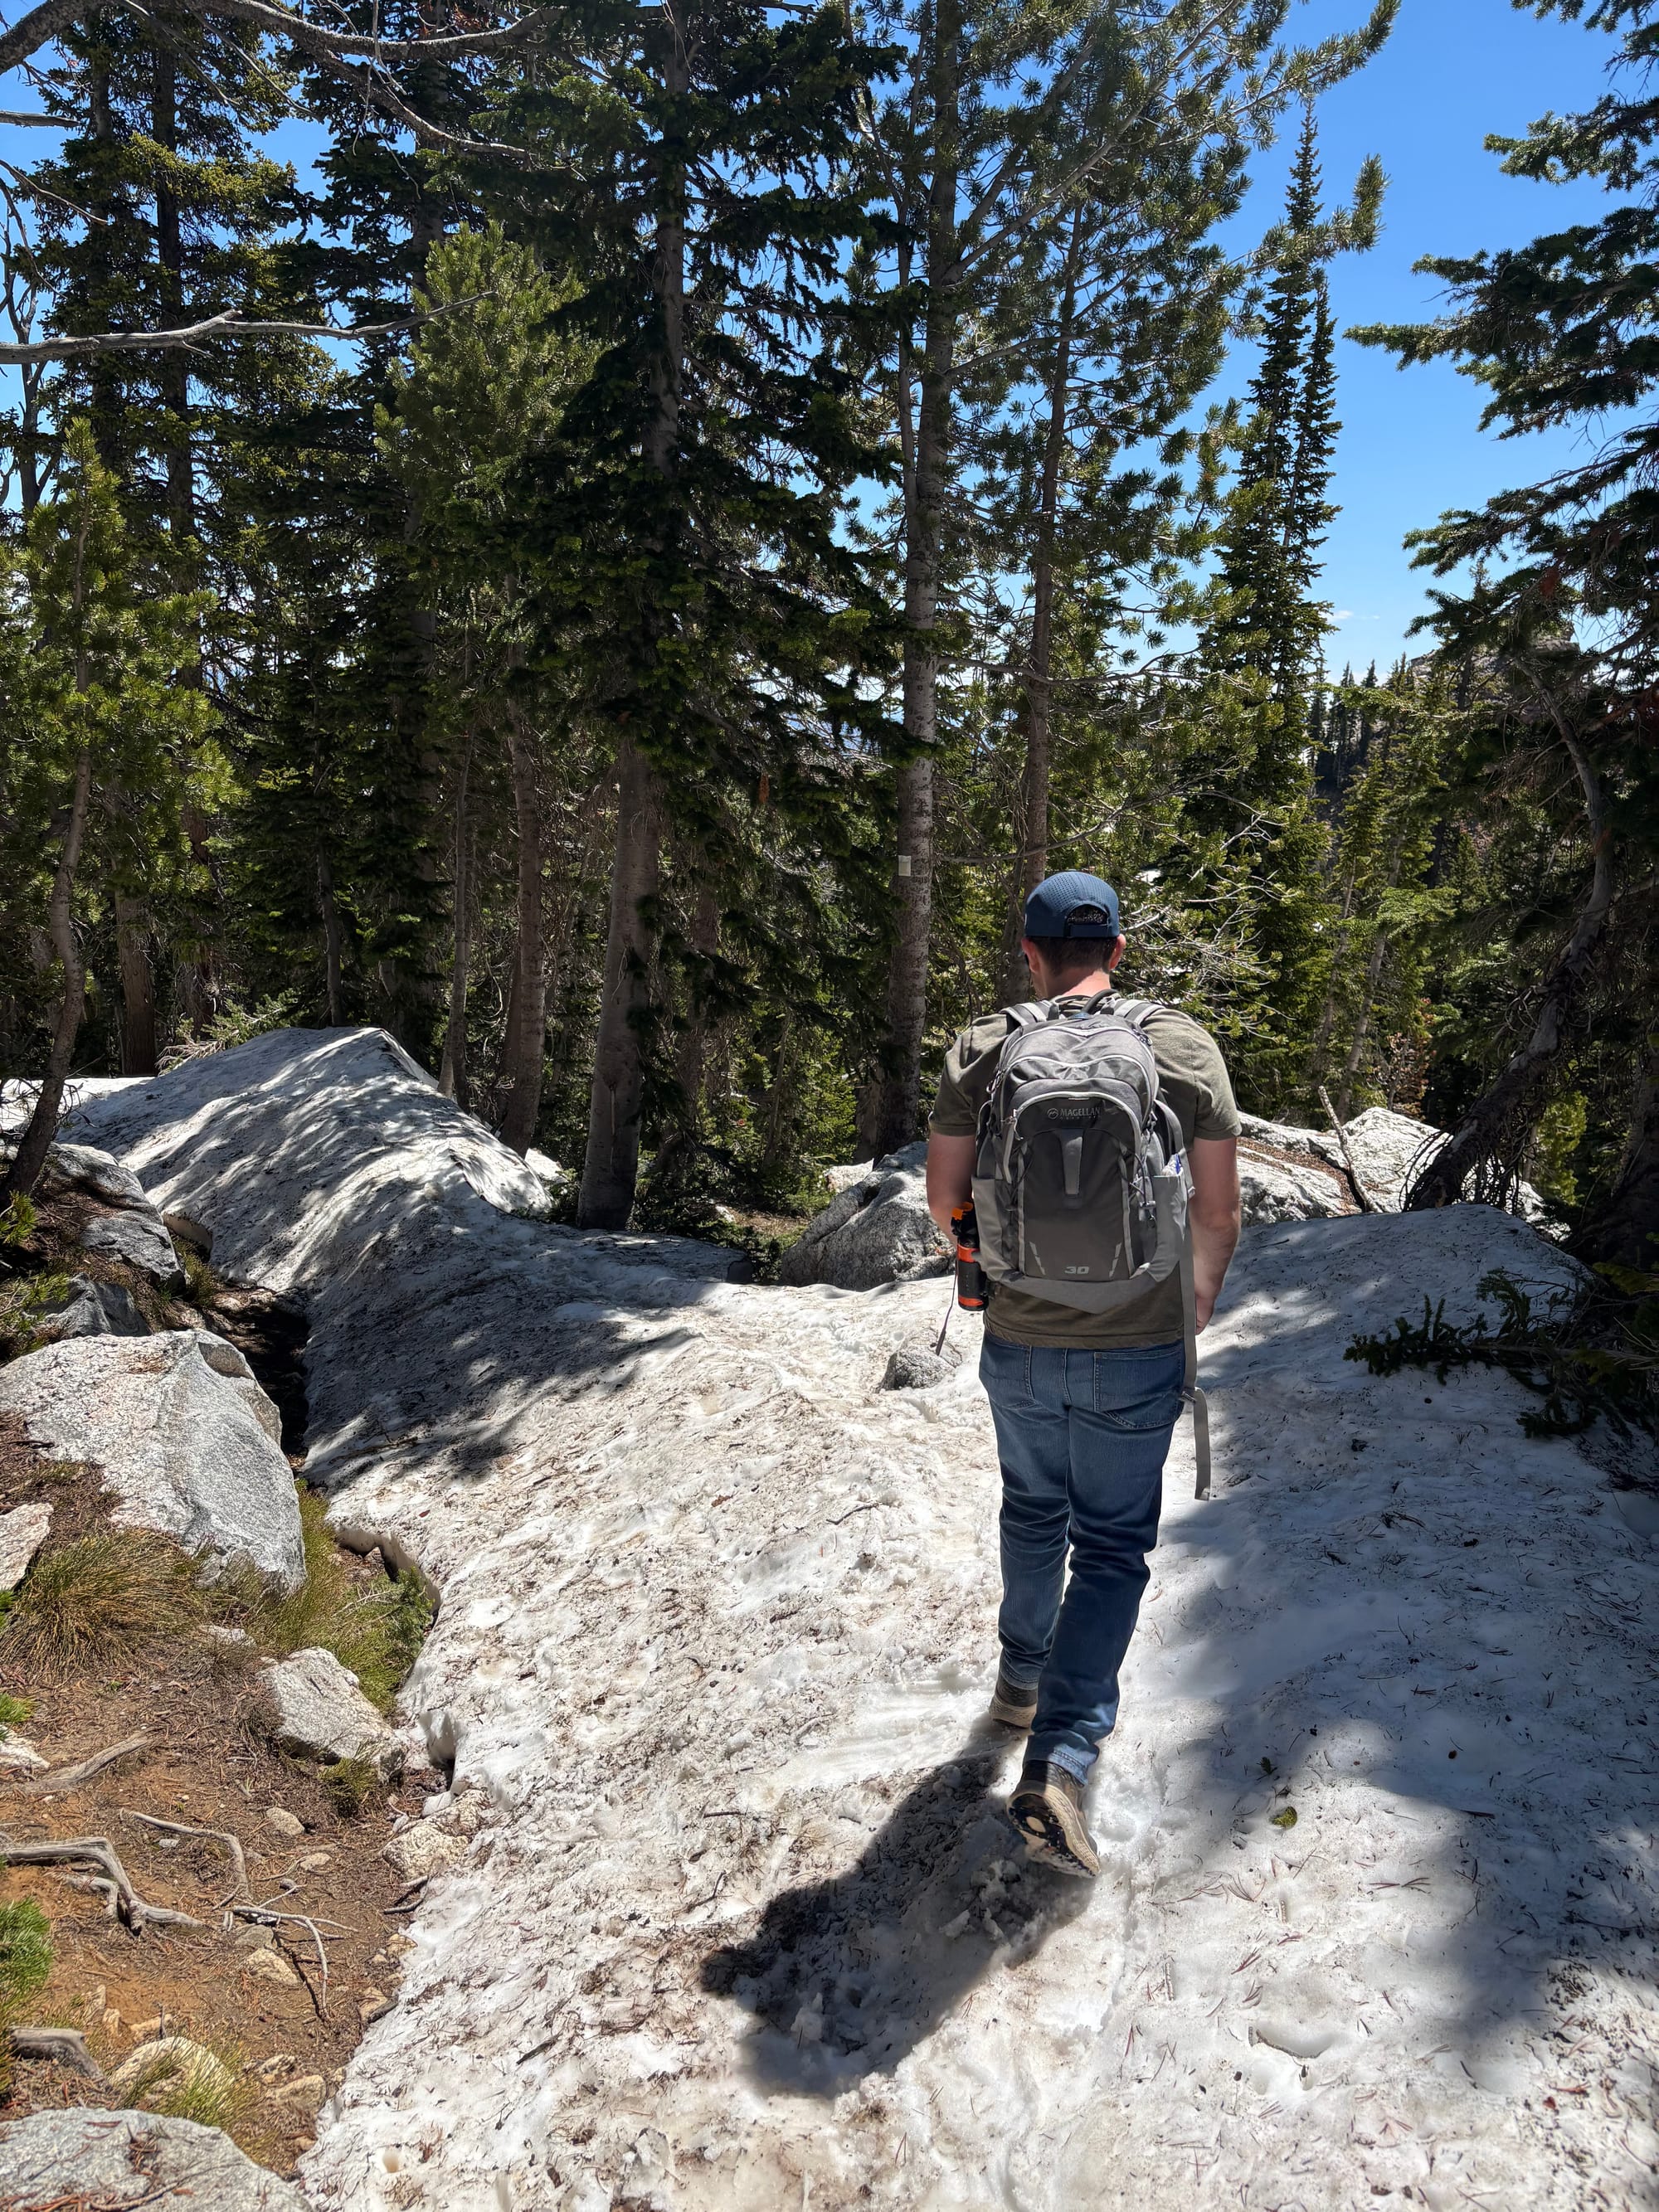
Despite the warm June weather, we hit pockets of hard-packed, snow near the top of the switchbacks. It was not particularly icy and the hard pack meant that we did not sink in at all. I am not normally a believer in trekking poles on well maintained trails like a national park, but this would have been one of the rare times to have them. Once we cleared the switchbacks and entered the valley between the peaks, the trail was buried under snow for a few hundred yards. Again it was hard packed, so not overly slippery or hard to walk on, but we did have to rely on our offline onX GPS map to navigate in the right direction toward the first lake.
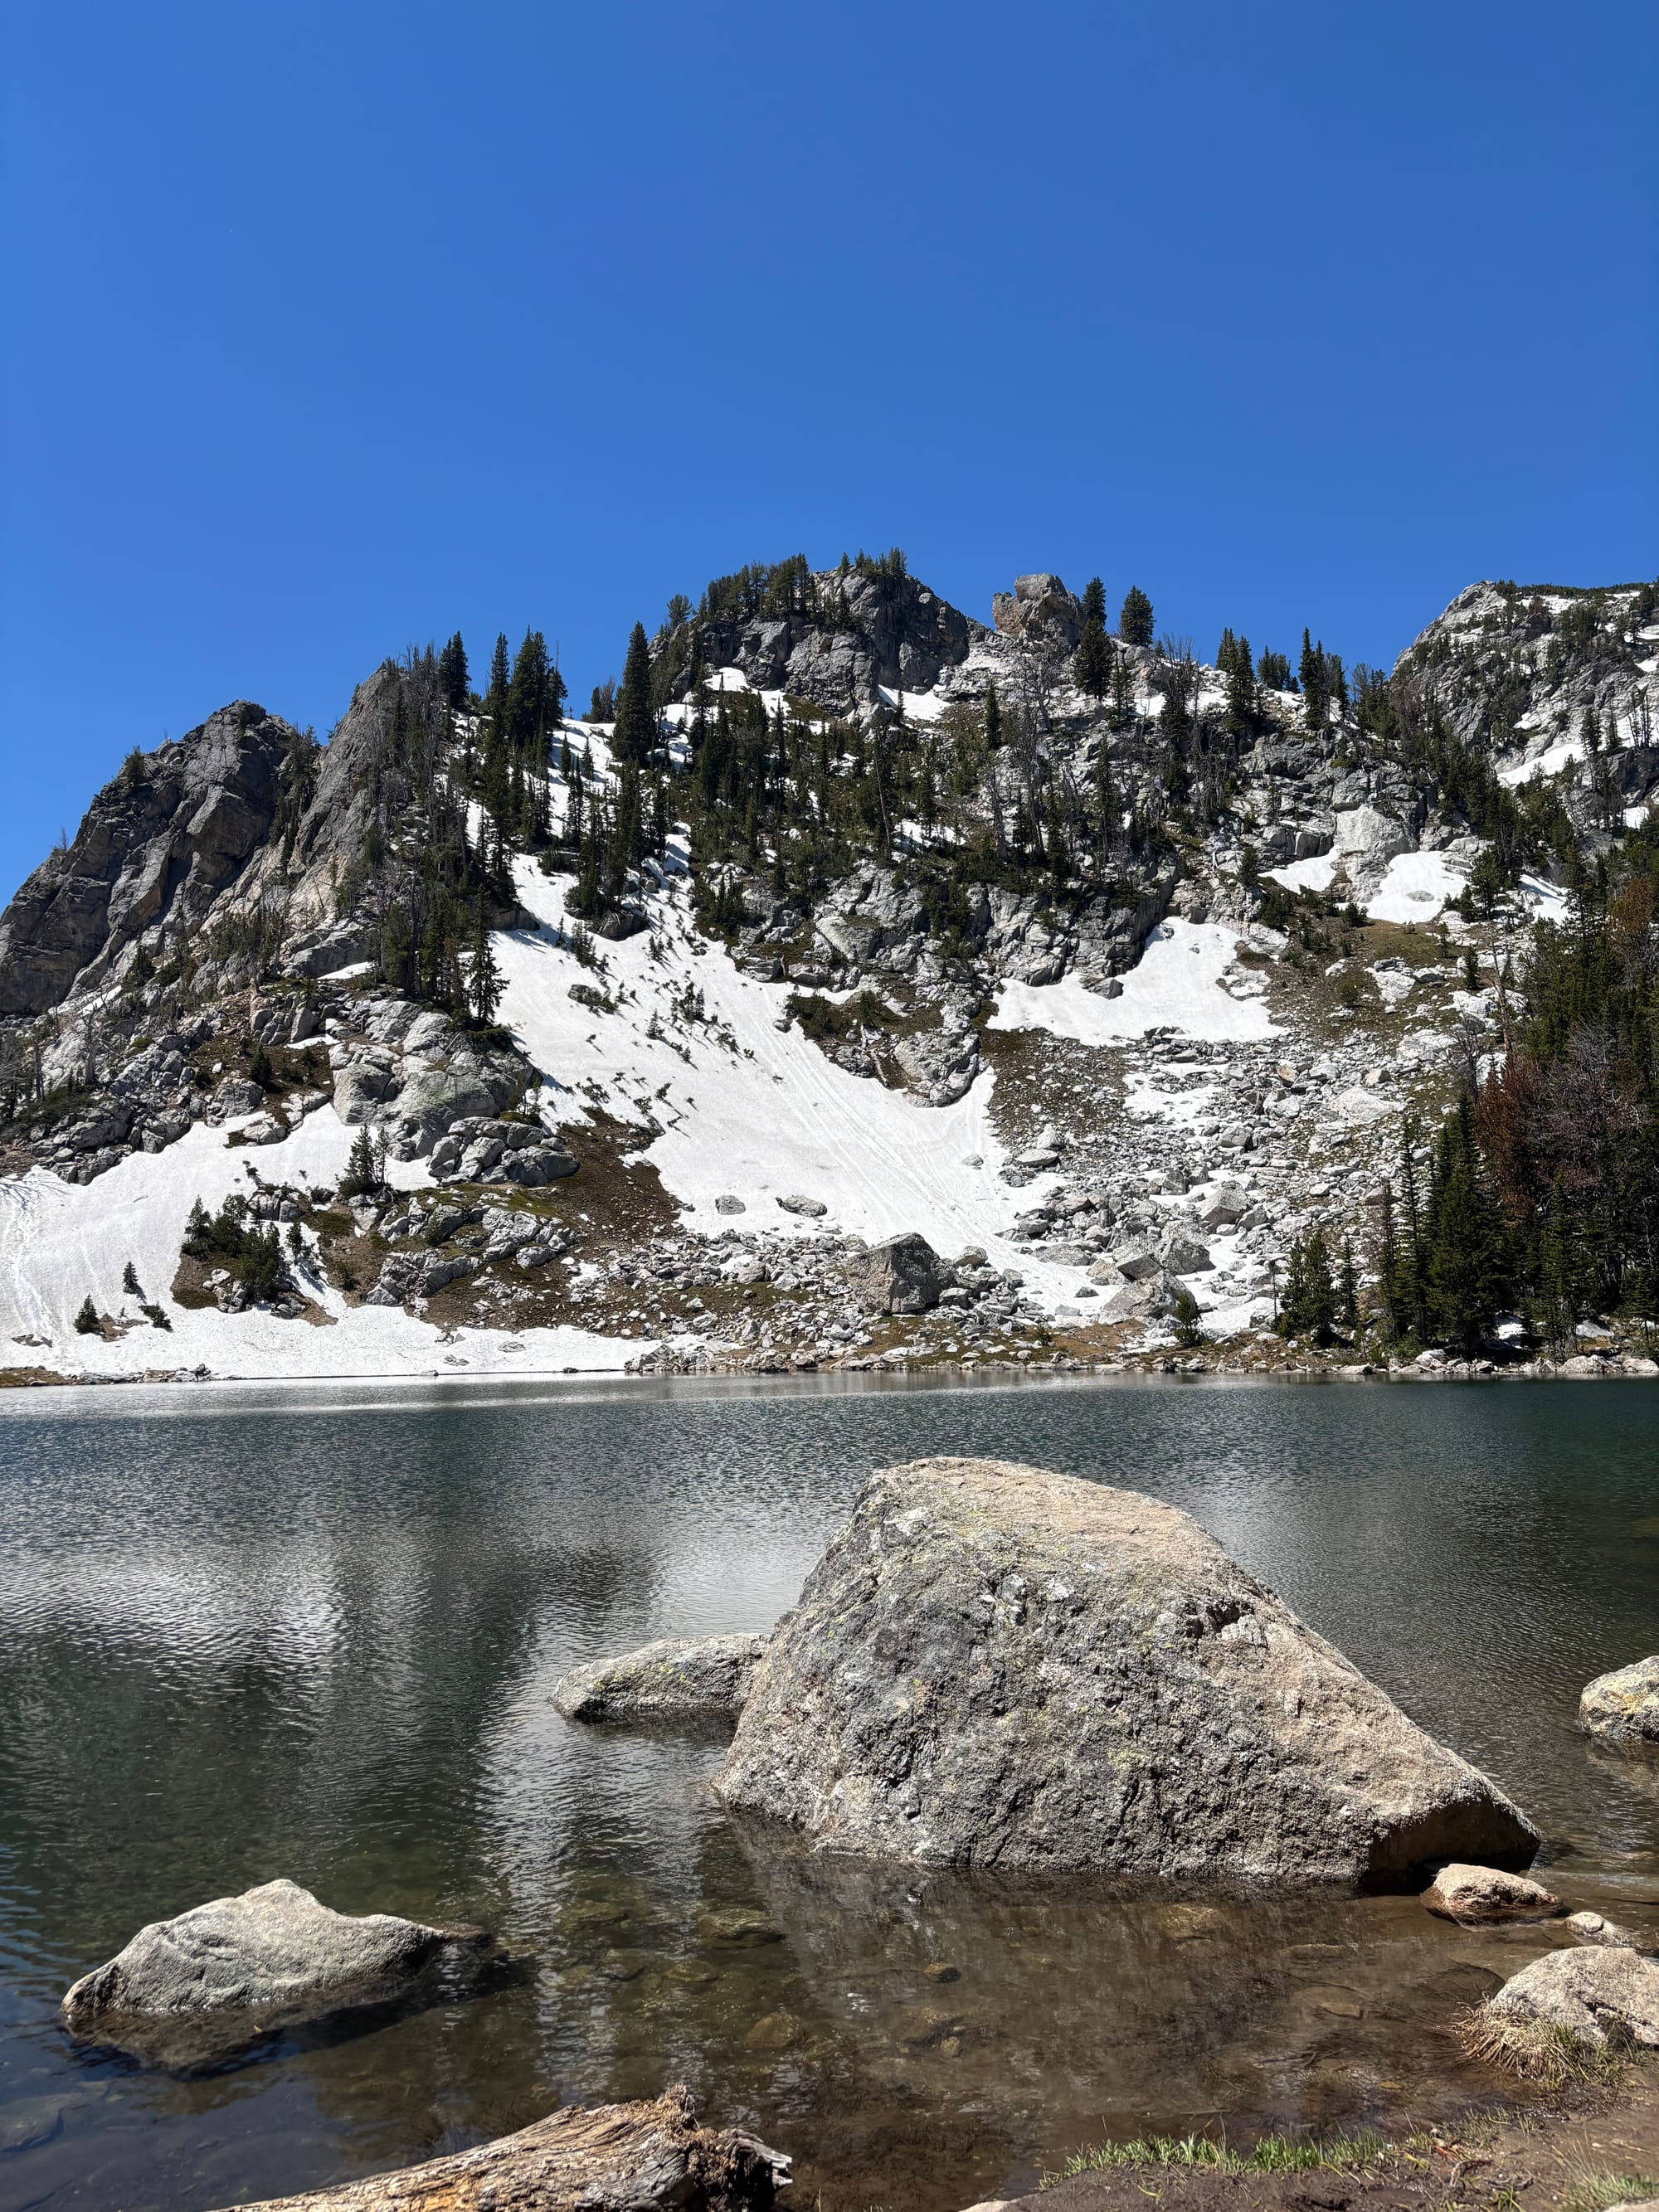
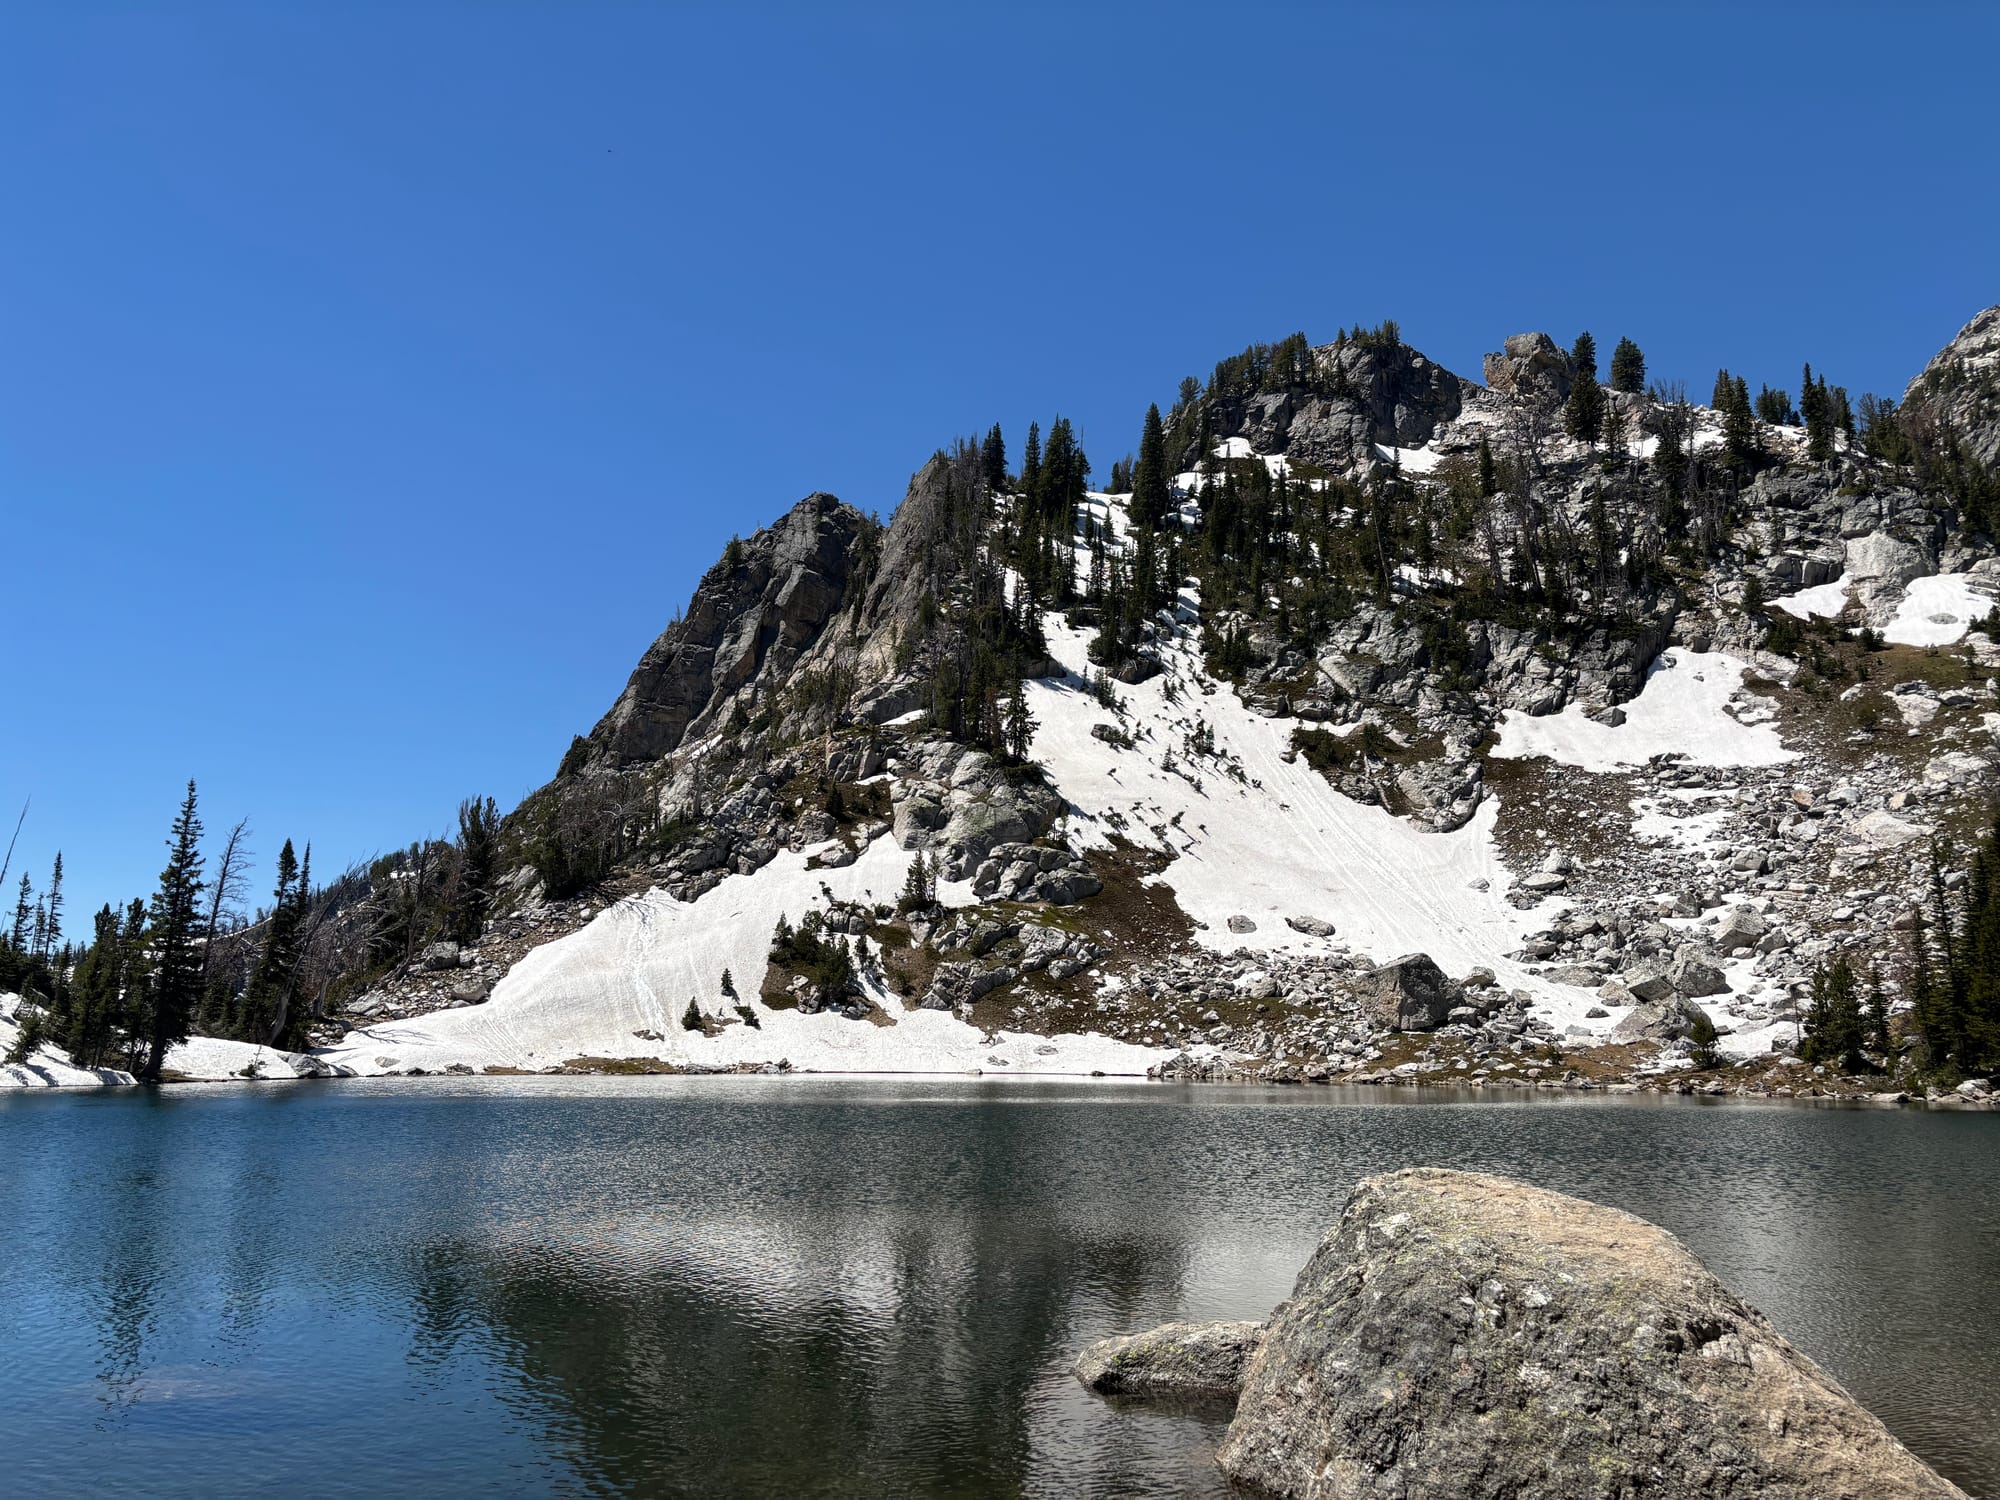
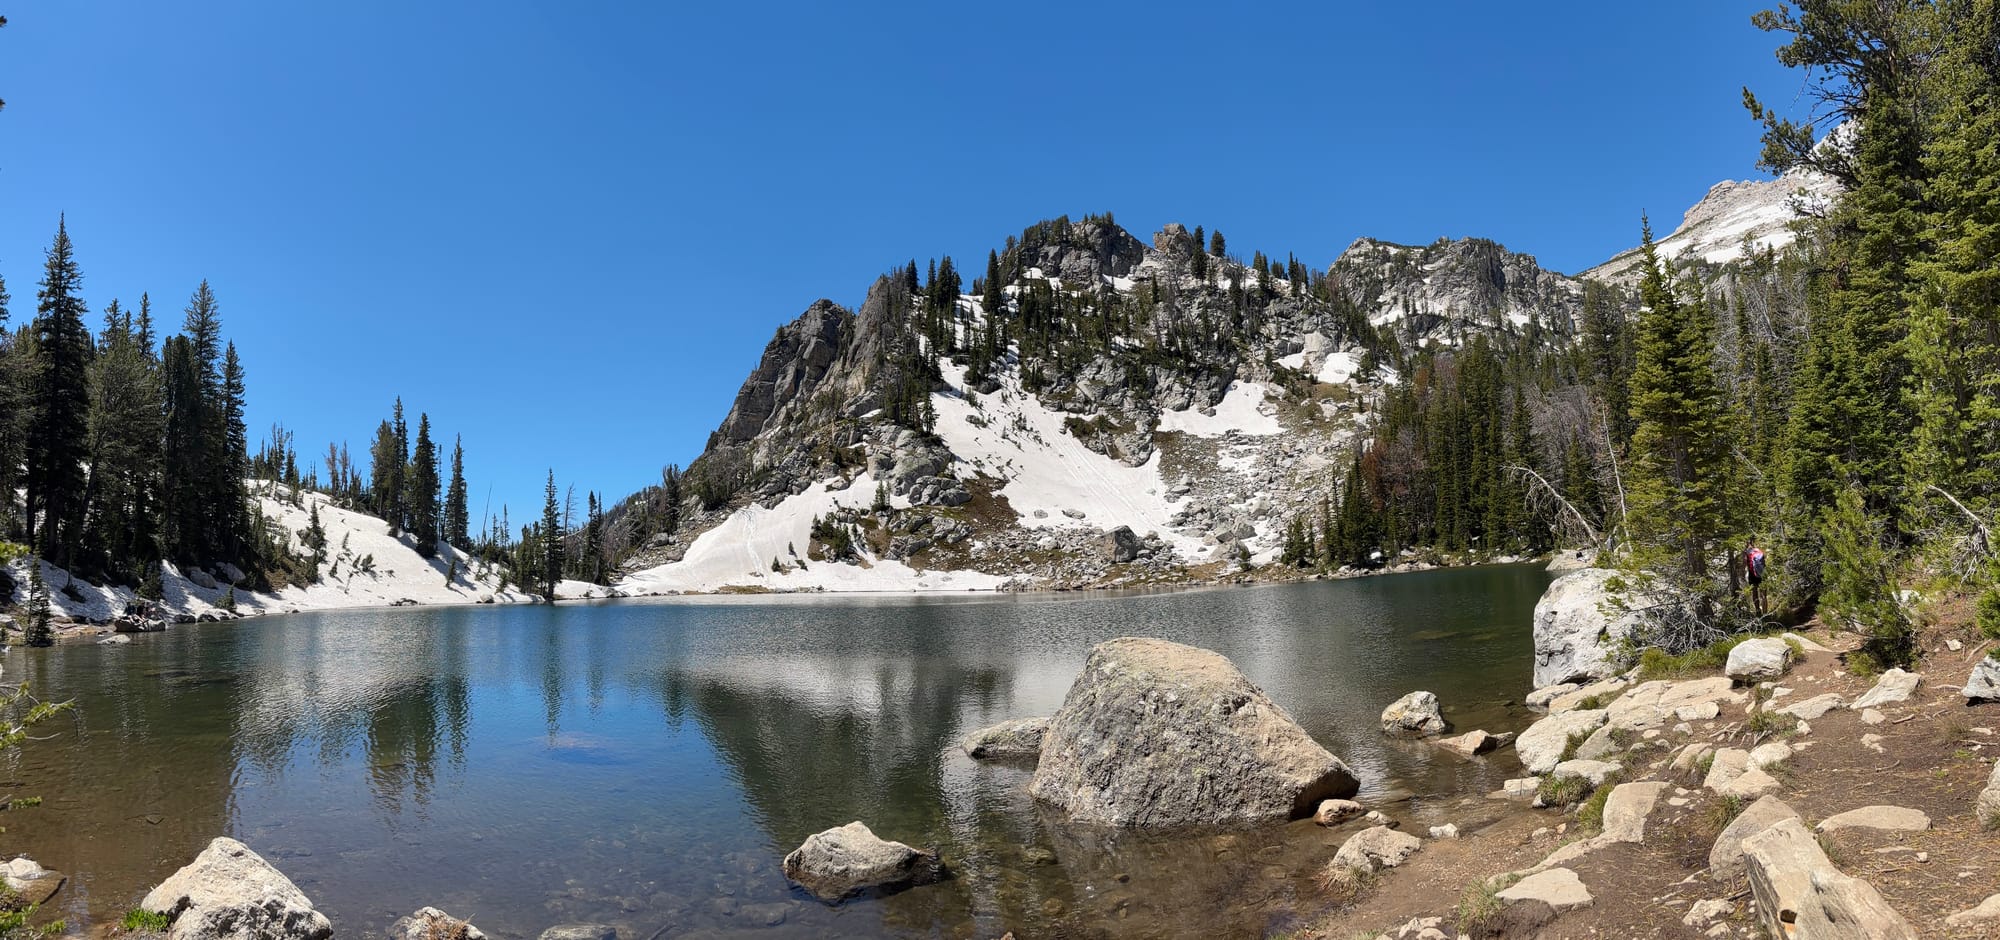
Once we reached Surprise Lake, the path to Amphitheater Lake was easy to follow. We decided to head up to Amphitheater lake first, while we had momentum, and hit Surprise on the way back down. We sat by Amphitheater lake, had our packed lunch, and took pictures. It was incredibly quiet and peaceful. Unlike the crowded areas below, we only saw a few other groups of hikers the entire time, giving us the lakes to ourselves for long stretches.

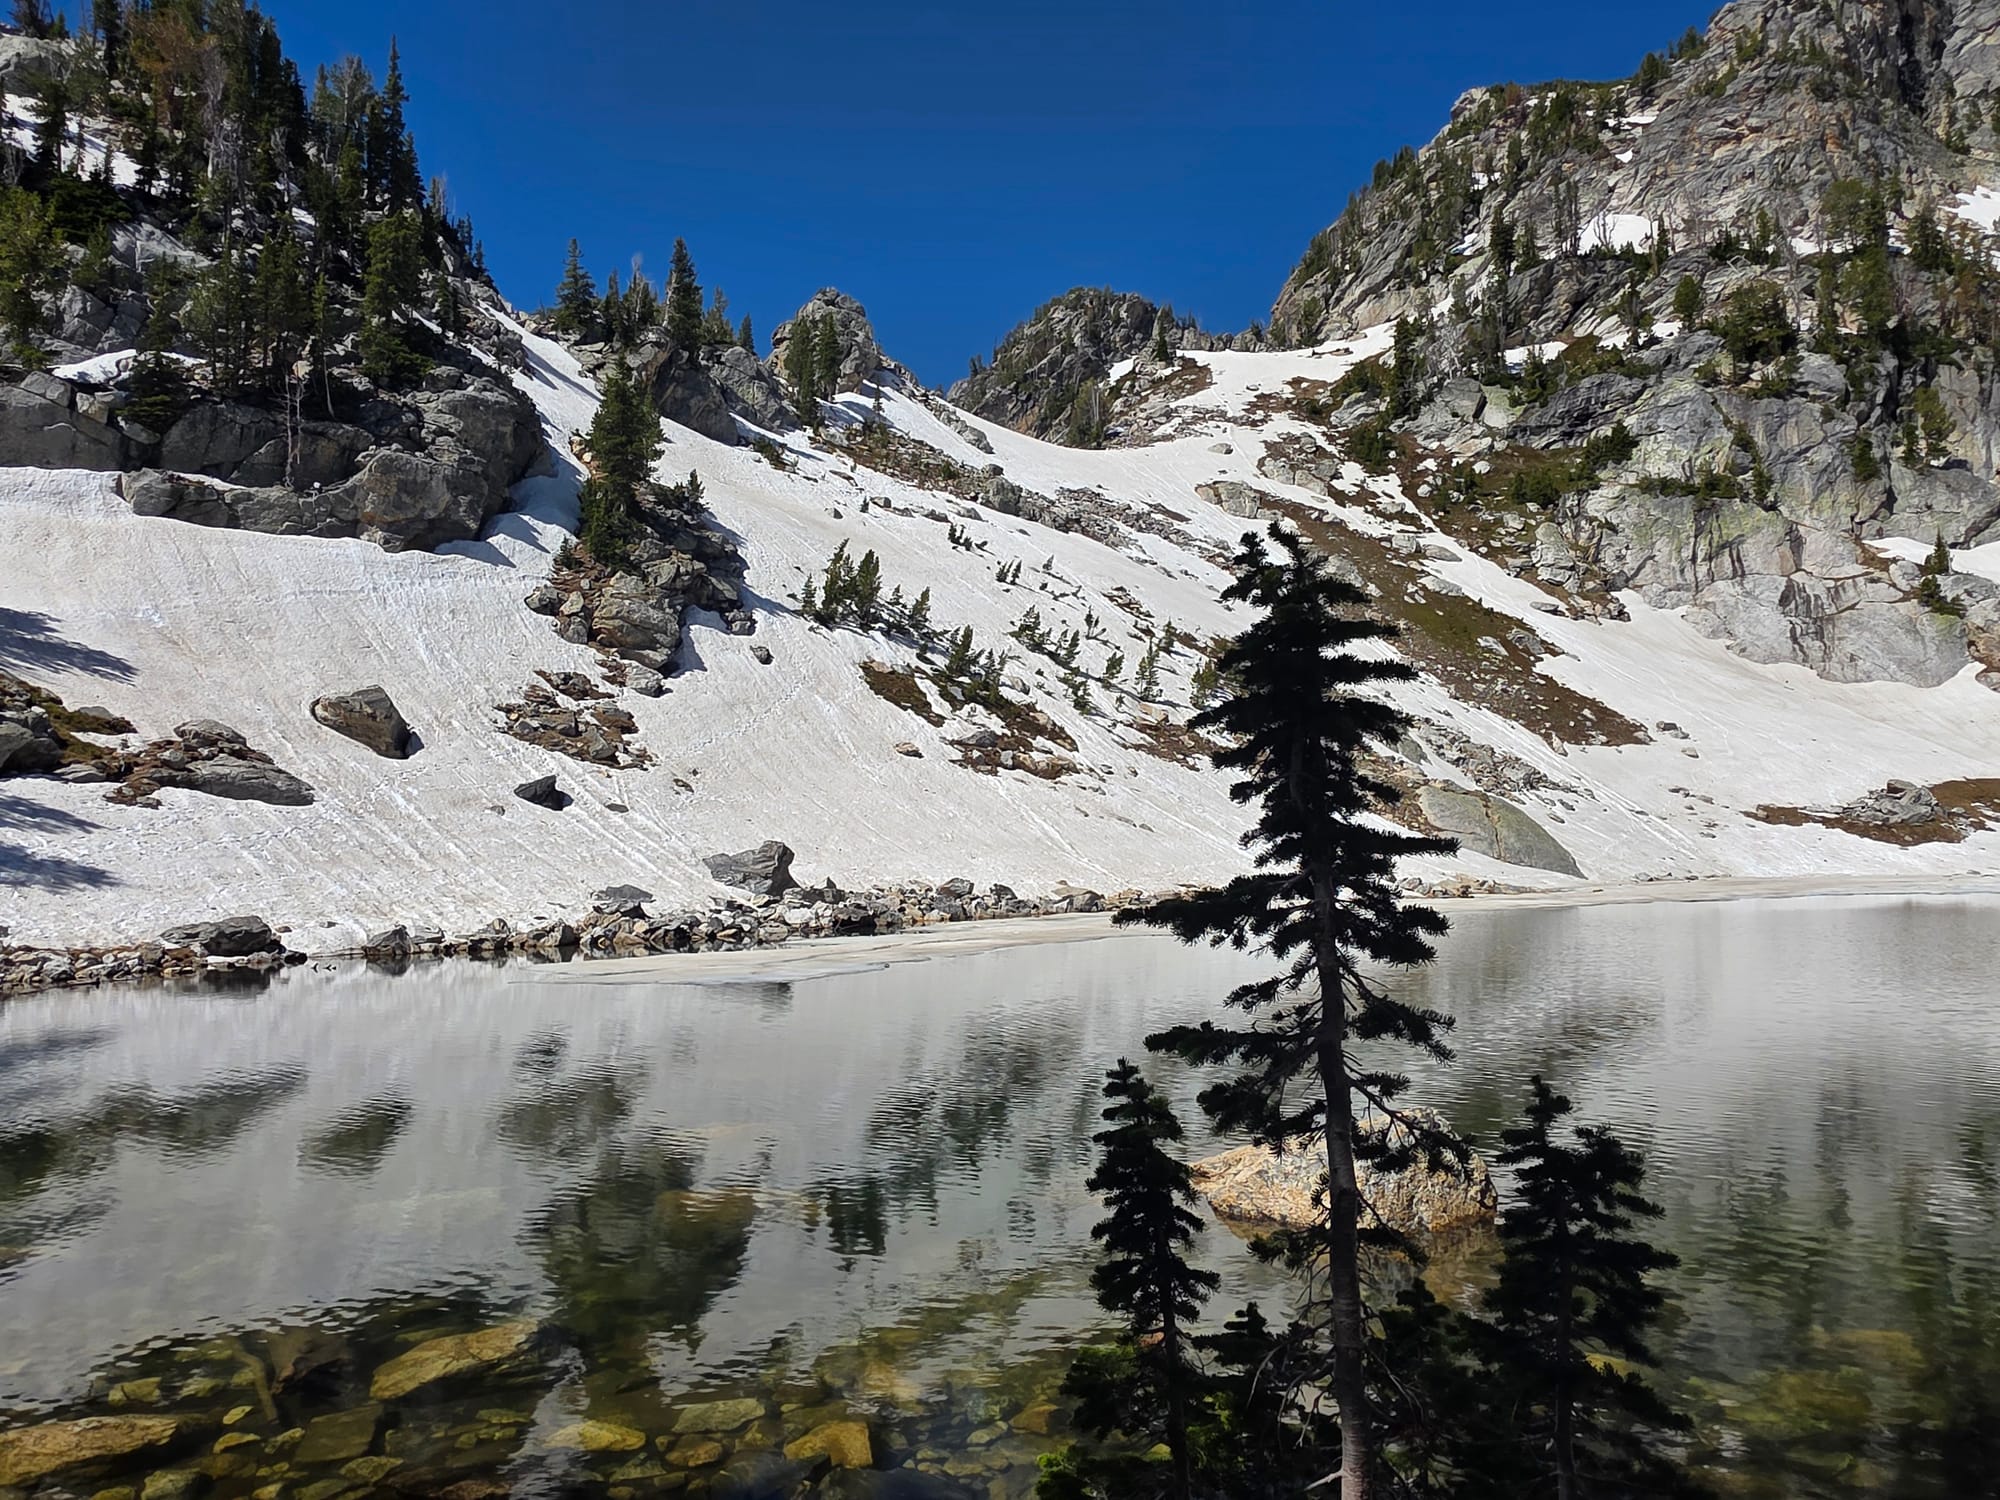
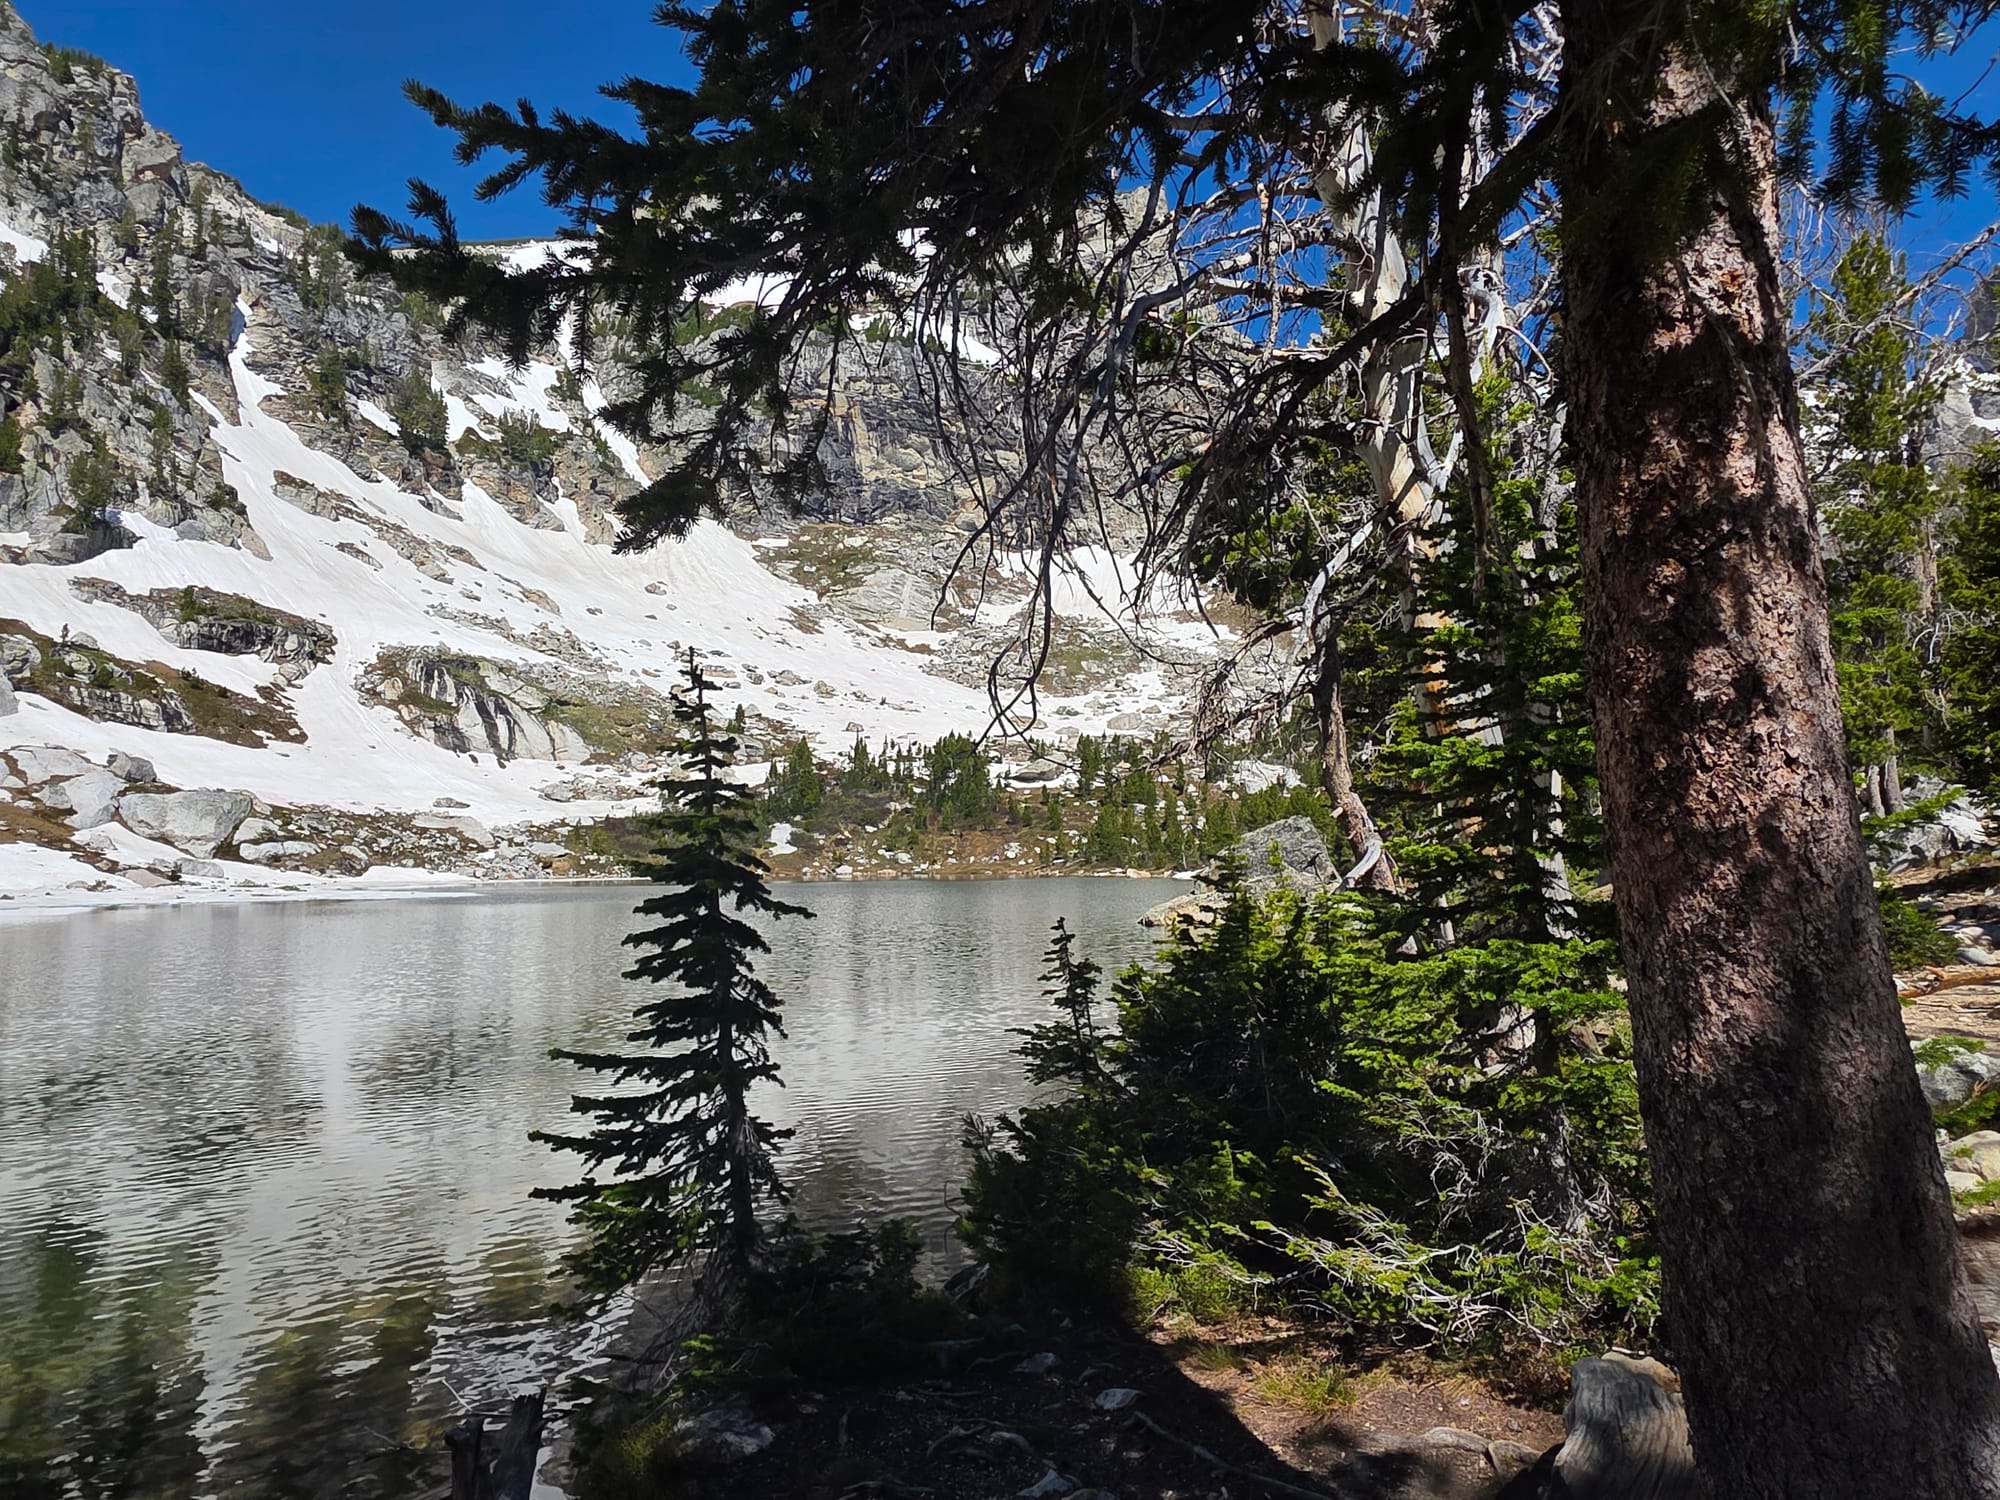
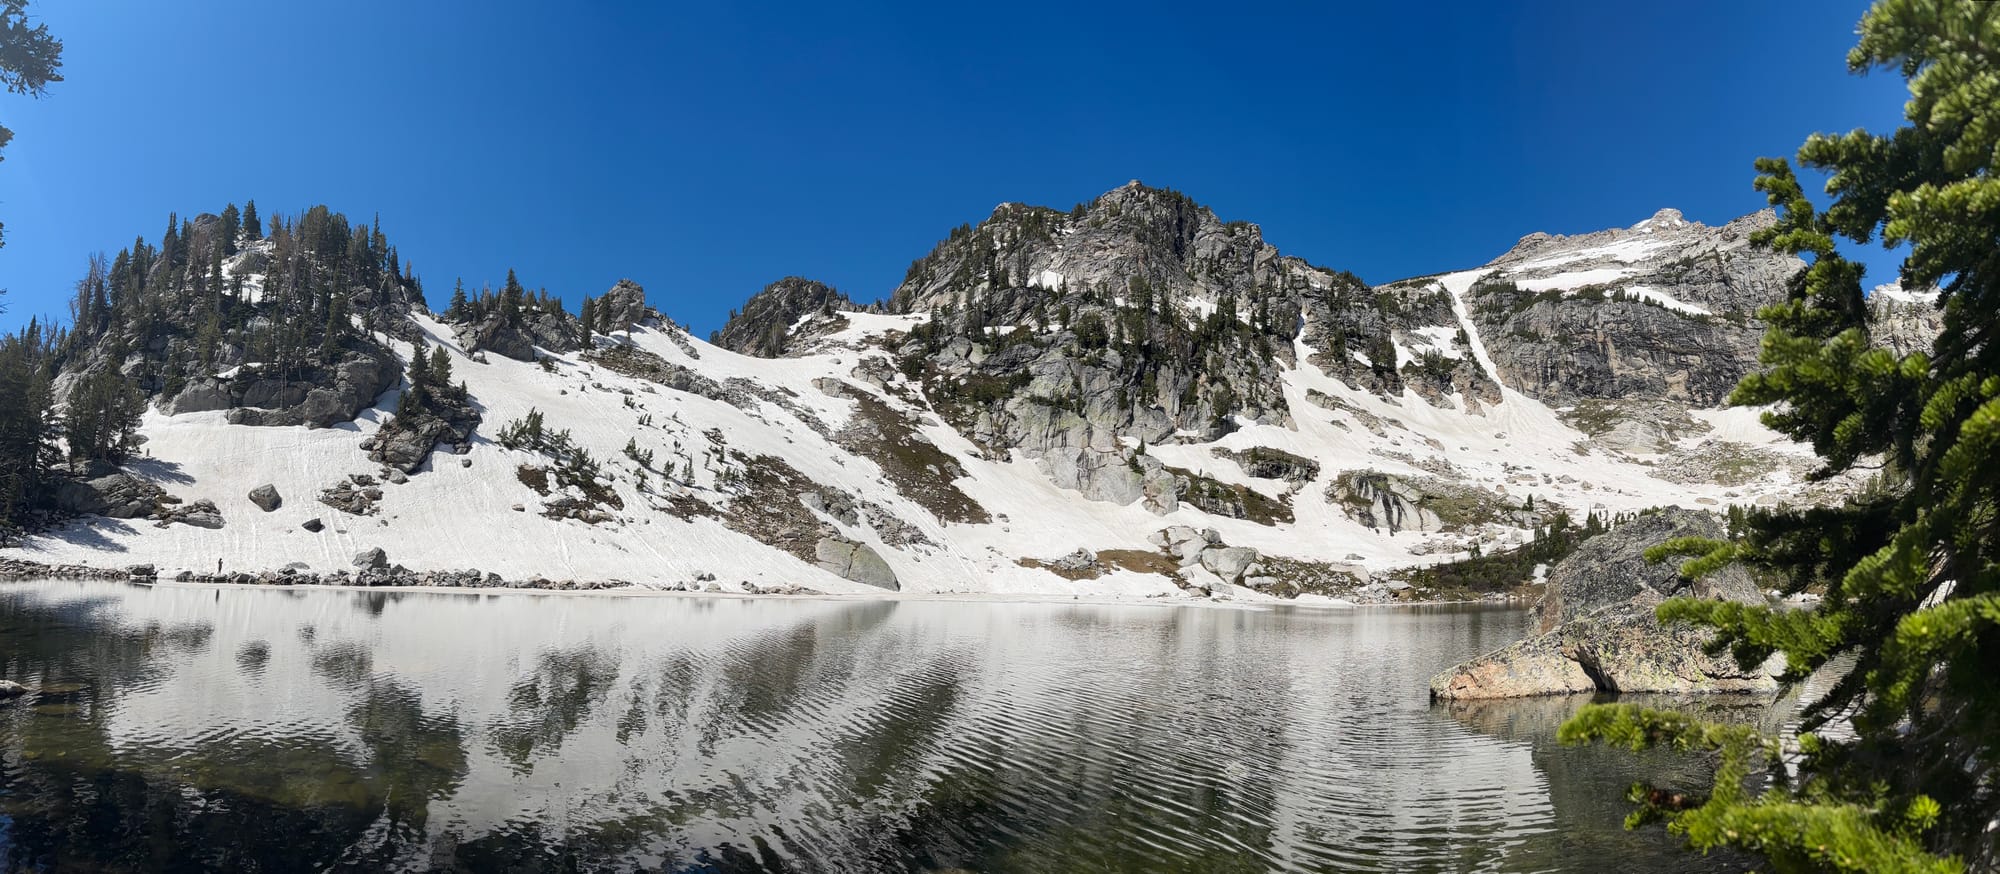
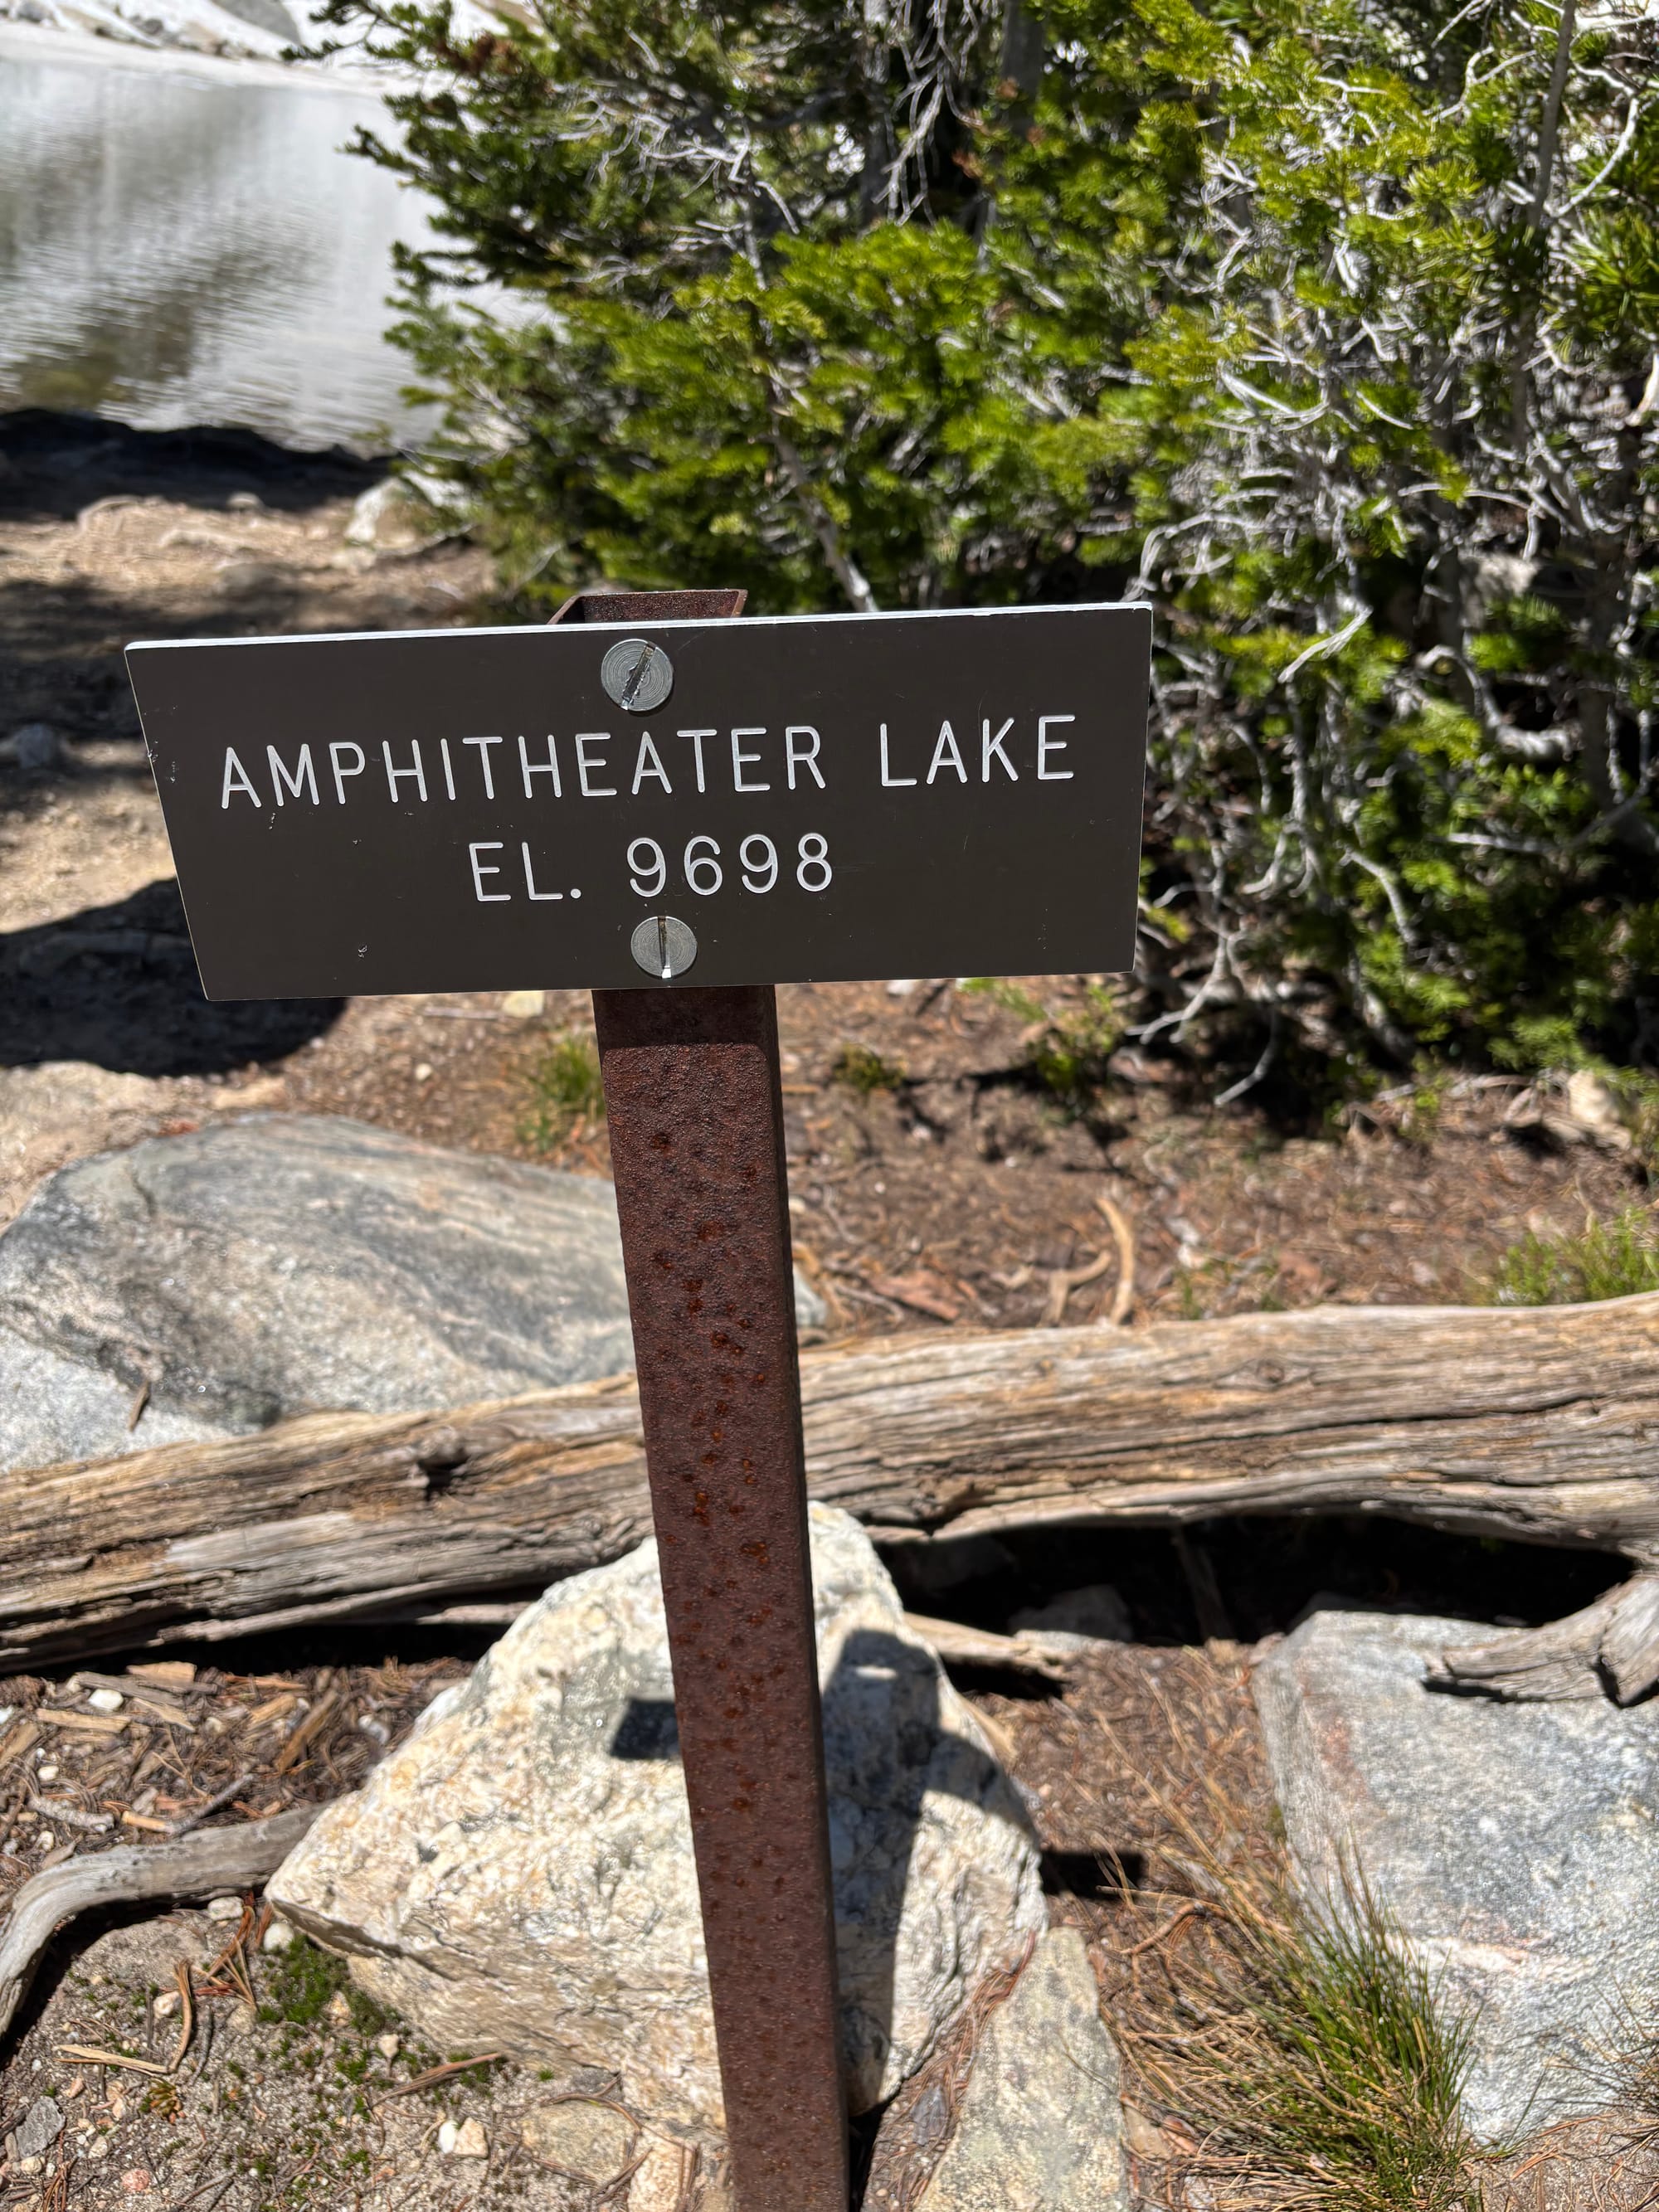
Amphitheater Lake
OnX showed a little unmarked trail spur going up to a cliff overlook above the second lake looking down into the next valley. I got a little nervous and stayed a few yards back from the edge, but my wife went up and took some pictures. It is a cool extra walk, but be aware of the altitude. I started feeling some altitude sickness and dizziness at the top of the spur, though I felt better once we started descending.

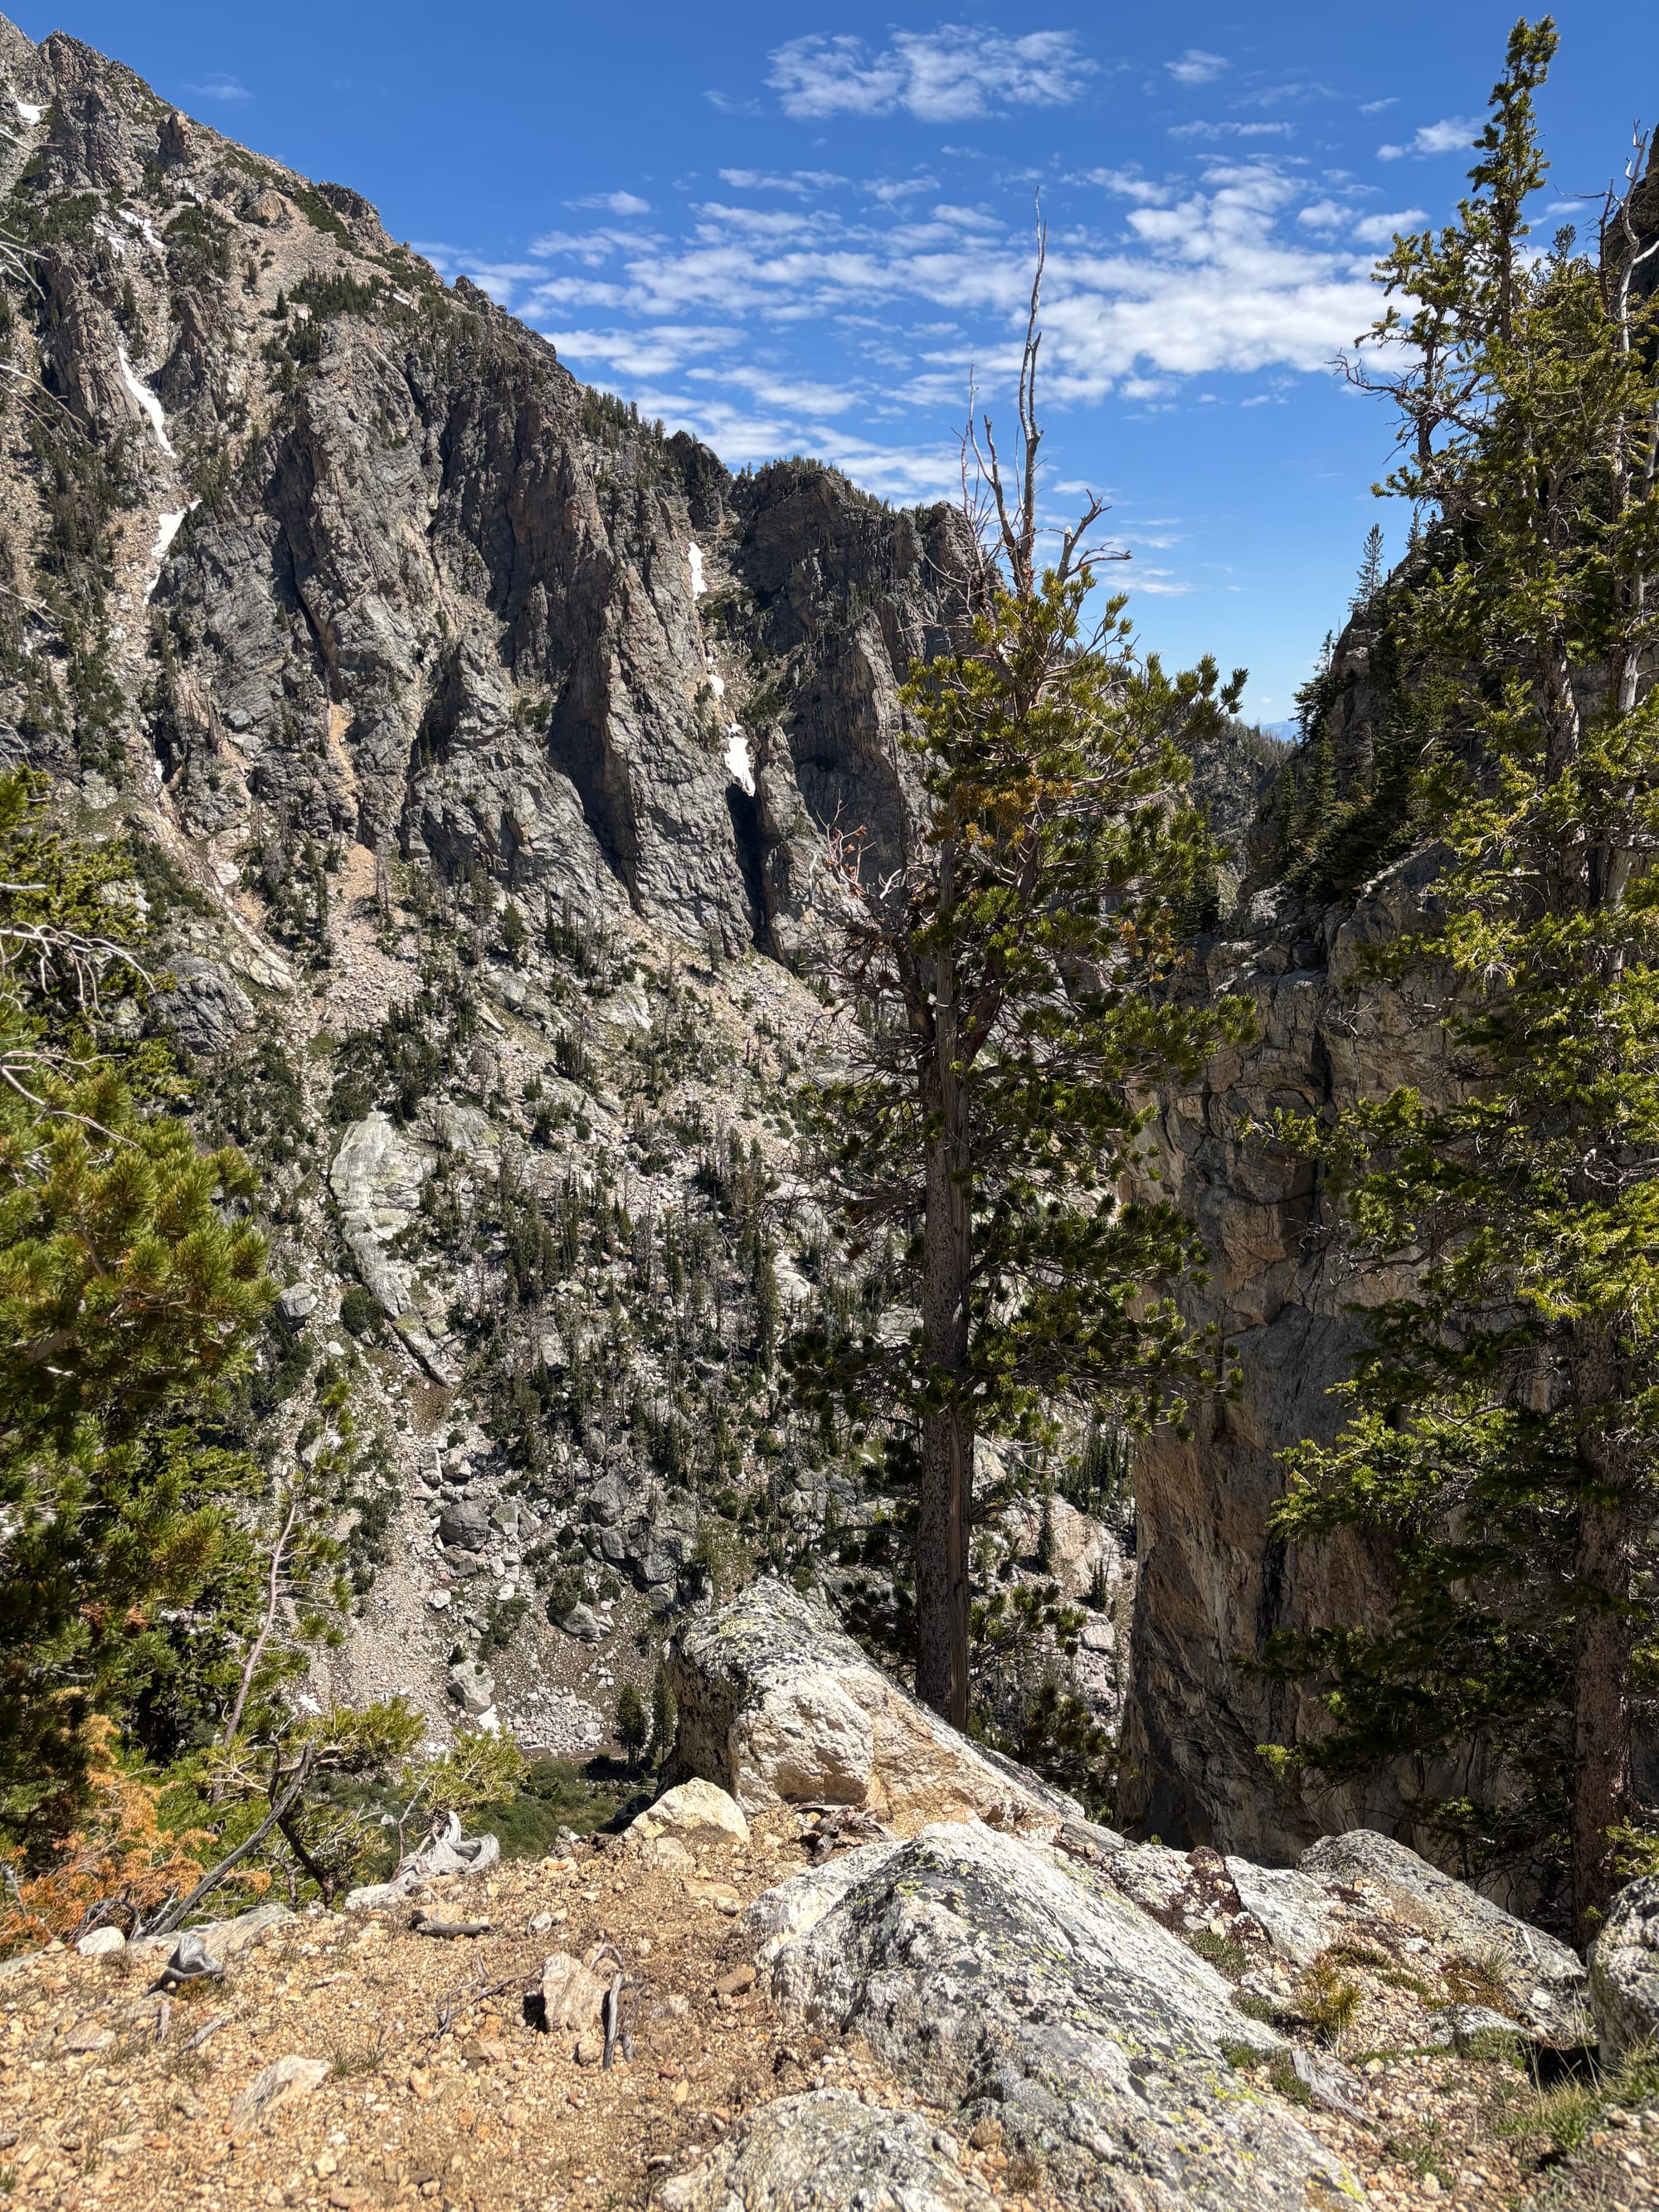
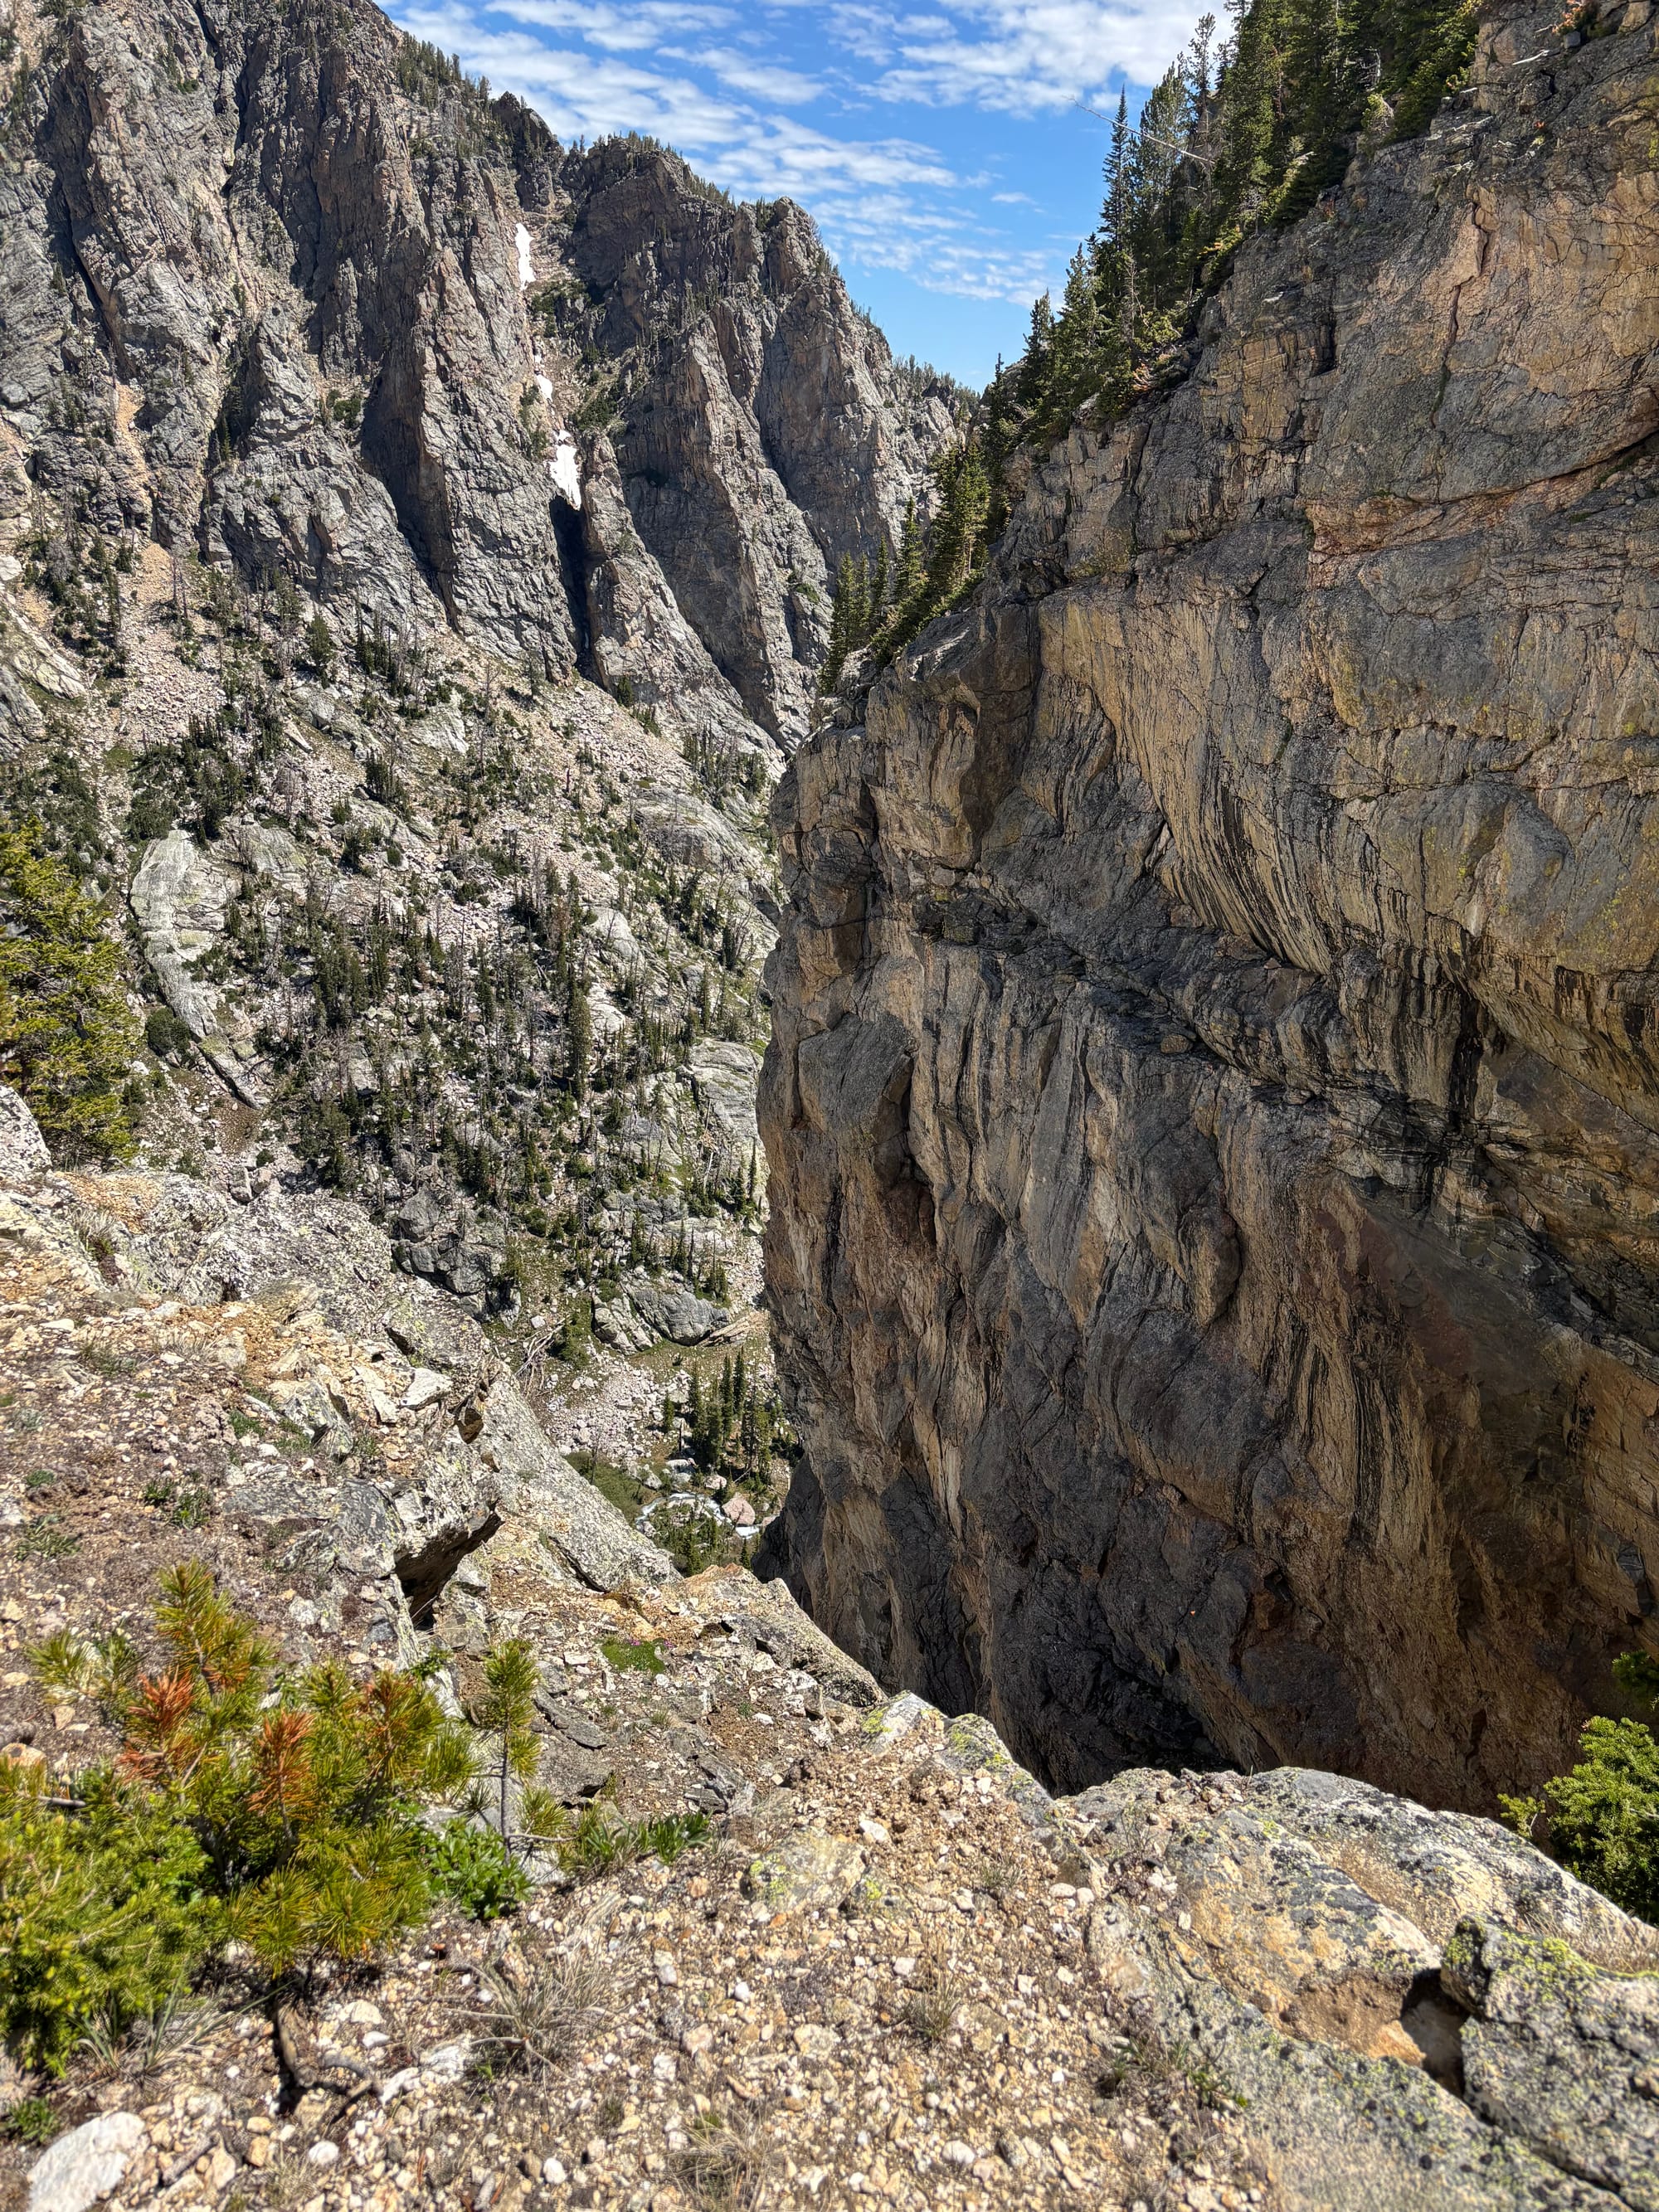
Above the lakes
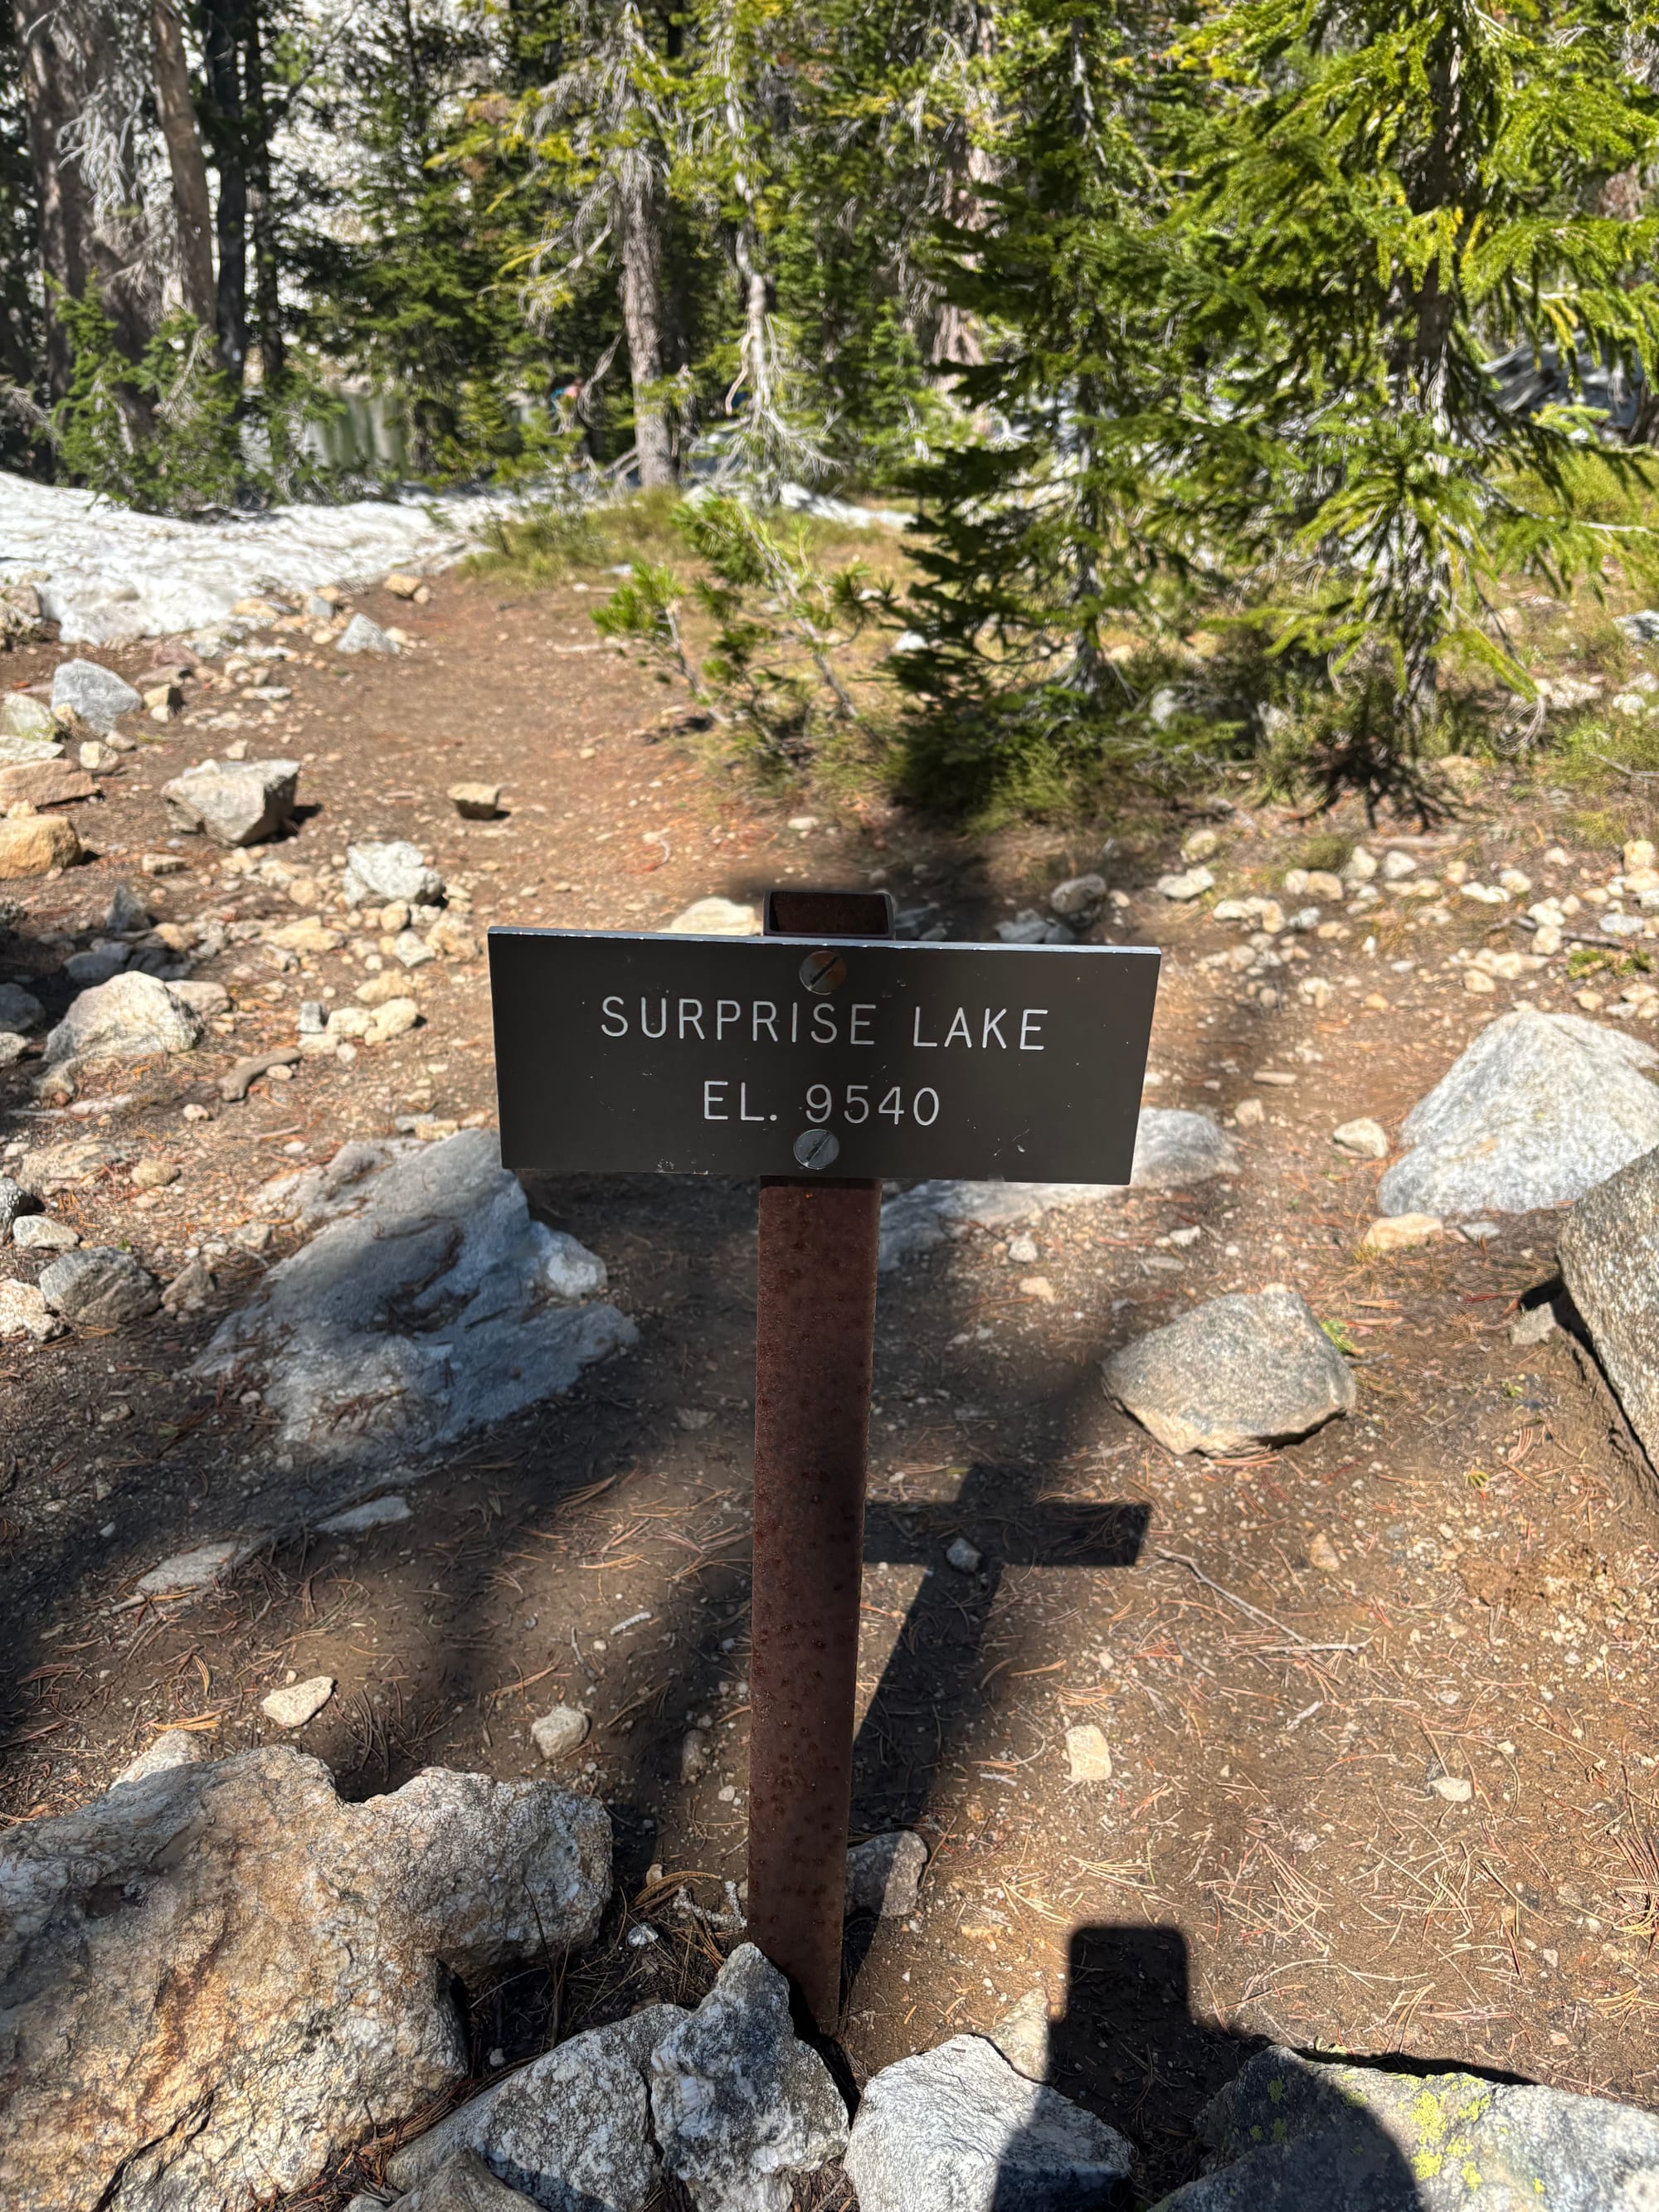
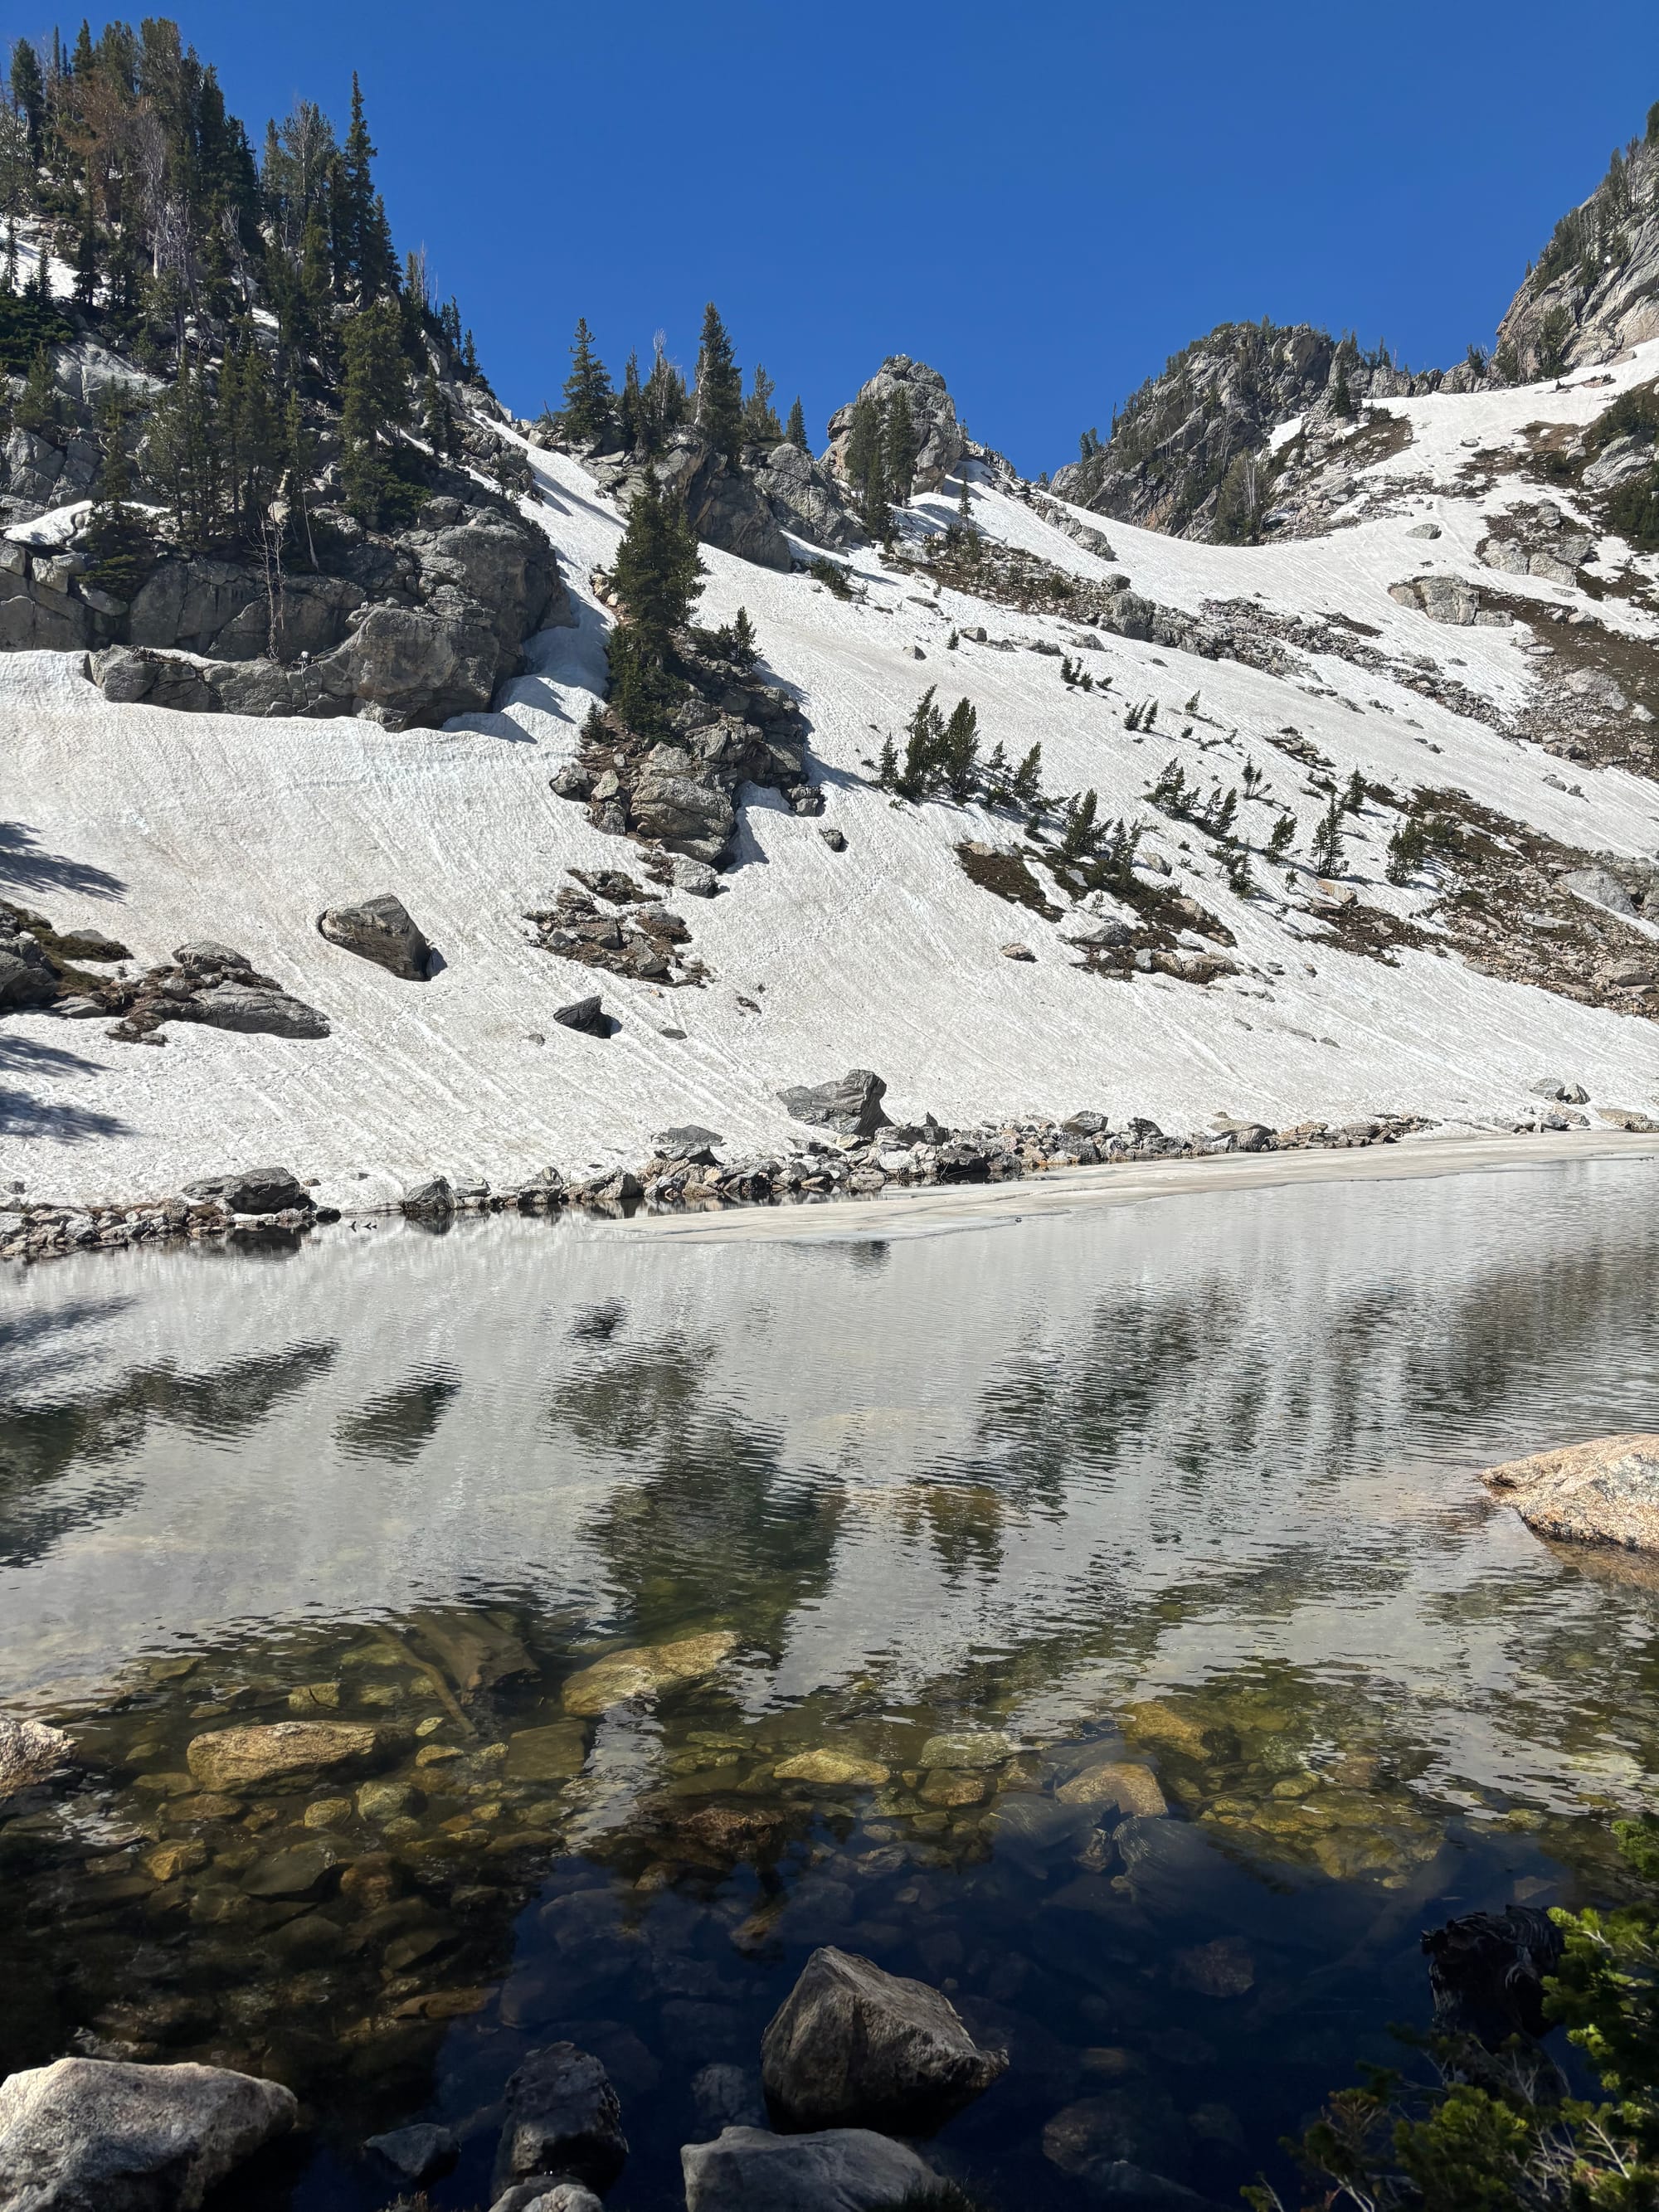
Surprise Lake on the way back down
Personal Opinion: Avoid Delta Lake
Before our trip we saw a lot of social media content about Delta Lake. I had a bit of FOMO, but decided to heed the warnings, and go elsewhere, but caved once we were actually on the trail.
On the way up (or down) the main trail, you hit the split where people leave the main trail to scramble down to the Instagram-famous Delta Lake. We stopped for a rest and snack near the split and there were easily 5 to 10 people heading to Delta Lake for every person continuing on the official trail to Surprise and Amphitheater lakes.
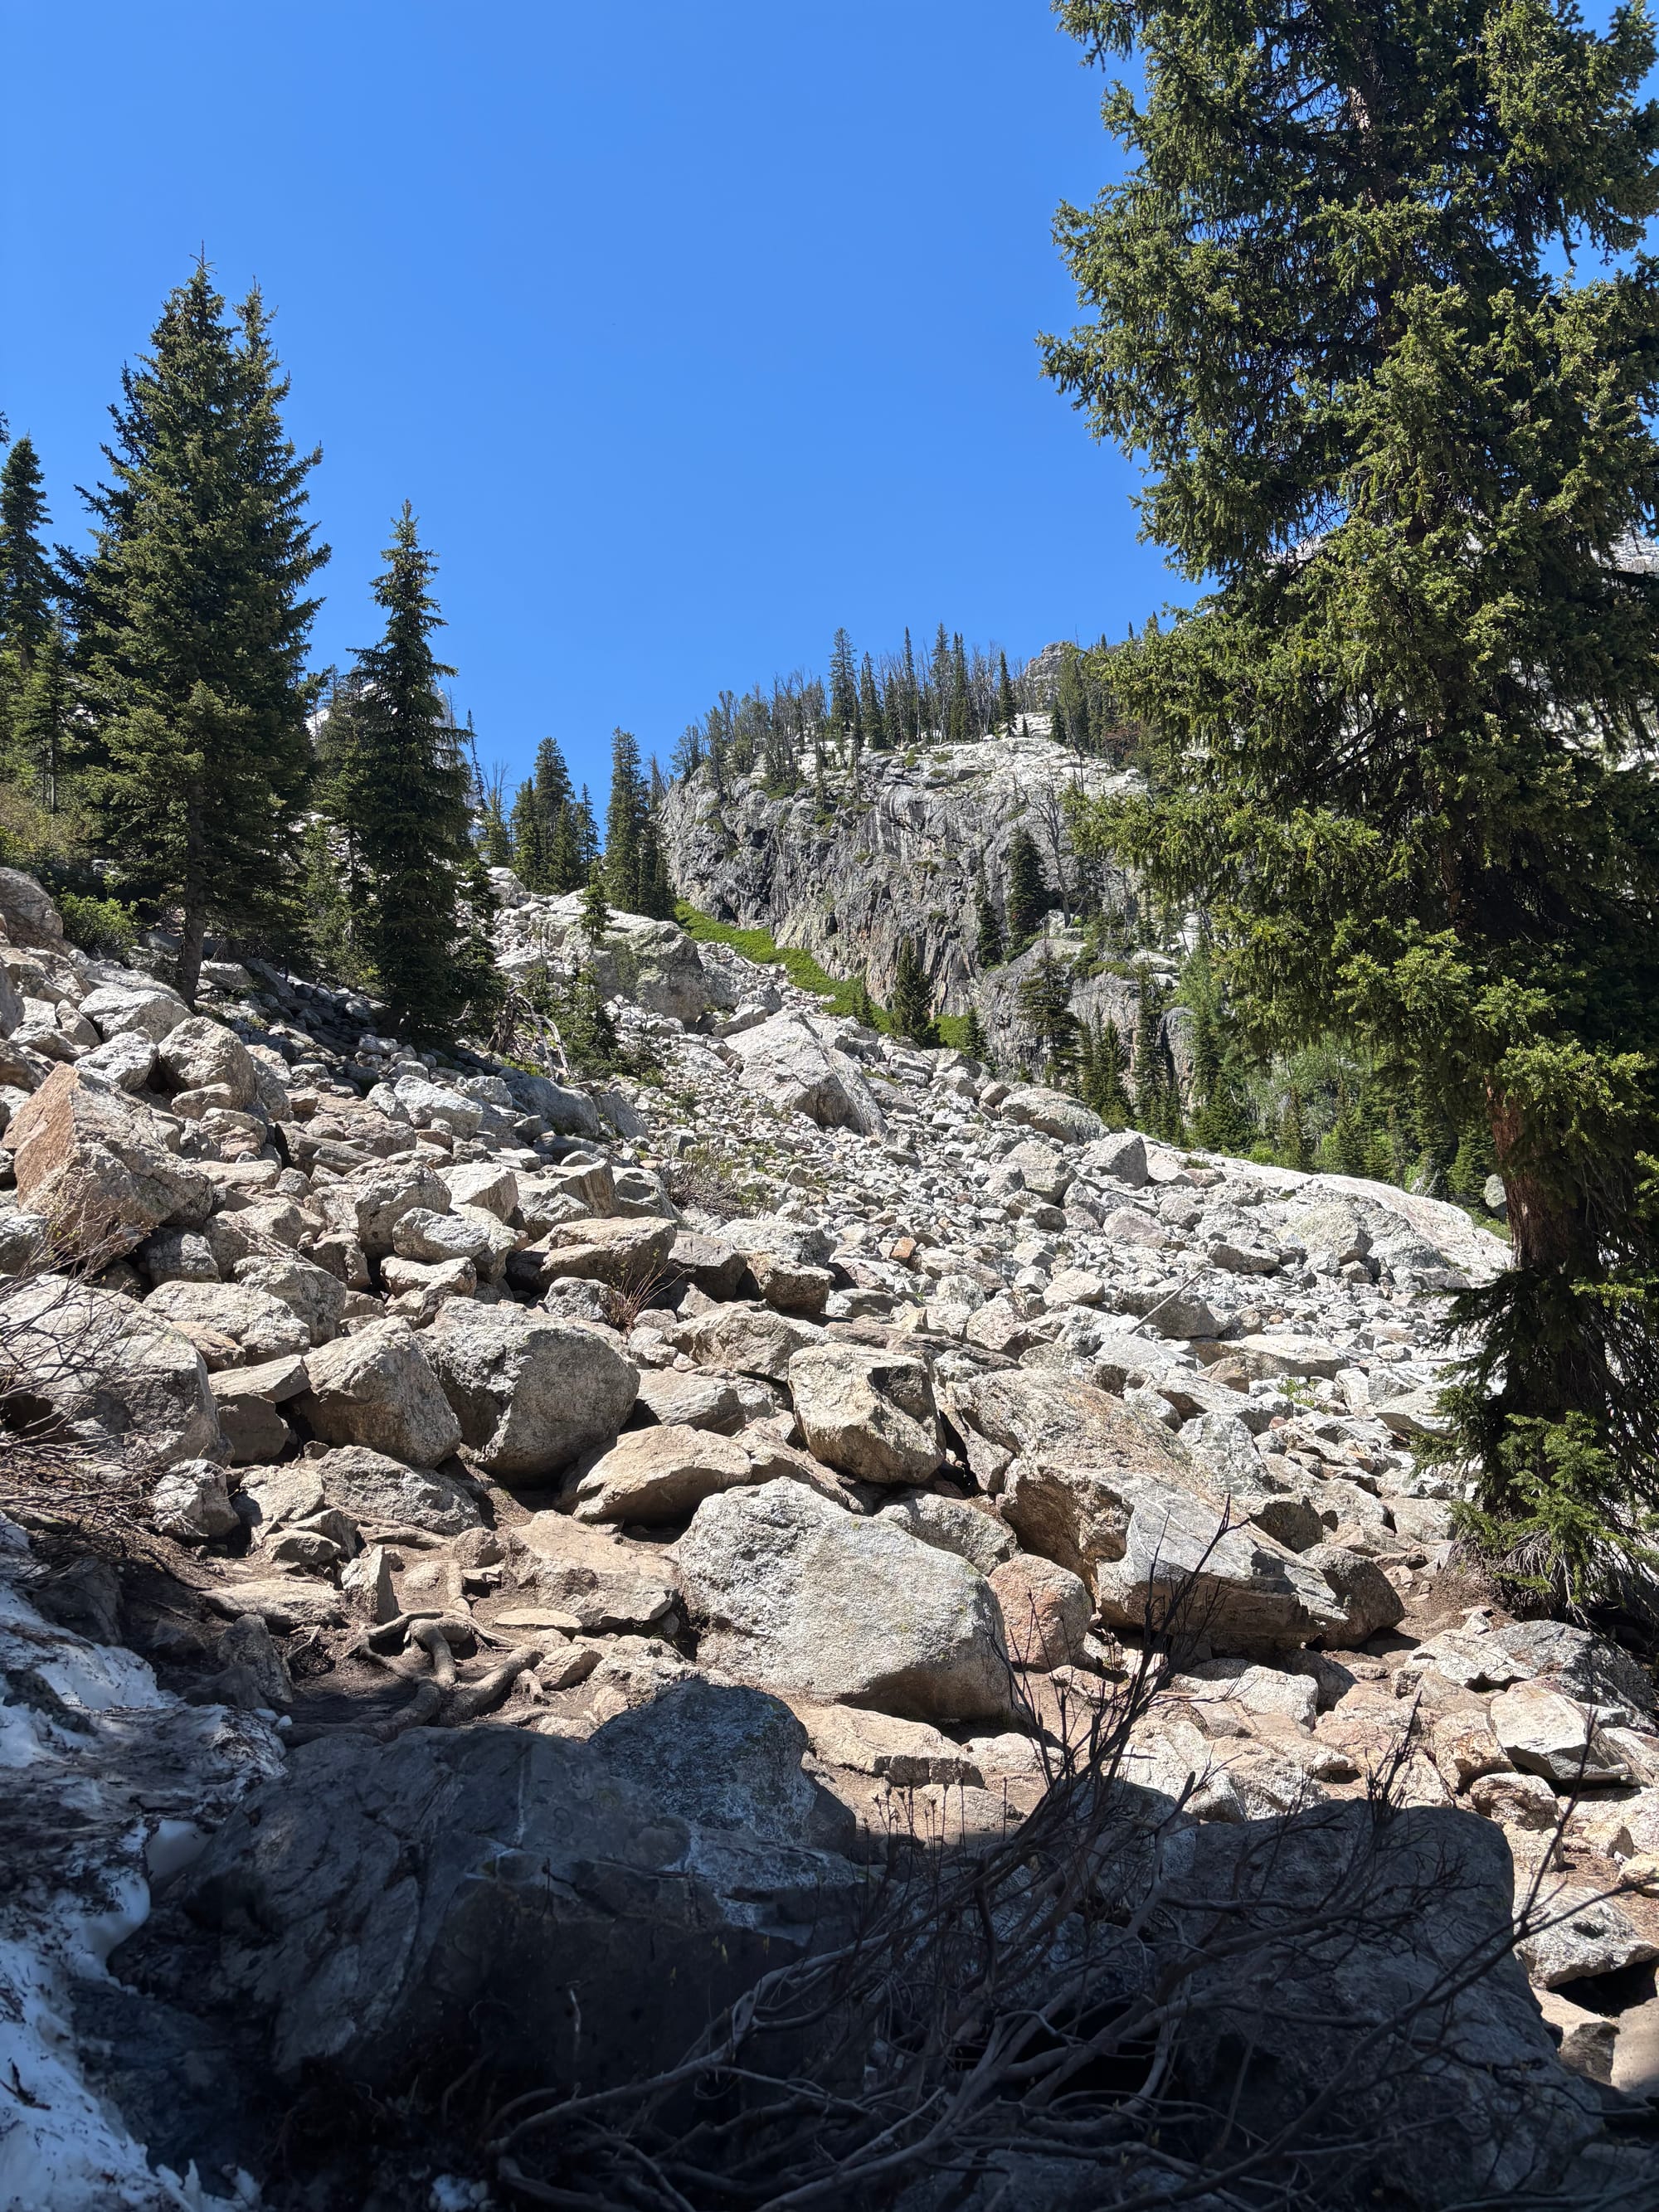
My recommendation, do not take this trail:
The first boulder field is taxing but doable. The second boulder field is very far from a maintained trail, and mostly consists of medium, loose rocks. It seems like it would be very easy to put a foot wrong and tumble down. We decided to turn back right after the second bolder field, before the final hill, because it just did not look safe.
On our way back, we lost the path completely. We ended up on an super steep, loose dirt slope with no handholds where we easily could have slipped off the mountain. I had to check our onX GPS tracker to realize we had drifted off the worn path. We managed to stumble back onto the heavily used route and get down safely, but it was not worth the risk in my opinion. Looking at side-by-side photos of Delta Lake versus the two official lakes we visited, they look almost identical, and the official lakes are much safer and have zero crowds.
On the way down
We got back to our car completely exhausted from the hardest physical day of our trip. We drove back to Headwaters Lodge, had dinner, and went straight to bed.
Day 5: Yellowstone Transition, Grand Prismatic, and the Upper Geyser Basin
We checked out of our hotel and drove north into Yellowstone. Leaving at our normal early time allowed us to reach the main sights before they became too crowded.
Our first stop was the Grand Prismatic Overlook via the Fairy Falls Trailhead. Some online reviews advise against visiting early in the morning because the pool will be too steamy to see. When we first arrived, it was indeed covered in thick steam. However, we waited at the overlook for about 10 to 15 minutes, and when the wind blew, the steam cleared perfectly. If you get there and it is foggy, just be patient and wait a few minutes for the view to clear.
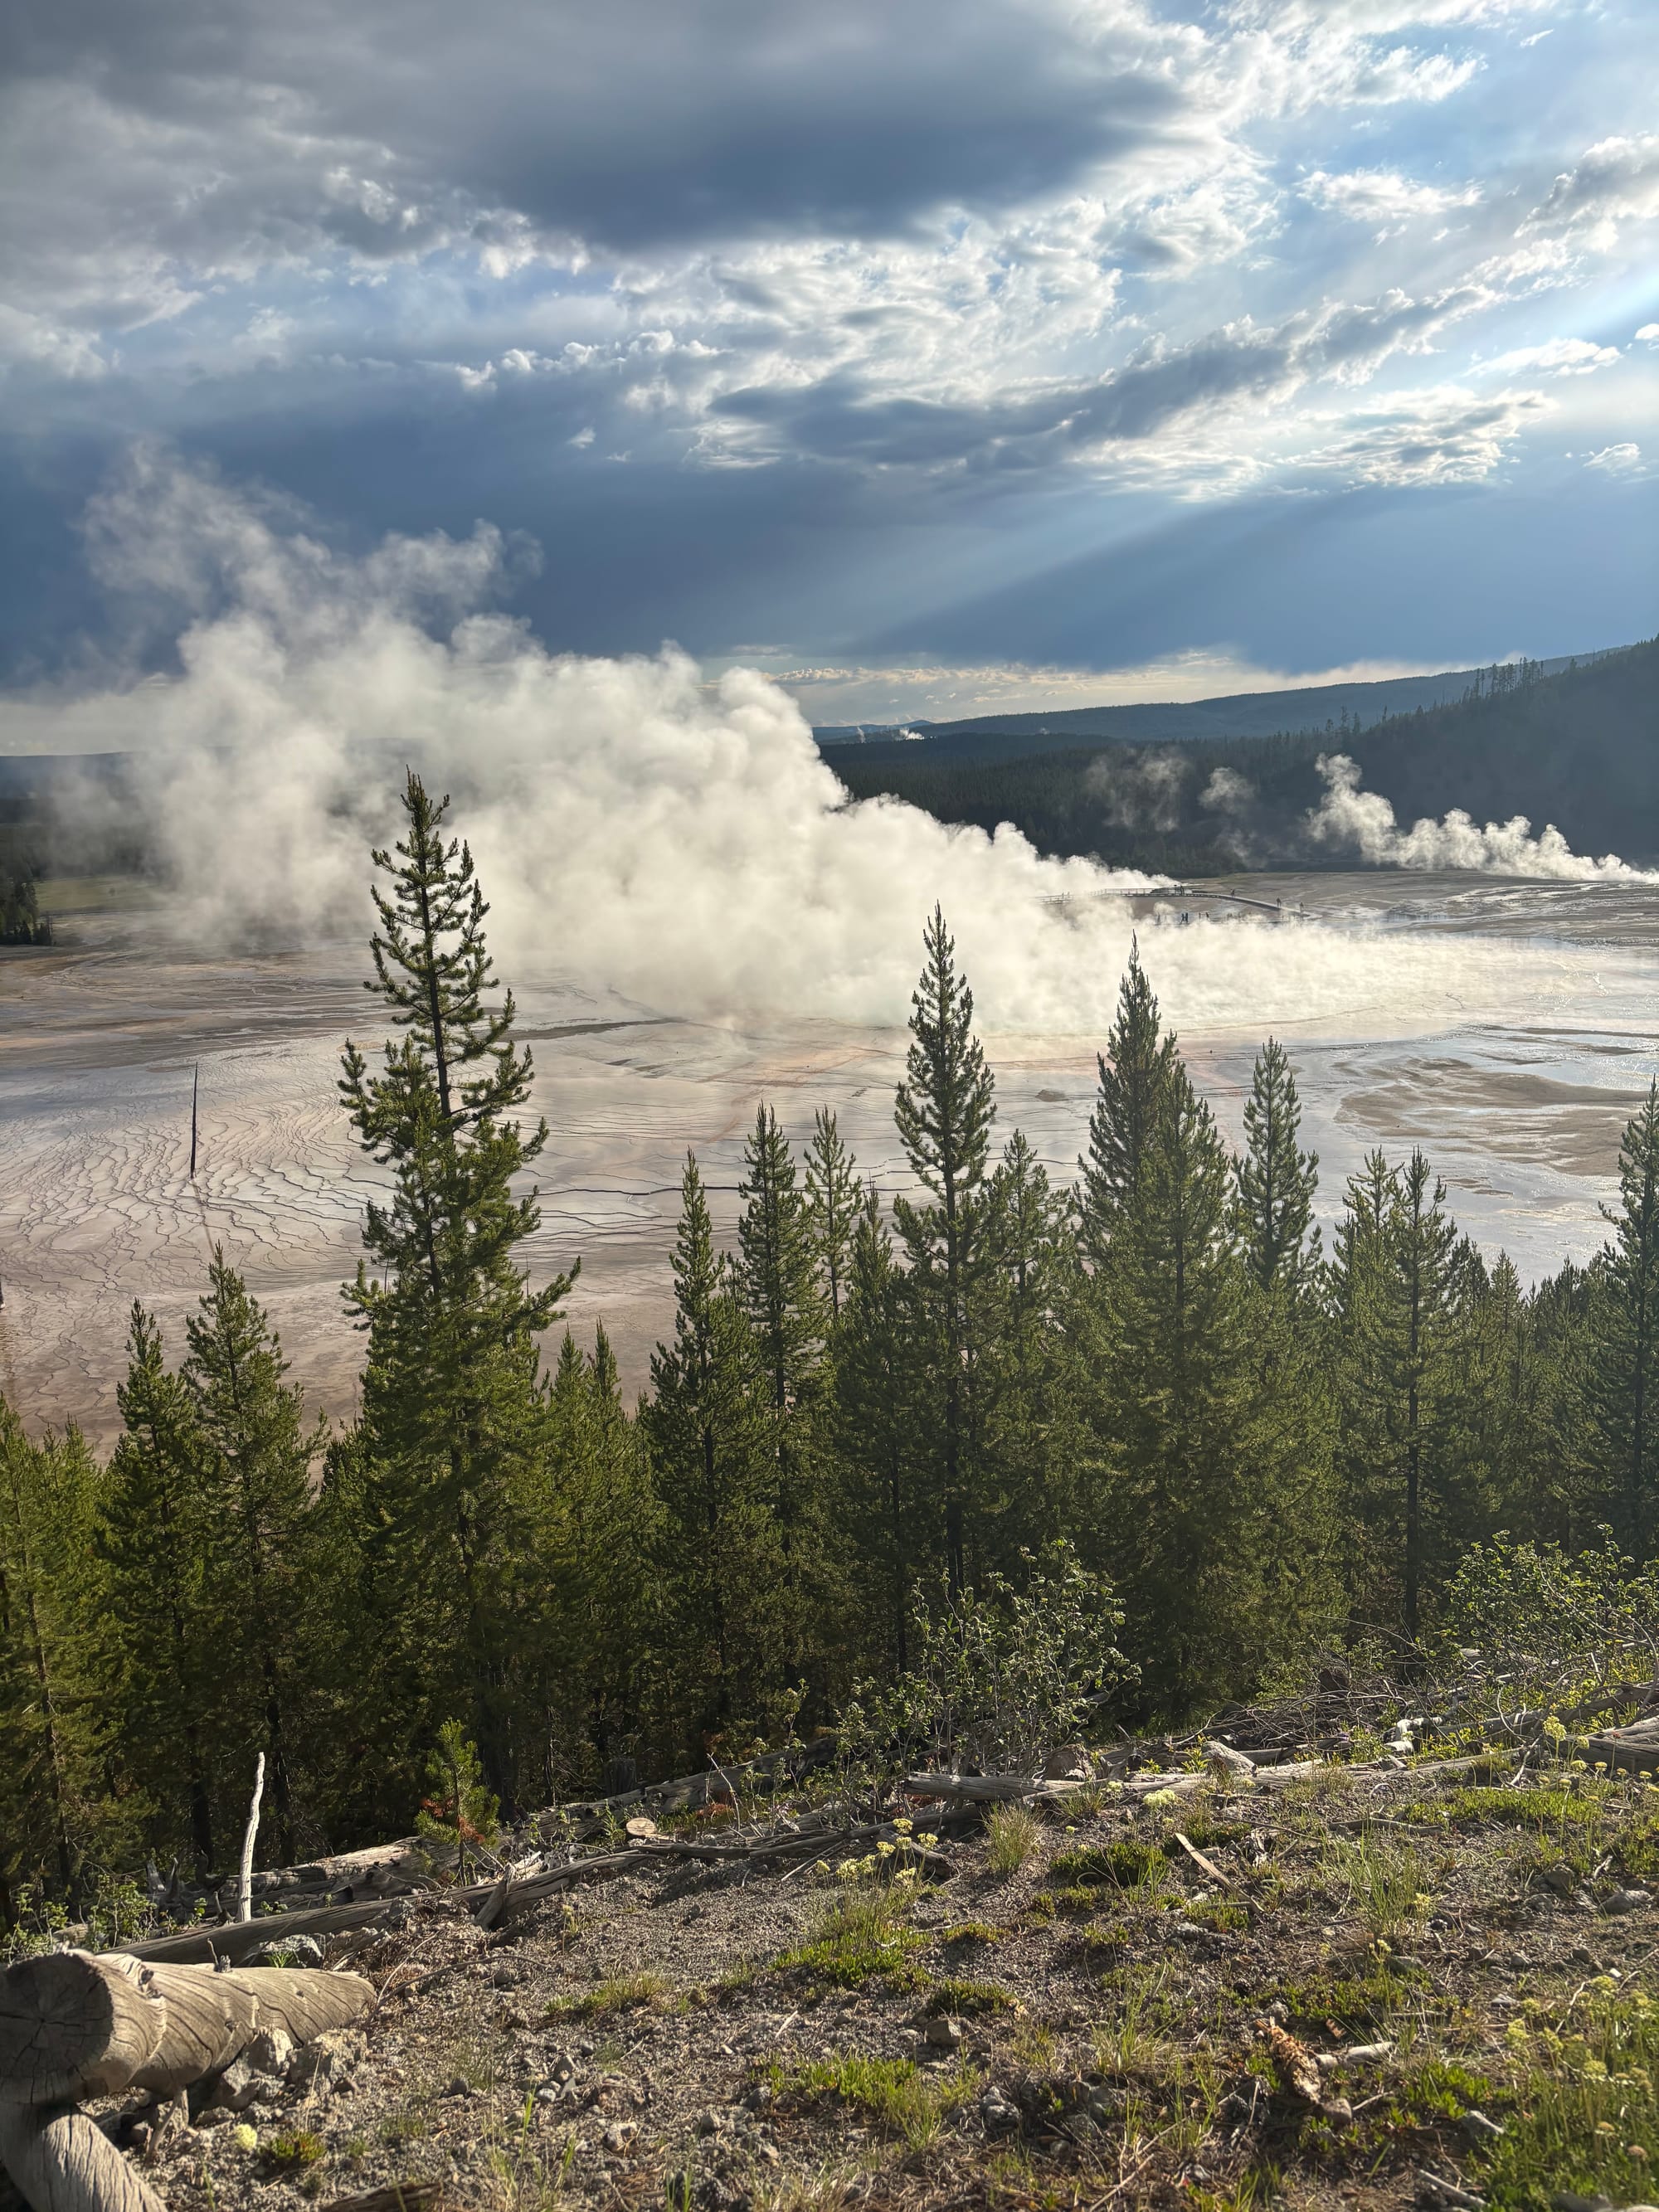
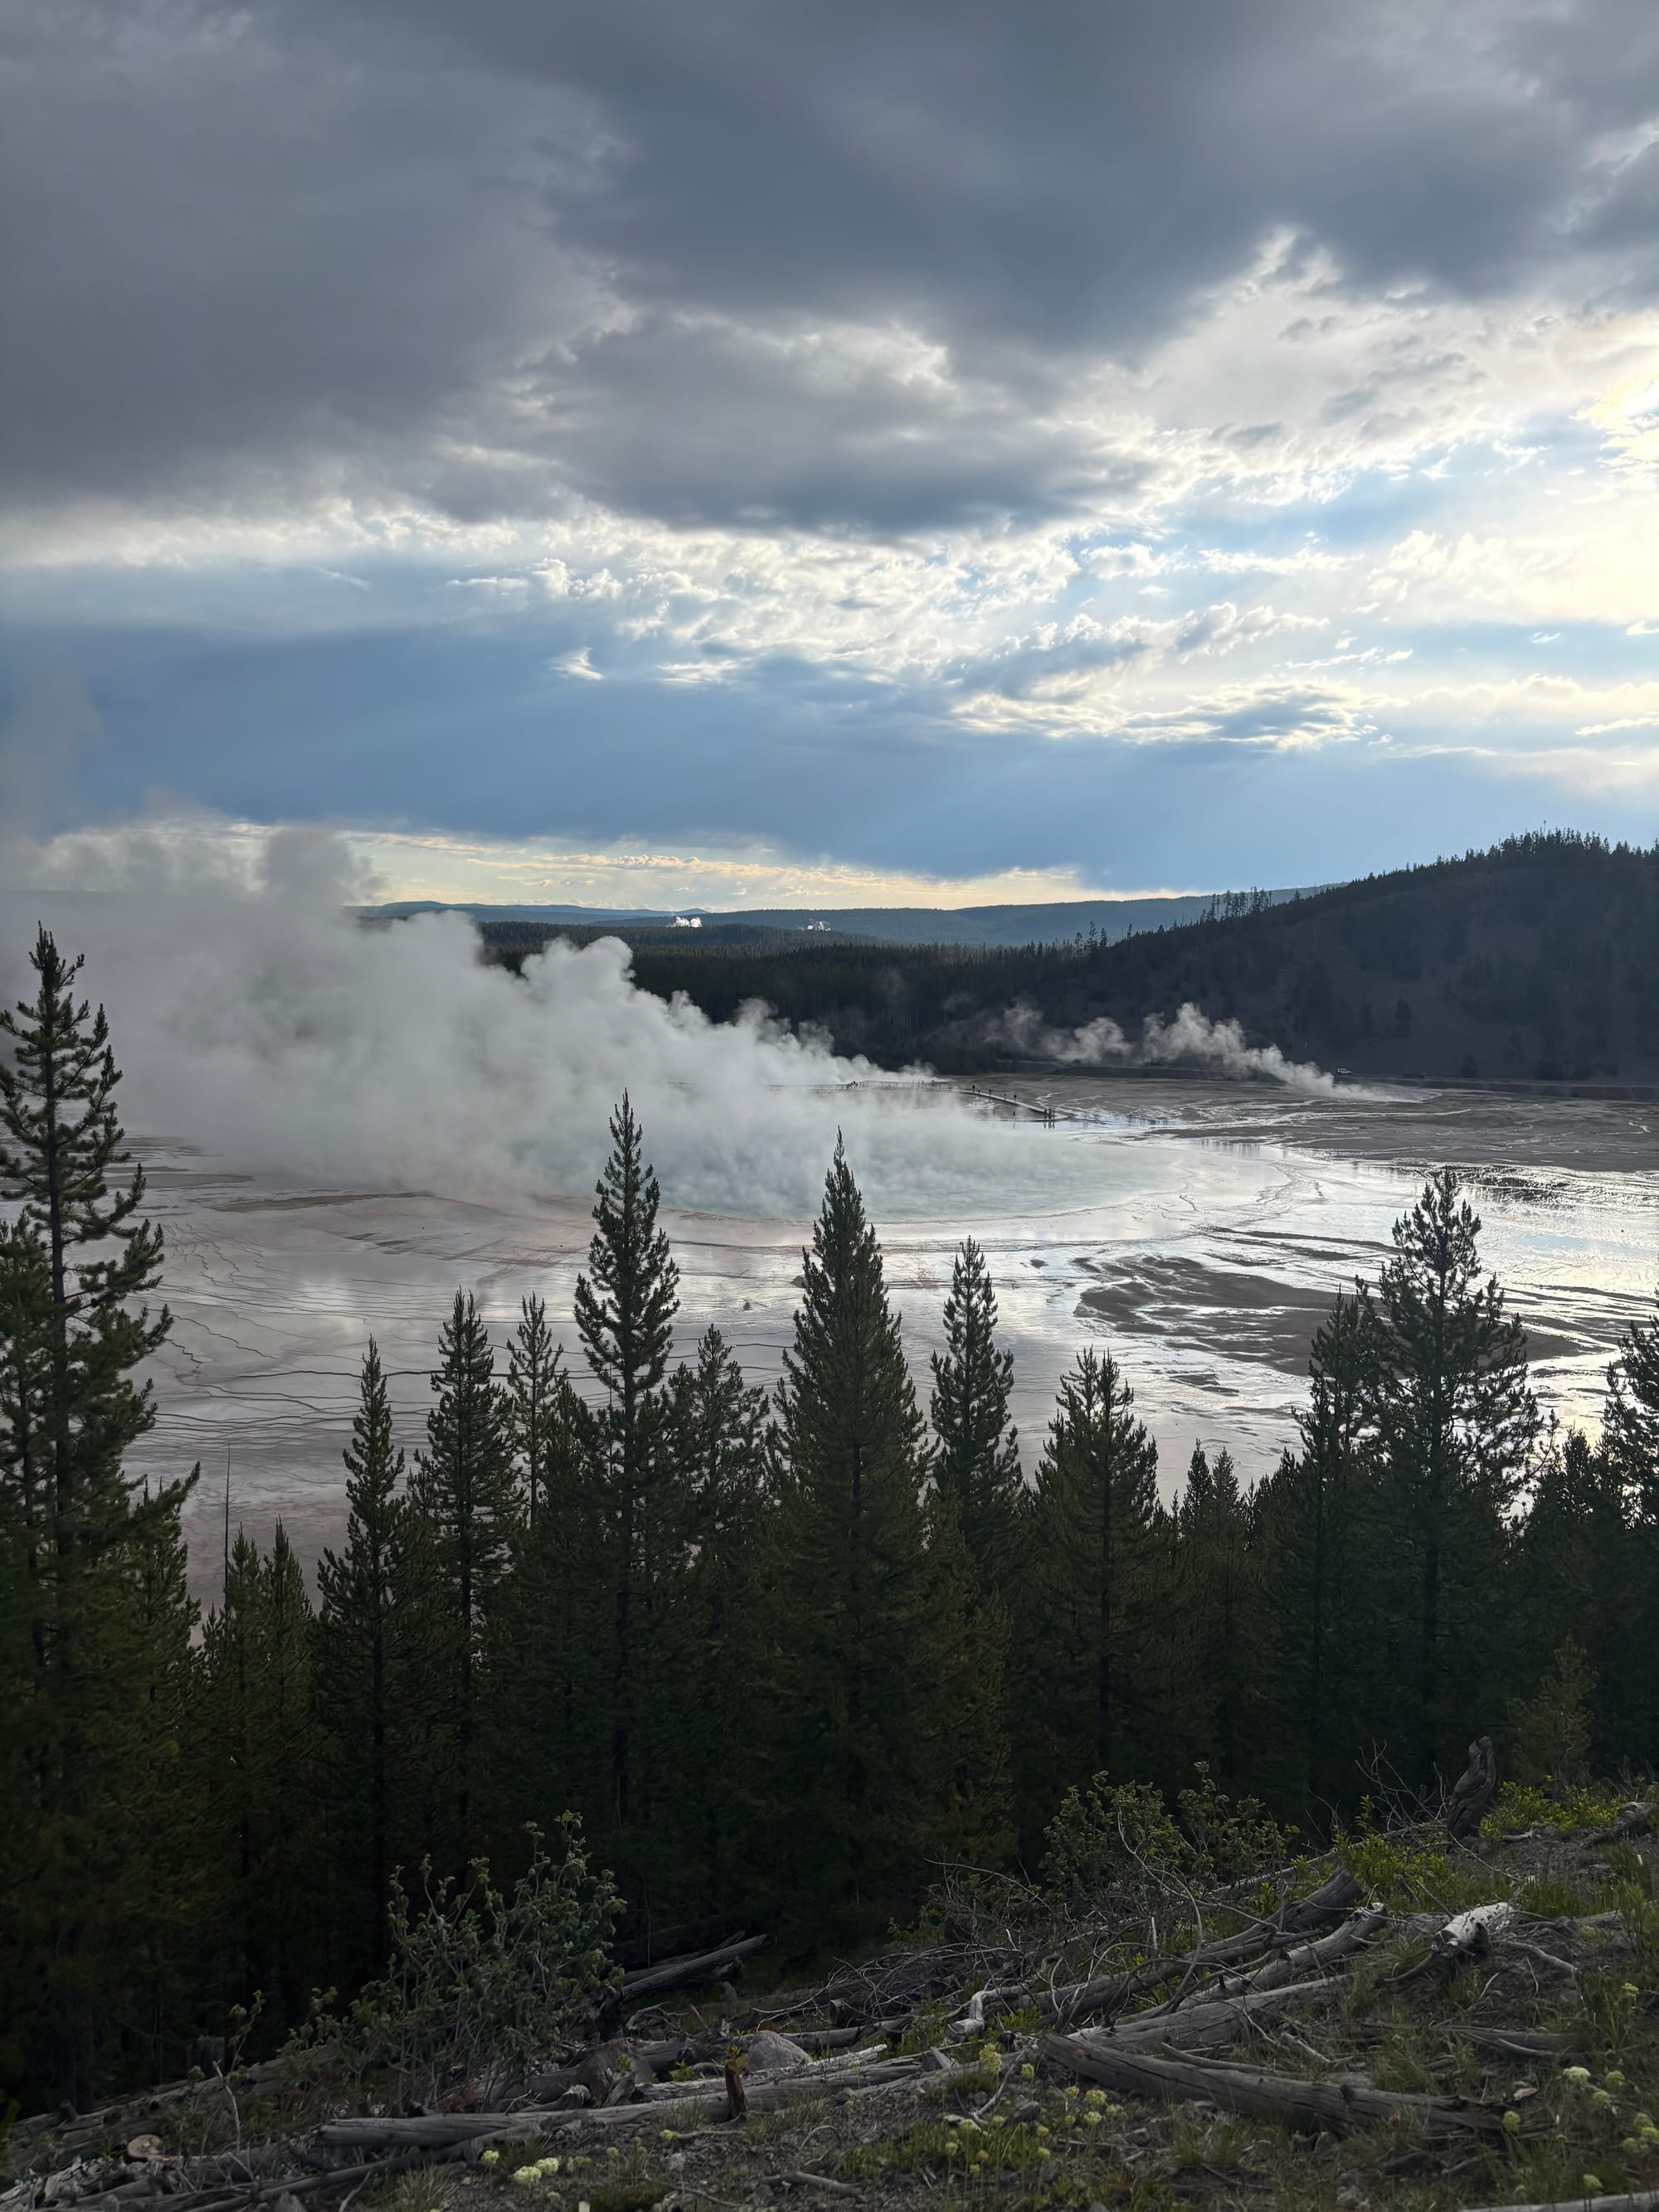
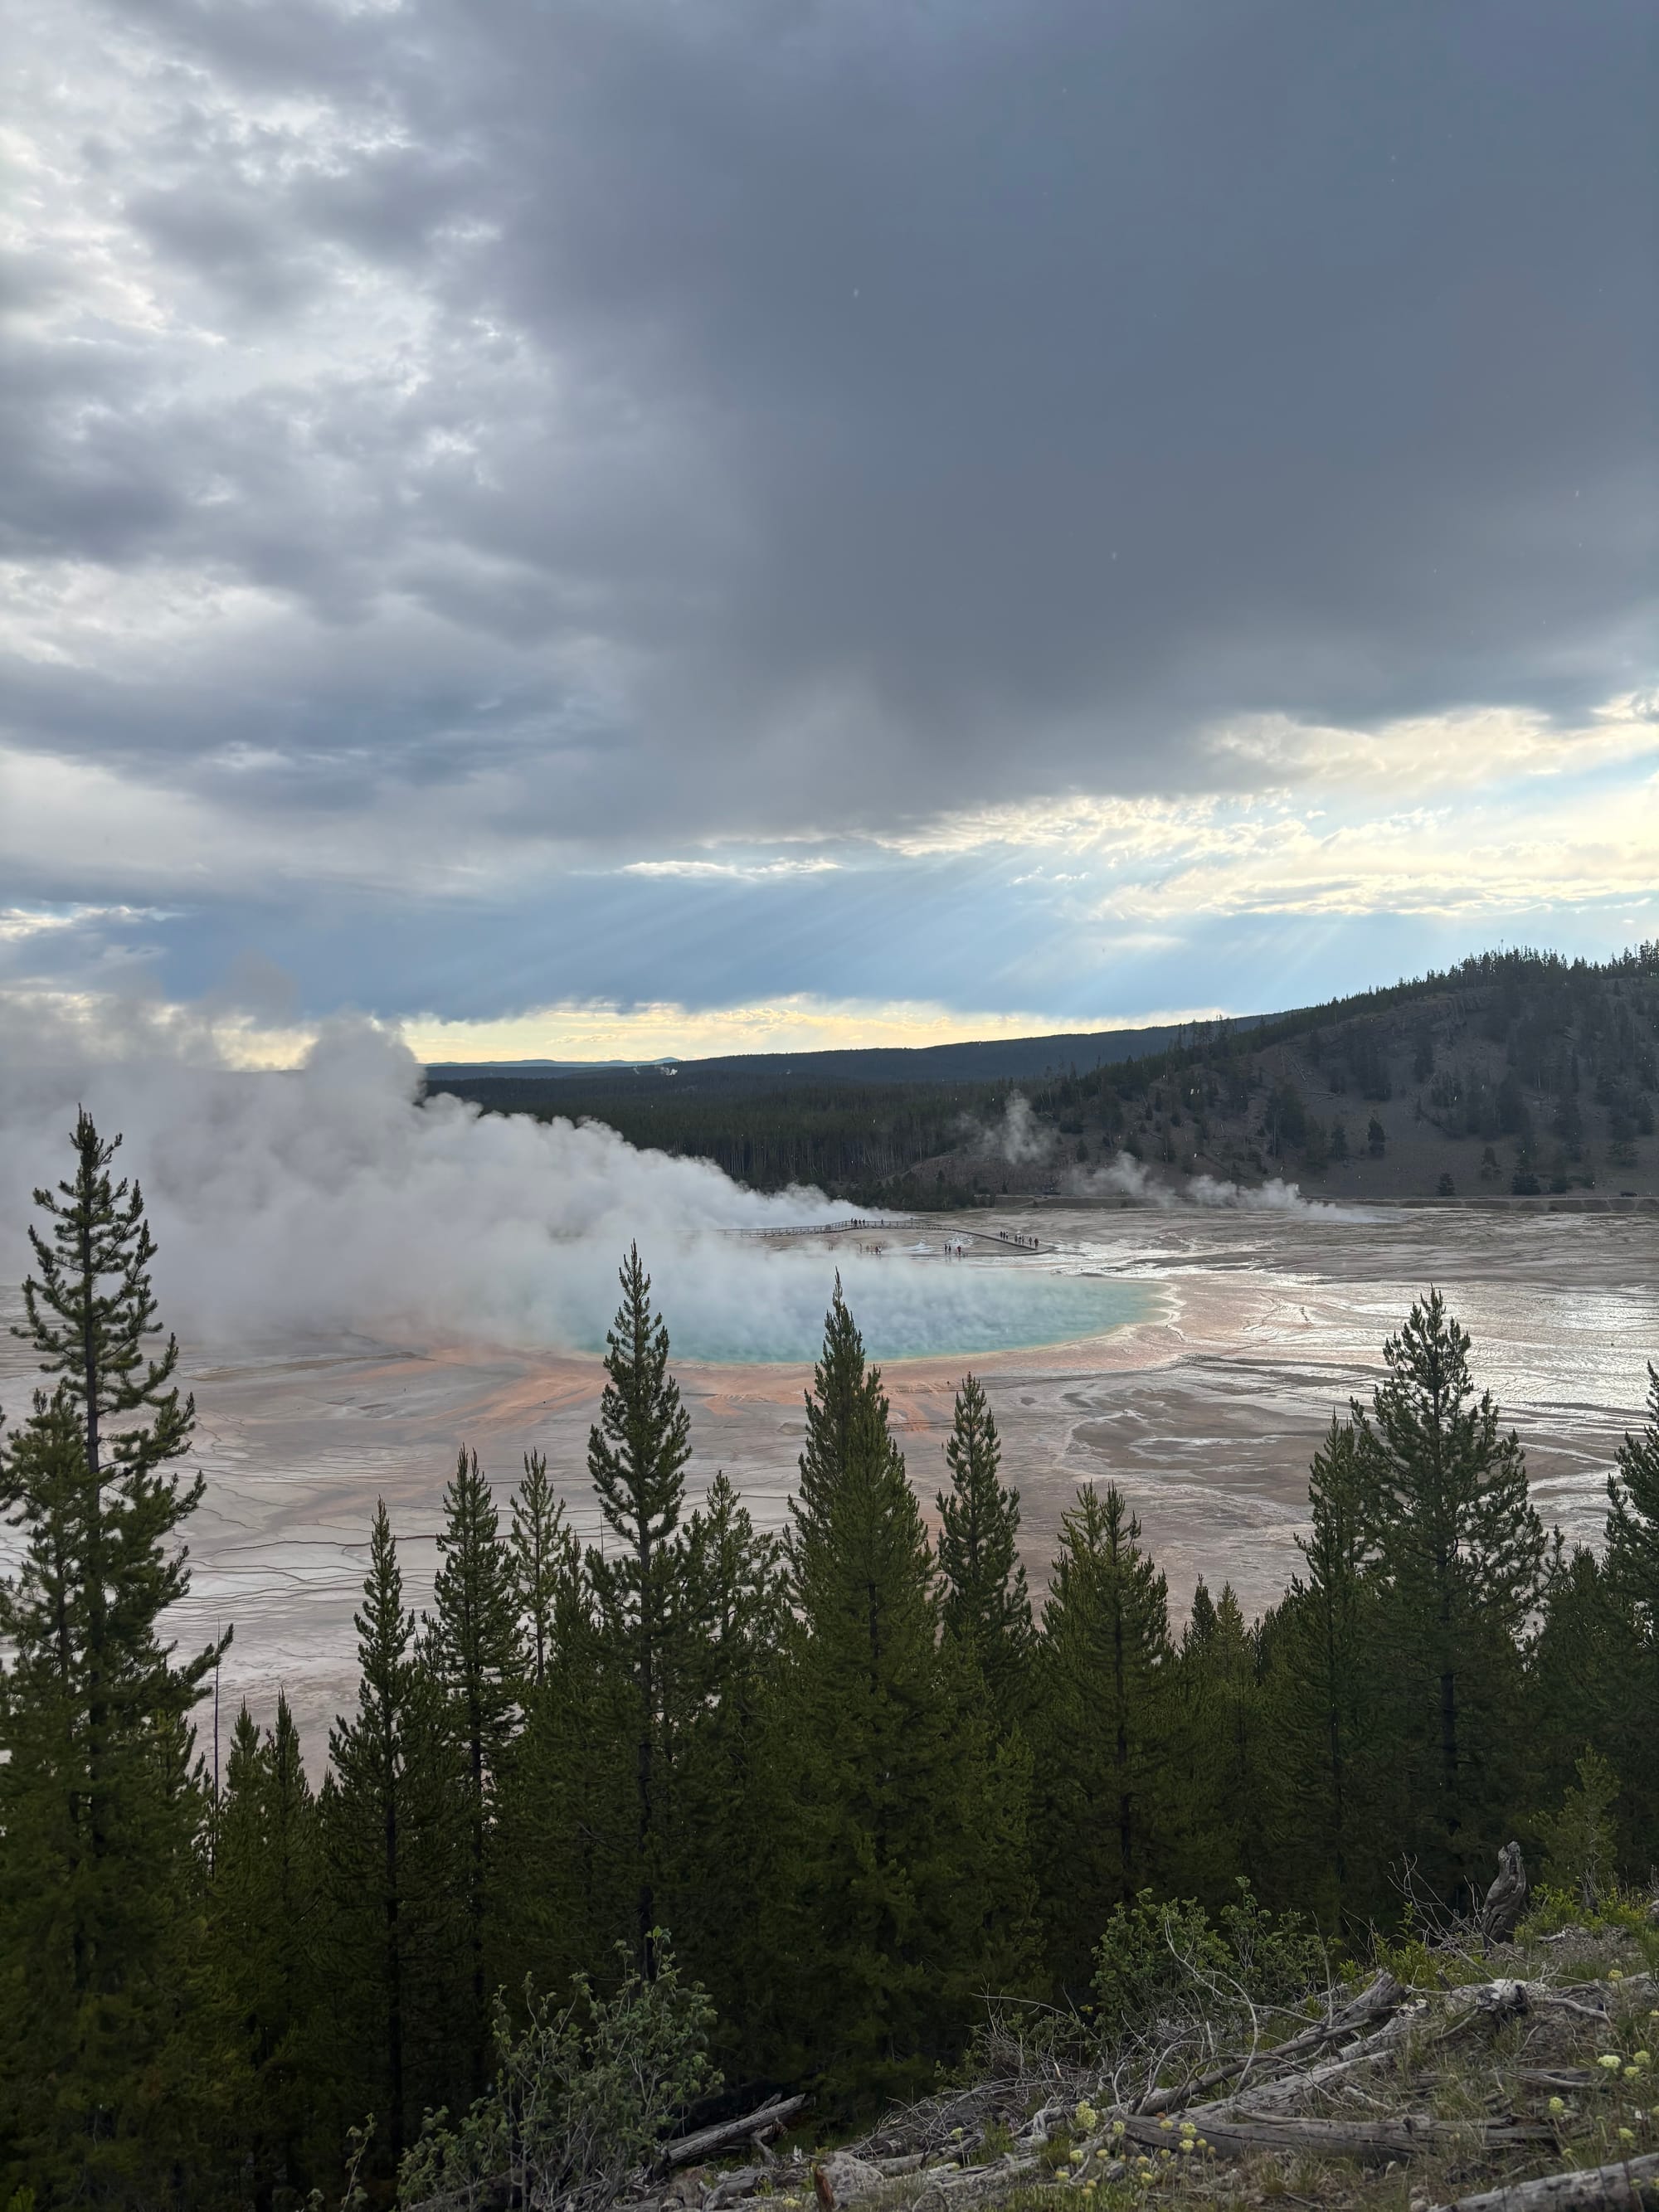
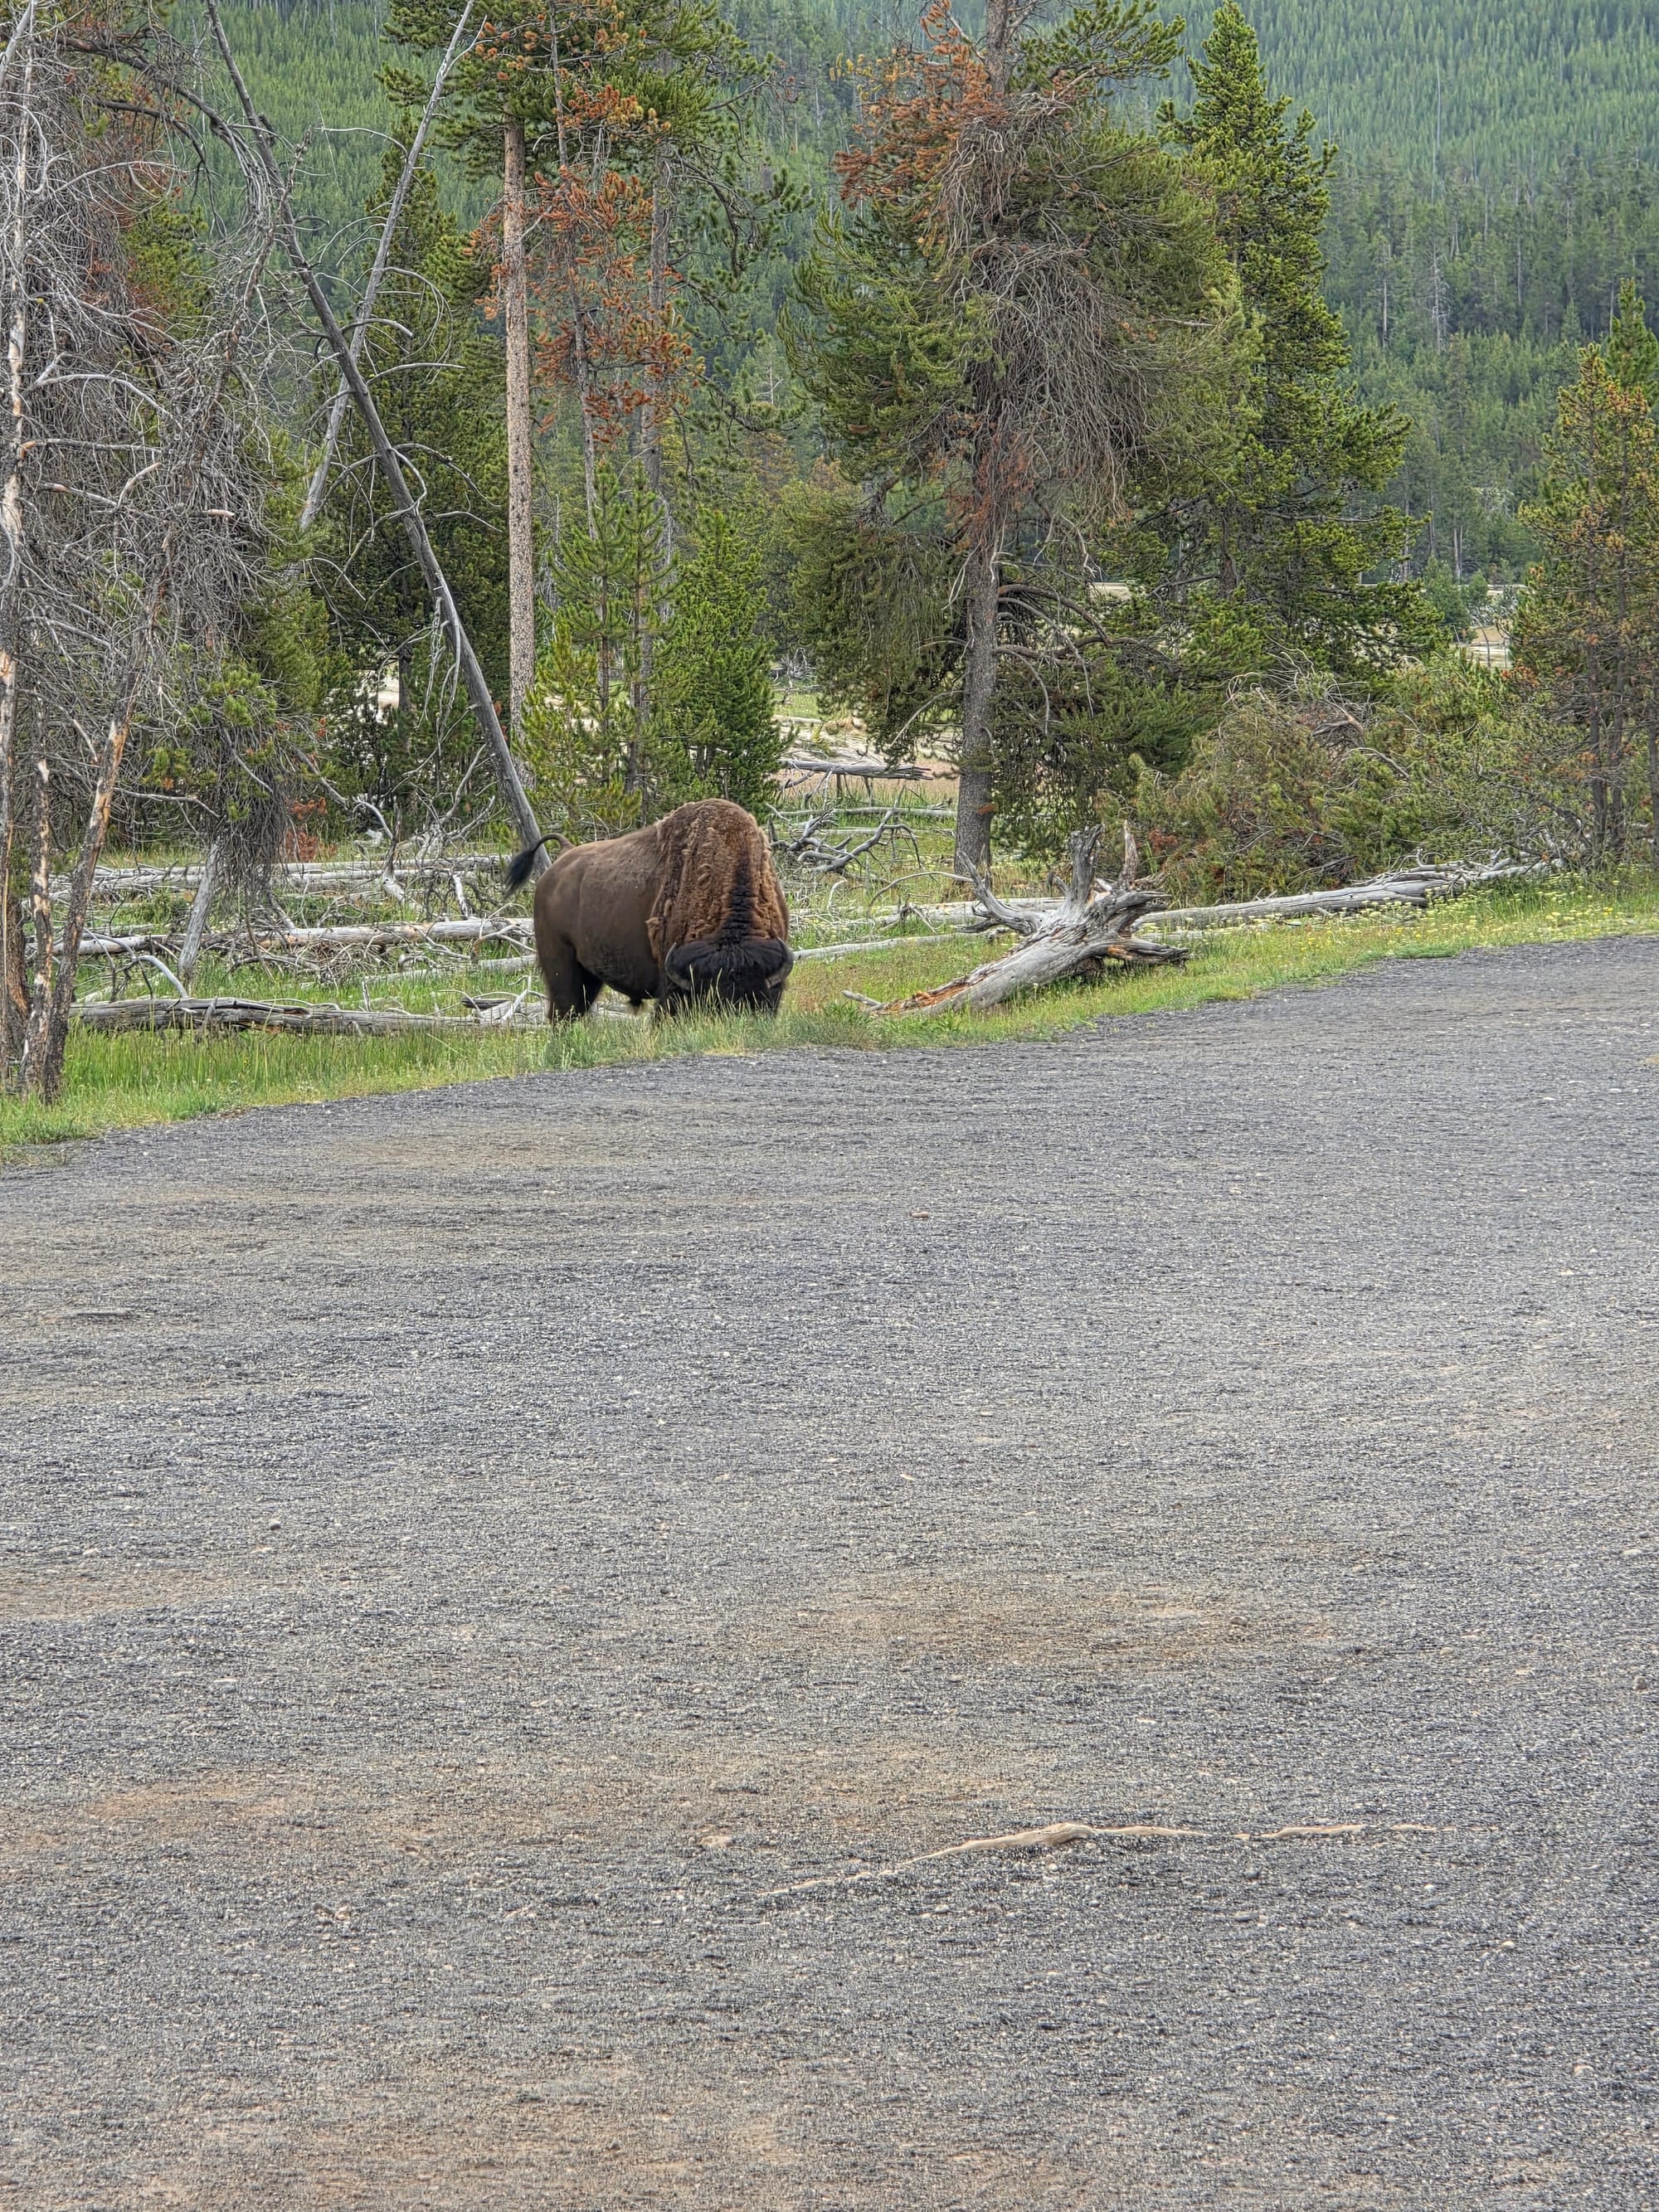
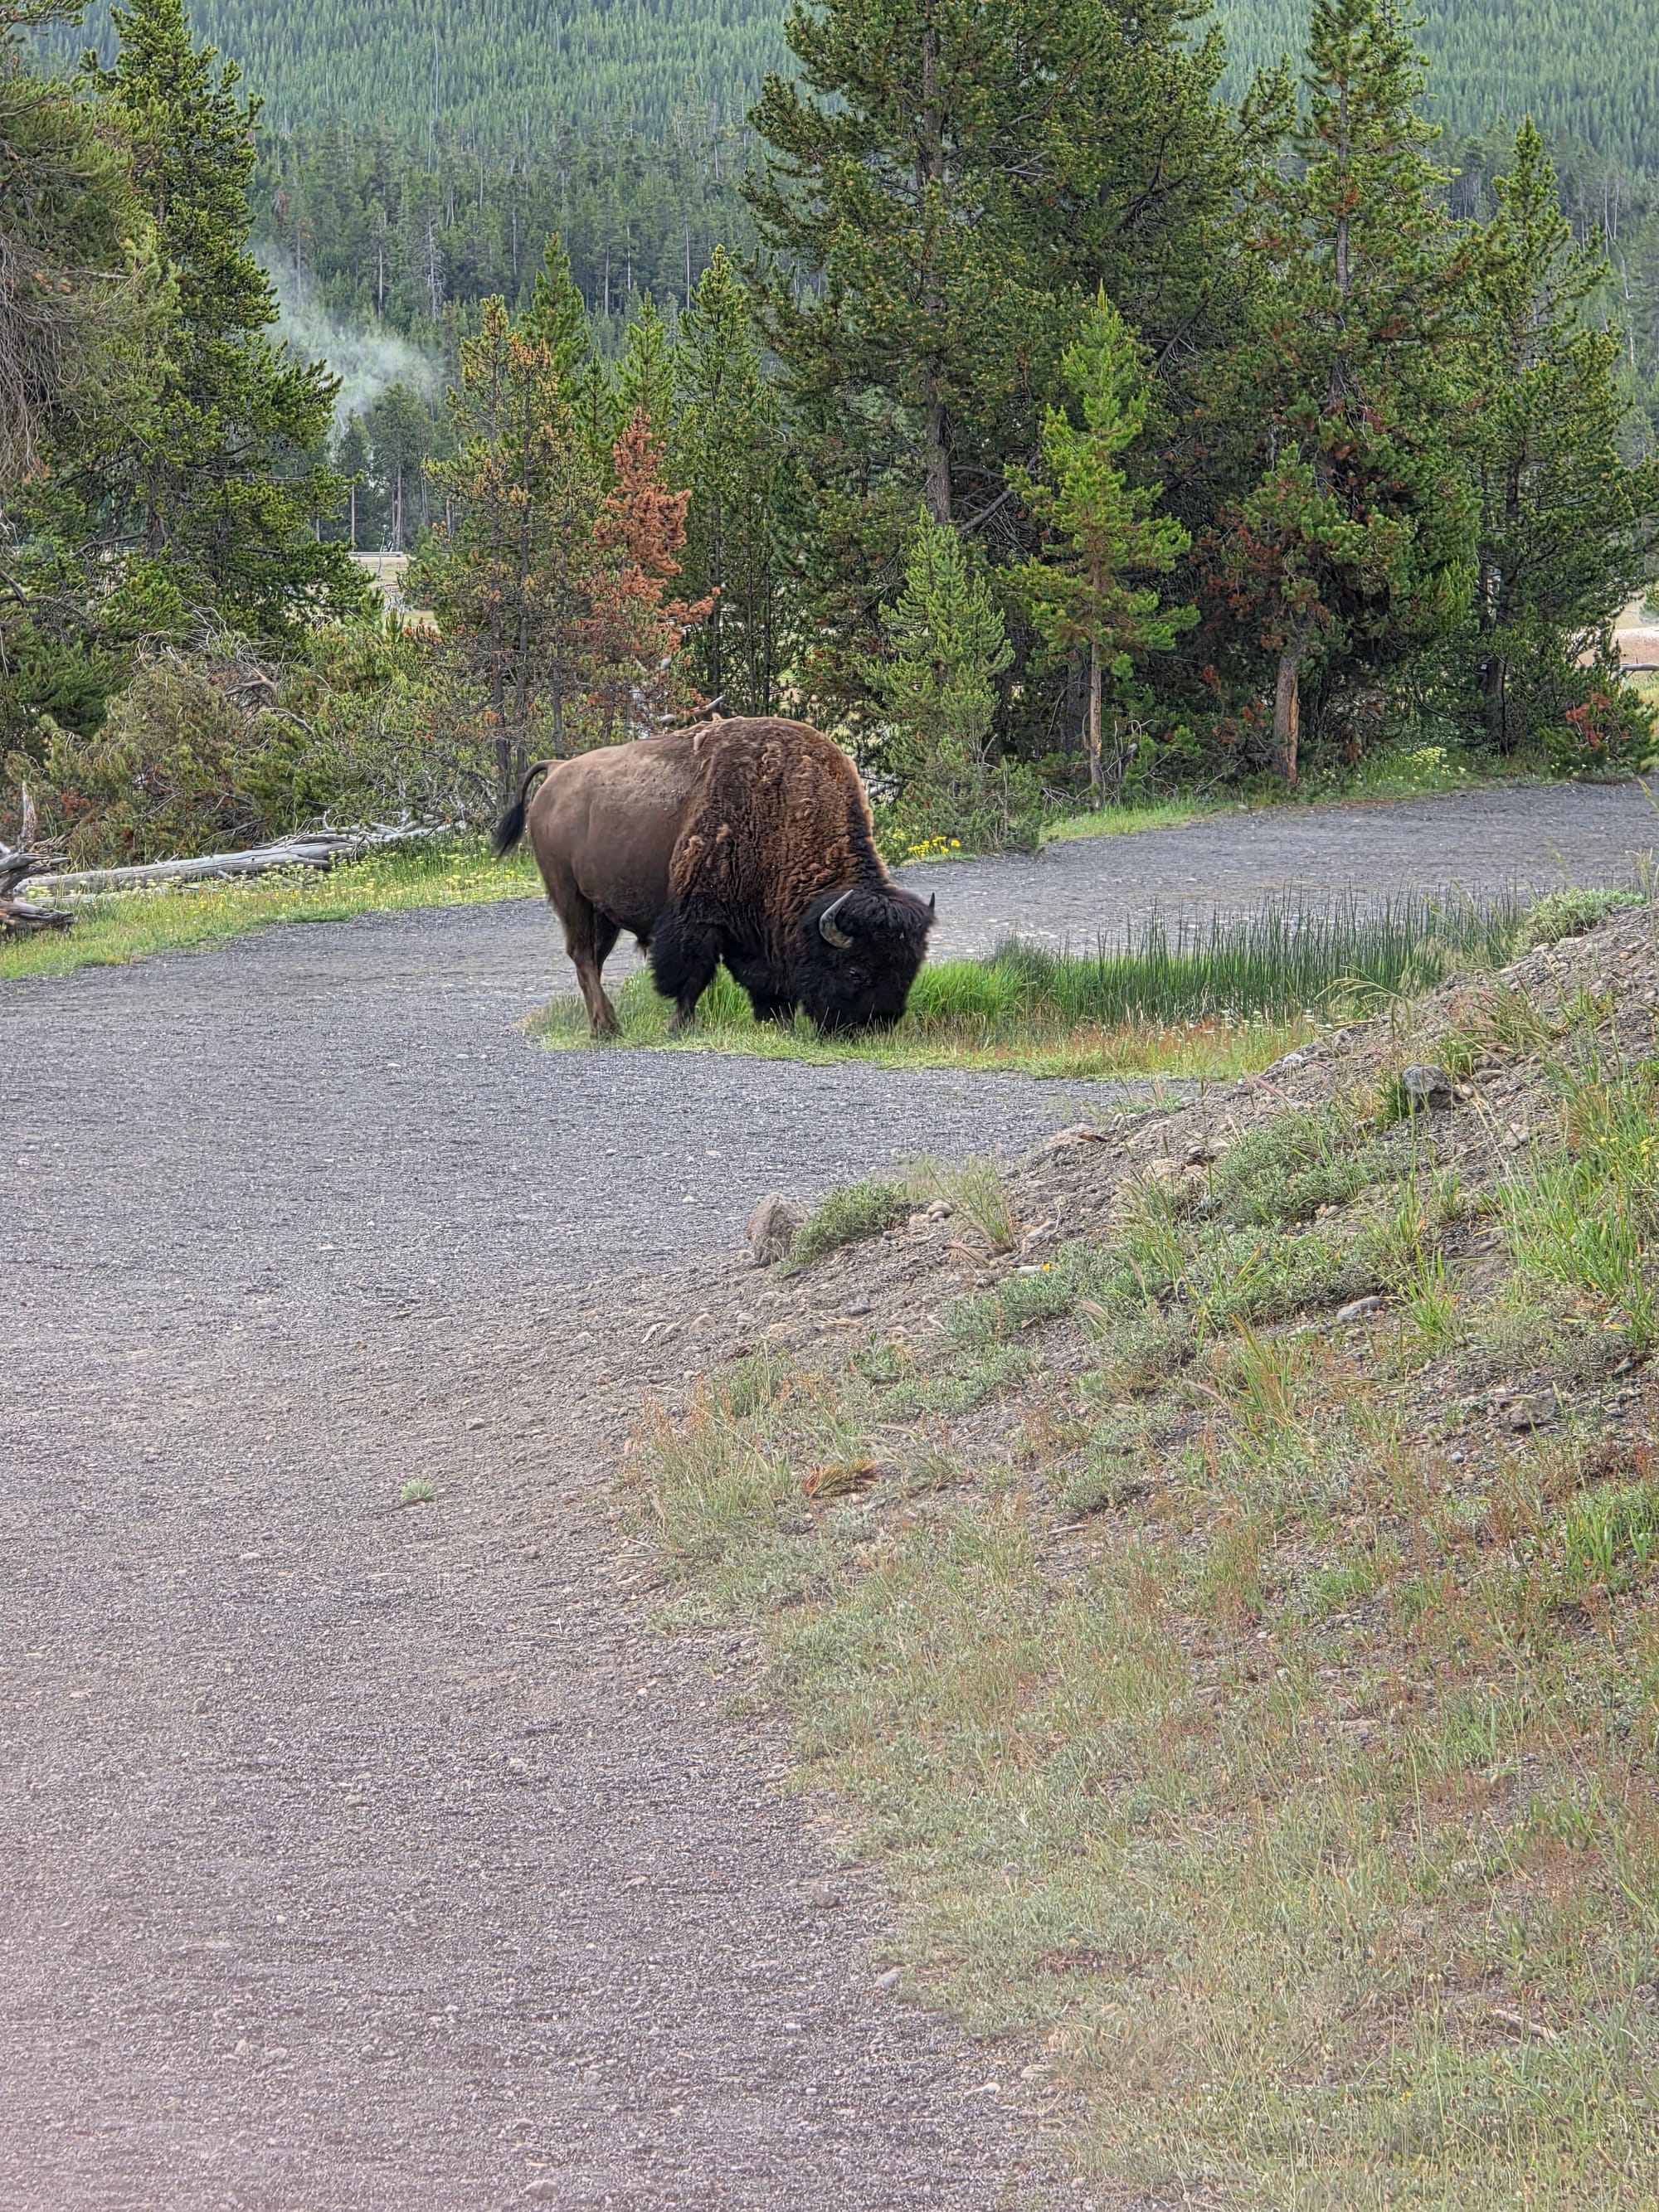
Grand Prismatic and the bison that blocked the trail for a while
We had planned to hike the full six miles to see Fairy Falls and Imperial Geyser, but the area around Imperial Geyser was closed due to recent bear encounters. We decided that seeing just Fairy Falls was not worth the extra walking given how sore our legs were from the previous day, so we just did the overlook and turned back. This overlook is easily the best vantage point for viewing Grand Prismatic.
Next, we went to the Upper Geyser Basin and stopped at the Visitor Center to check the predicted geyser eruption times. We saw that Grand Geyser, which has a two-hour prediction window, was scheduled to erupt soon. We walked out and waited a little over an hour.
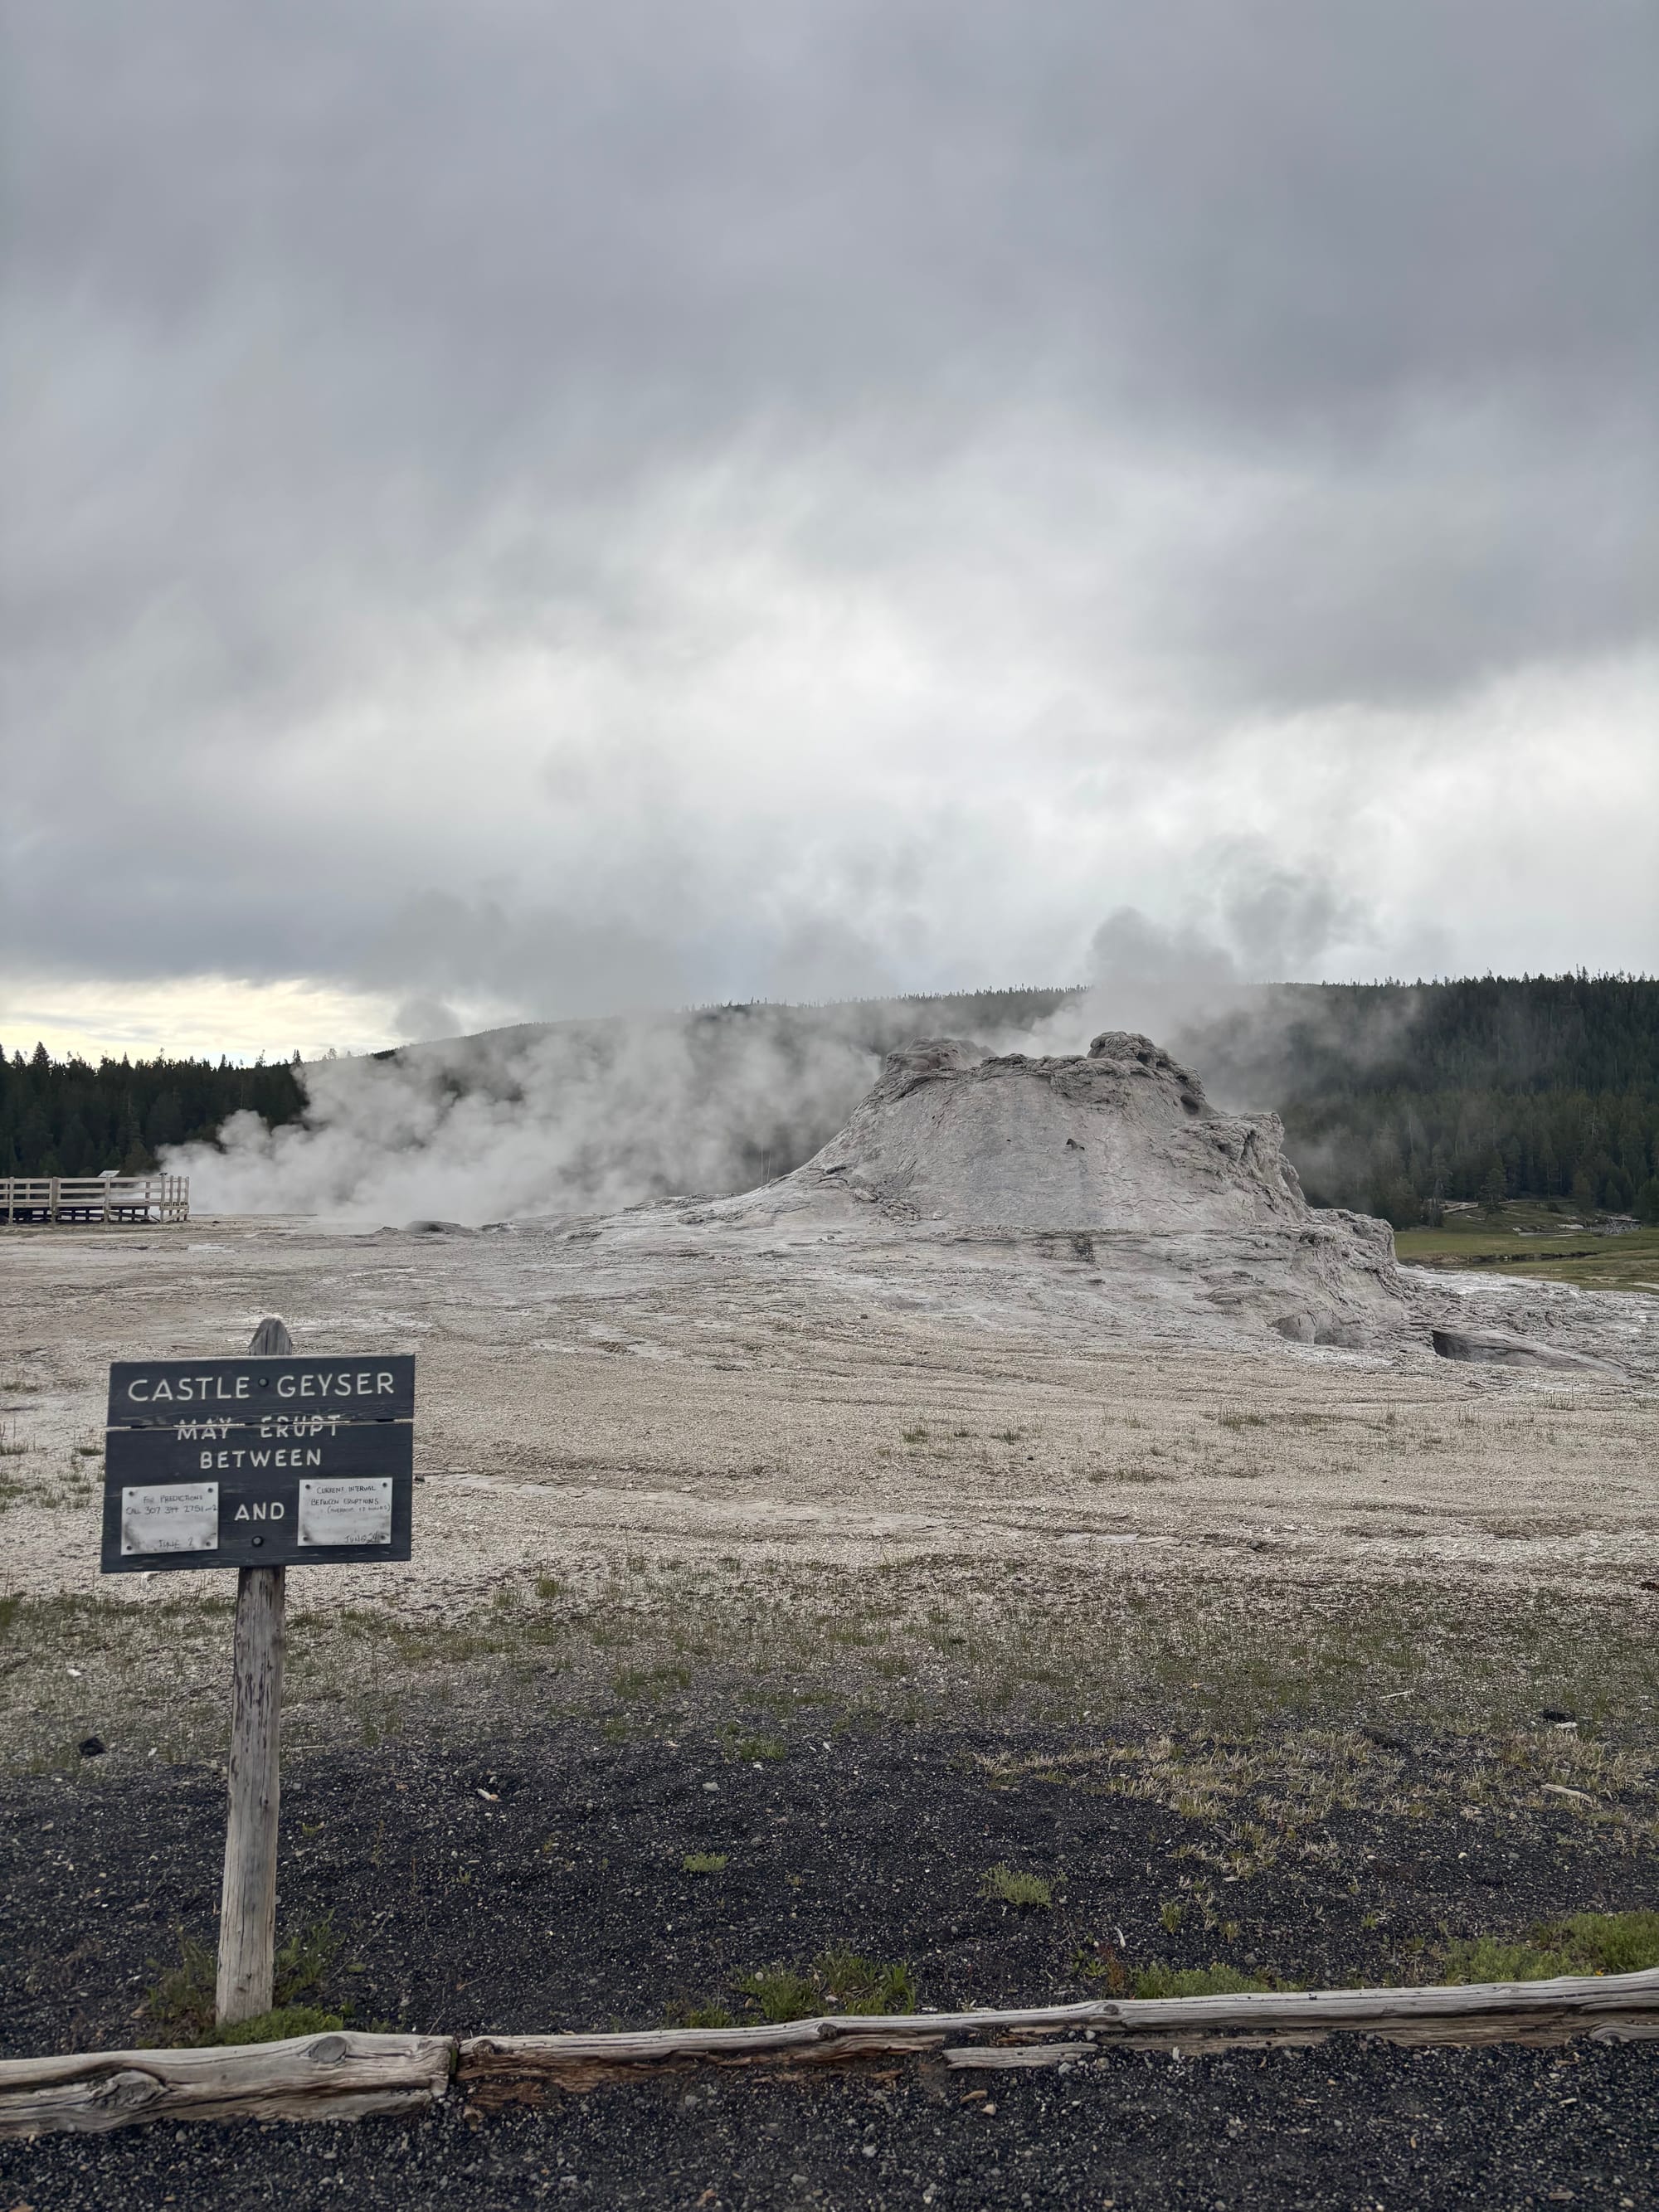
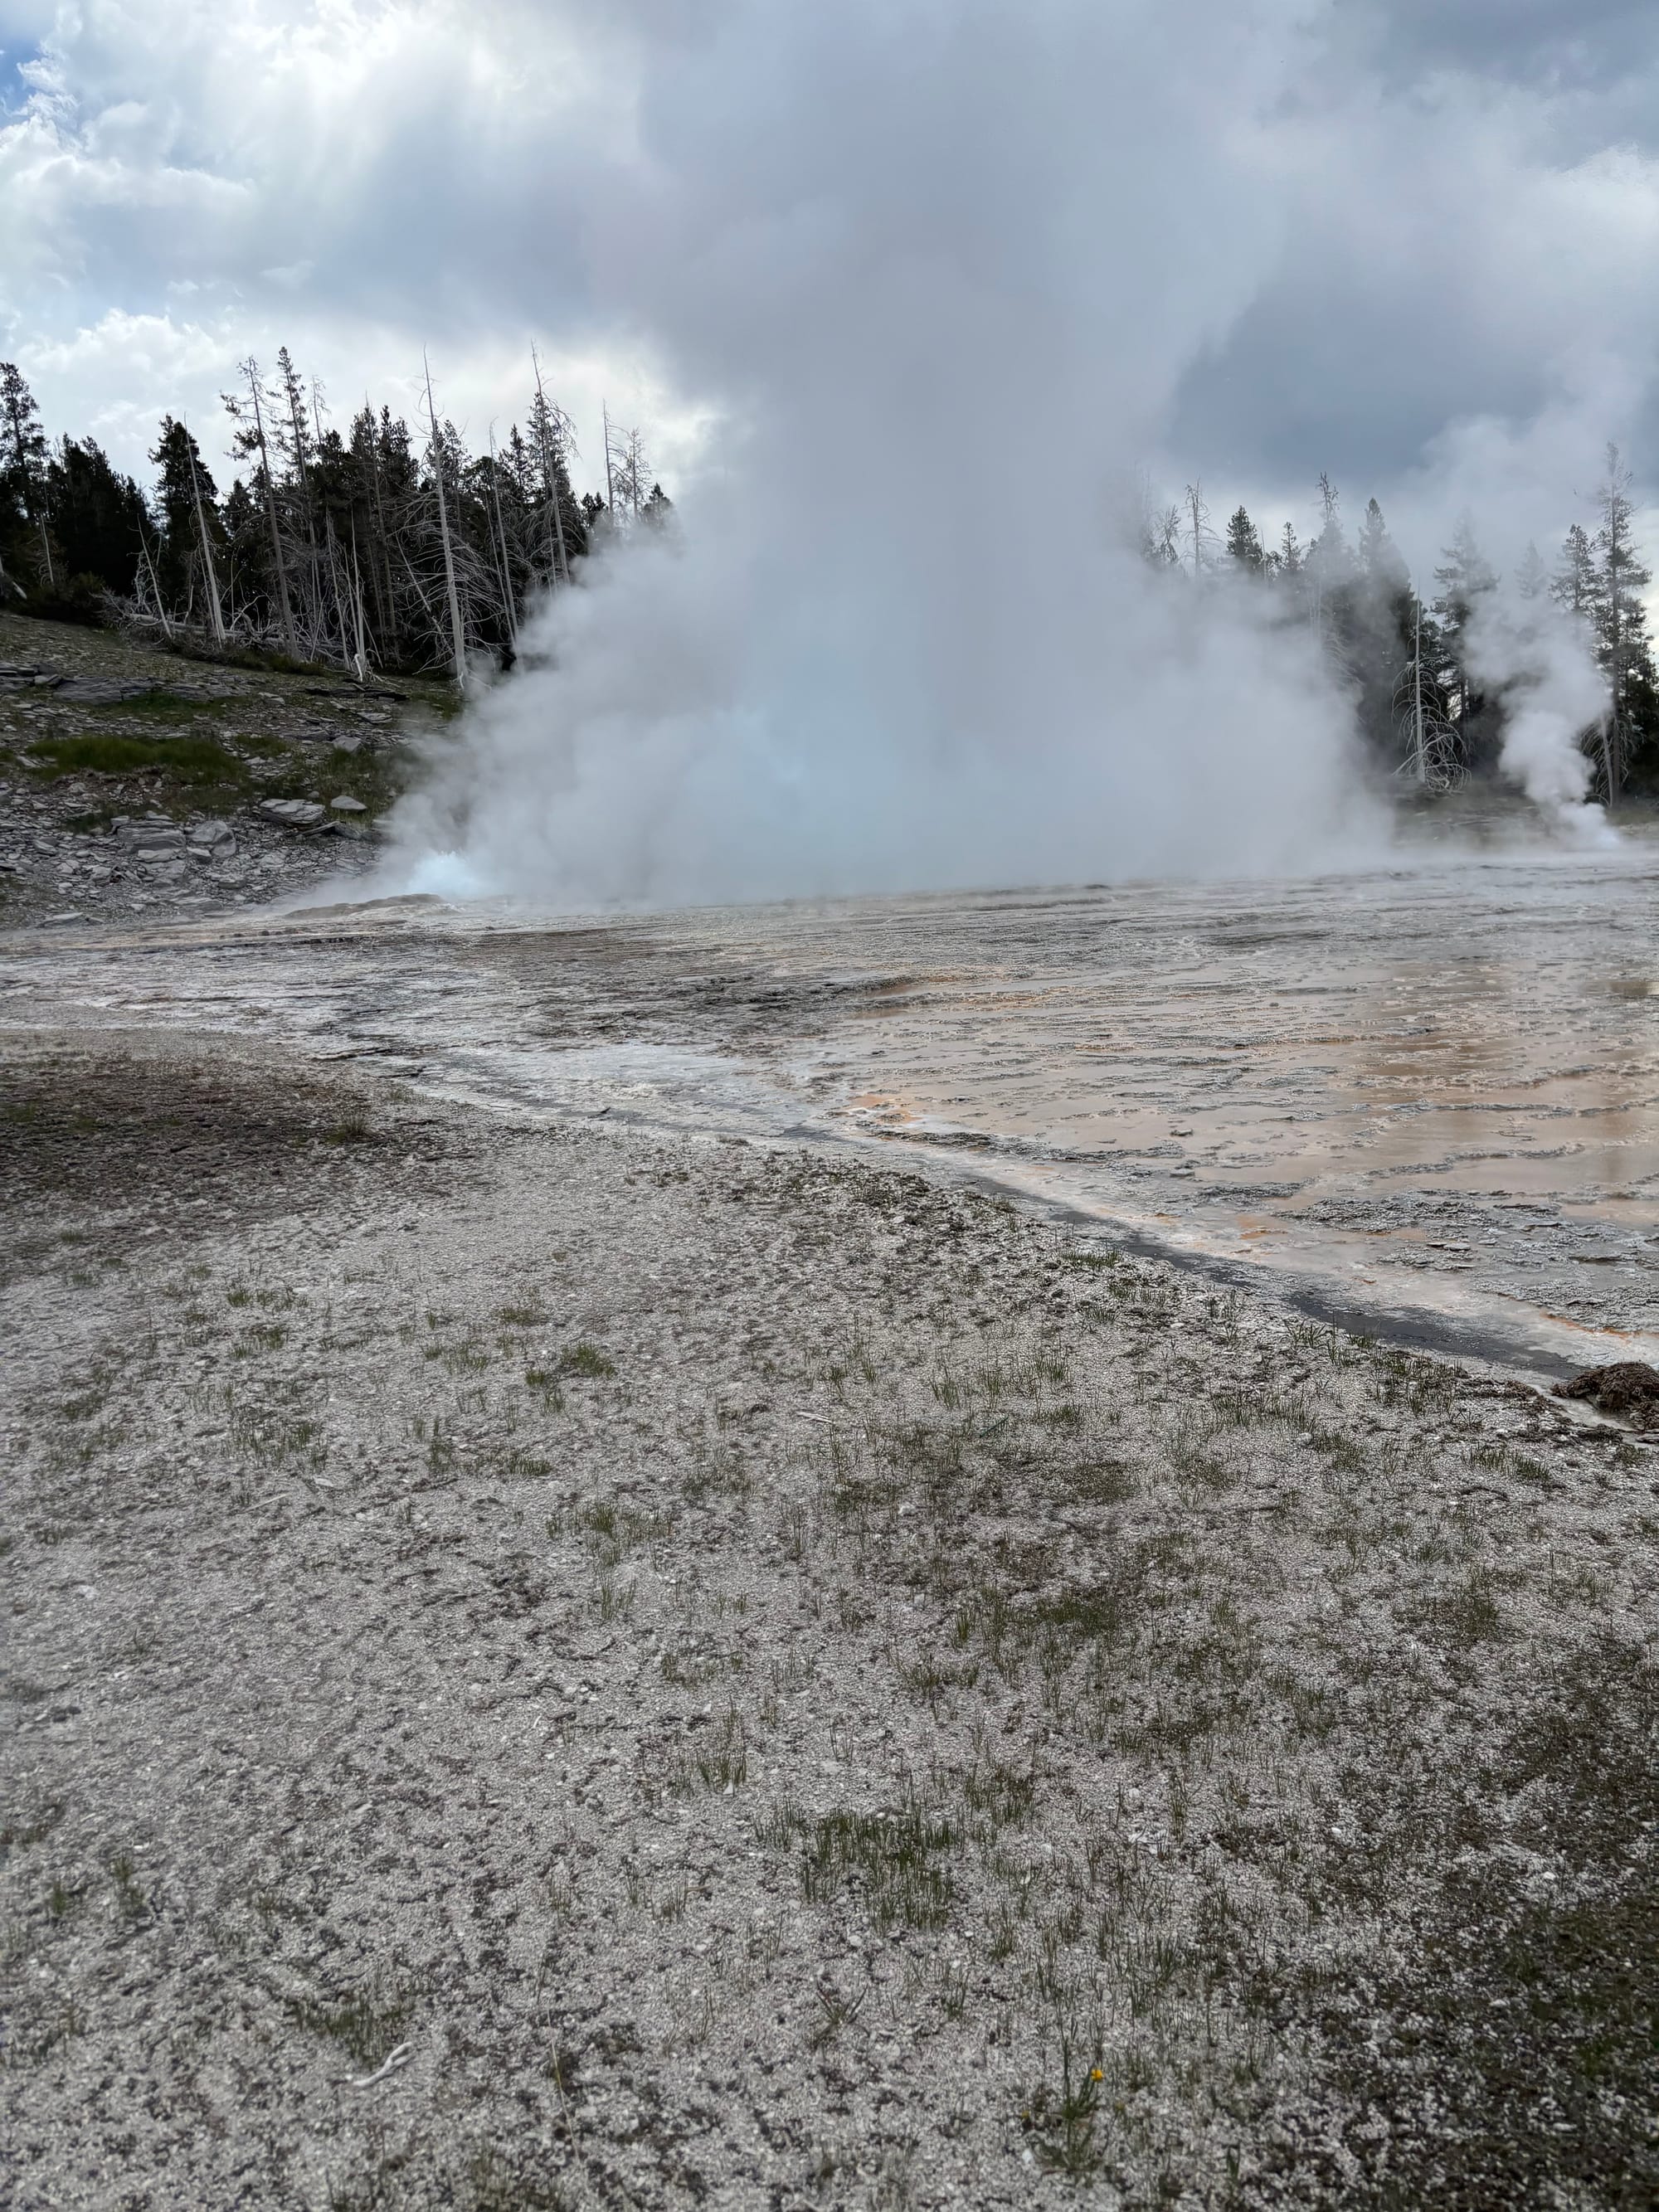
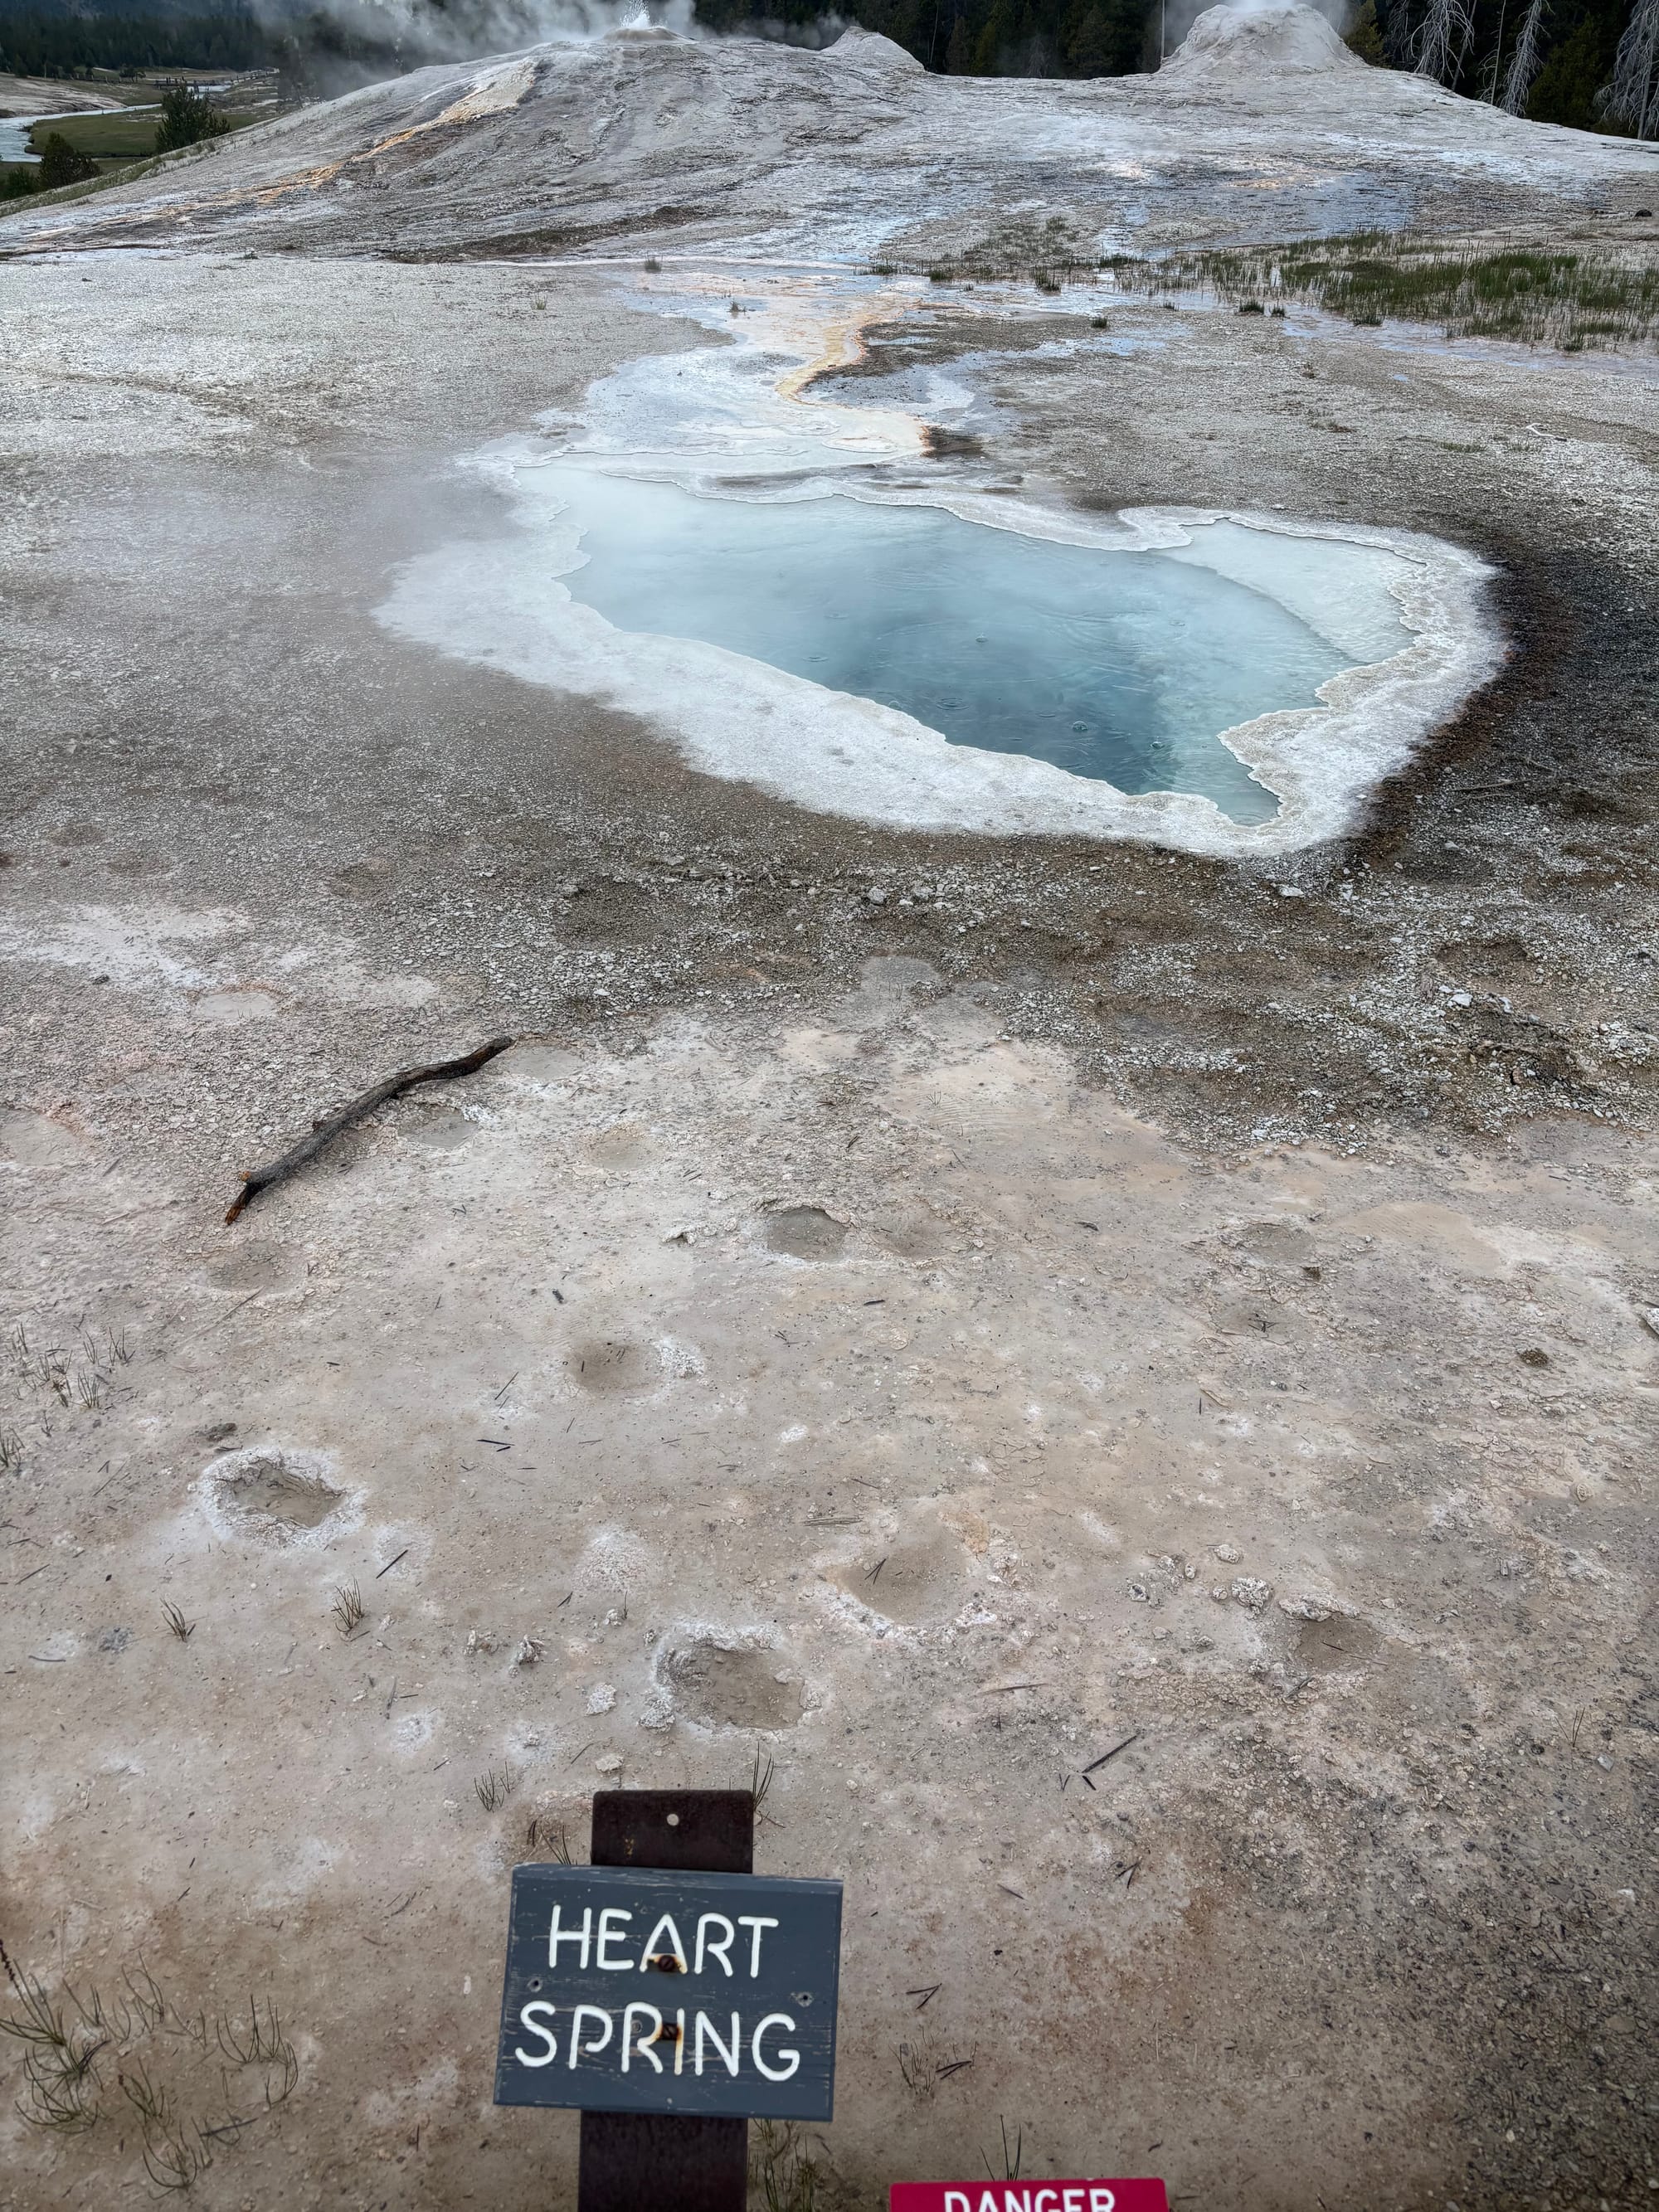
Only caught one photo of the Grand, too busy watching
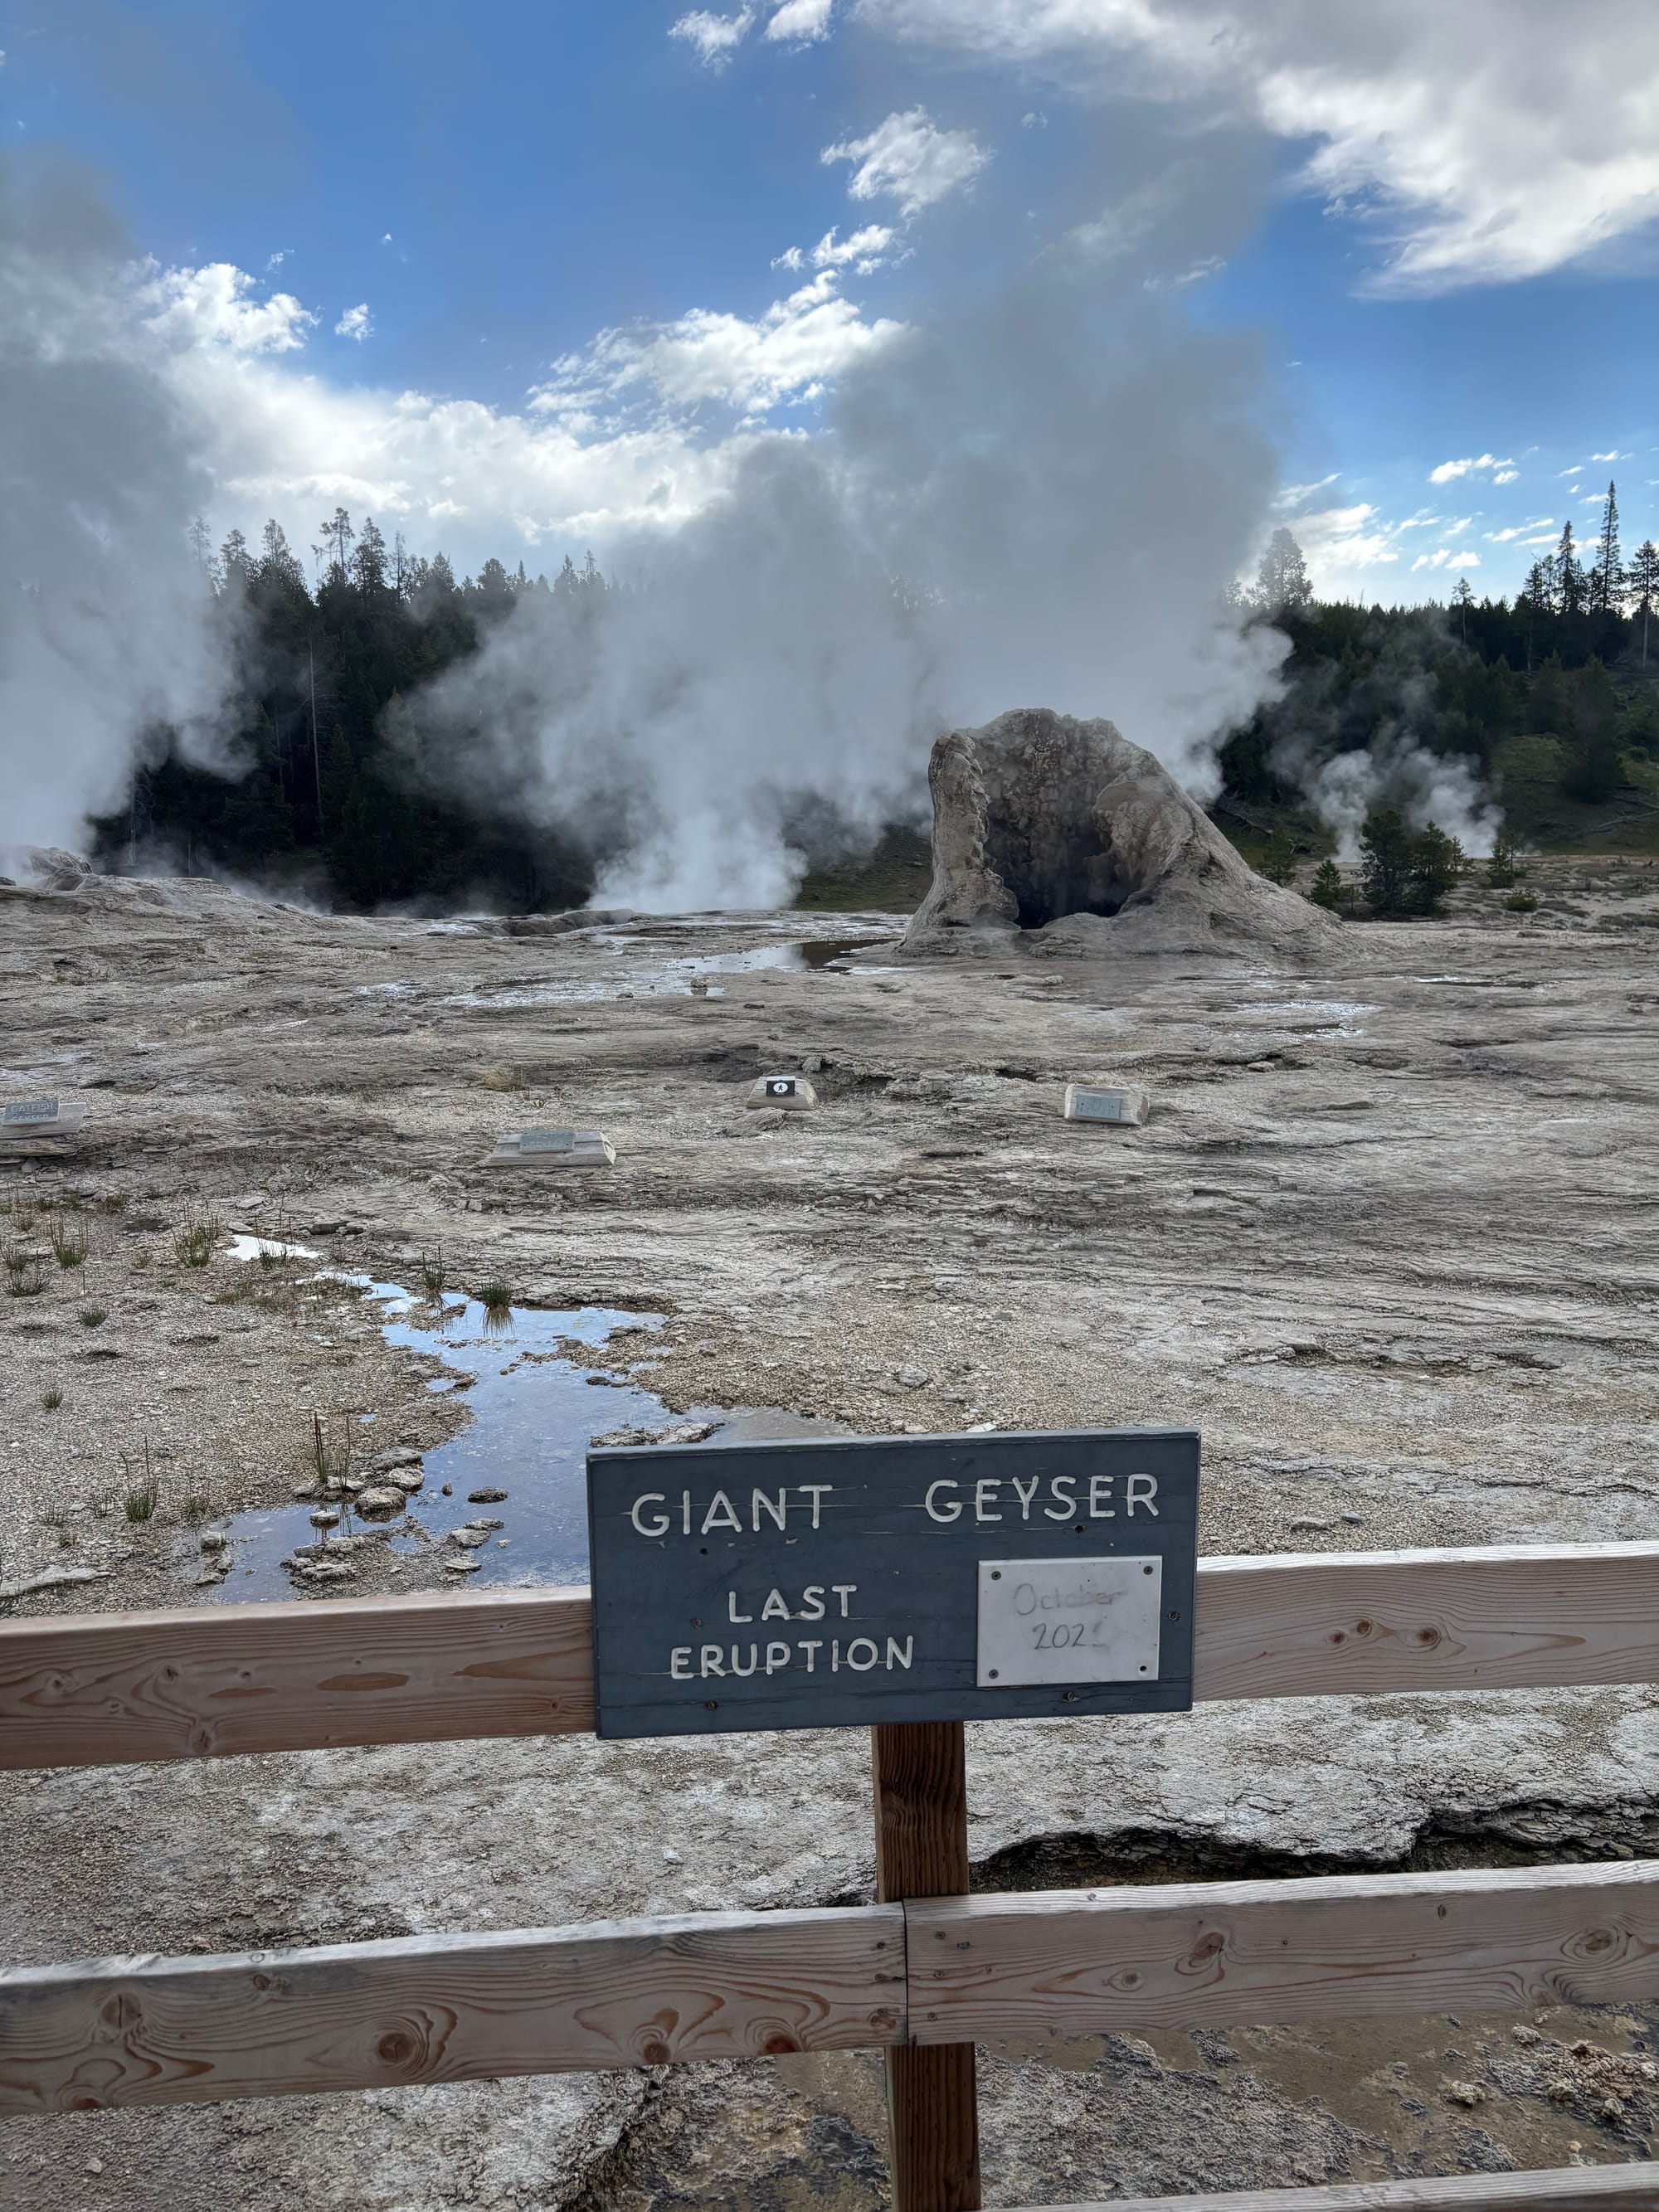
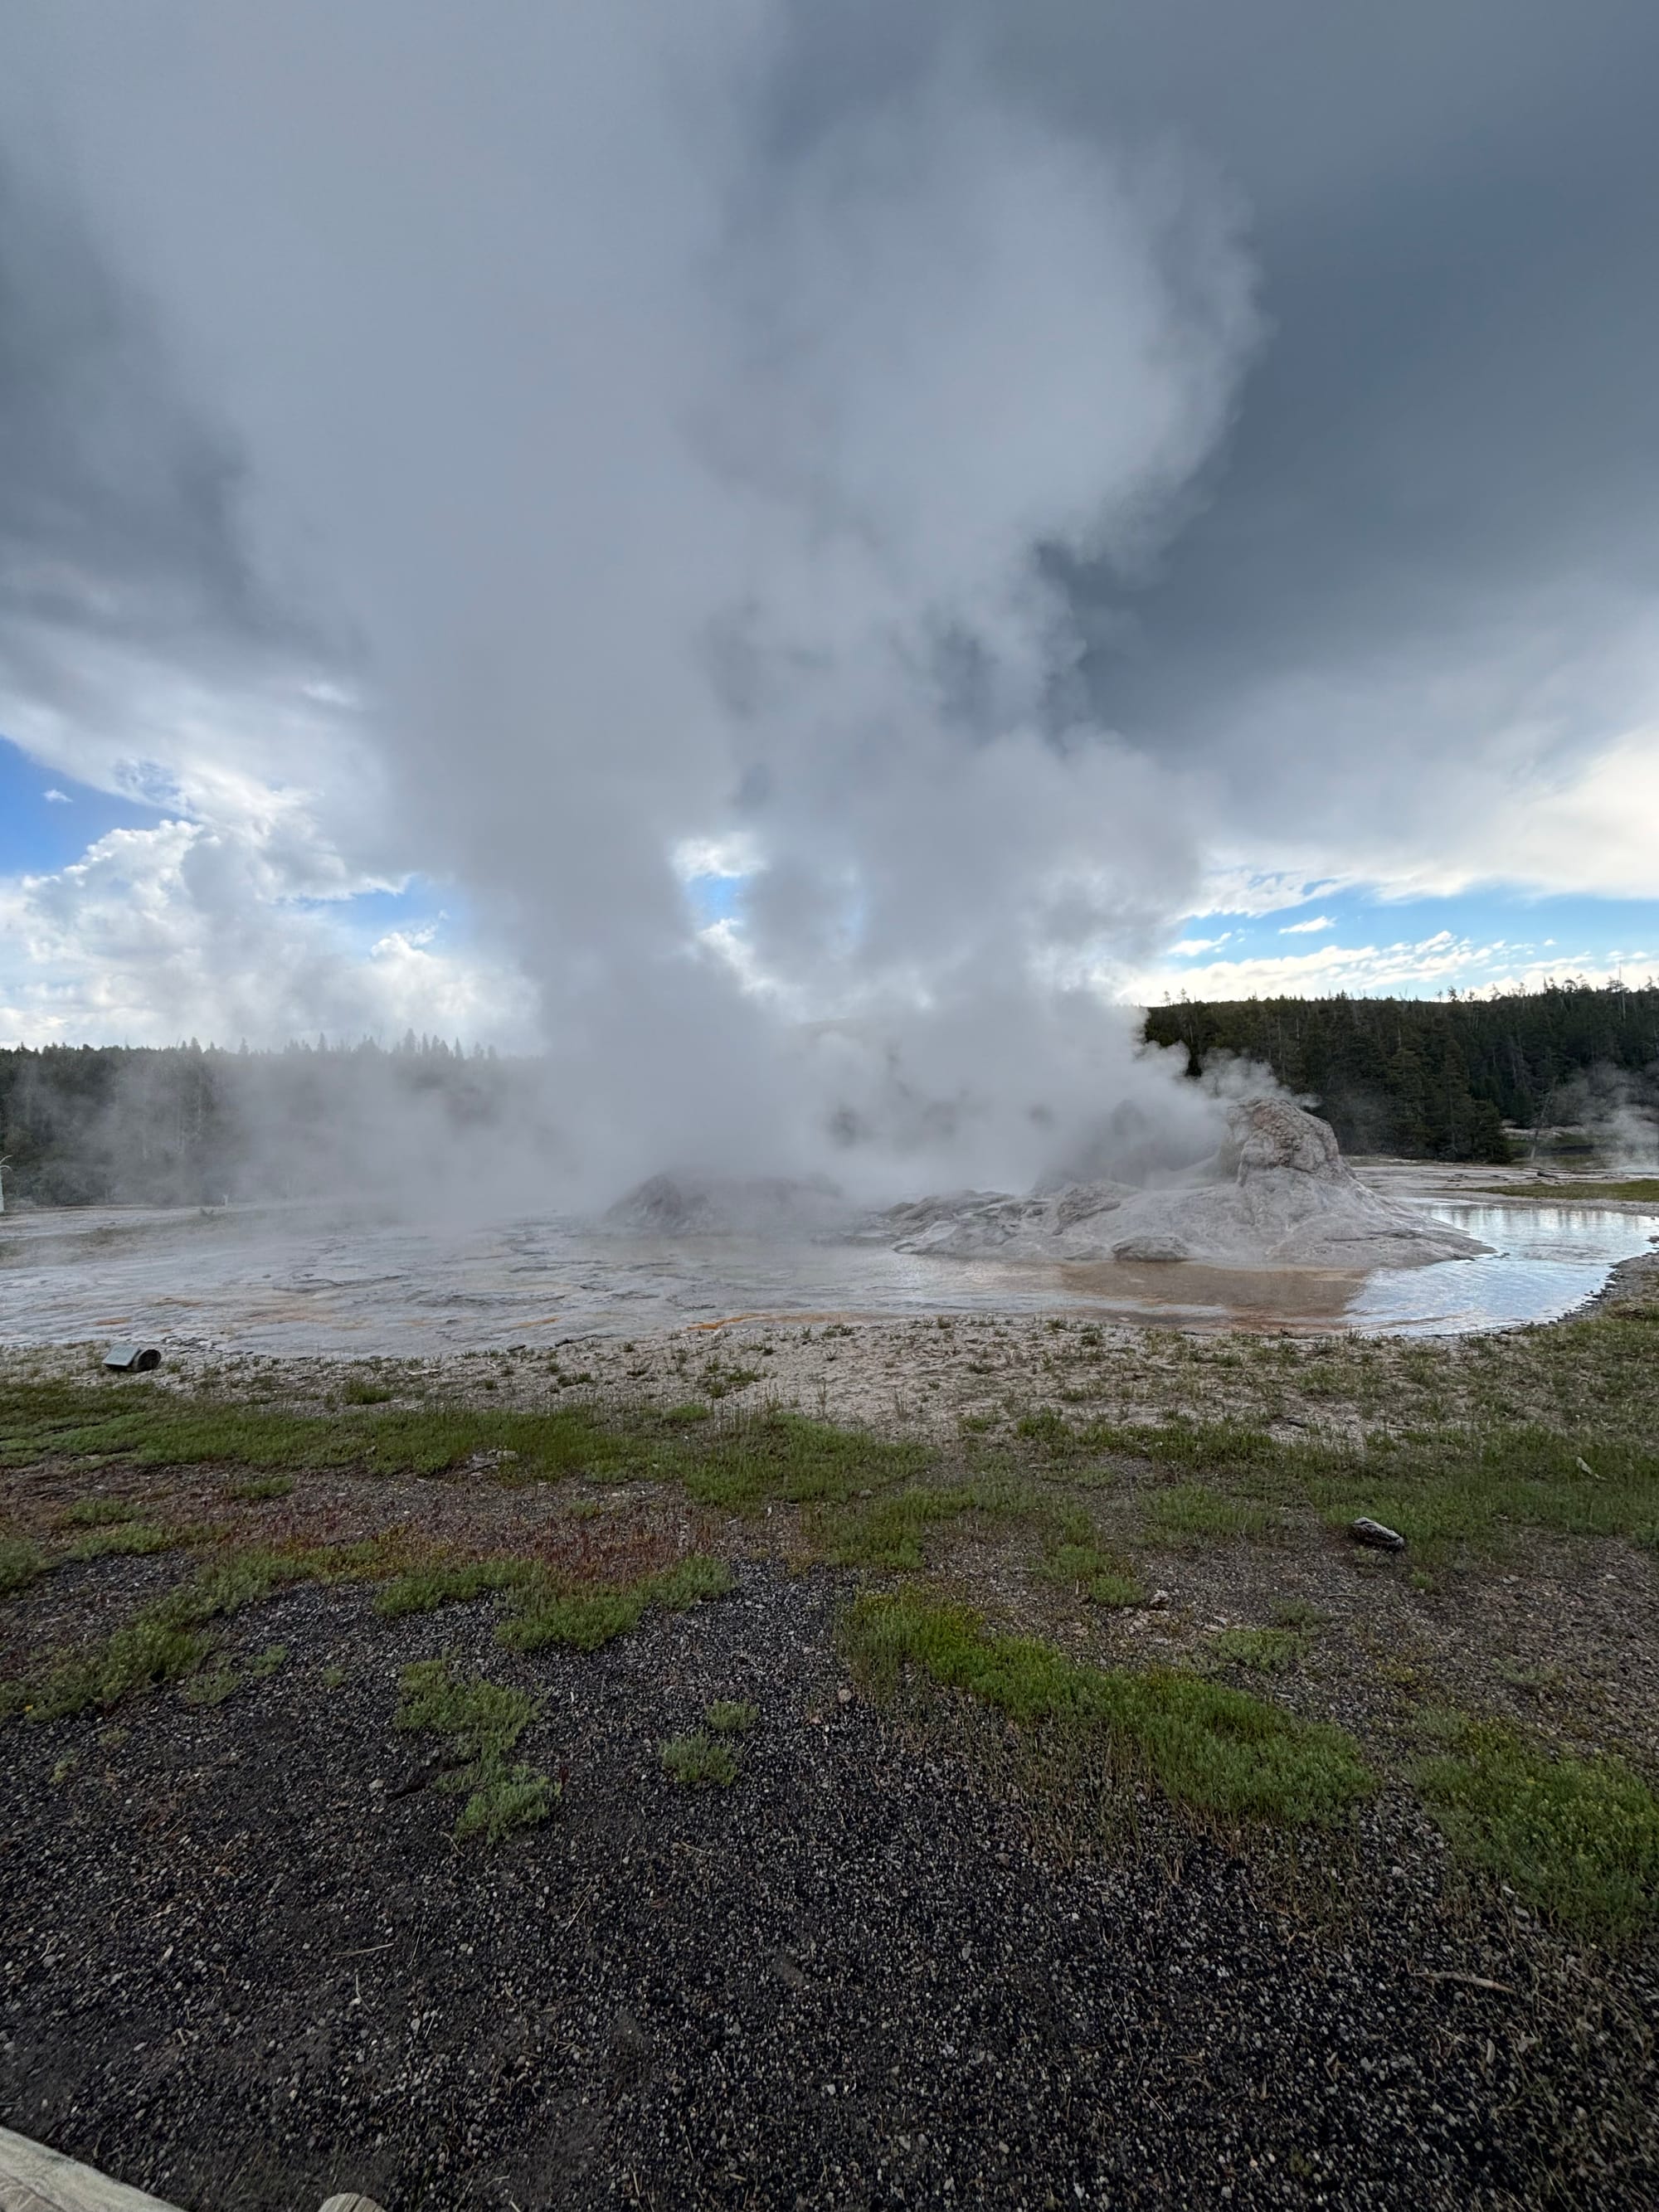
While Old Faithful is the classic landmark, Grand Geyser was far more impressive. It shares a pool with a few smaller thermal features that become highly active as the main eruption builds. The eruption was massive, lasted a long time, and the anticipation of waiting for it made it a major highlight of our trip. We even experienced a rare double eruption, where the geyser paused after about eight minutes and then started up again with a second, even larger set blasts. If Grand Geyser is scheduled to go off while you are there, grab a seat and wait, you won't regret it. Old Faithful was cool to see afterward, but it did not compare.
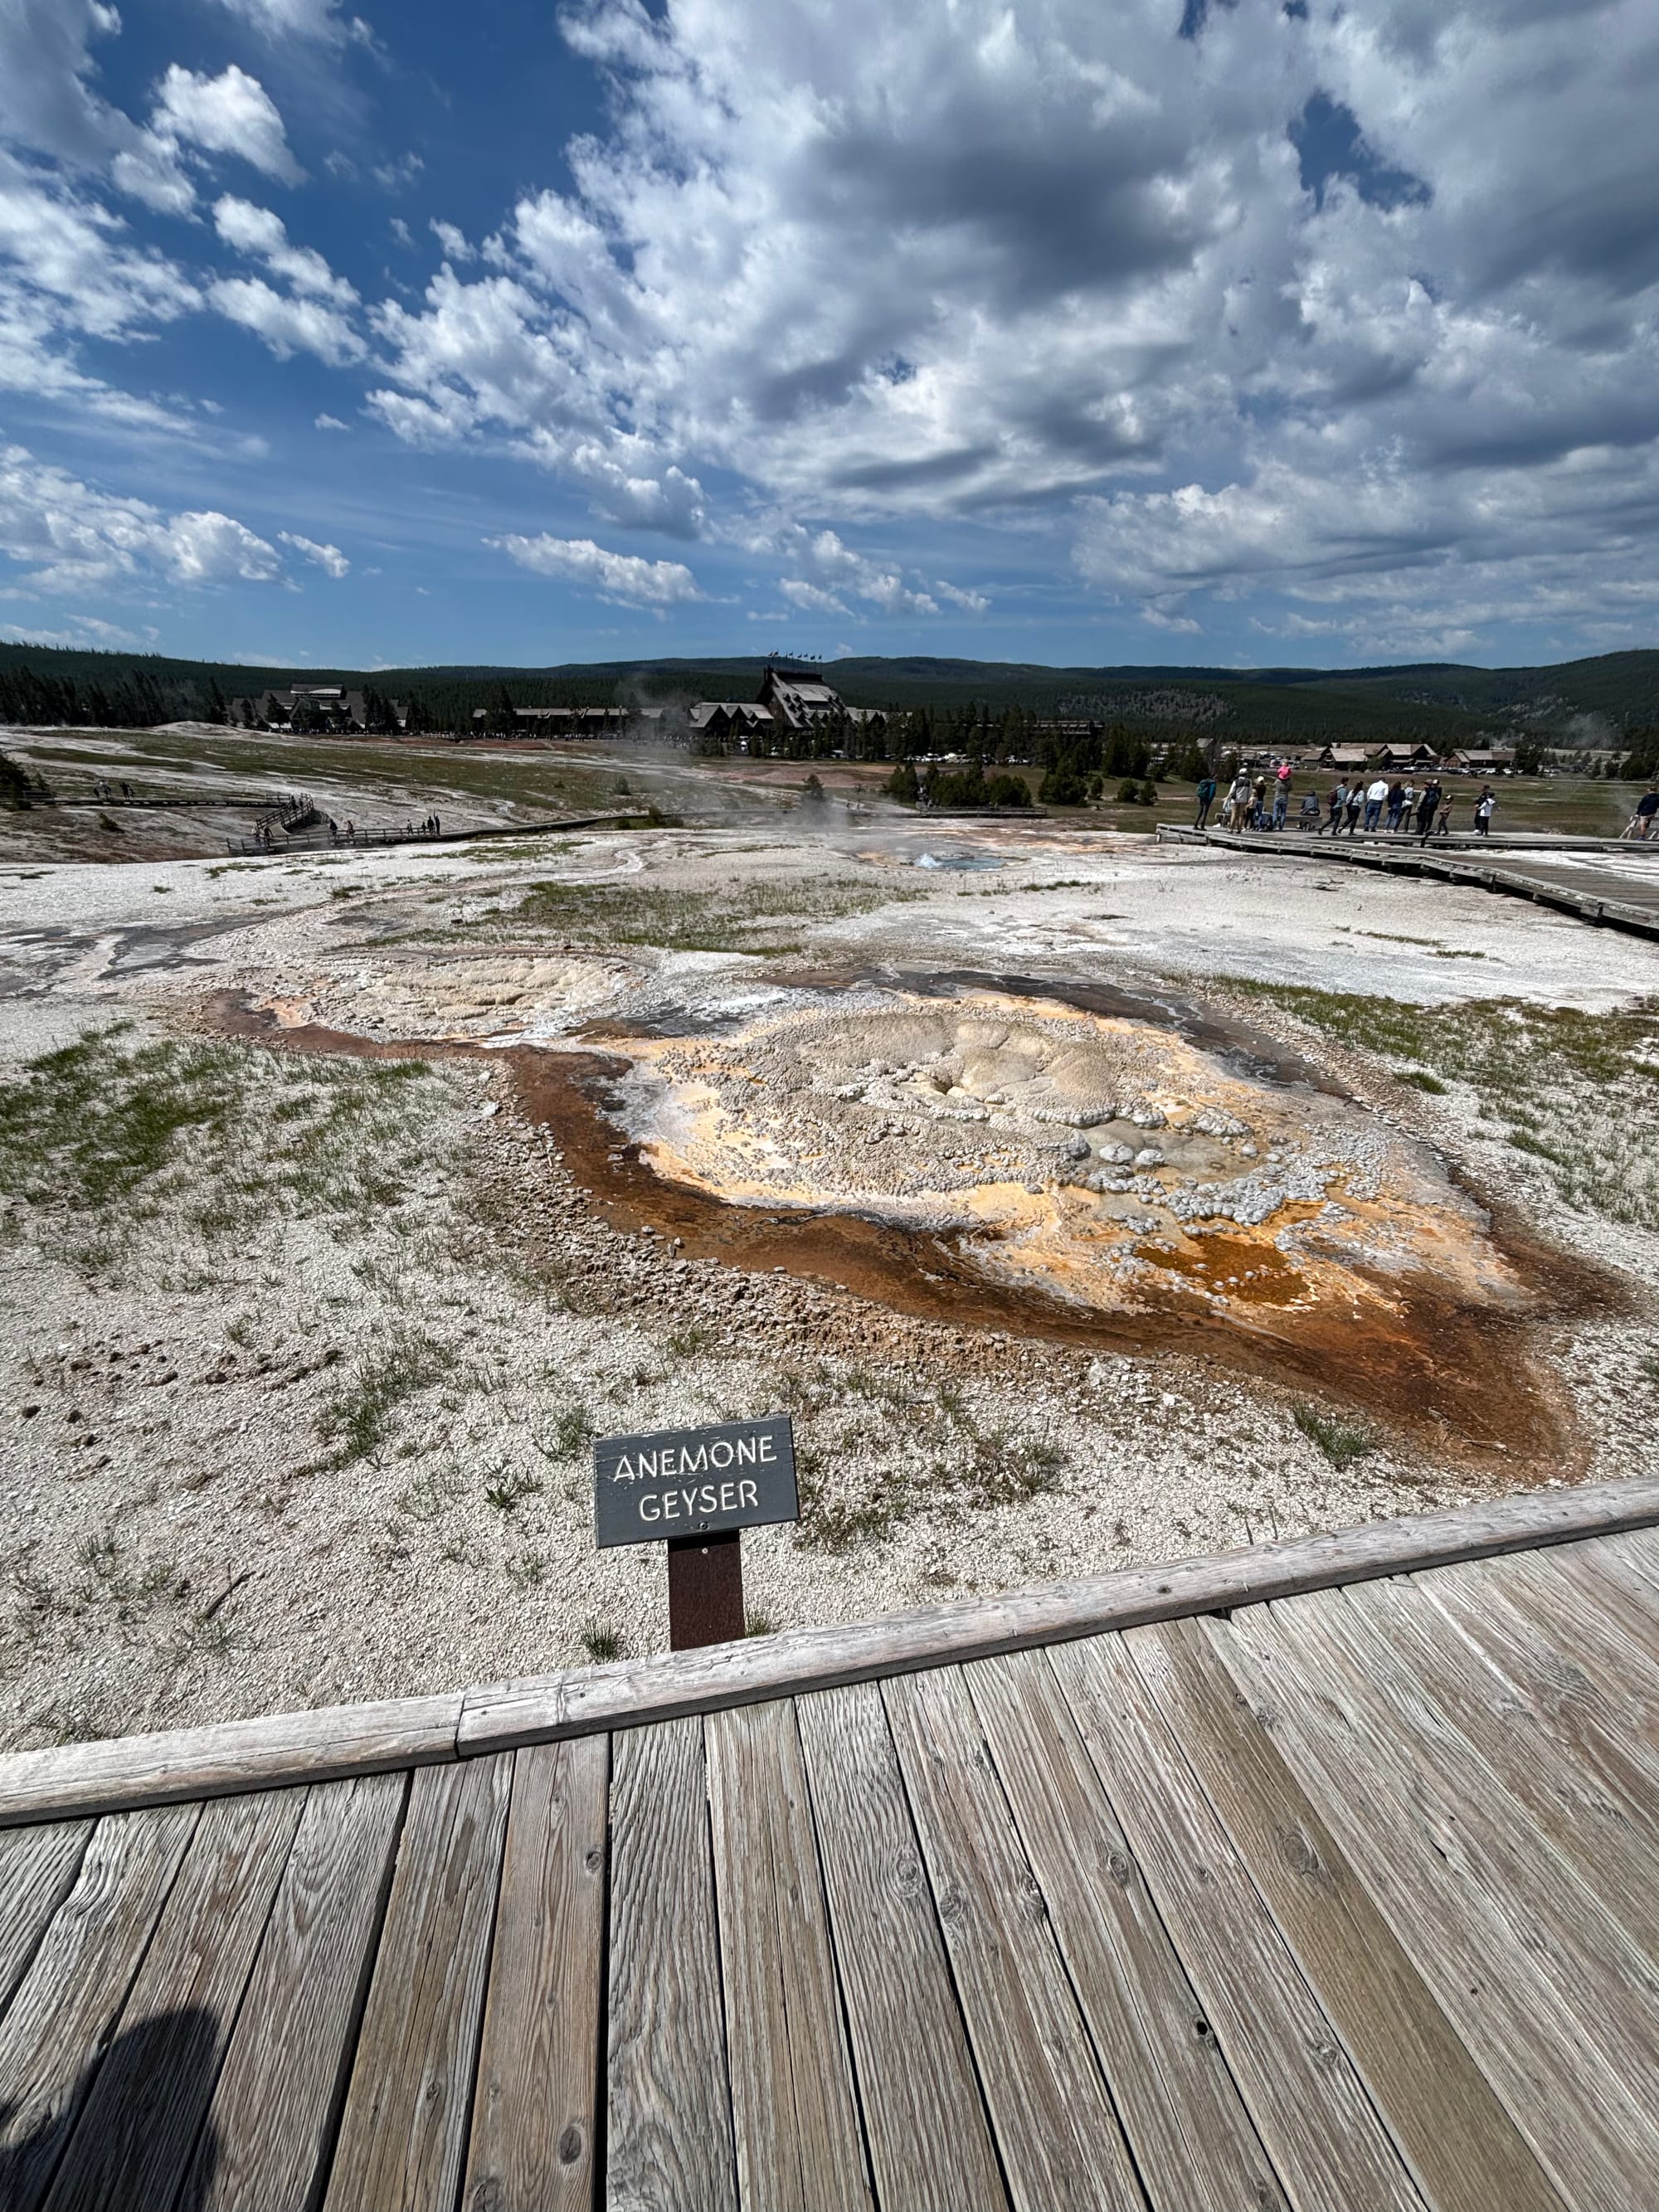
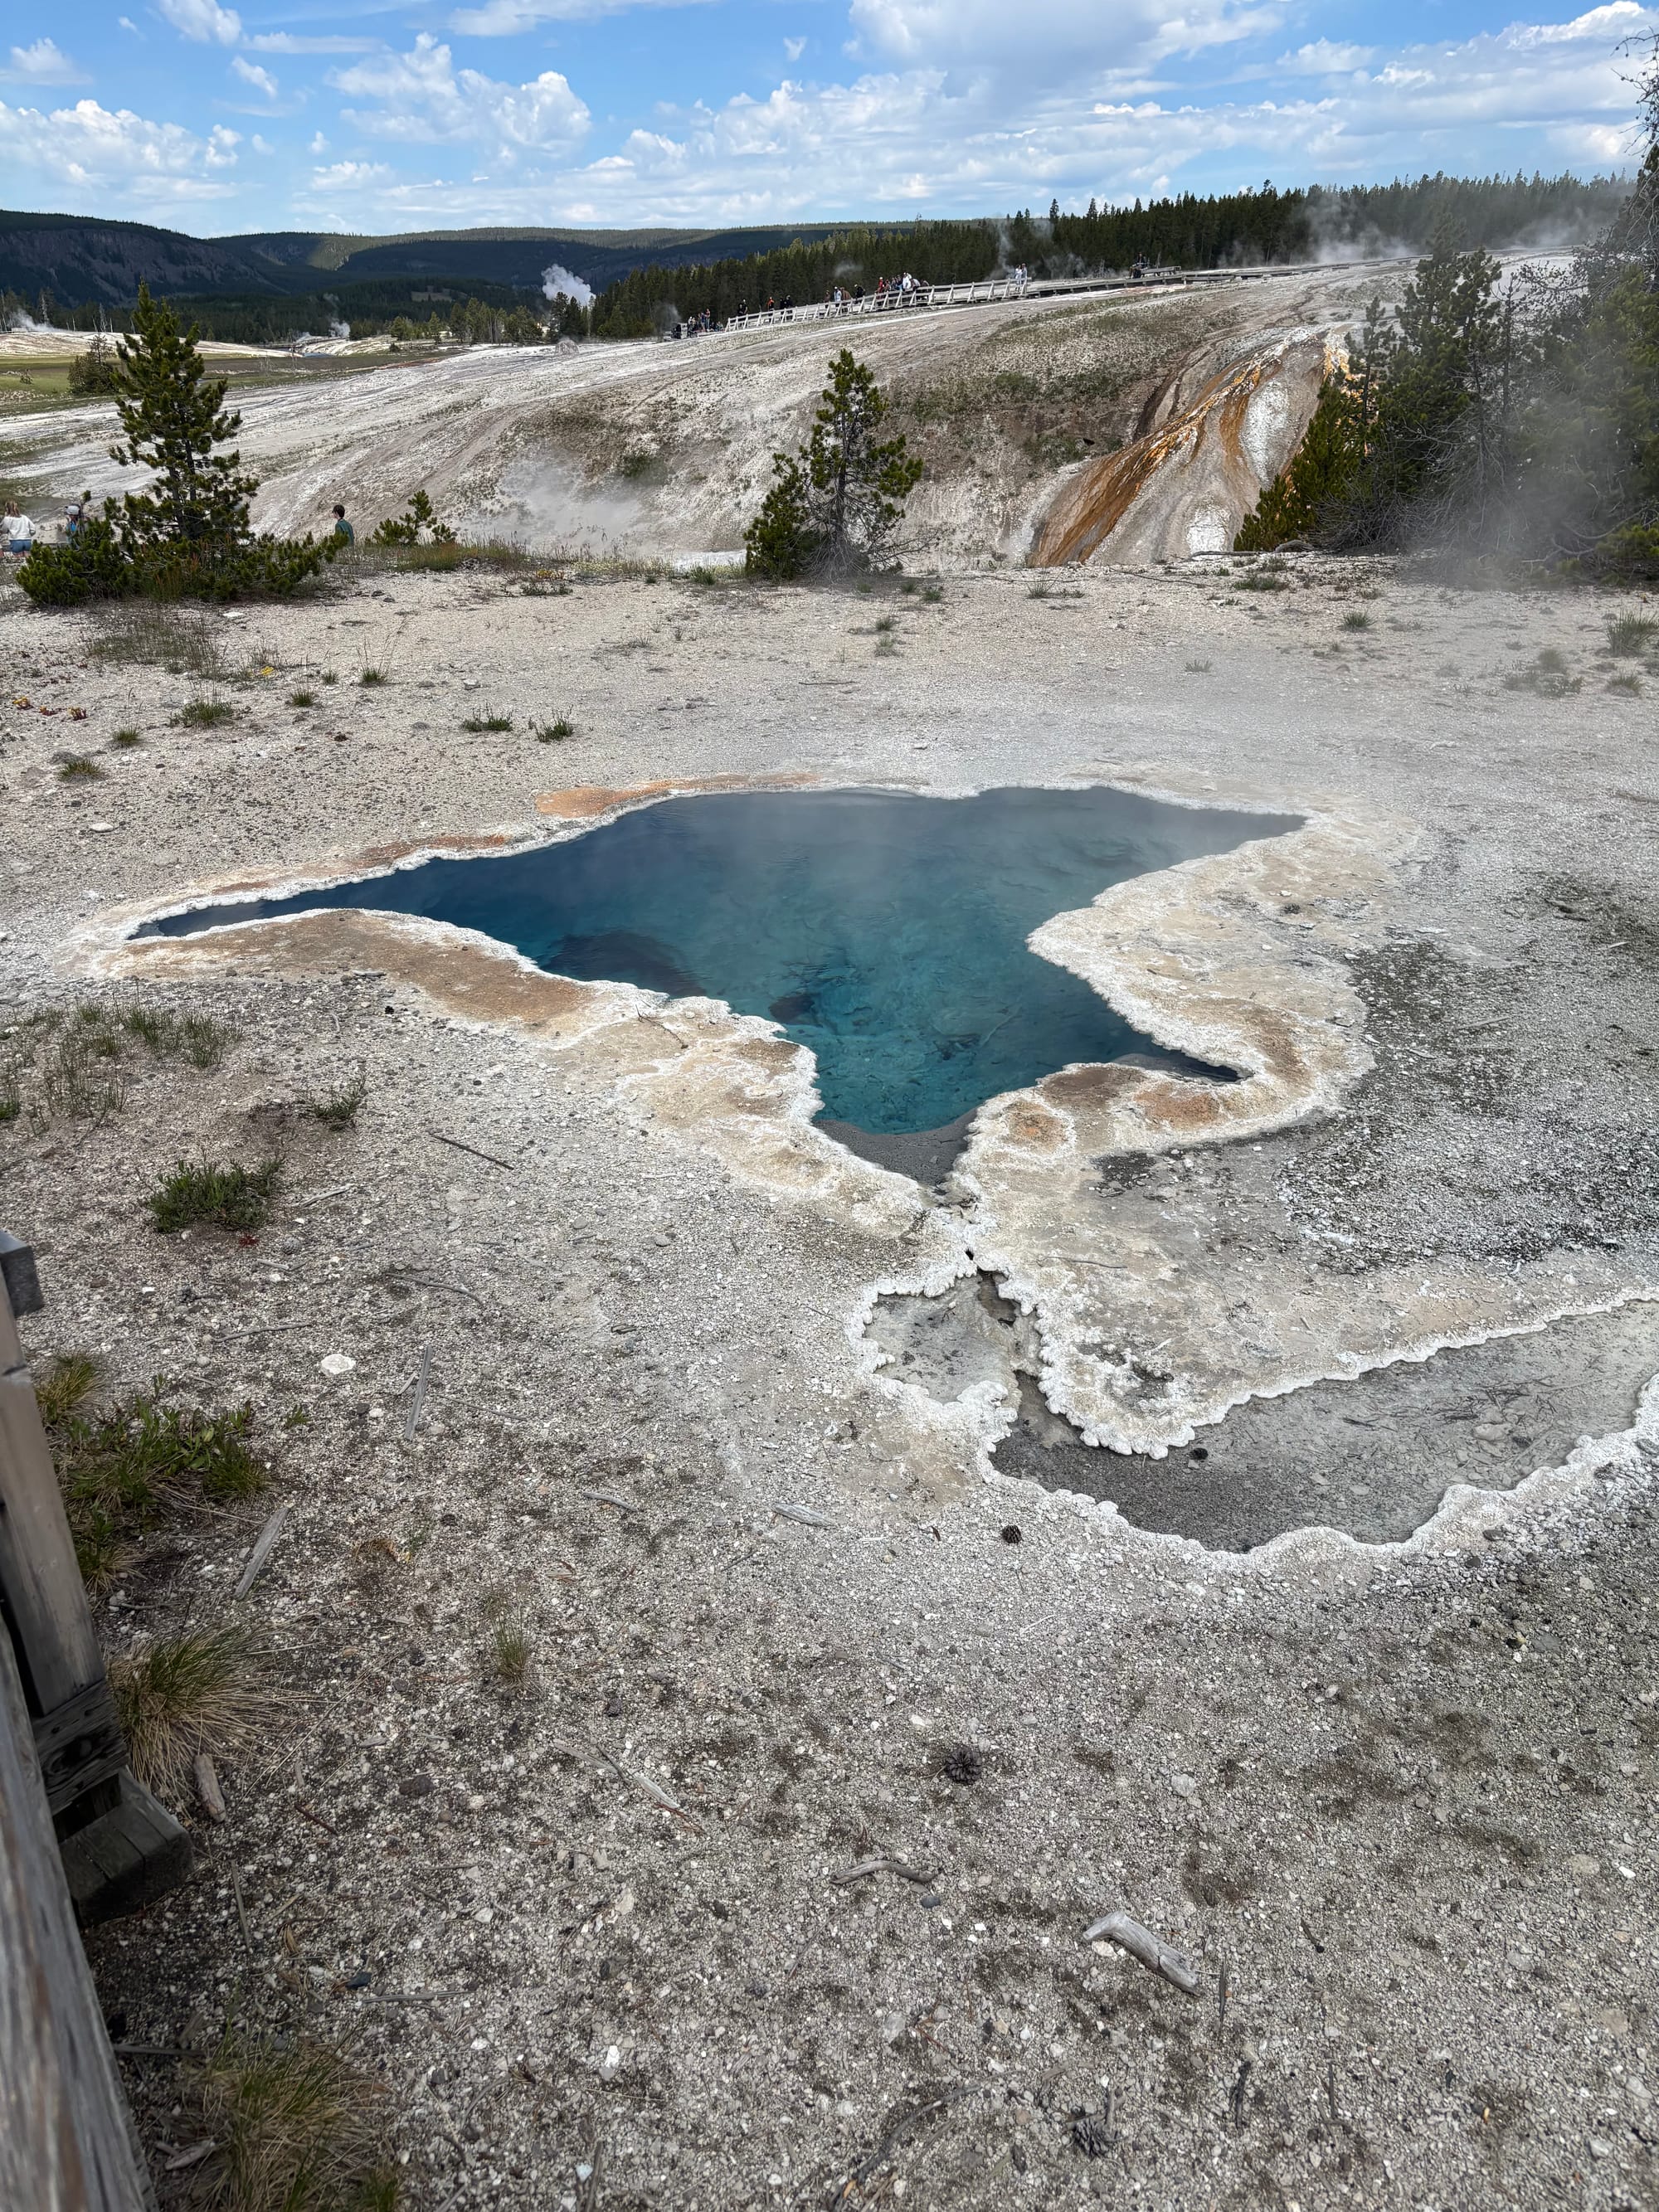
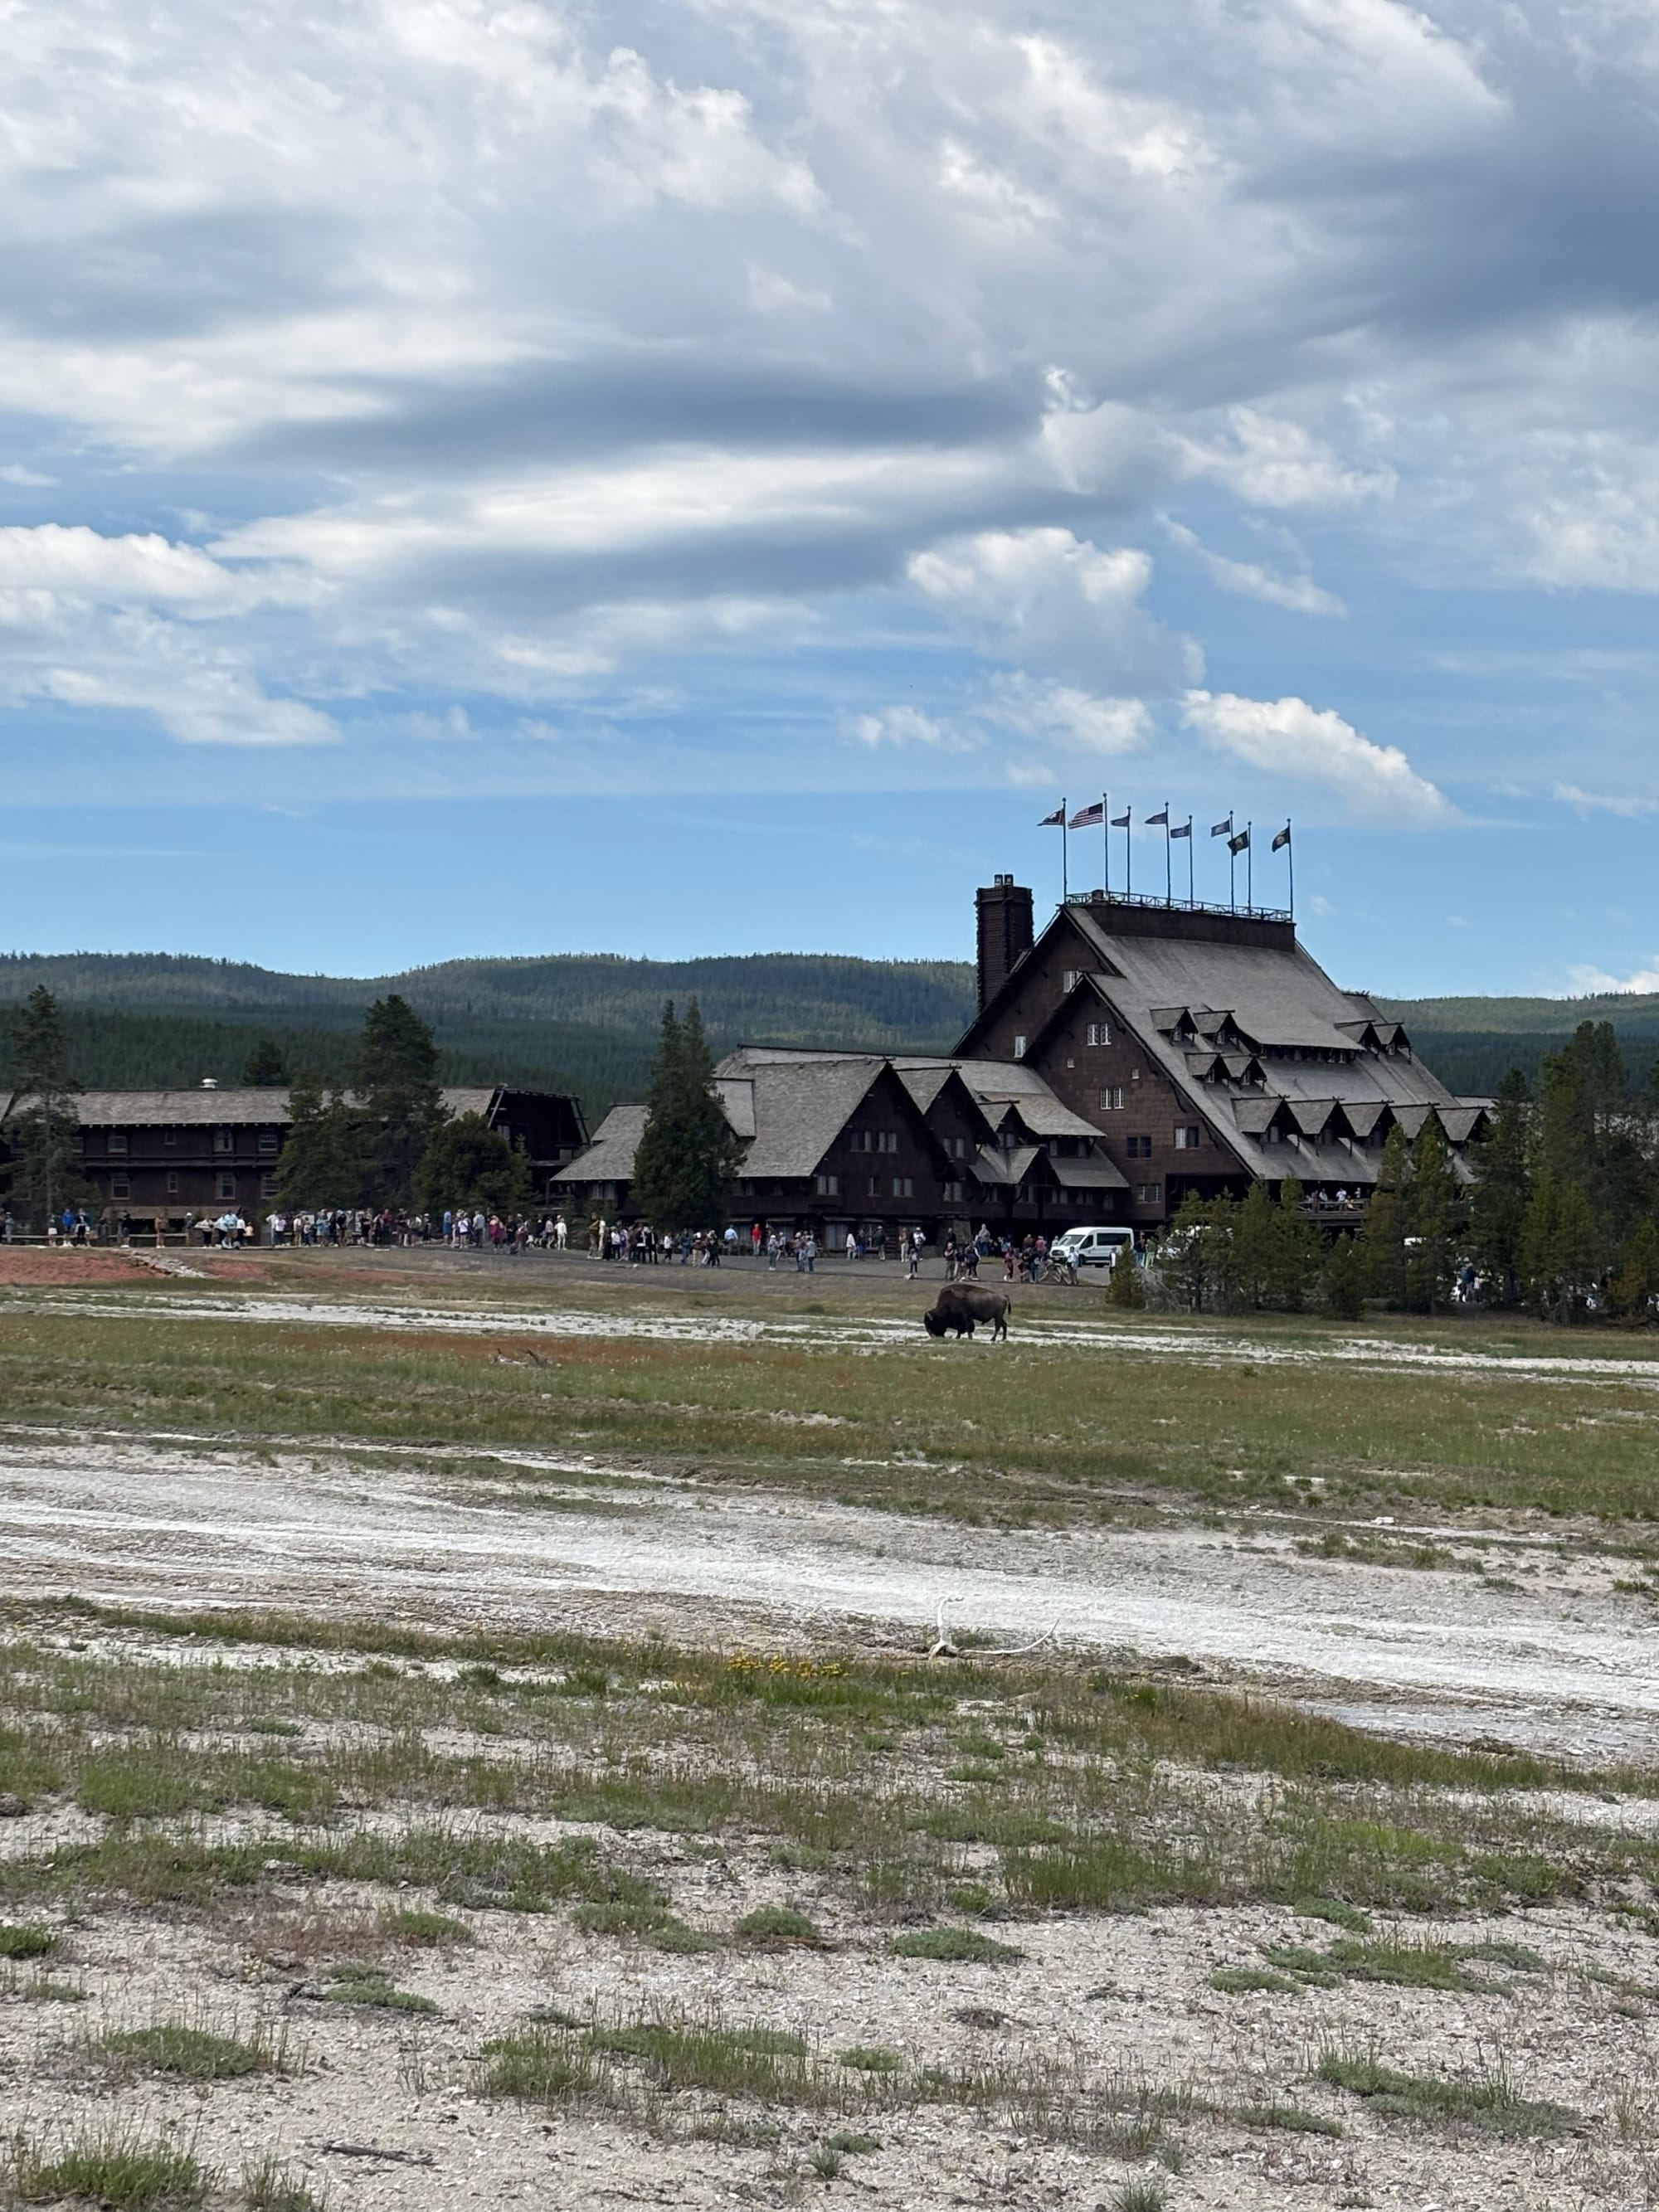
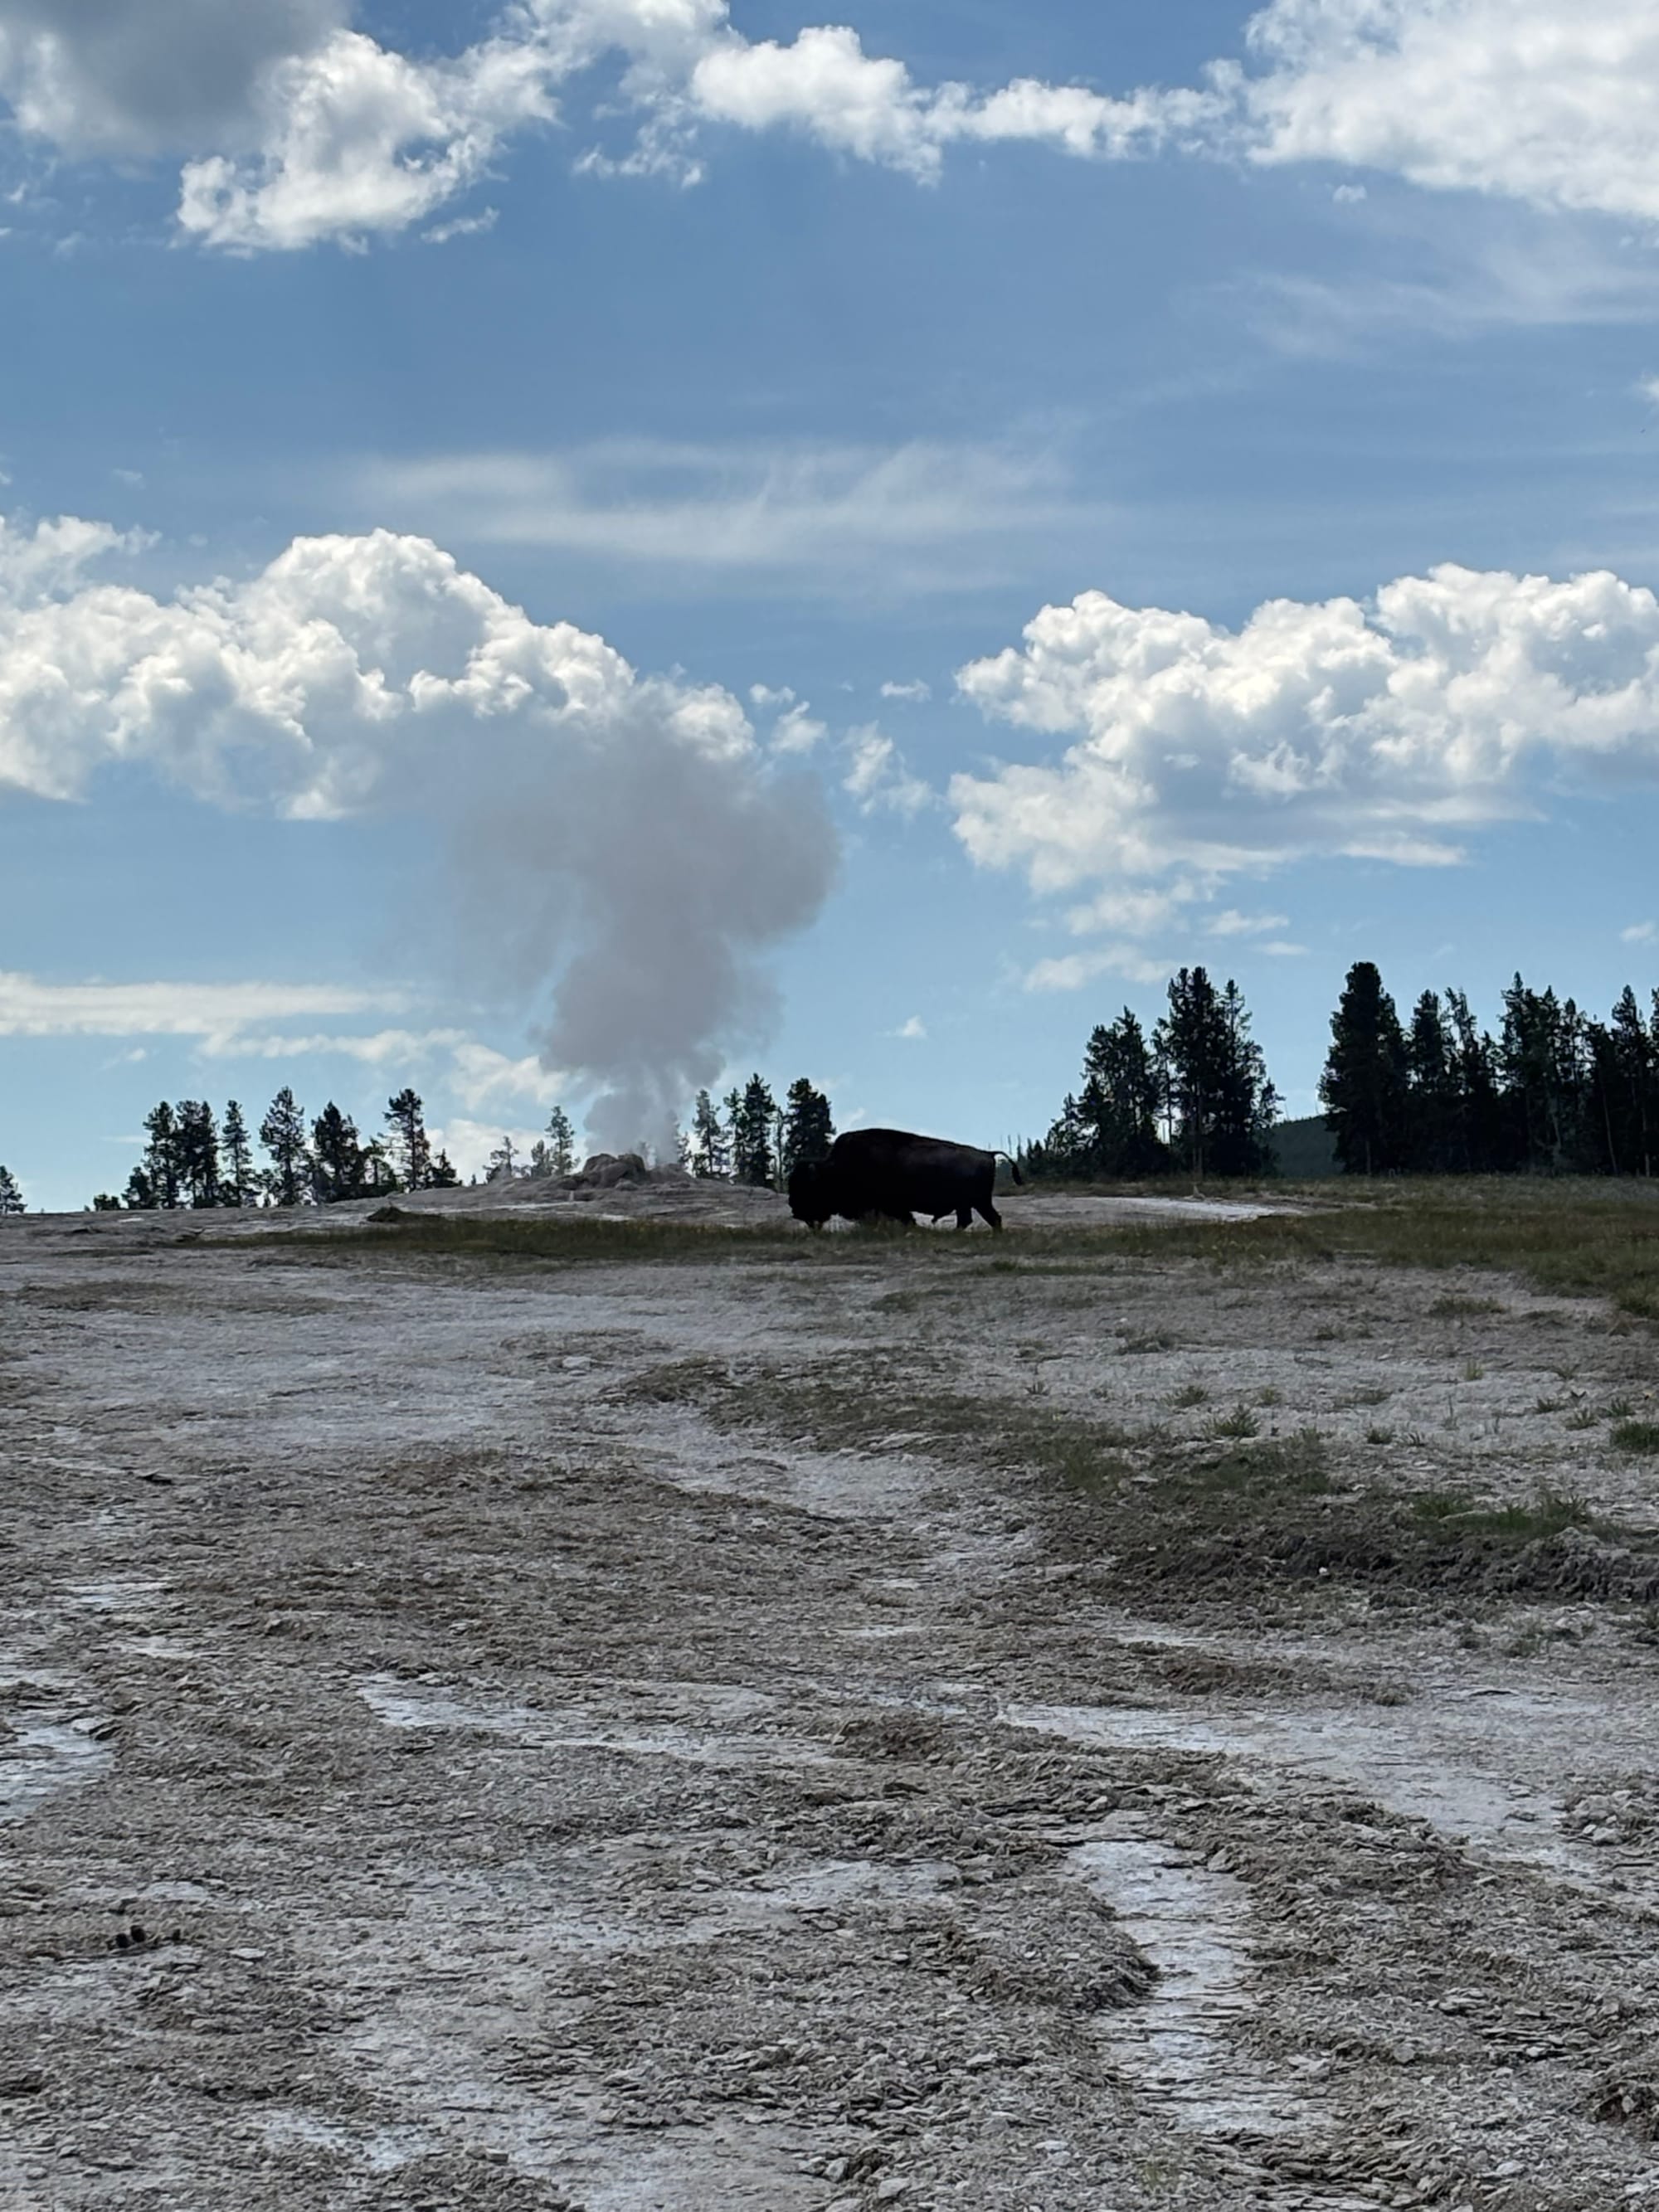
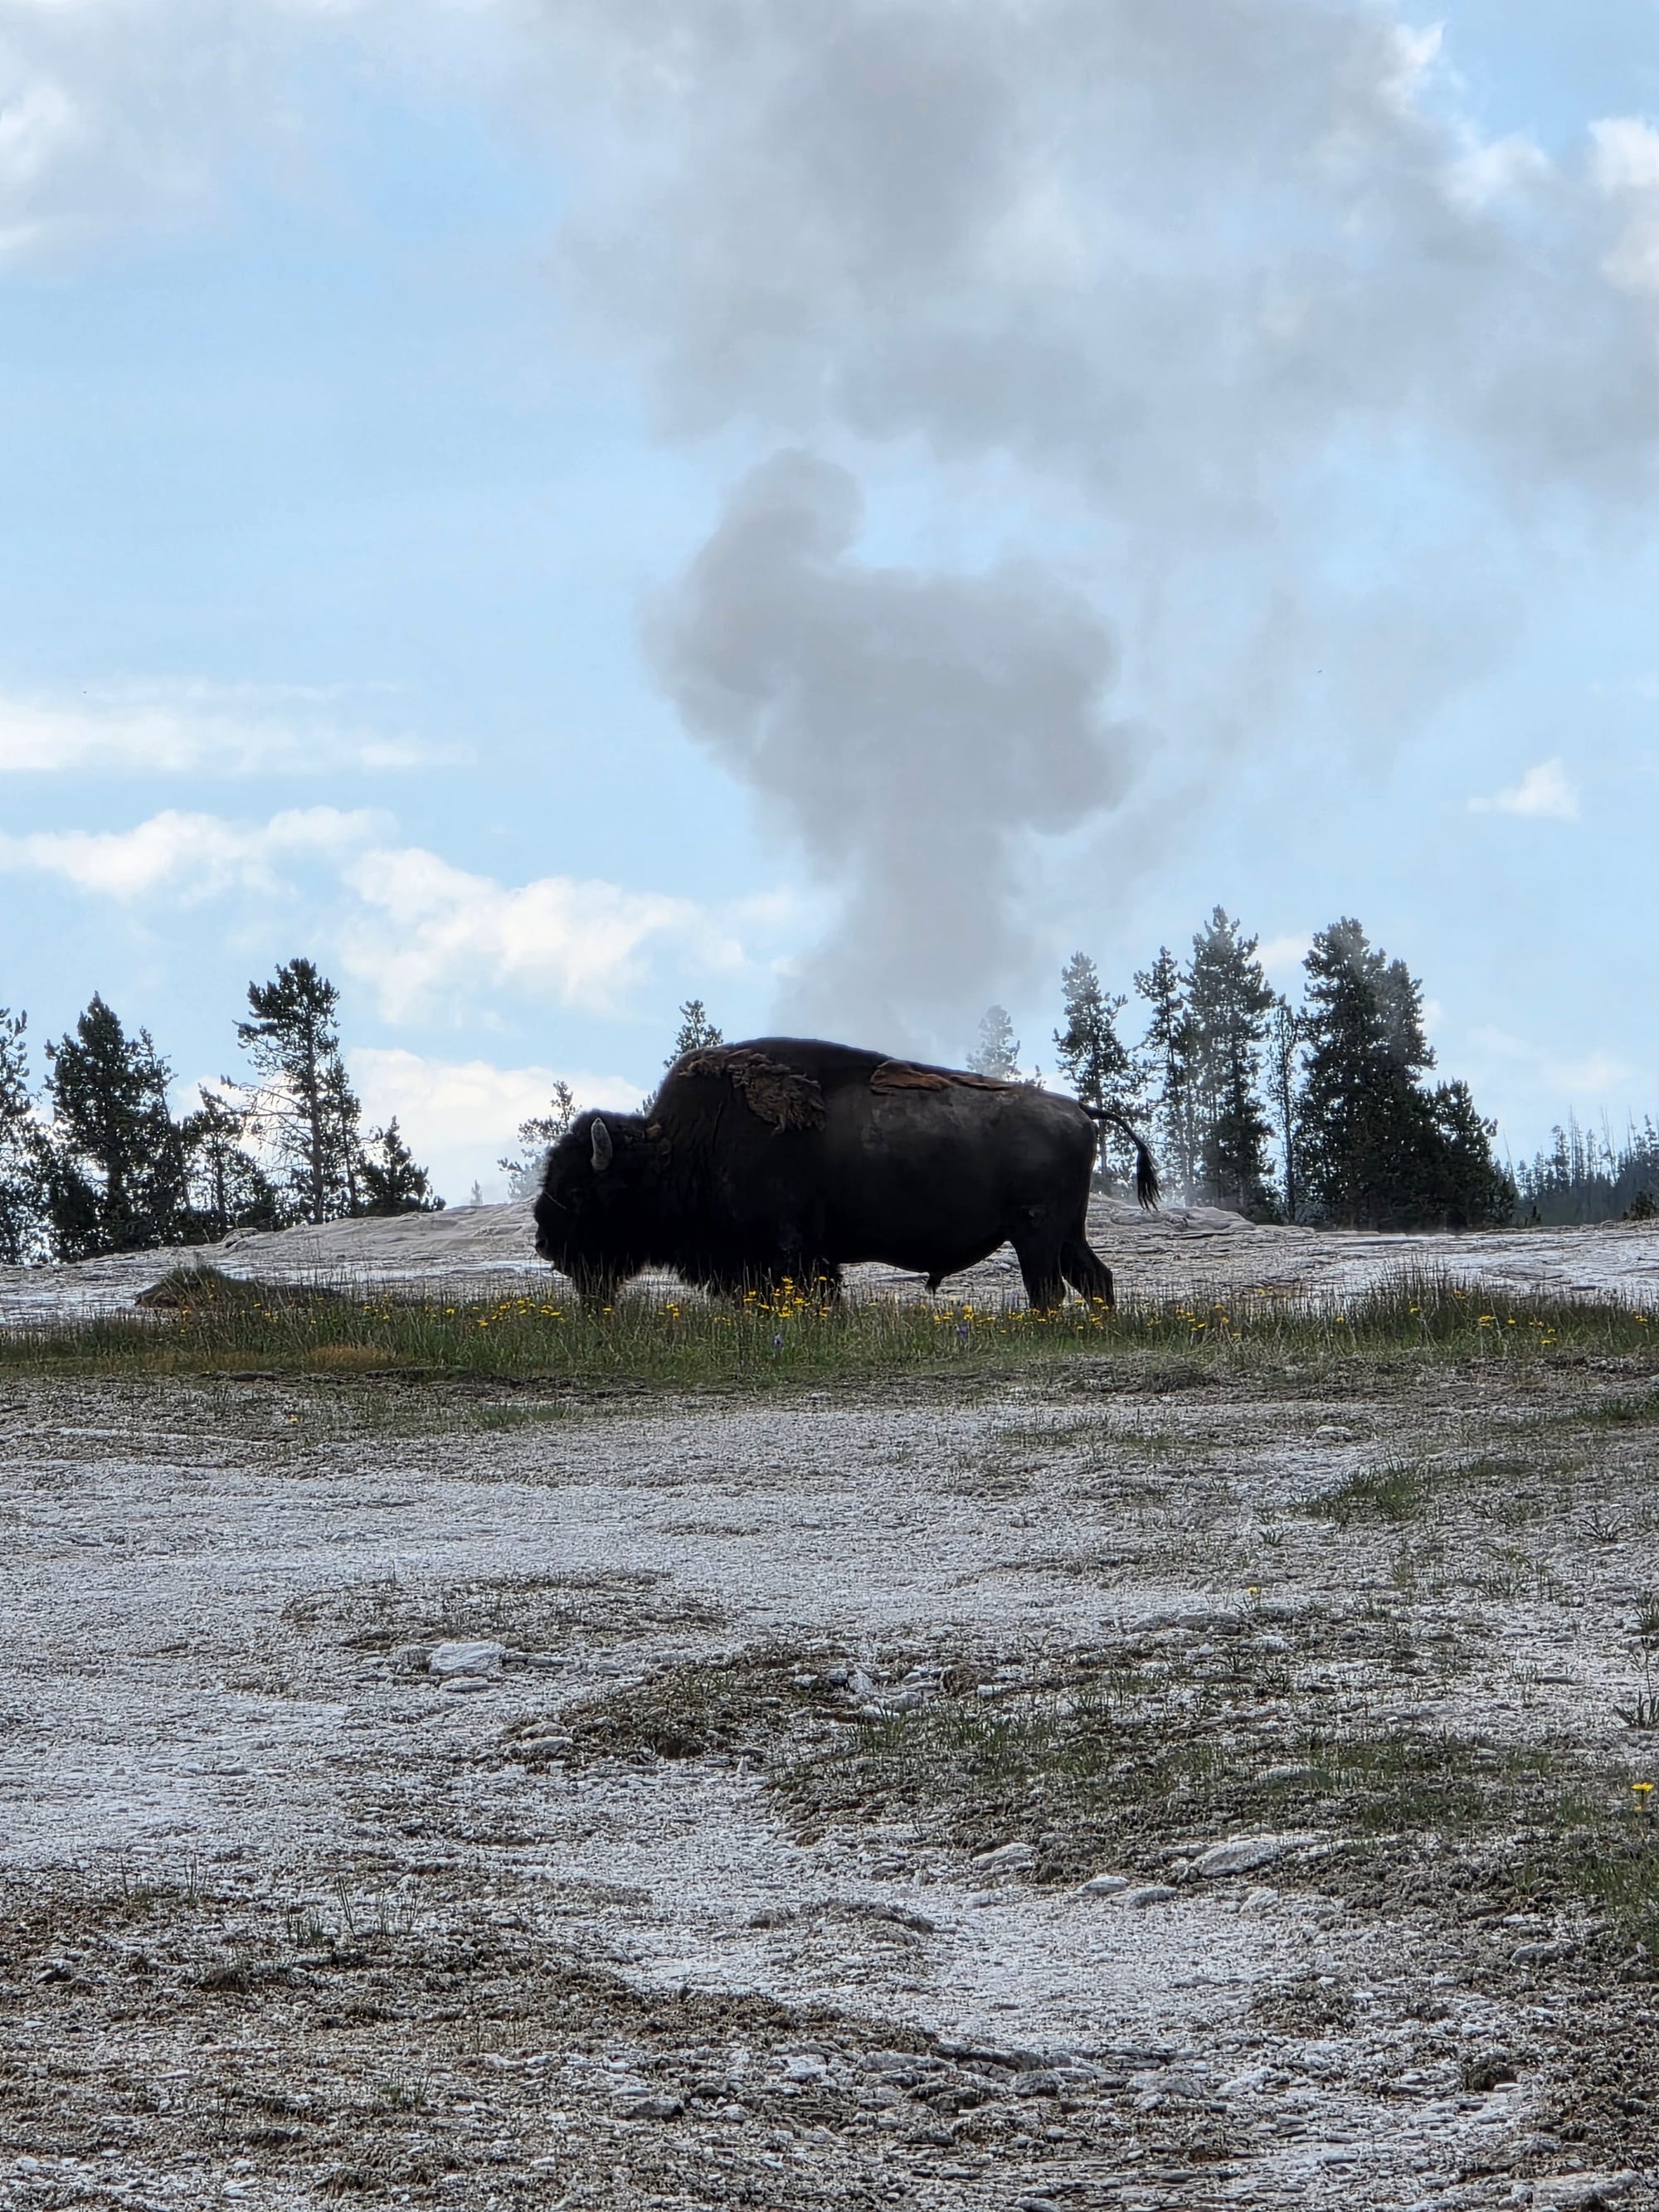
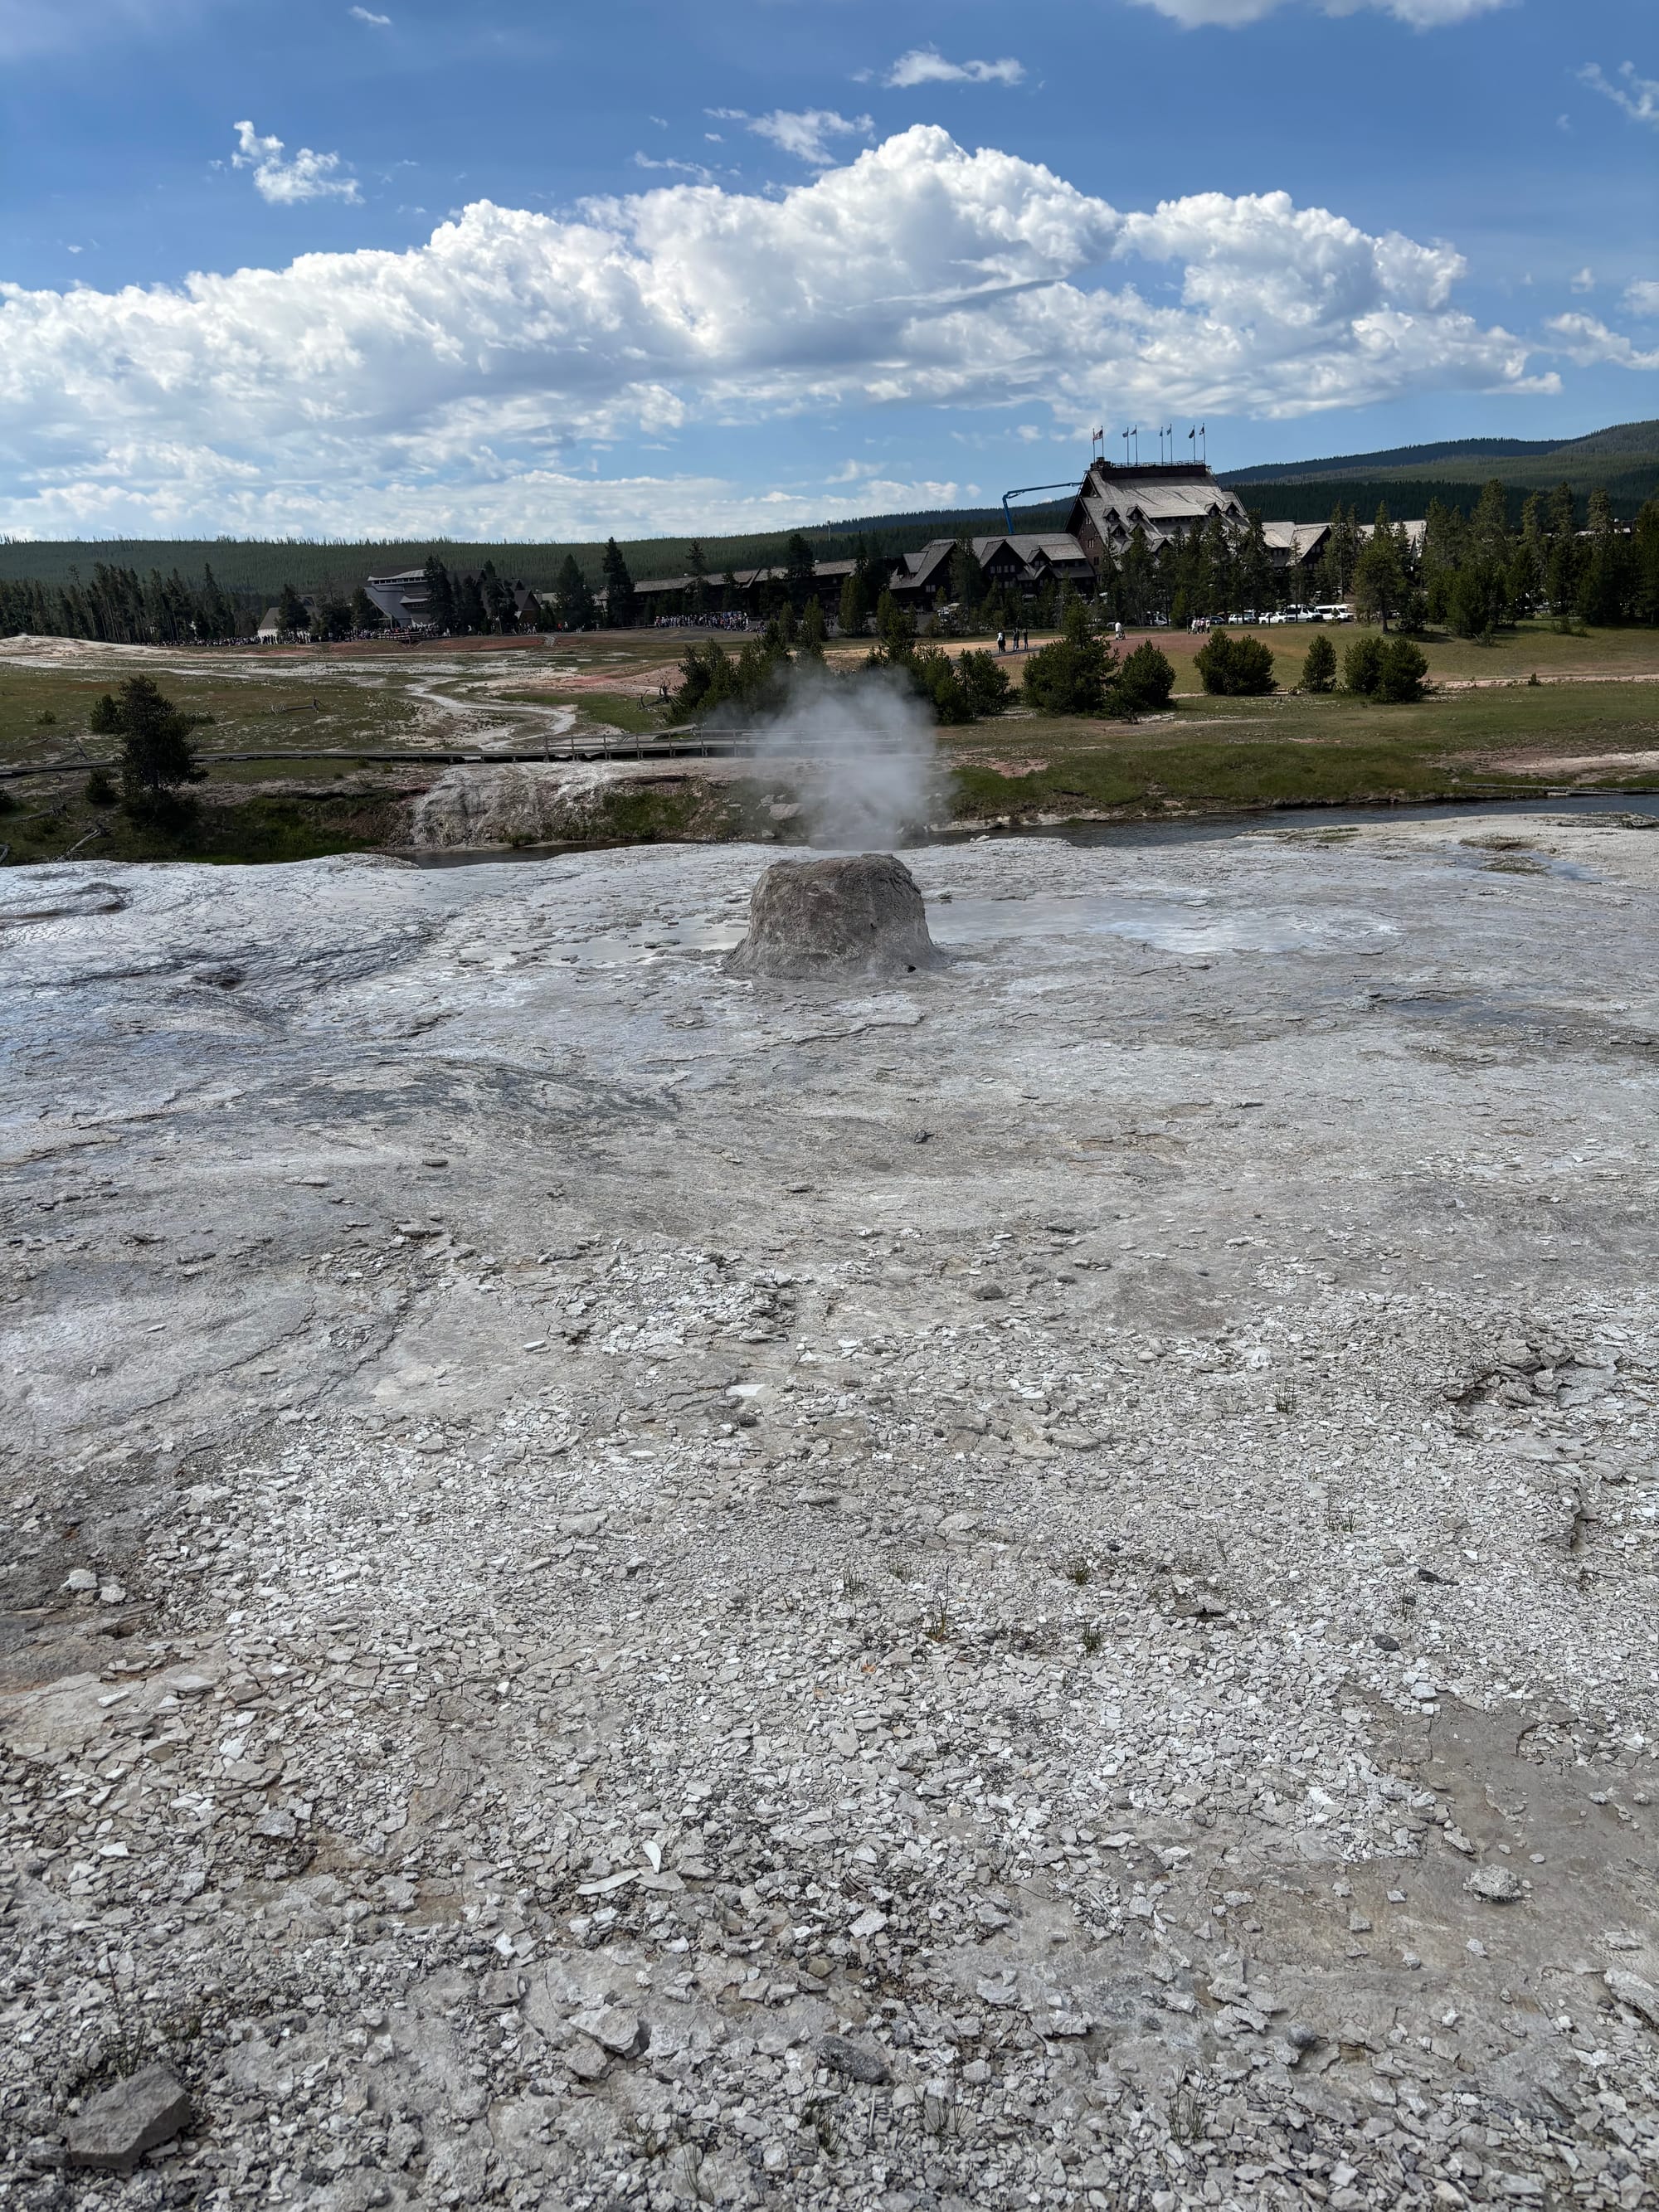
More Upper Basin, with a bison next to Old Faithful
We walked through the historic Old Faithful Inn, which is a nice, historic building worth exploring and a quick gift shop stop. However, getting lunch at the Old Faithful complex was definitely not a highlight of our trip. There are a few different cafeteria and counter-service options, but they were all packed and expensive. If we did this day over again, we would definitely pack a trail lunch to avoid the mess.
After lunch, we stopped at the West Thumb Geyser Basin. If you need to cut something from your Yellowstone itinerary, make it this one. It features small geothermal pools right along the edge of Yellowstone Lake, which is a neat concept, but visually it is far less impressive than the other basins.
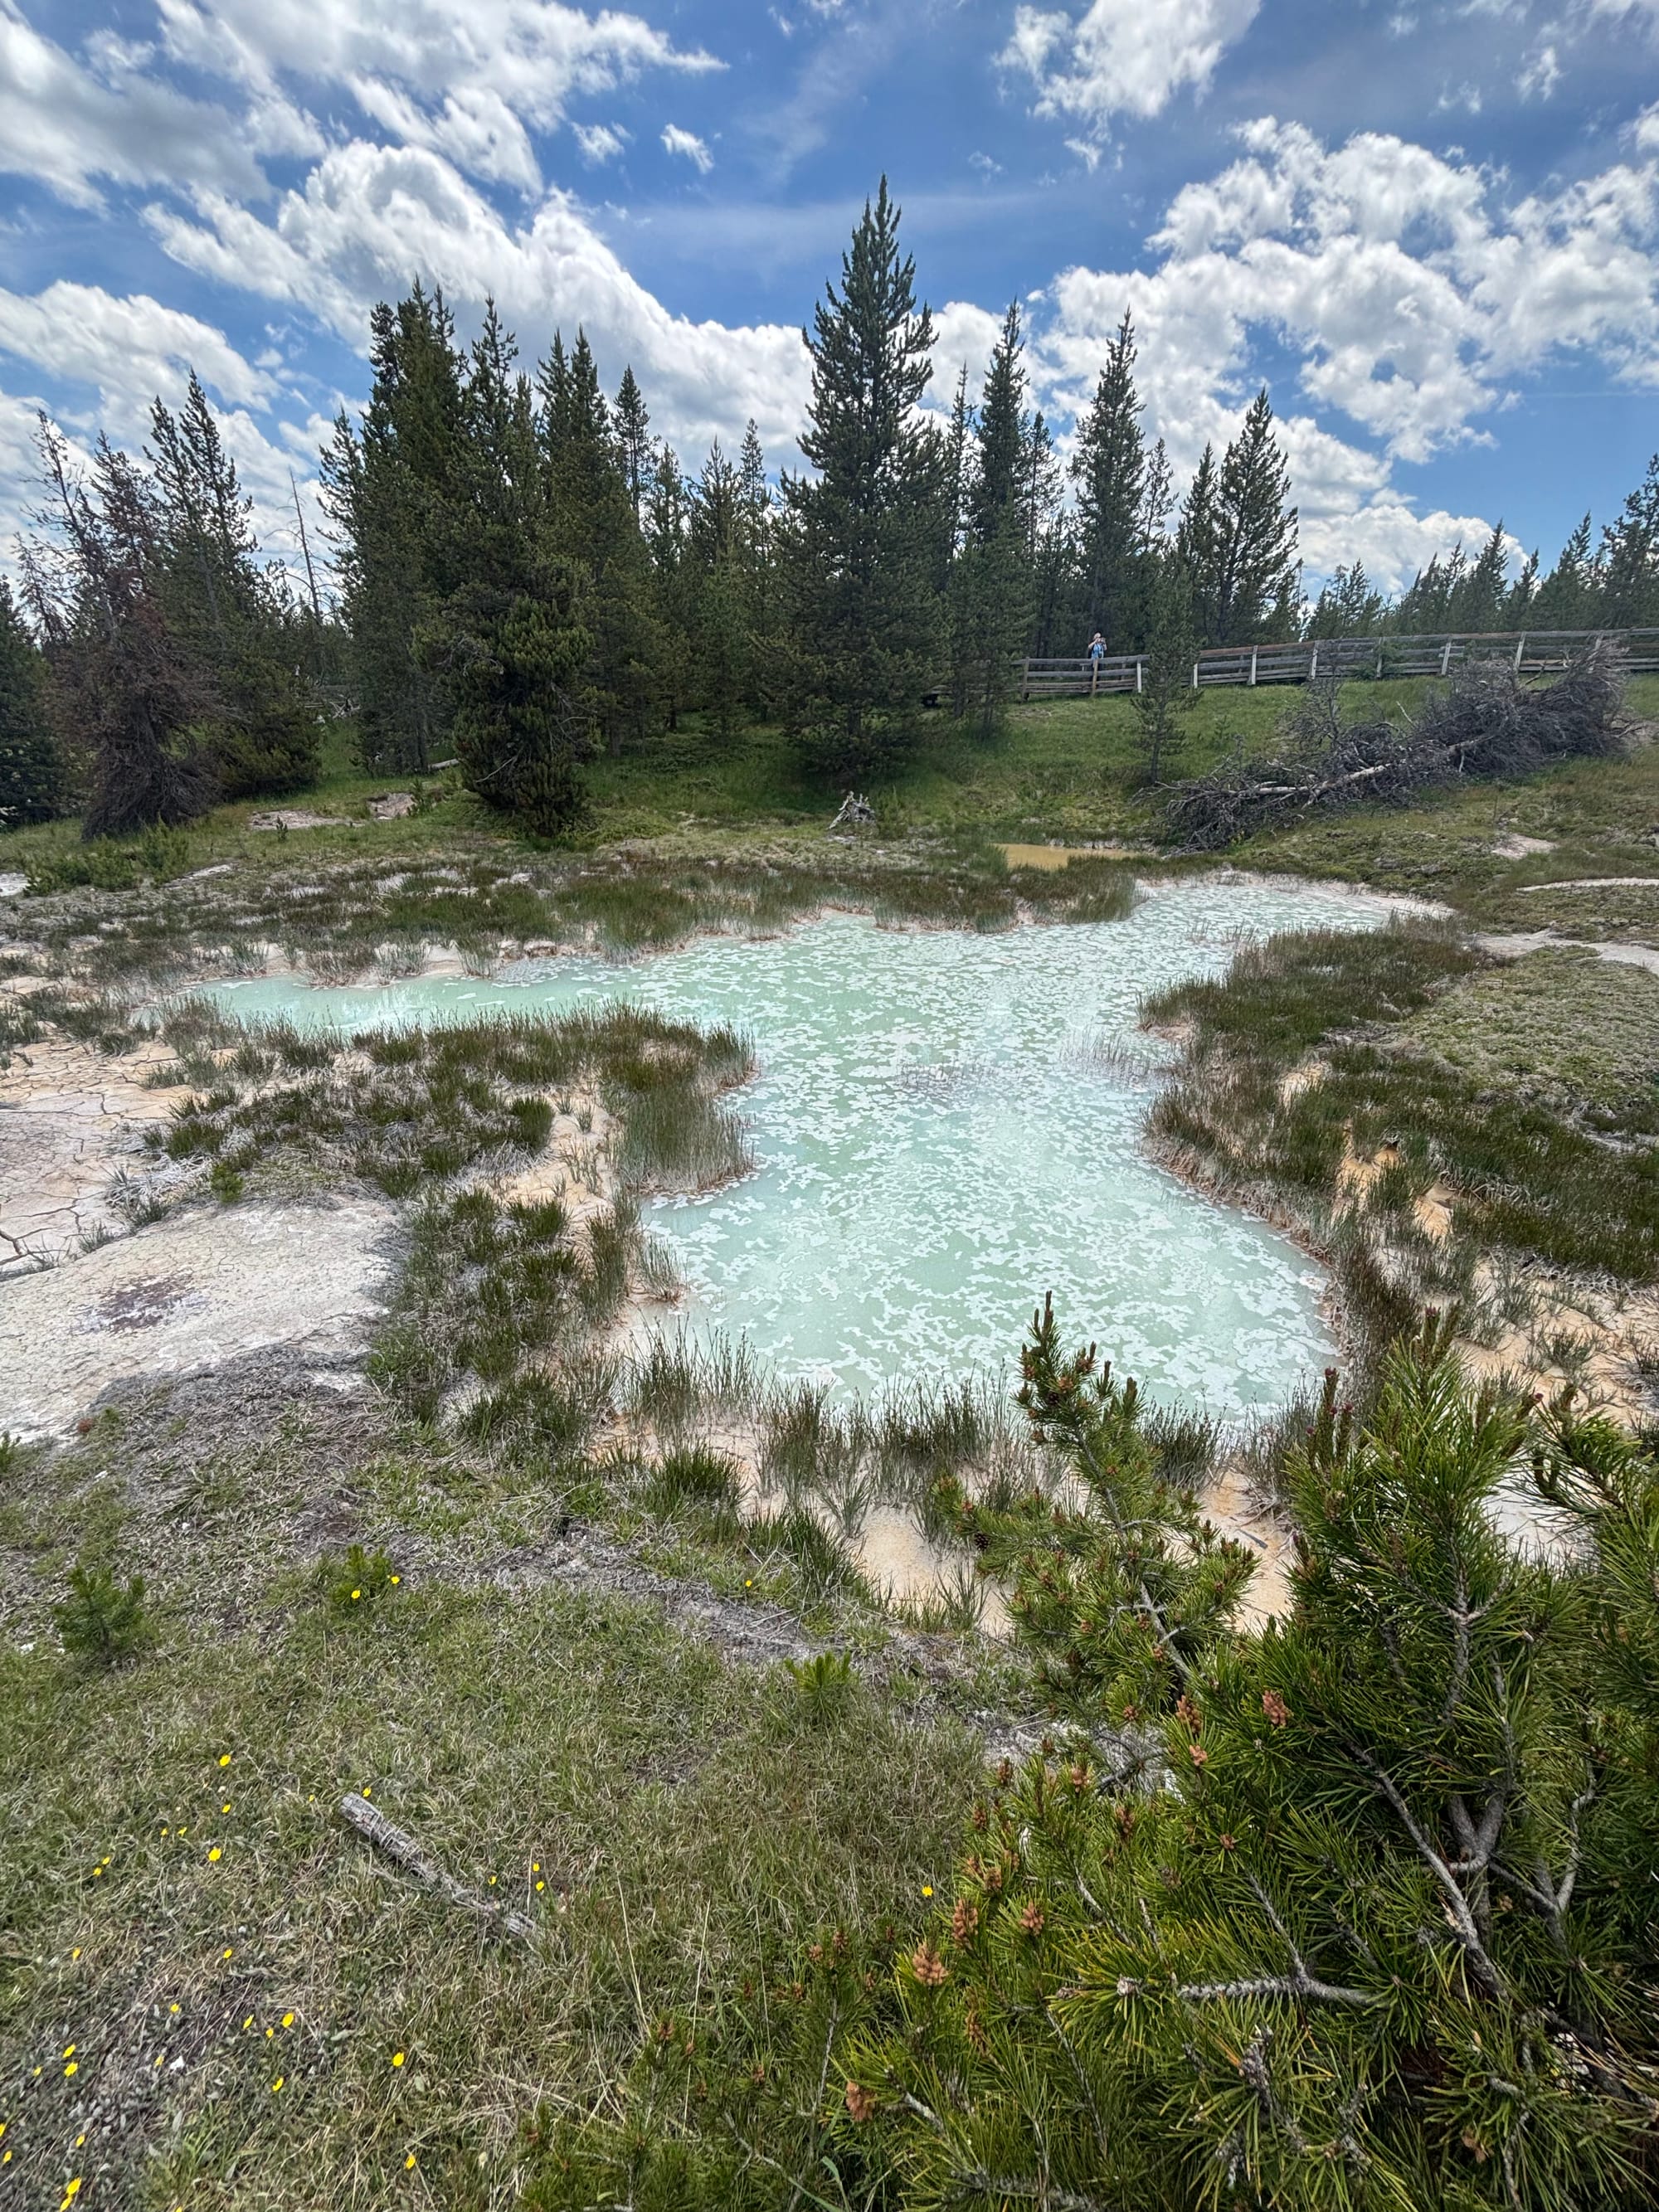

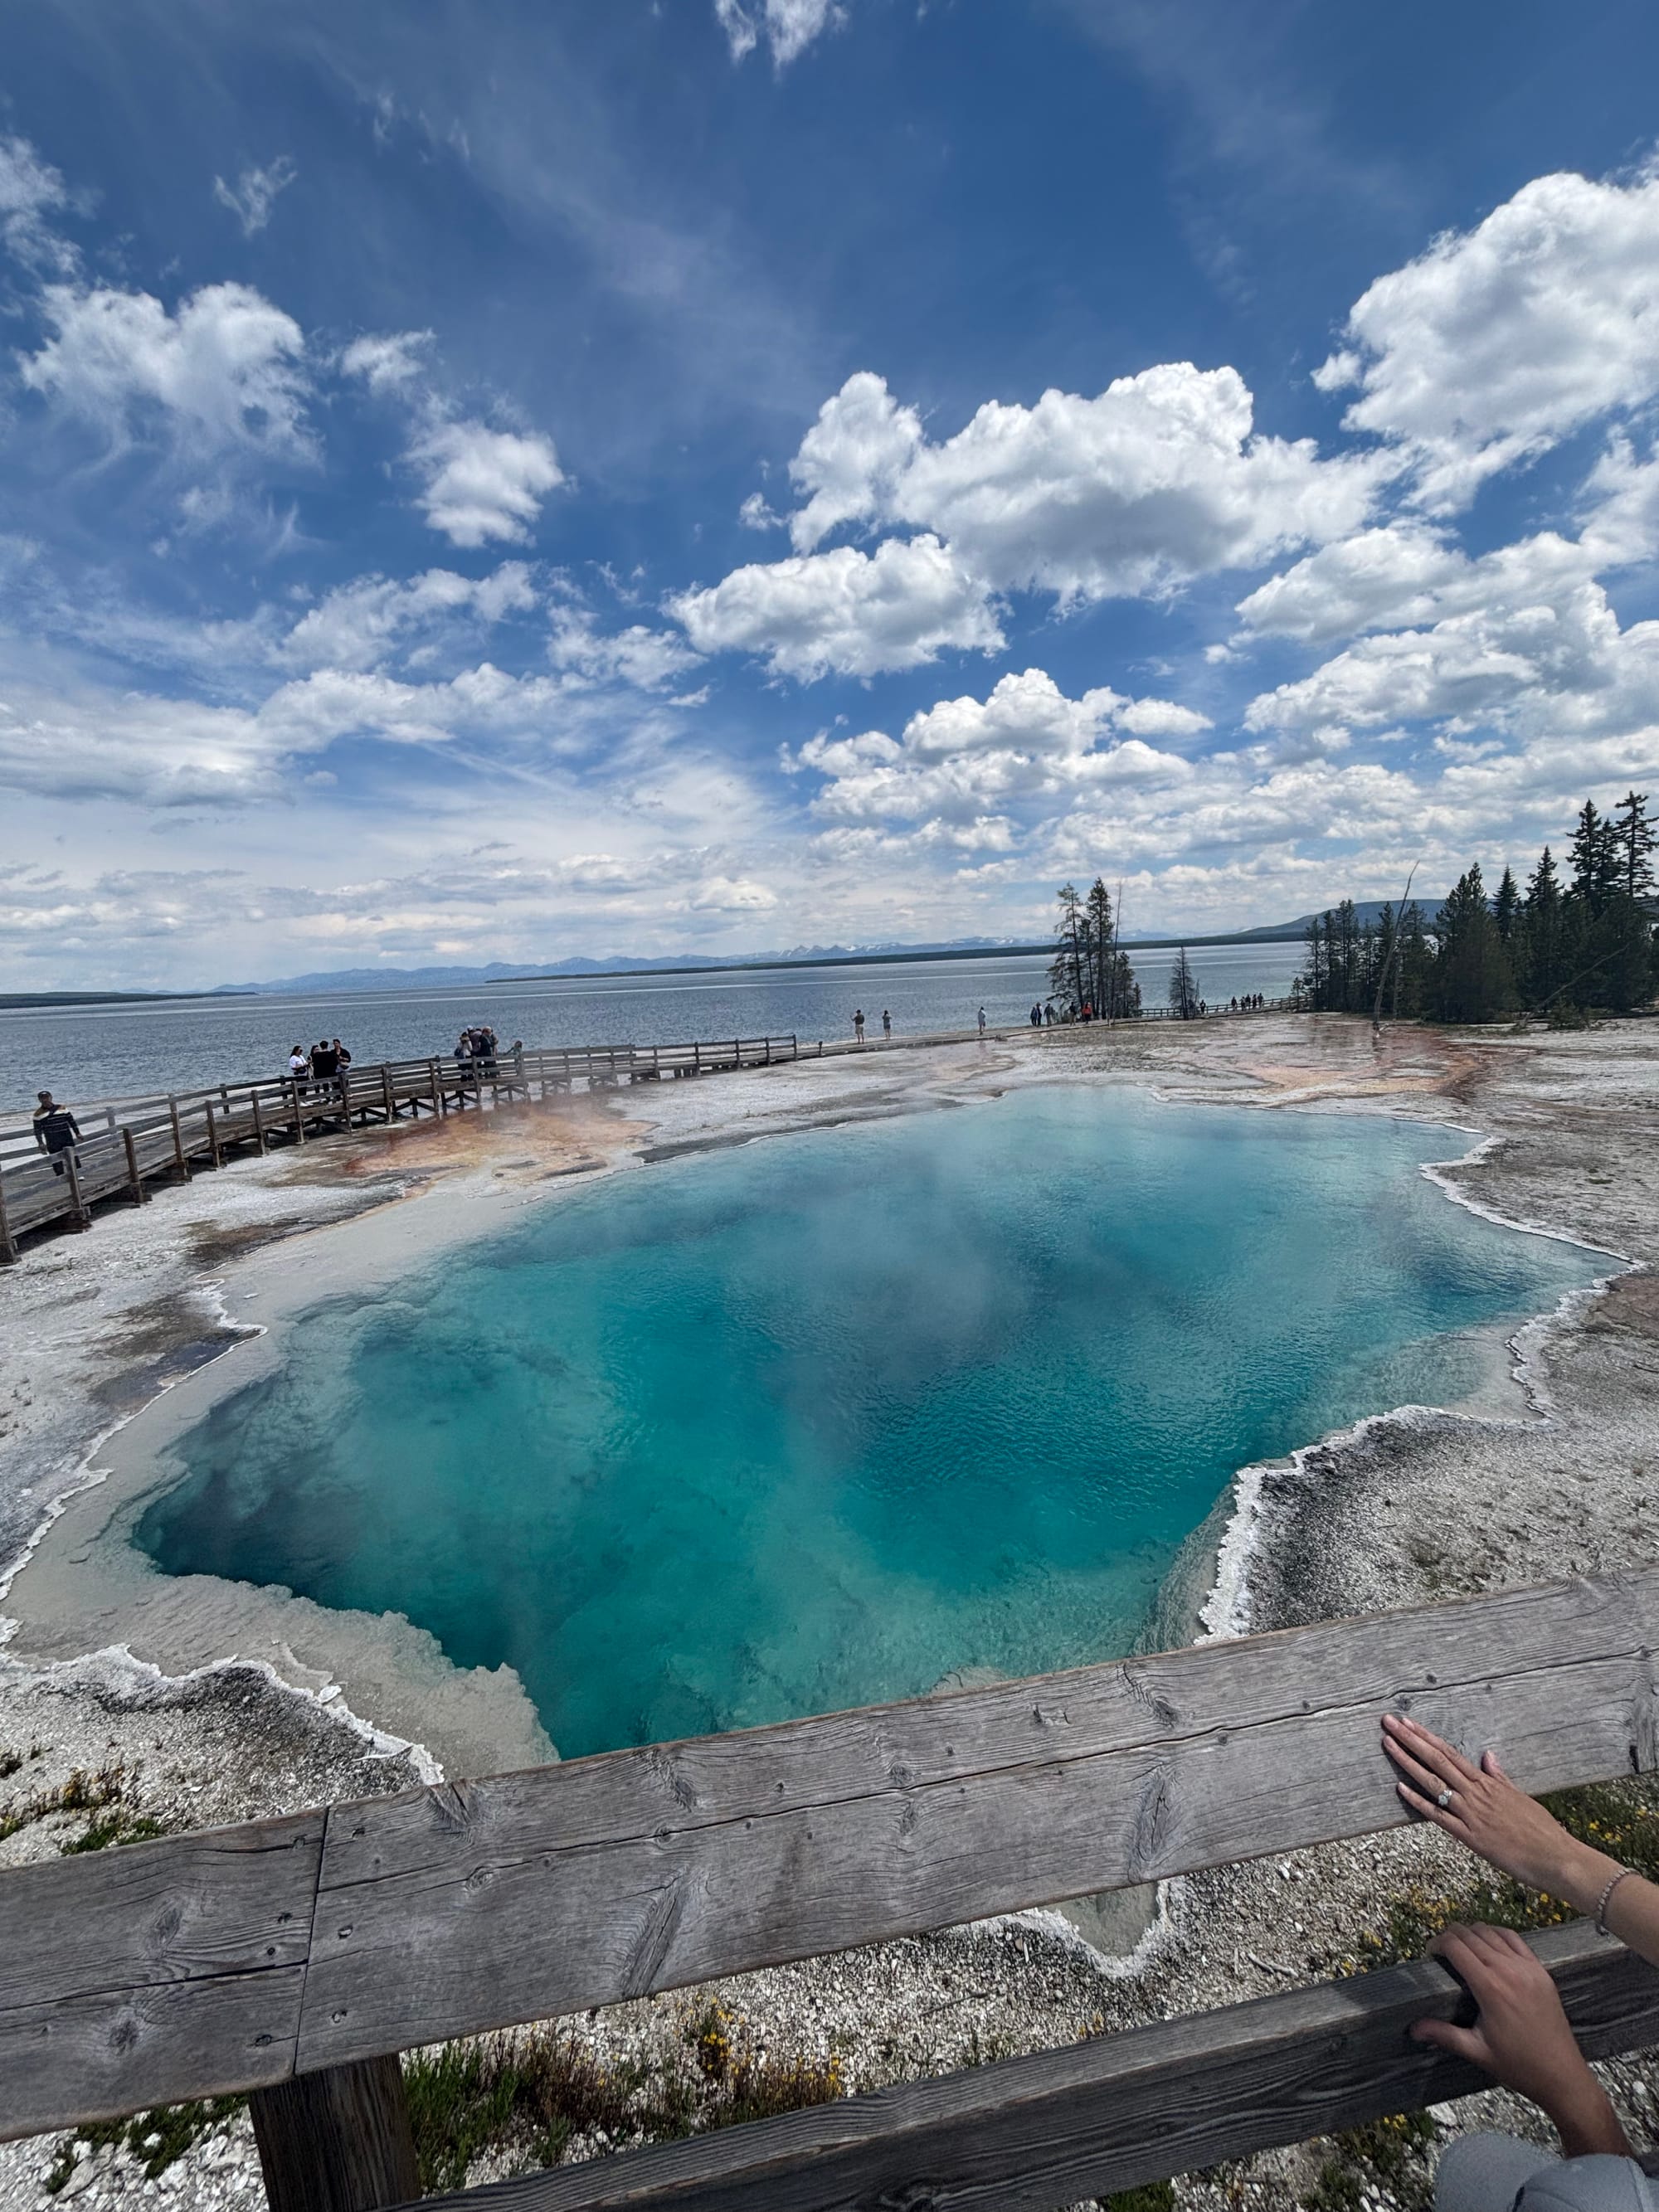

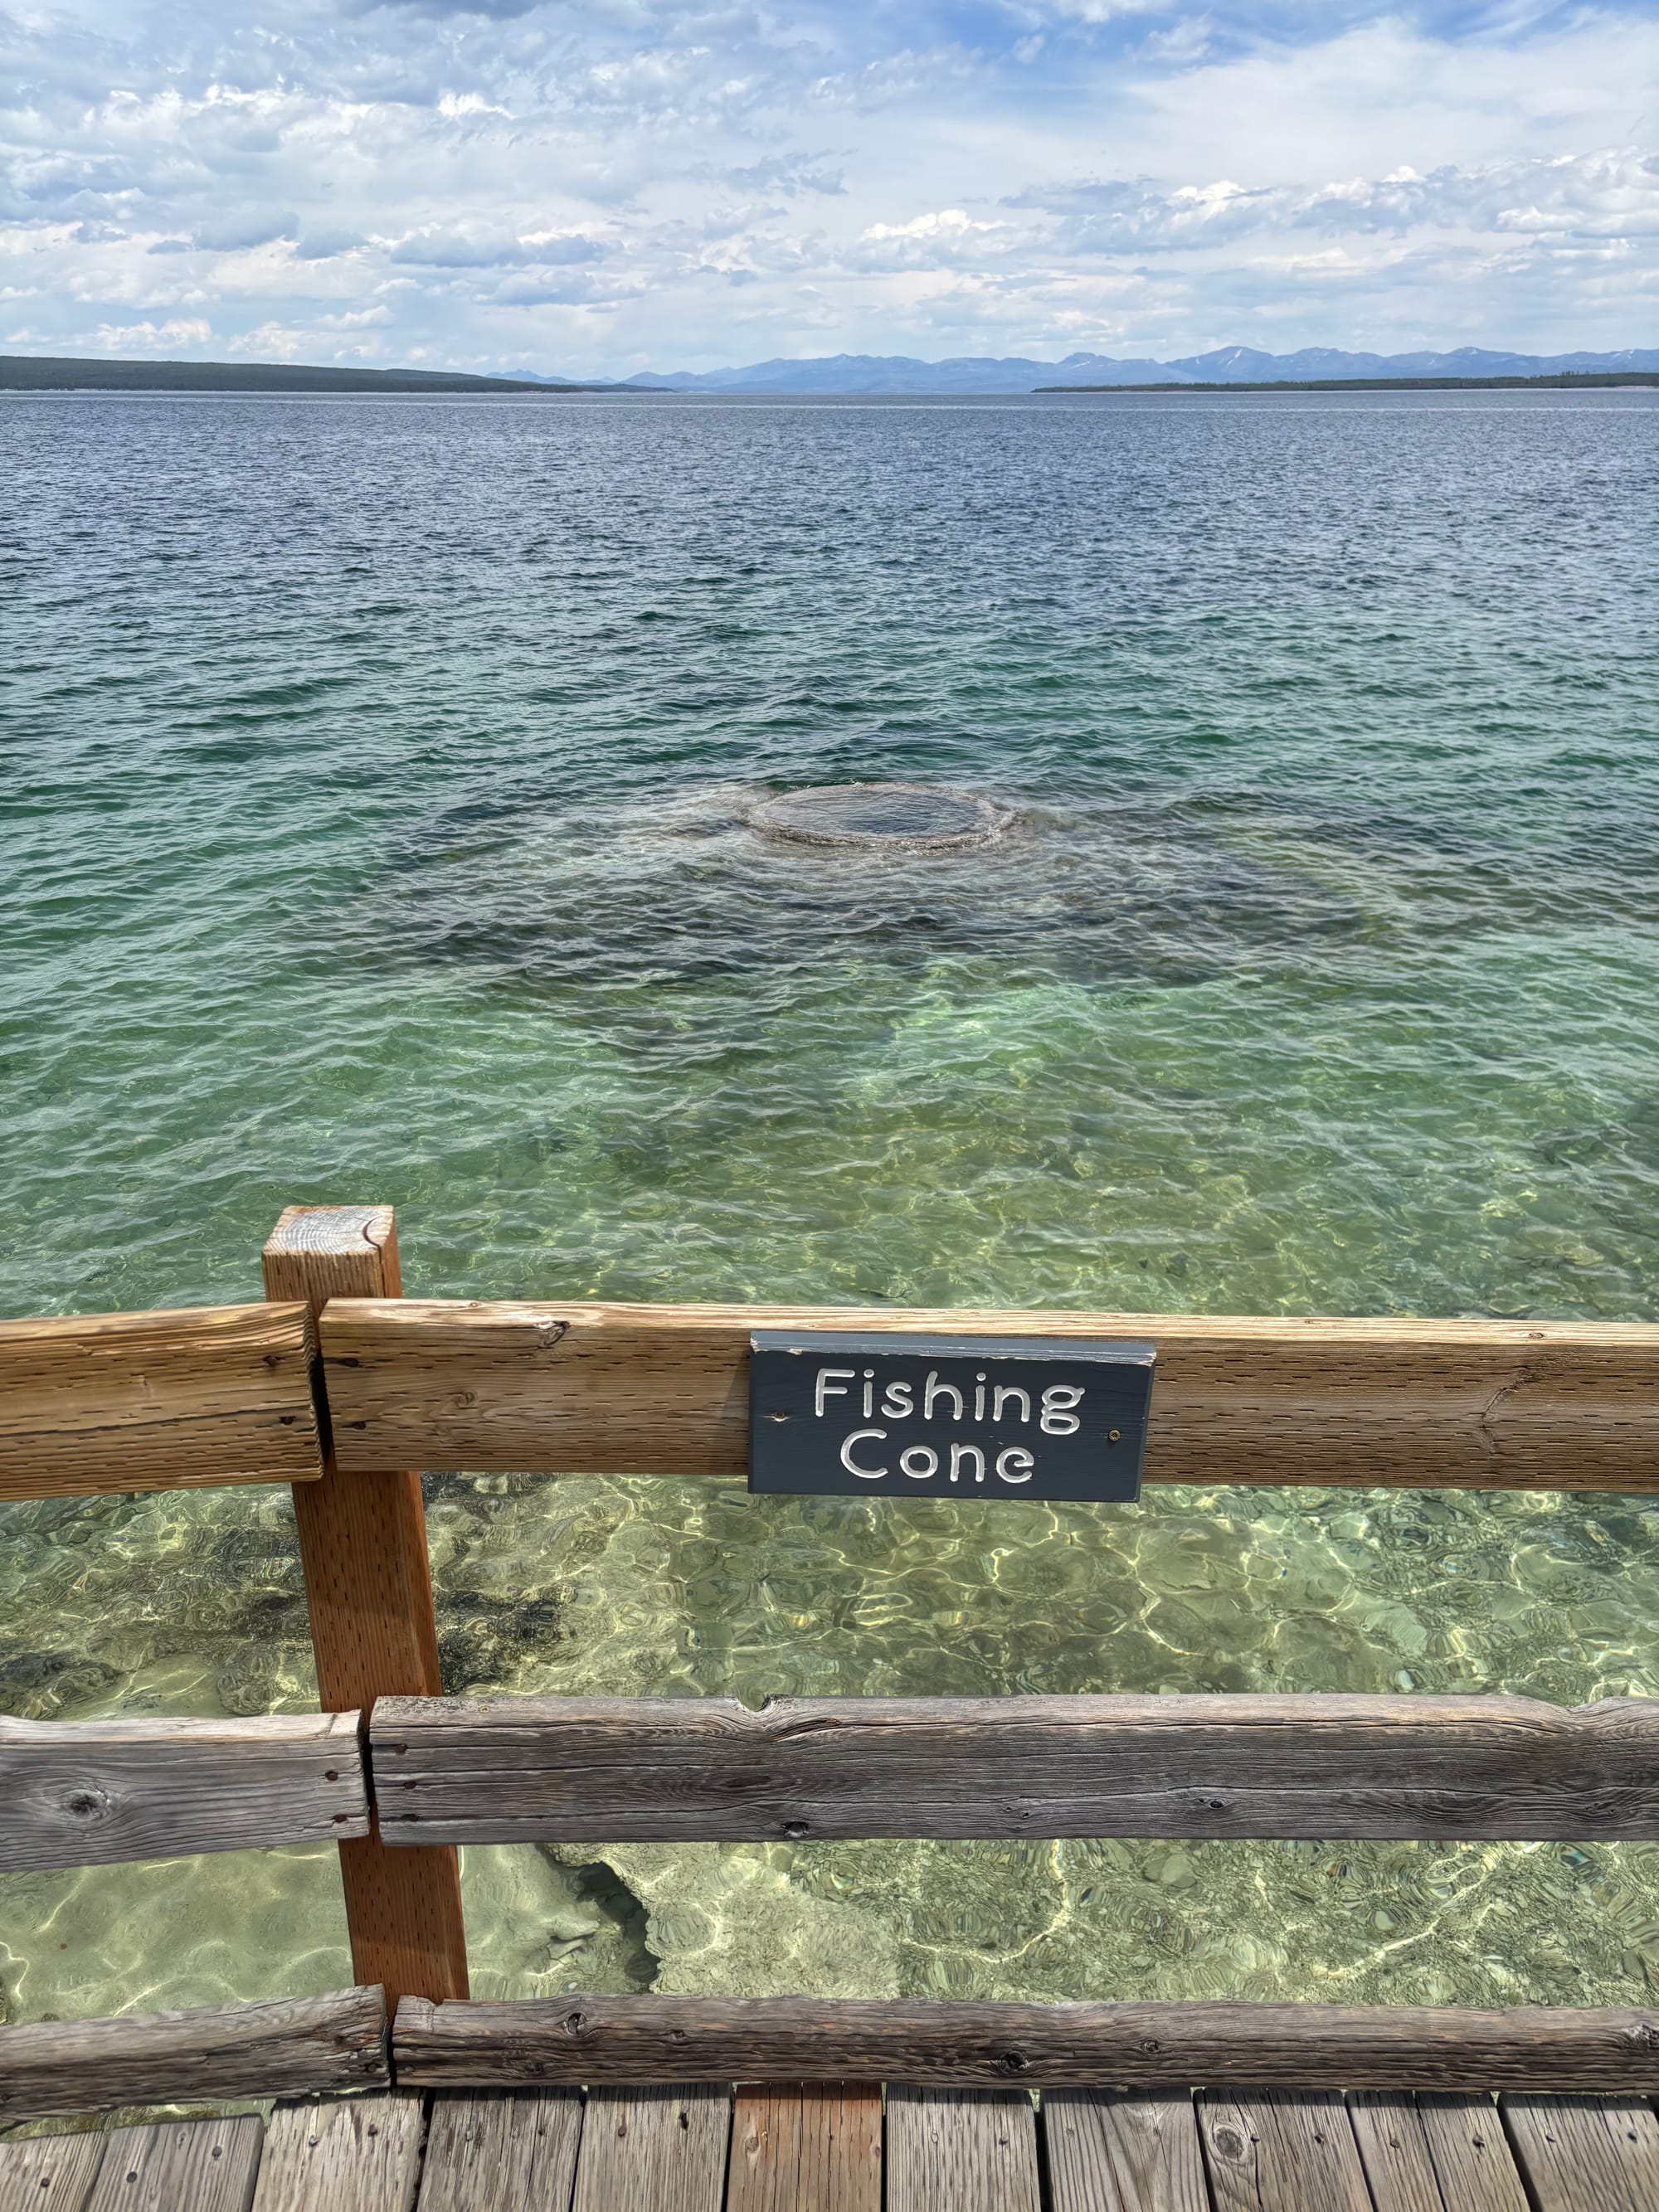
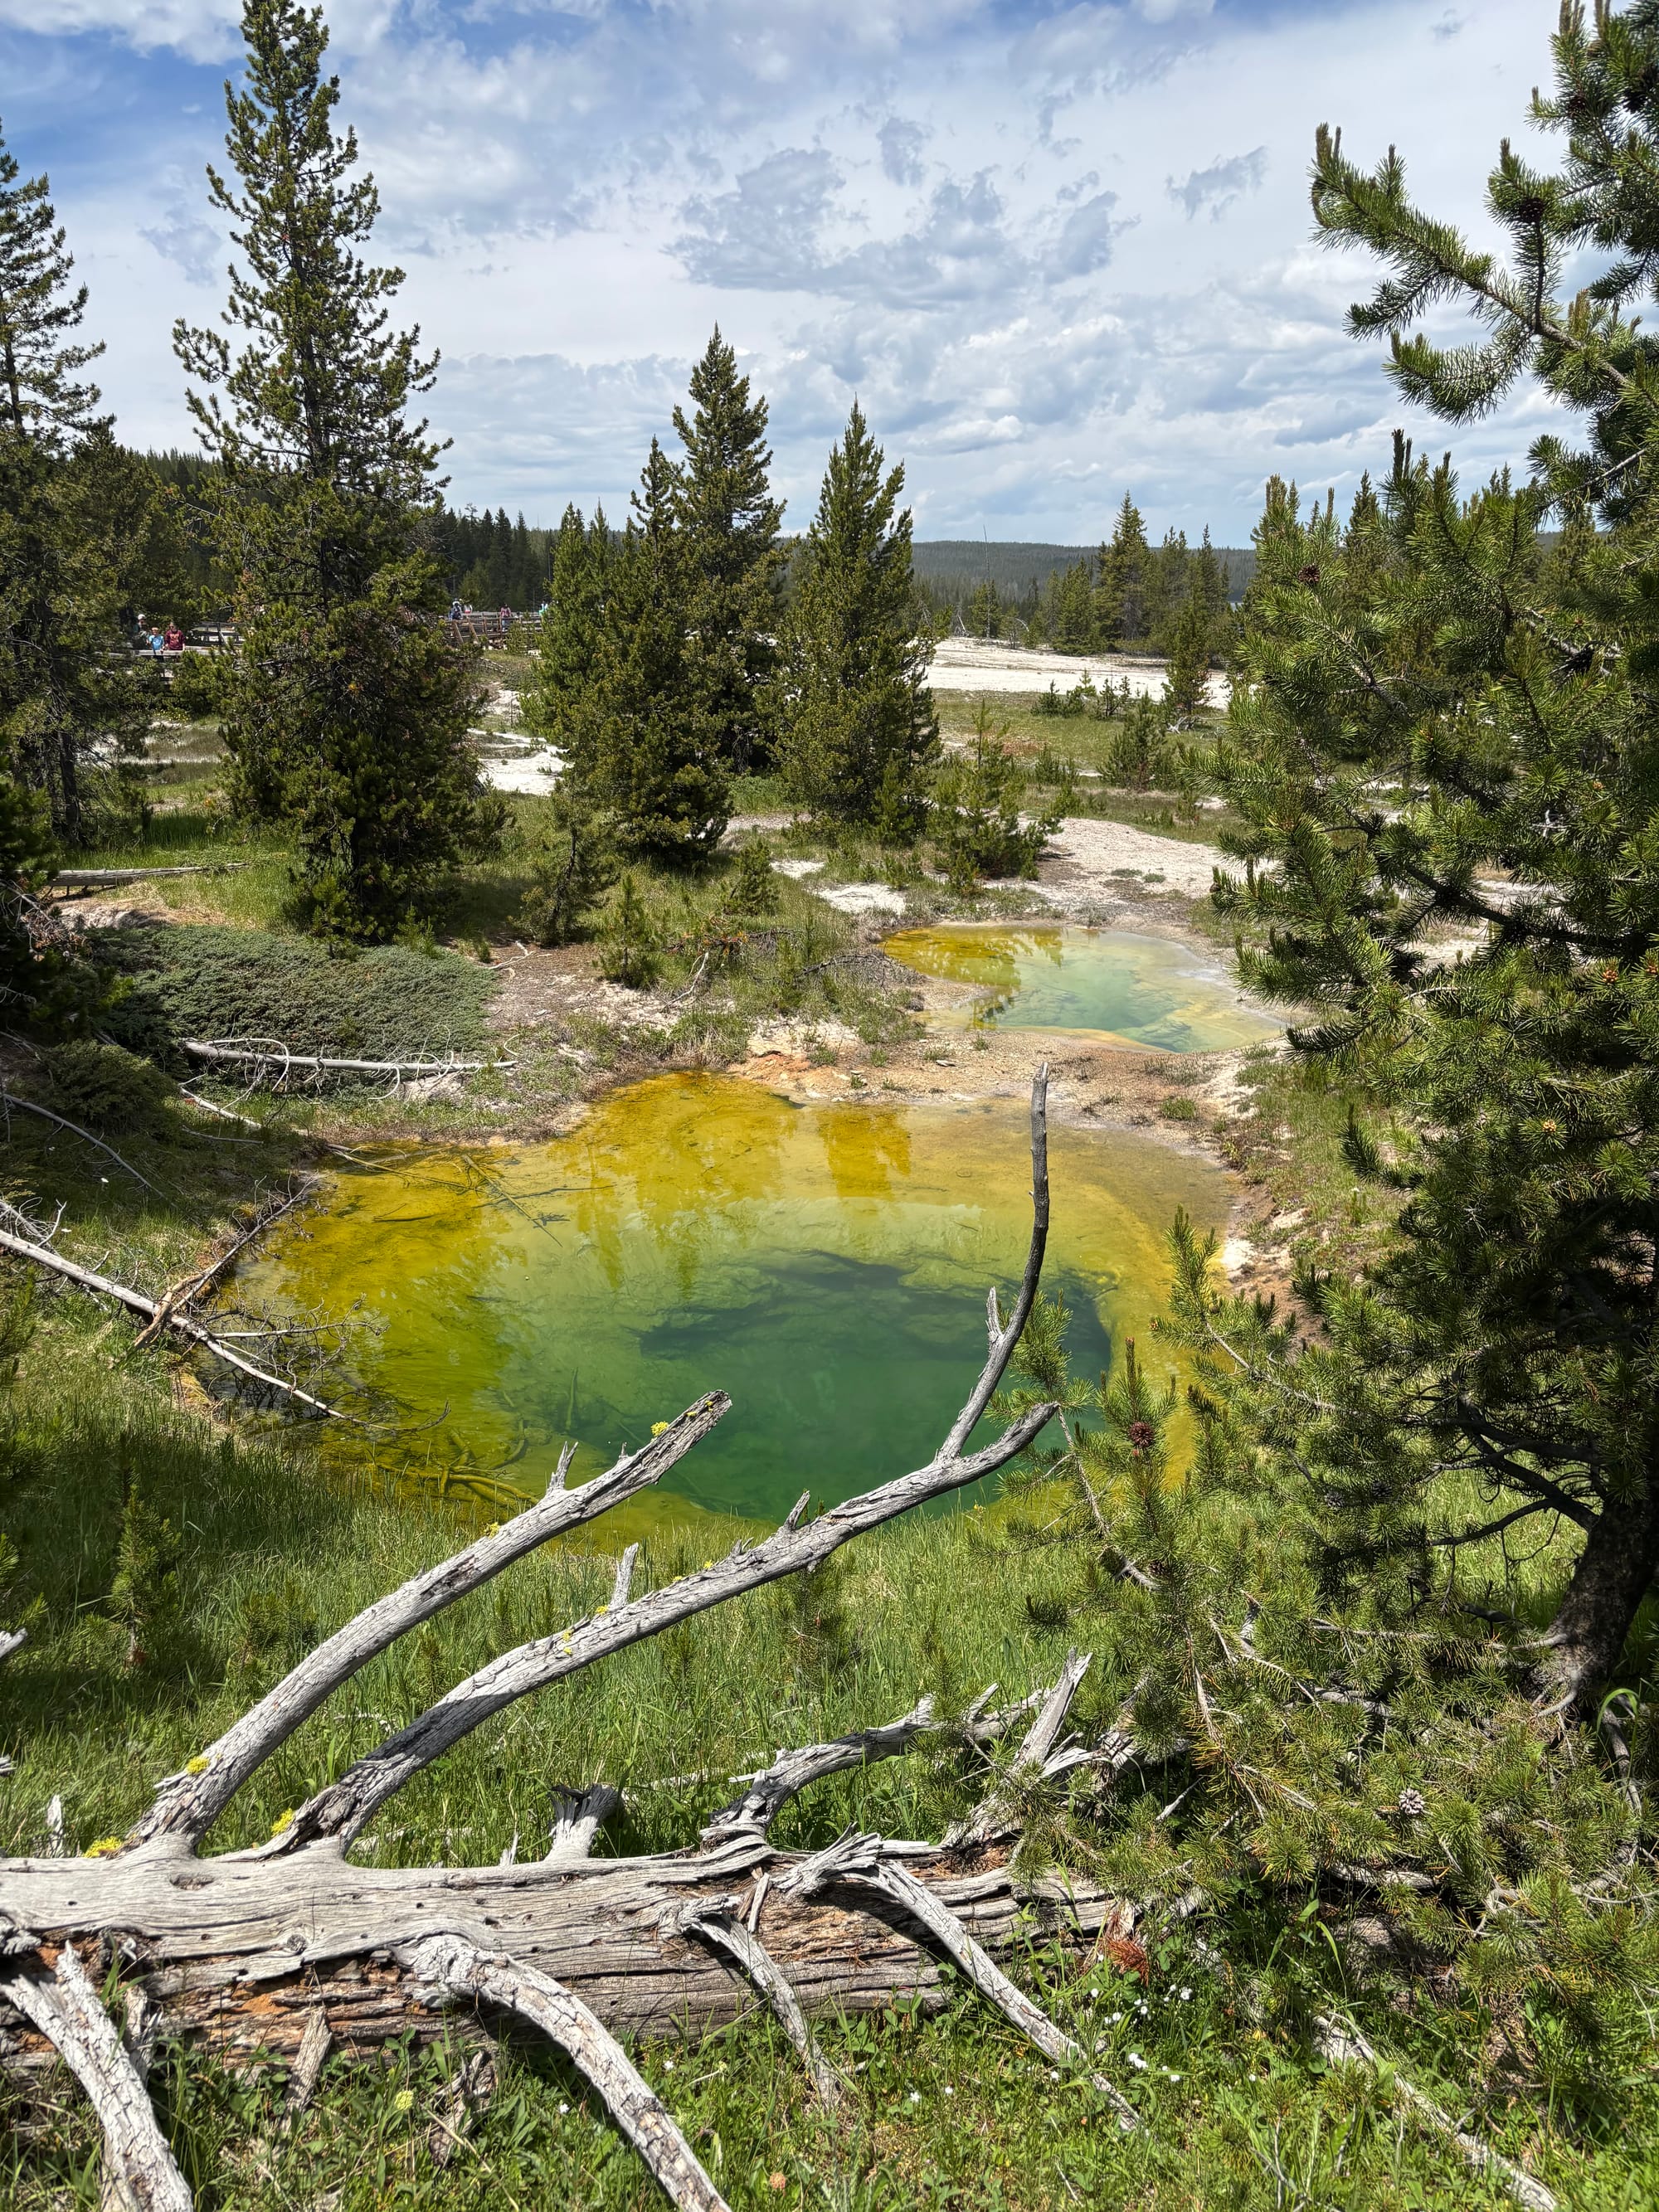
West Thumb
We checked into the Lake Lodge Cabins. The cabin was very basic with a double bed and a mediocre shower, but having our own private bathroom was a major upgrade over our original booking at Mammoth, which had communal bathrooms. Lake lodge is also fairly centrally located, which is nice.
For dinner, we had reservations at the Lake Yellowstone Hotel dining room. The hotel is very upscale and formal, but showing up in standard hiking jeans and t-shirts was completely fine. The food was great, I had the steak and my wife had the scallops. While expensive, it was not much more pricey than the basic cafeteria food in the park, making it worth the cost for a nice, sit-down meal.
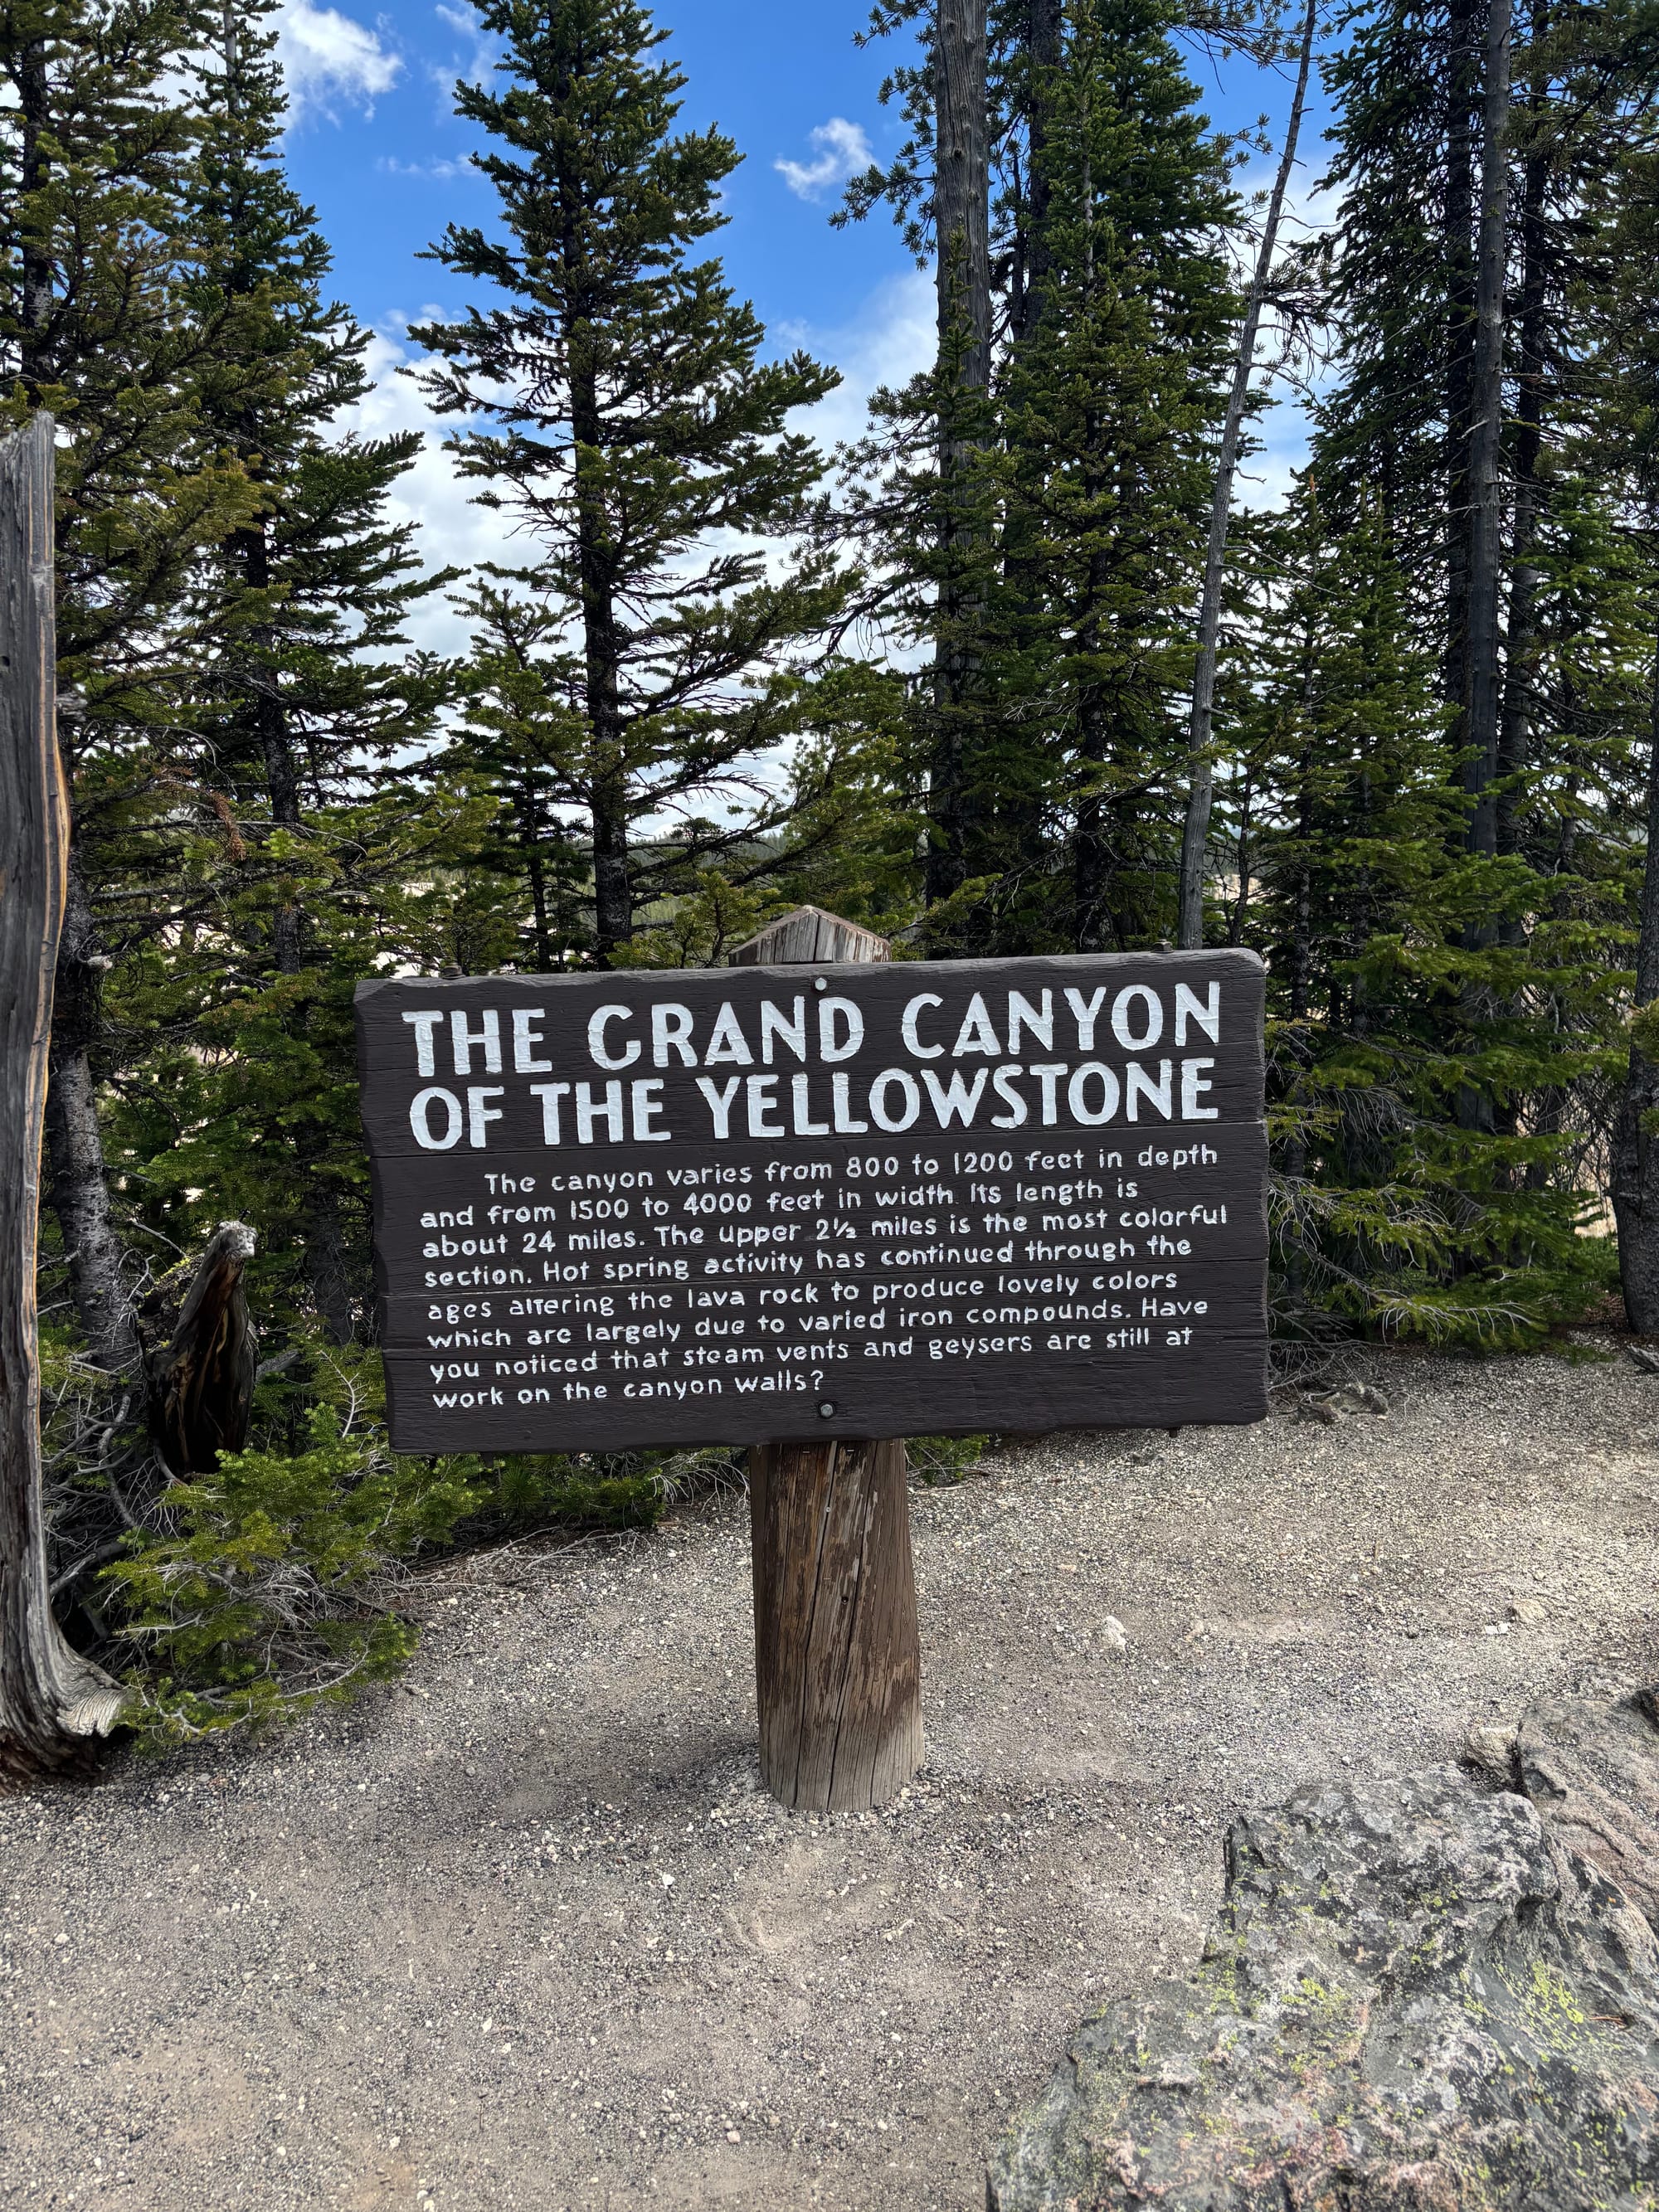
Day 6: Lamar Valley Wildlife Safari and the Grand Canyon of the Yellowstone
We woke up early and spent a few hours driving up and down the Lamar Valley.
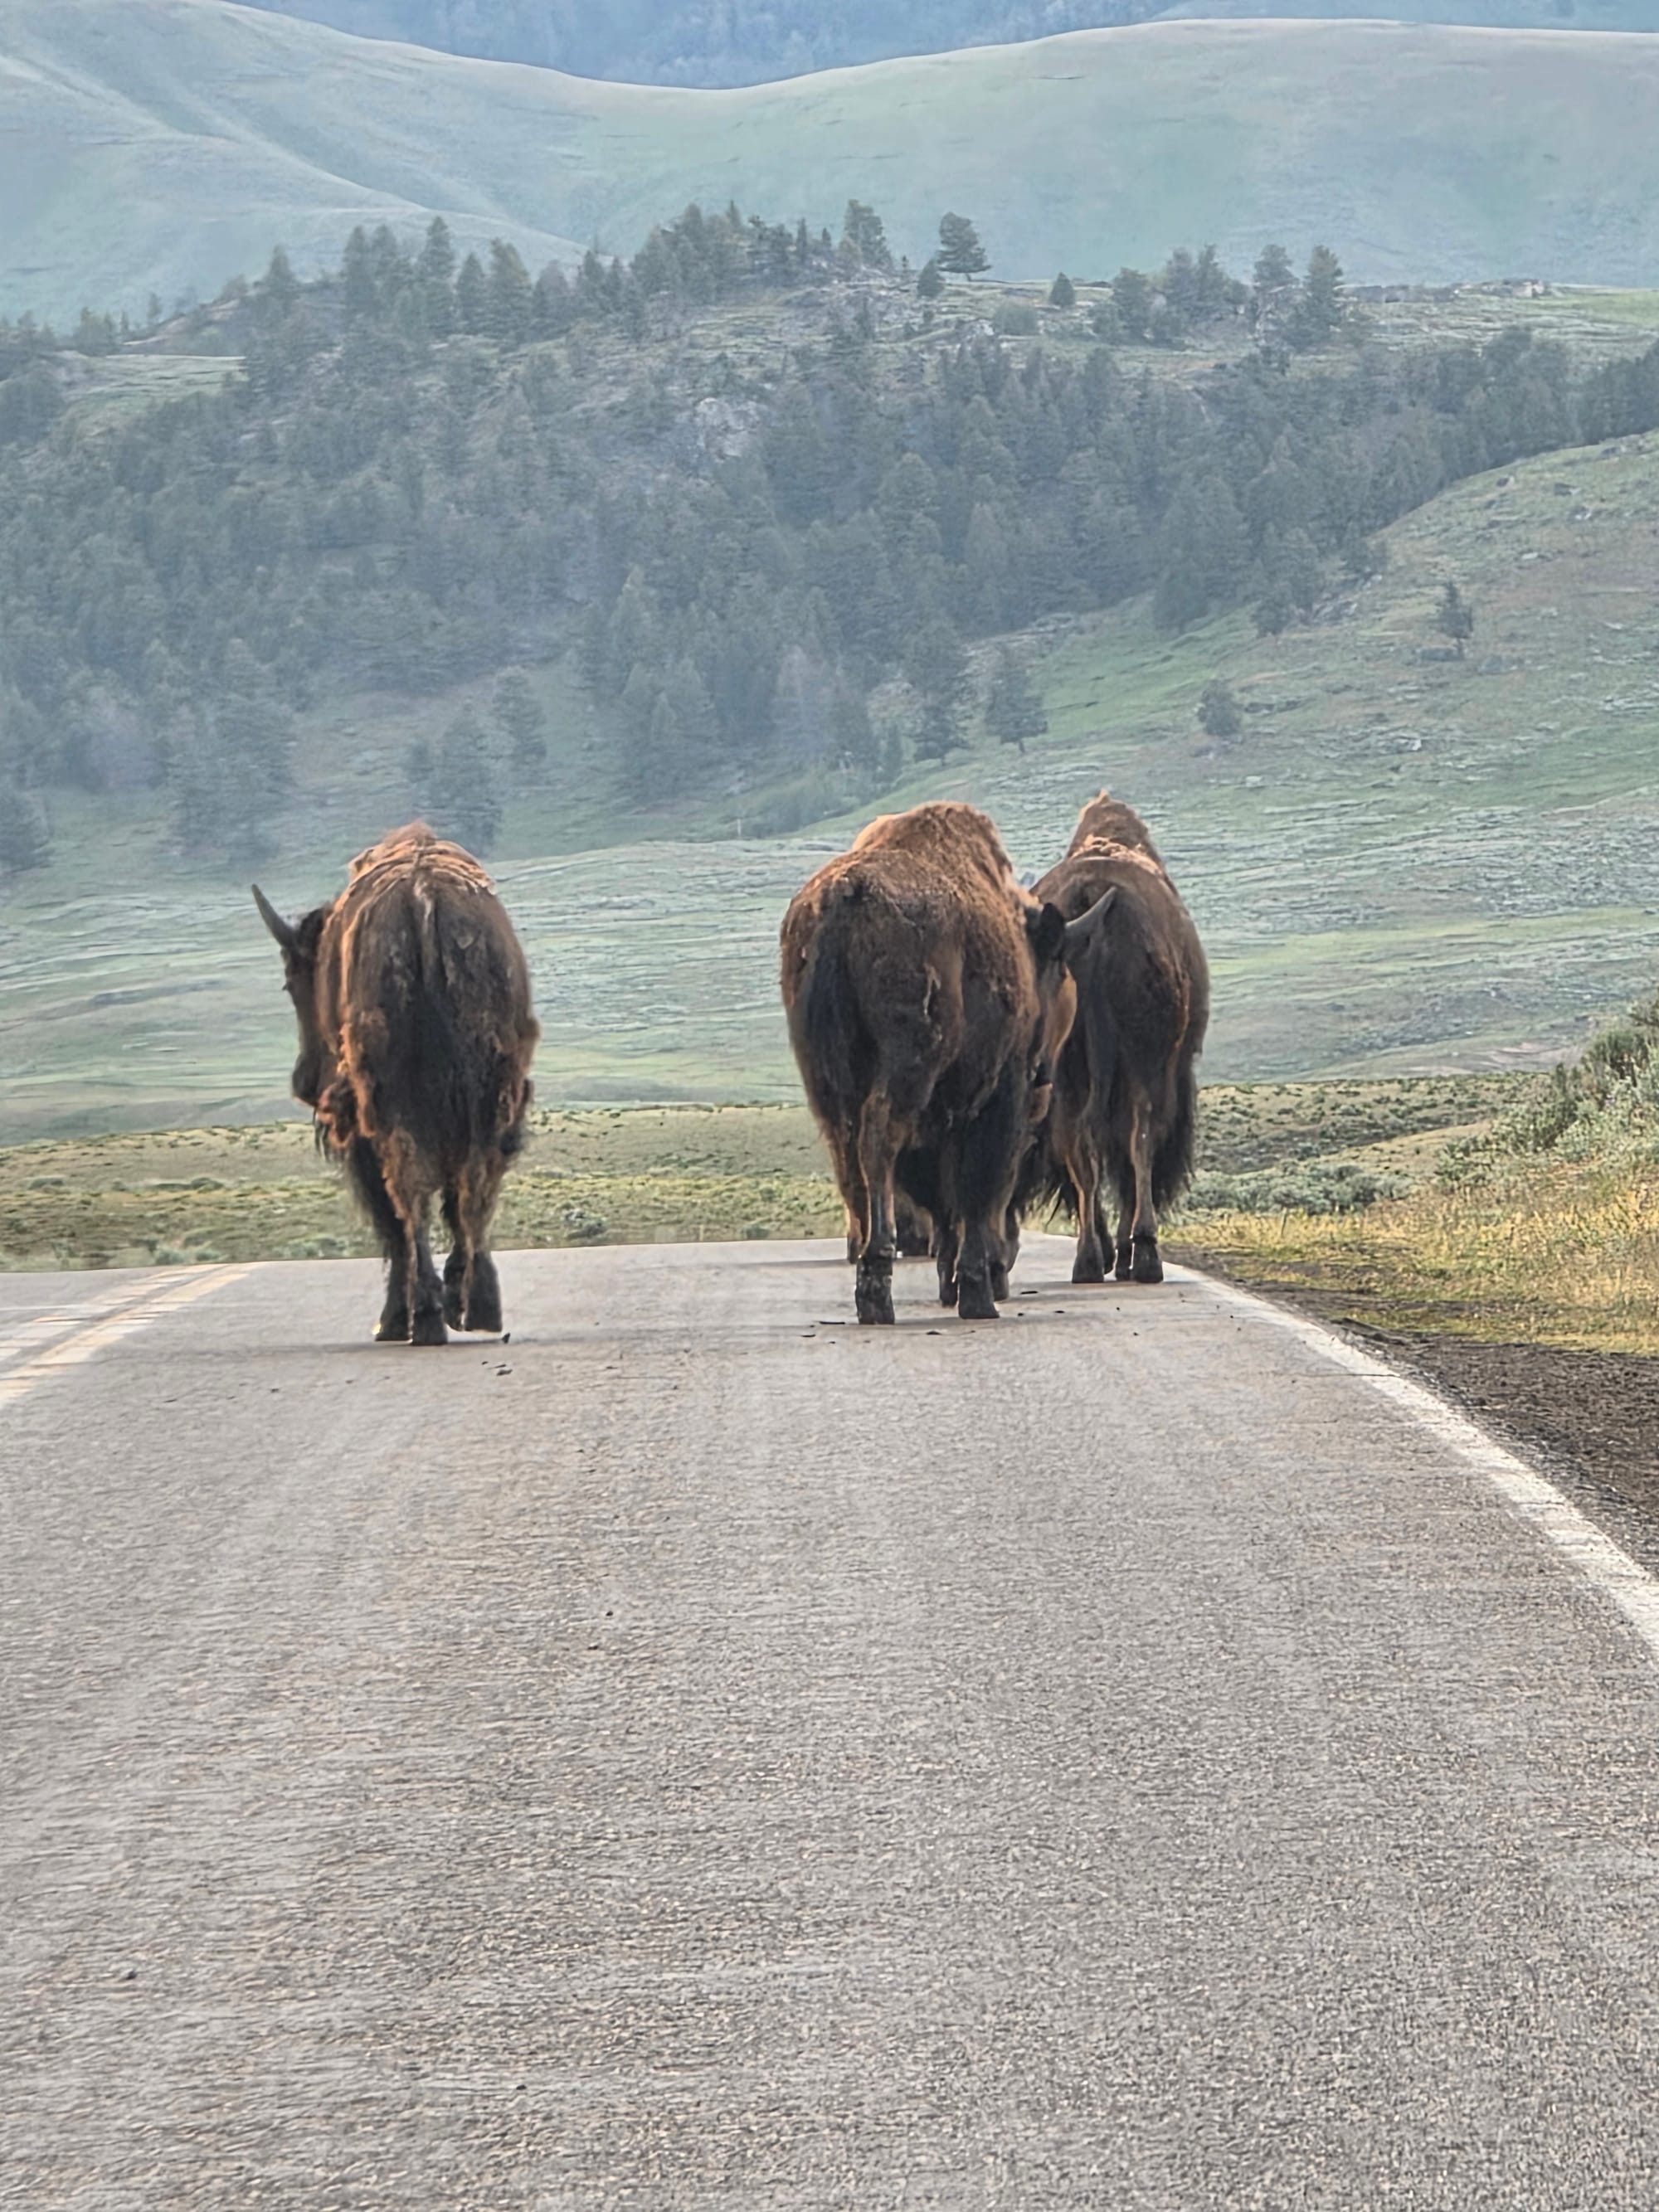
When driving through Lamar, there is no need to stop for the very first bison herd you see. There is almost always a larger, more impressive herd right around the next bend.
When we first arrived in the valley, we saw a few pronghorn grazing with the bison, though they disappeared later in the day. We joined a group of people on a hill with spotting scopes who helped us spot a wolf pack off in the distance. Even through the pro's spotting scopes, they were mostly just moving blobs, but it was still a cool experience. We also spotted a black bear just off the road that most people missed because they were watching a bison herd on the opposite side of the road, and we saw what might have been a grizzly or a cinnamon black bear.
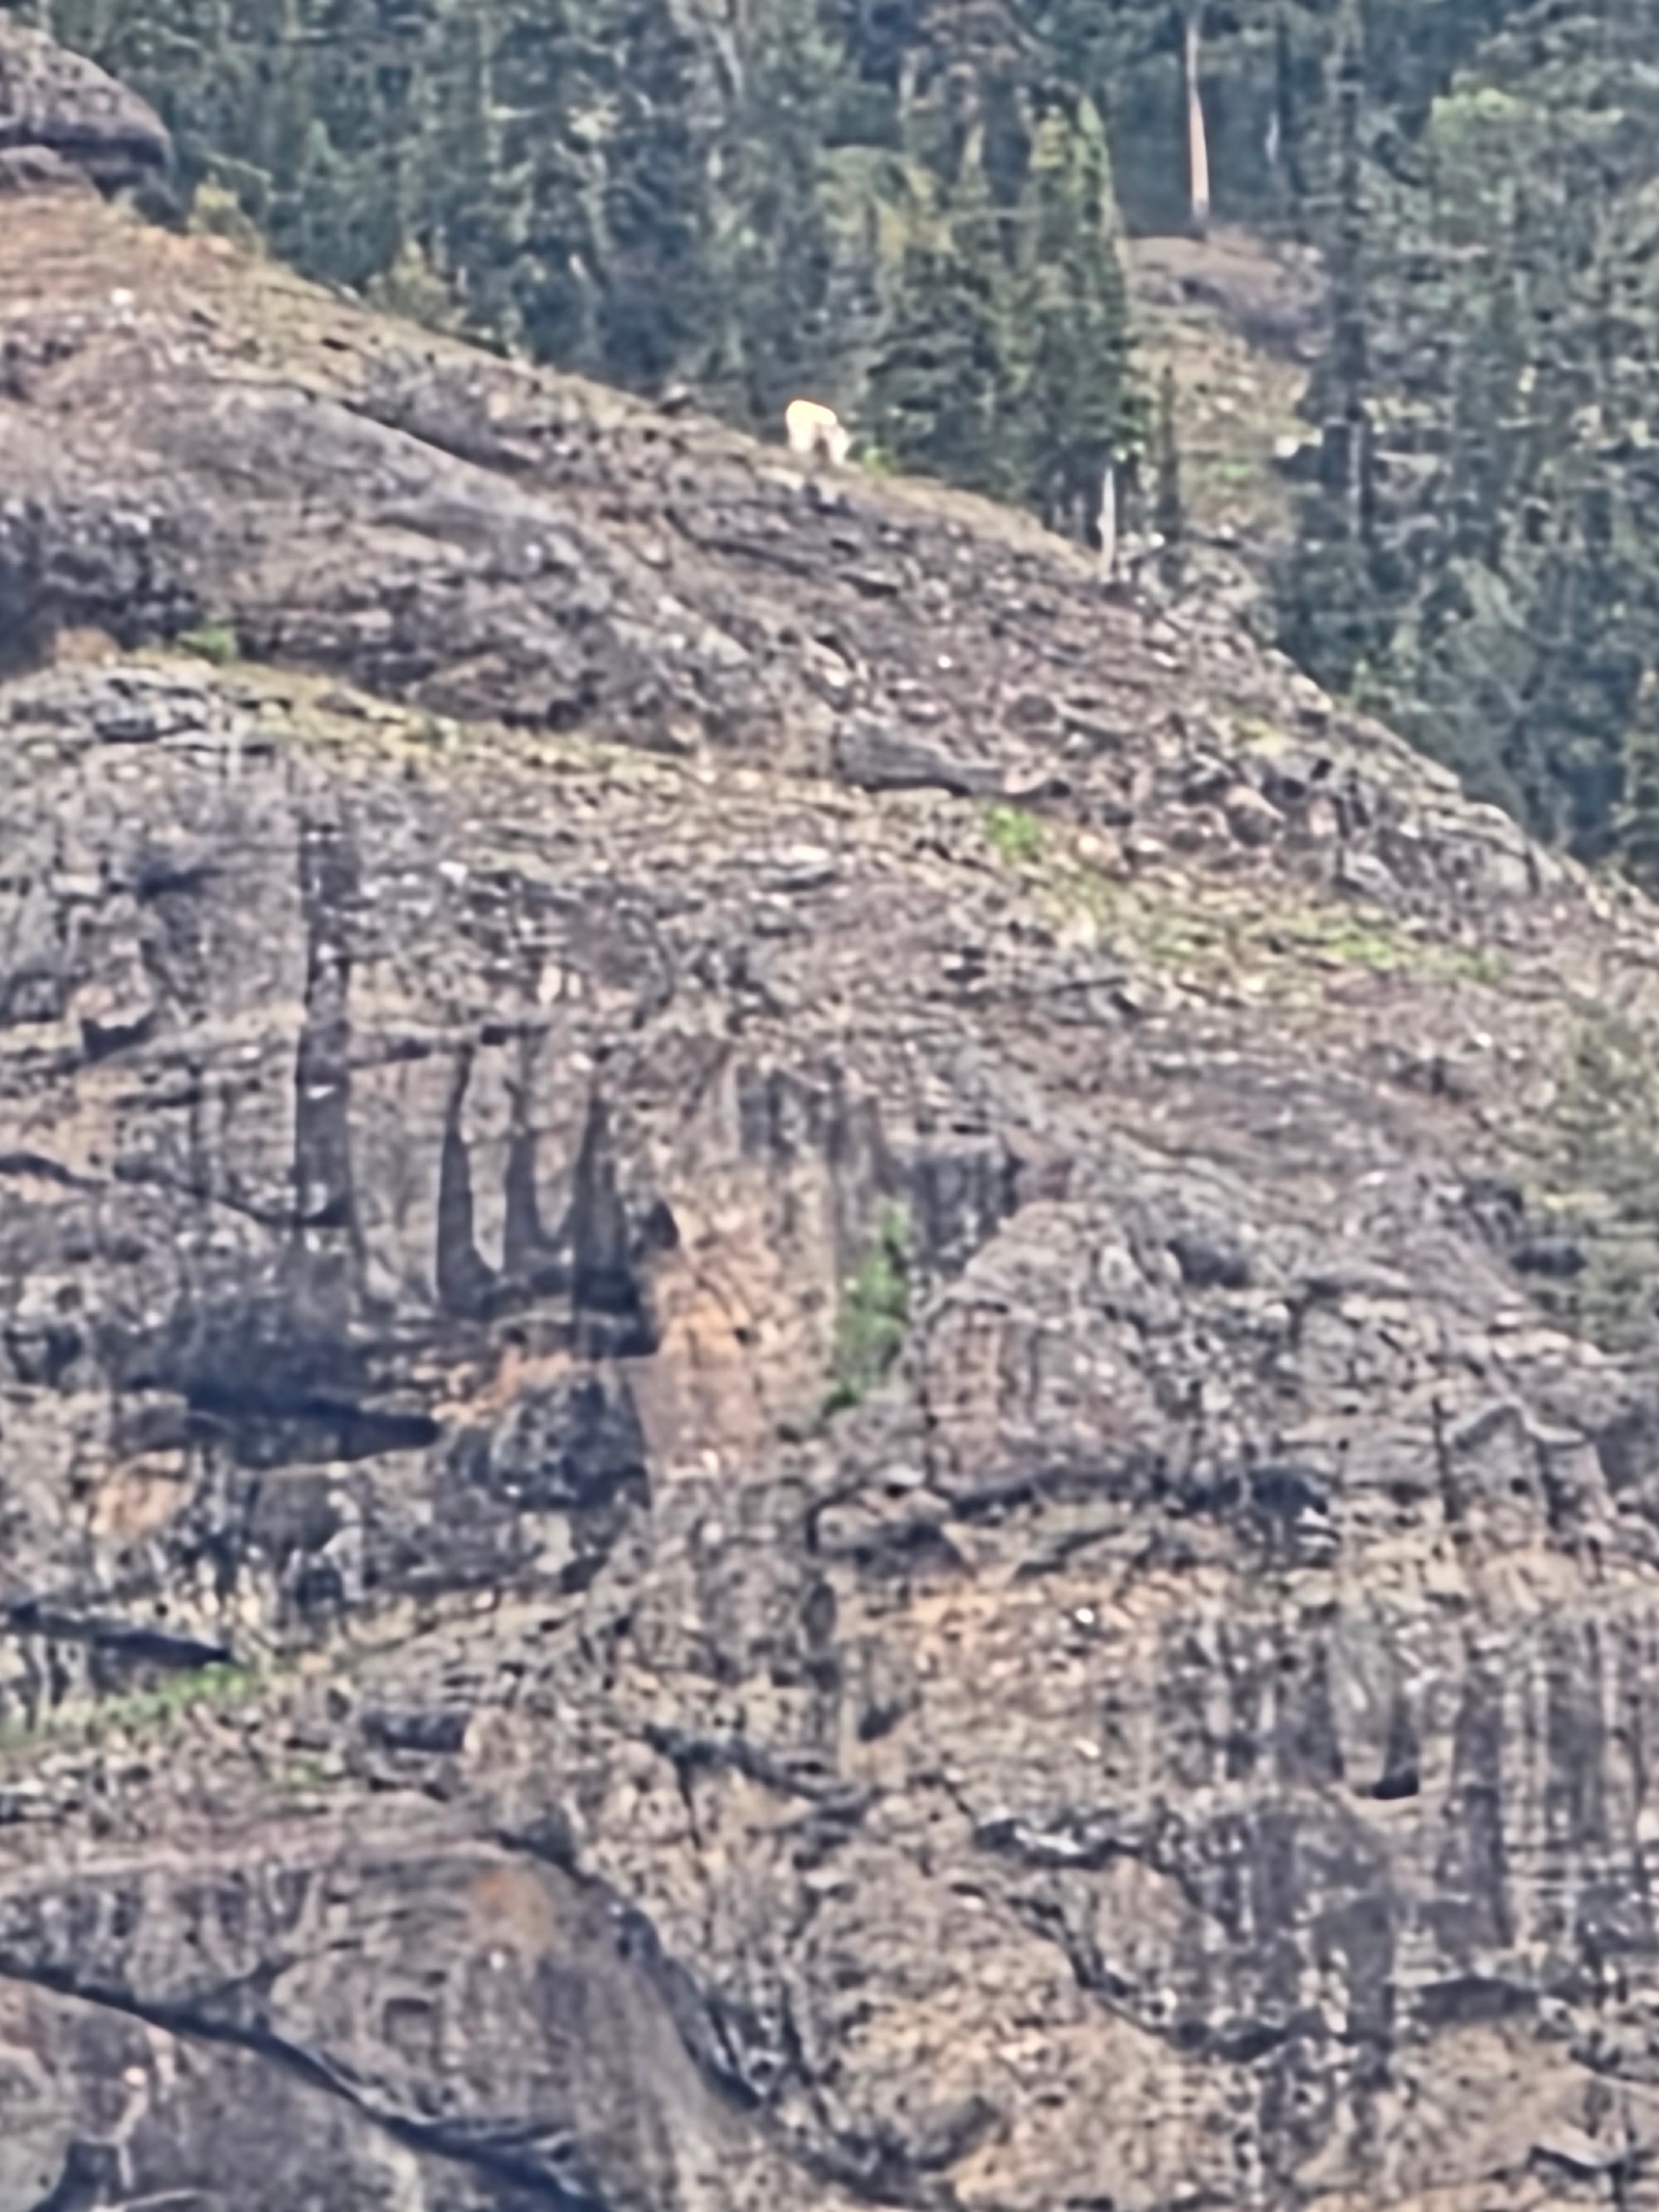
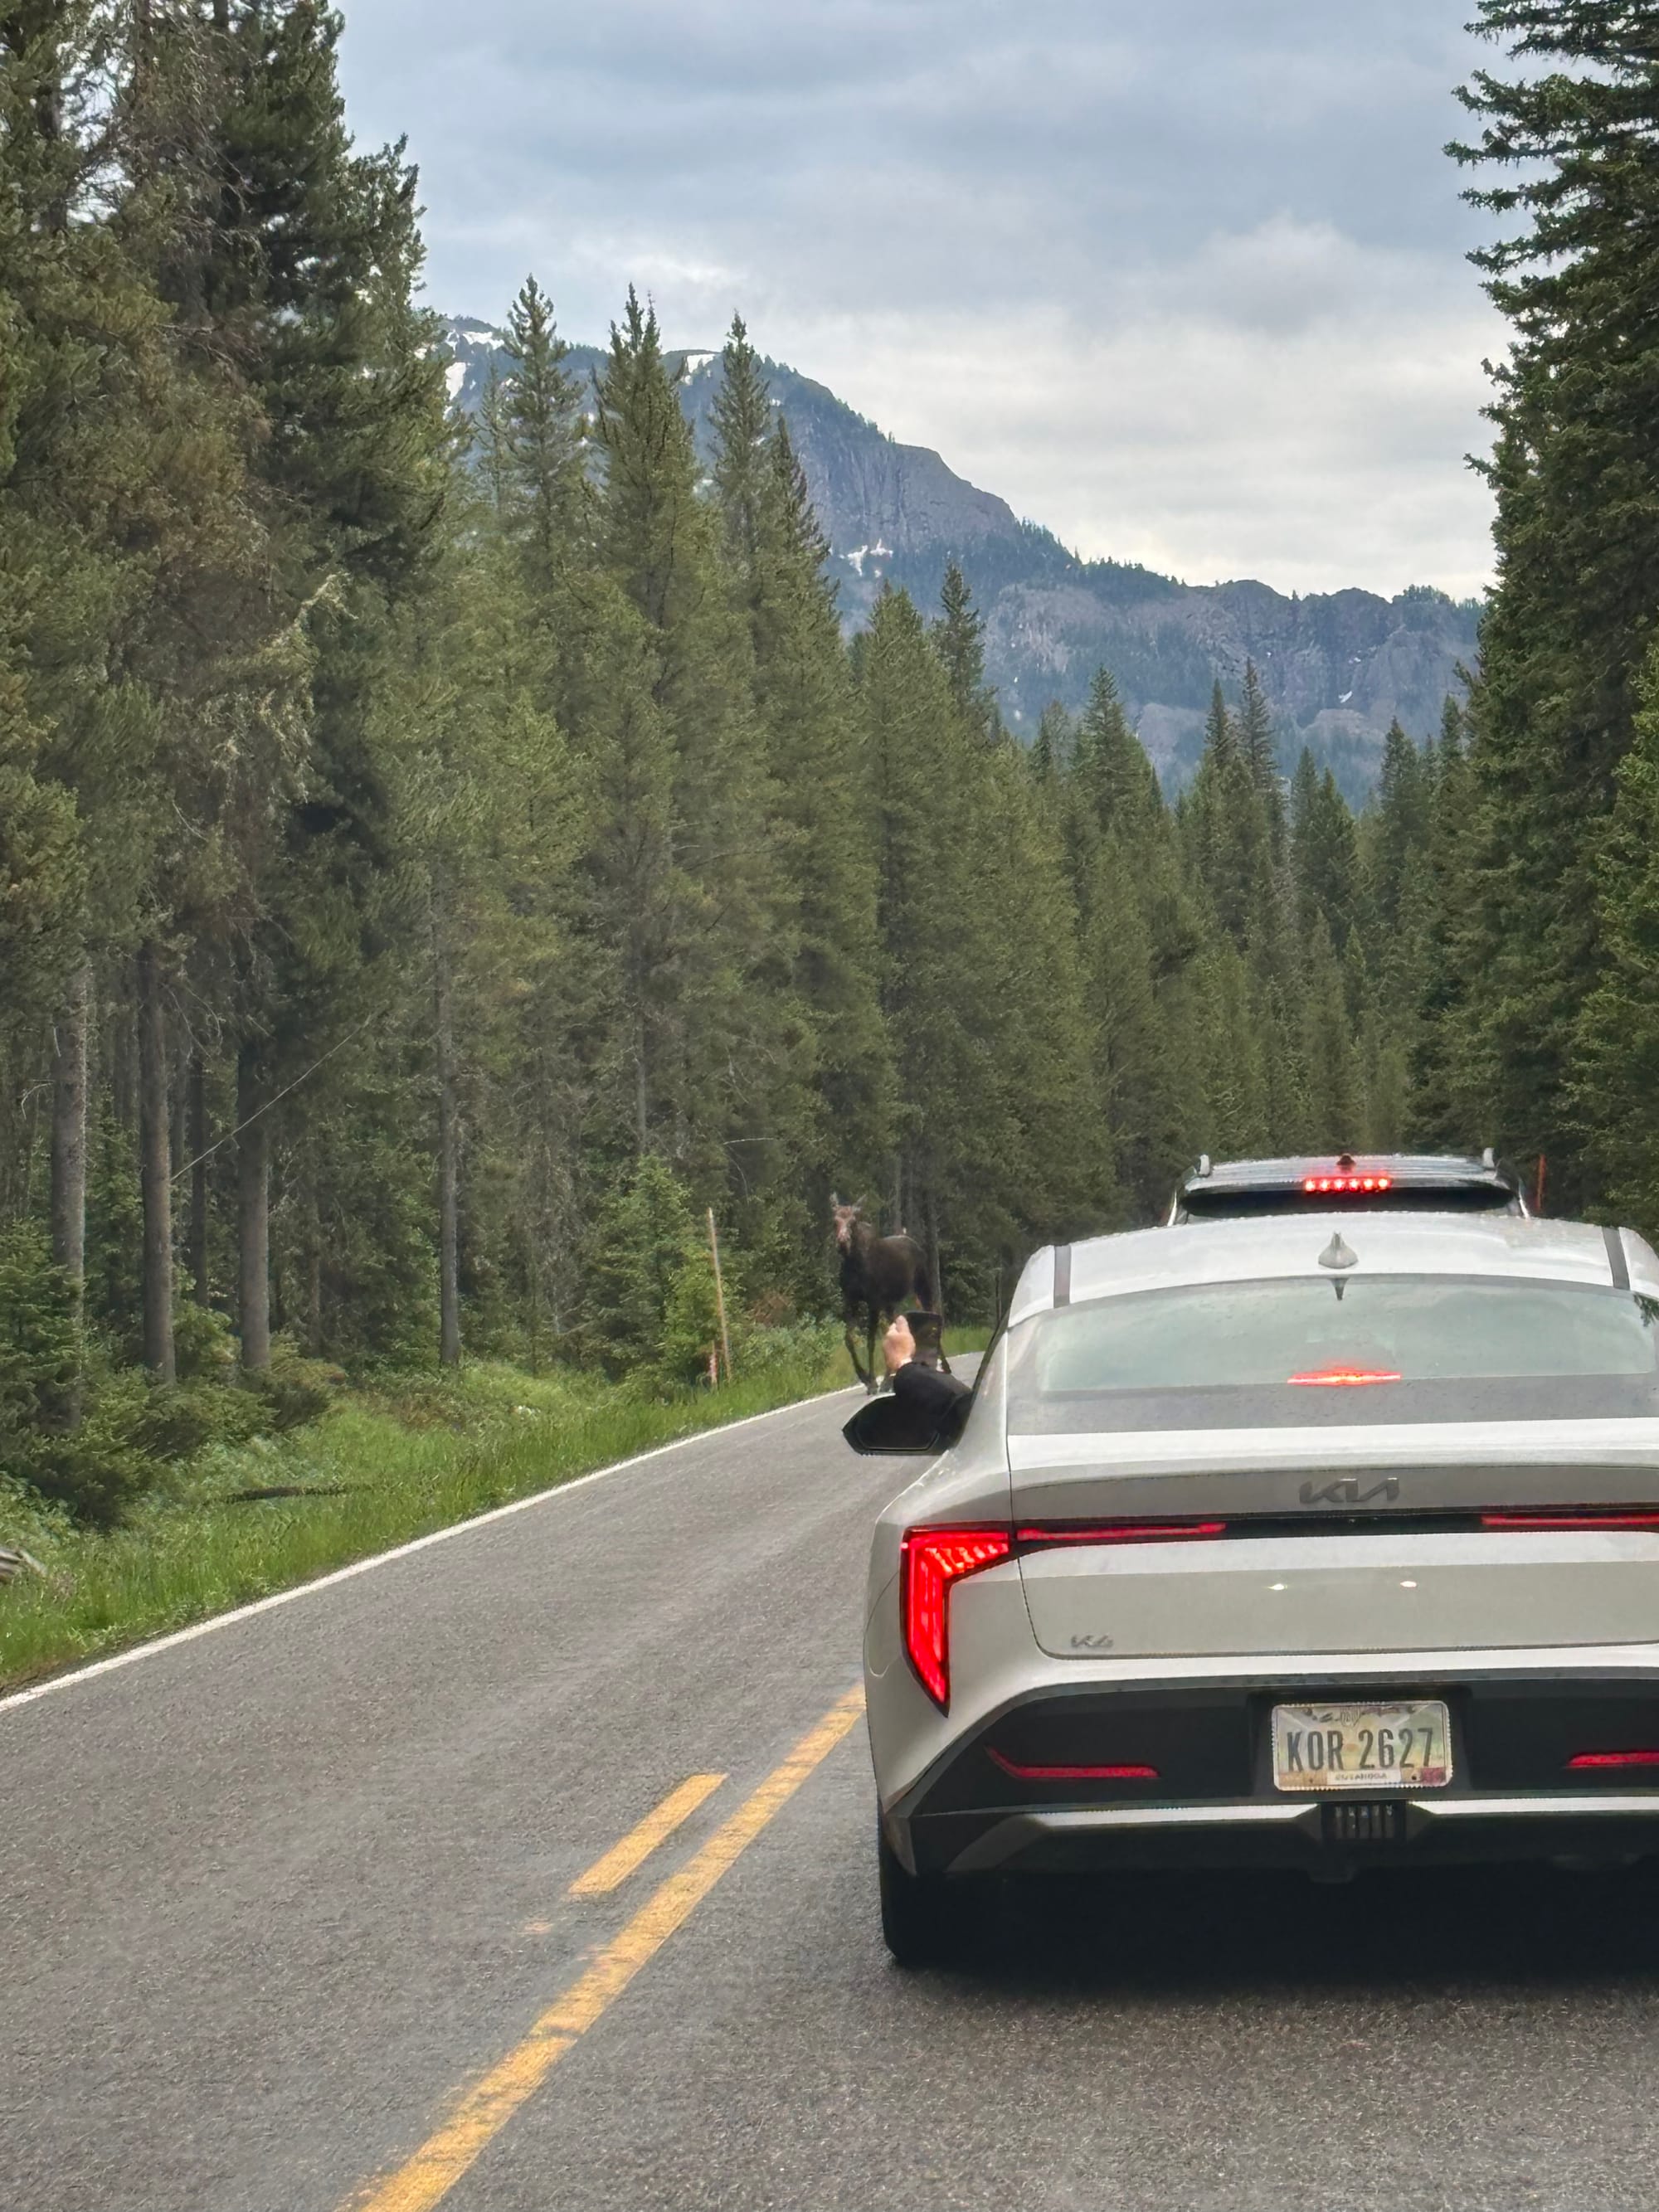
On our first pass, we drove all the way to the Northeast park entrance sign to take a photo. While the final stretch of the drive narrows into the mountains and has less wildlife, the scenery is beautiful. We also saw mountain goats high up in the rocky cliffs near the park boundary. They are very hard to spot without binoculars, so look for other cars parked in the turnouts looking up; the other groups were very willing to work together to spot some. On our way back, we spotted a lone moose right along the road, which we've heard is a rare sight inside Yellowstone.
We did four passes total through the valley (up and back twice), which was well worth the time. Getting there early helped us spot wildlife before the crowds arrived.
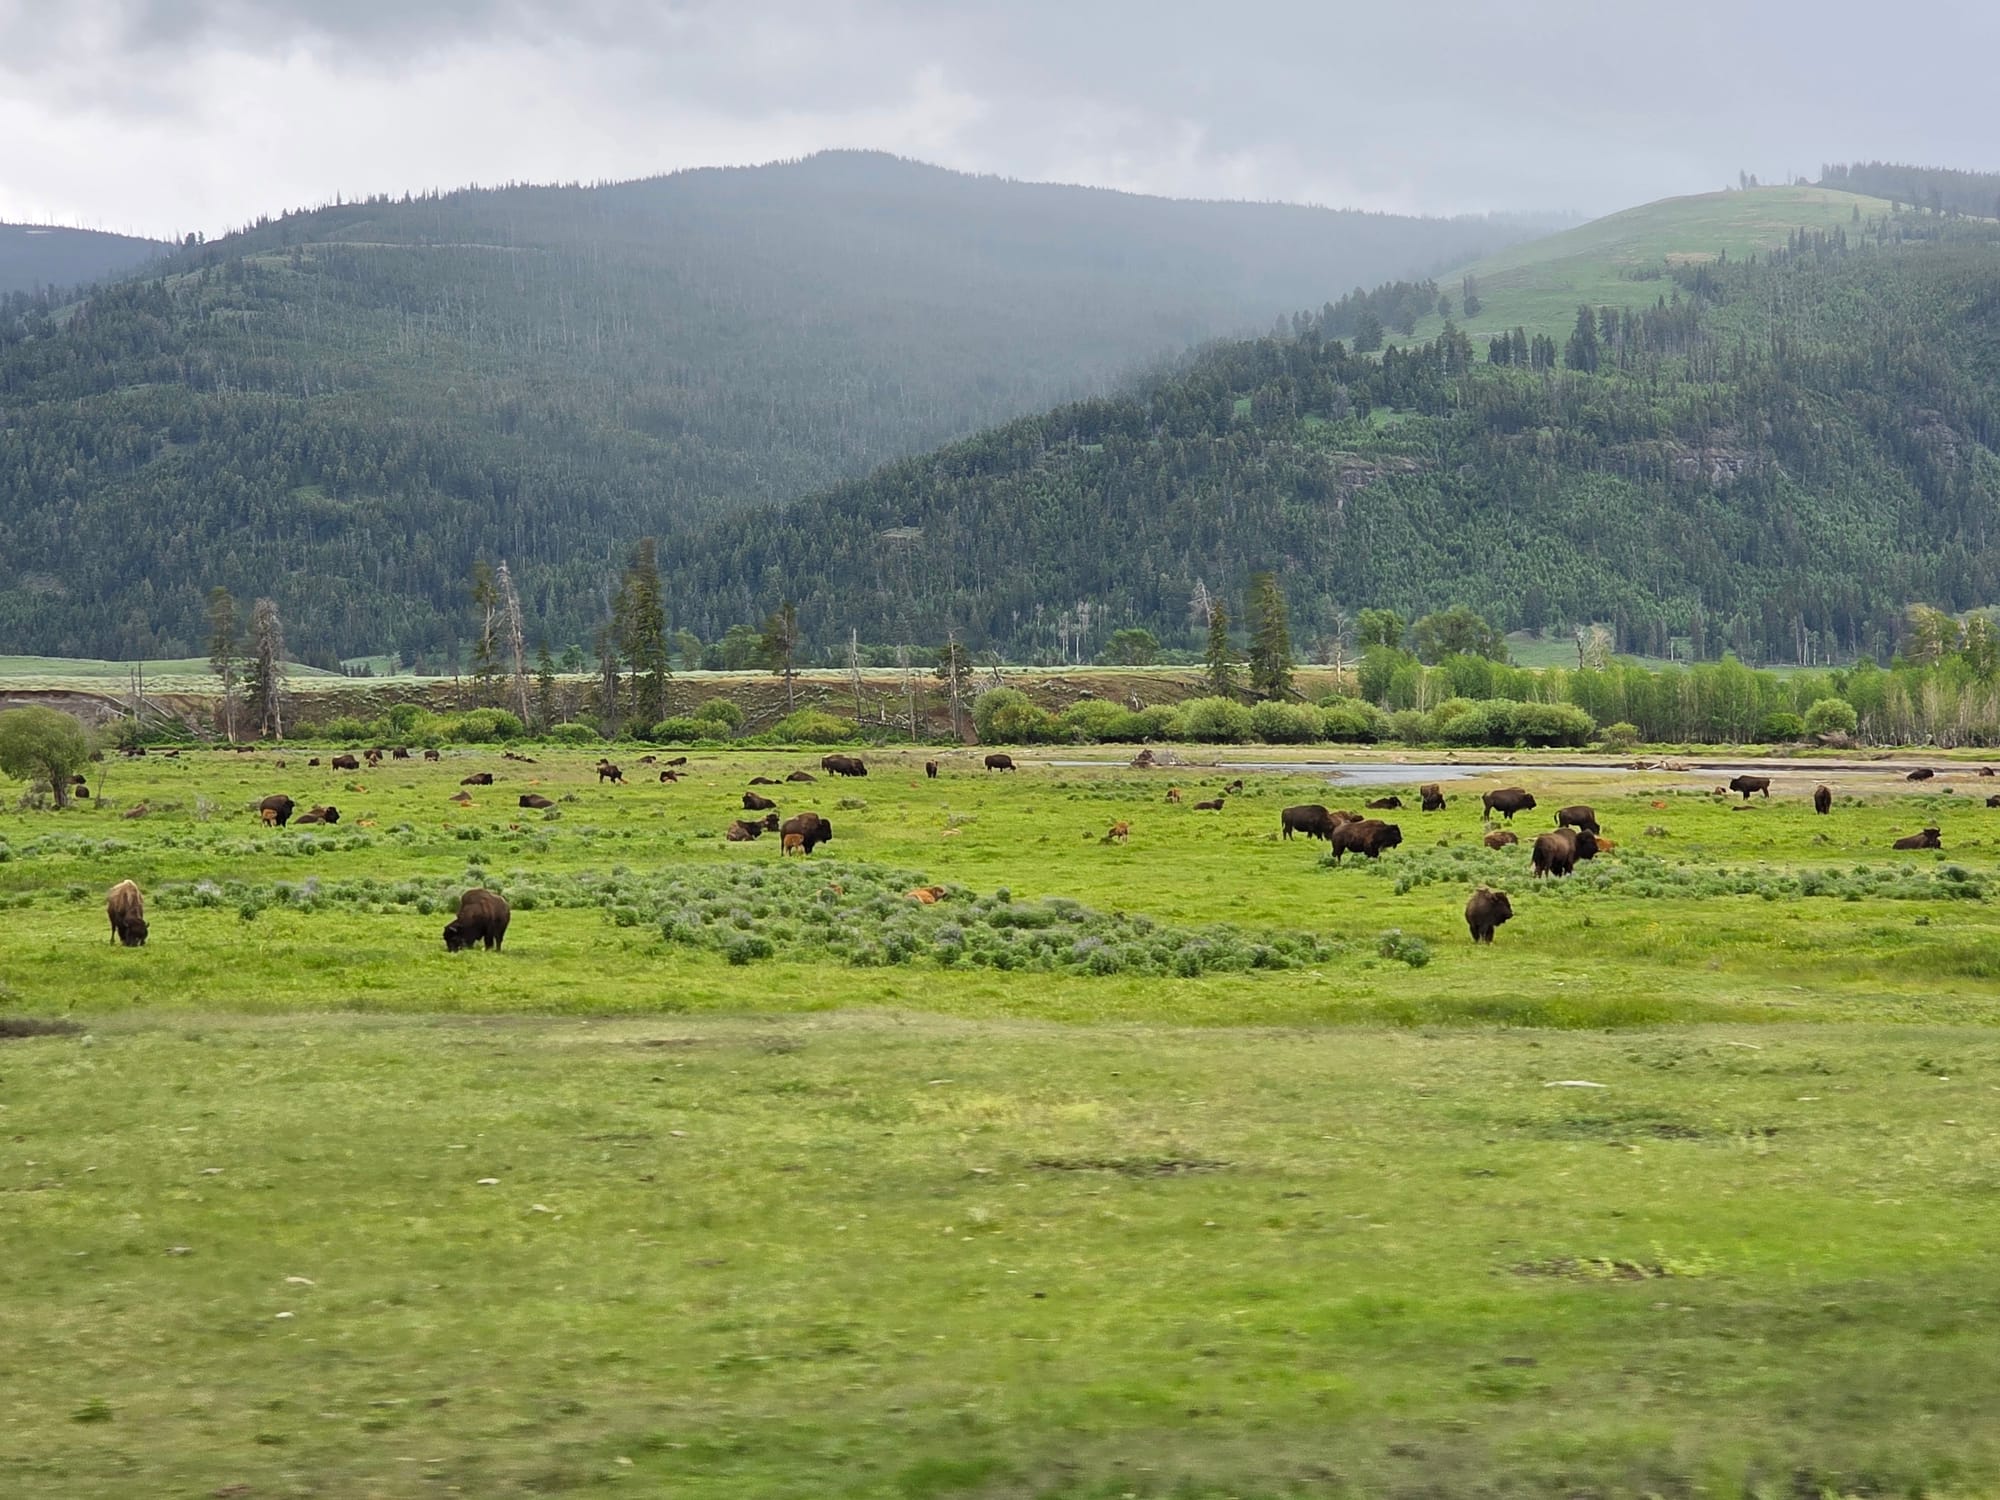
Too many bison to count
Overall, the main highlight of Lamar is the sheer number of bison. It is worth watching a large herd for a while to see the calves playing, taking dust baths, and occasionally head-butting.
- Lamar vs. Hayden Valley: Lamar is a true destination where you should spend half a day driving around to see animals. Hayden Valley, on the other hand, is a stretch you will naturally drive through on your way between other park sites. Slow down to look for animals when driving through Hayden, but in my opinion don't plan it as a dedicated destination like Lamar.
In the afternoon, we drove the North Rim of the Grand Canyon of the Yellowstone. Many reviews warn of terrible parking here, but because visitors only stay for 10 or 15 minutes to take a quick photo, the spots turn over rapidly. If a lot is full, just drive slowly and a spot will open up. We recommend stopping at every turnout along the rim.
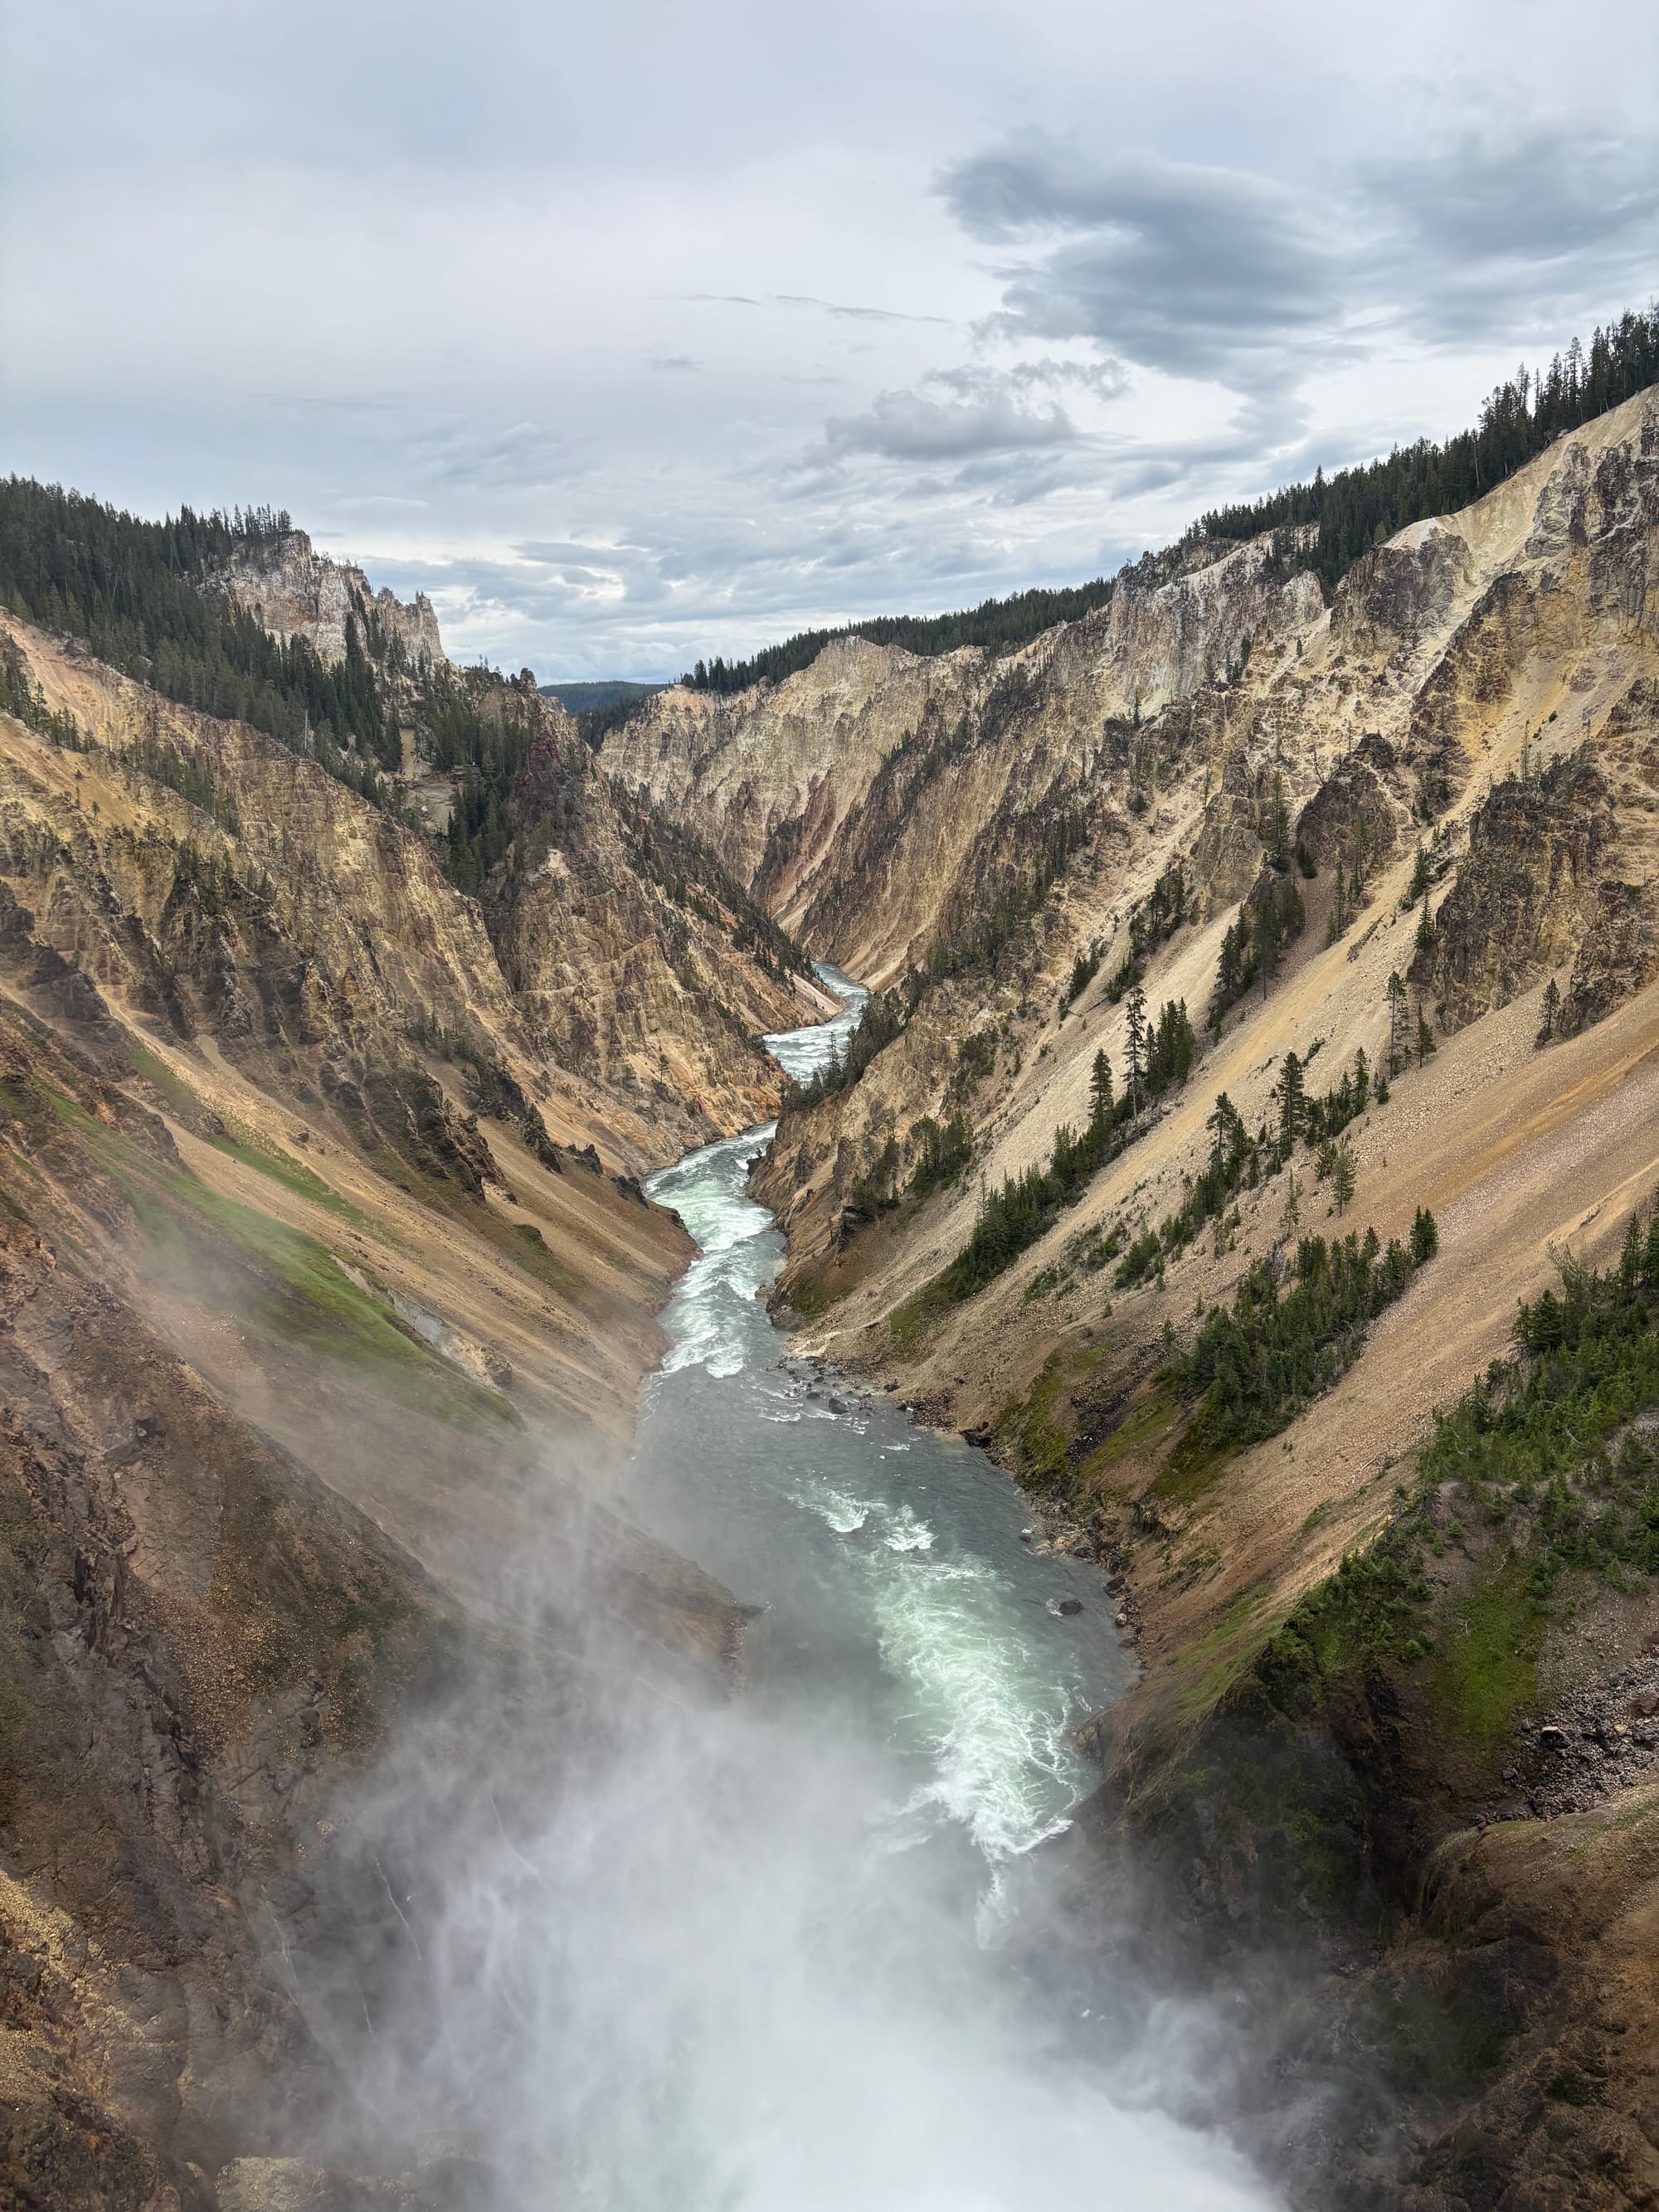
At the first stop, we hiked down the Brink of the Lower Falls trail. This is a steep series of paved switchbacks that takes you directly to the edge of the massive waterfall. We carried our packed lunches down and ate at the viewing platform at the bottom, which was a highlight. A few other groups commented that they wished they had thought to bring food and water down with them.
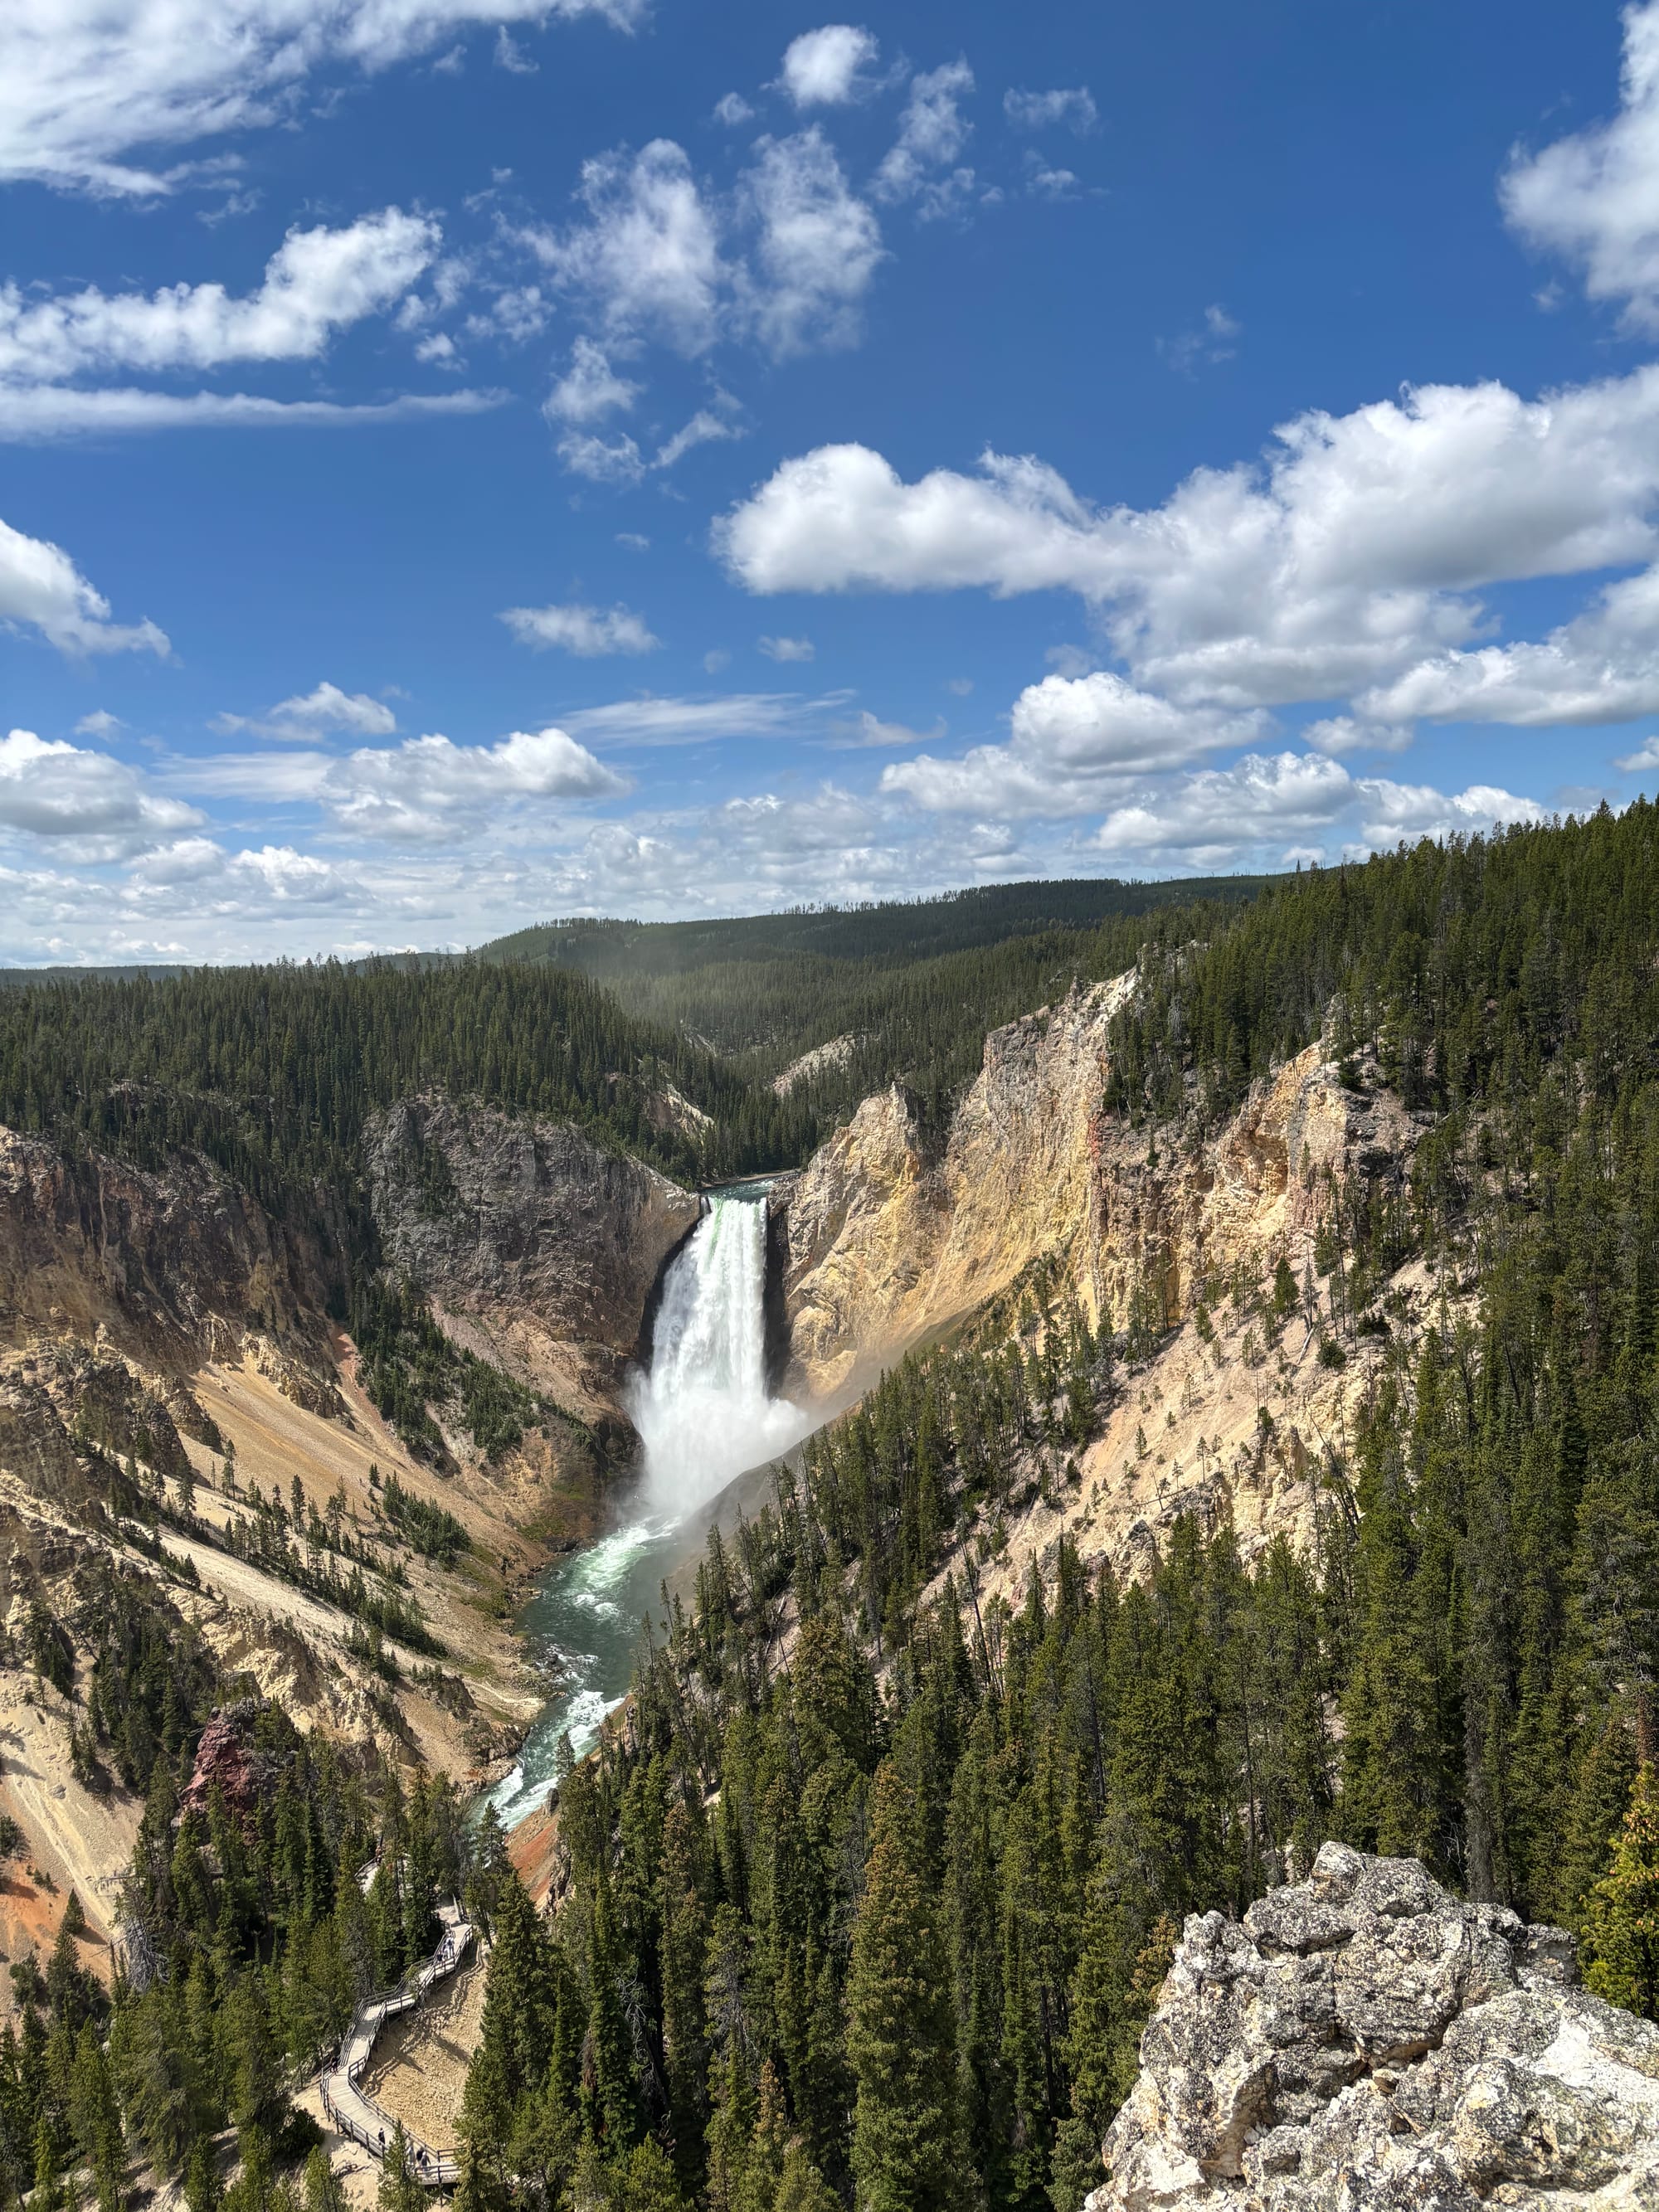
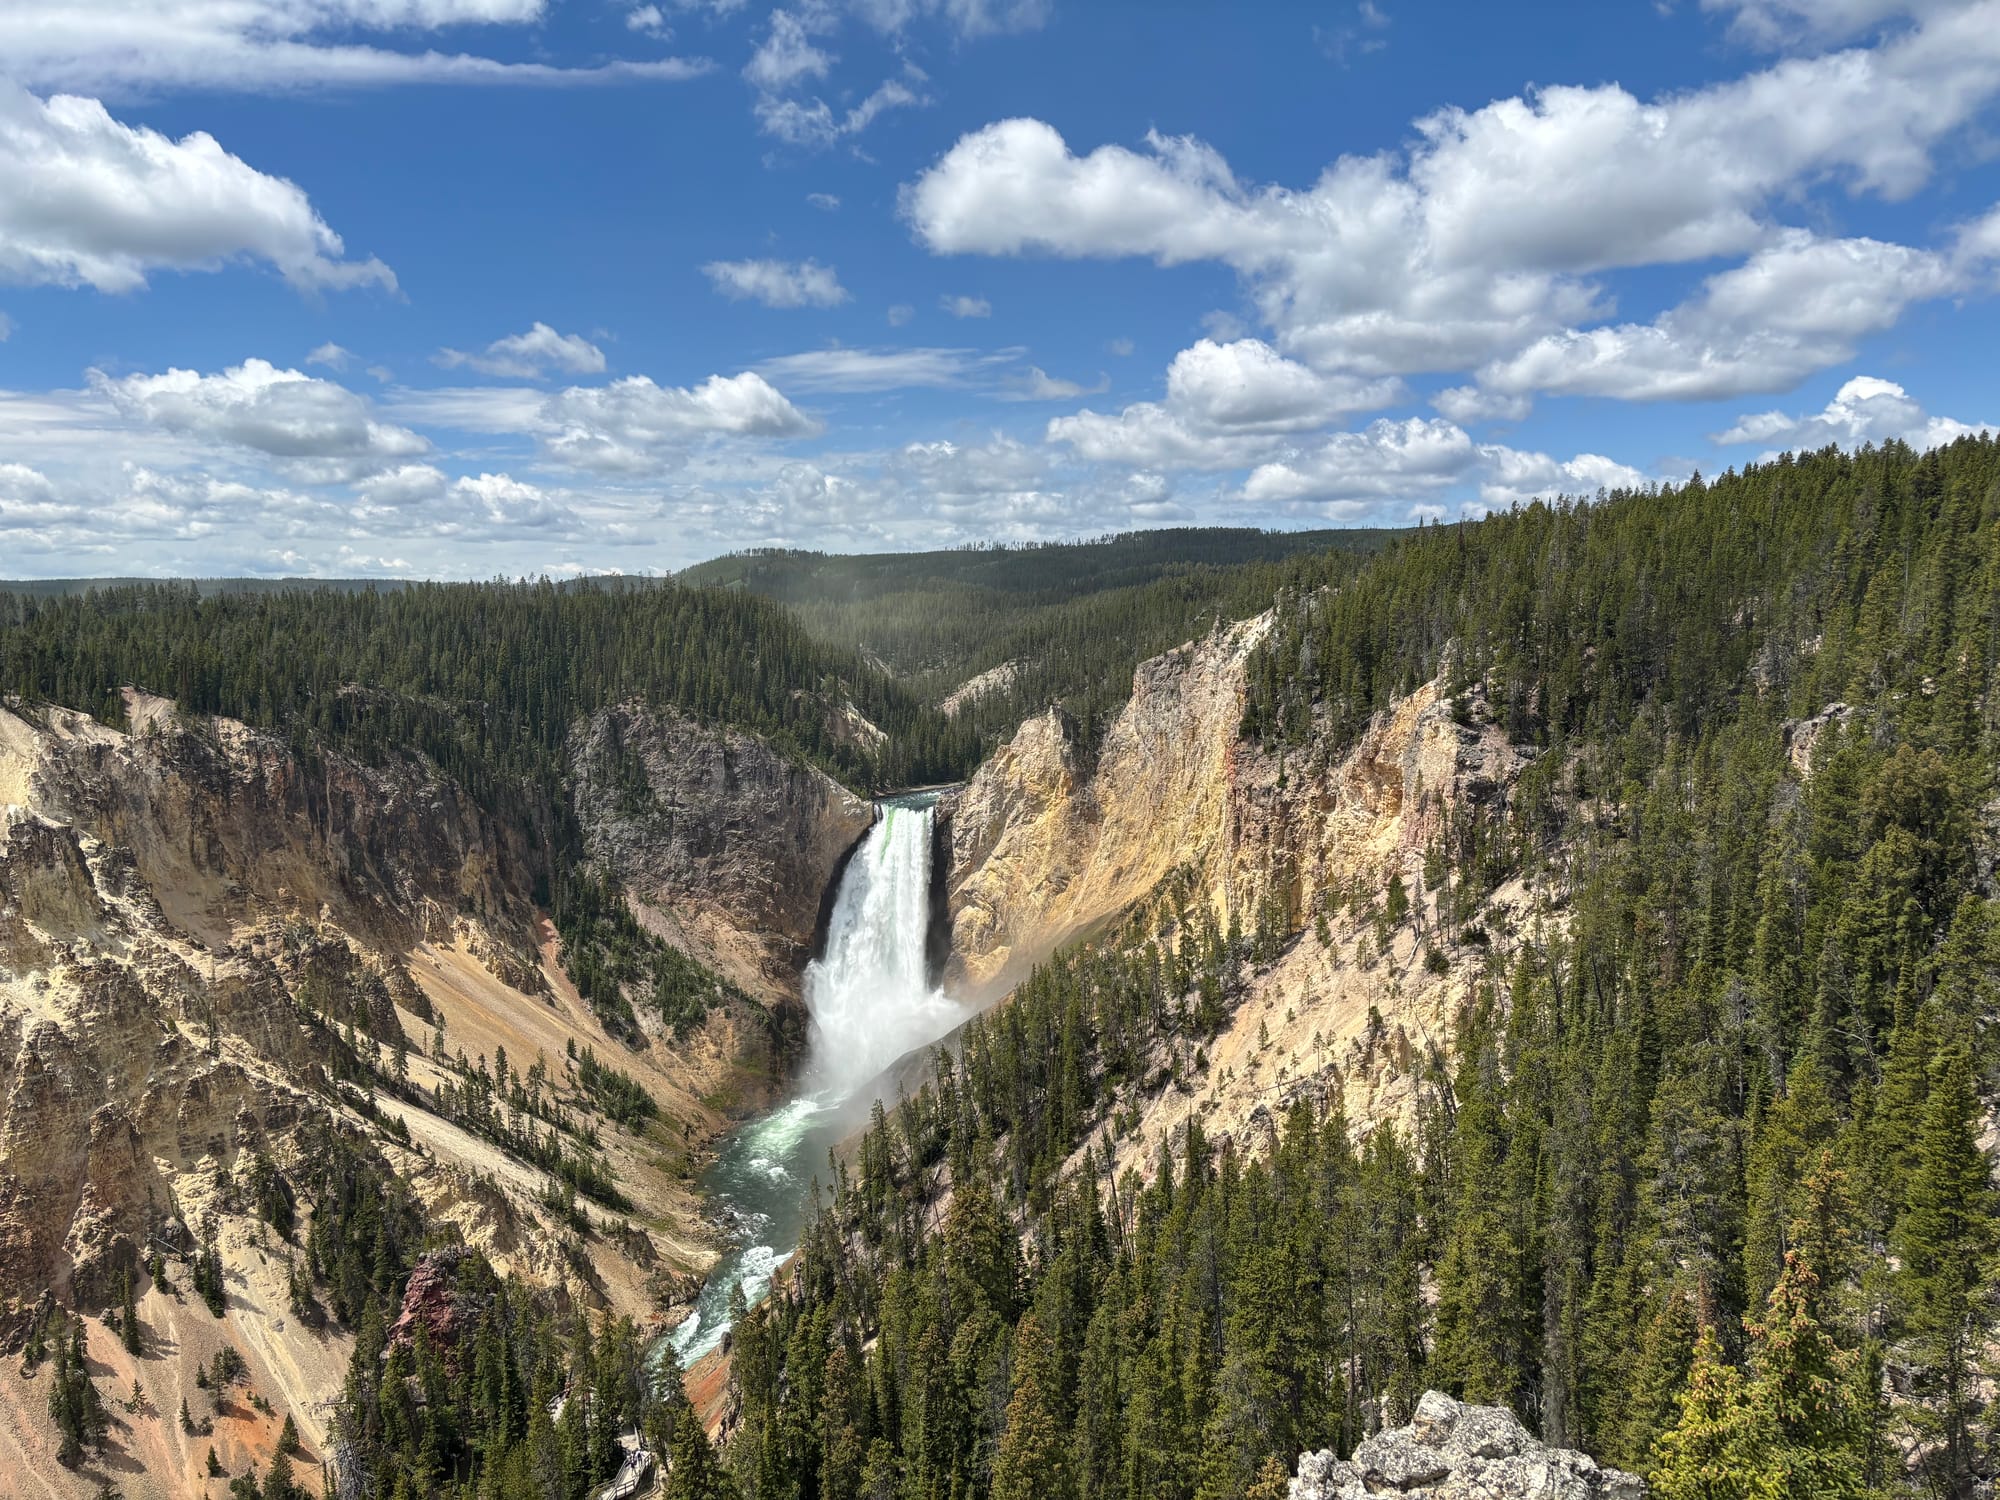
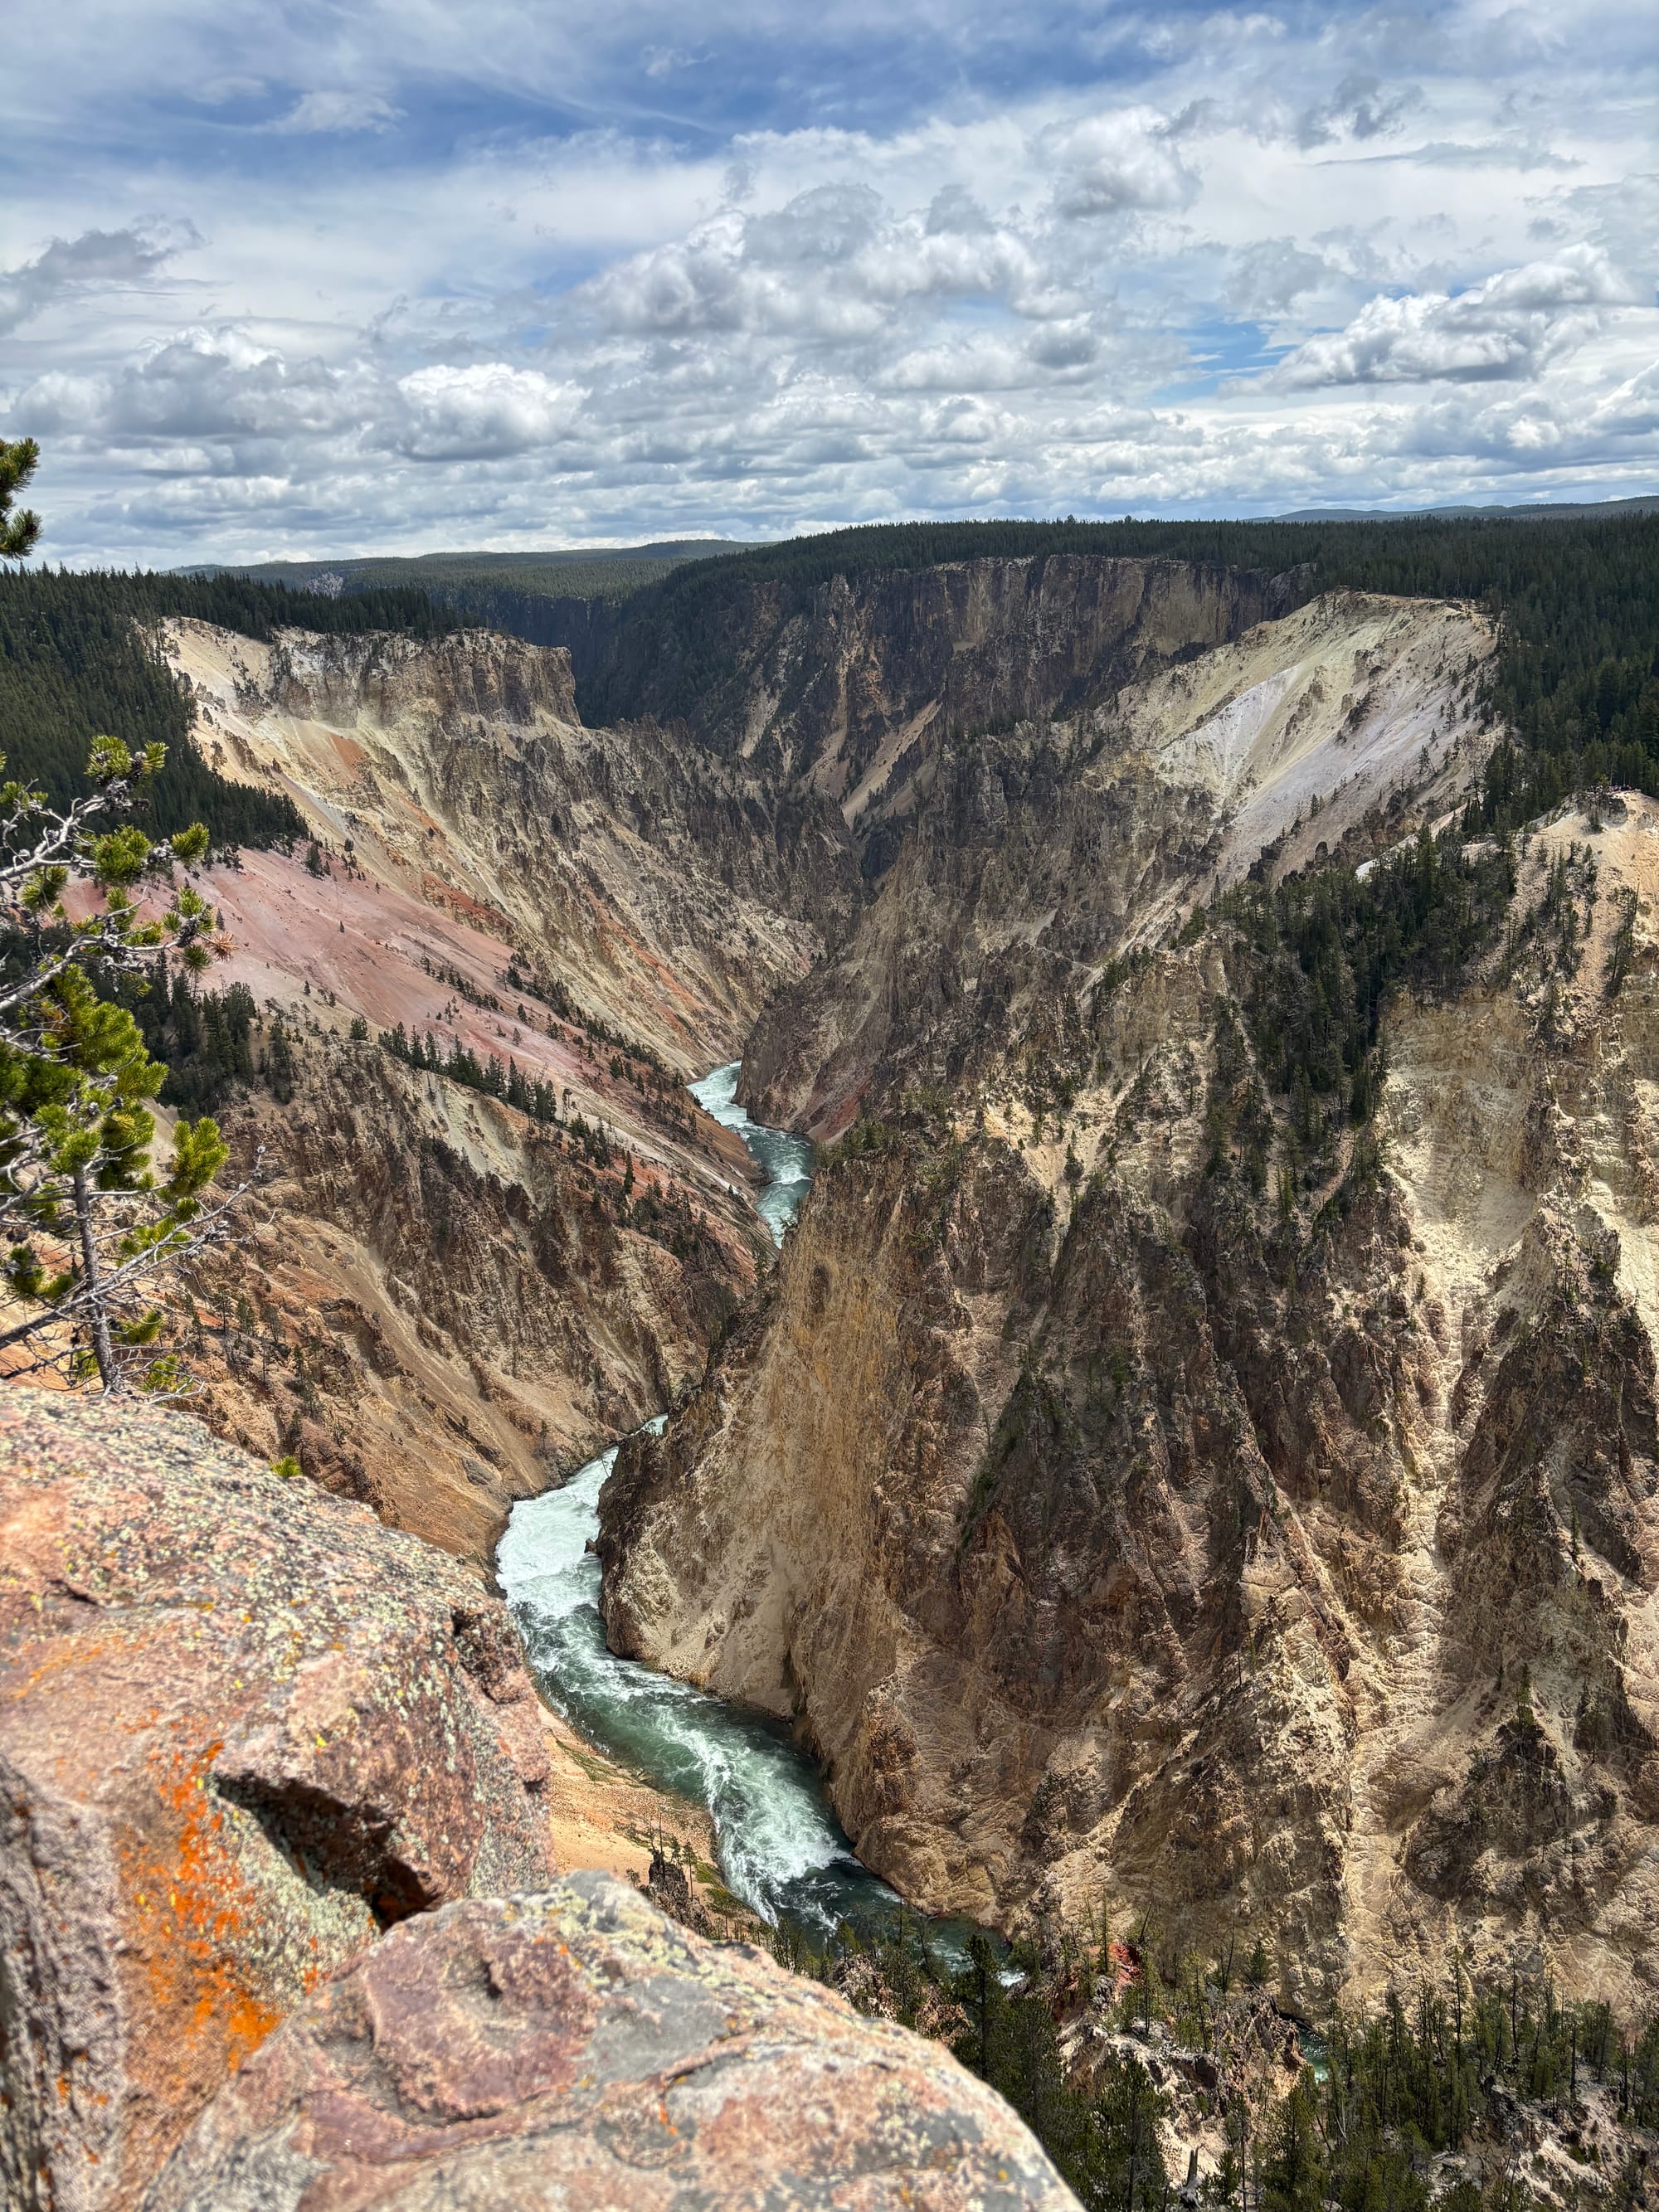
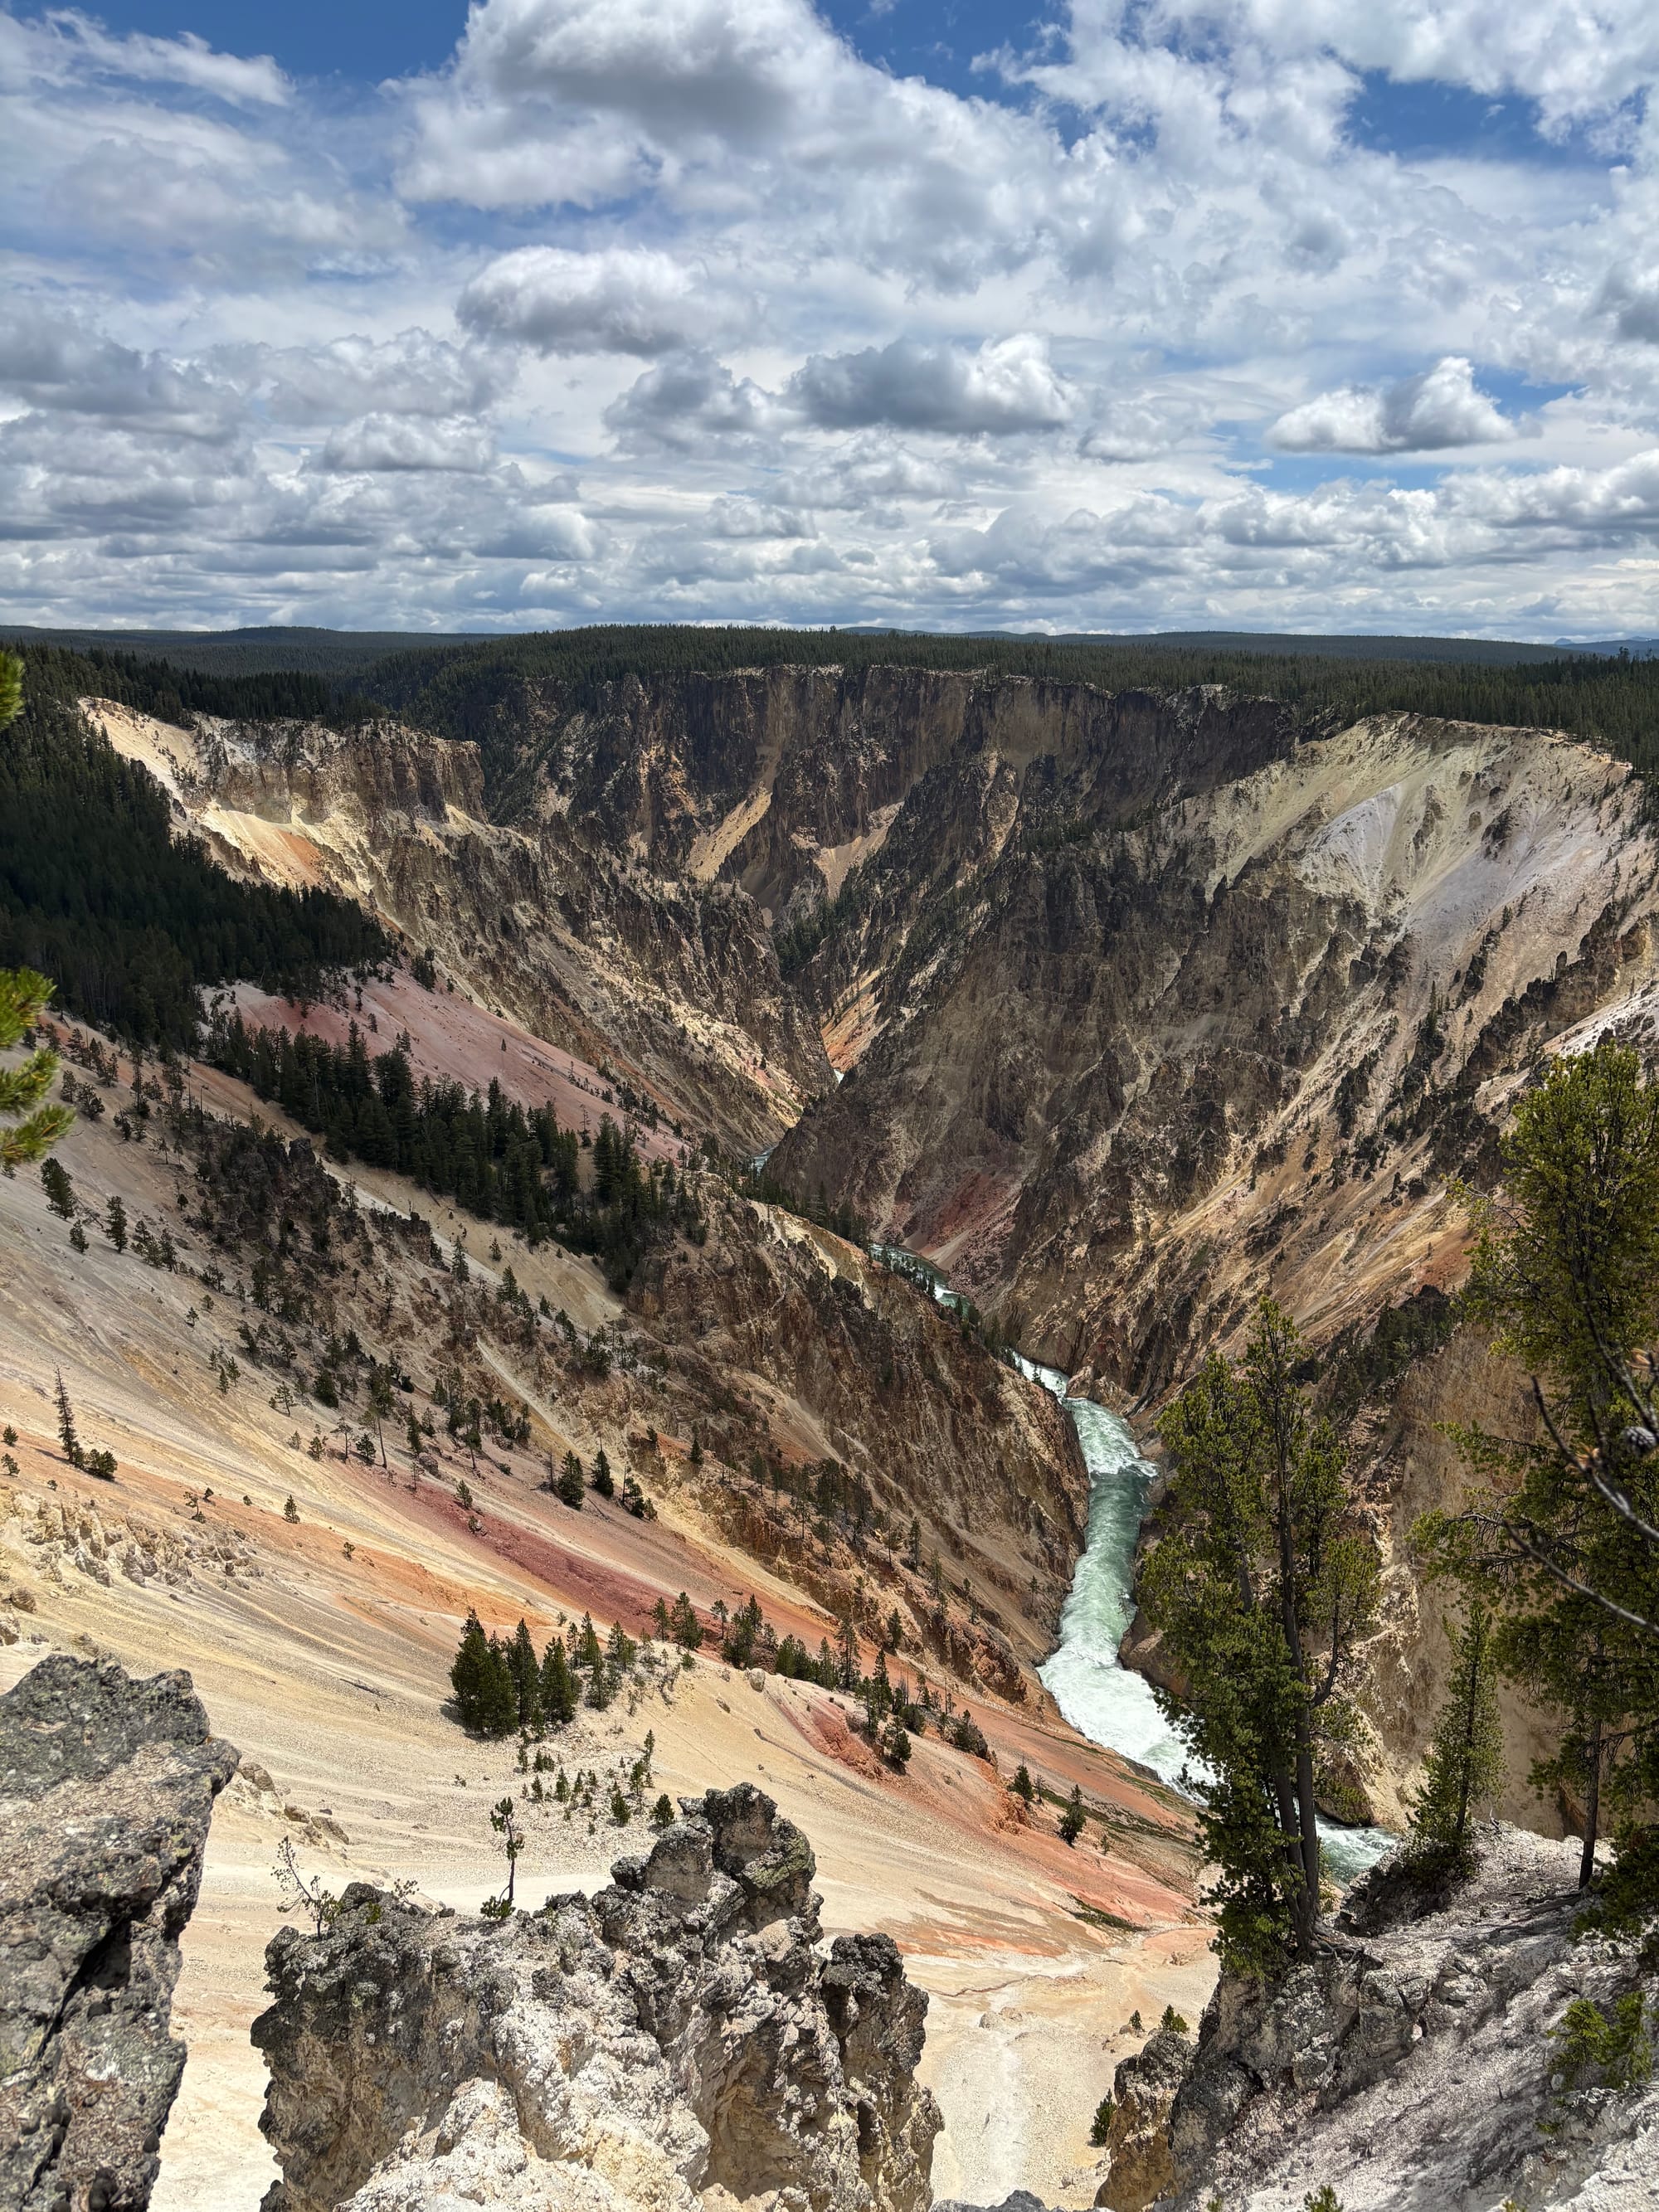
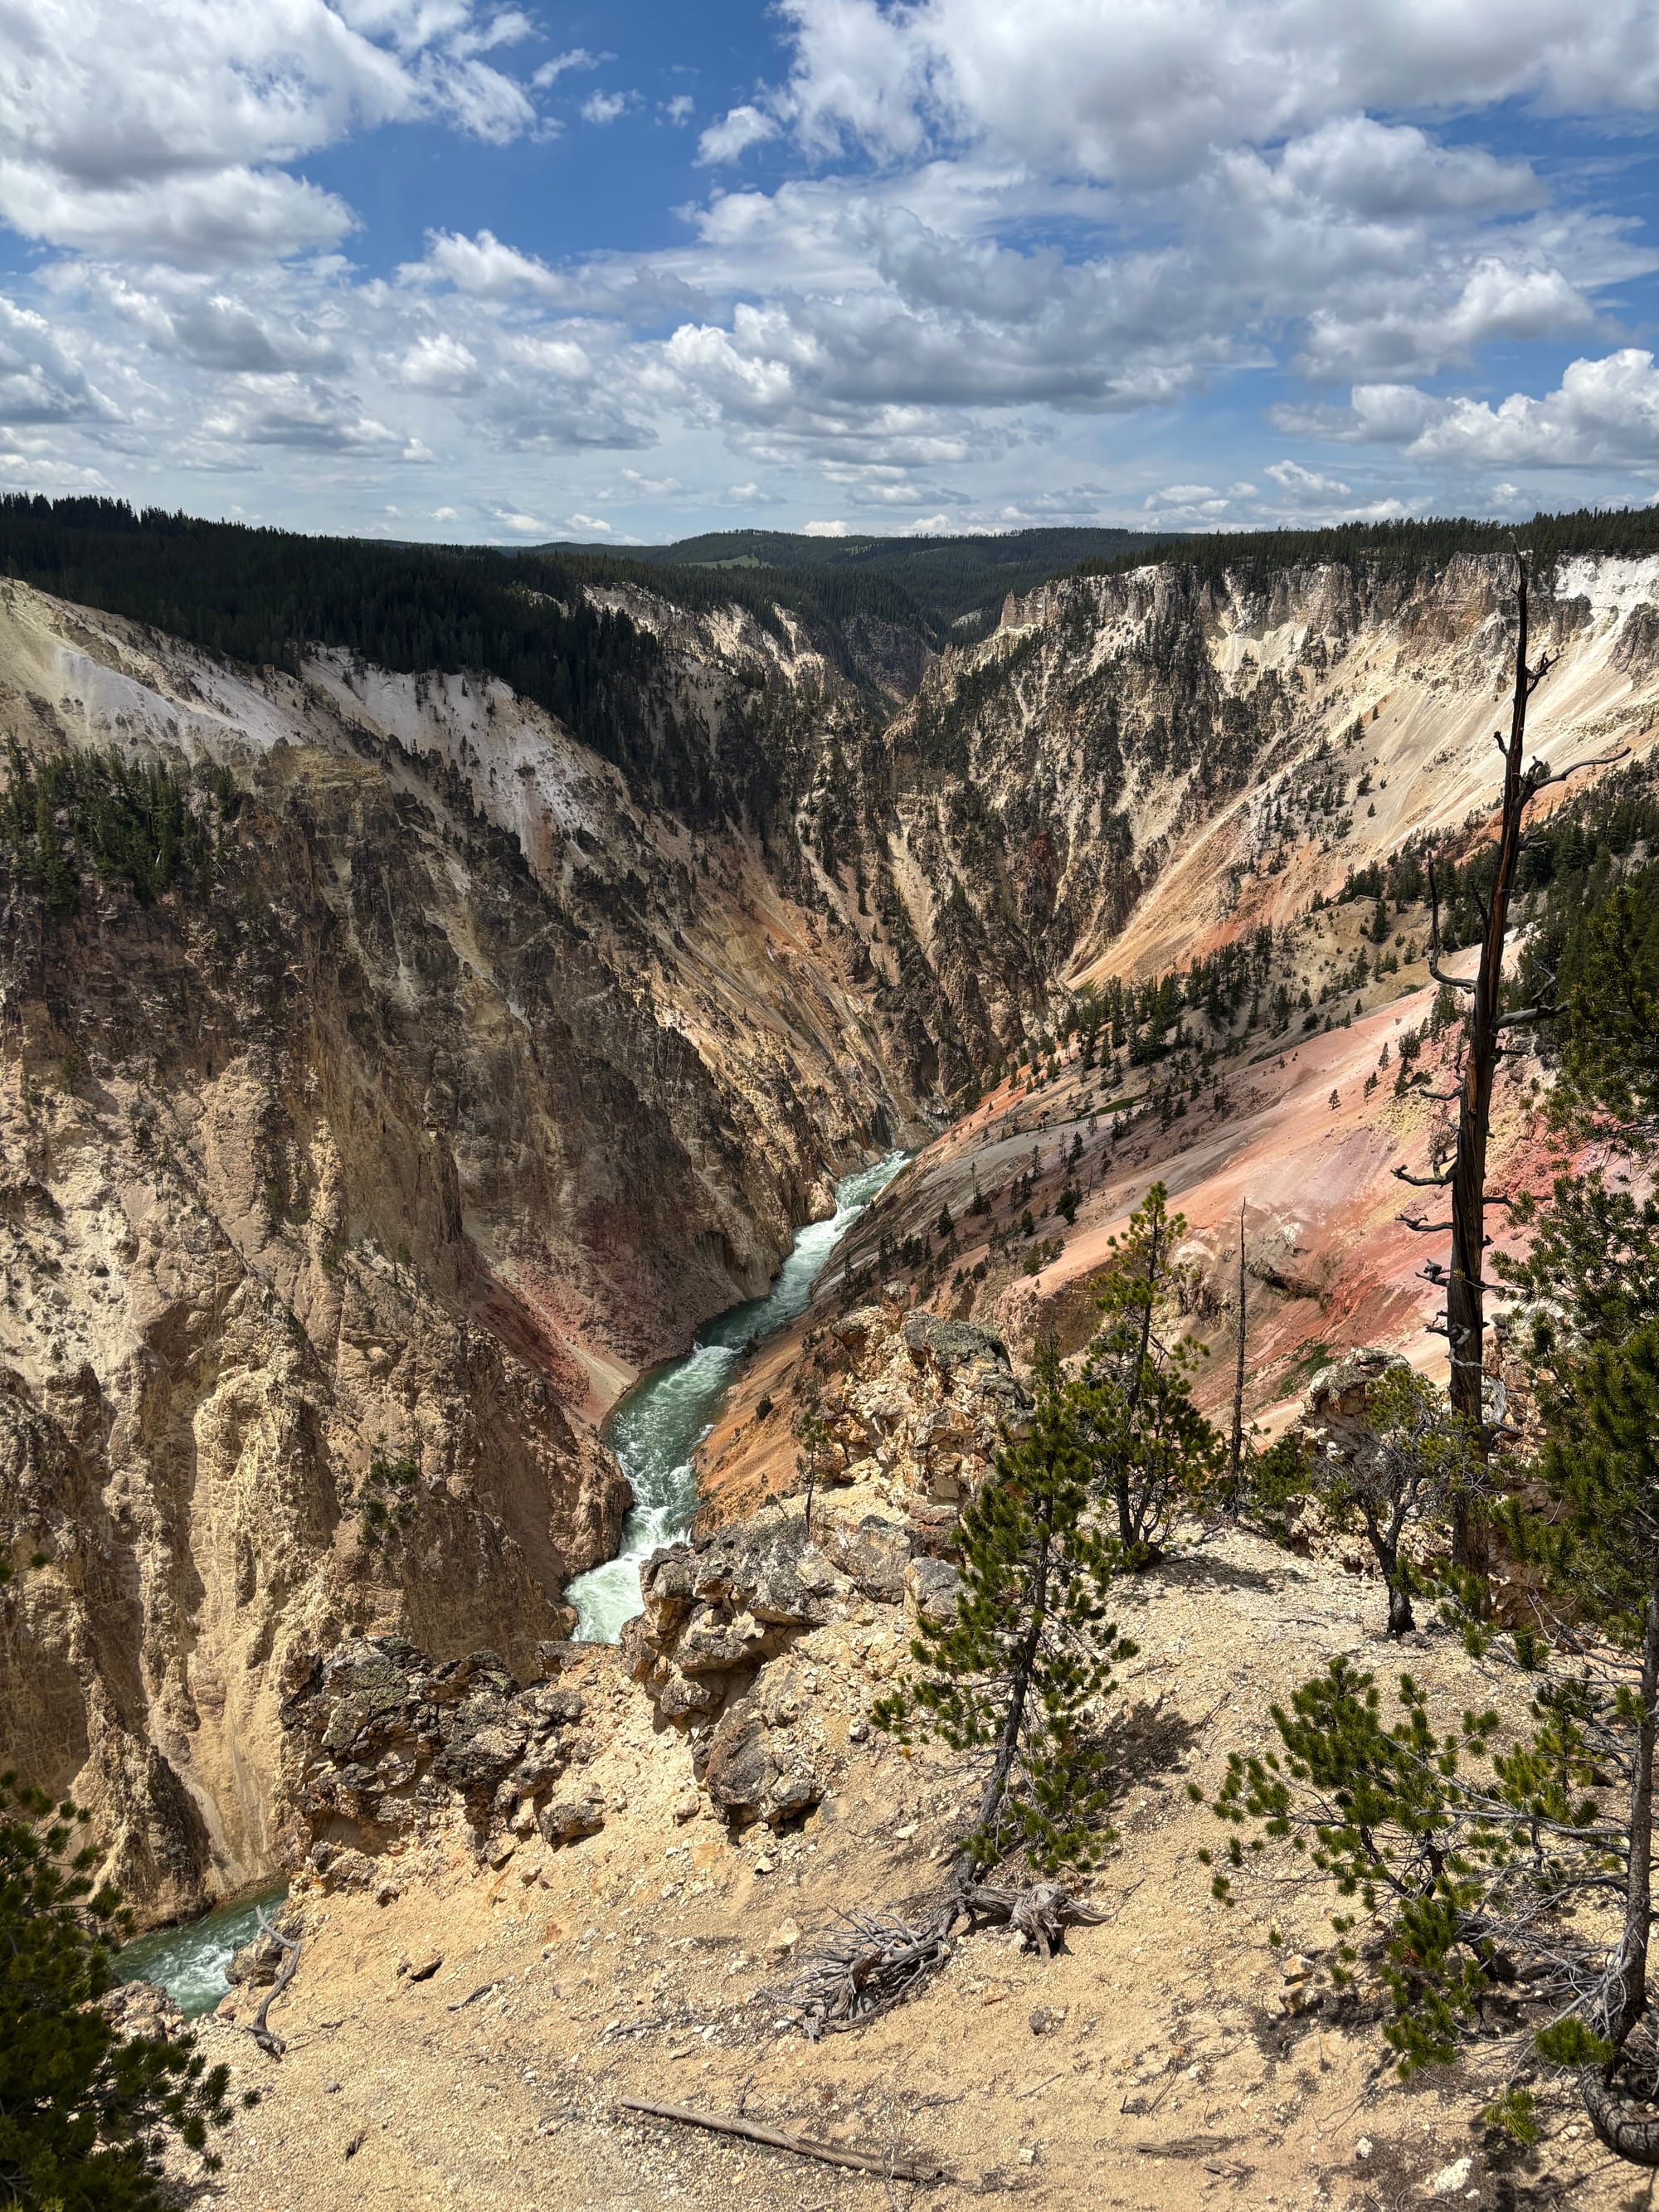
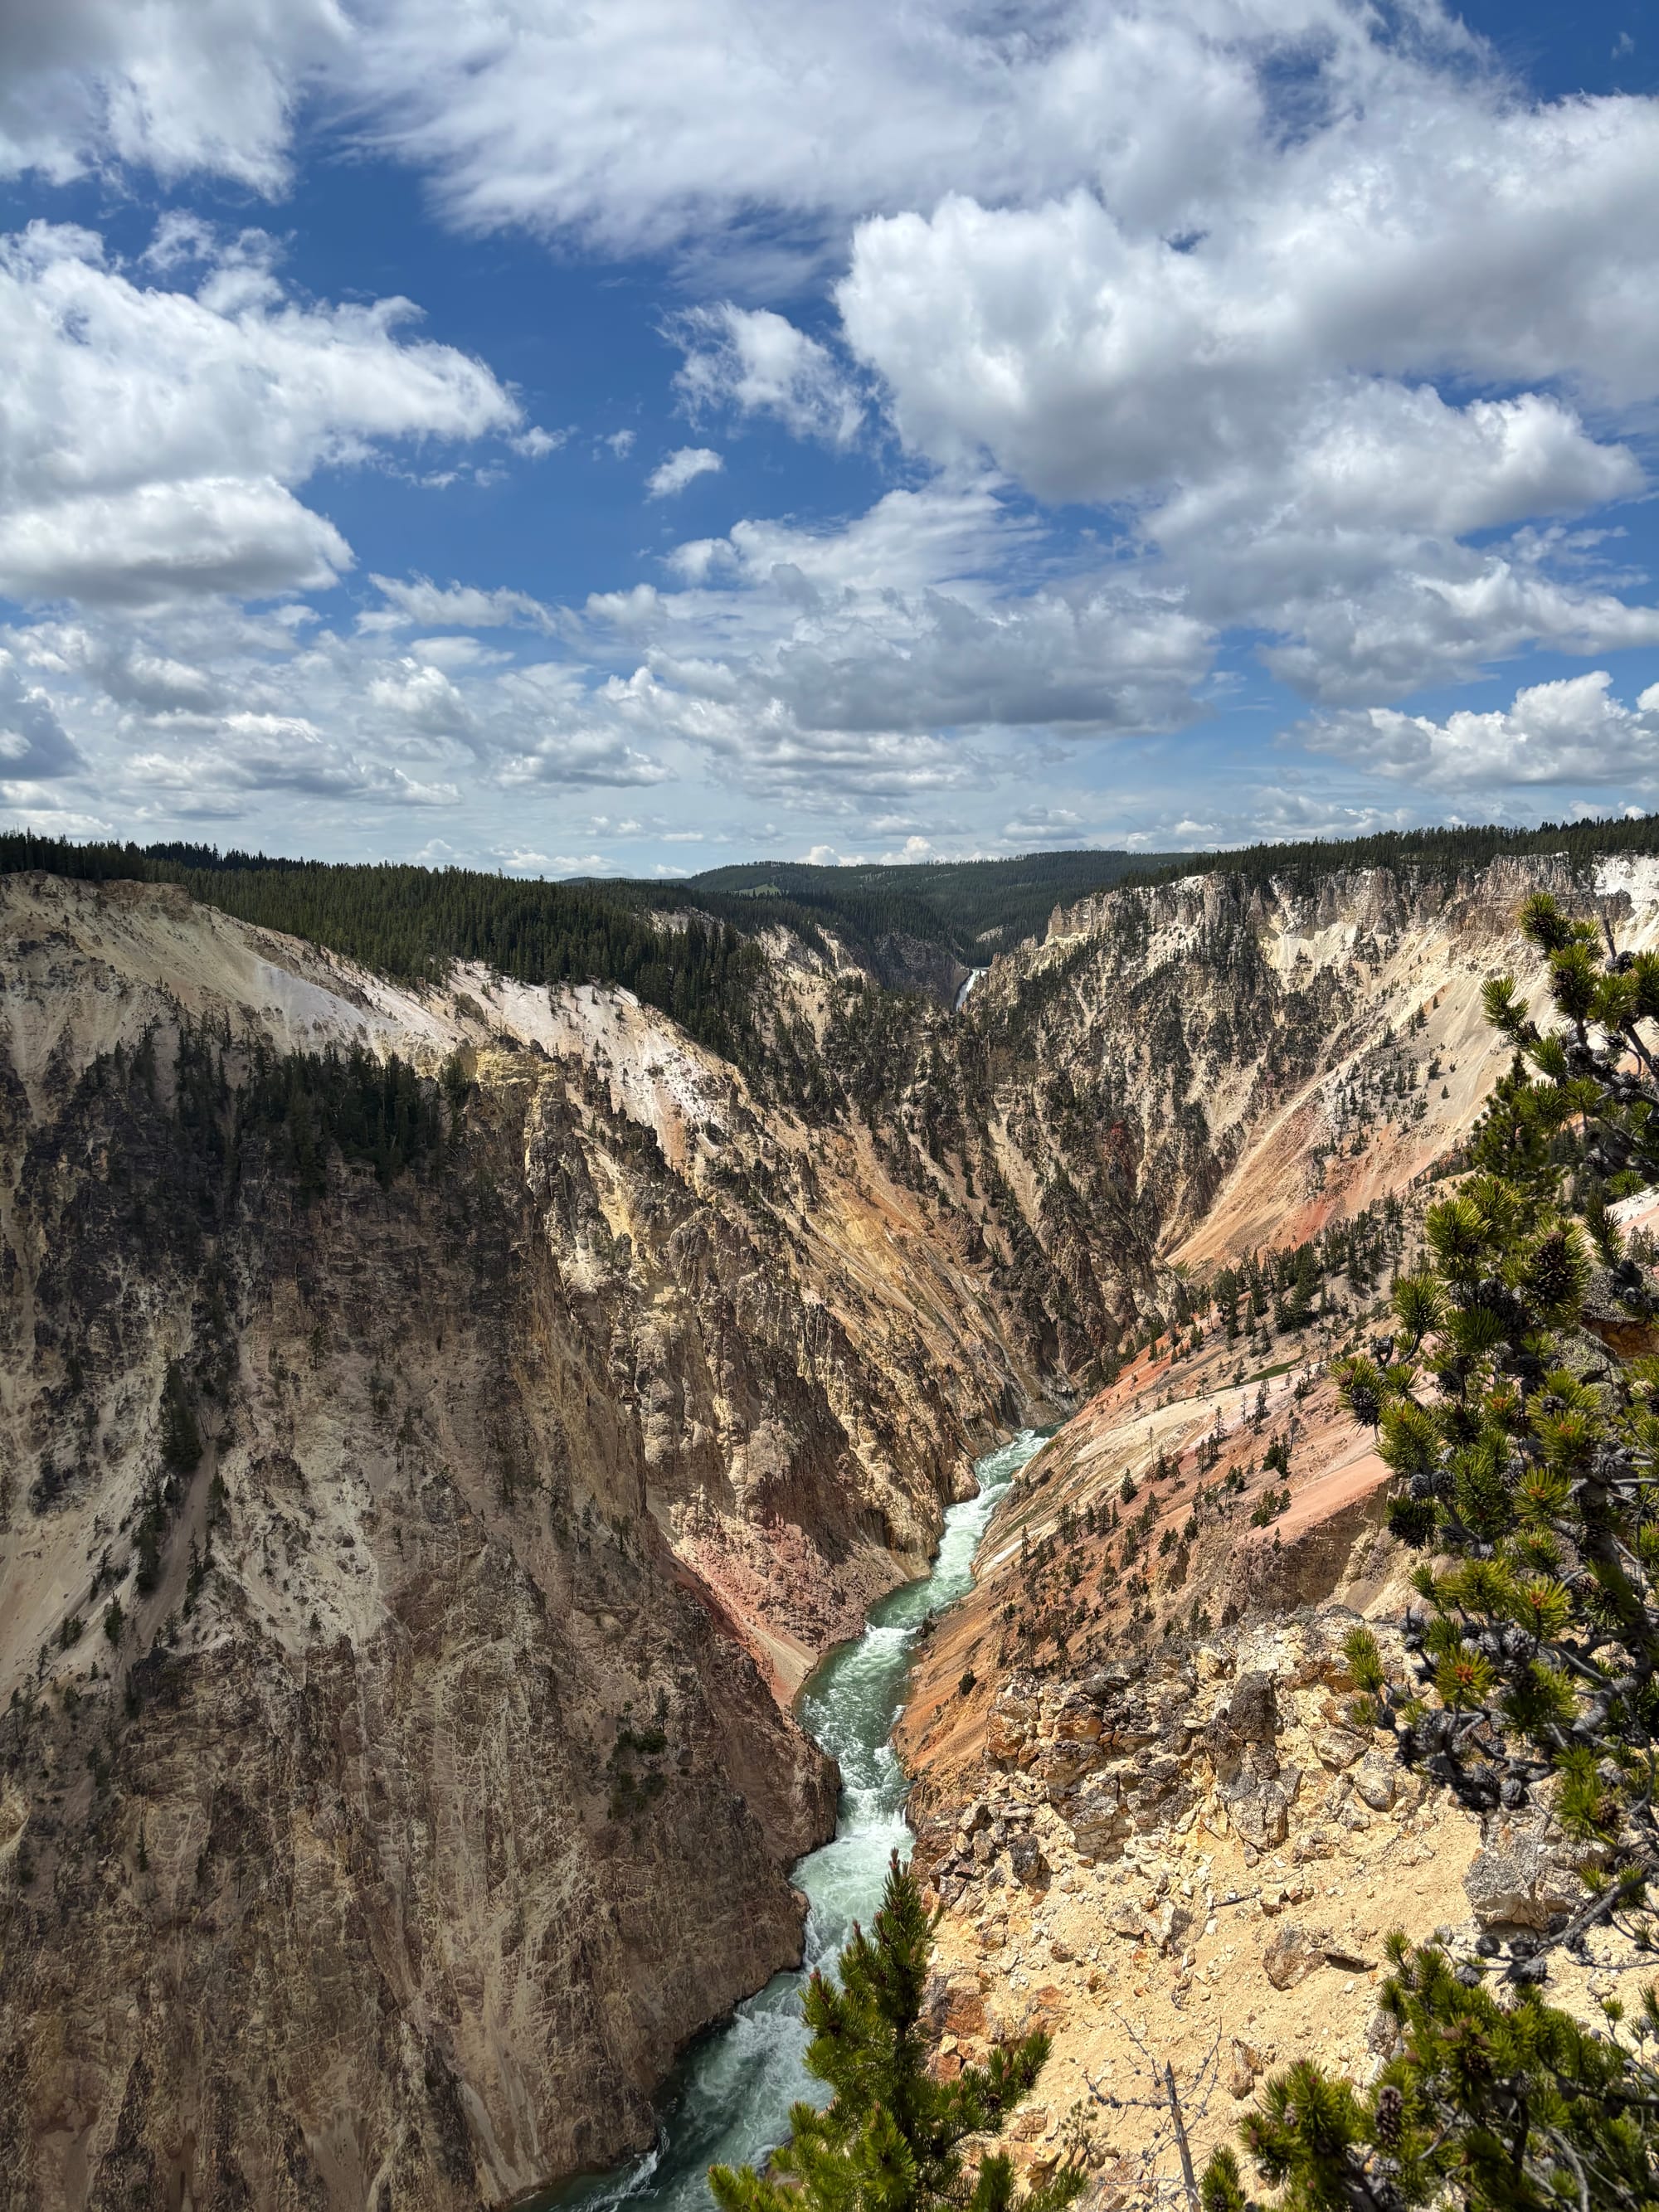
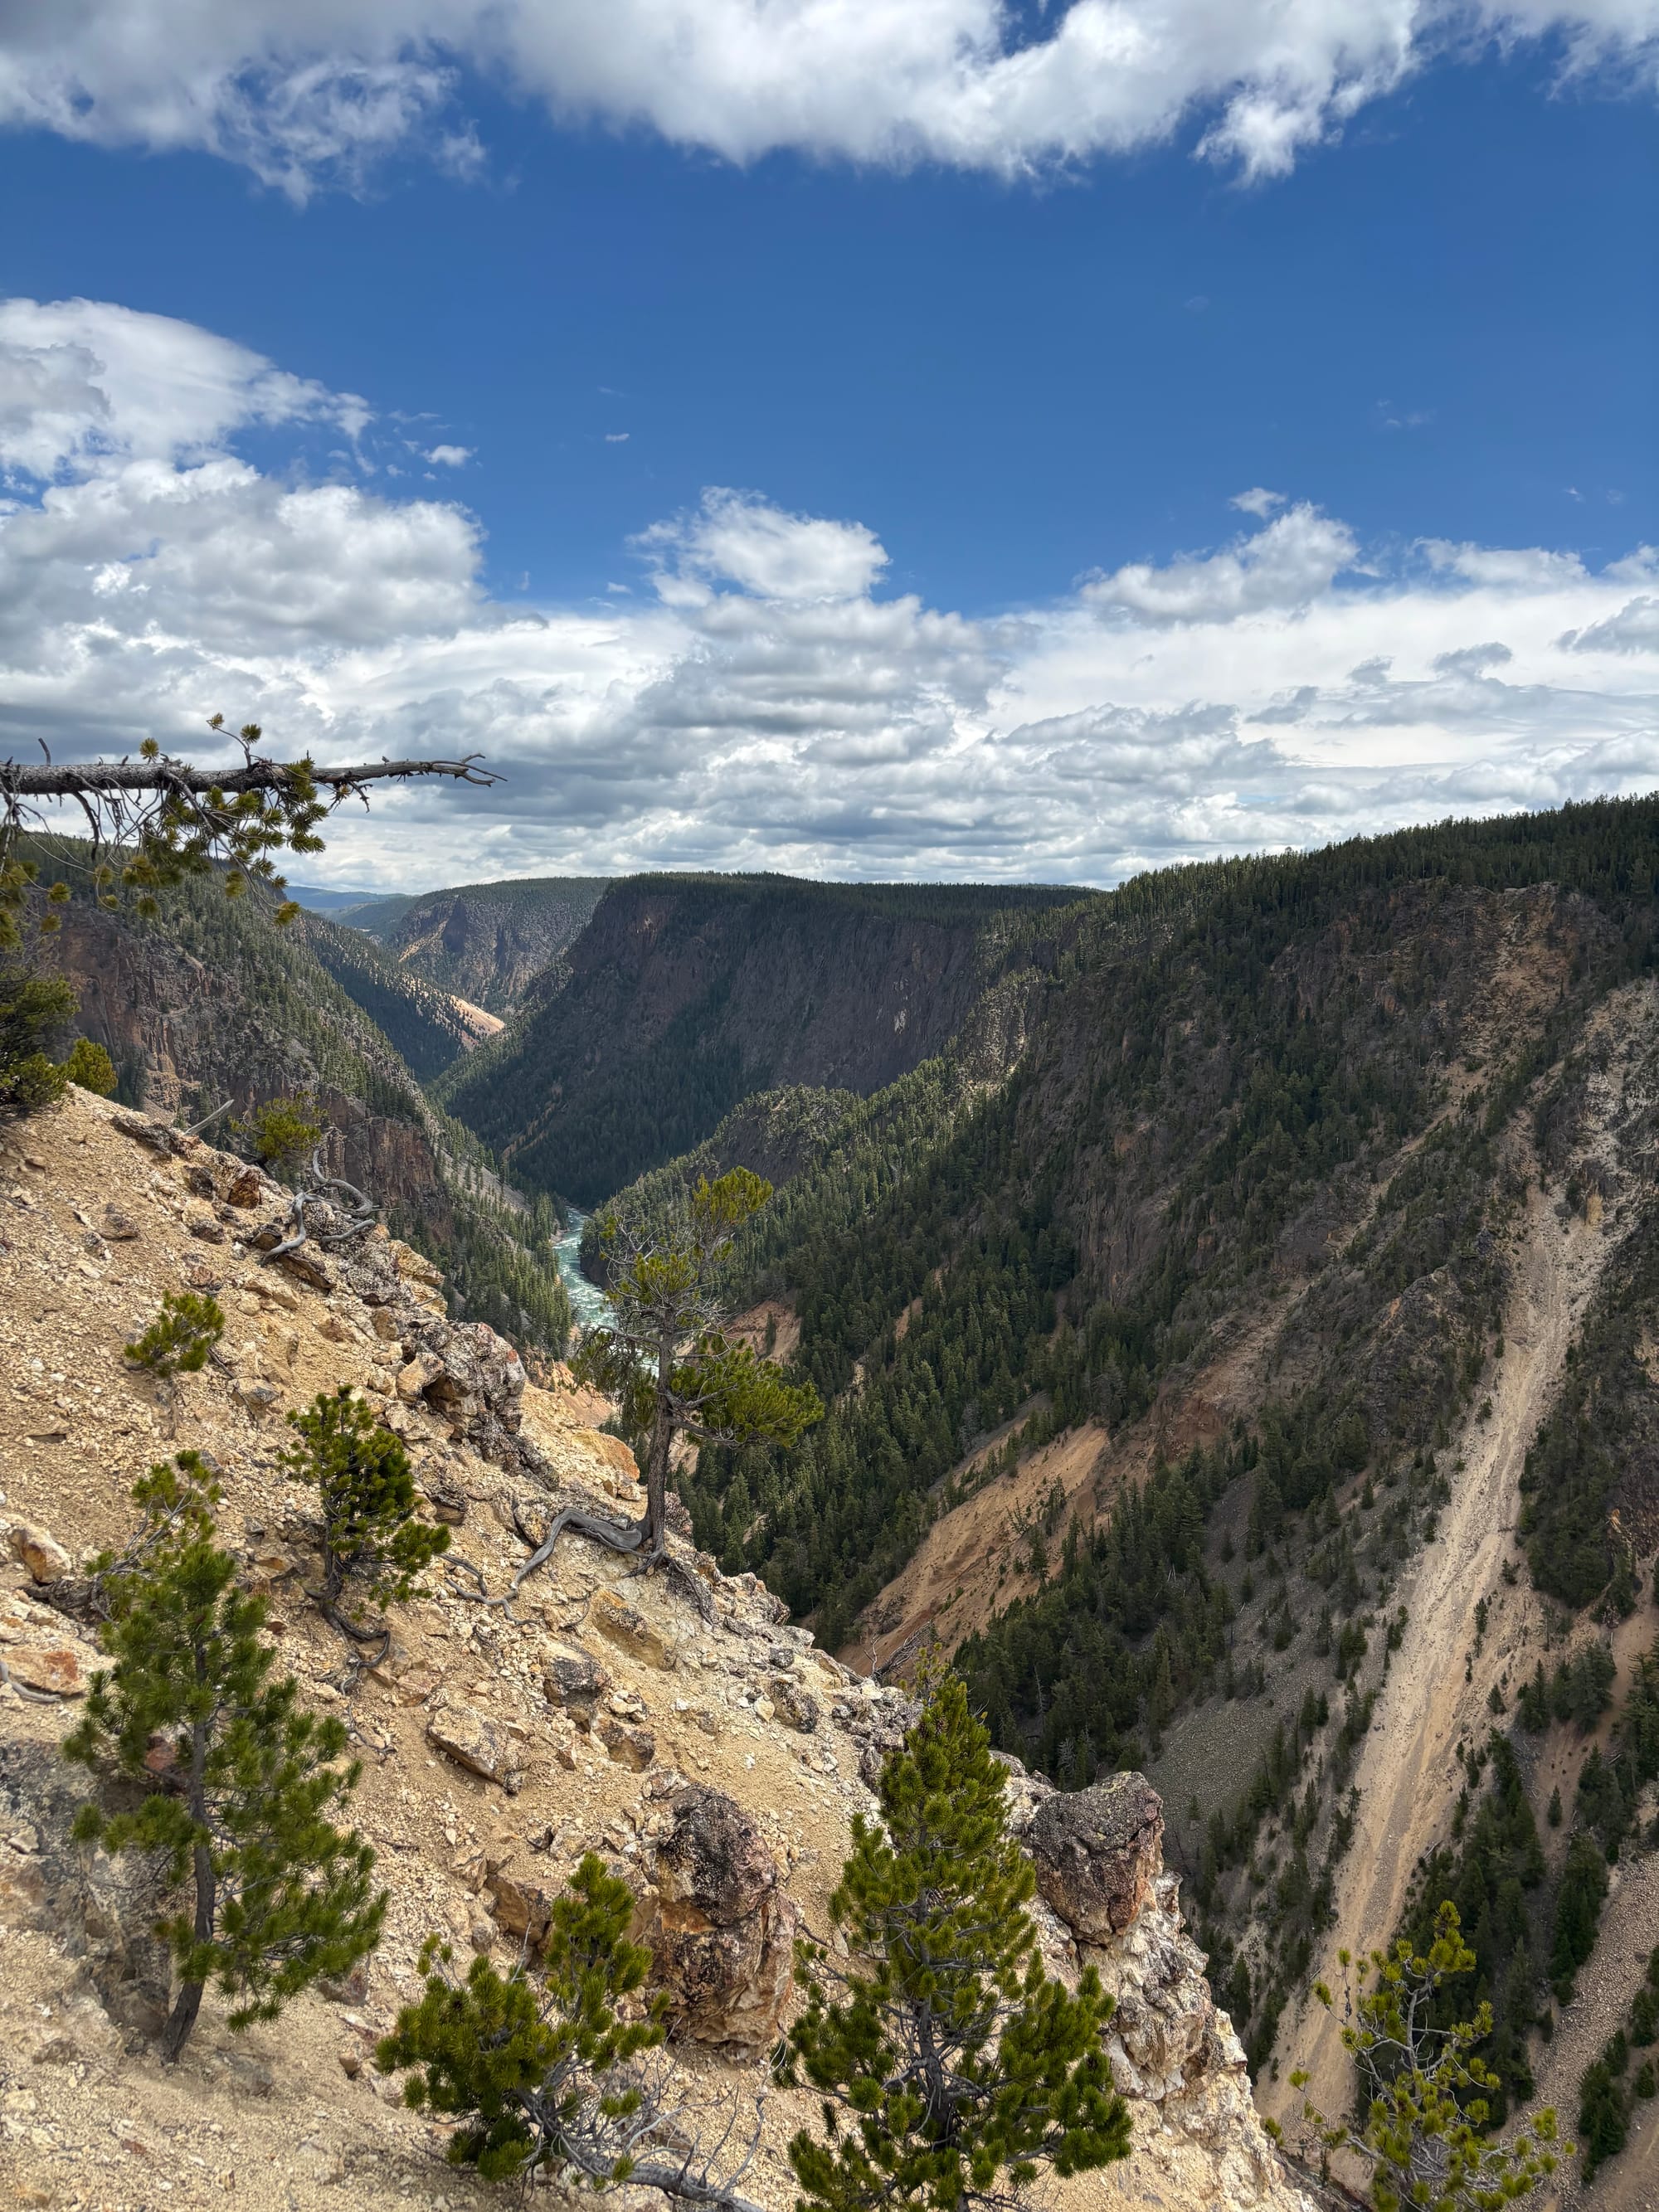
More canyon views
We skipped the long switchback trails at the other North Rim turnouts because they seemed less rewarding than the first one, opting instead to just look from the main overlooks near the parking lots. We did not visit the South Rim, but if you love canyon views, it would likely be worth adding to your itinerary.
We drove out to West Yellowstone for dinner and ate at the Buffalo Bar, which we recommend. Like in Jackson, the prices were similar to what you find inside the park, but the quantity and quality of the food were much higher. On our way back, the backup of cars trying to exit the park was massive. This is another data point for our recommendation for eating early (we ate like the elderly at 4:00 PM or 4:30 PM) to avoid the evening gridlock at the park gates.
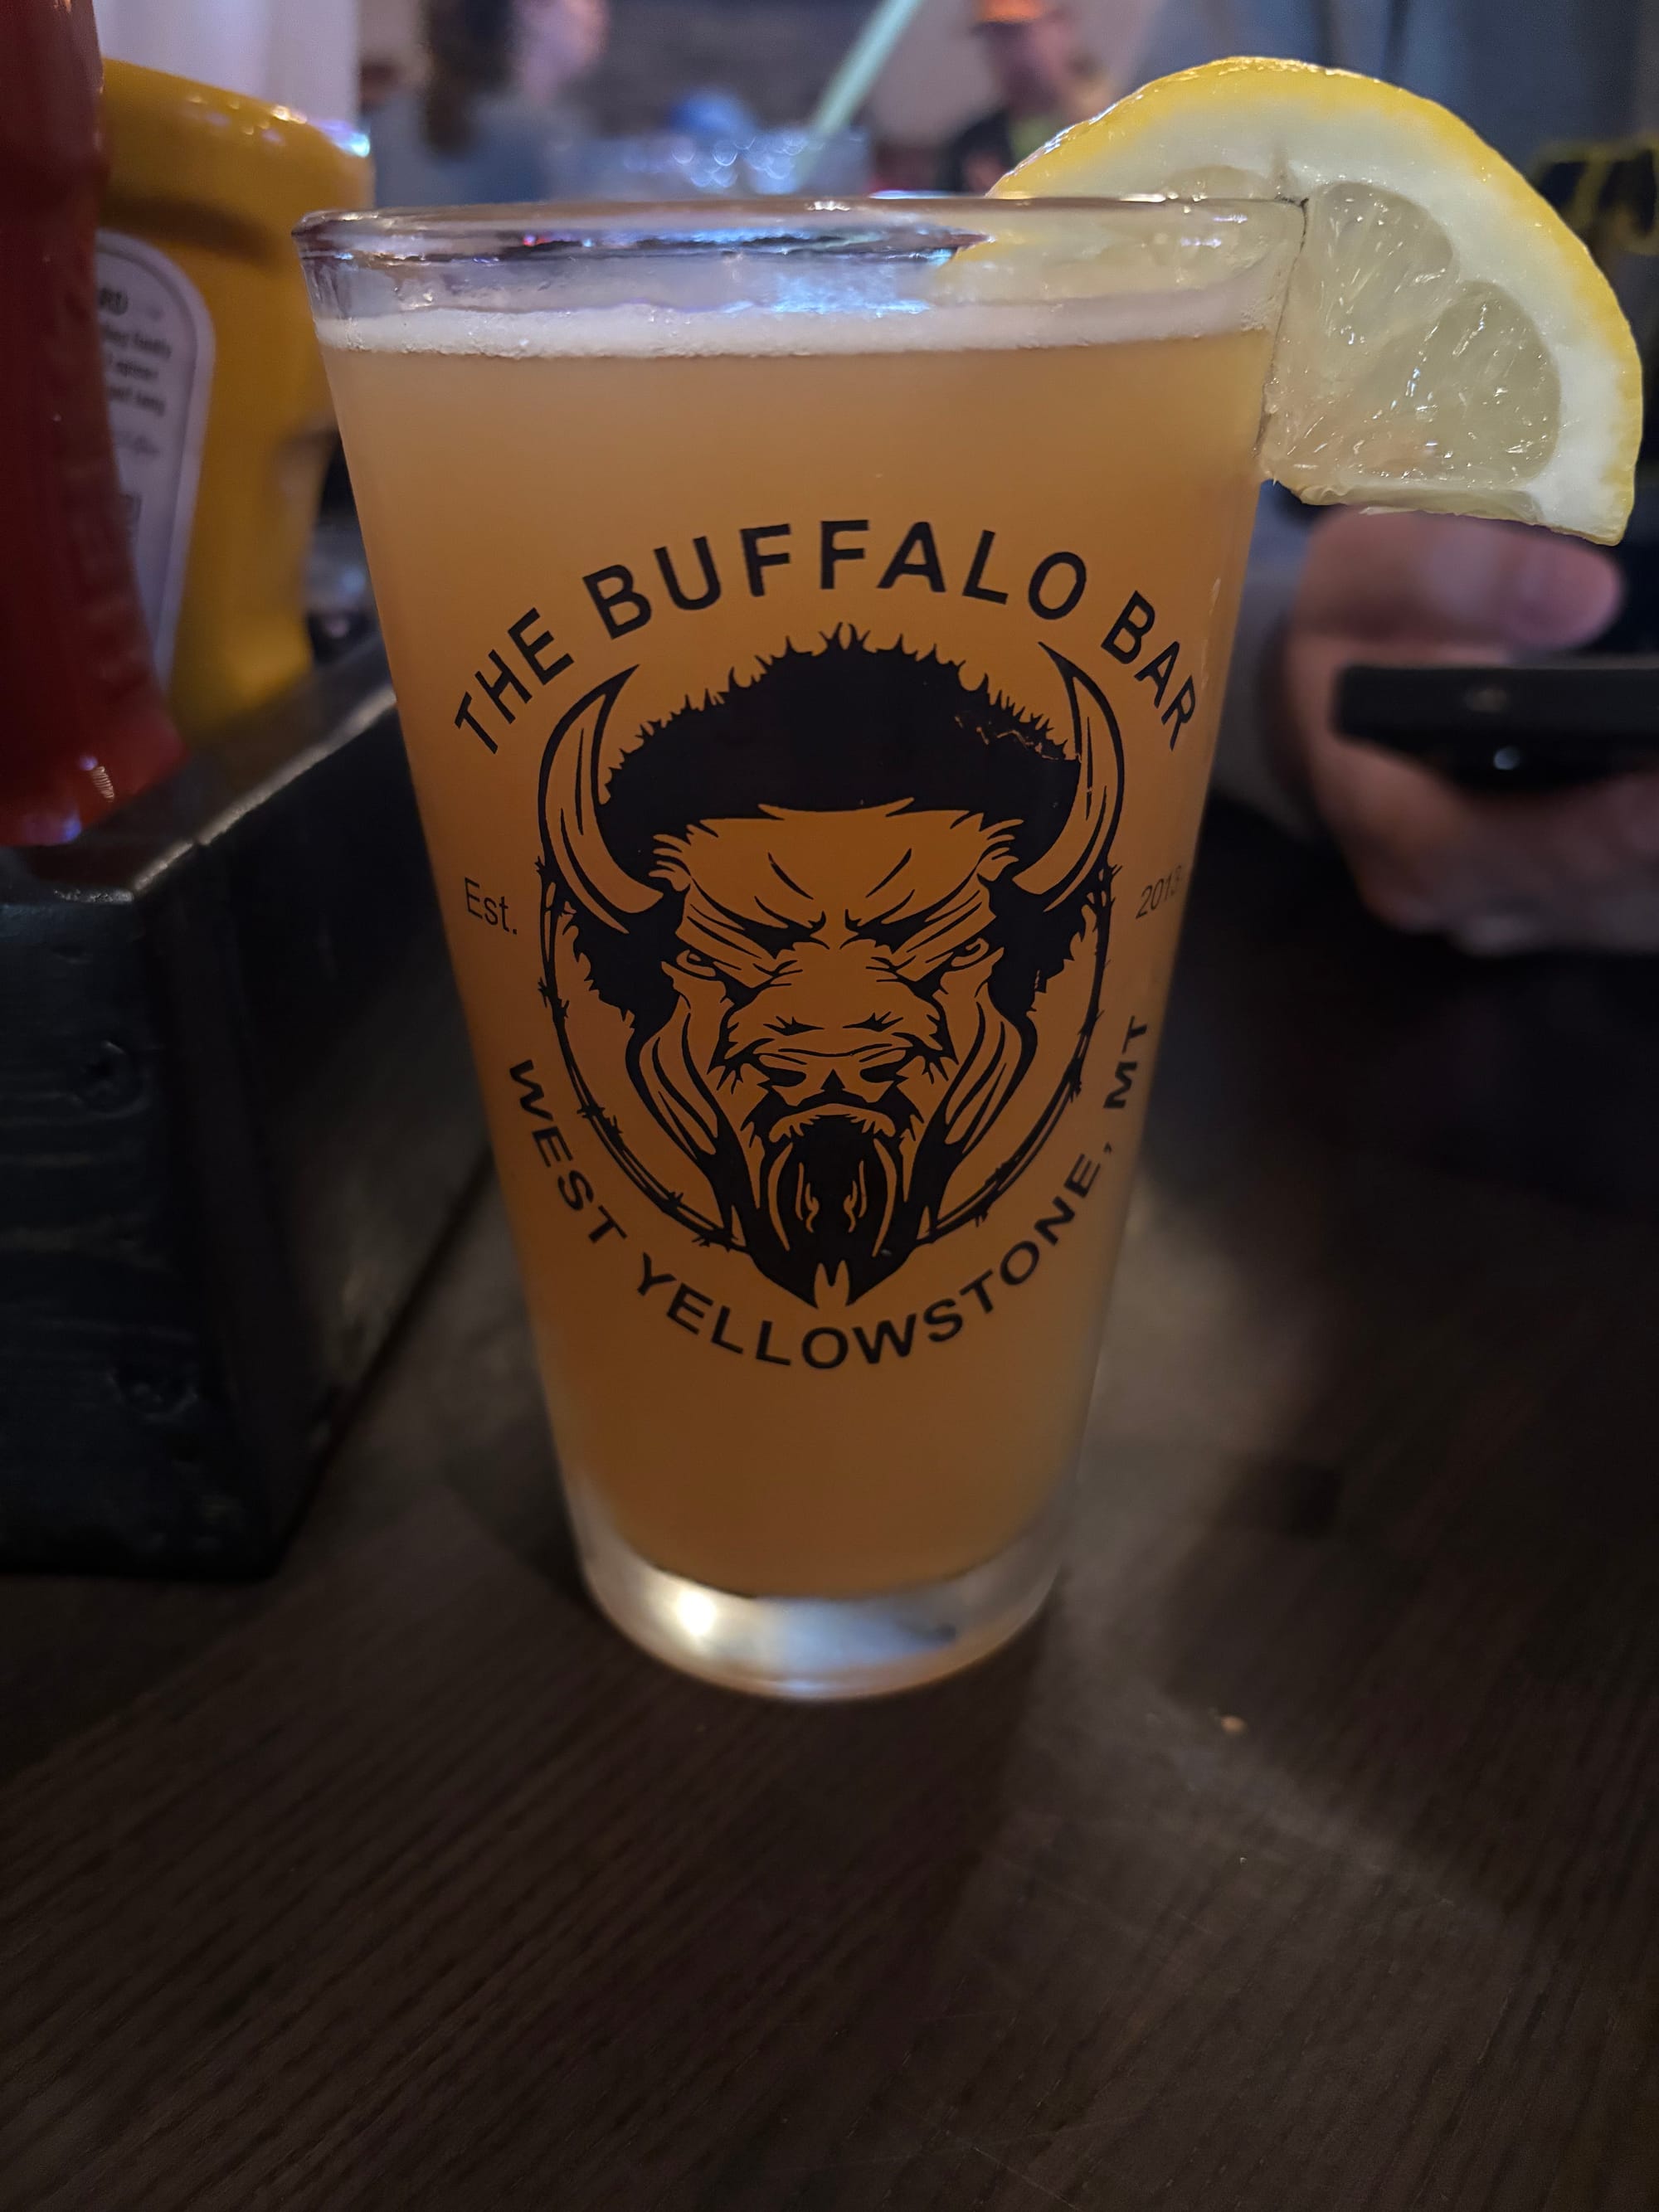

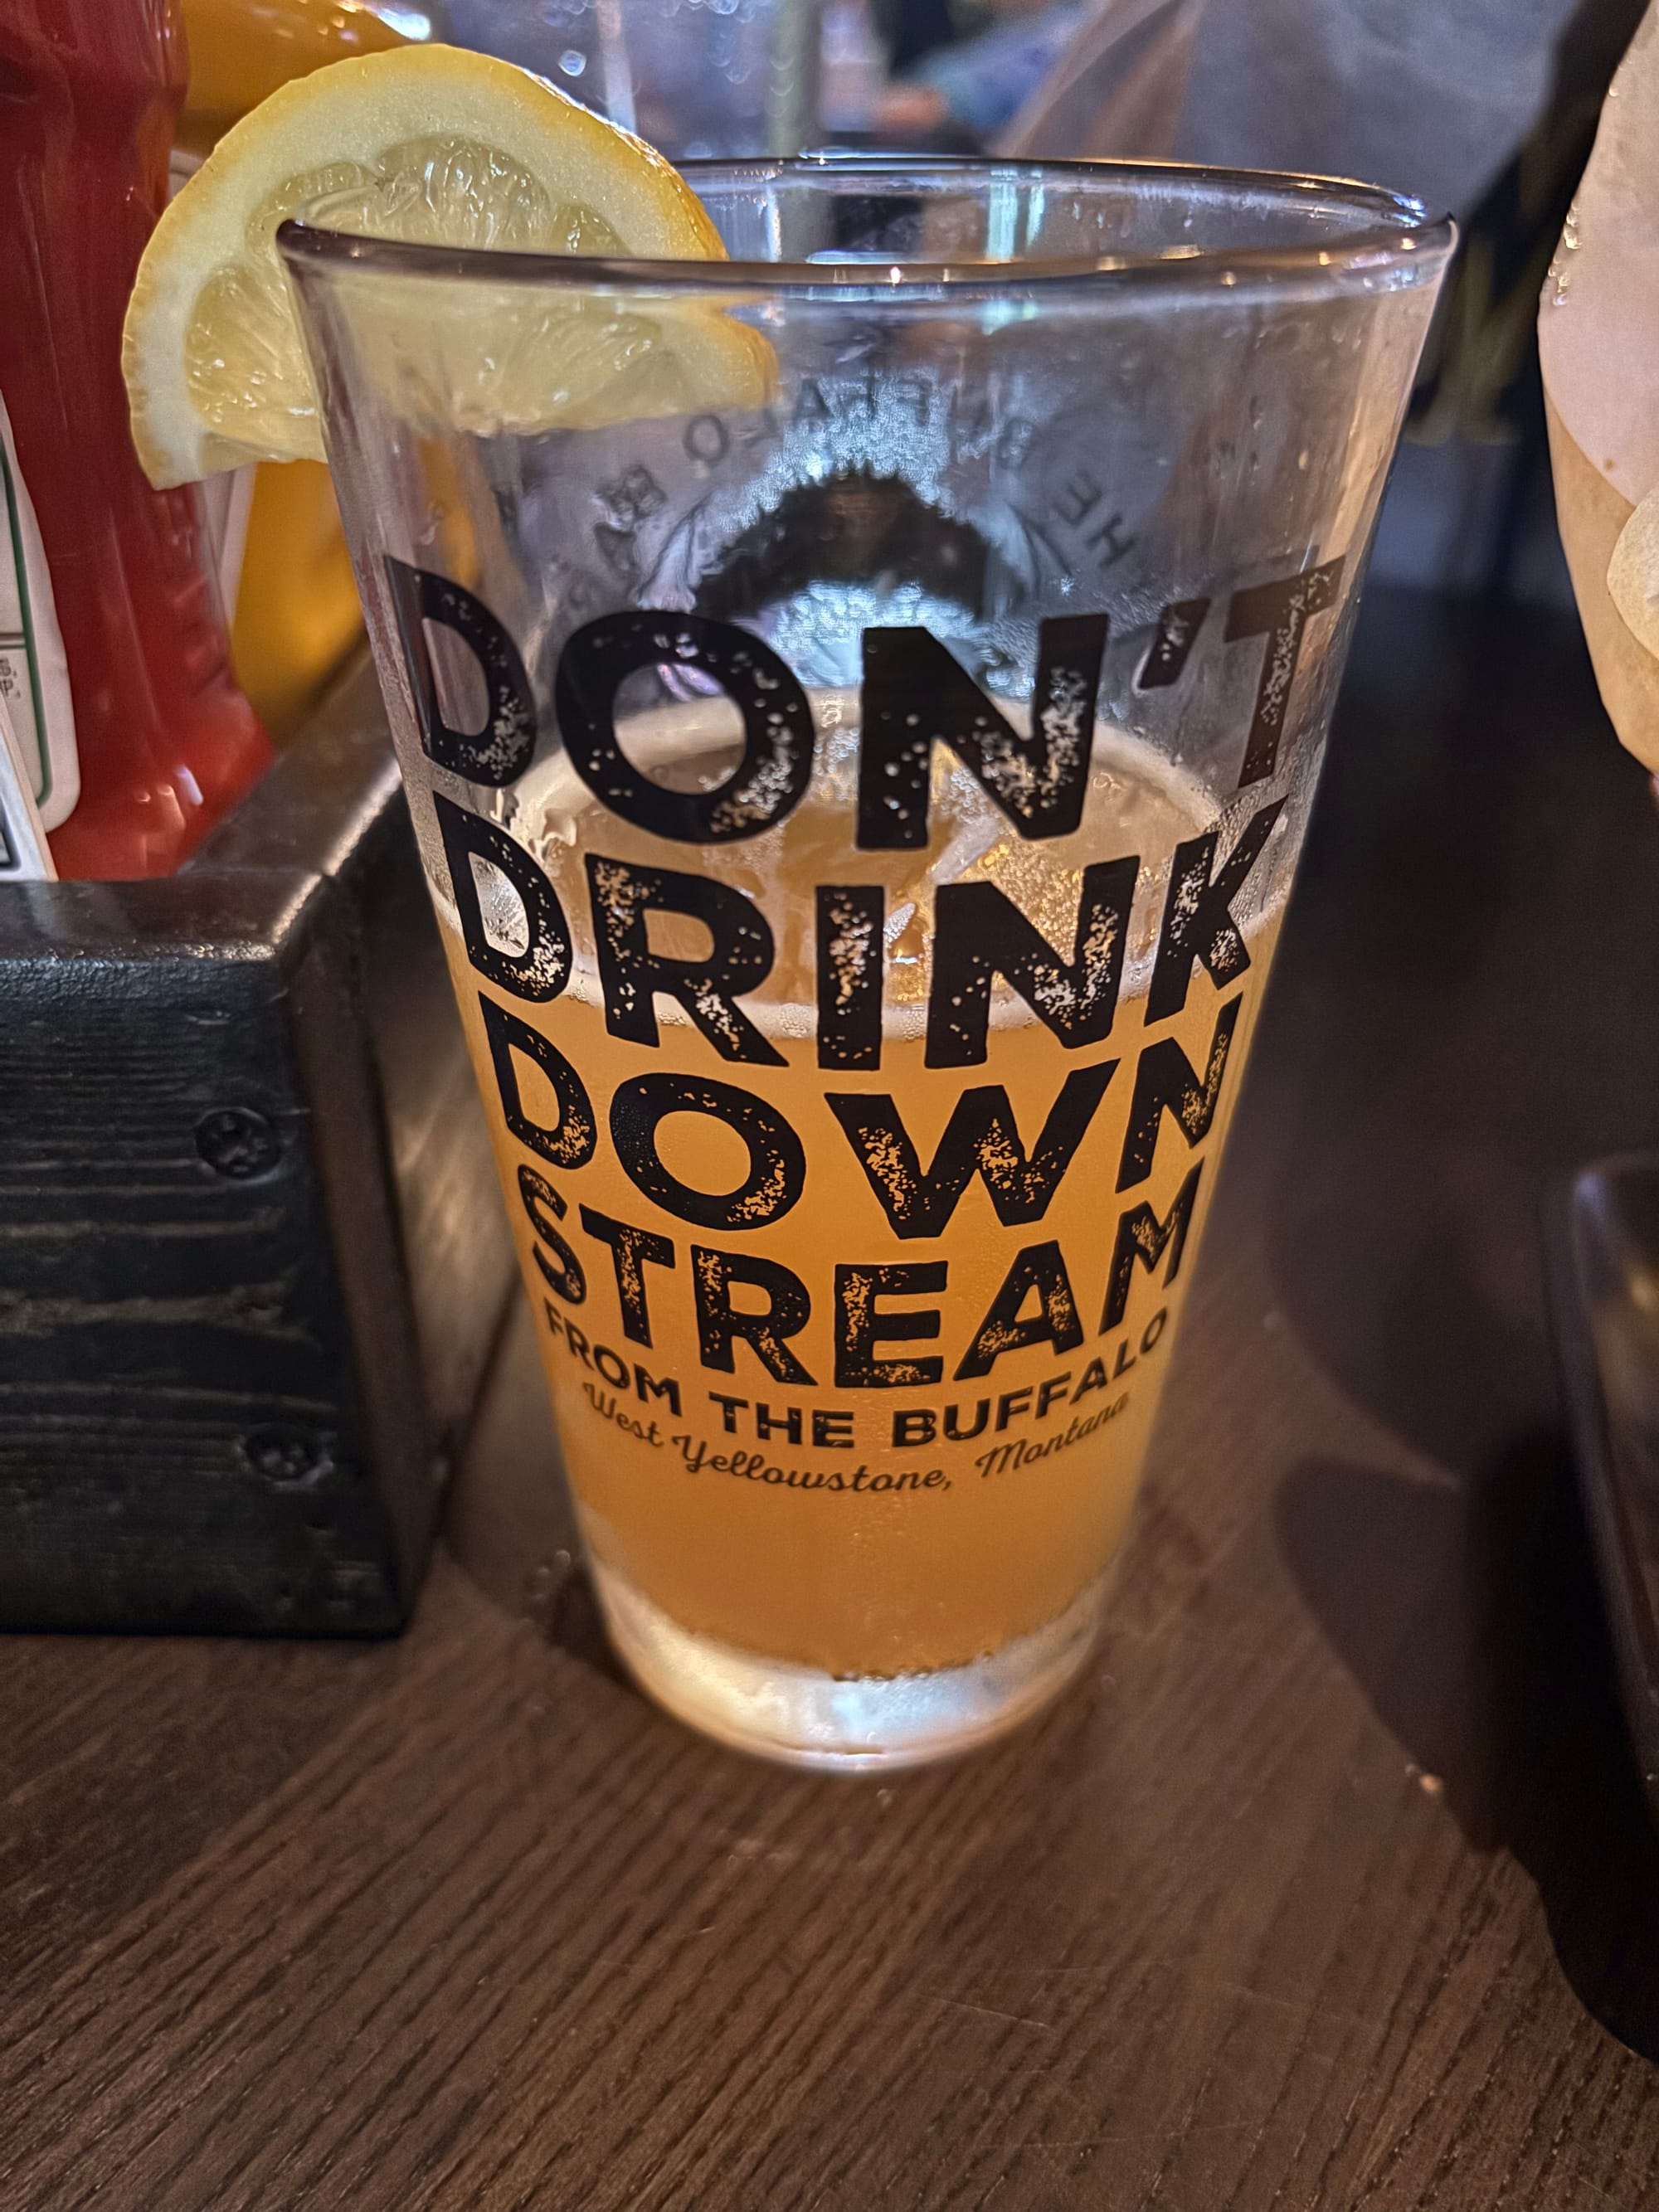
Buffalo Bar lives up to the name
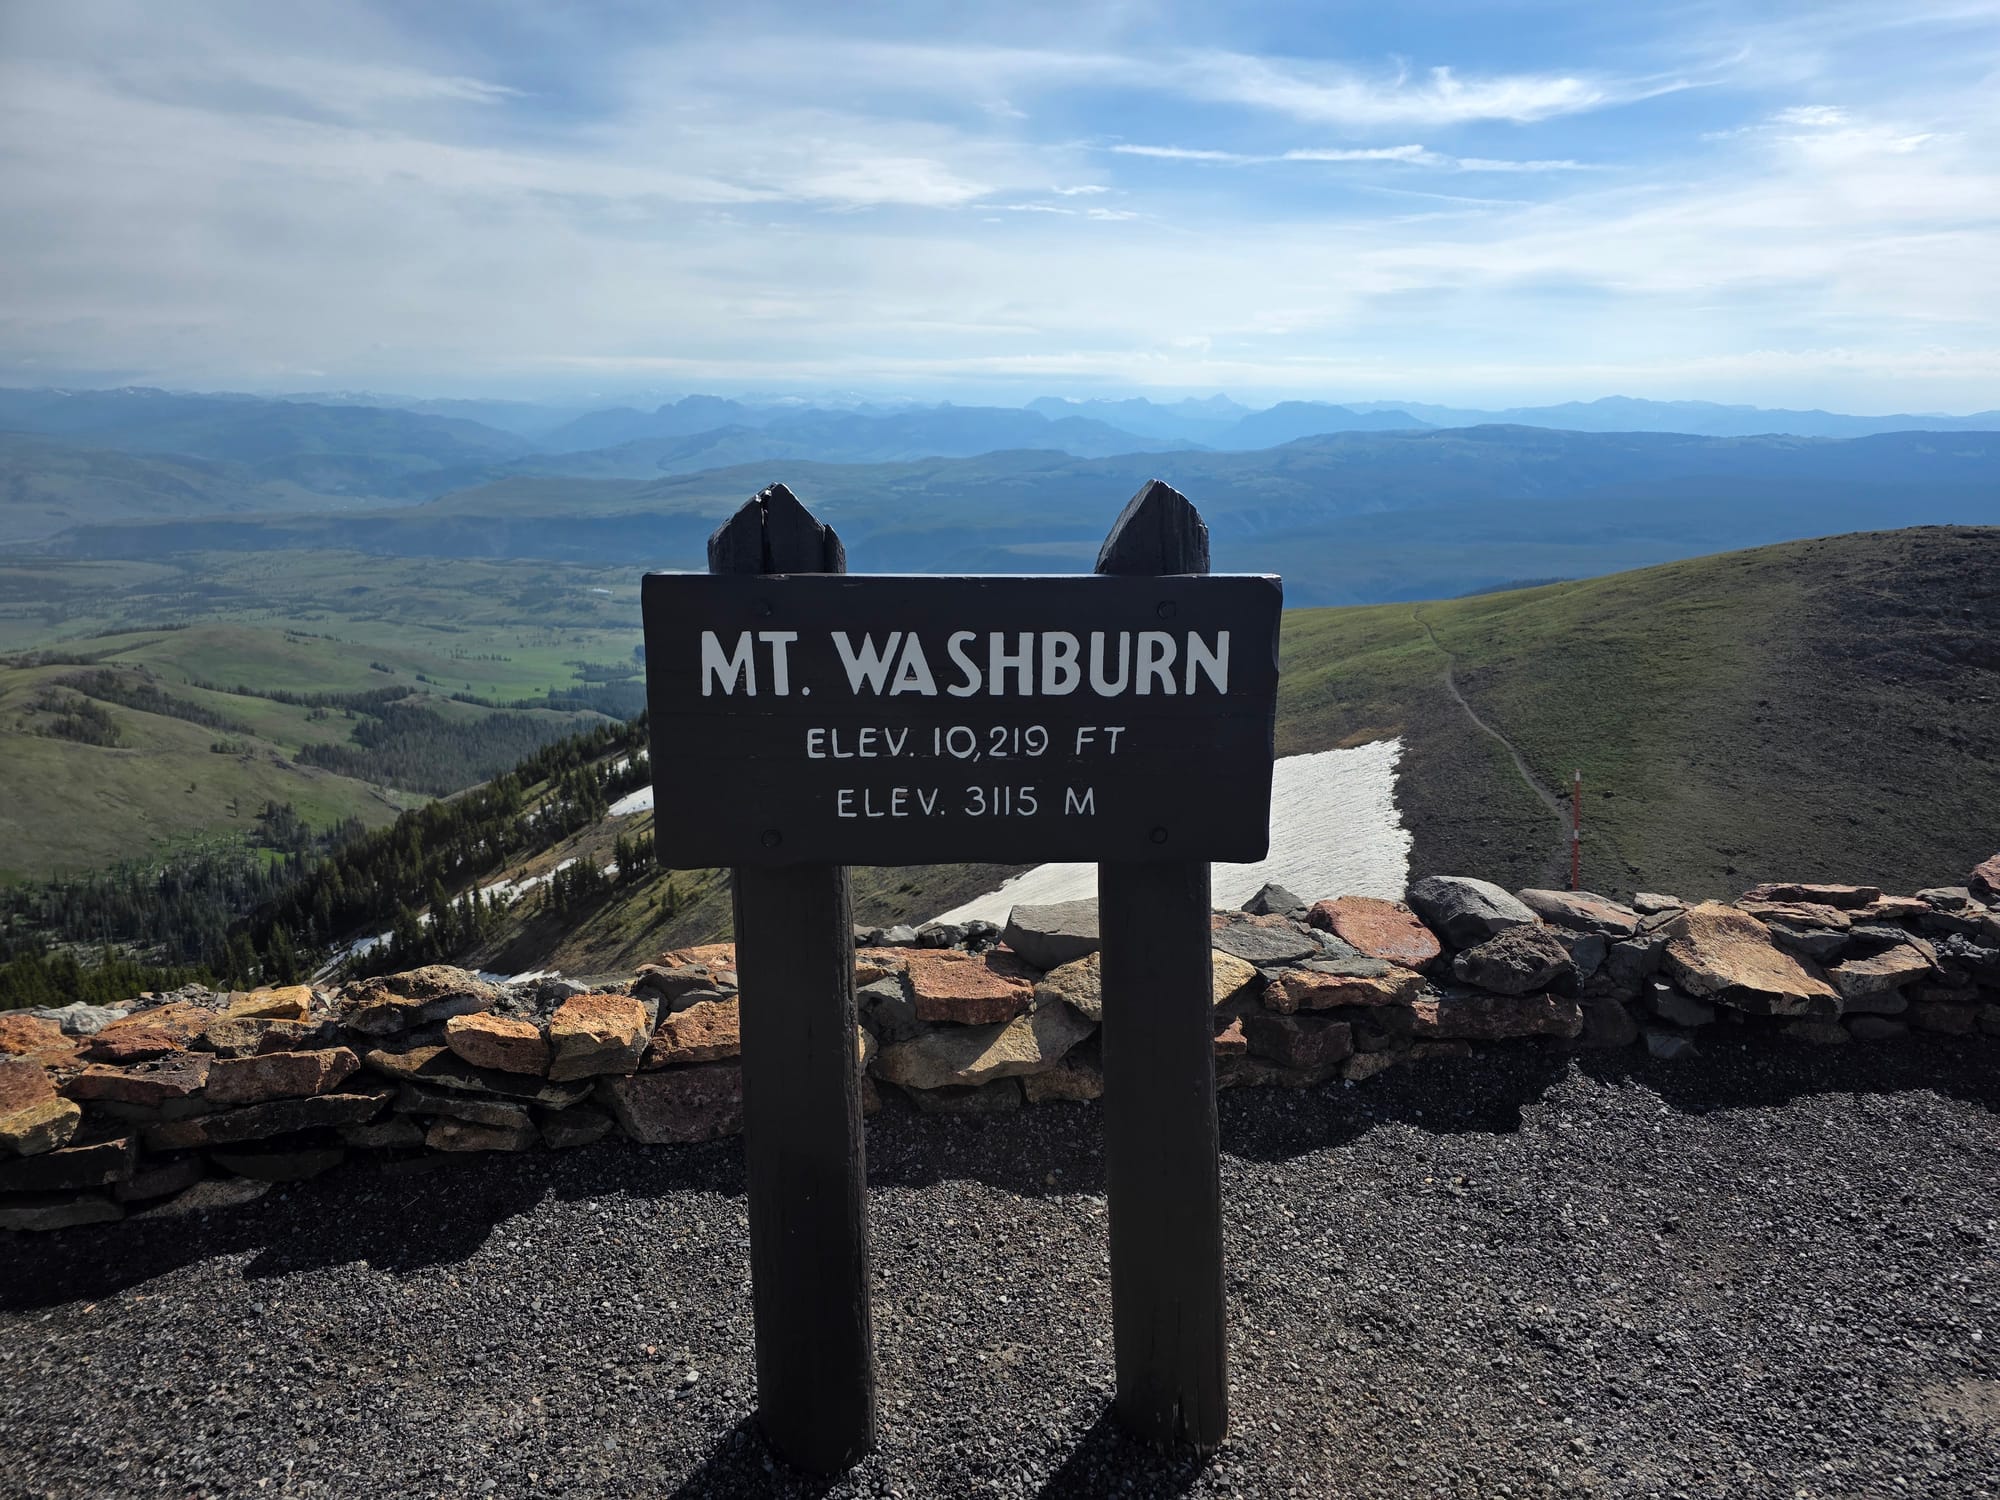
Day 7: Mount Washburn, Norris Geyser Basin, and Mud Volcano
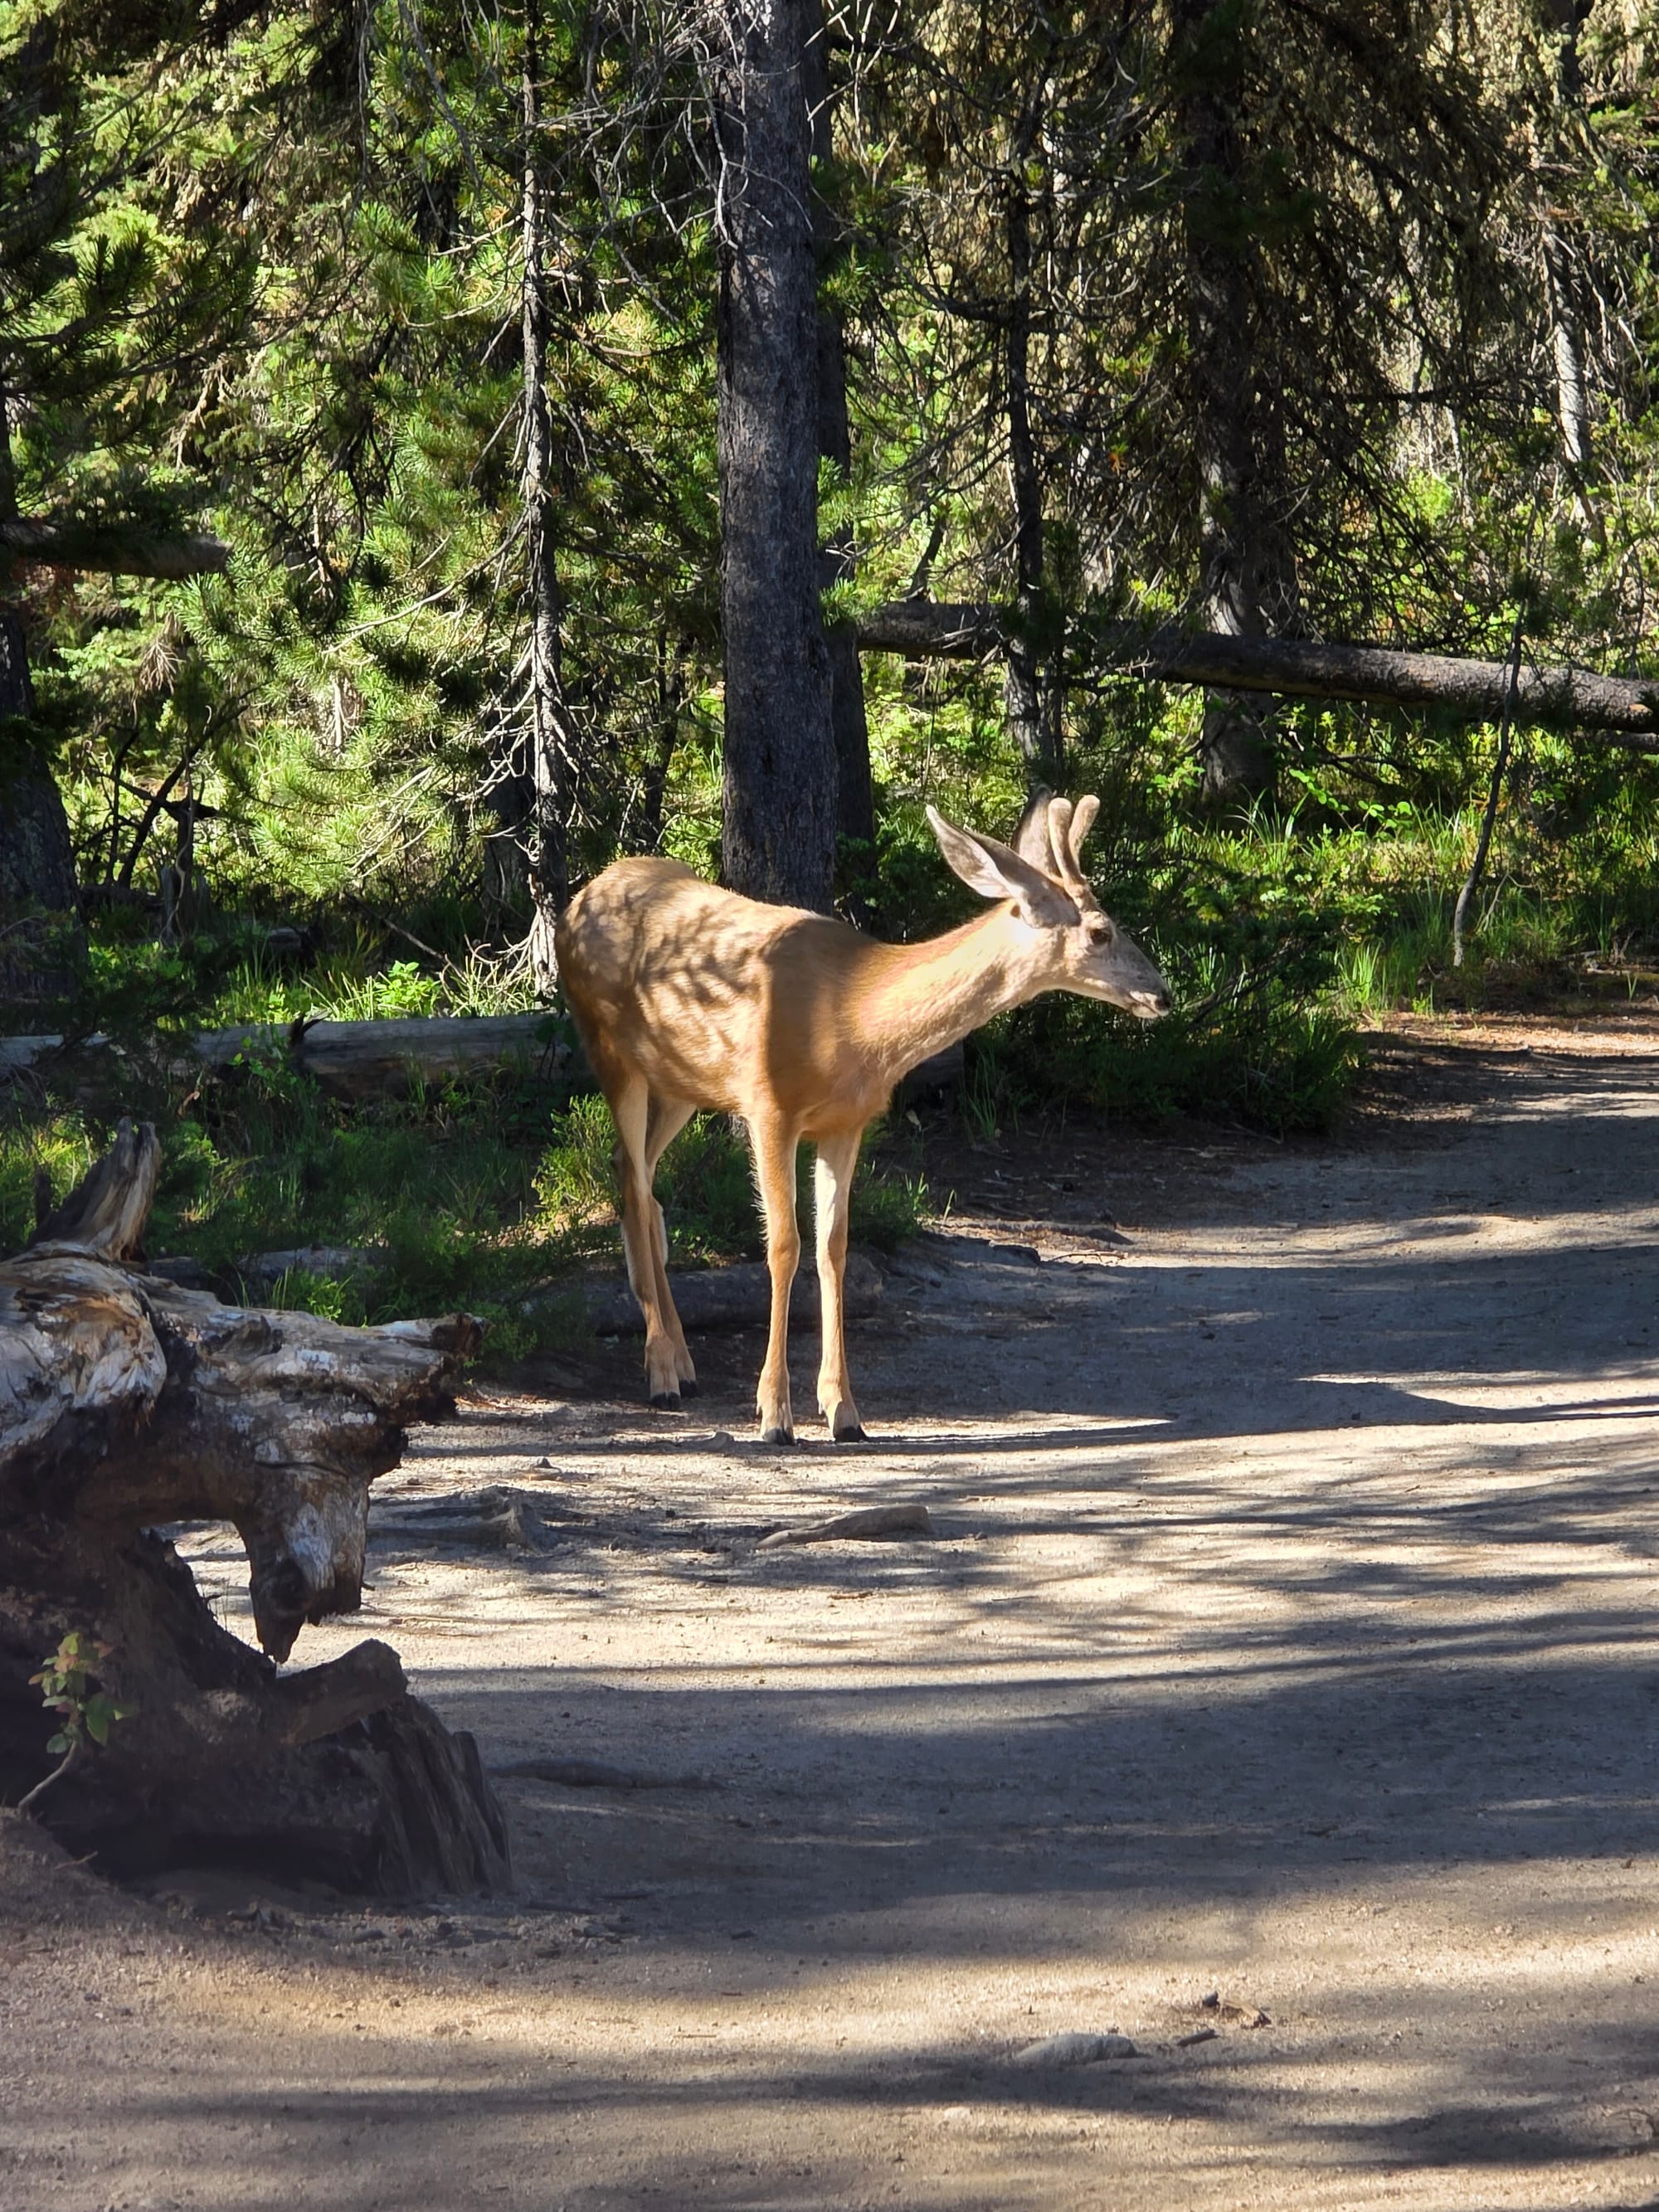
We tackled Mount Washburn, our biggest and highest-altitude hike in Yellowstone. Assuming you can handle the hike, this is a must do. There are two trailheads for this hike. One is Chittenden Road, which is a wide, gravel service road. We chose the Dunraven Pass Trailhead instead, which is an alpine dirt trail. We got lucky that the trail was almost completely clear of snow, but check the weather beforehand, as we heard other hikers saying it had been too snowy to hike just a few weeks prior.
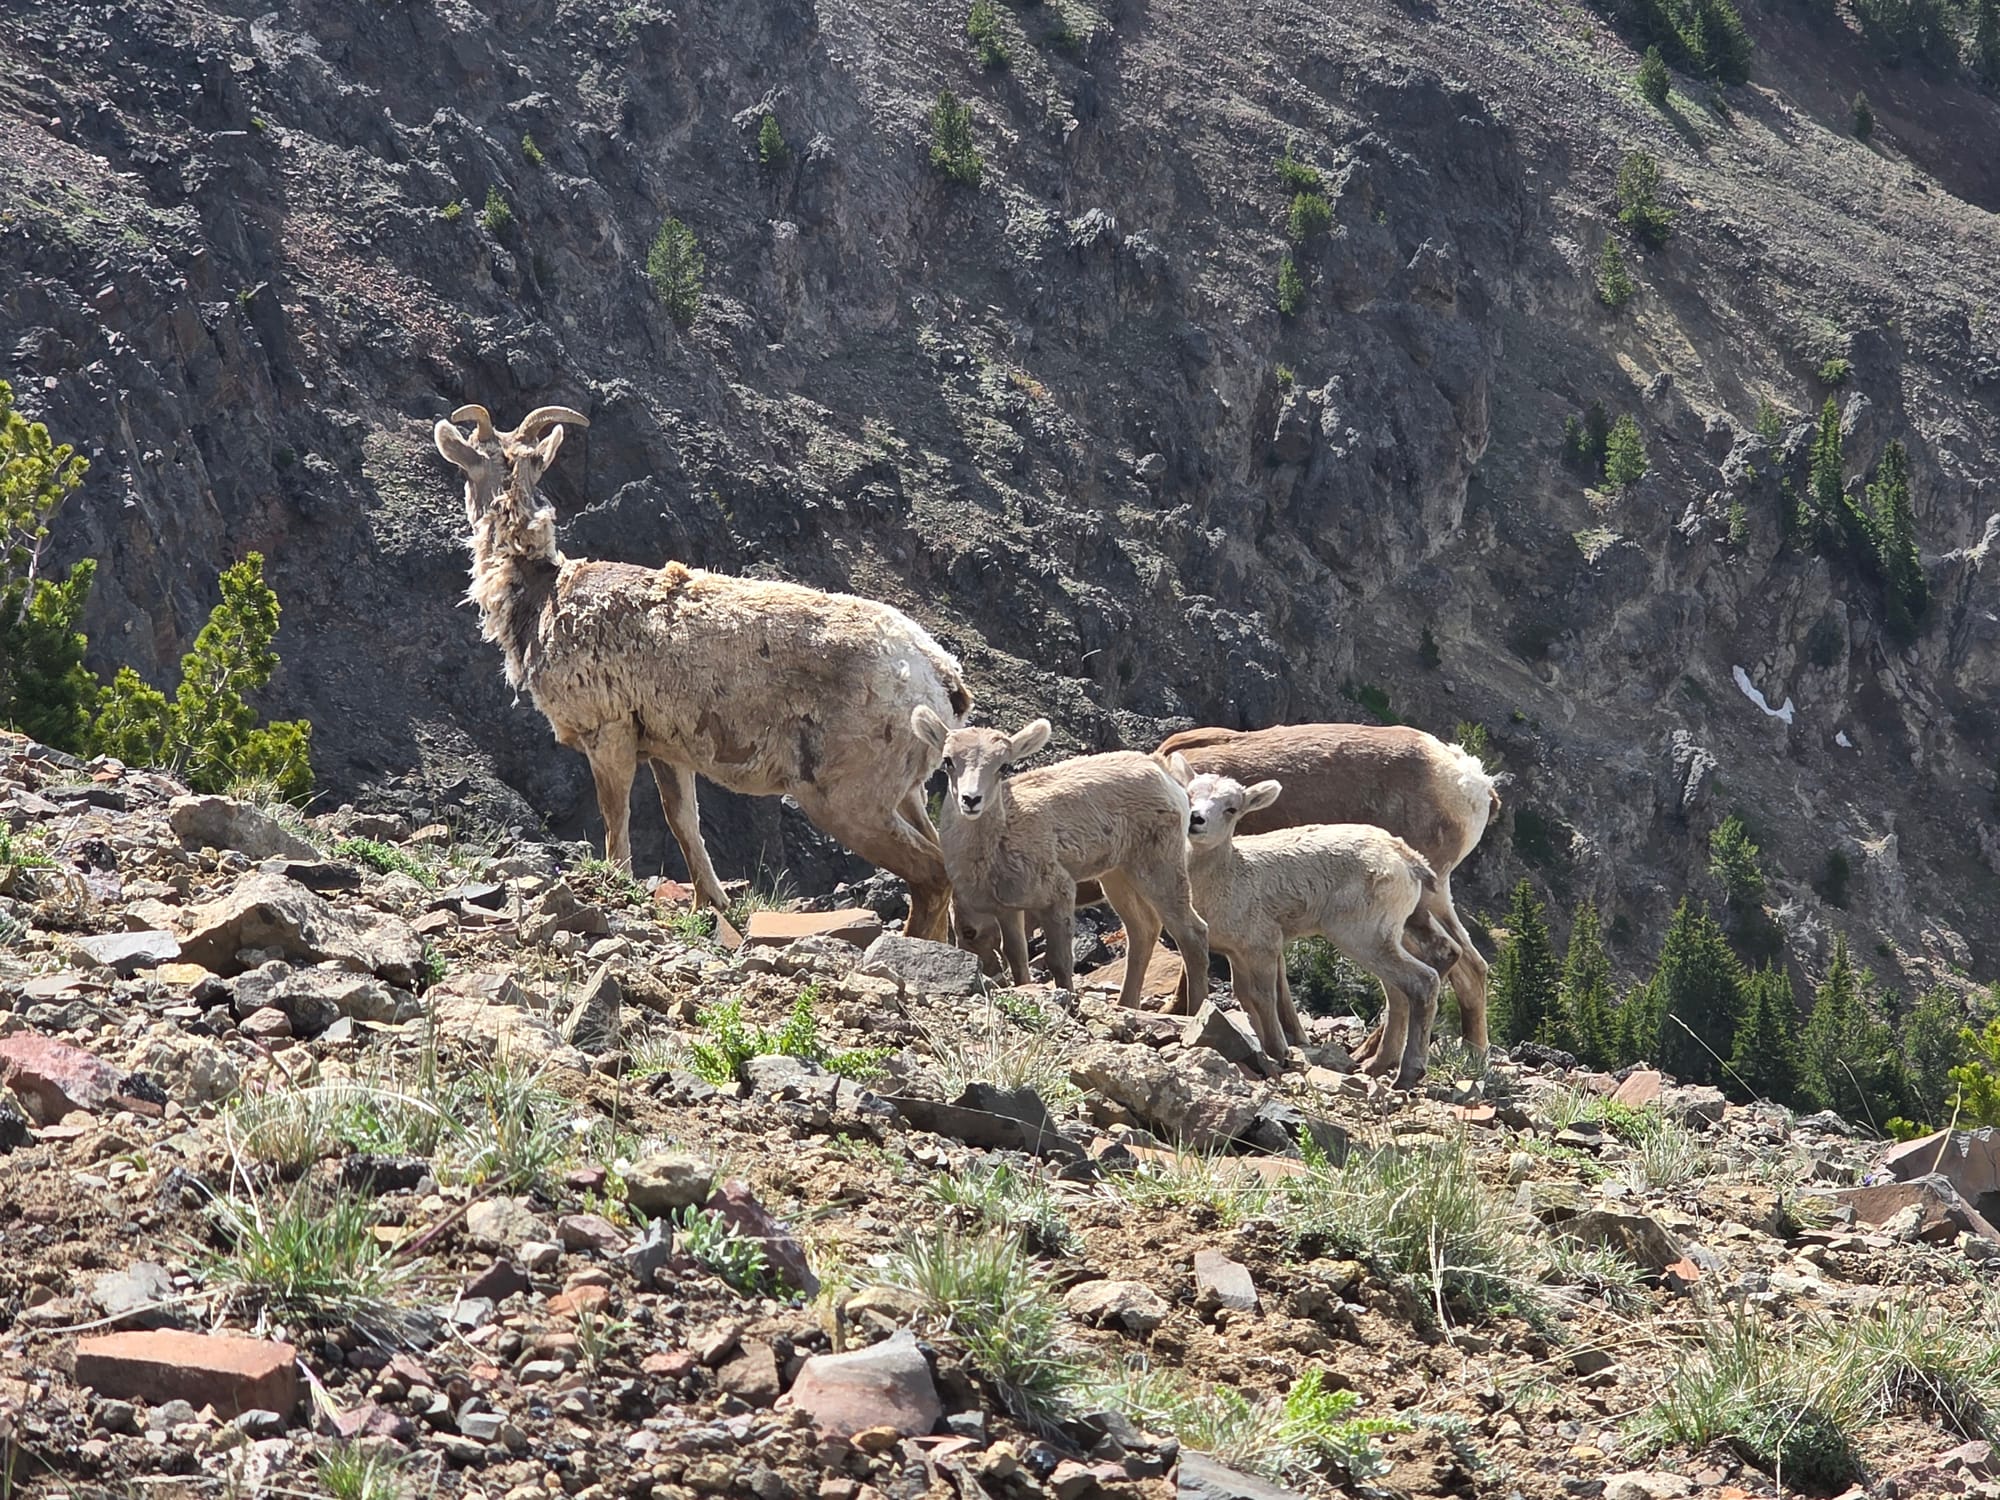
On the way up, we saw some mule deer, and then hiked directly through two separate herds of bighorn sheep. They had young lambs running around and were completely acclimated to hikers, grazing right along the path and allowing us to get some amazing close-up photos.
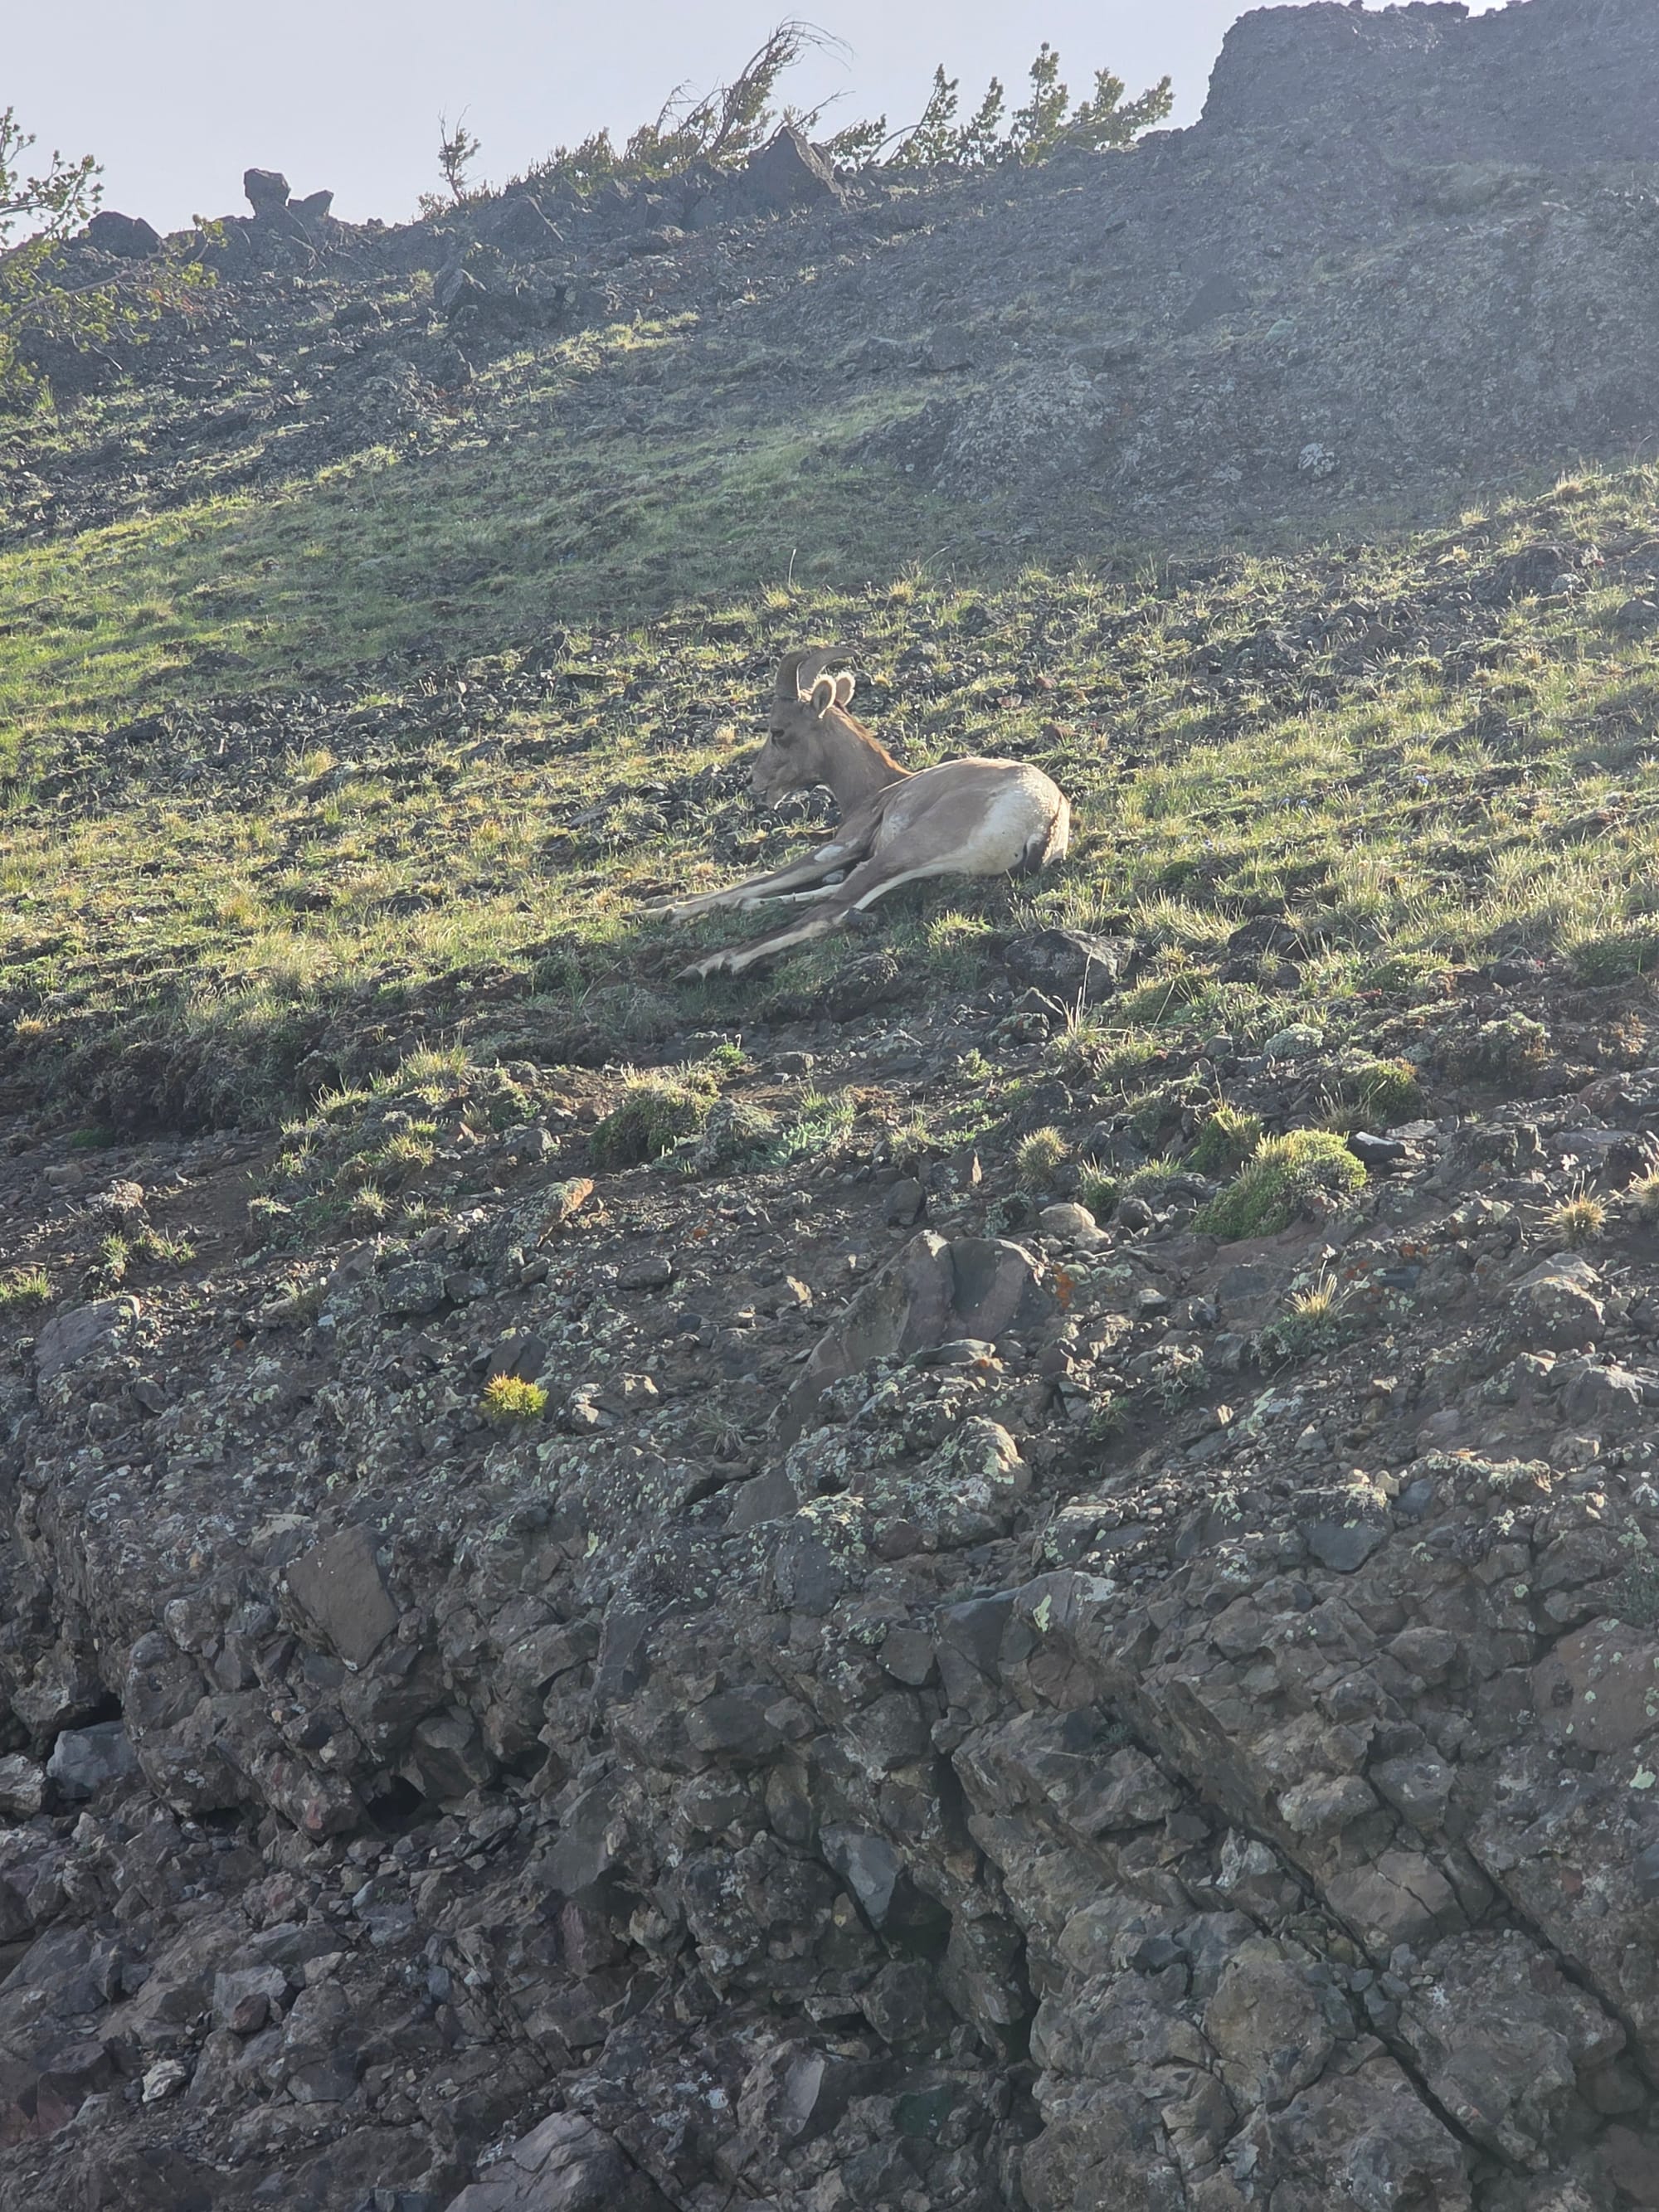
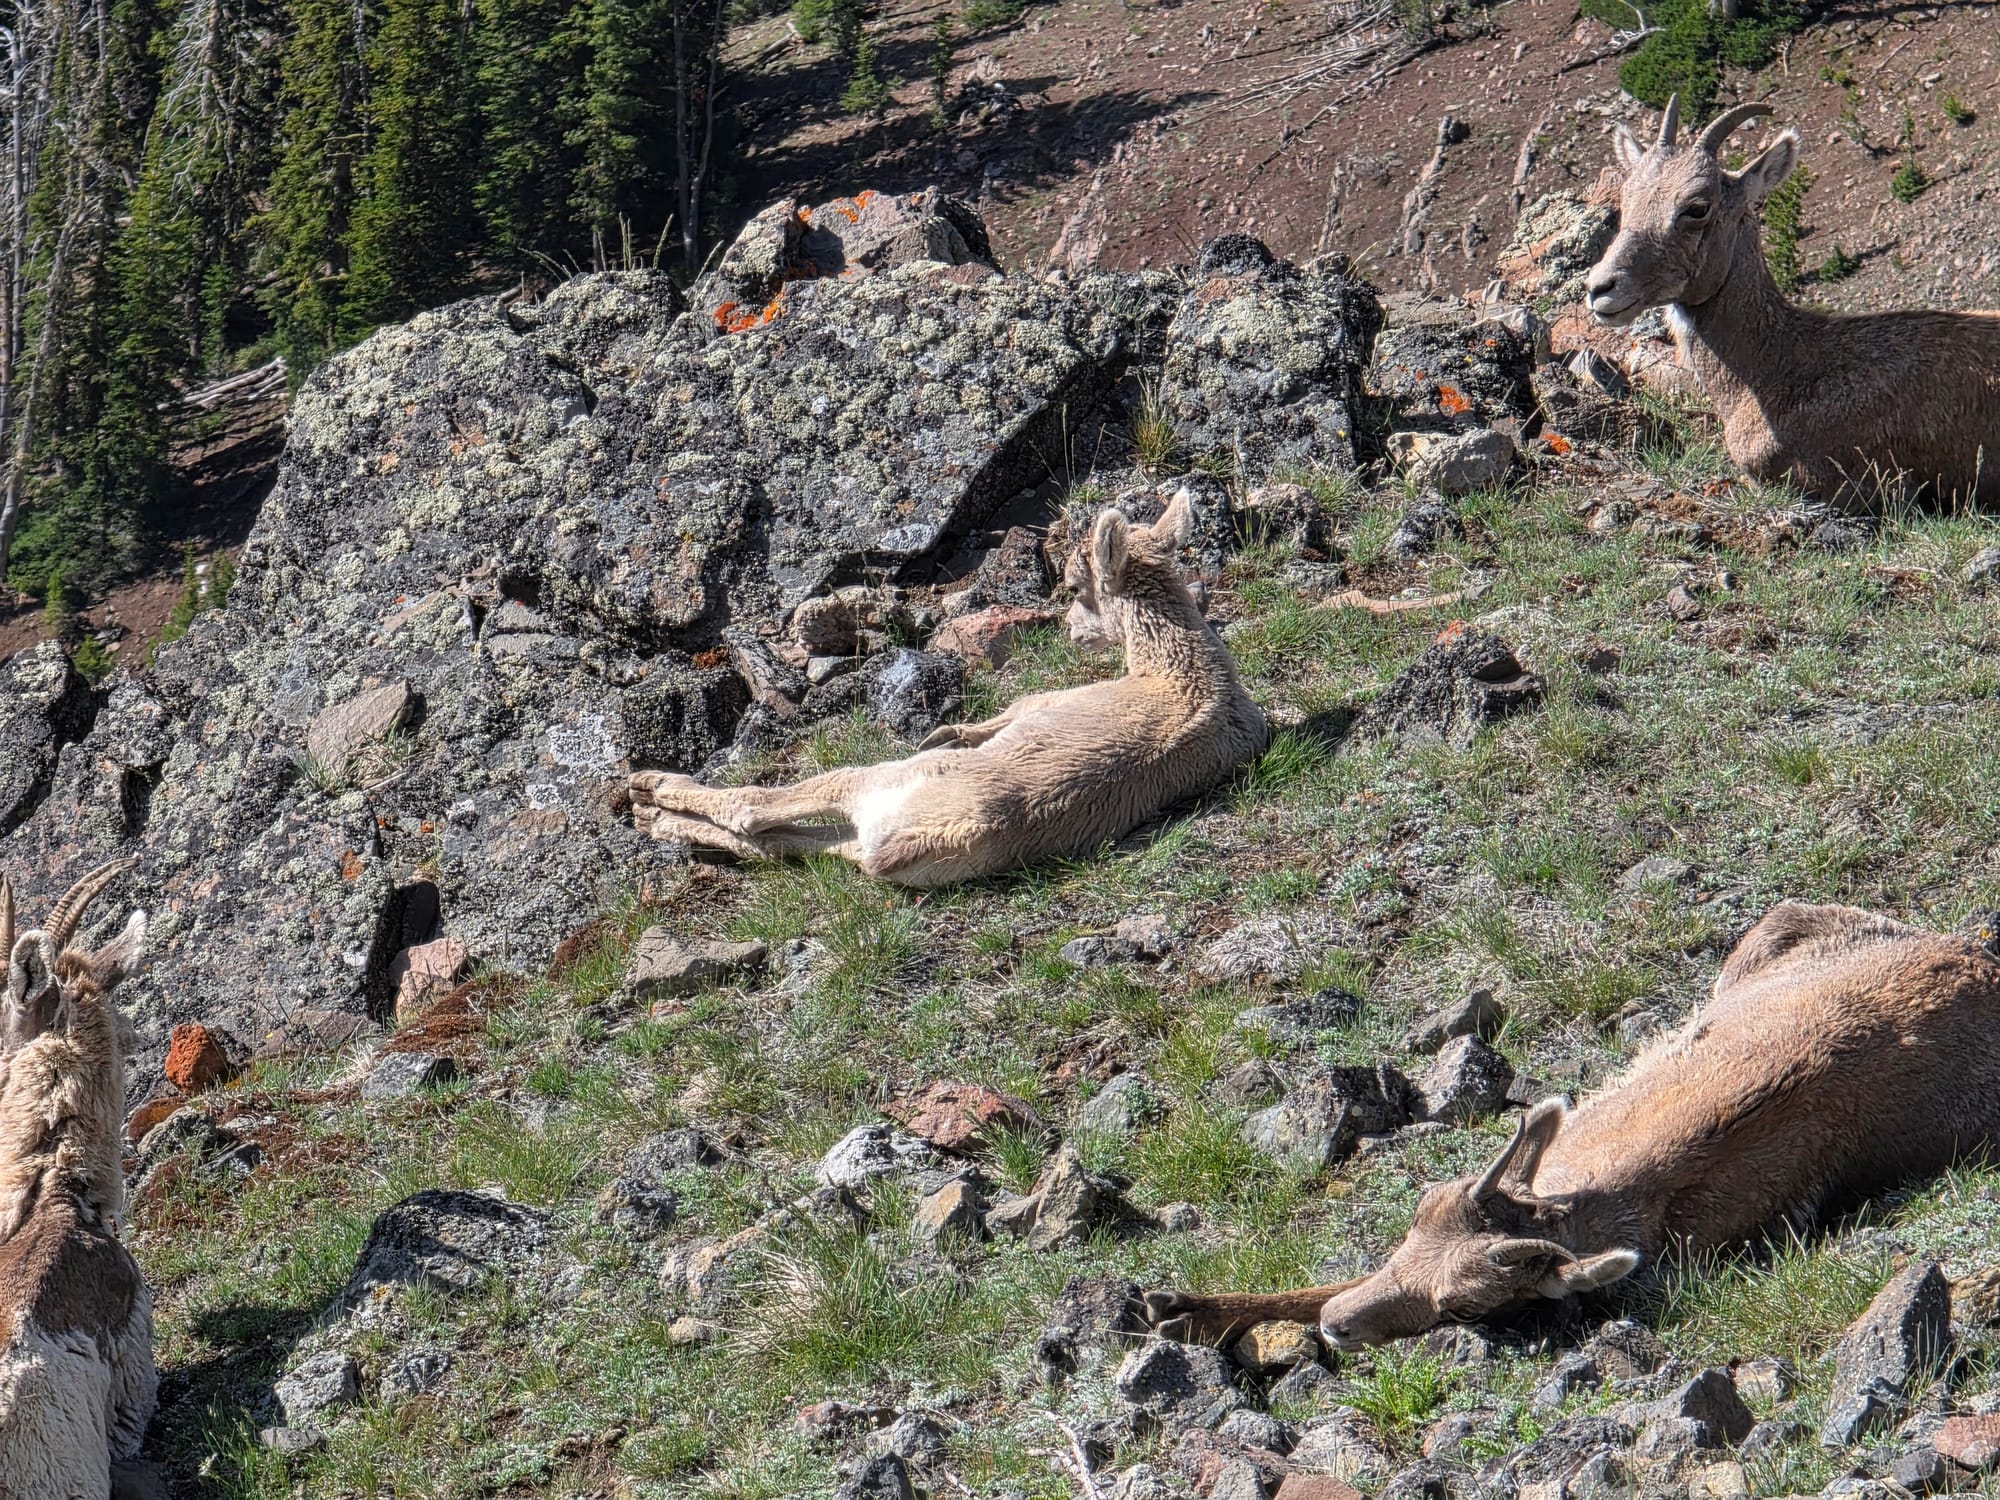
Washburn Wildlife
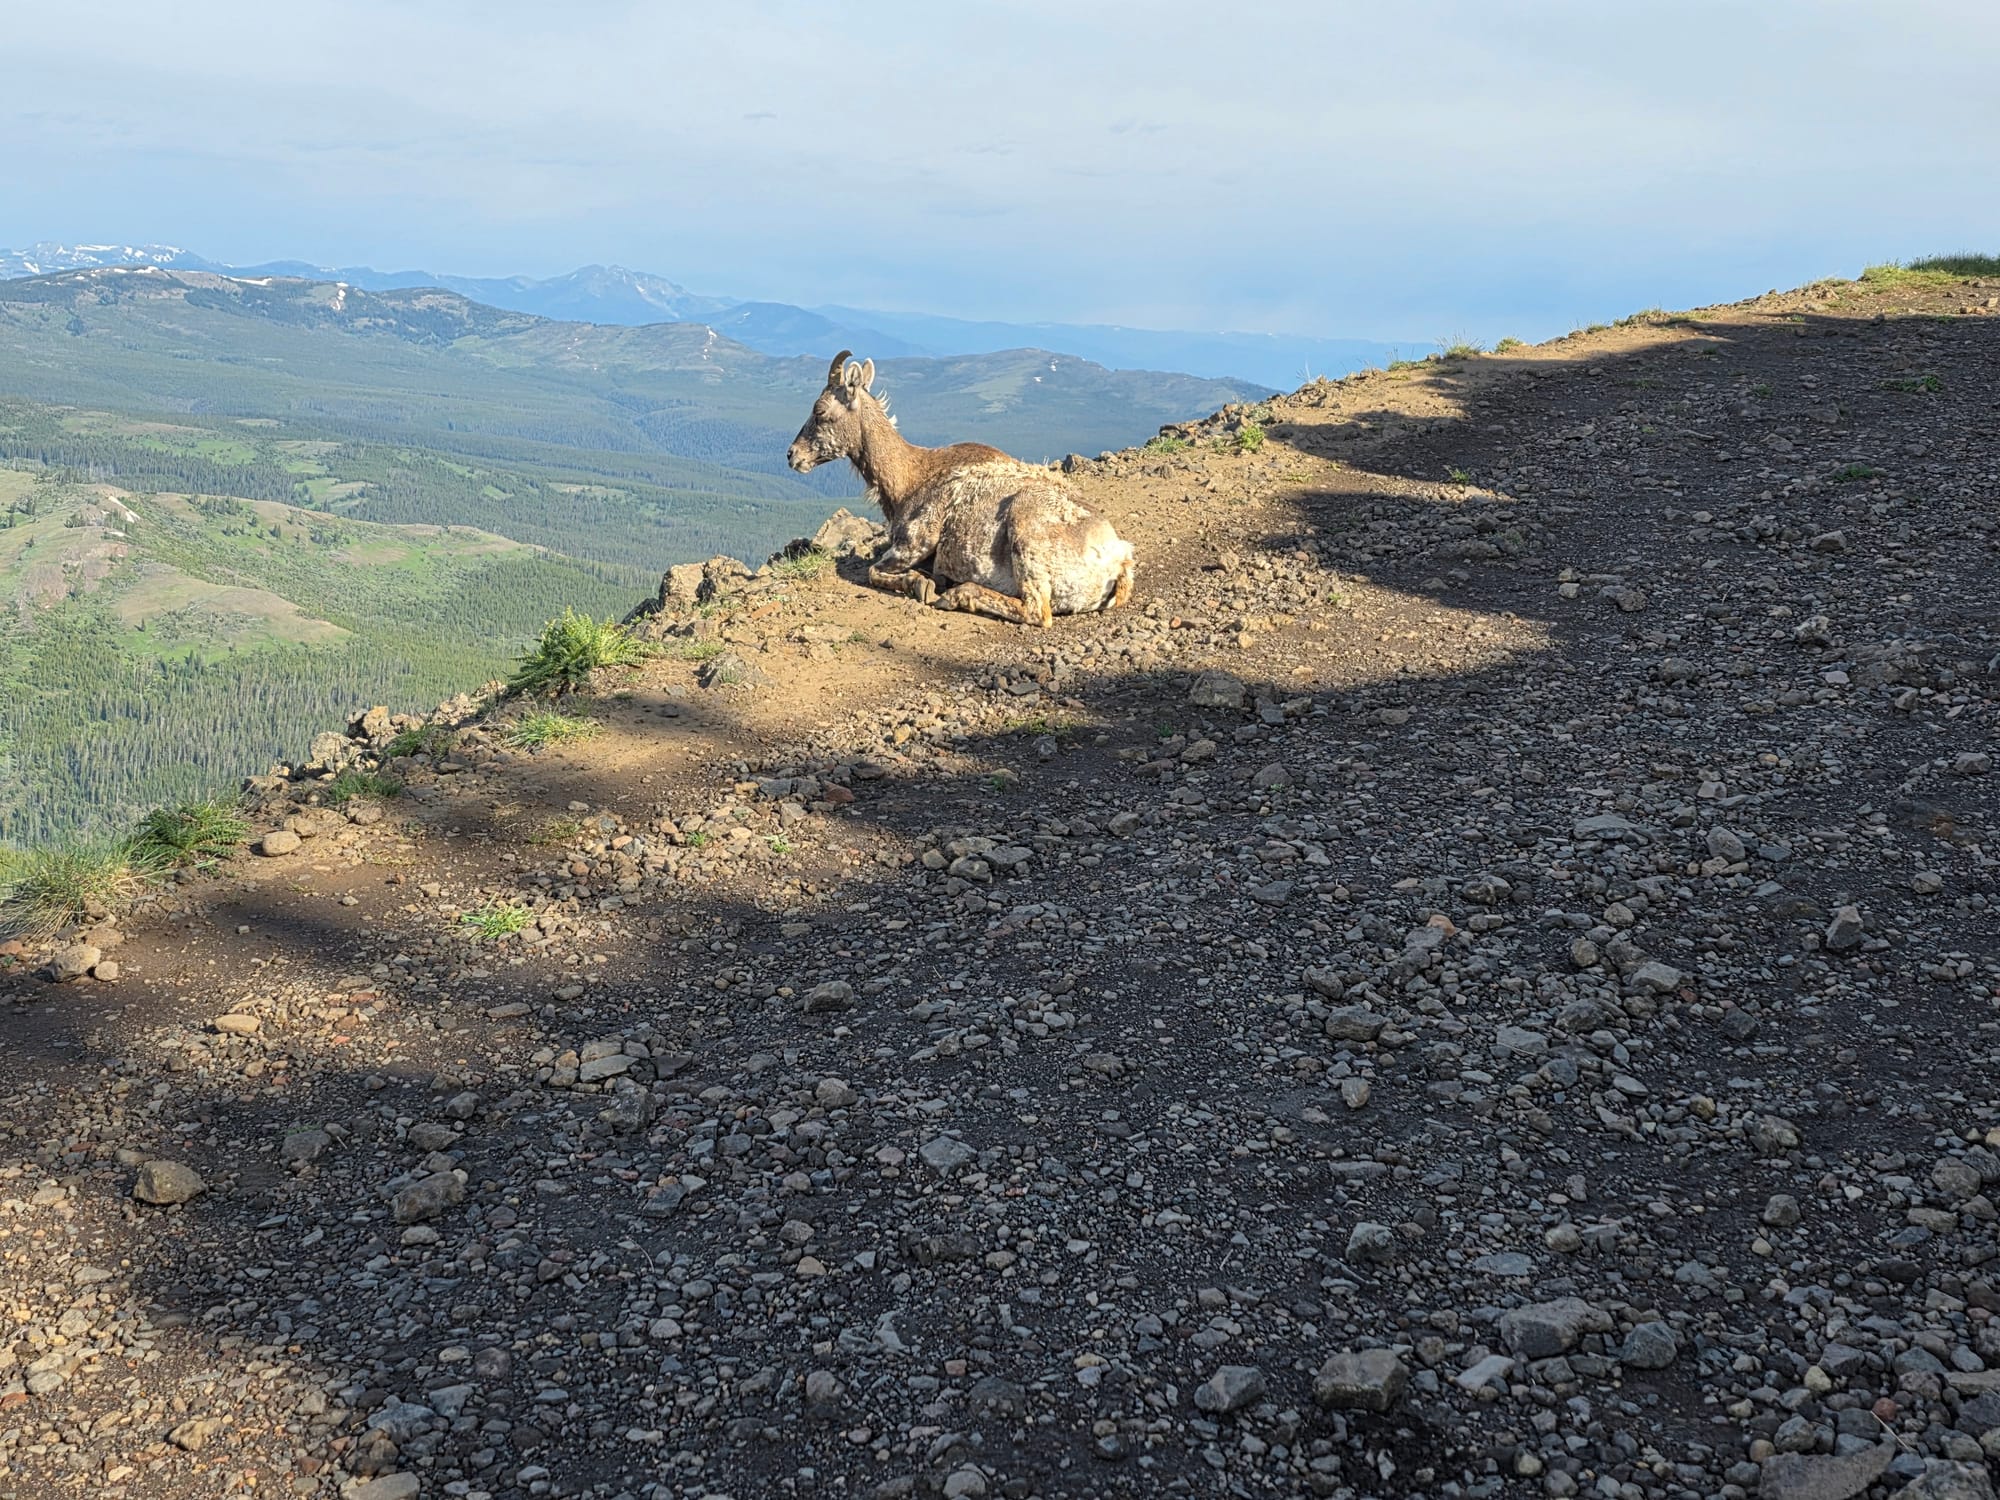
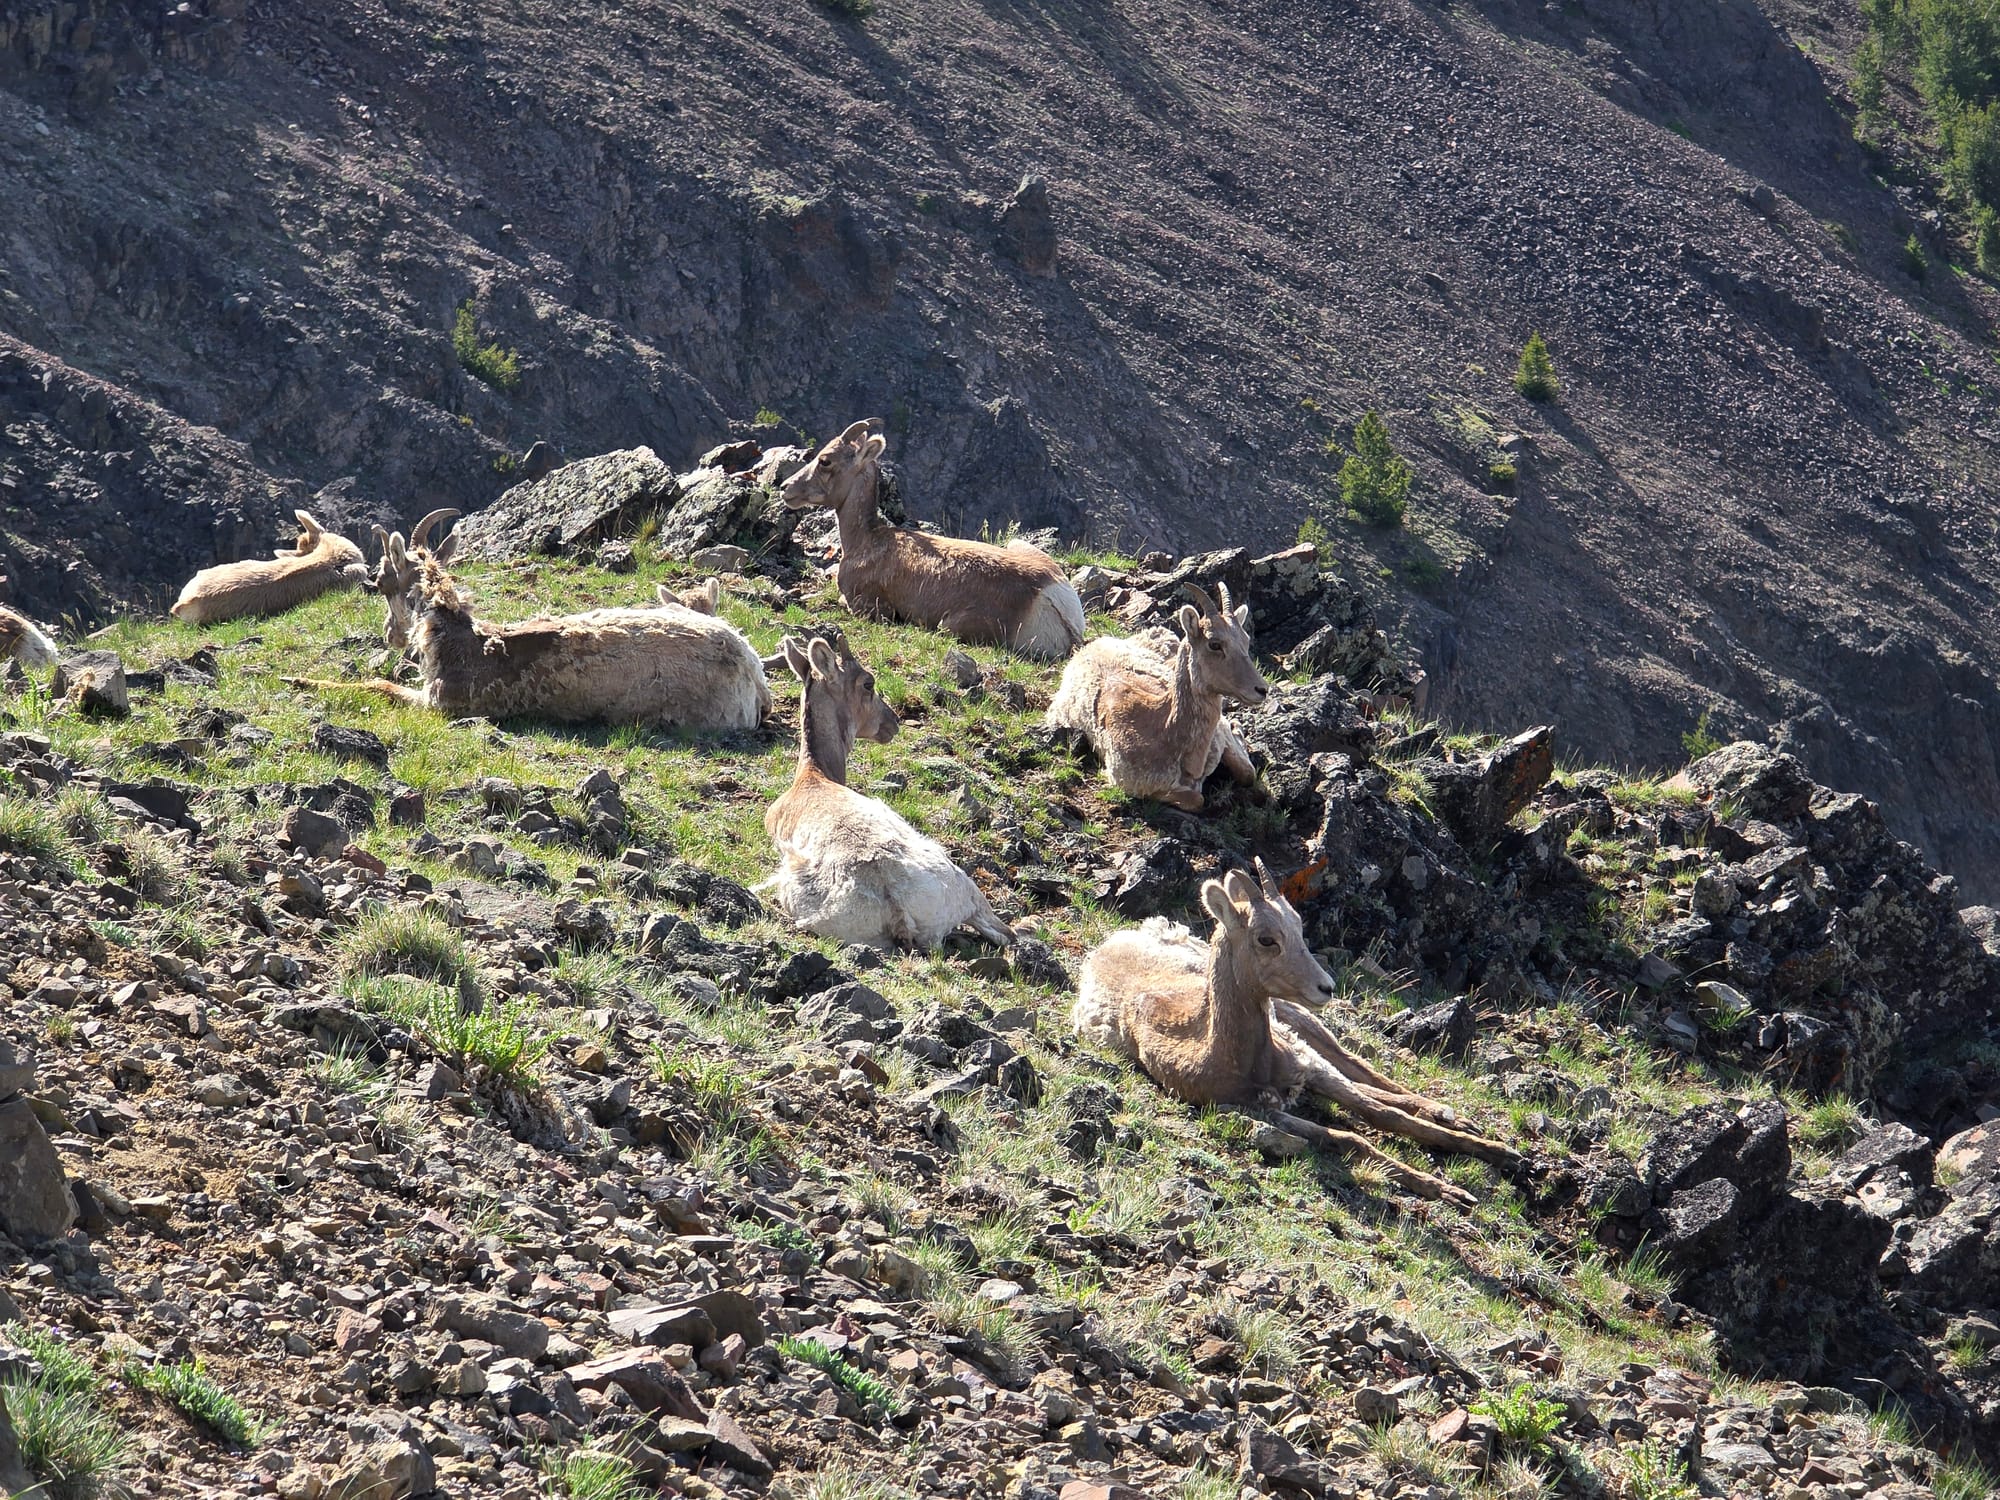
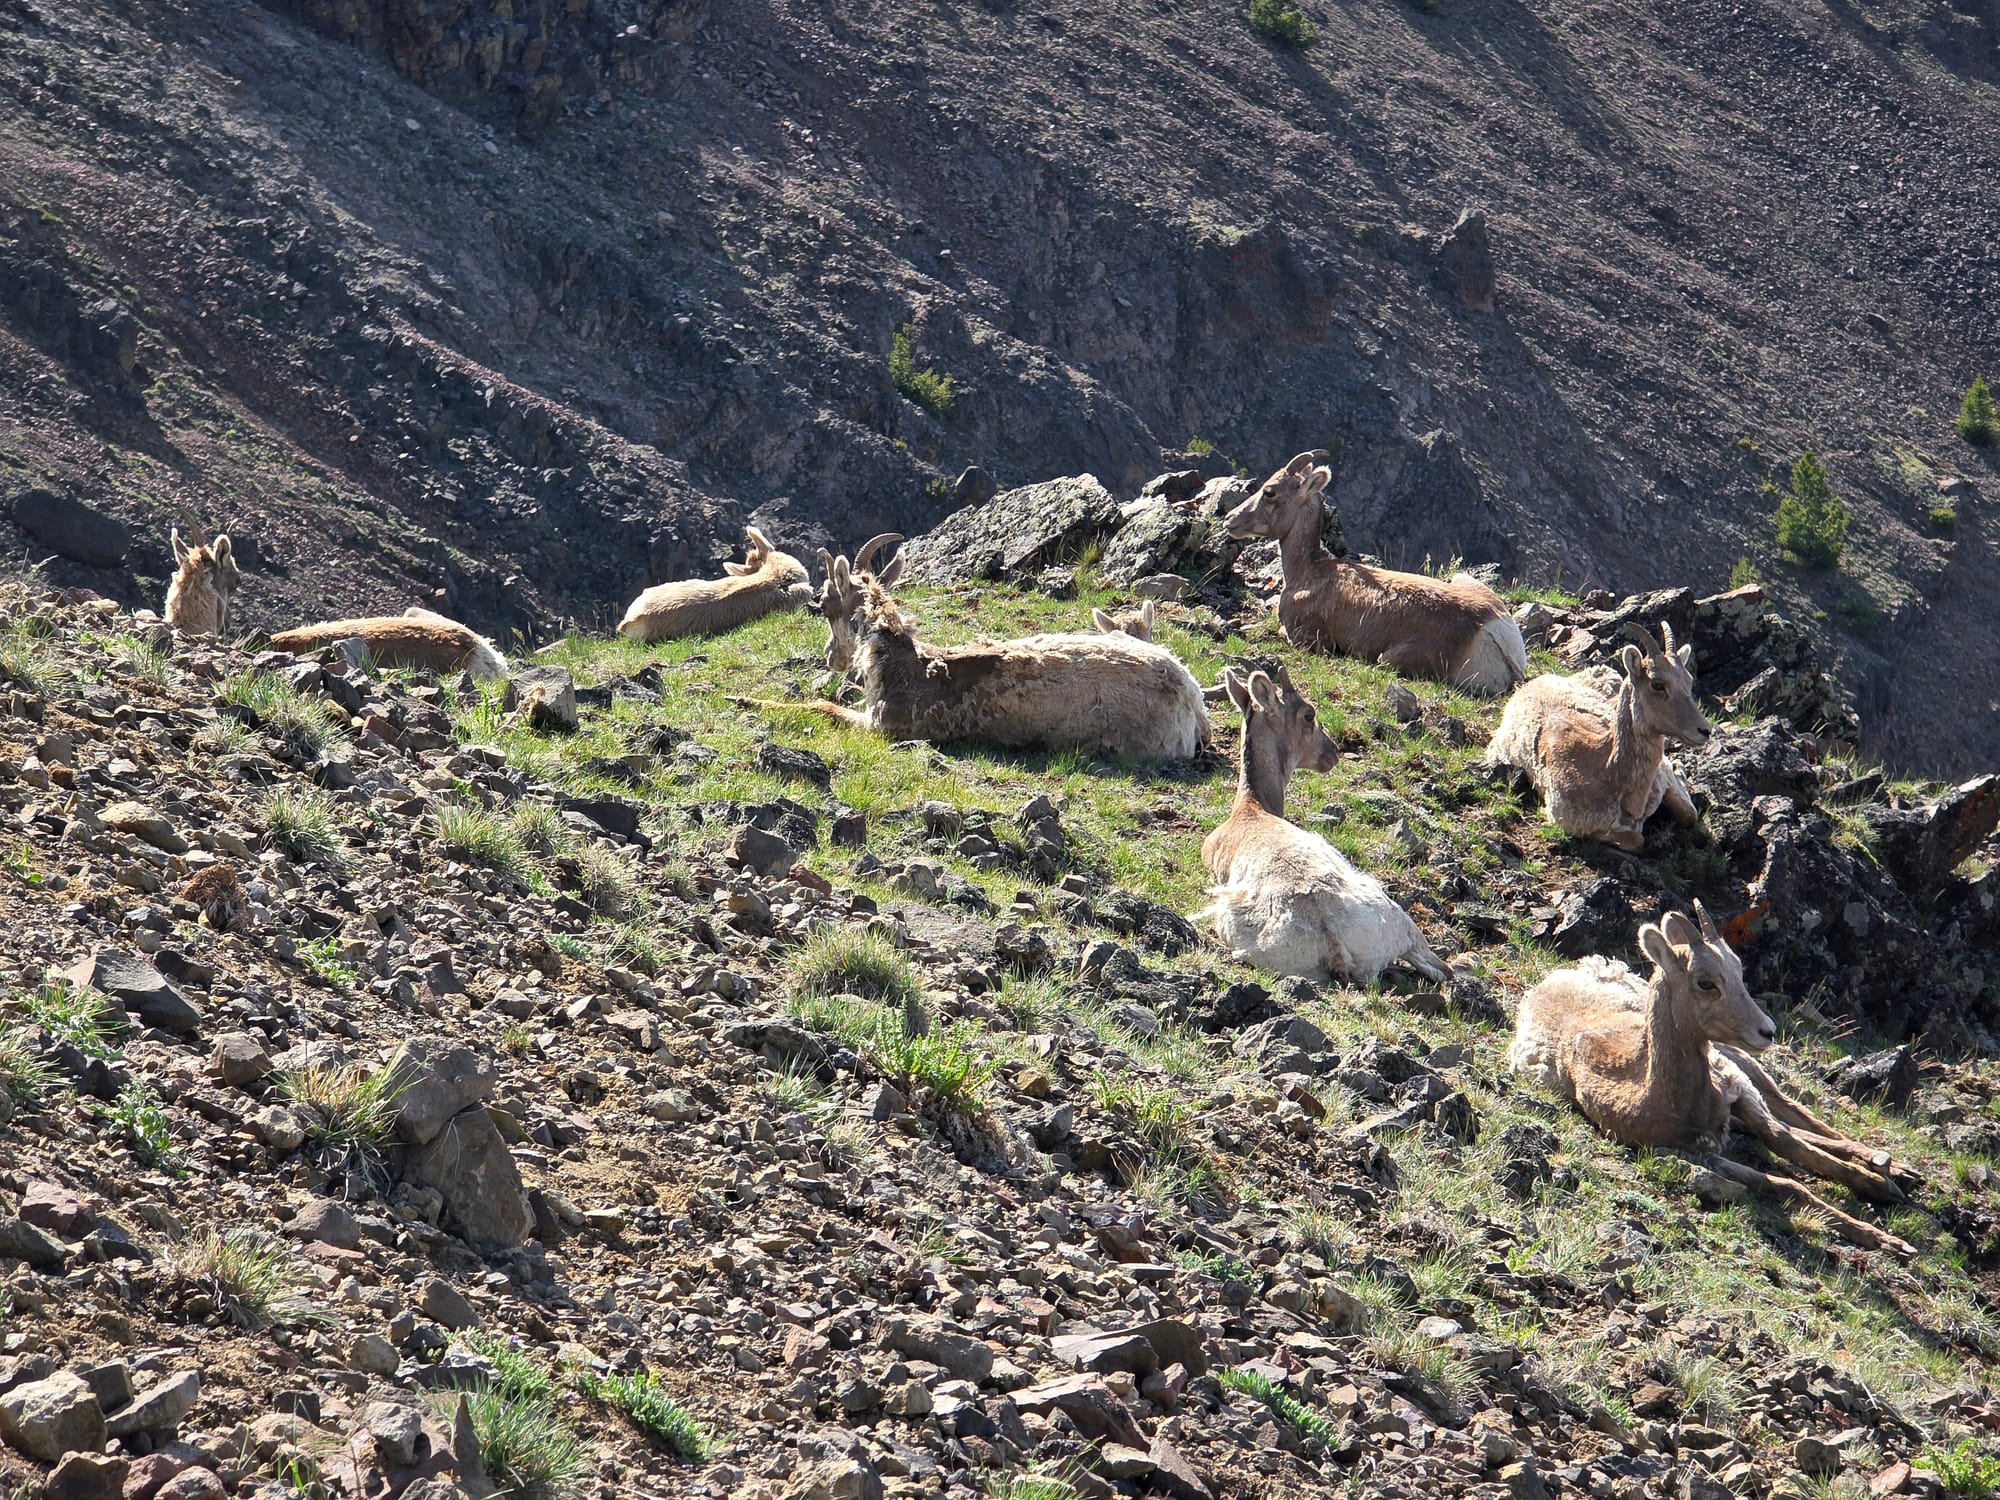
Like Signal Mountain, Washburn gives you an incredible panoramic view across the entire park. There is a lookout station at the summit that has bathrooms and a telescope inside. It looked like there was a public second-level viewing deck, but we did not climb up to it due to high winds.
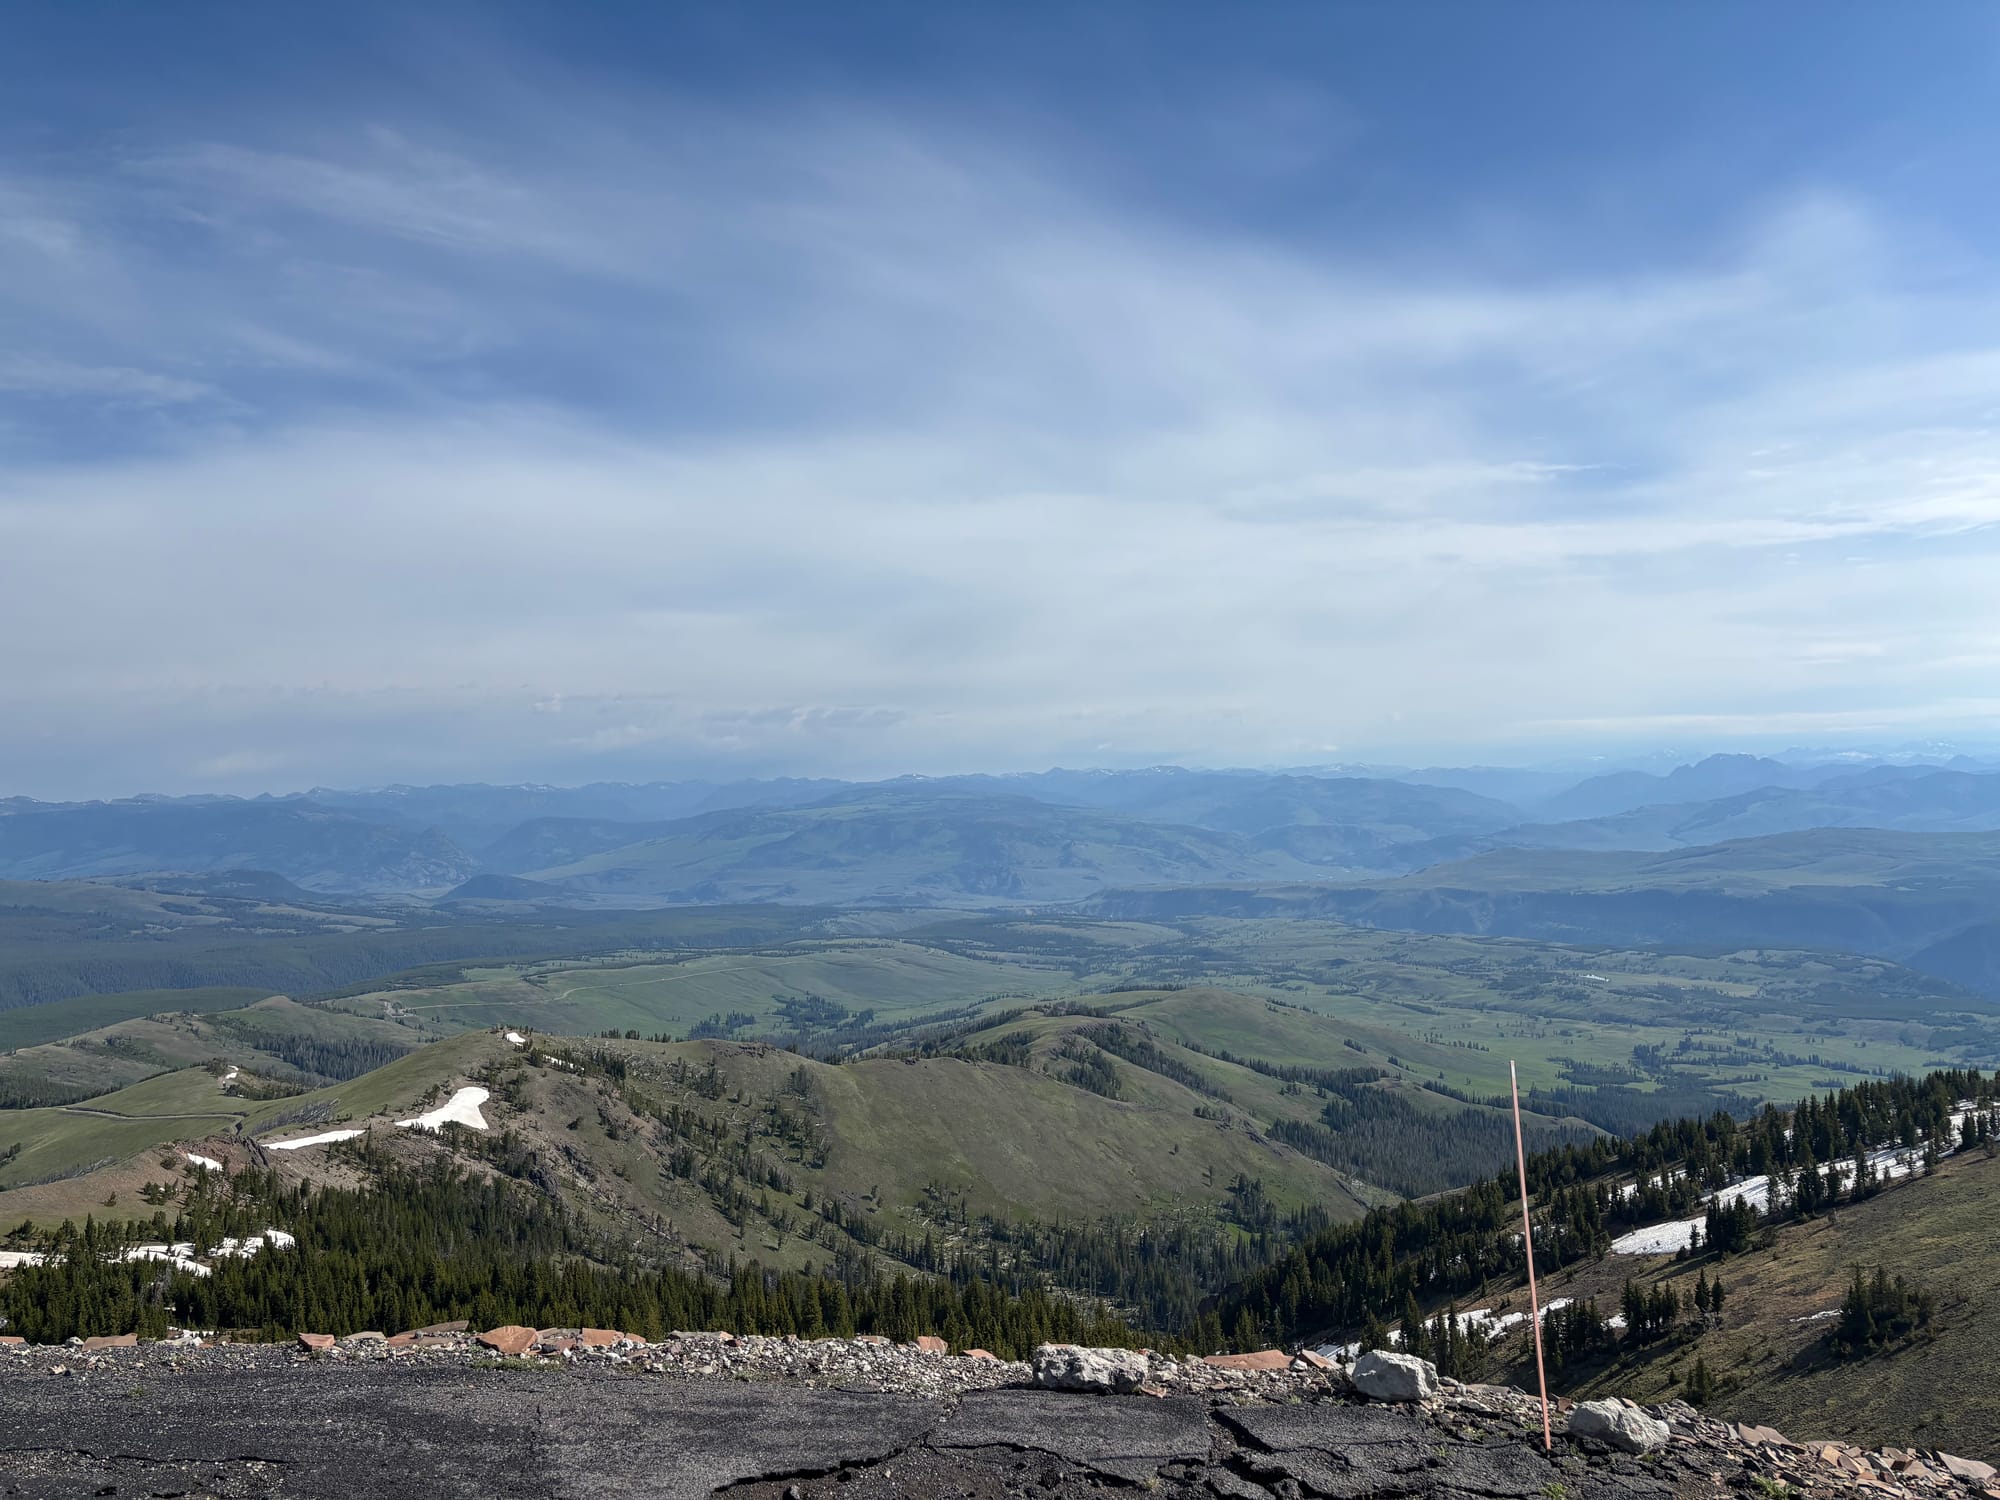

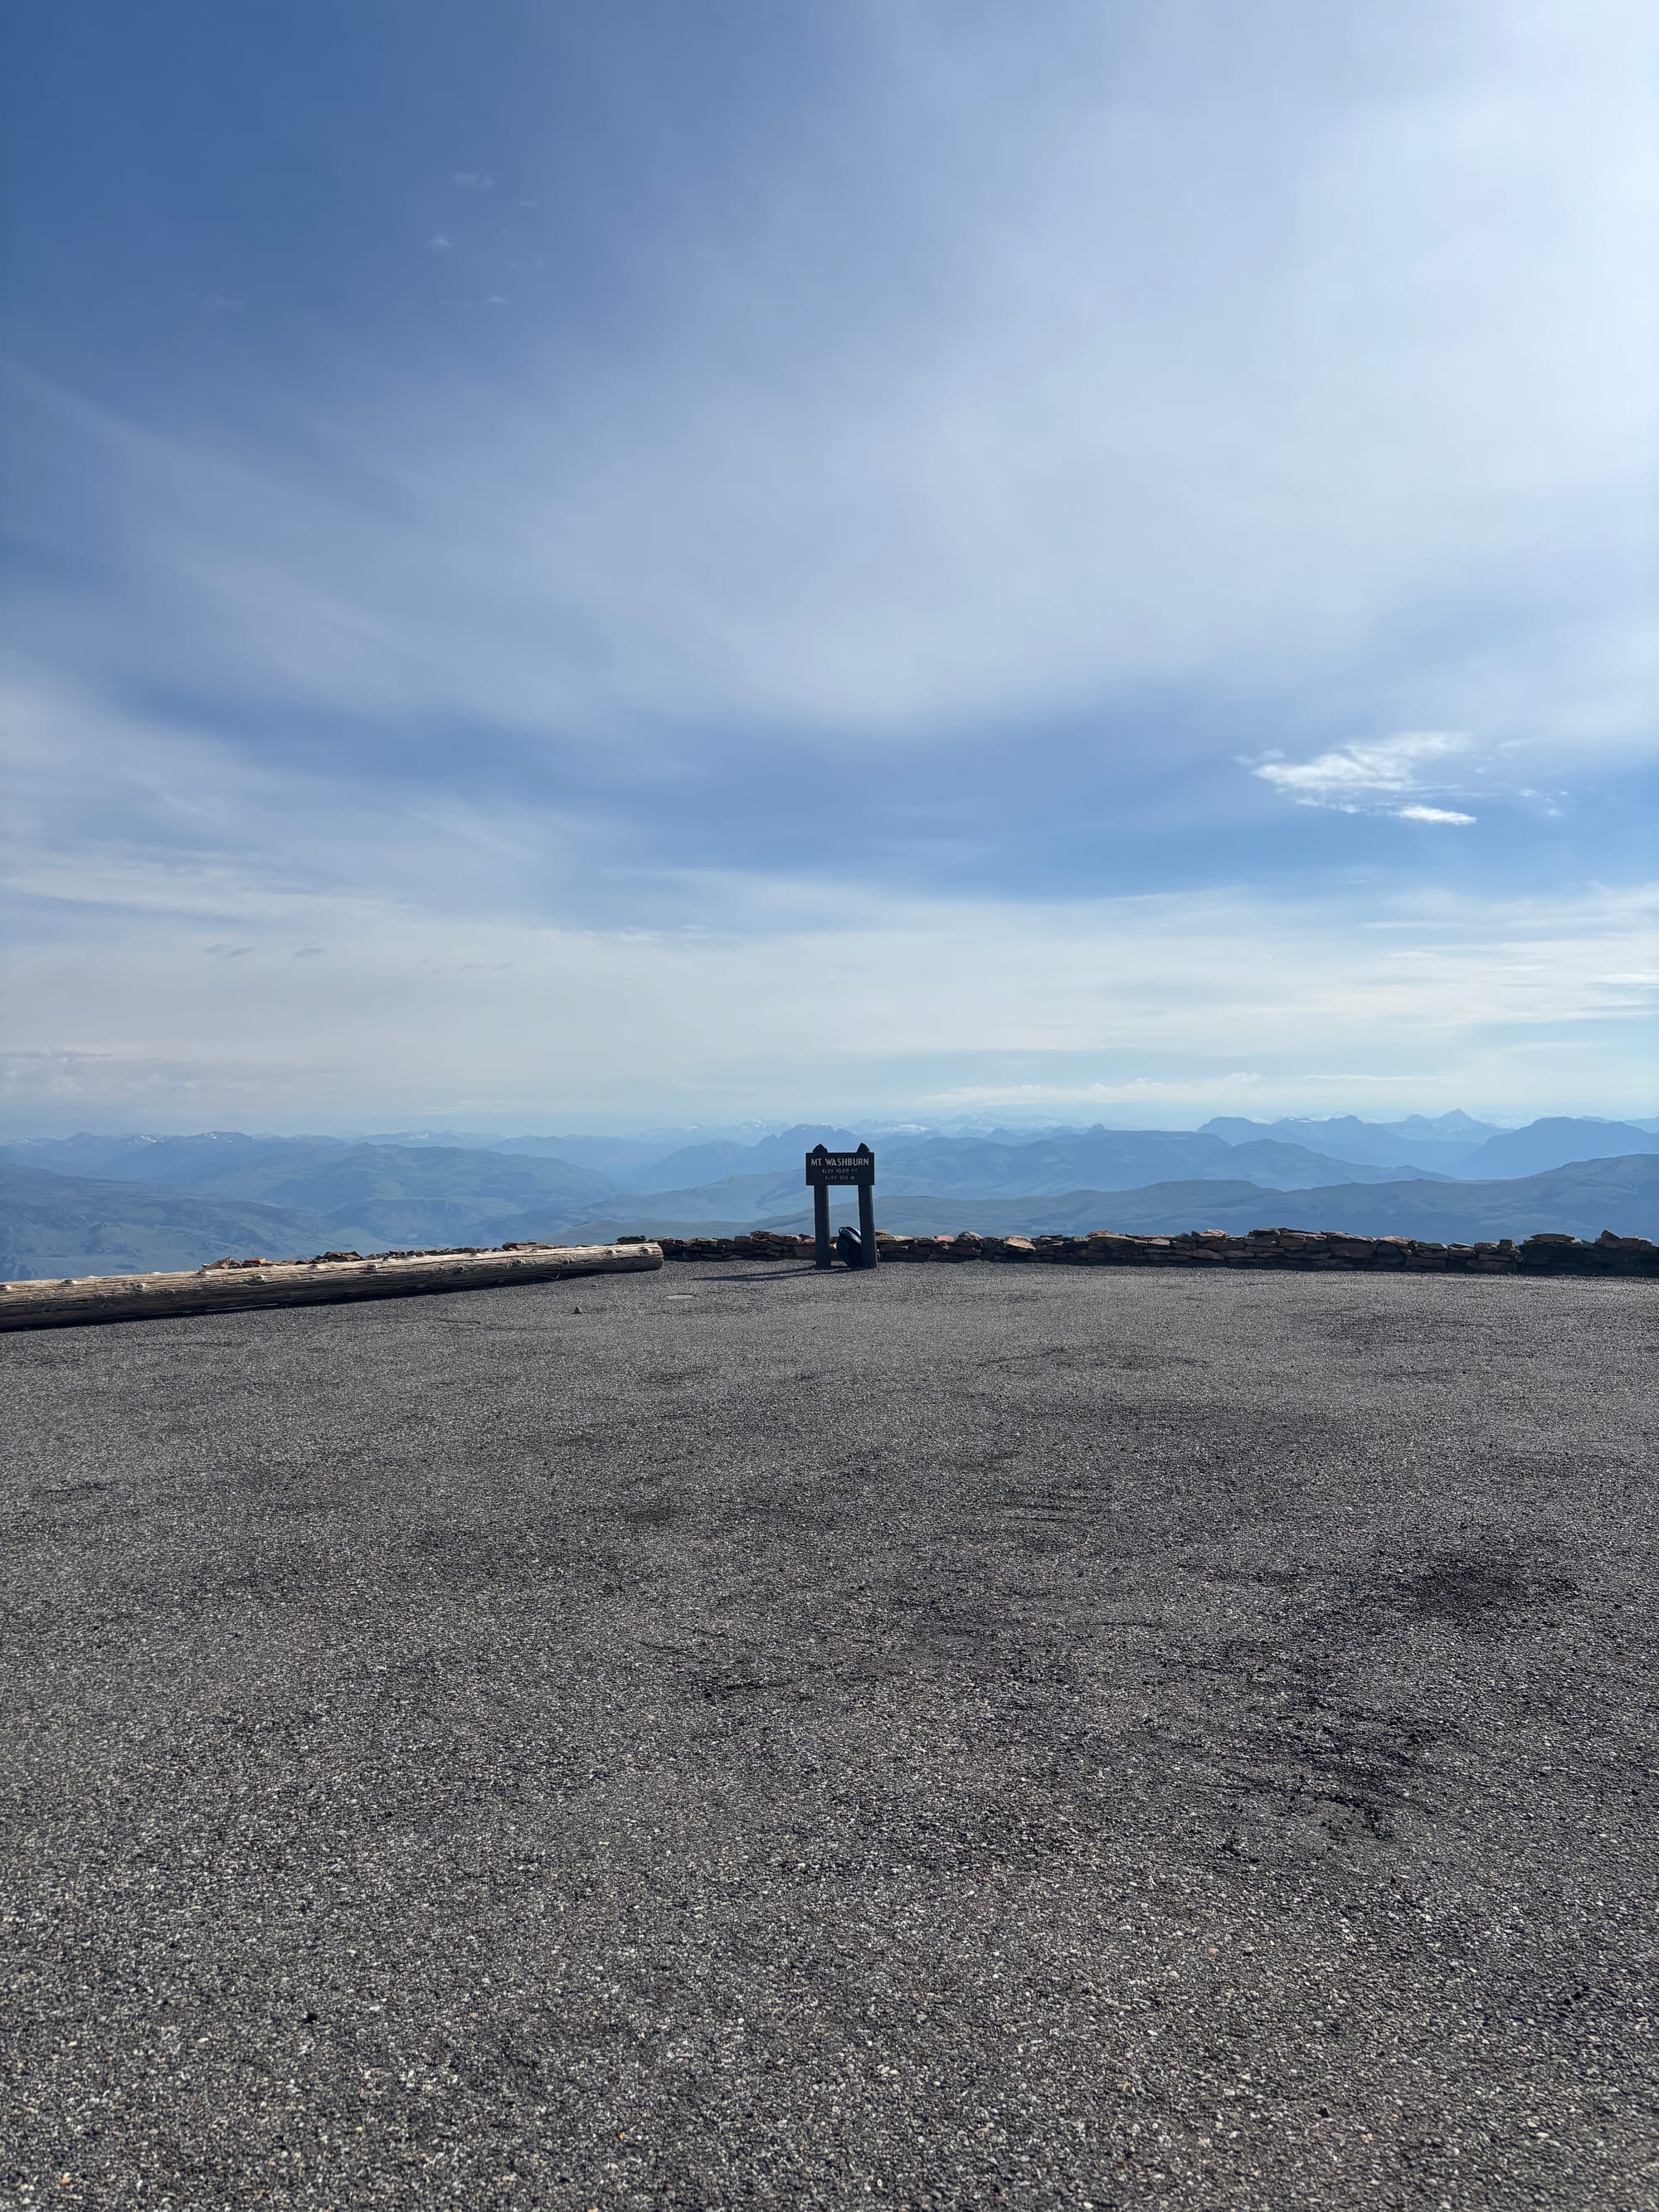
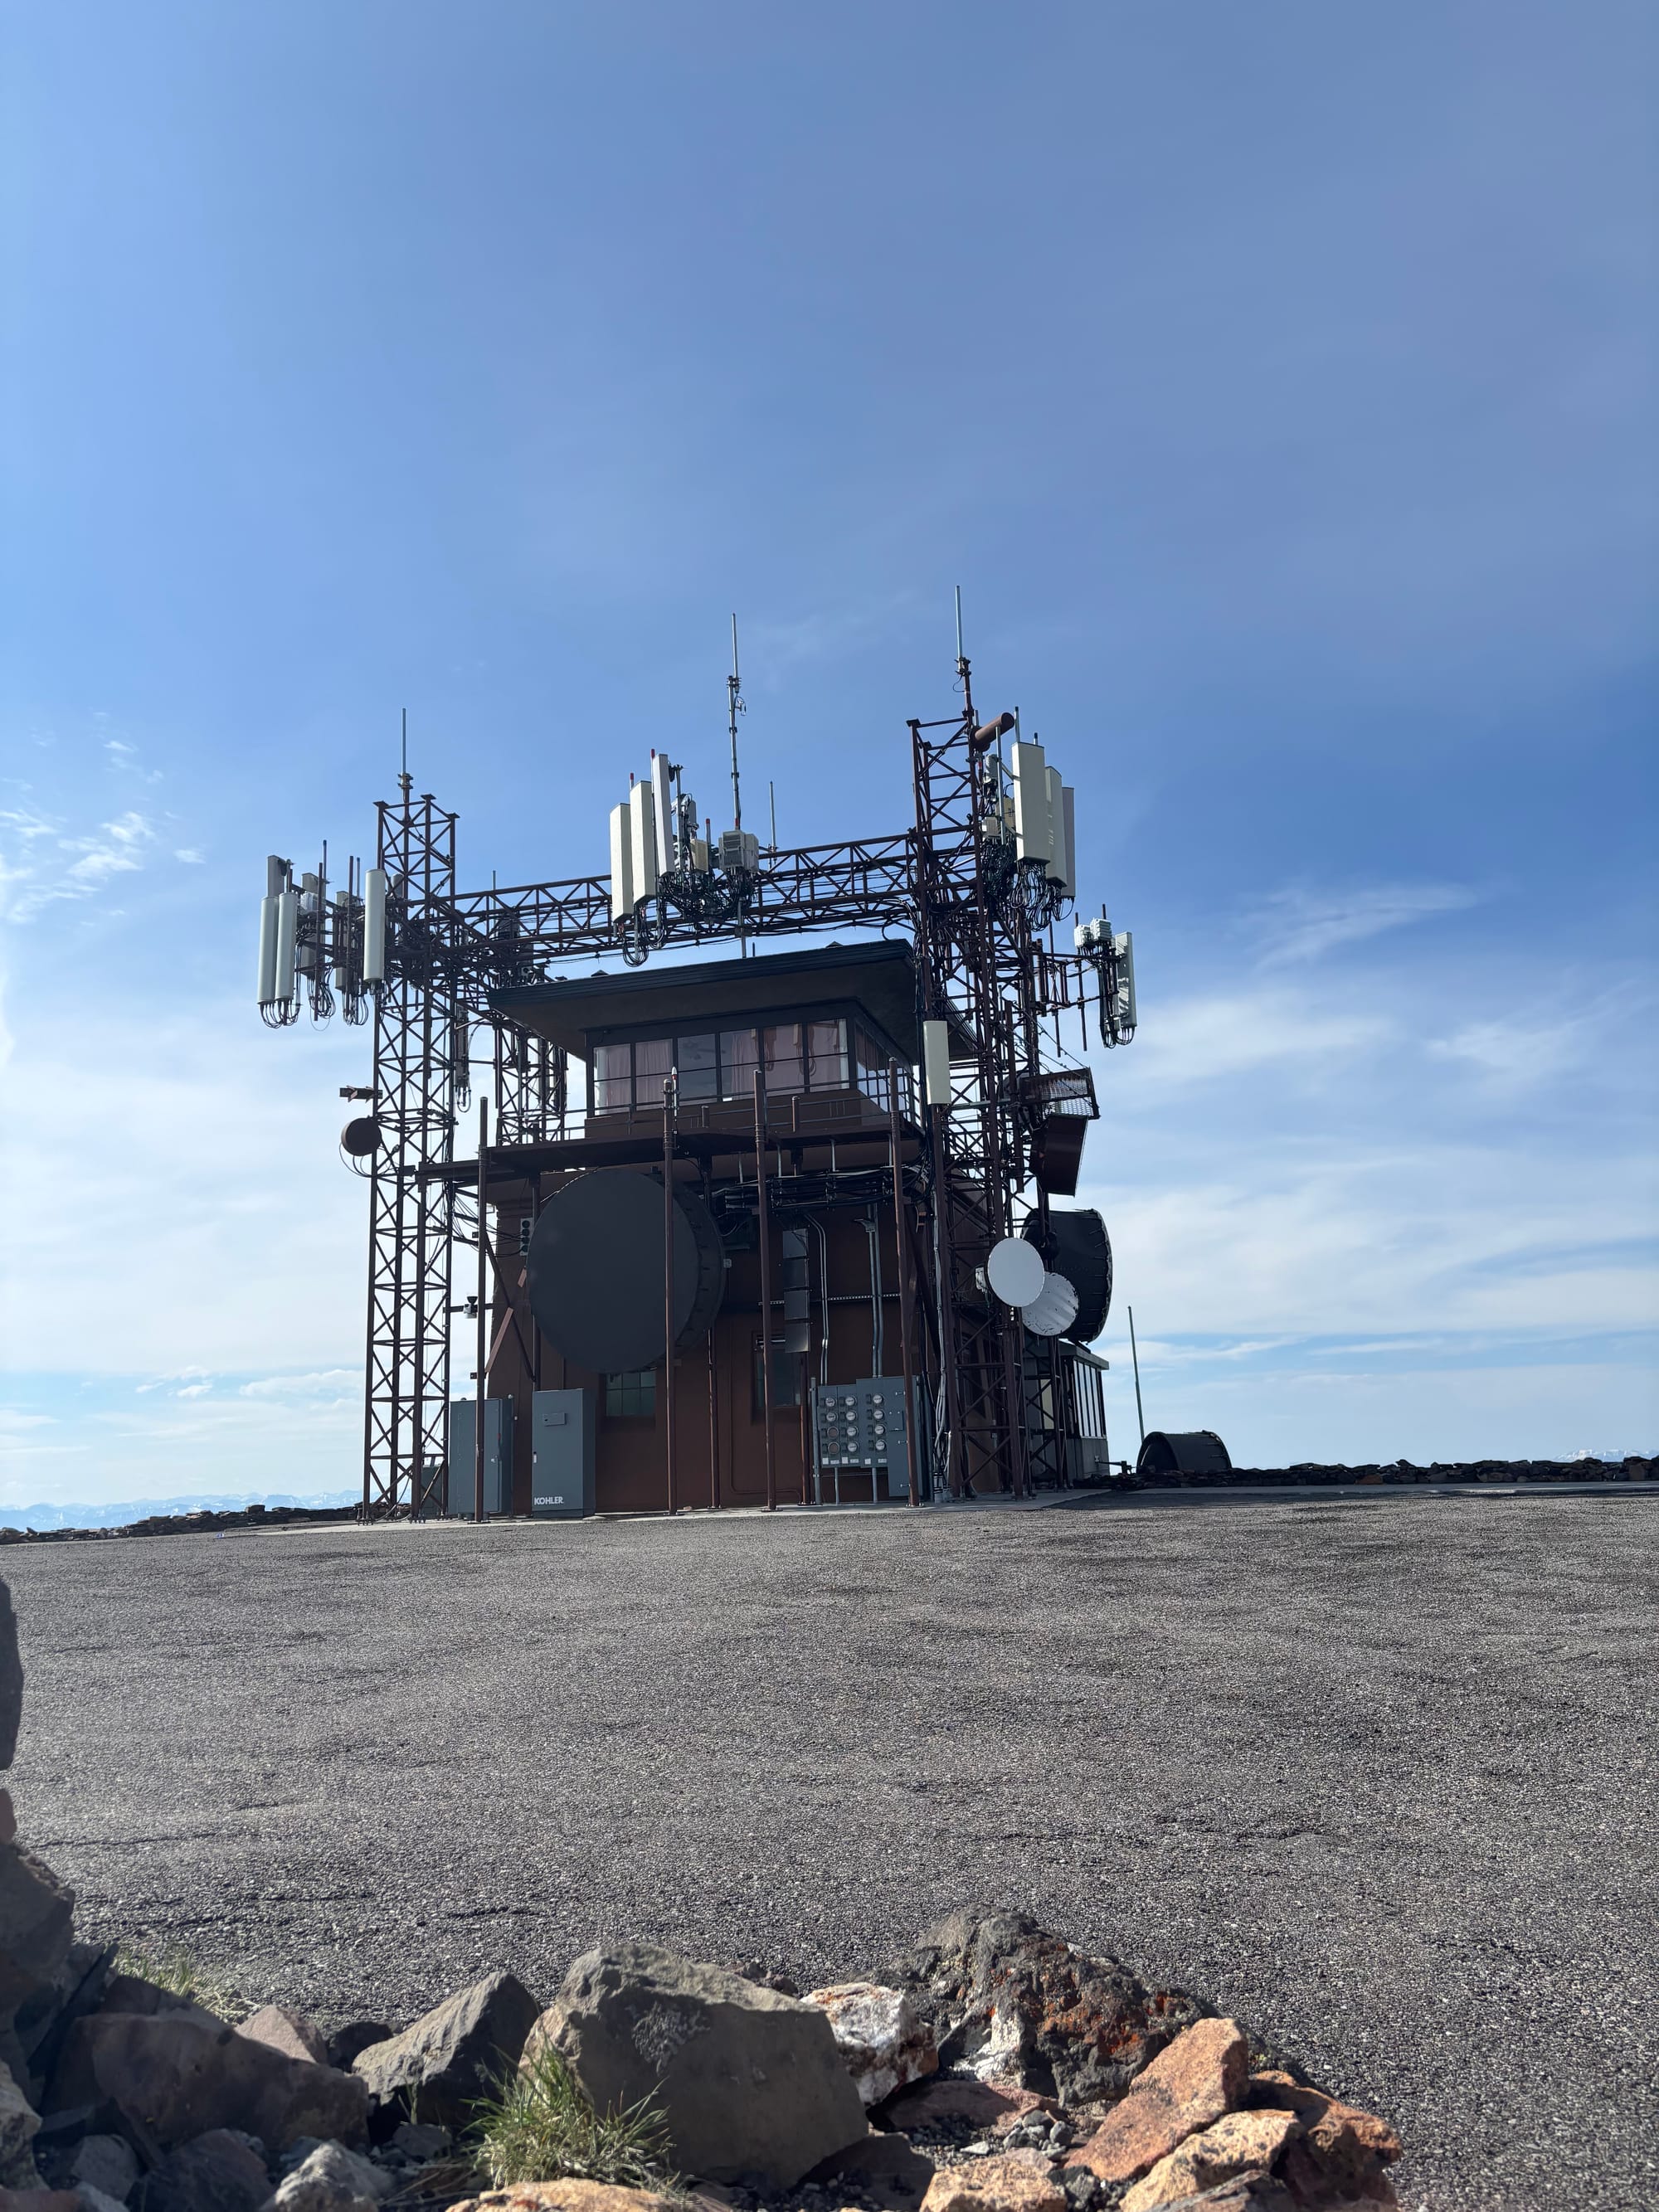
Summit and more sheep
Next, we visited the Norris Geyser Basin, which is split into two sections:
- Back Basin: This area has some of the park's largest geysers, but because they only erupt months apart, it is a speculative walk. If you are exhausted, this section can be skipped.
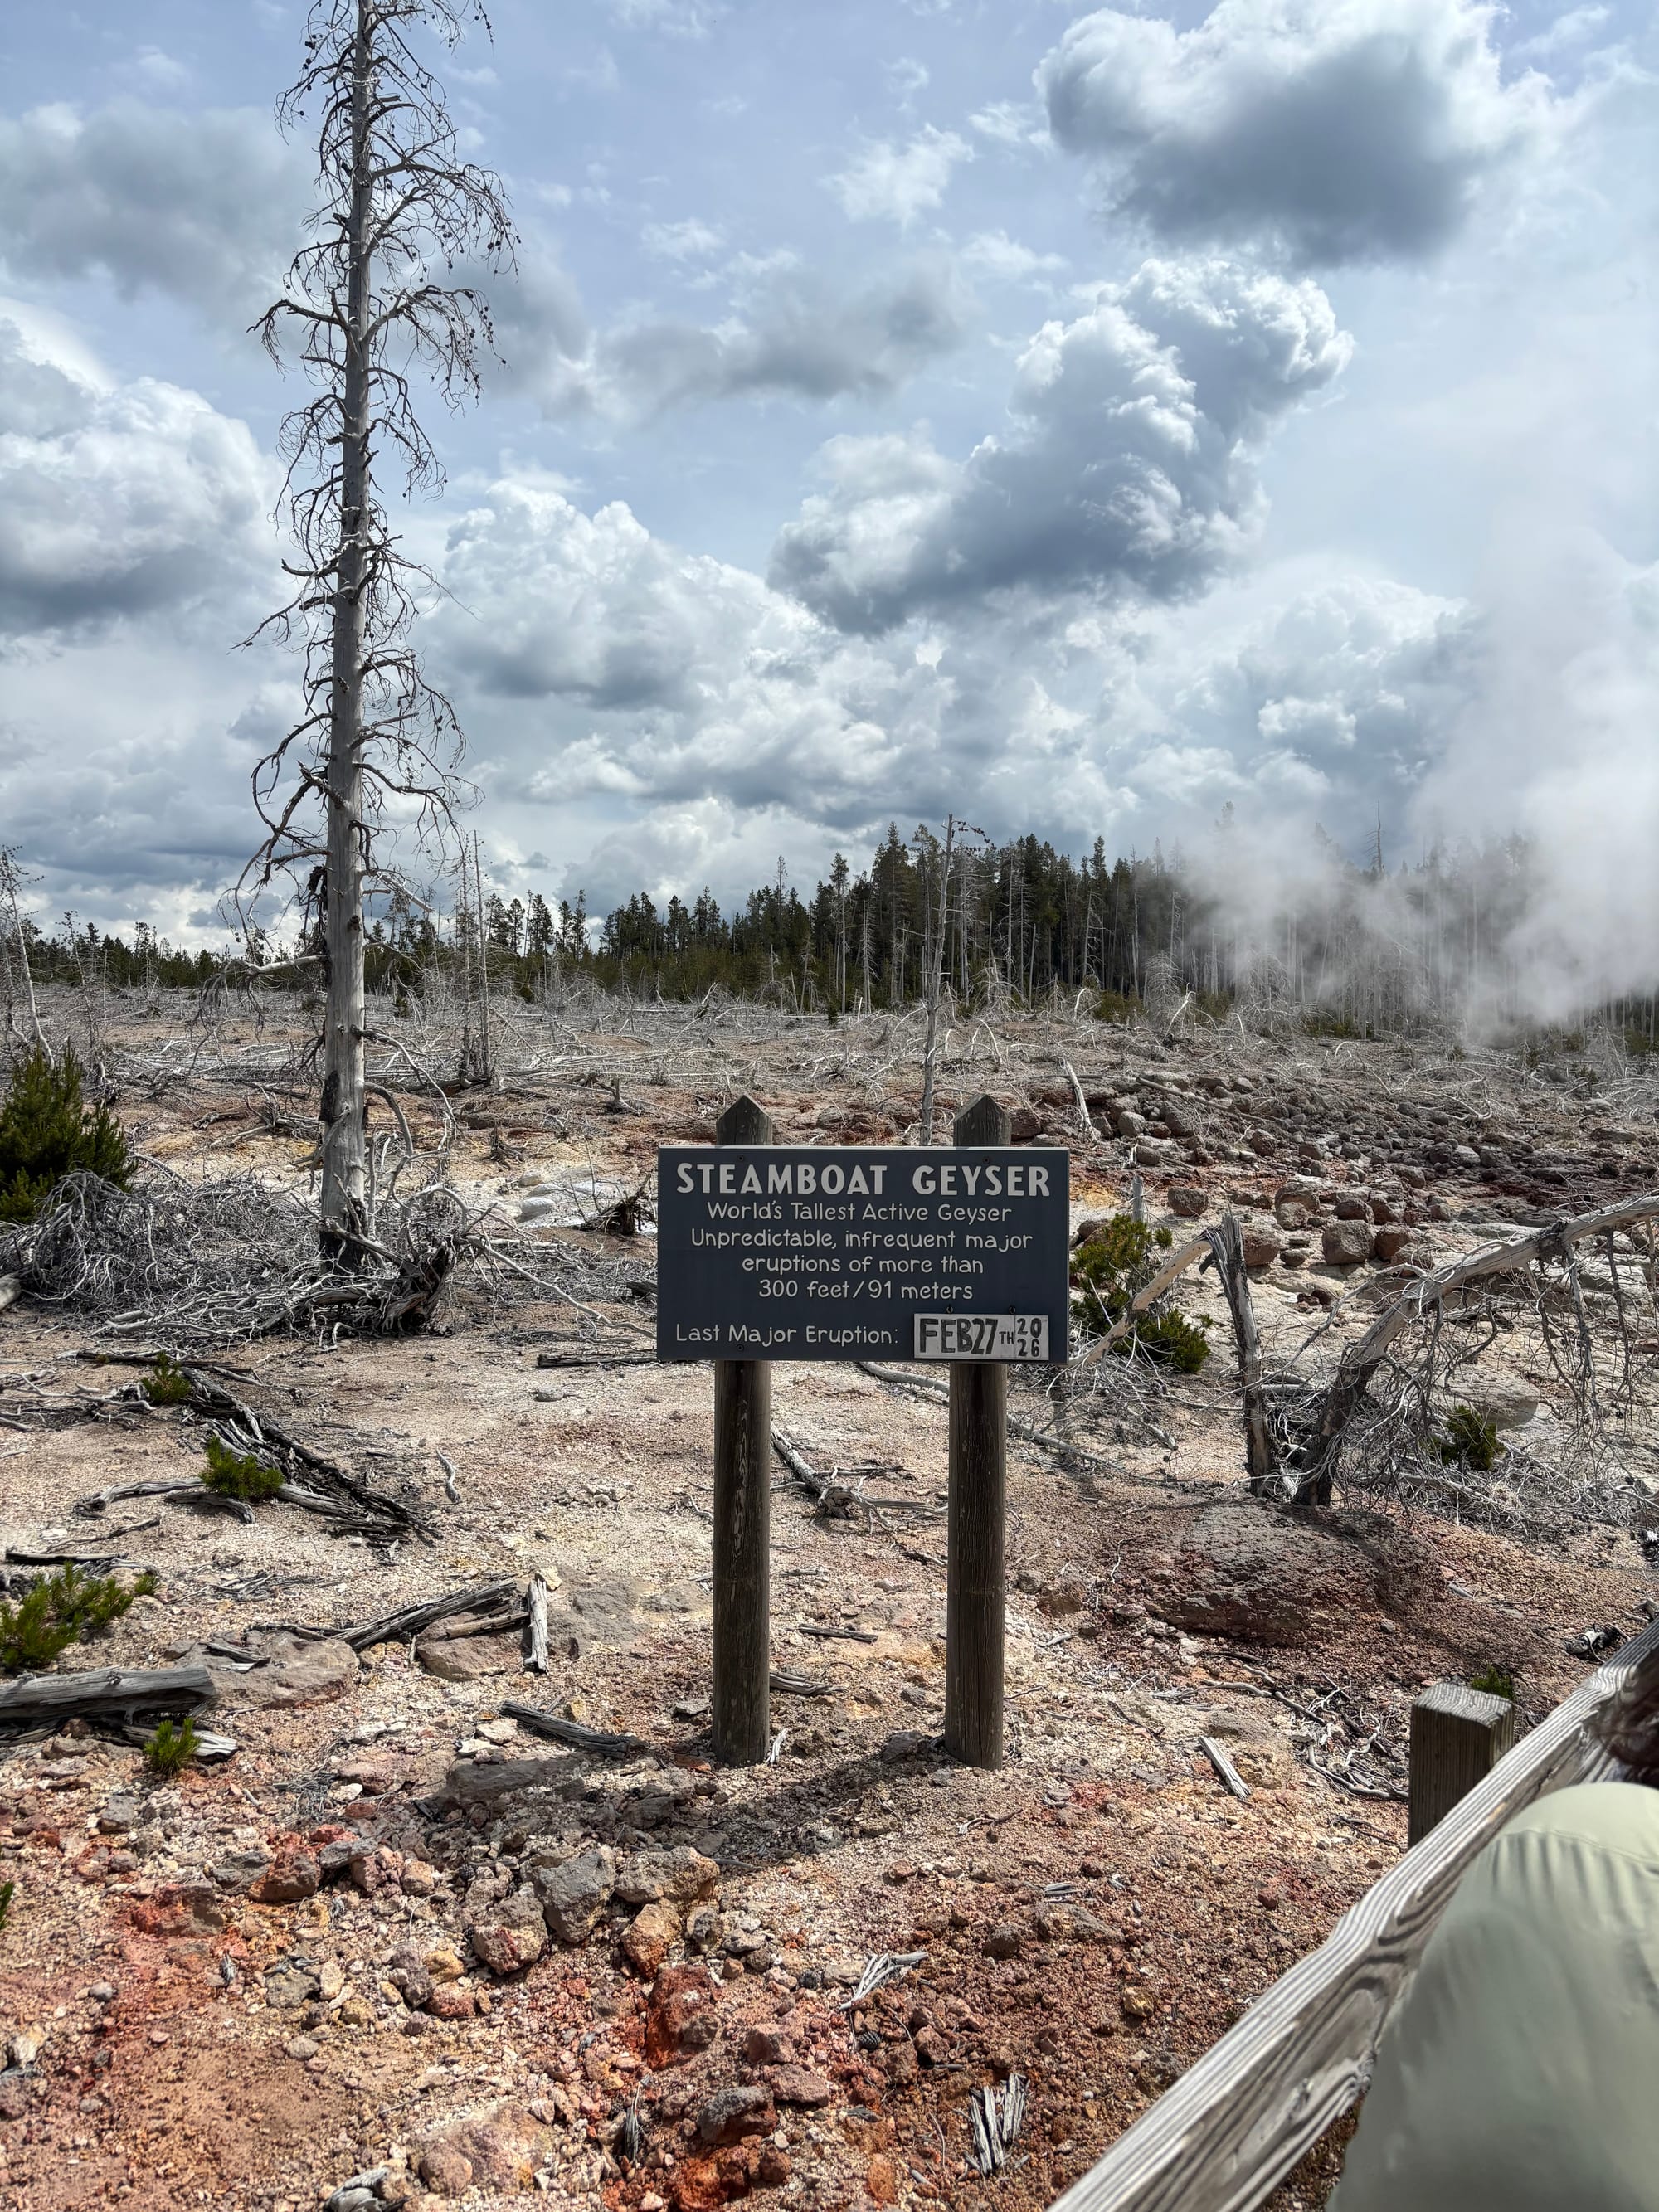
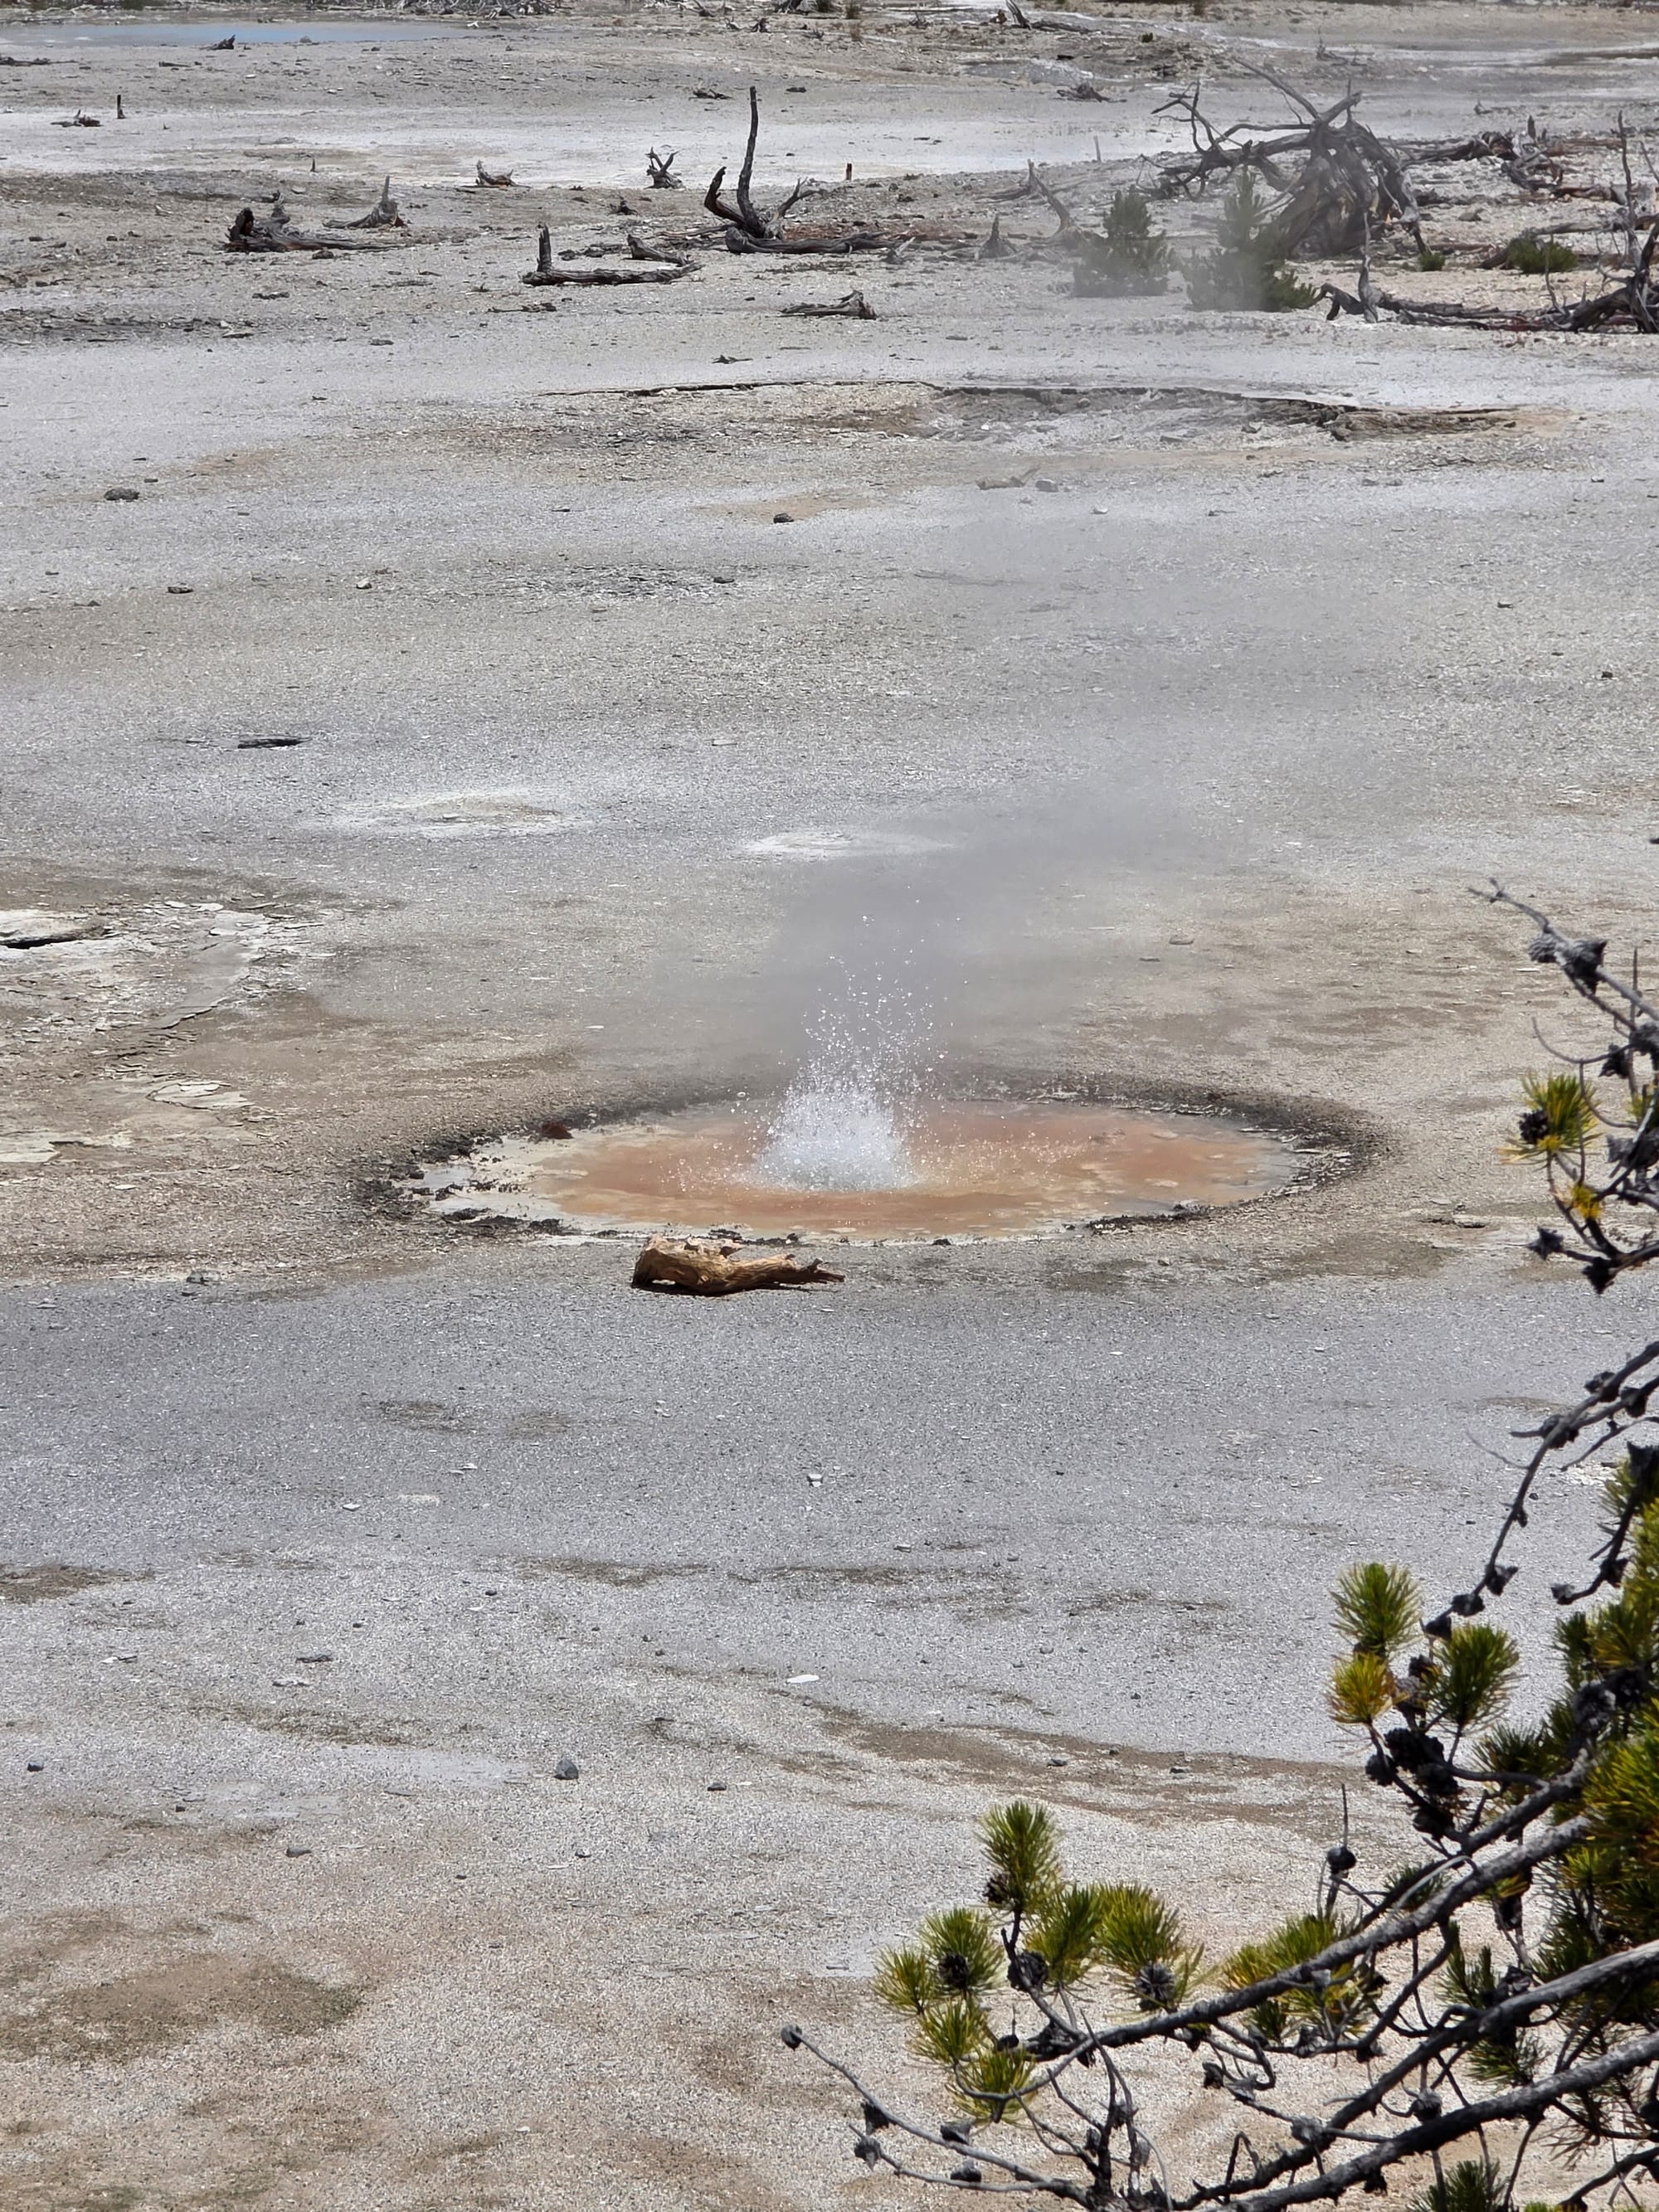
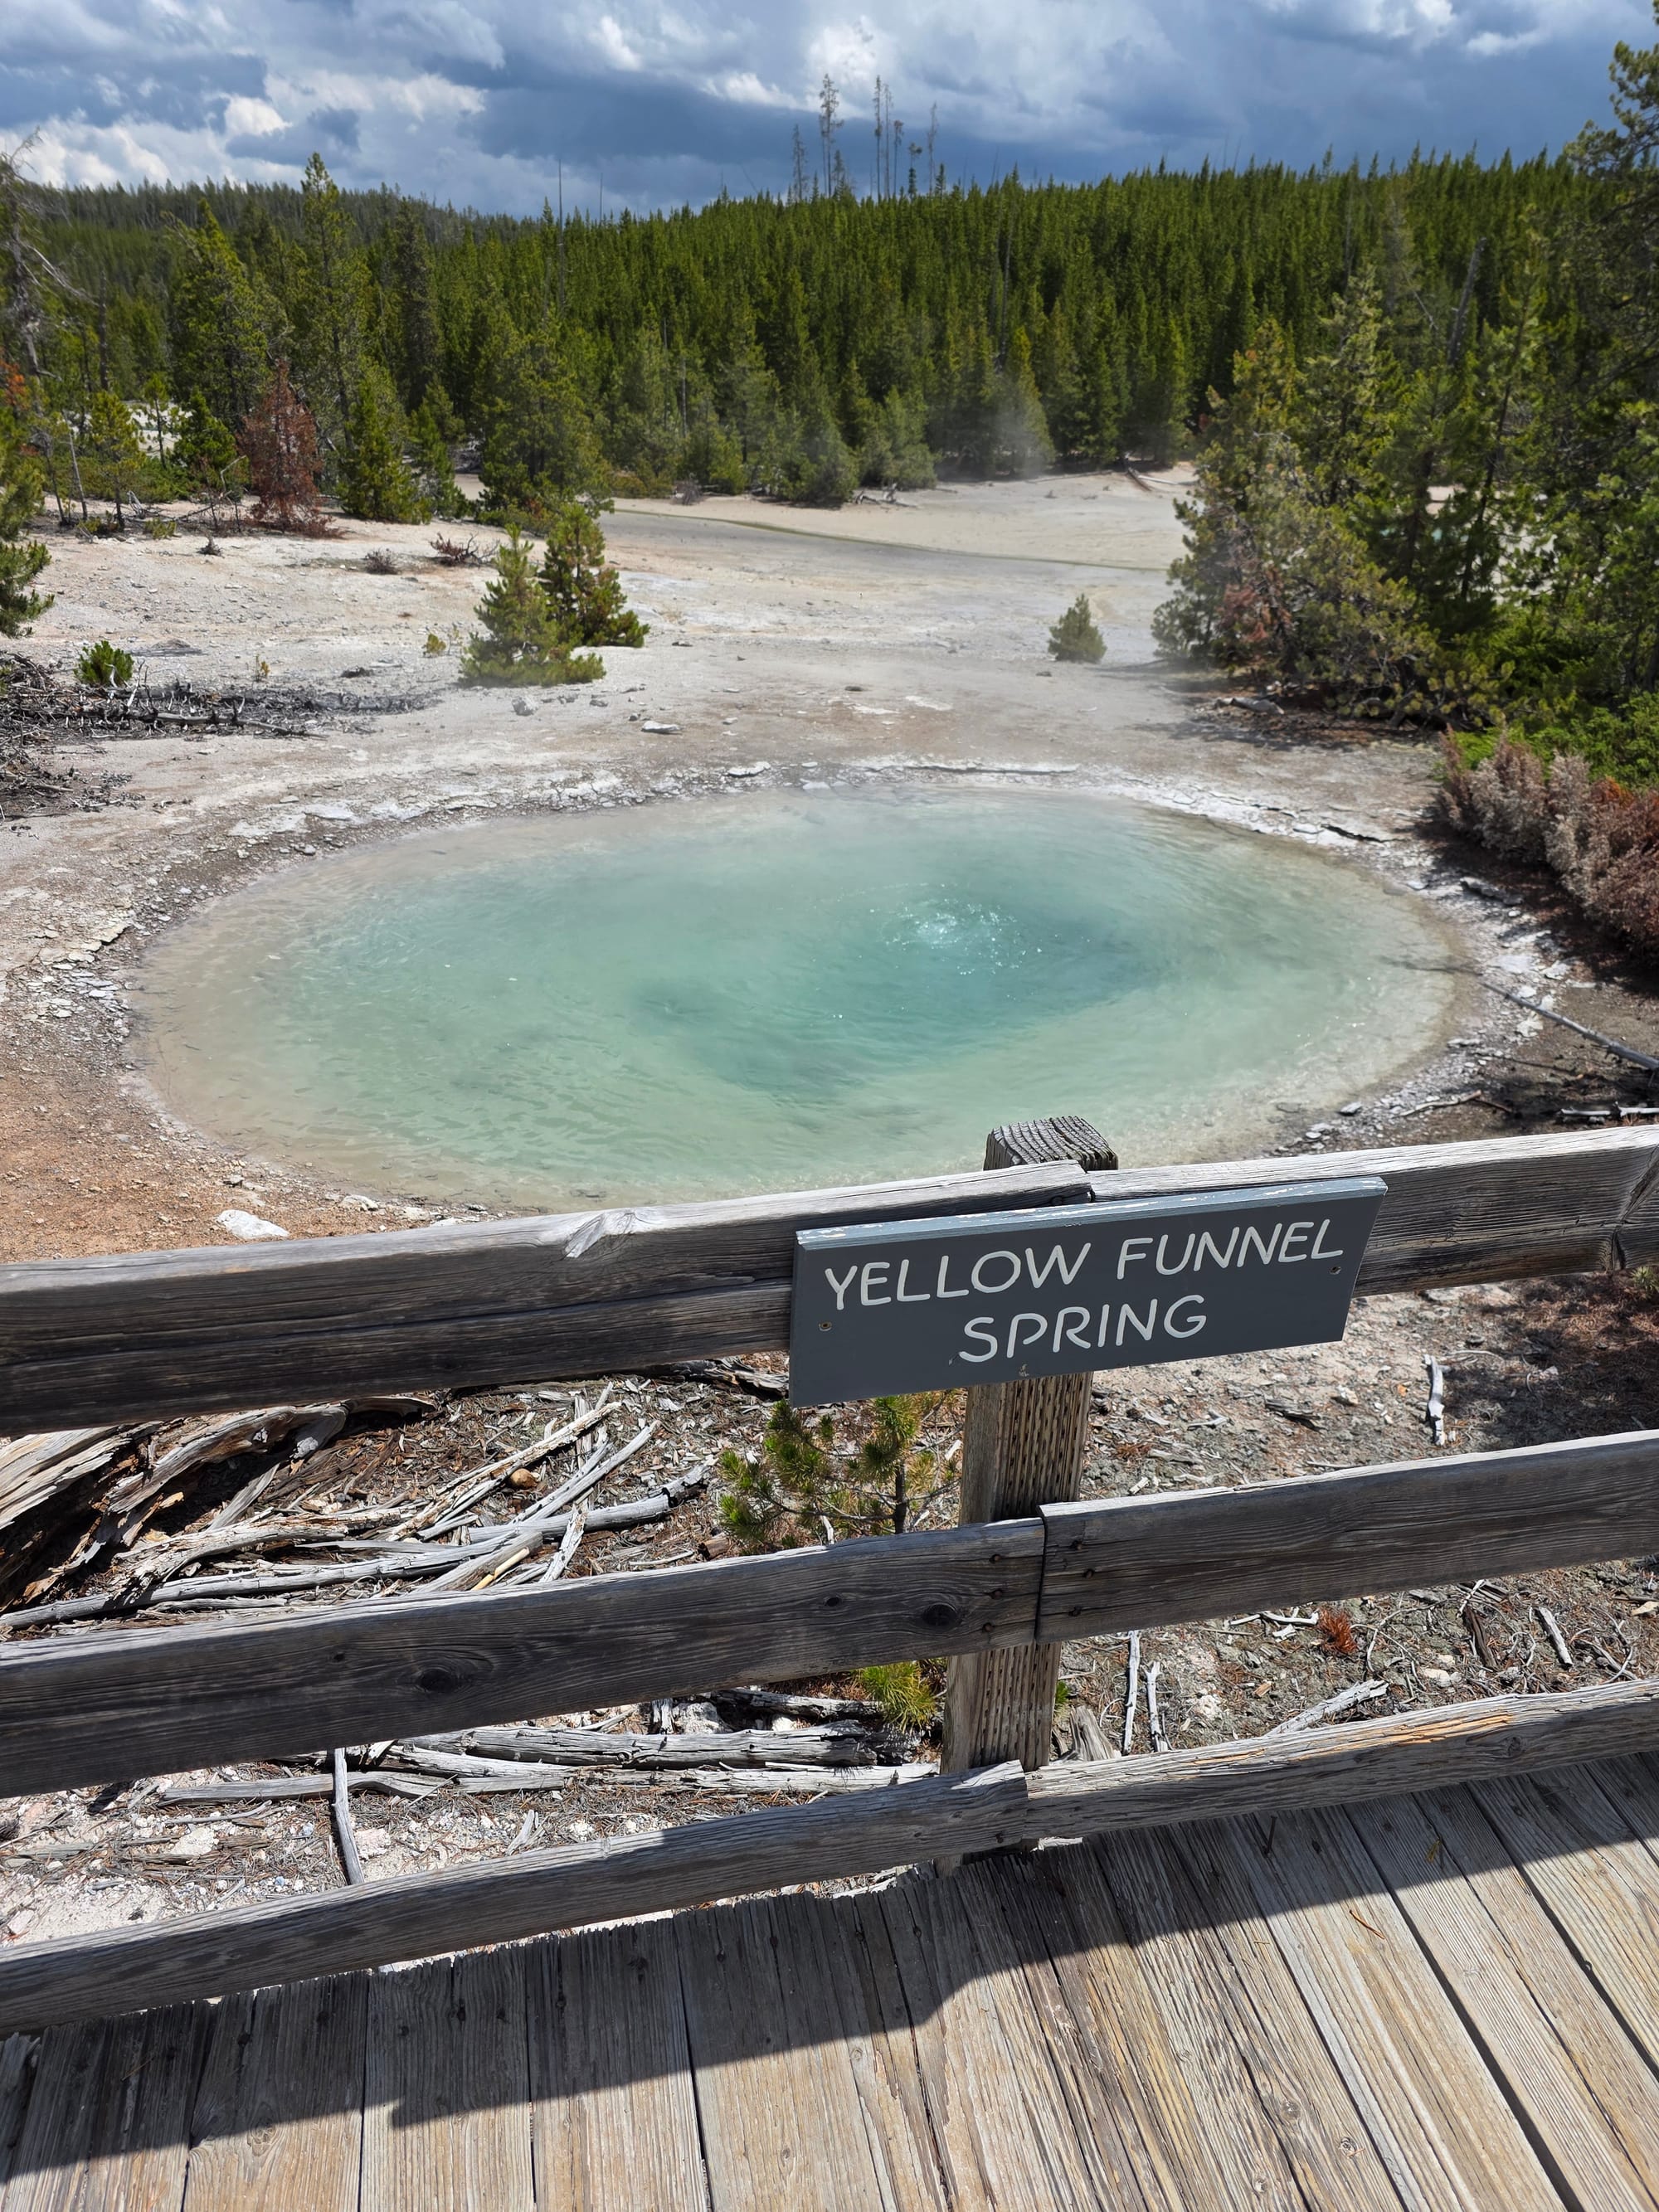
Back Basin highlights
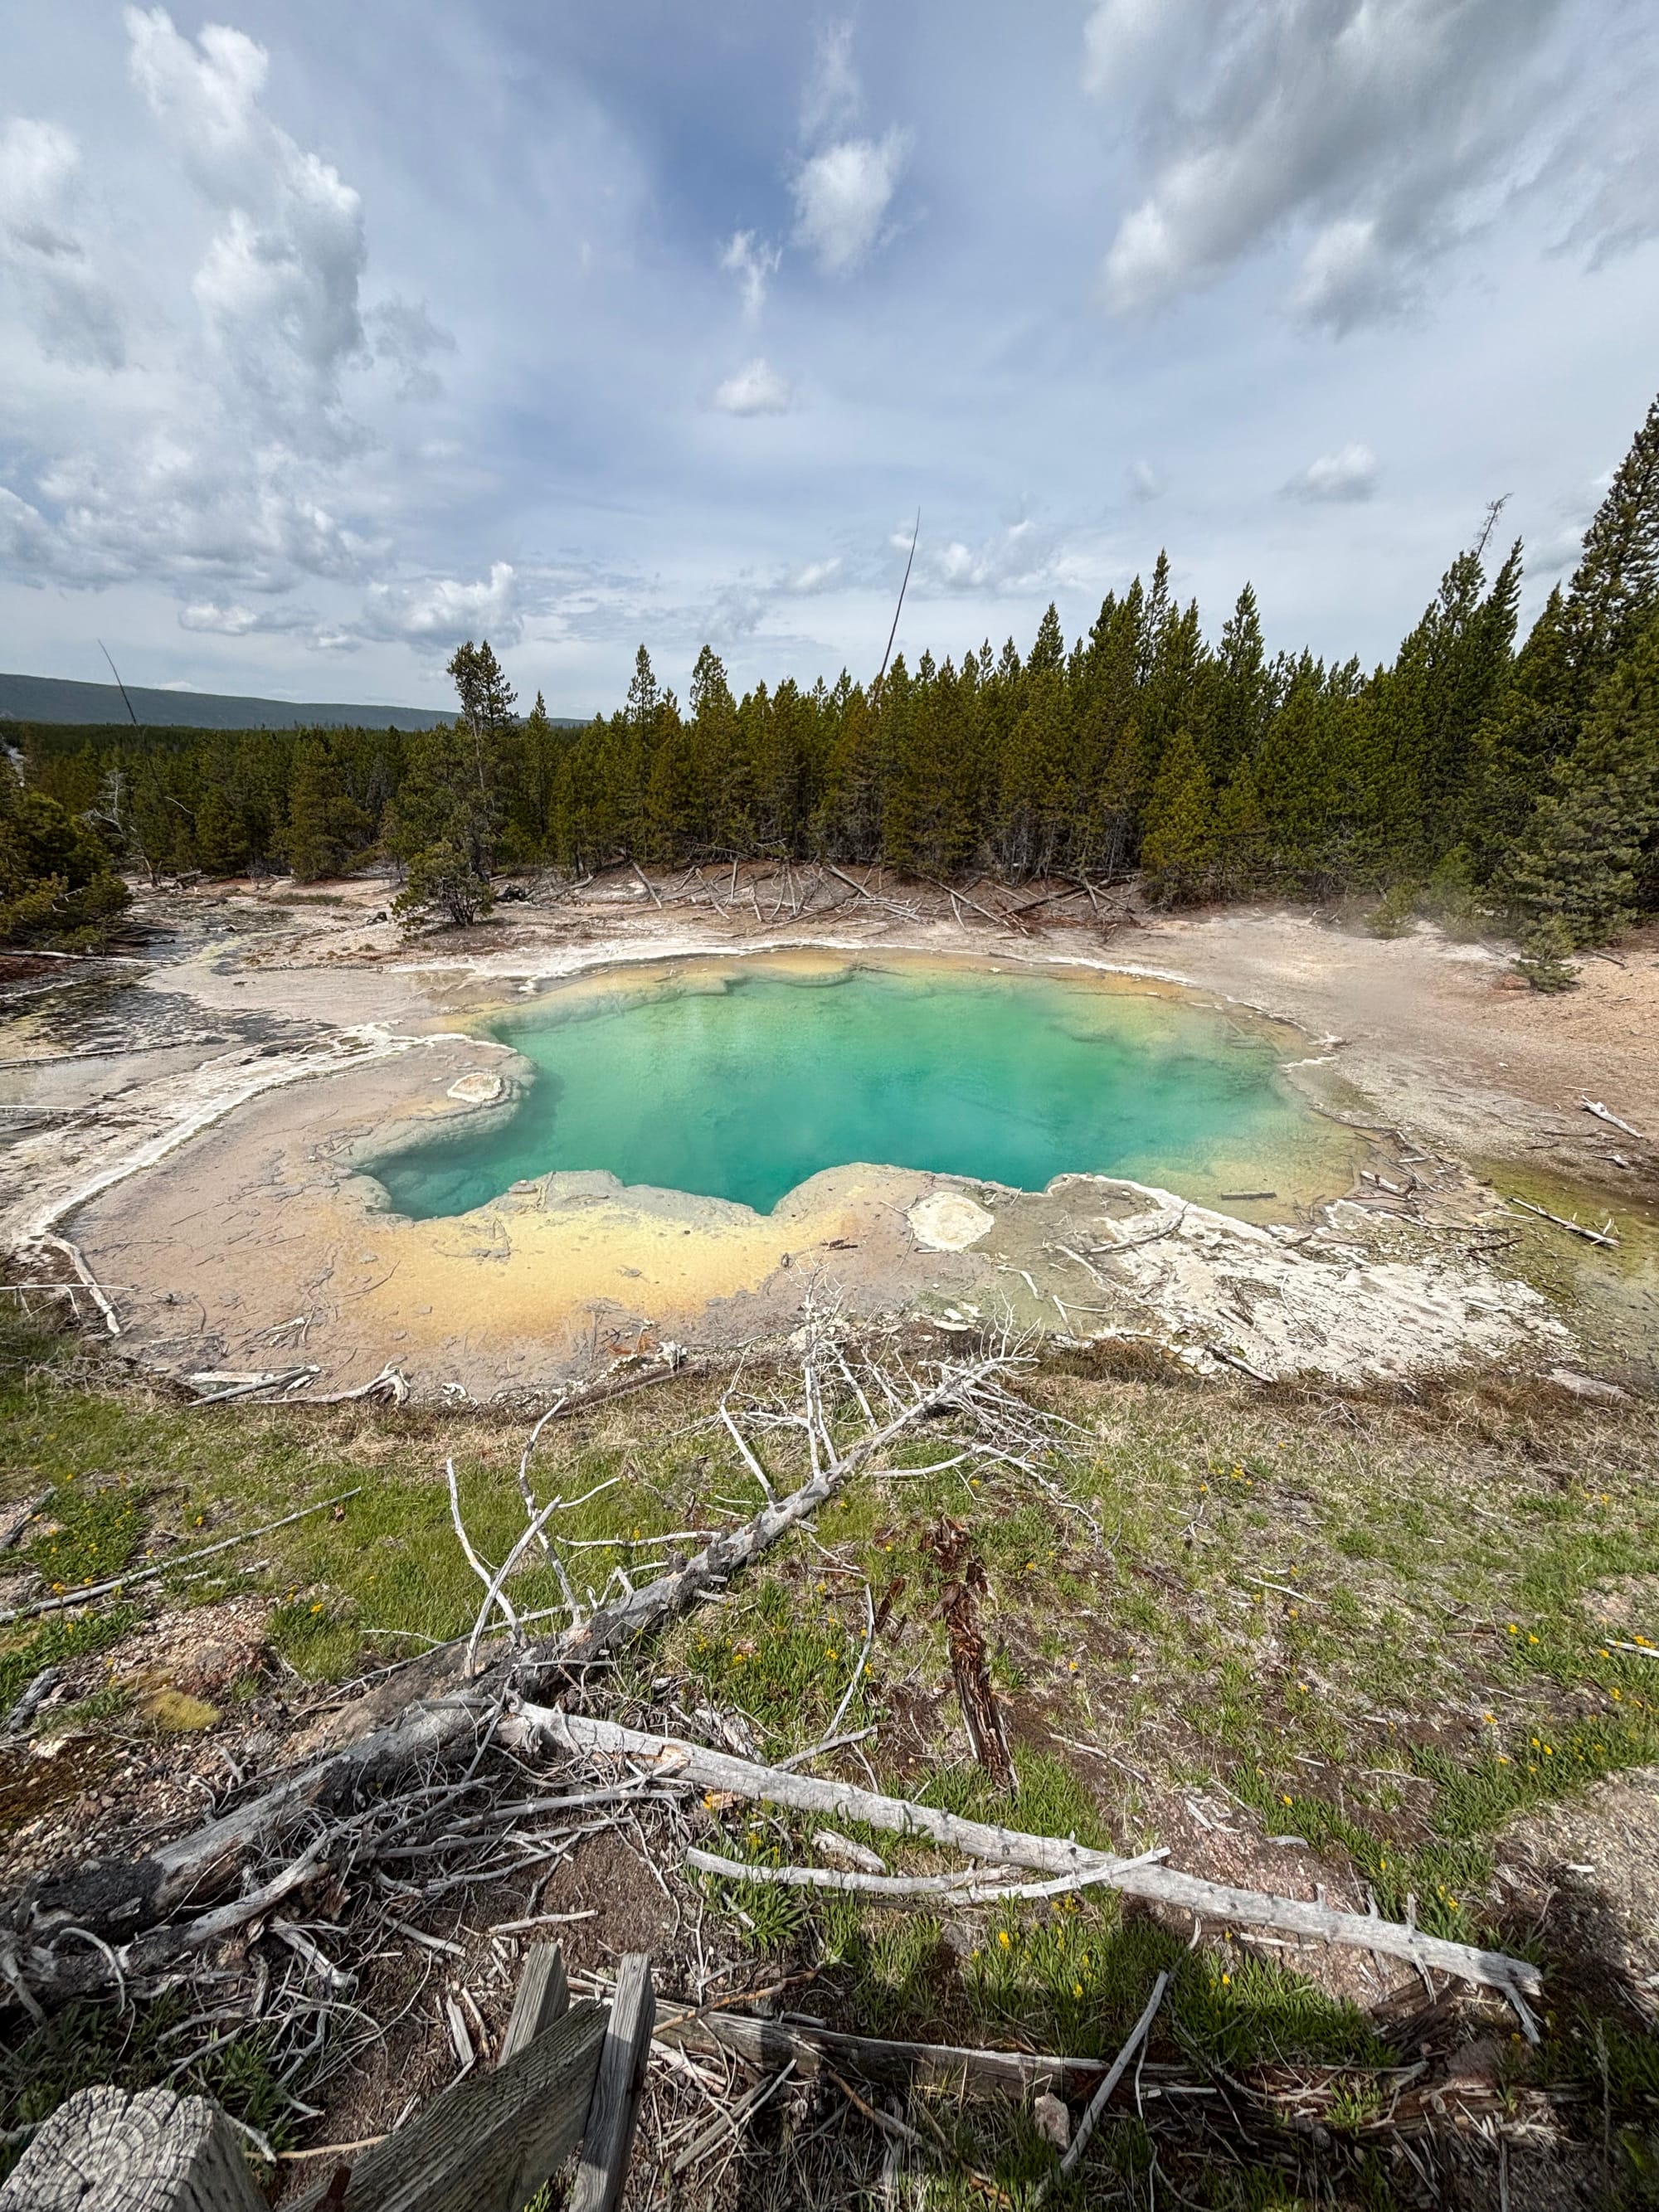
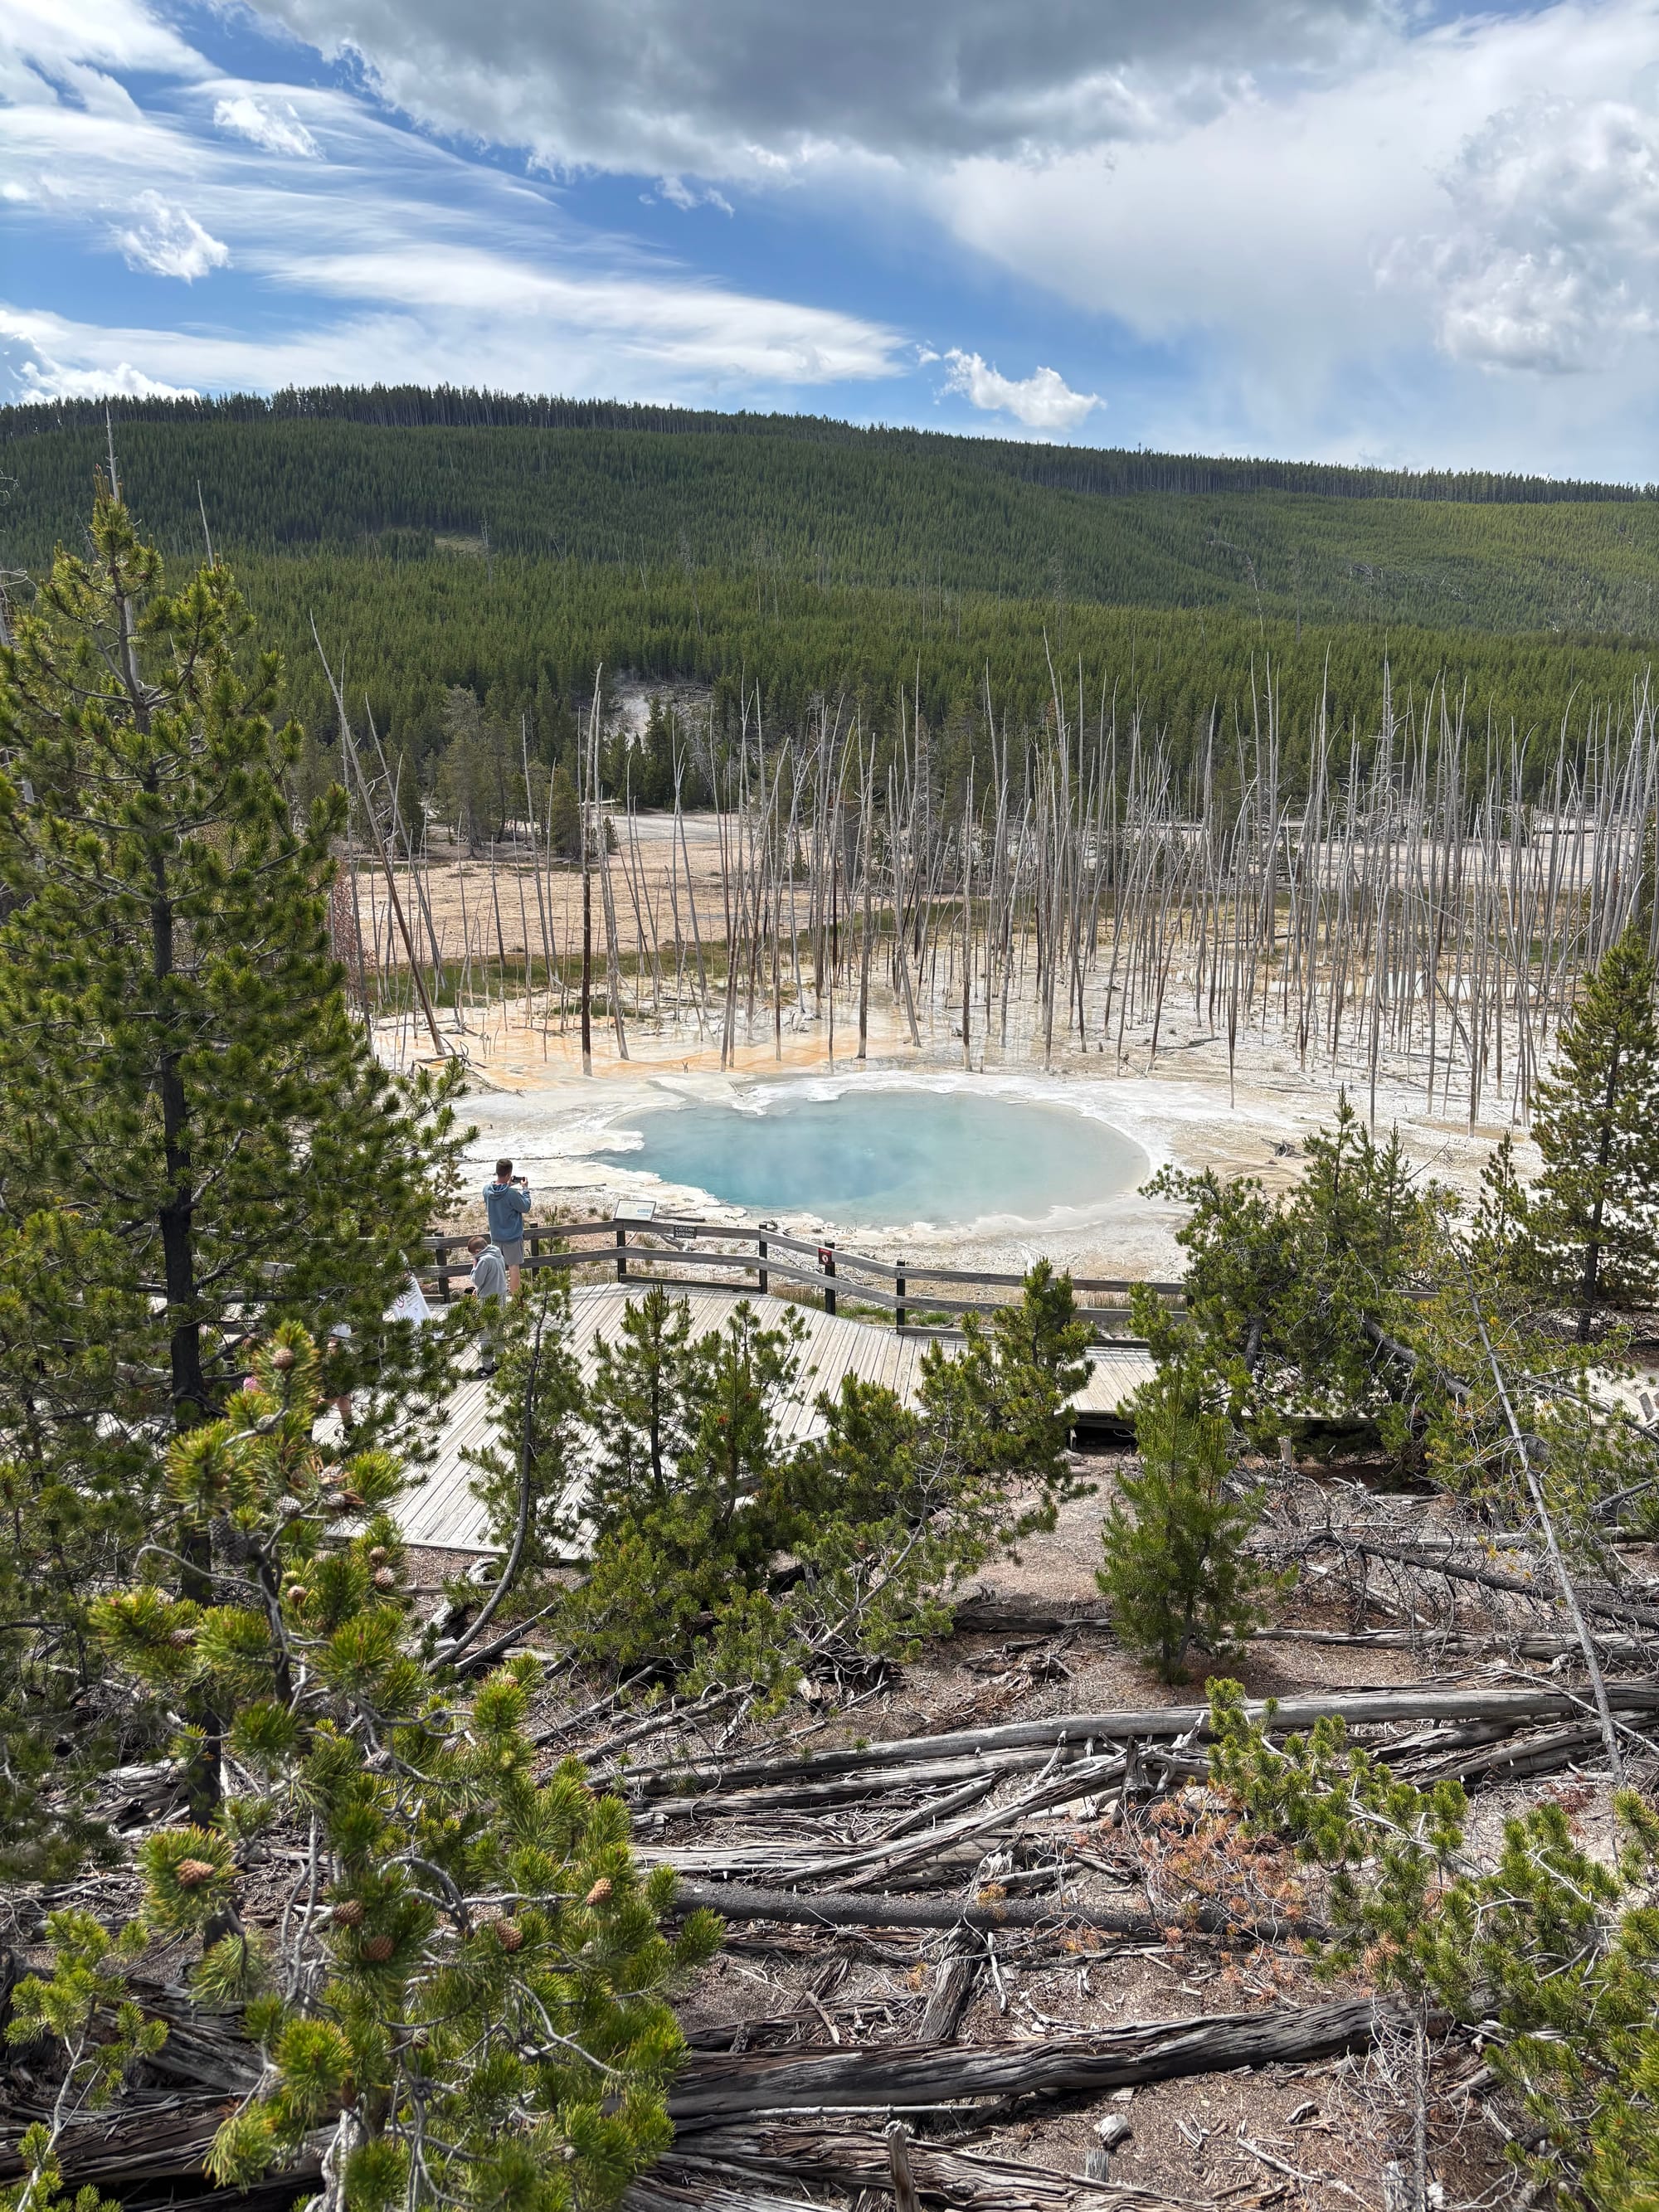
- Porcelain Basin: This section is a must-see. It is a shorter walk along a boardwalk through a highly active plain filled with colorful vents, steam, and bubbling pools. With so many features packed into a tight area, it looks like an alien desert.
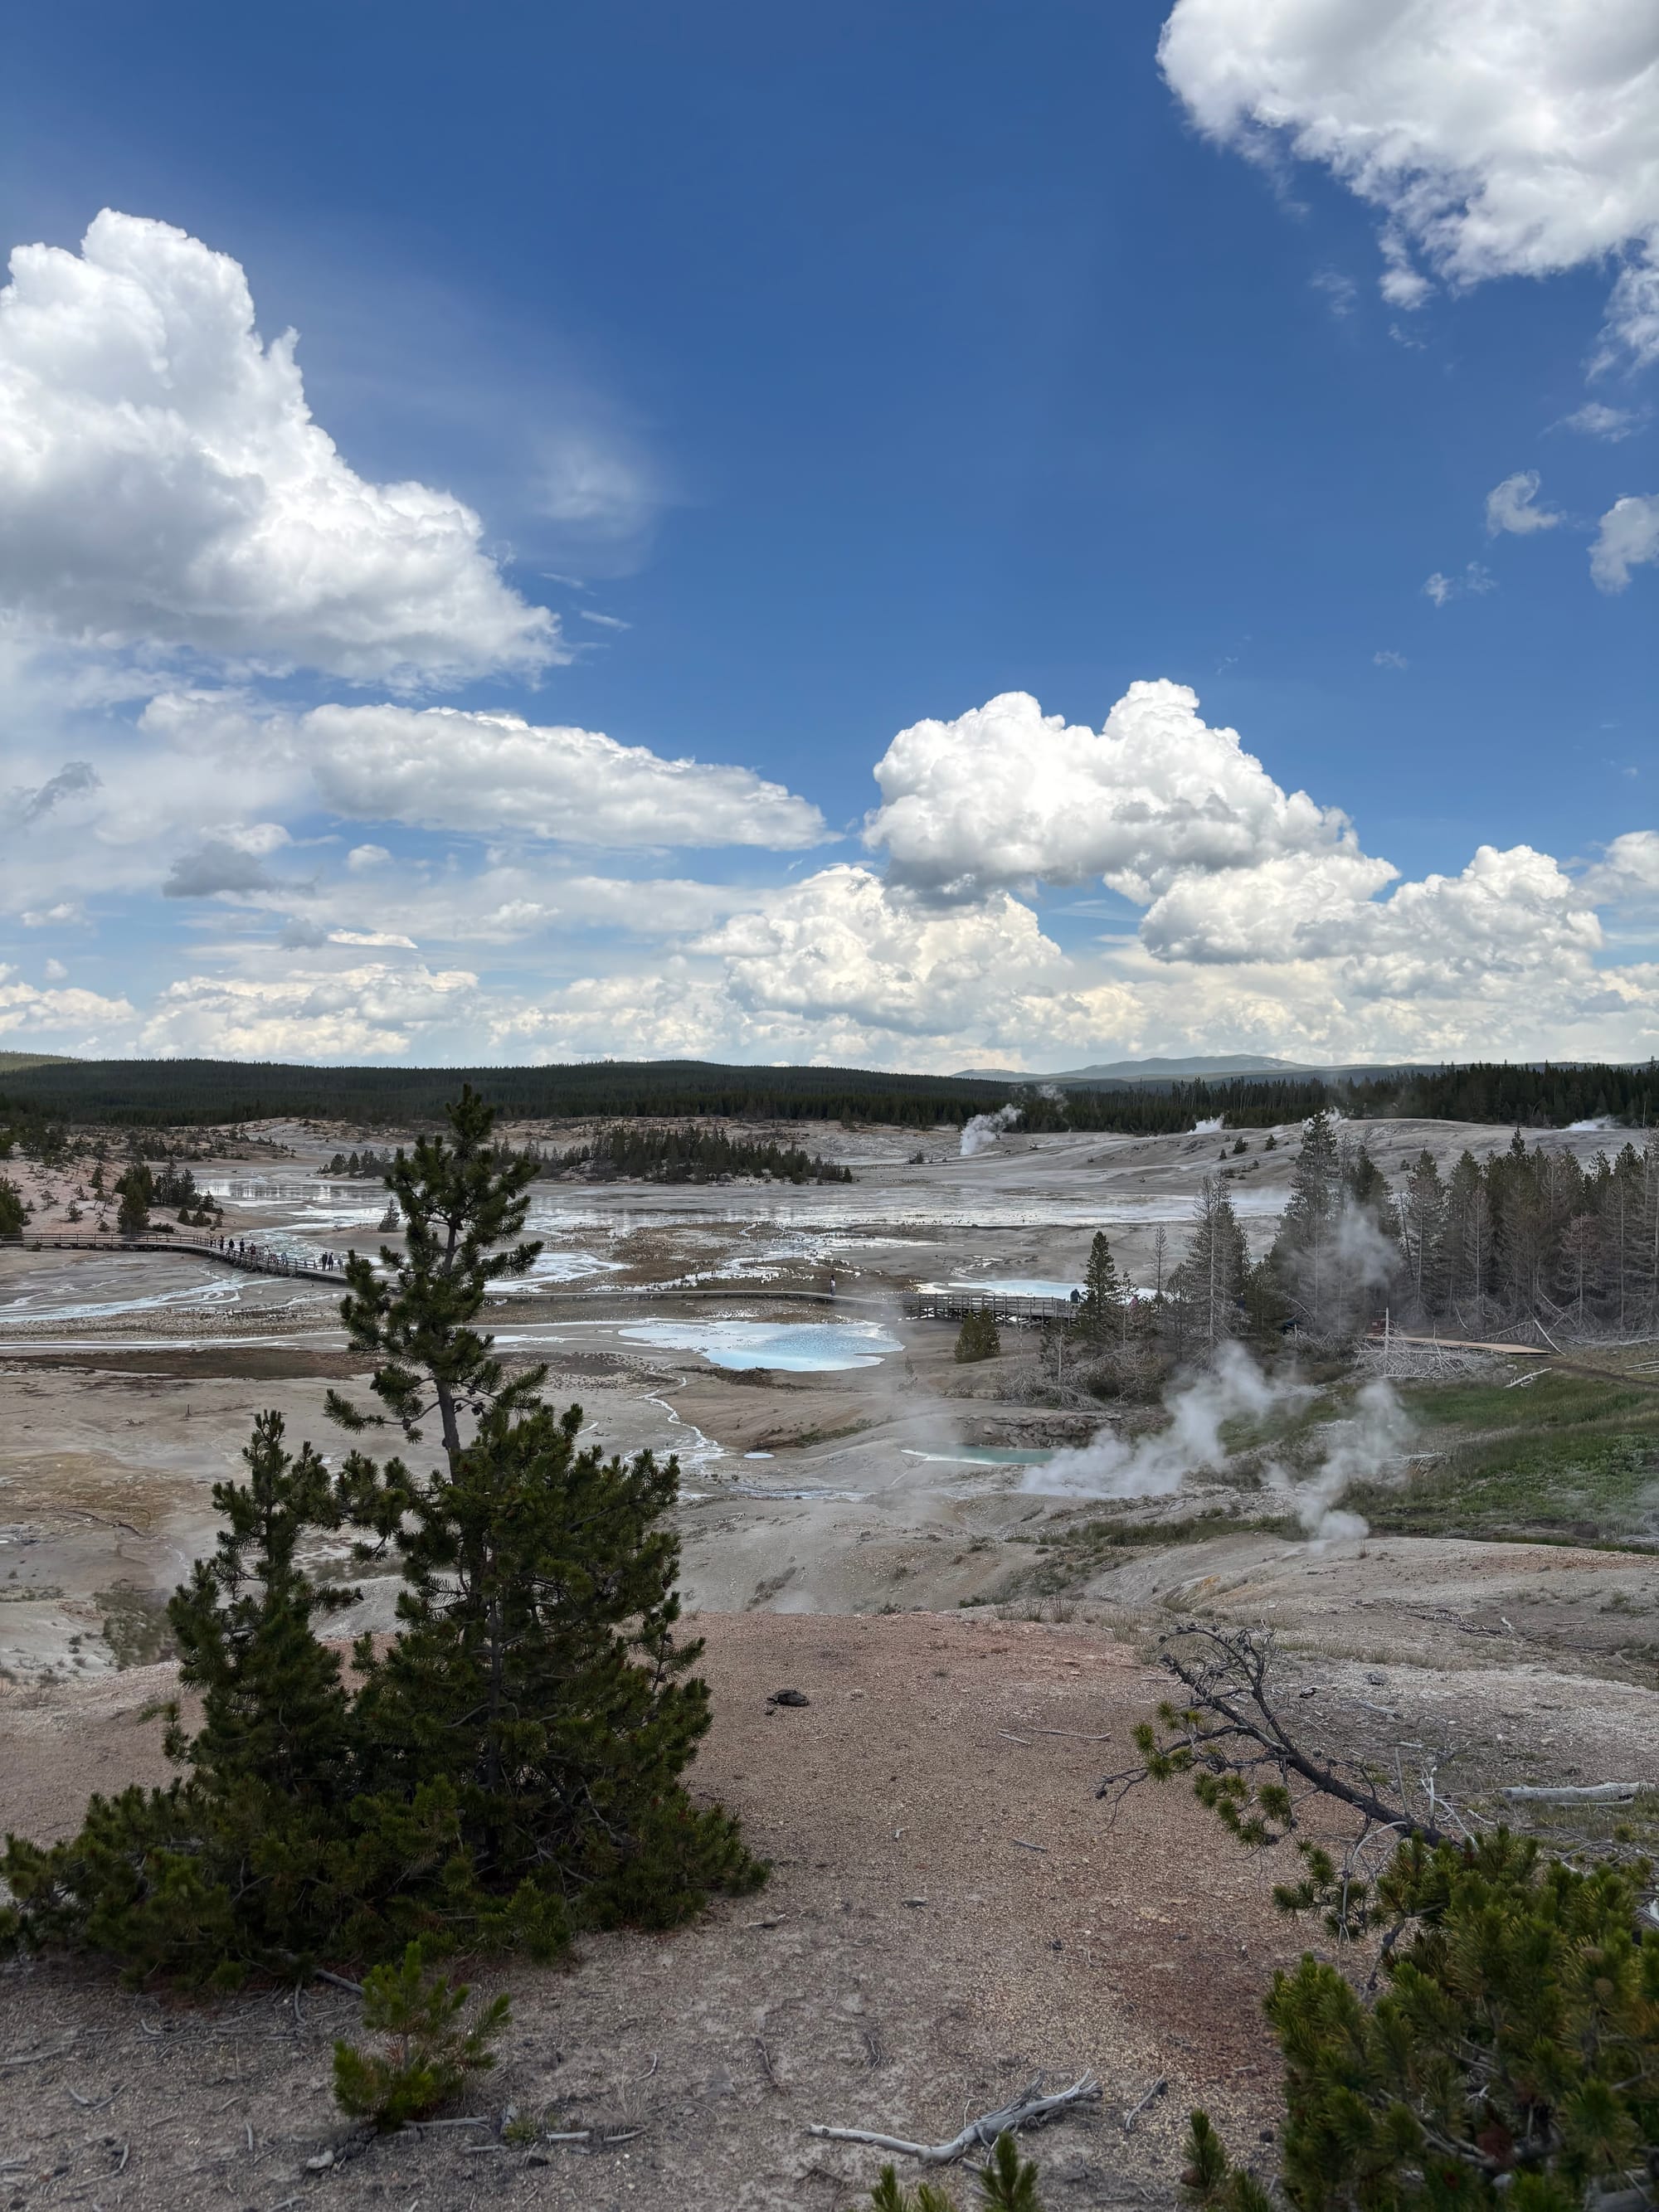
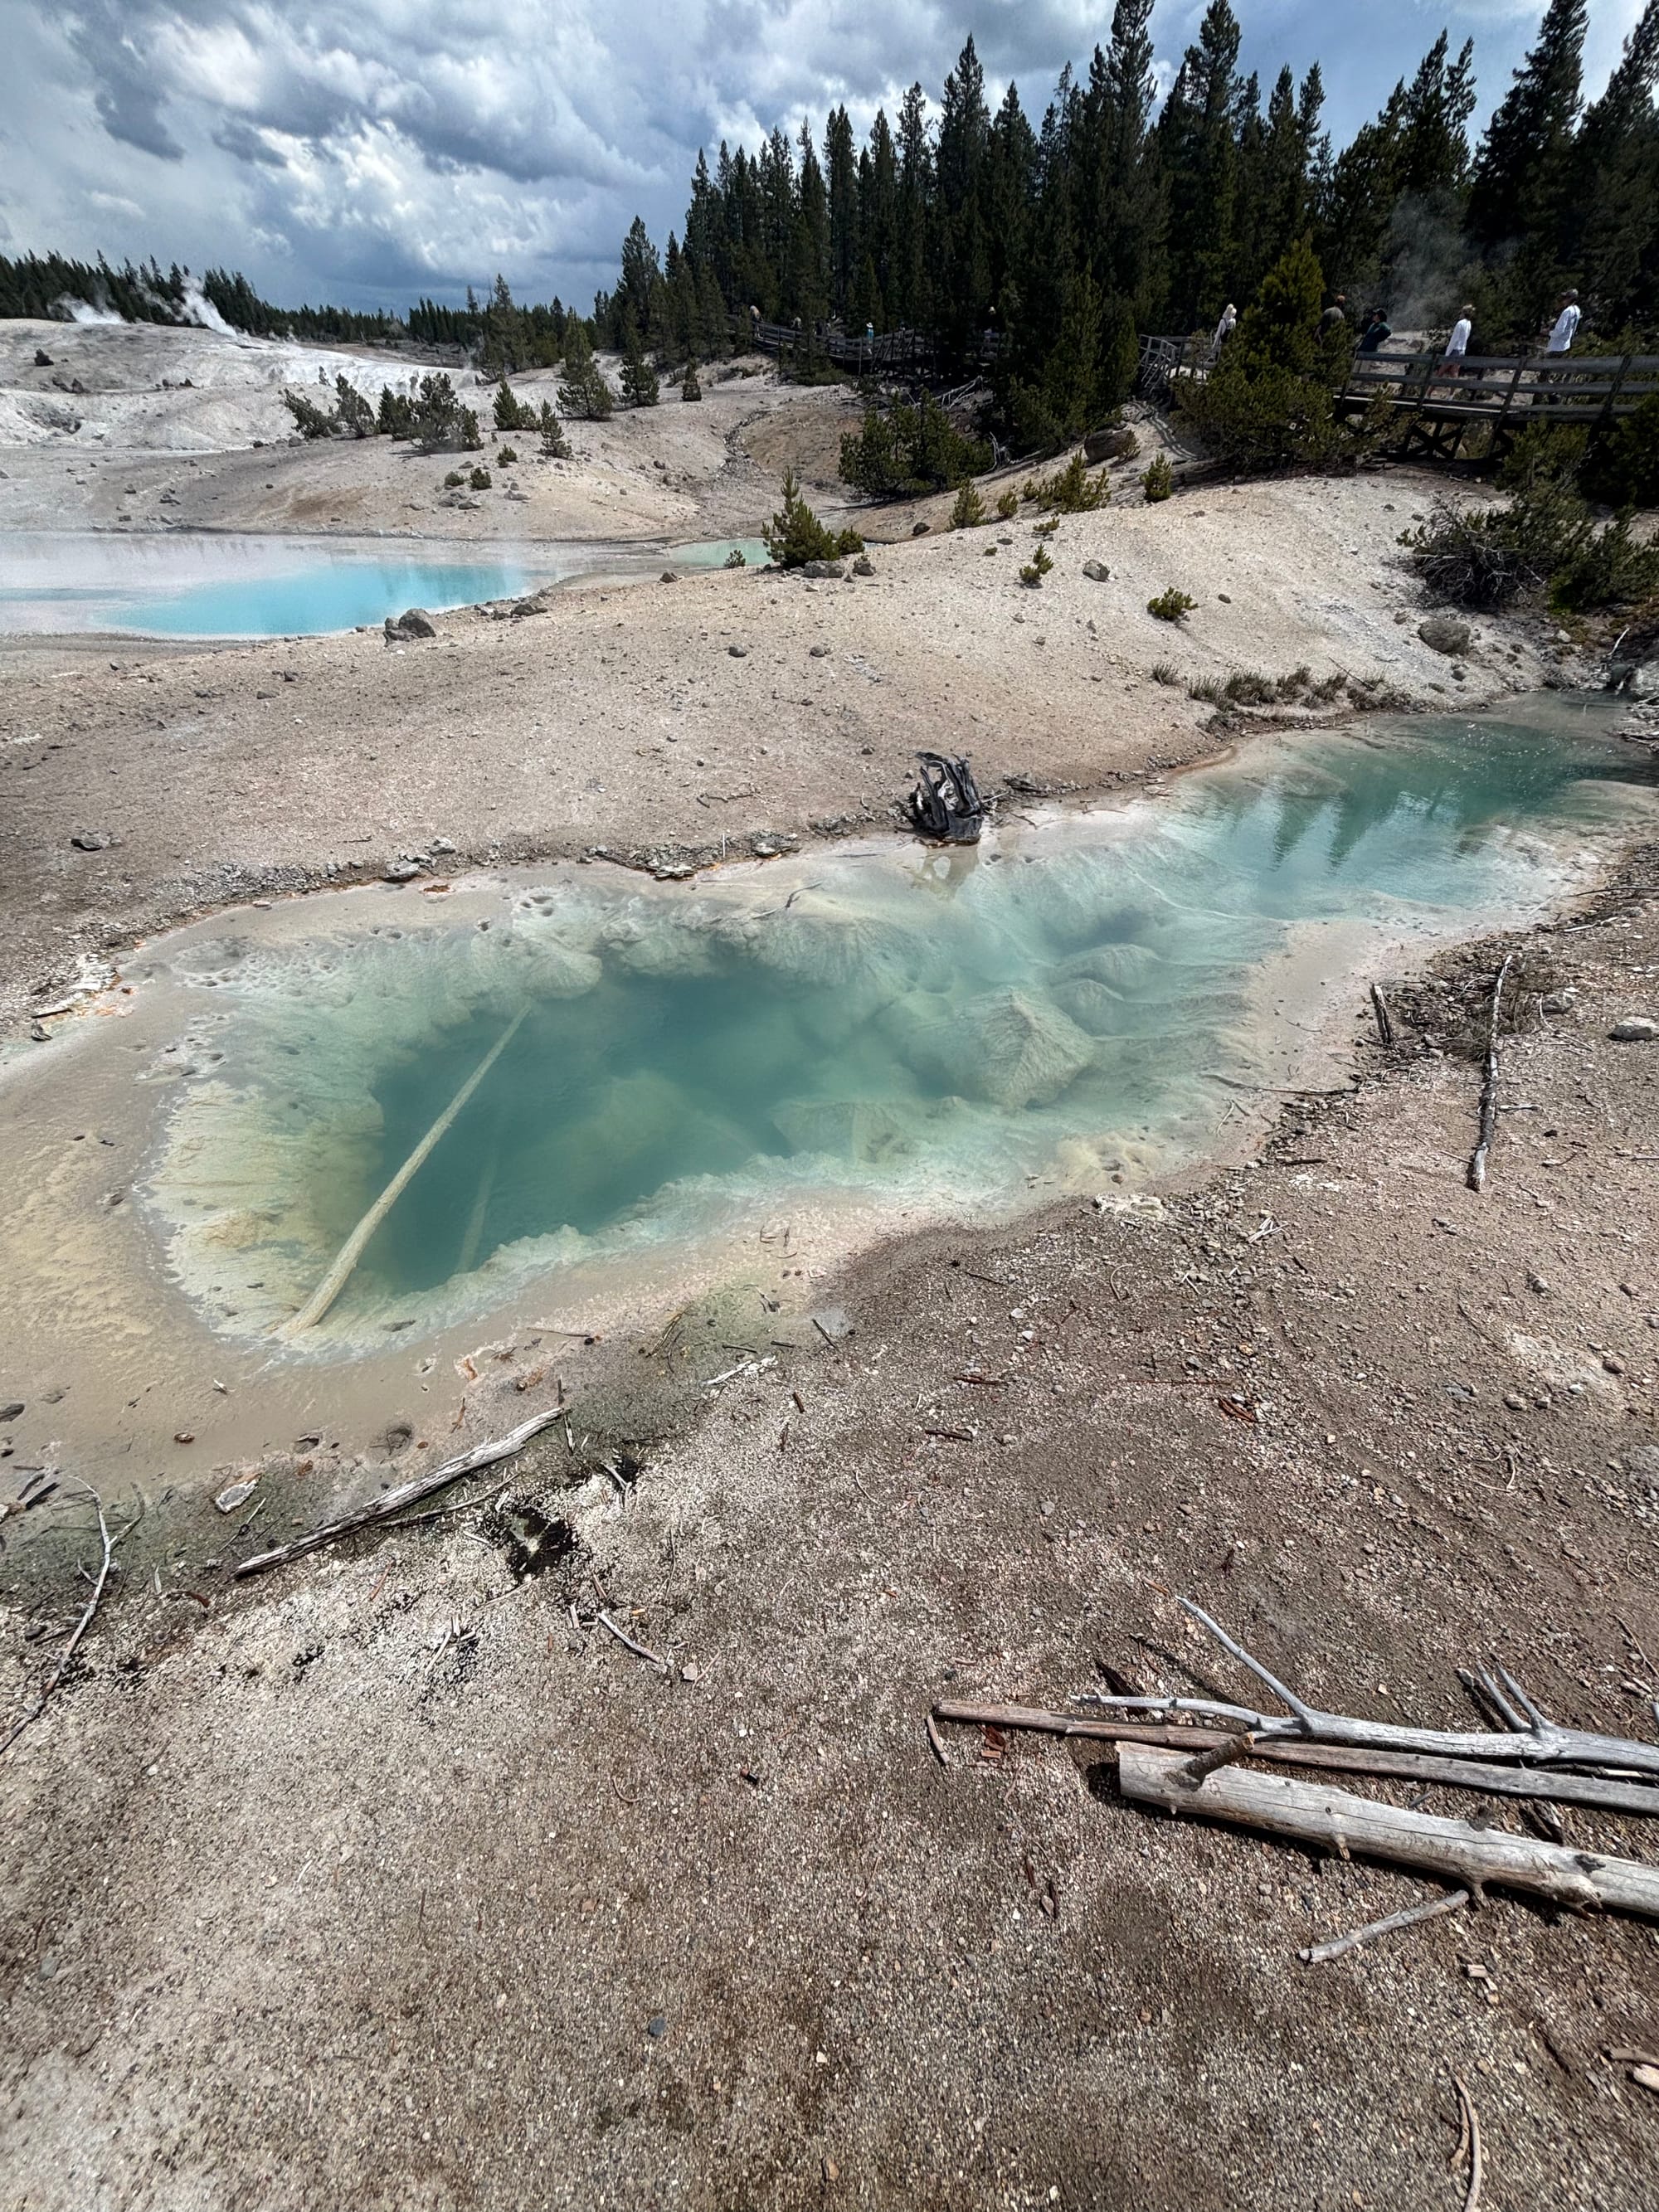
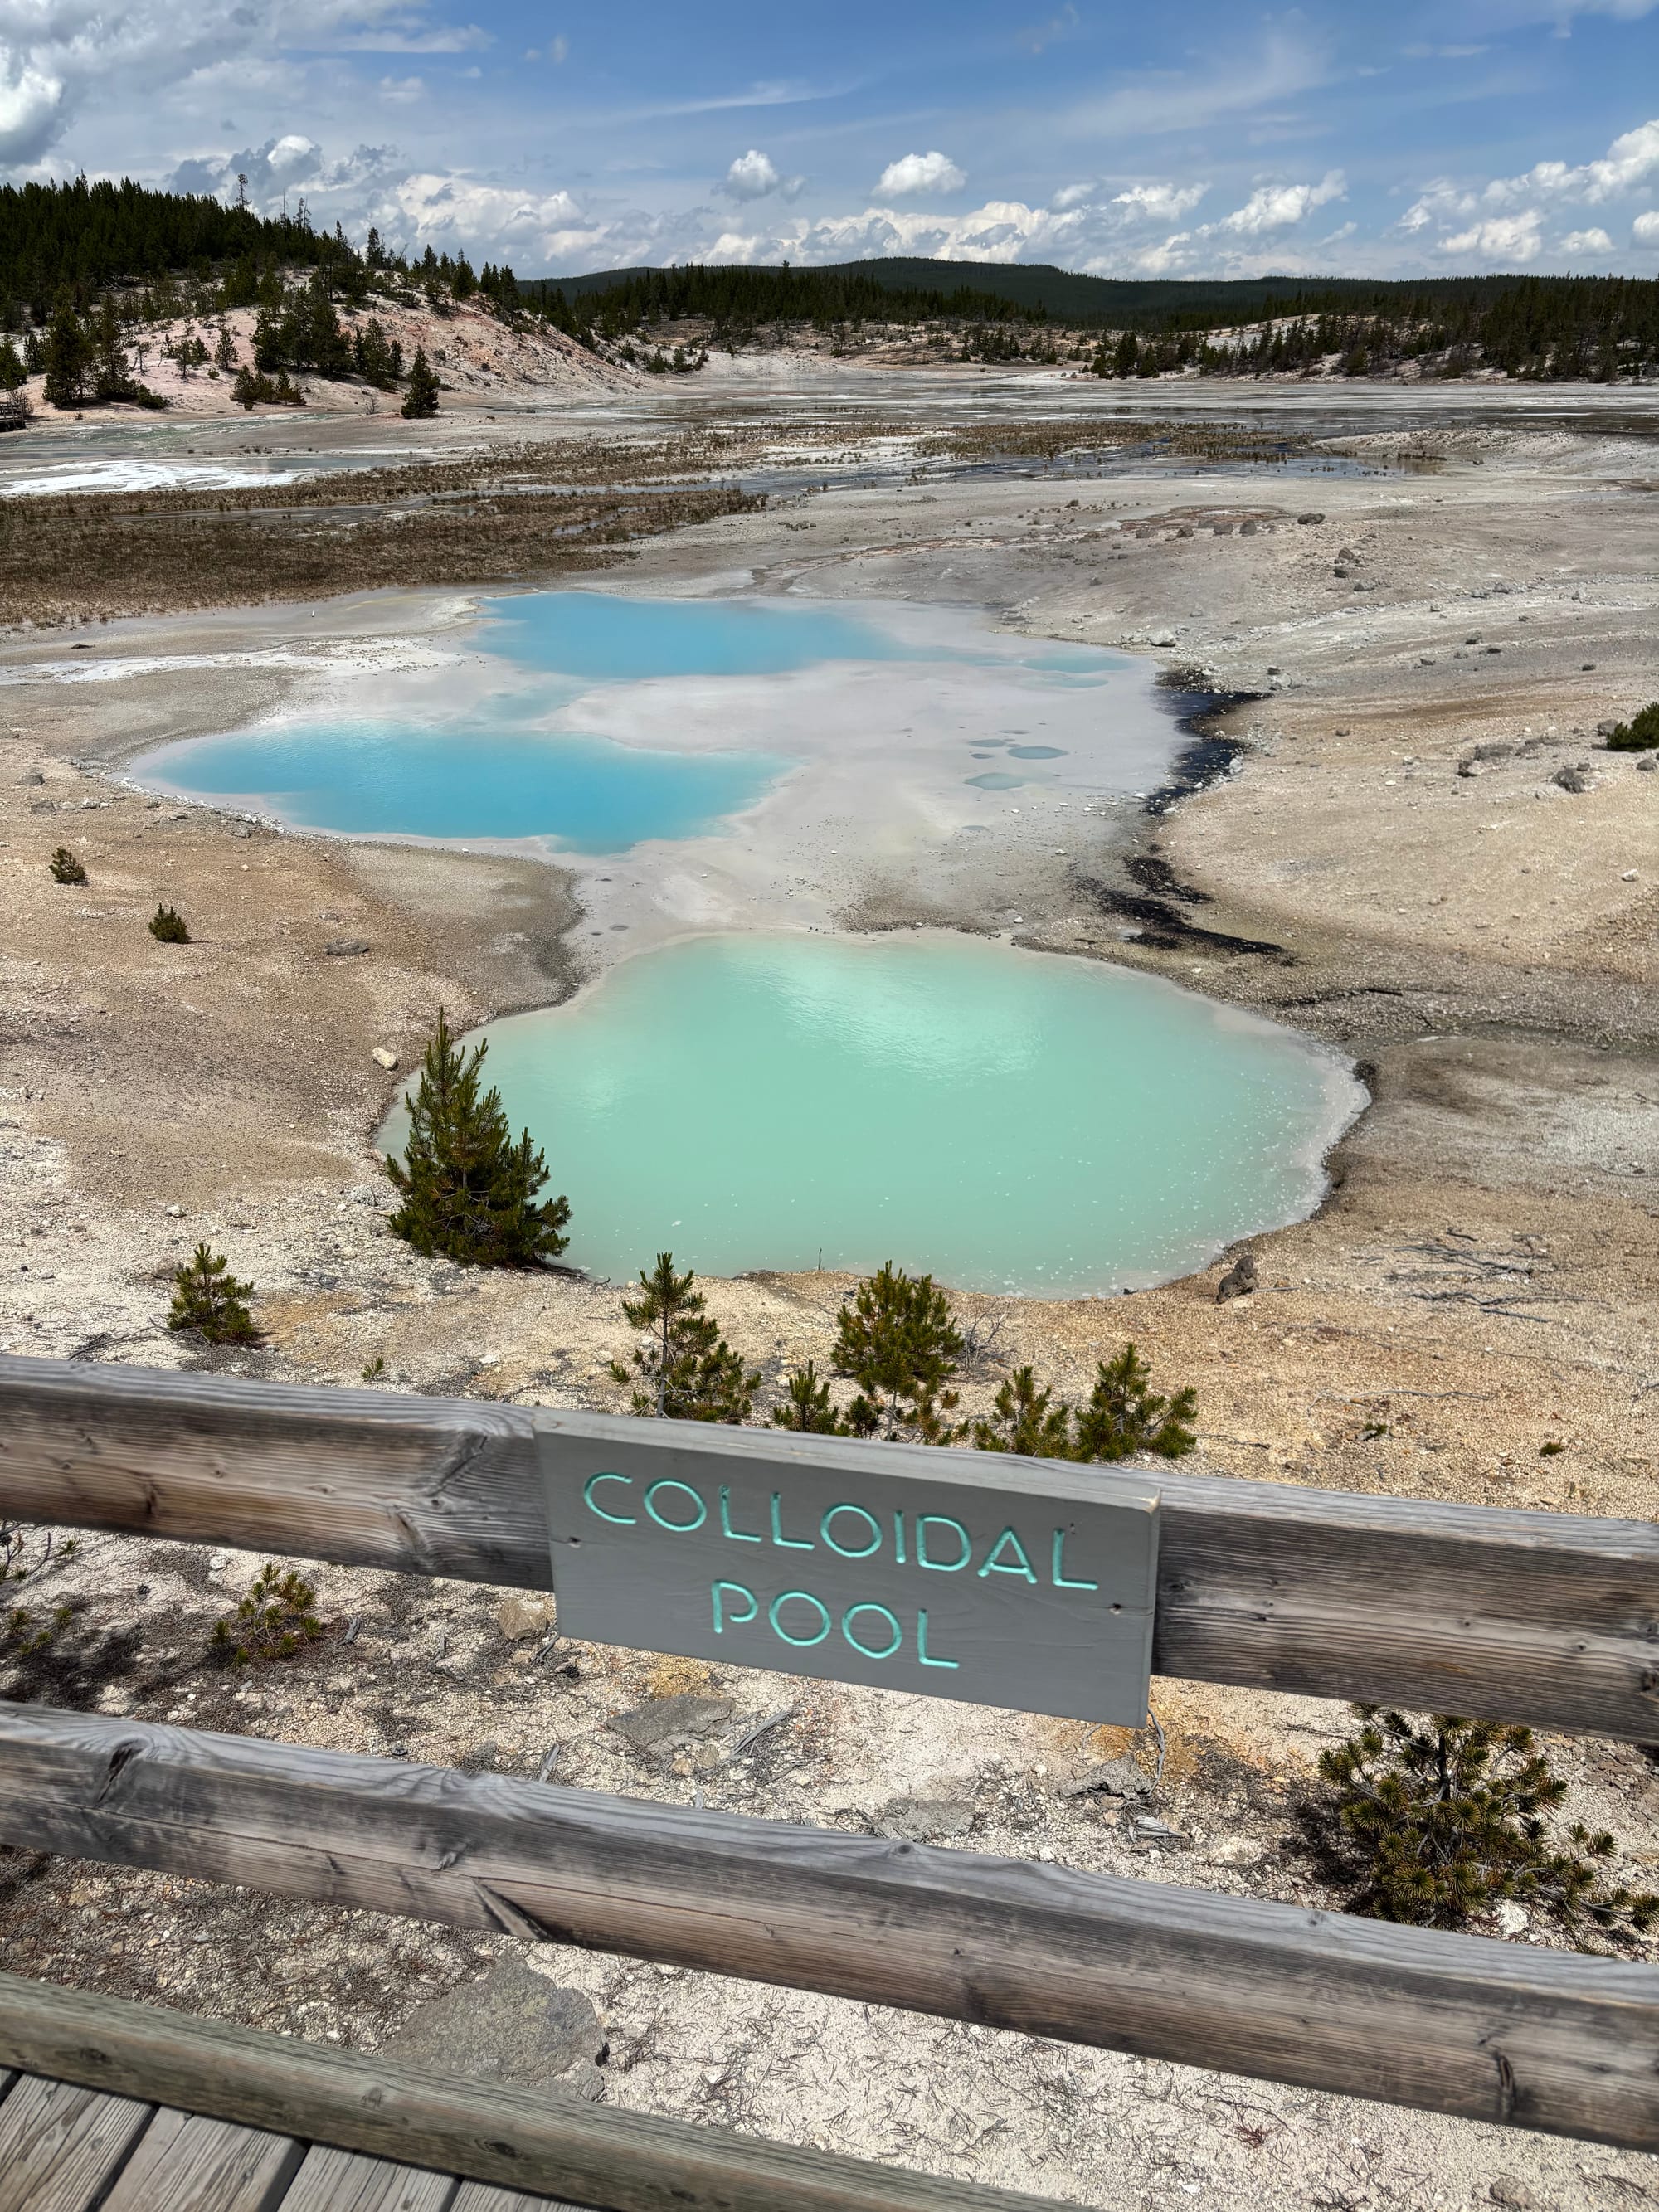
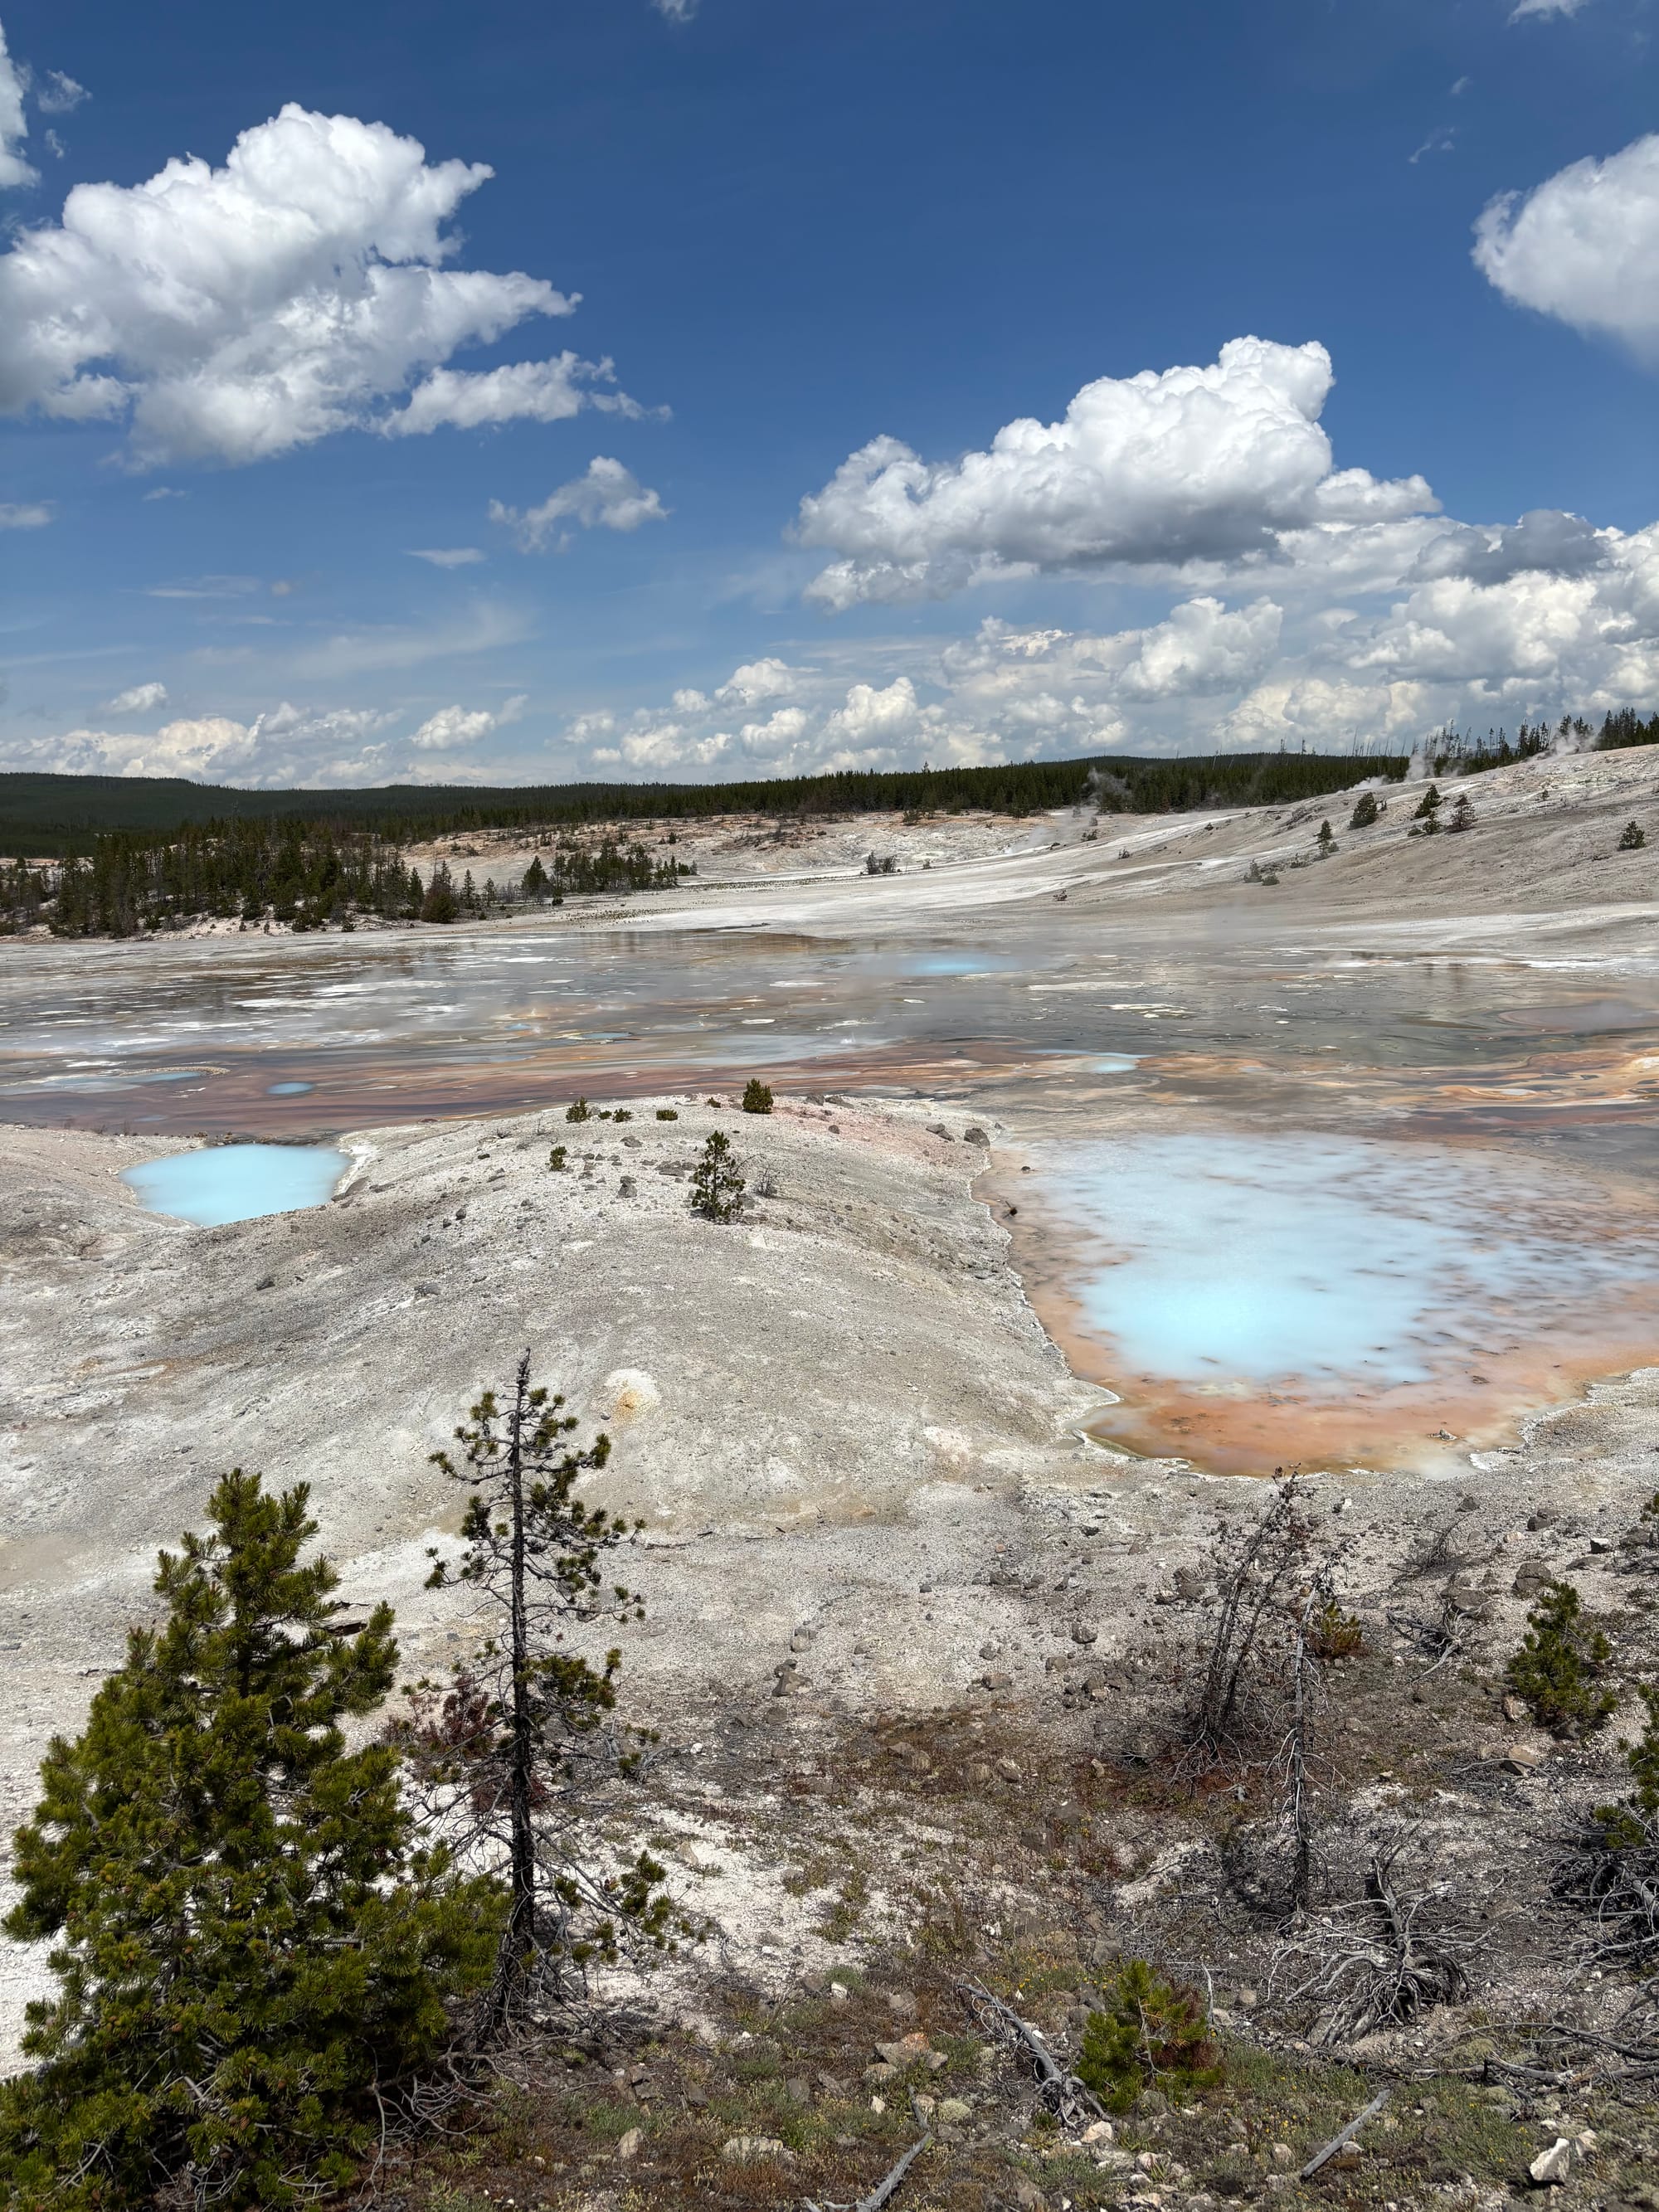
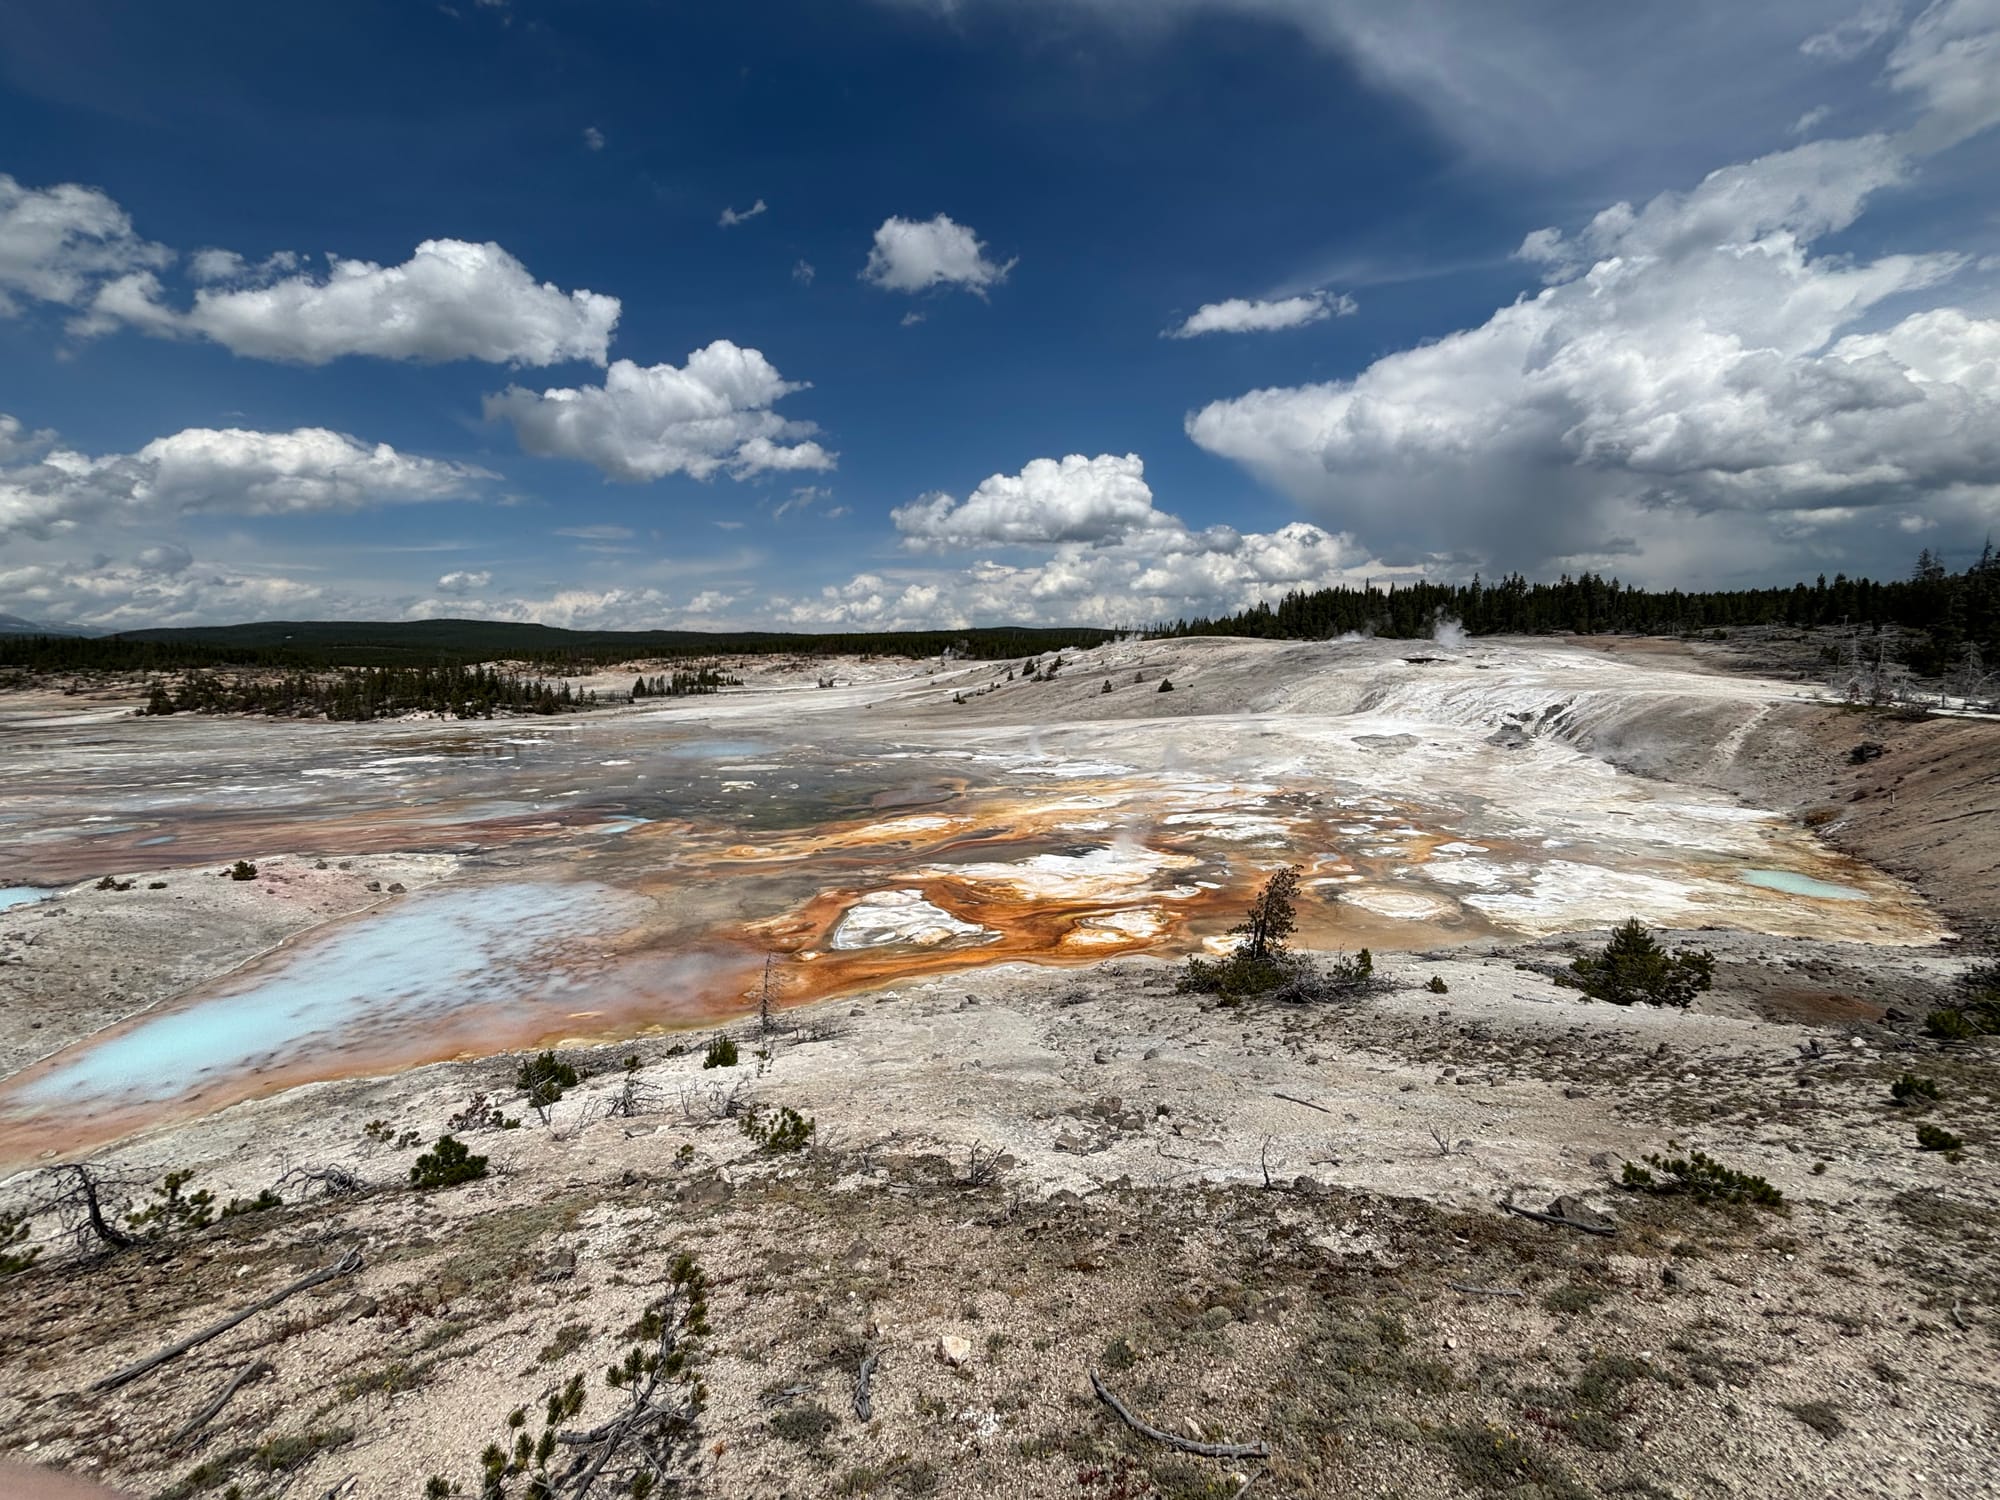
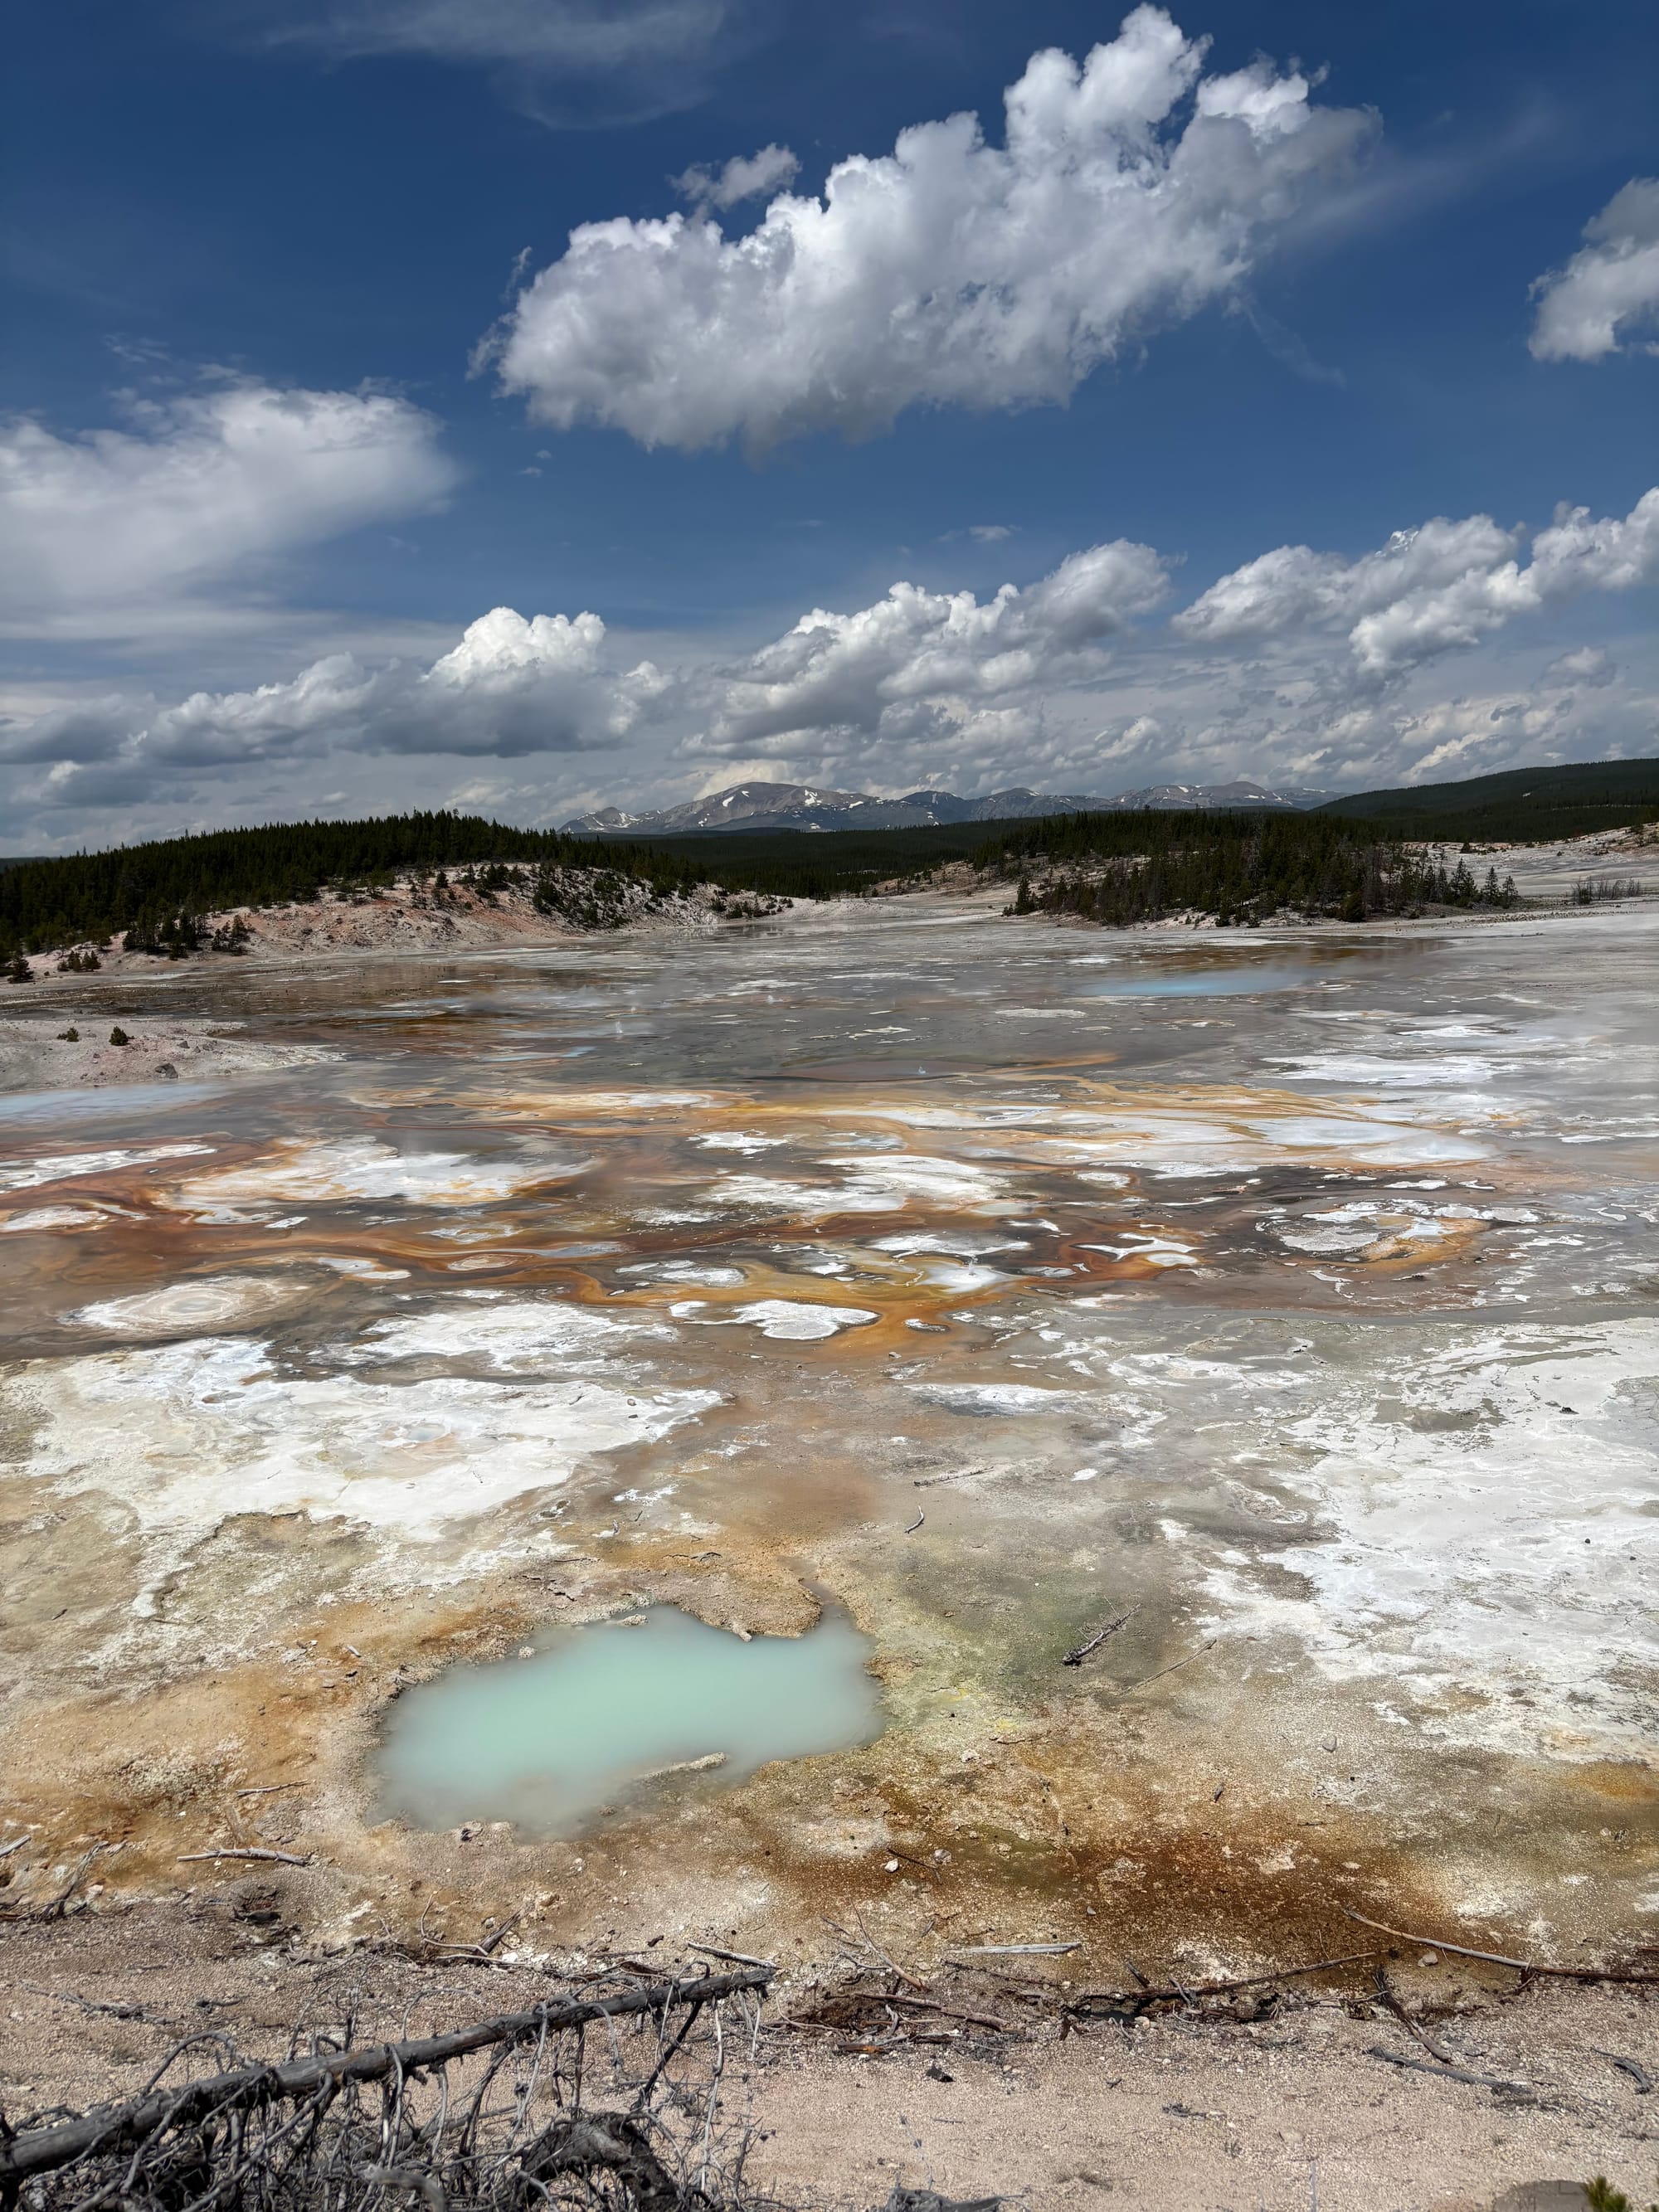
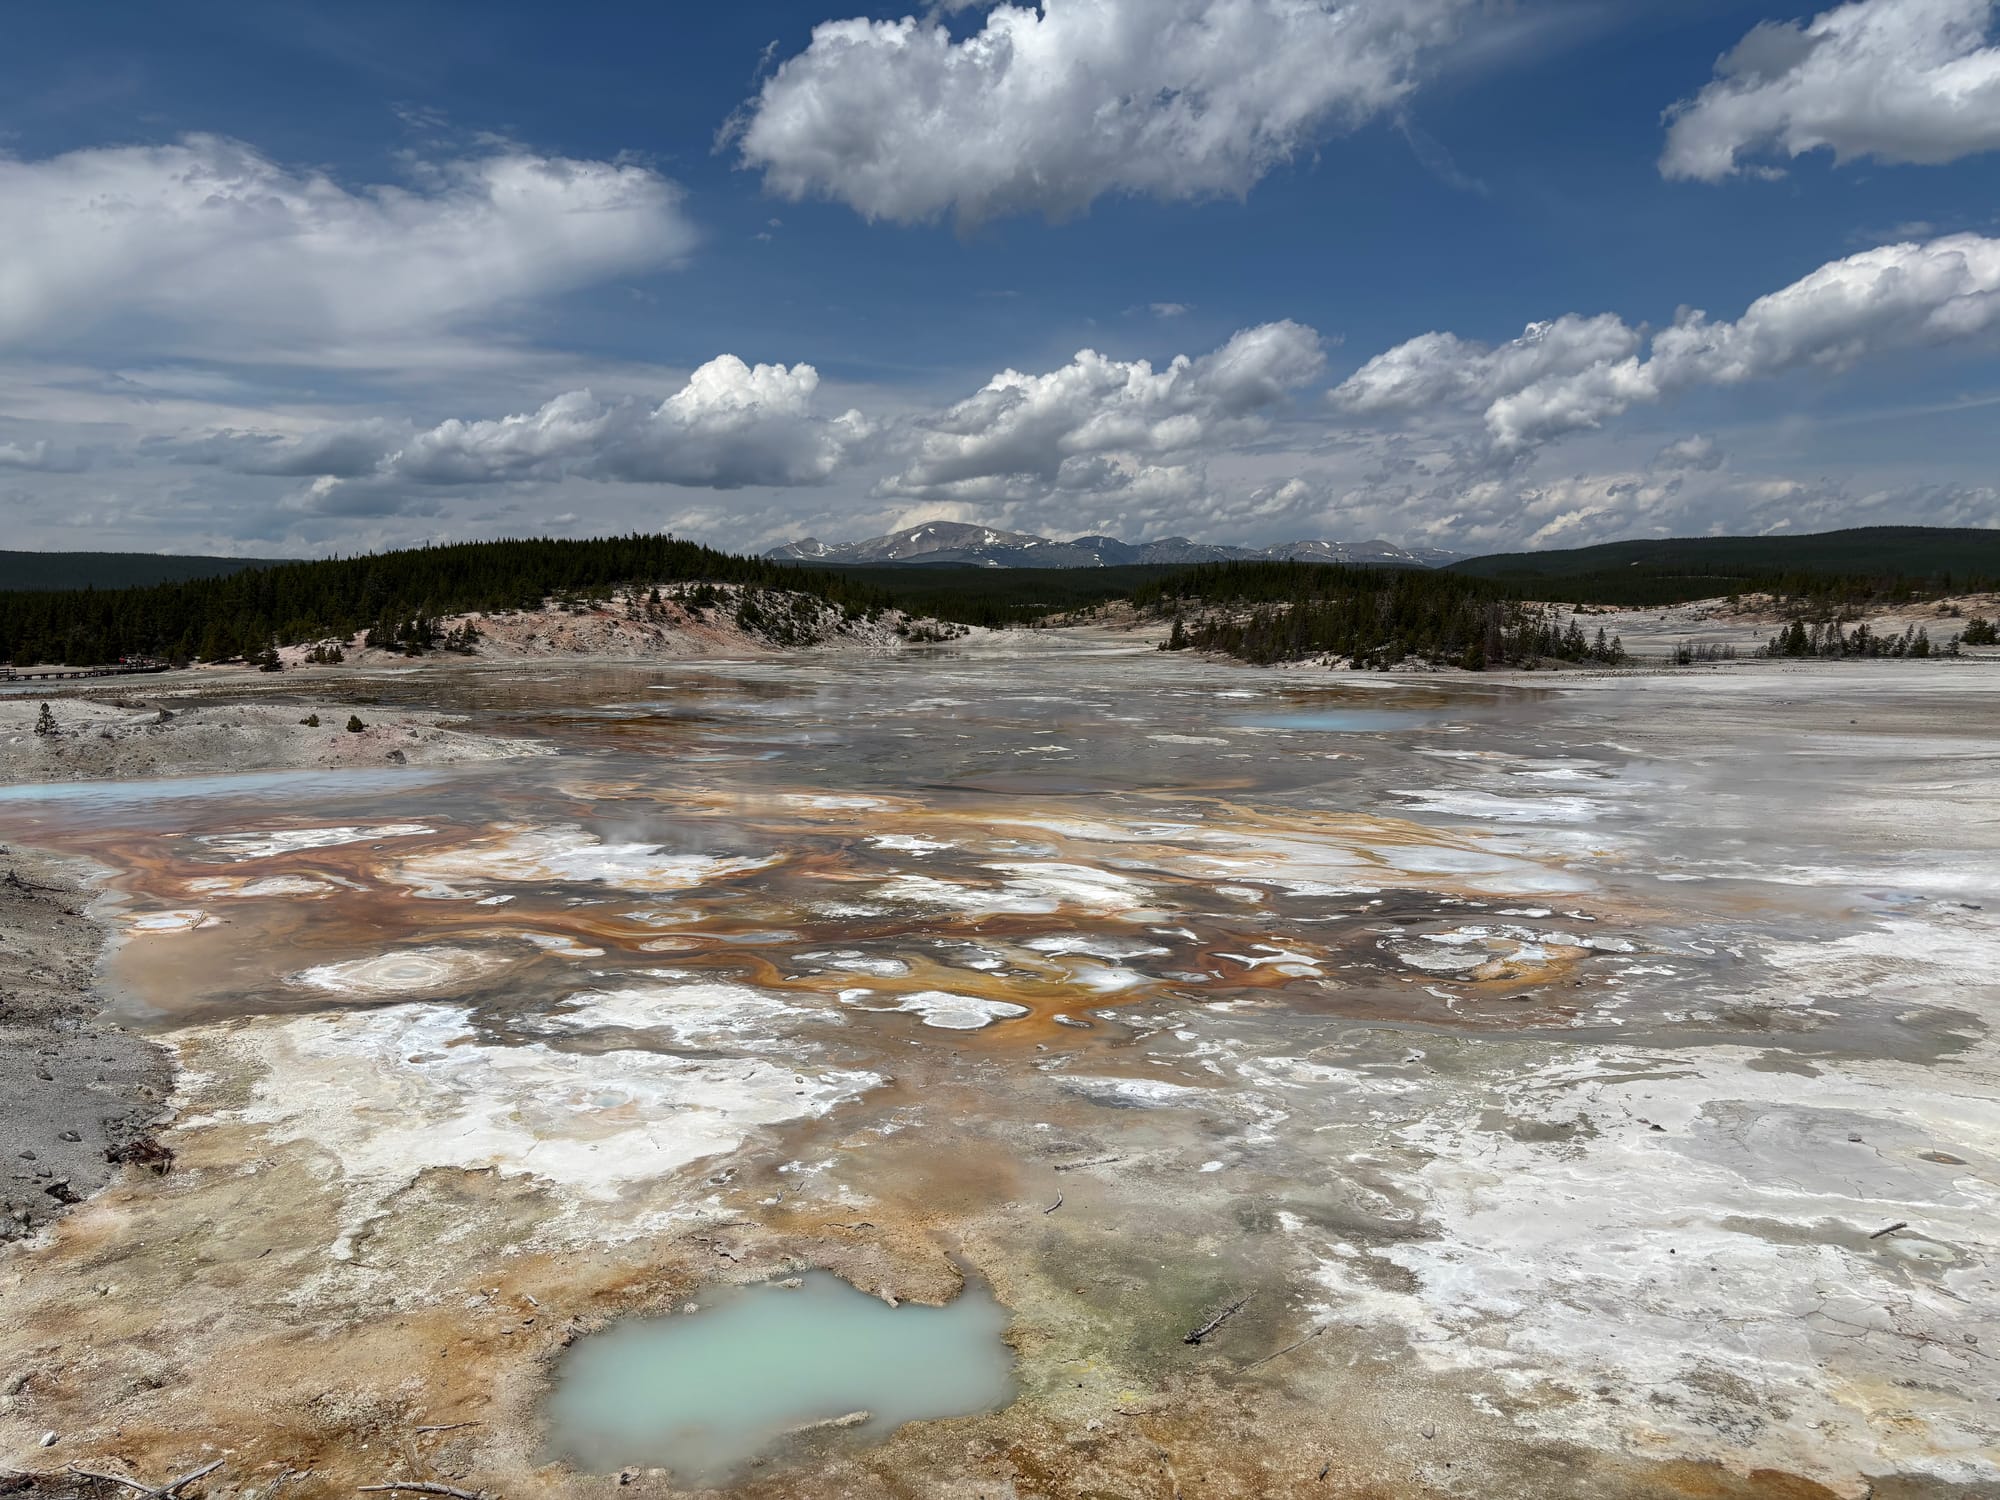

Porcelain Basin
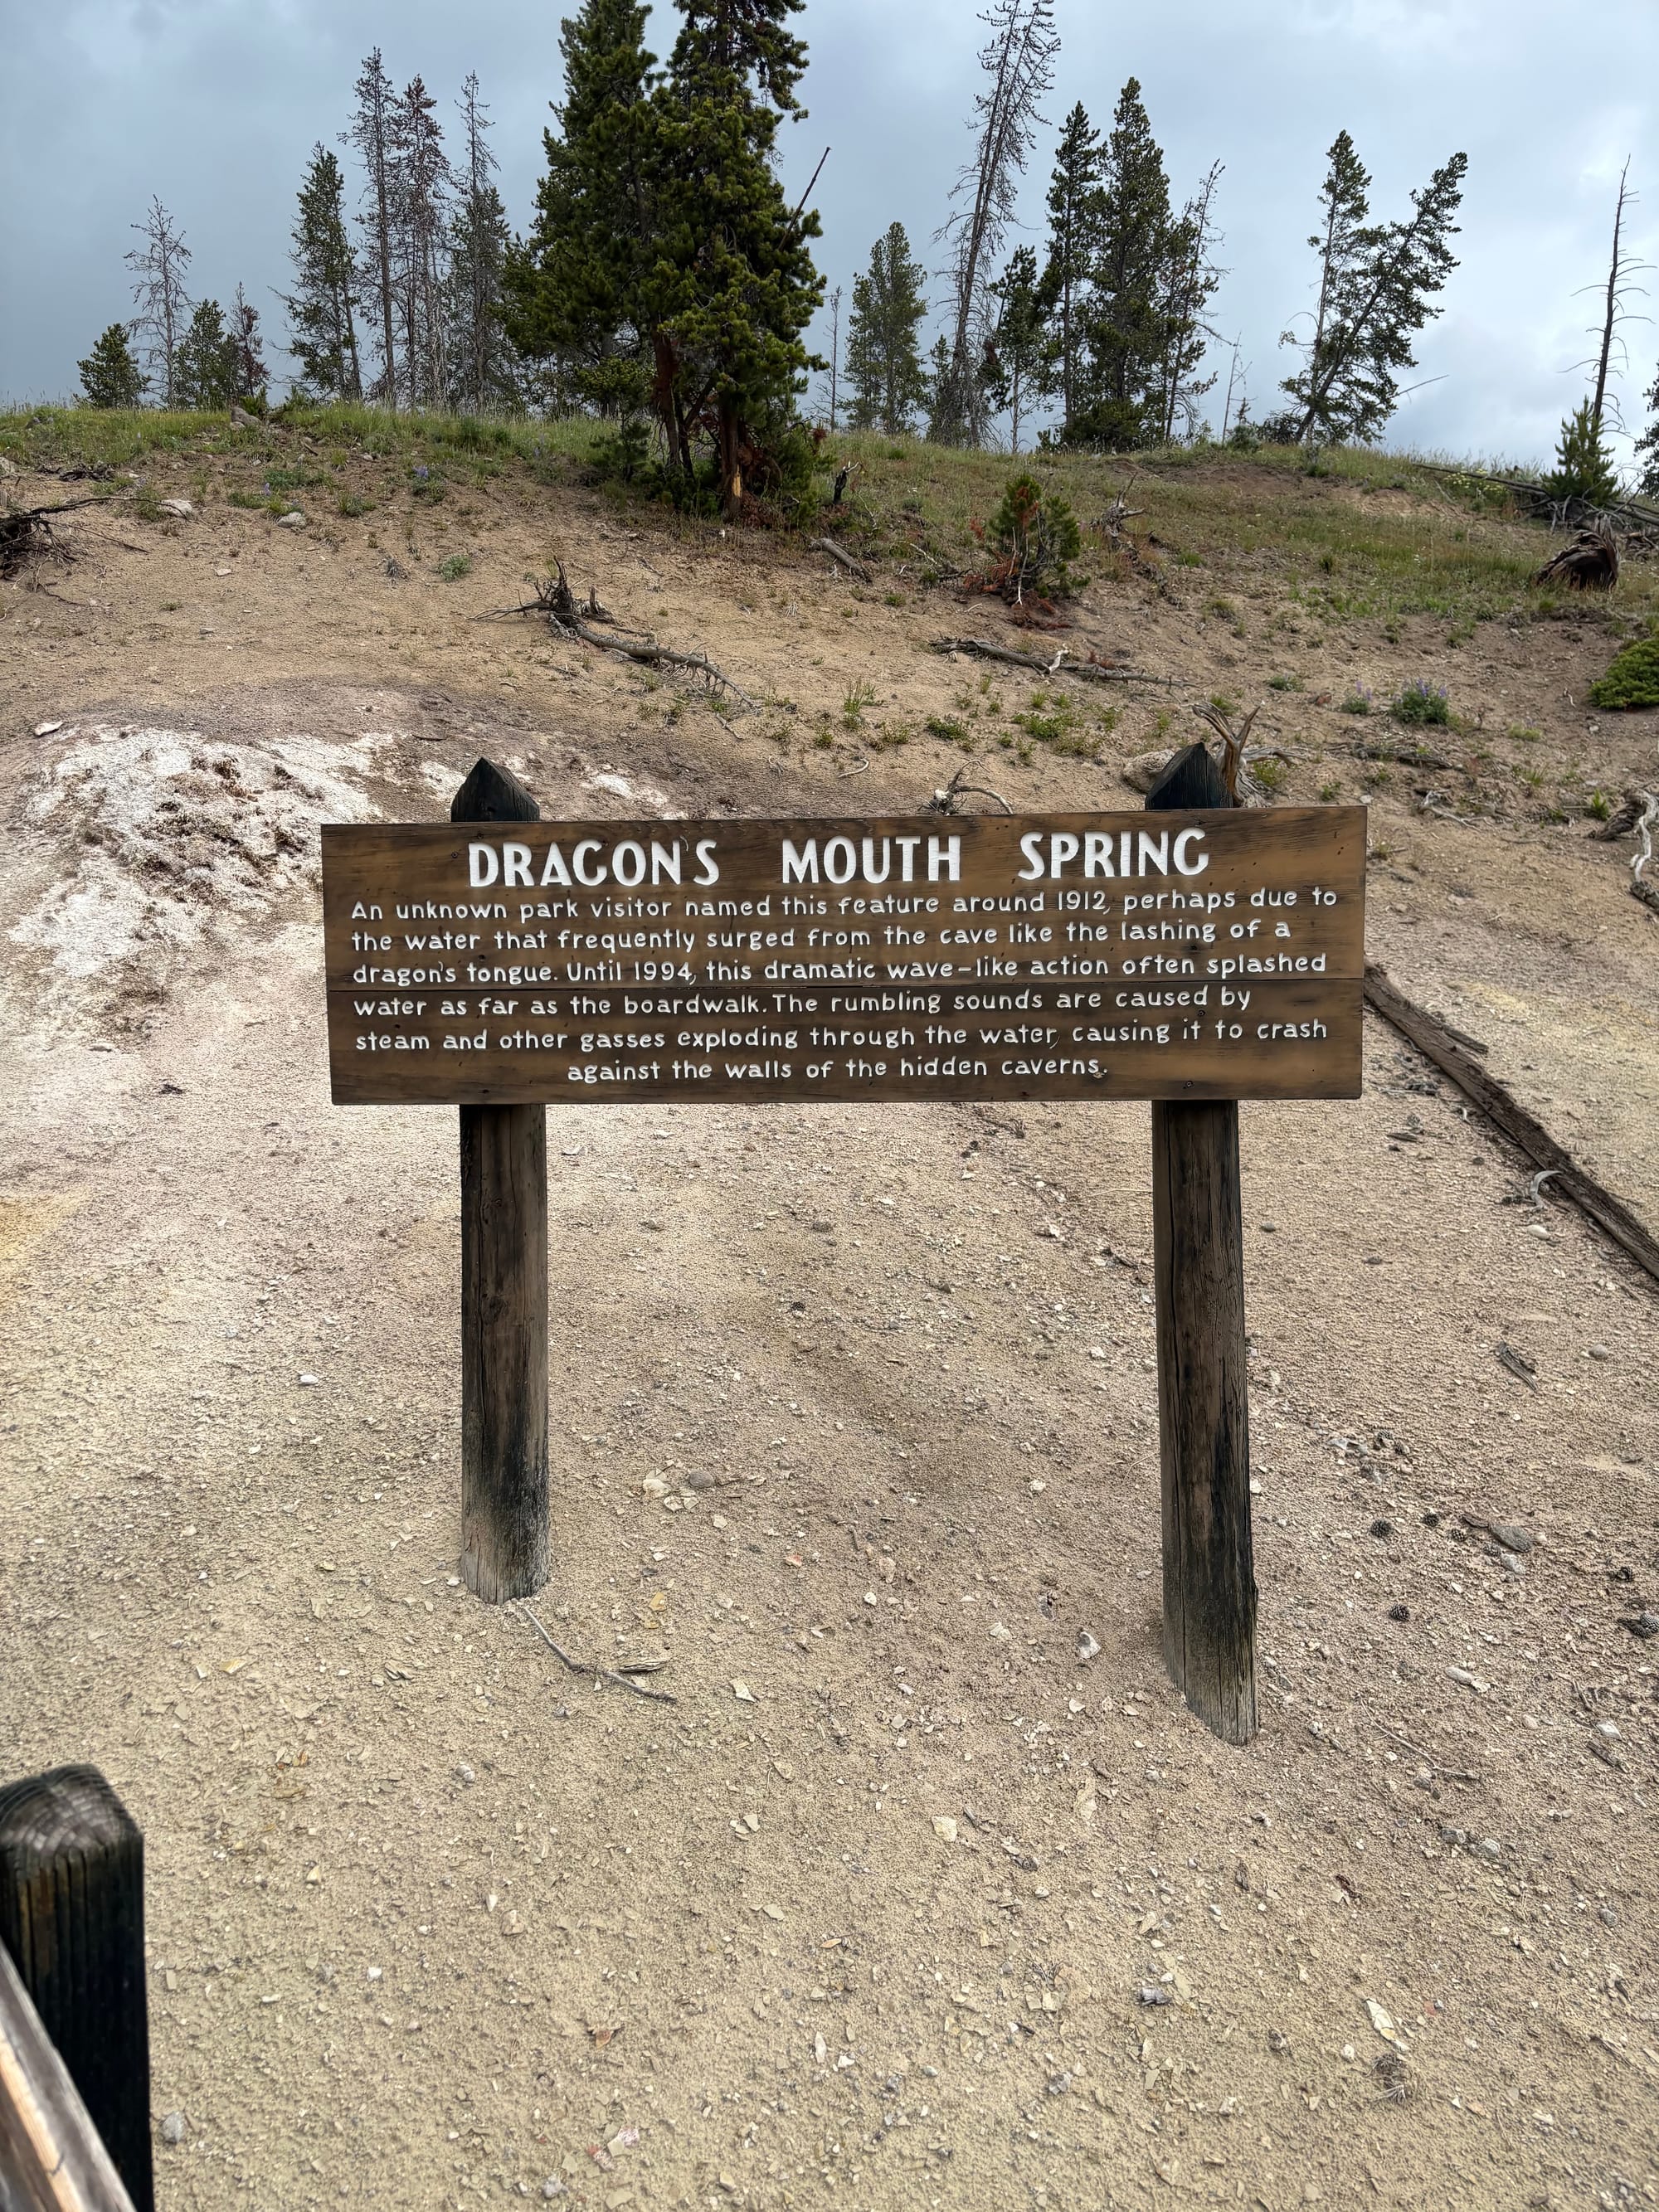
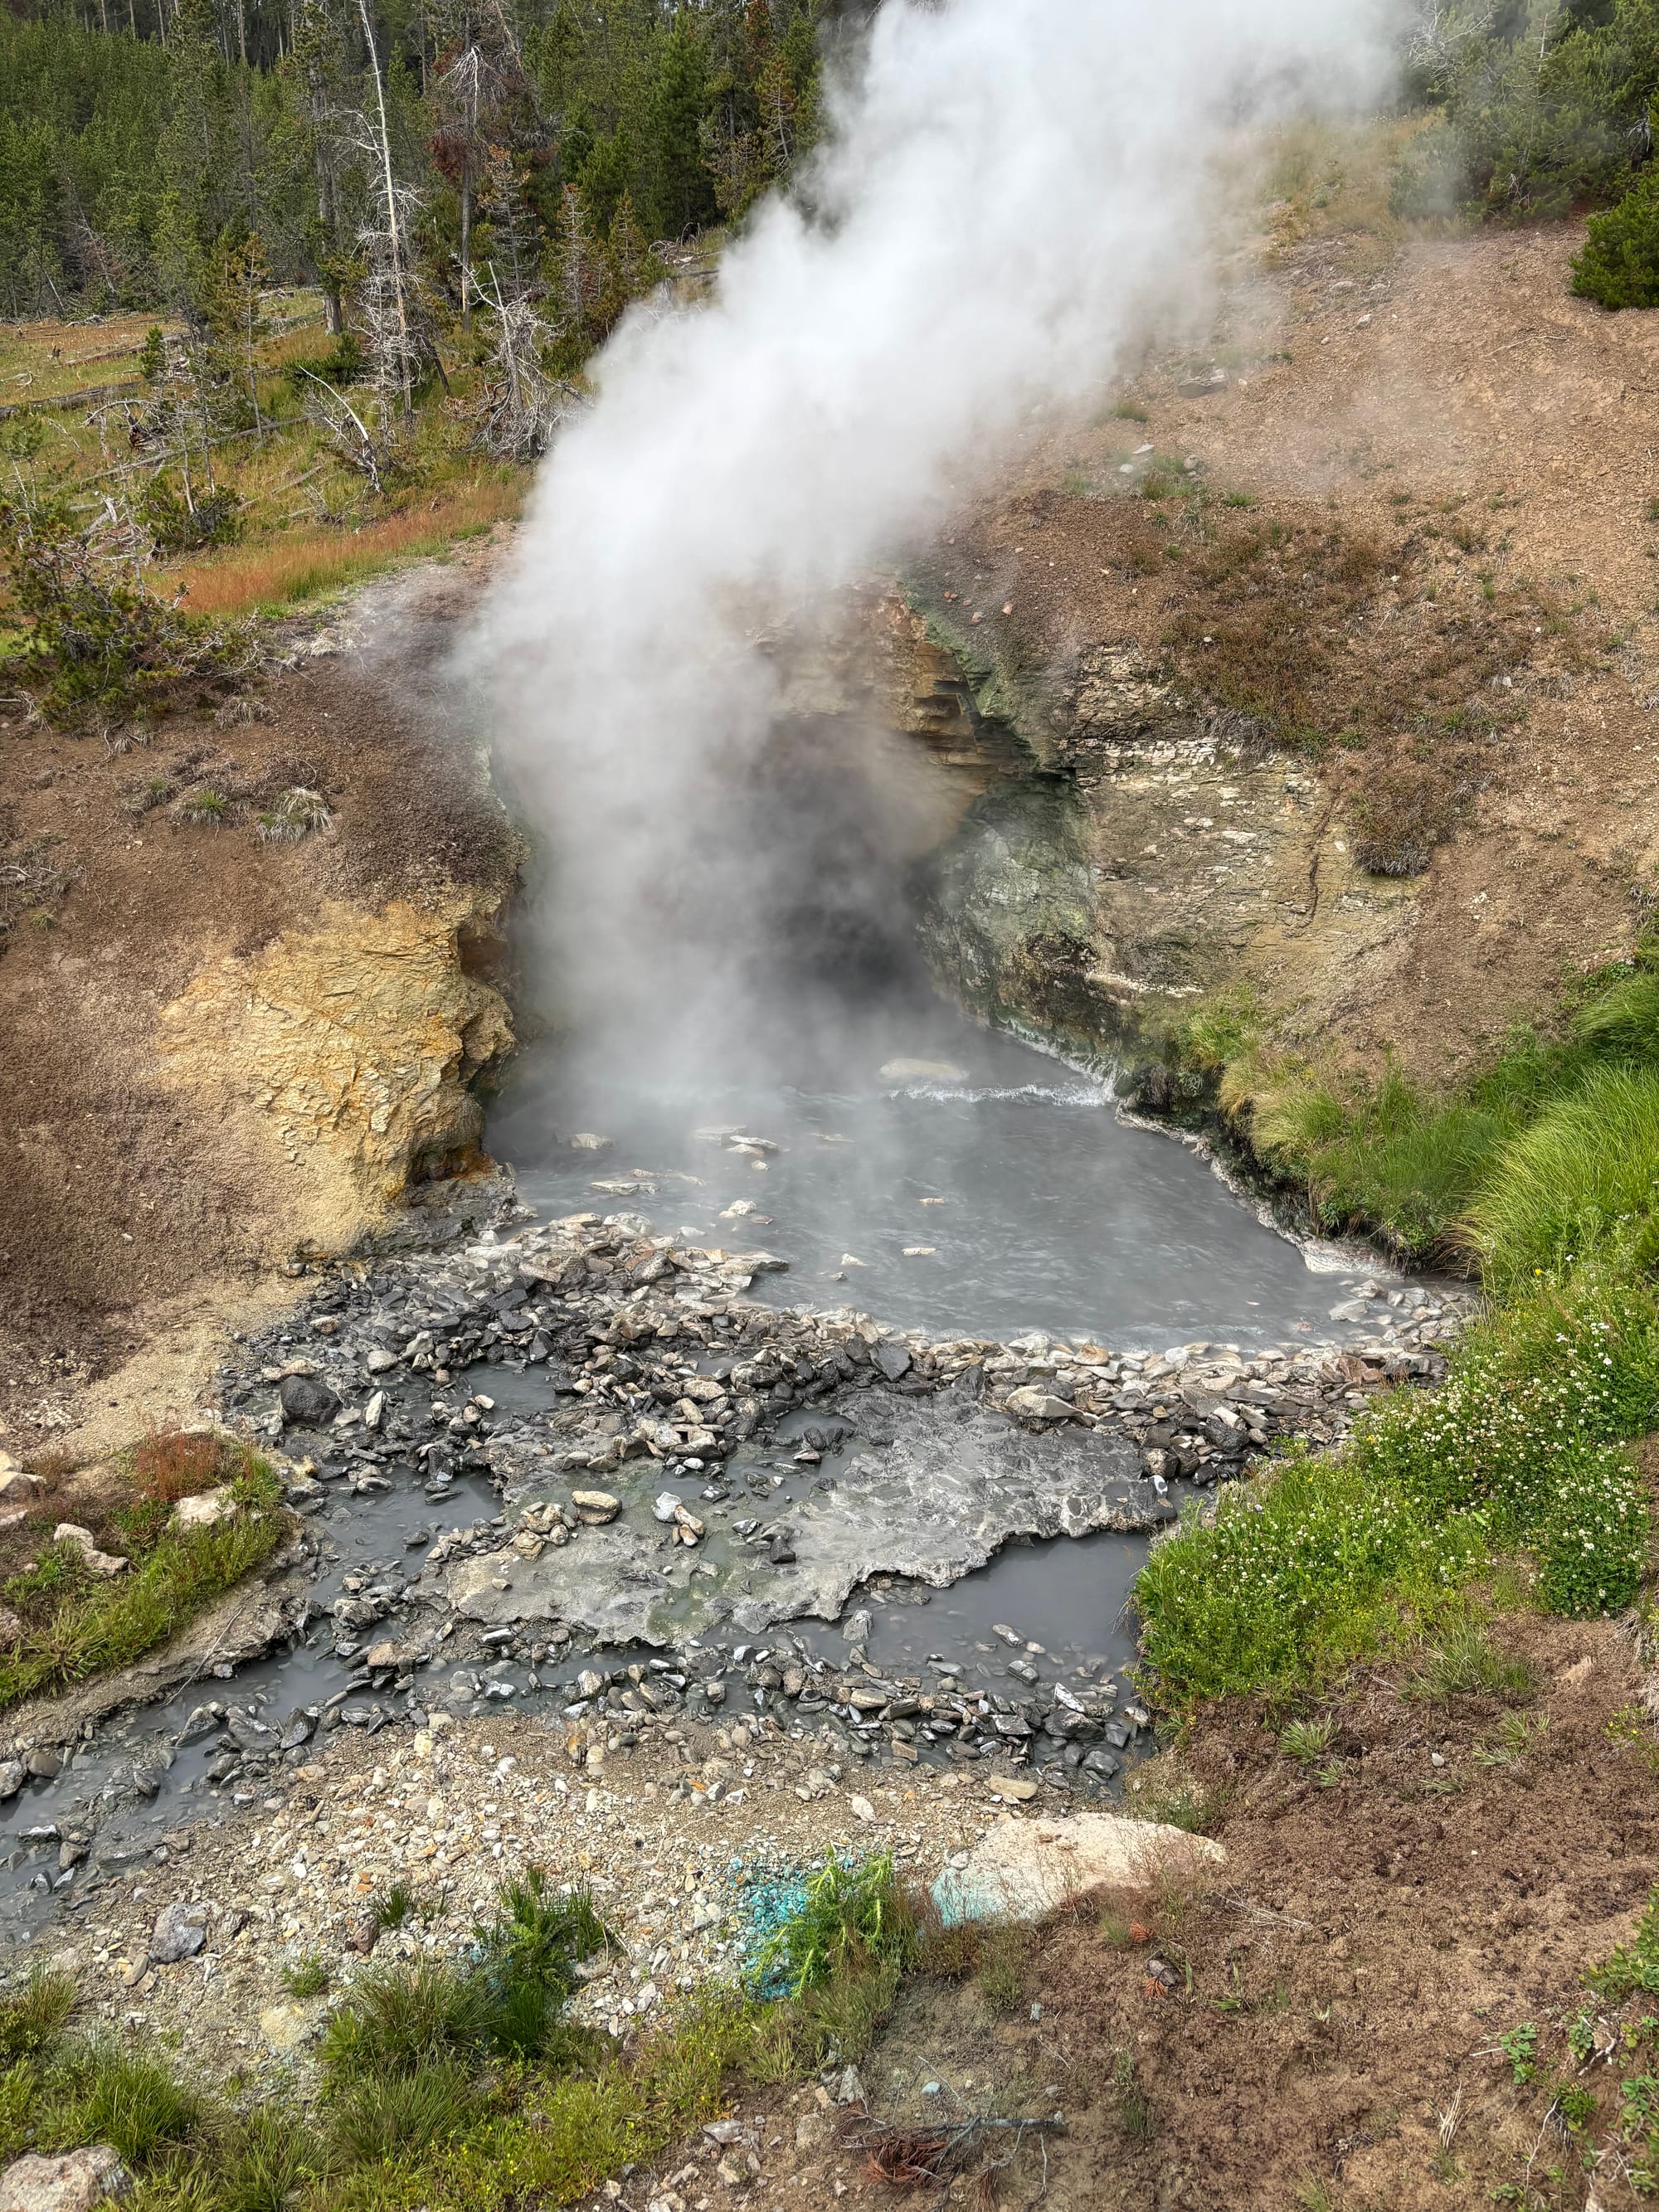
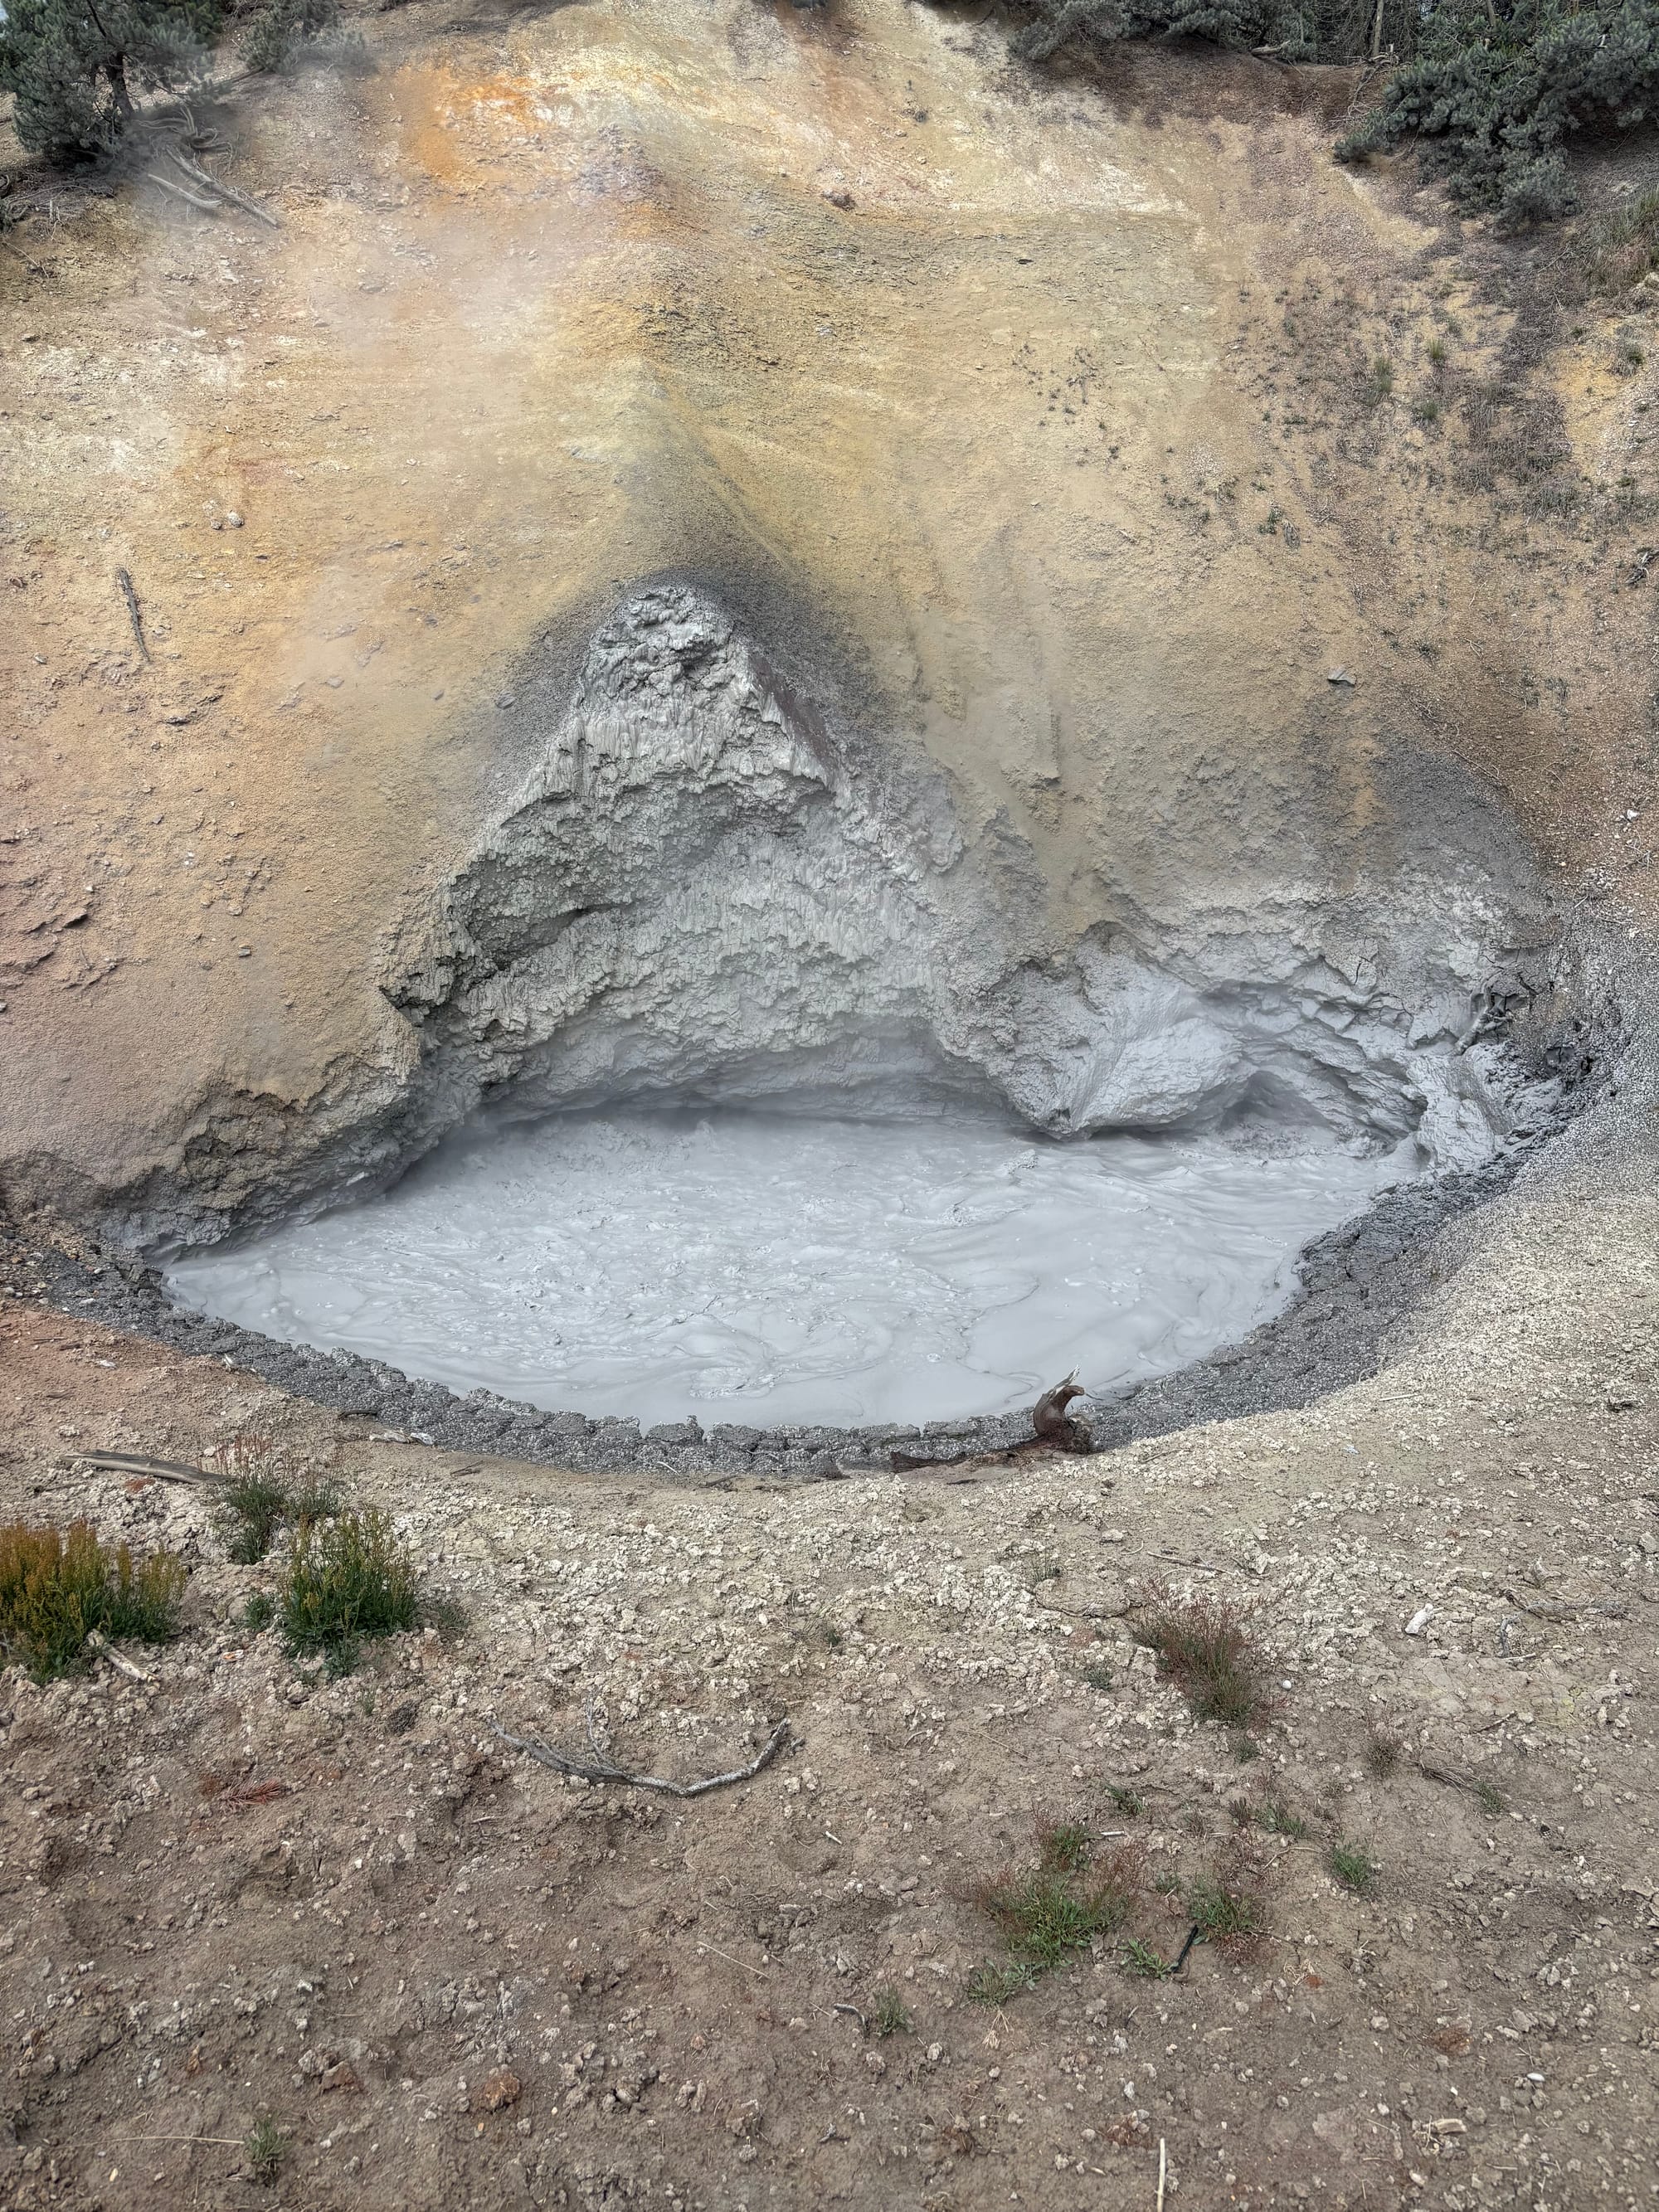
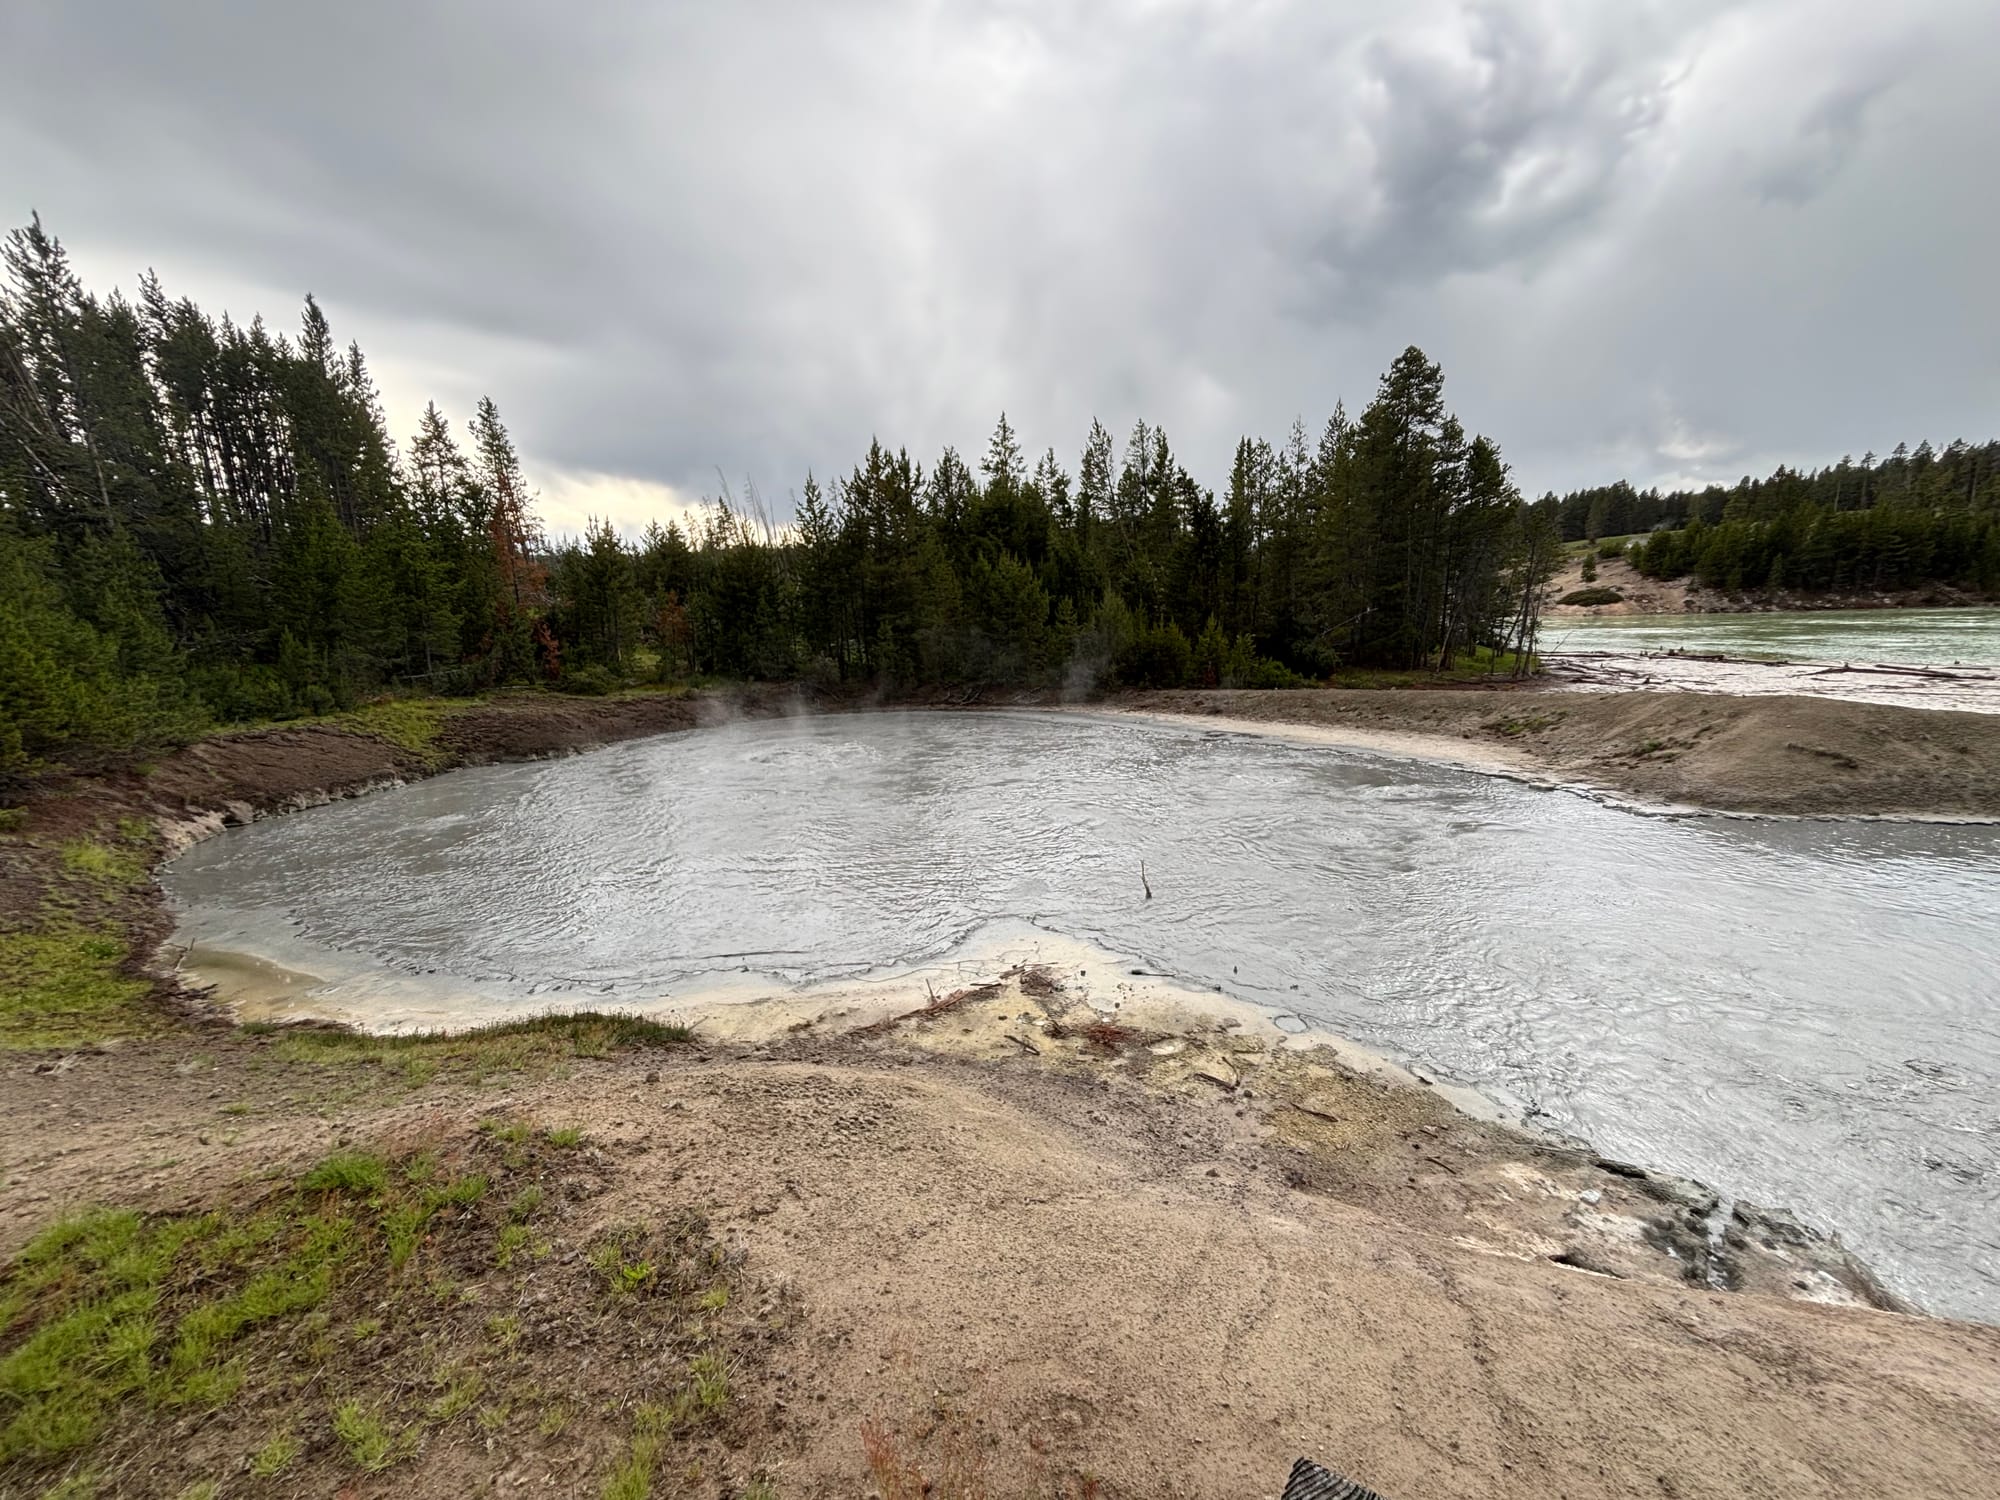
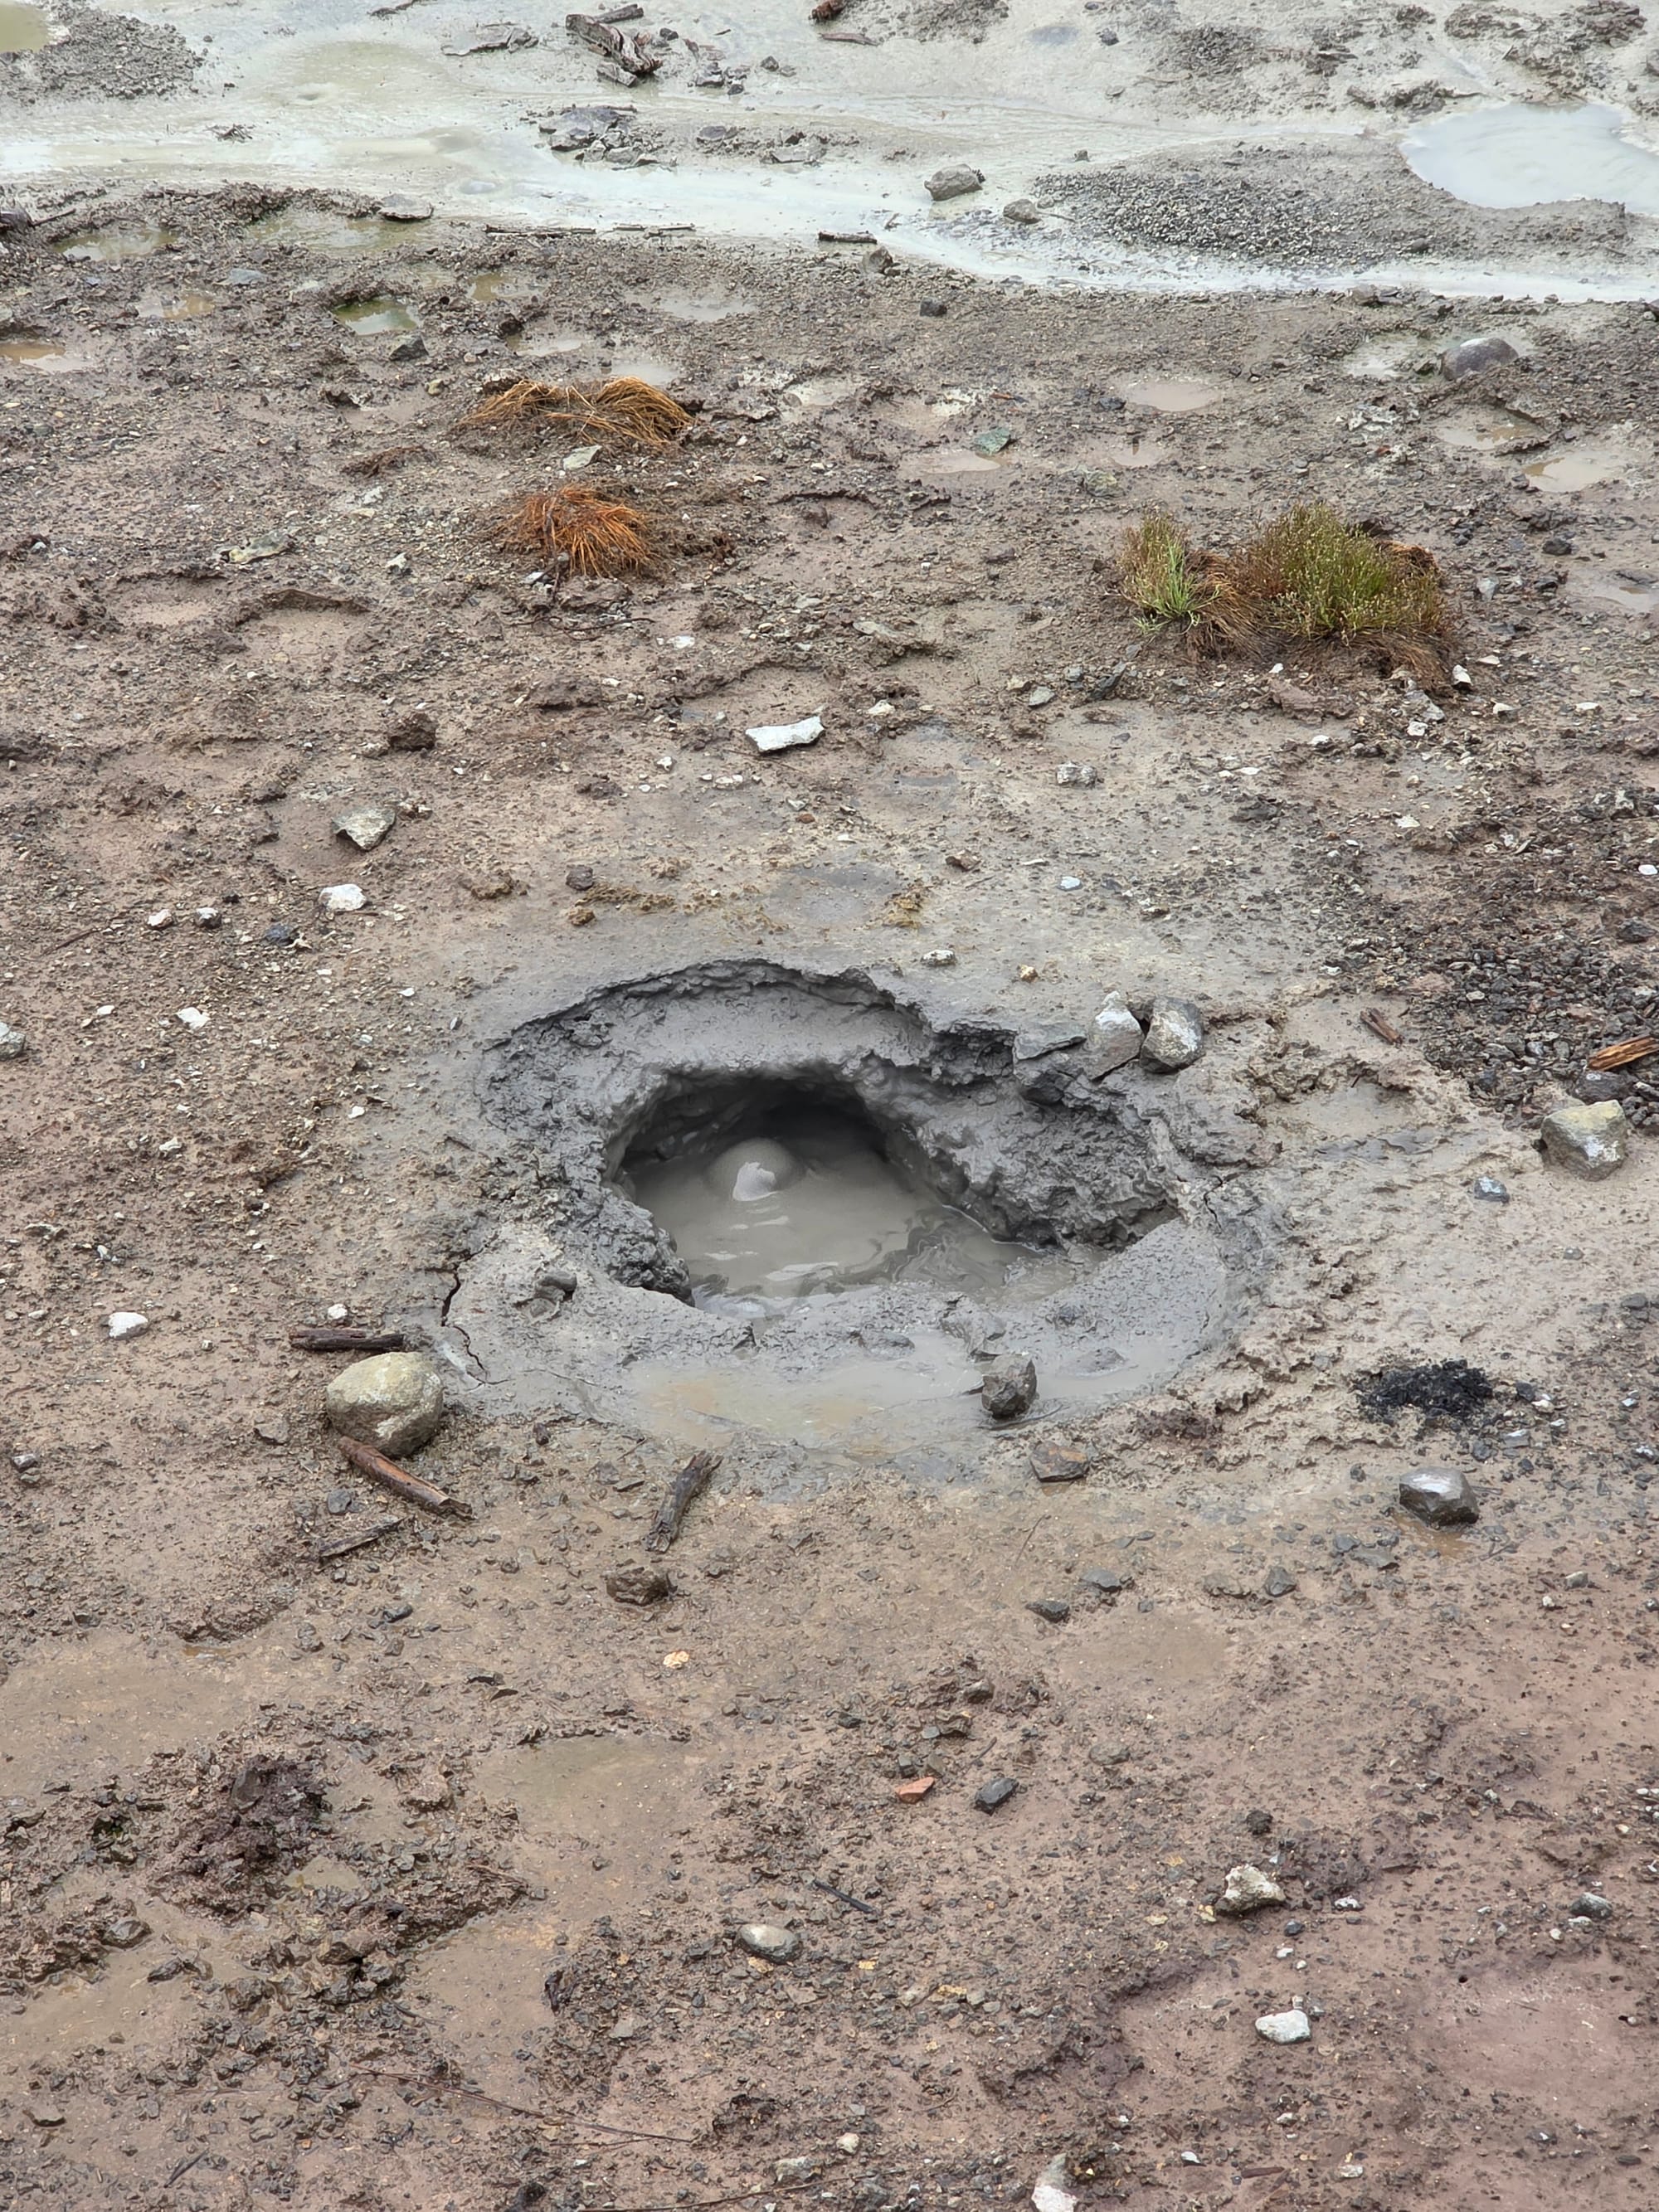
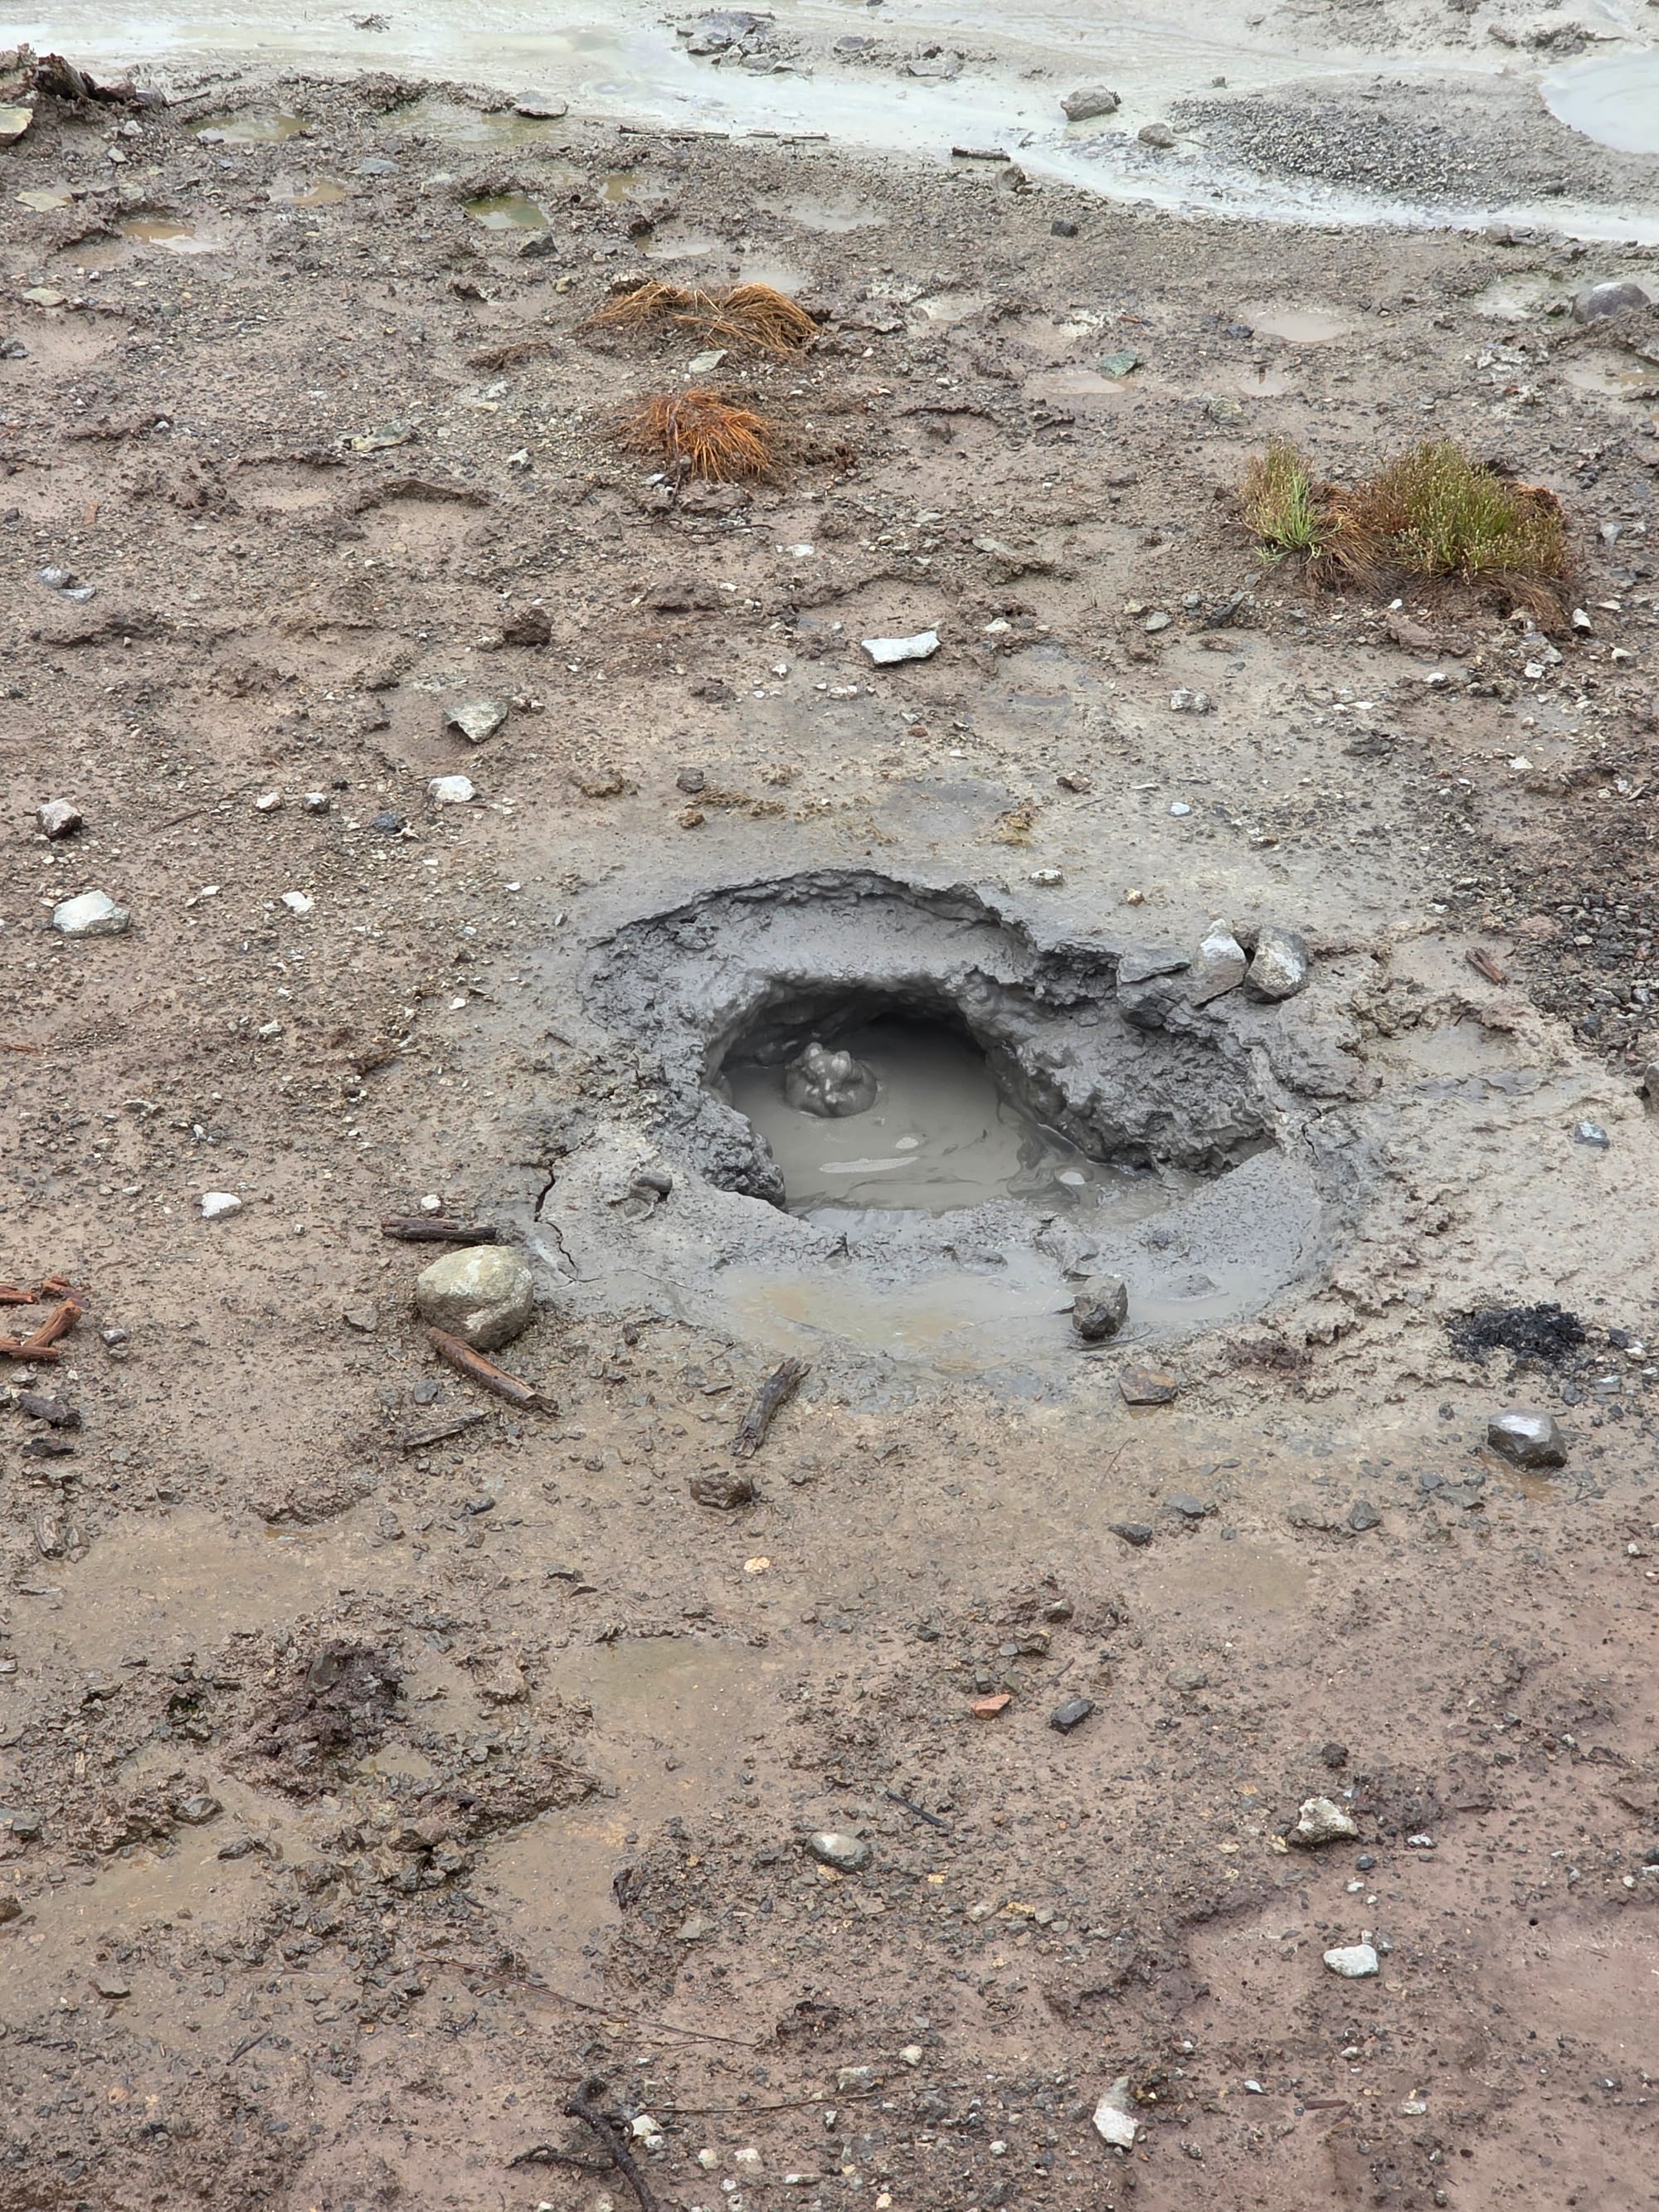
In the afternoon, we visited the Mud Volcano area, which is heavily underhyped by park guides and apps. They frame it as if there is only one thing to see, but in my opinion it was second only to the big geysers at the Upper Geyser Basin. Highlights like Dragon’s Mouth Spring, a dark cave belching steam and roaring like a dragon, and the churning Mud Volcano itself were fantastic. This area ended up having some of my favorite non-exploding thermal formations of the entire trip, and was more impressive to me than Norris and West Thumb combined.
Day 8: Mammoth Hot Springs, Bozeman, and Departure
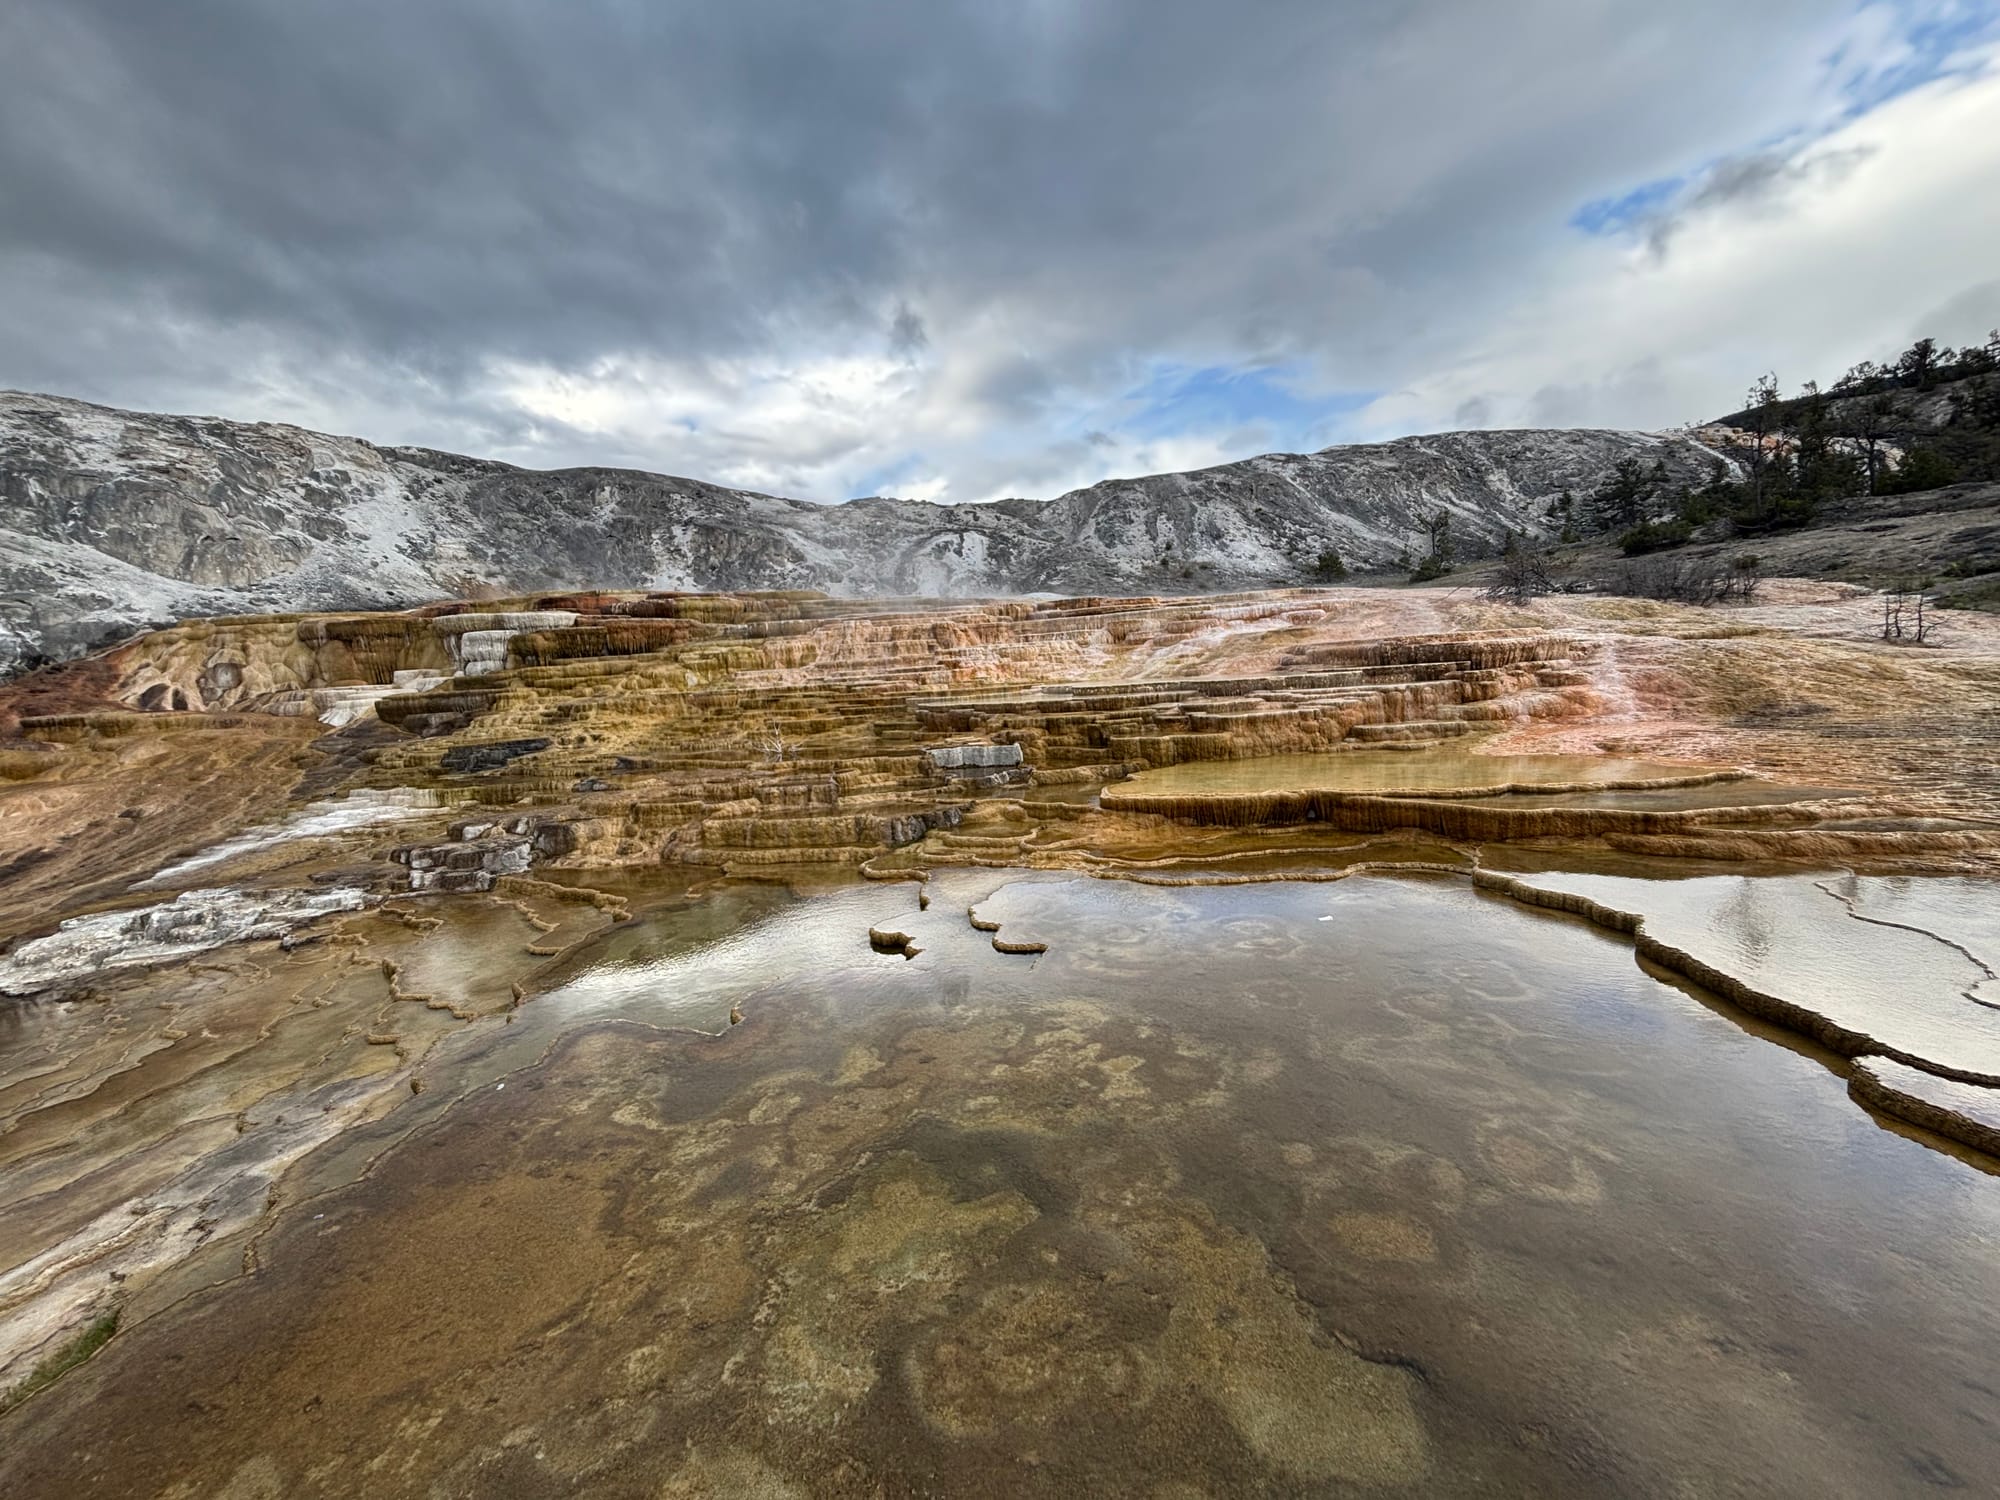
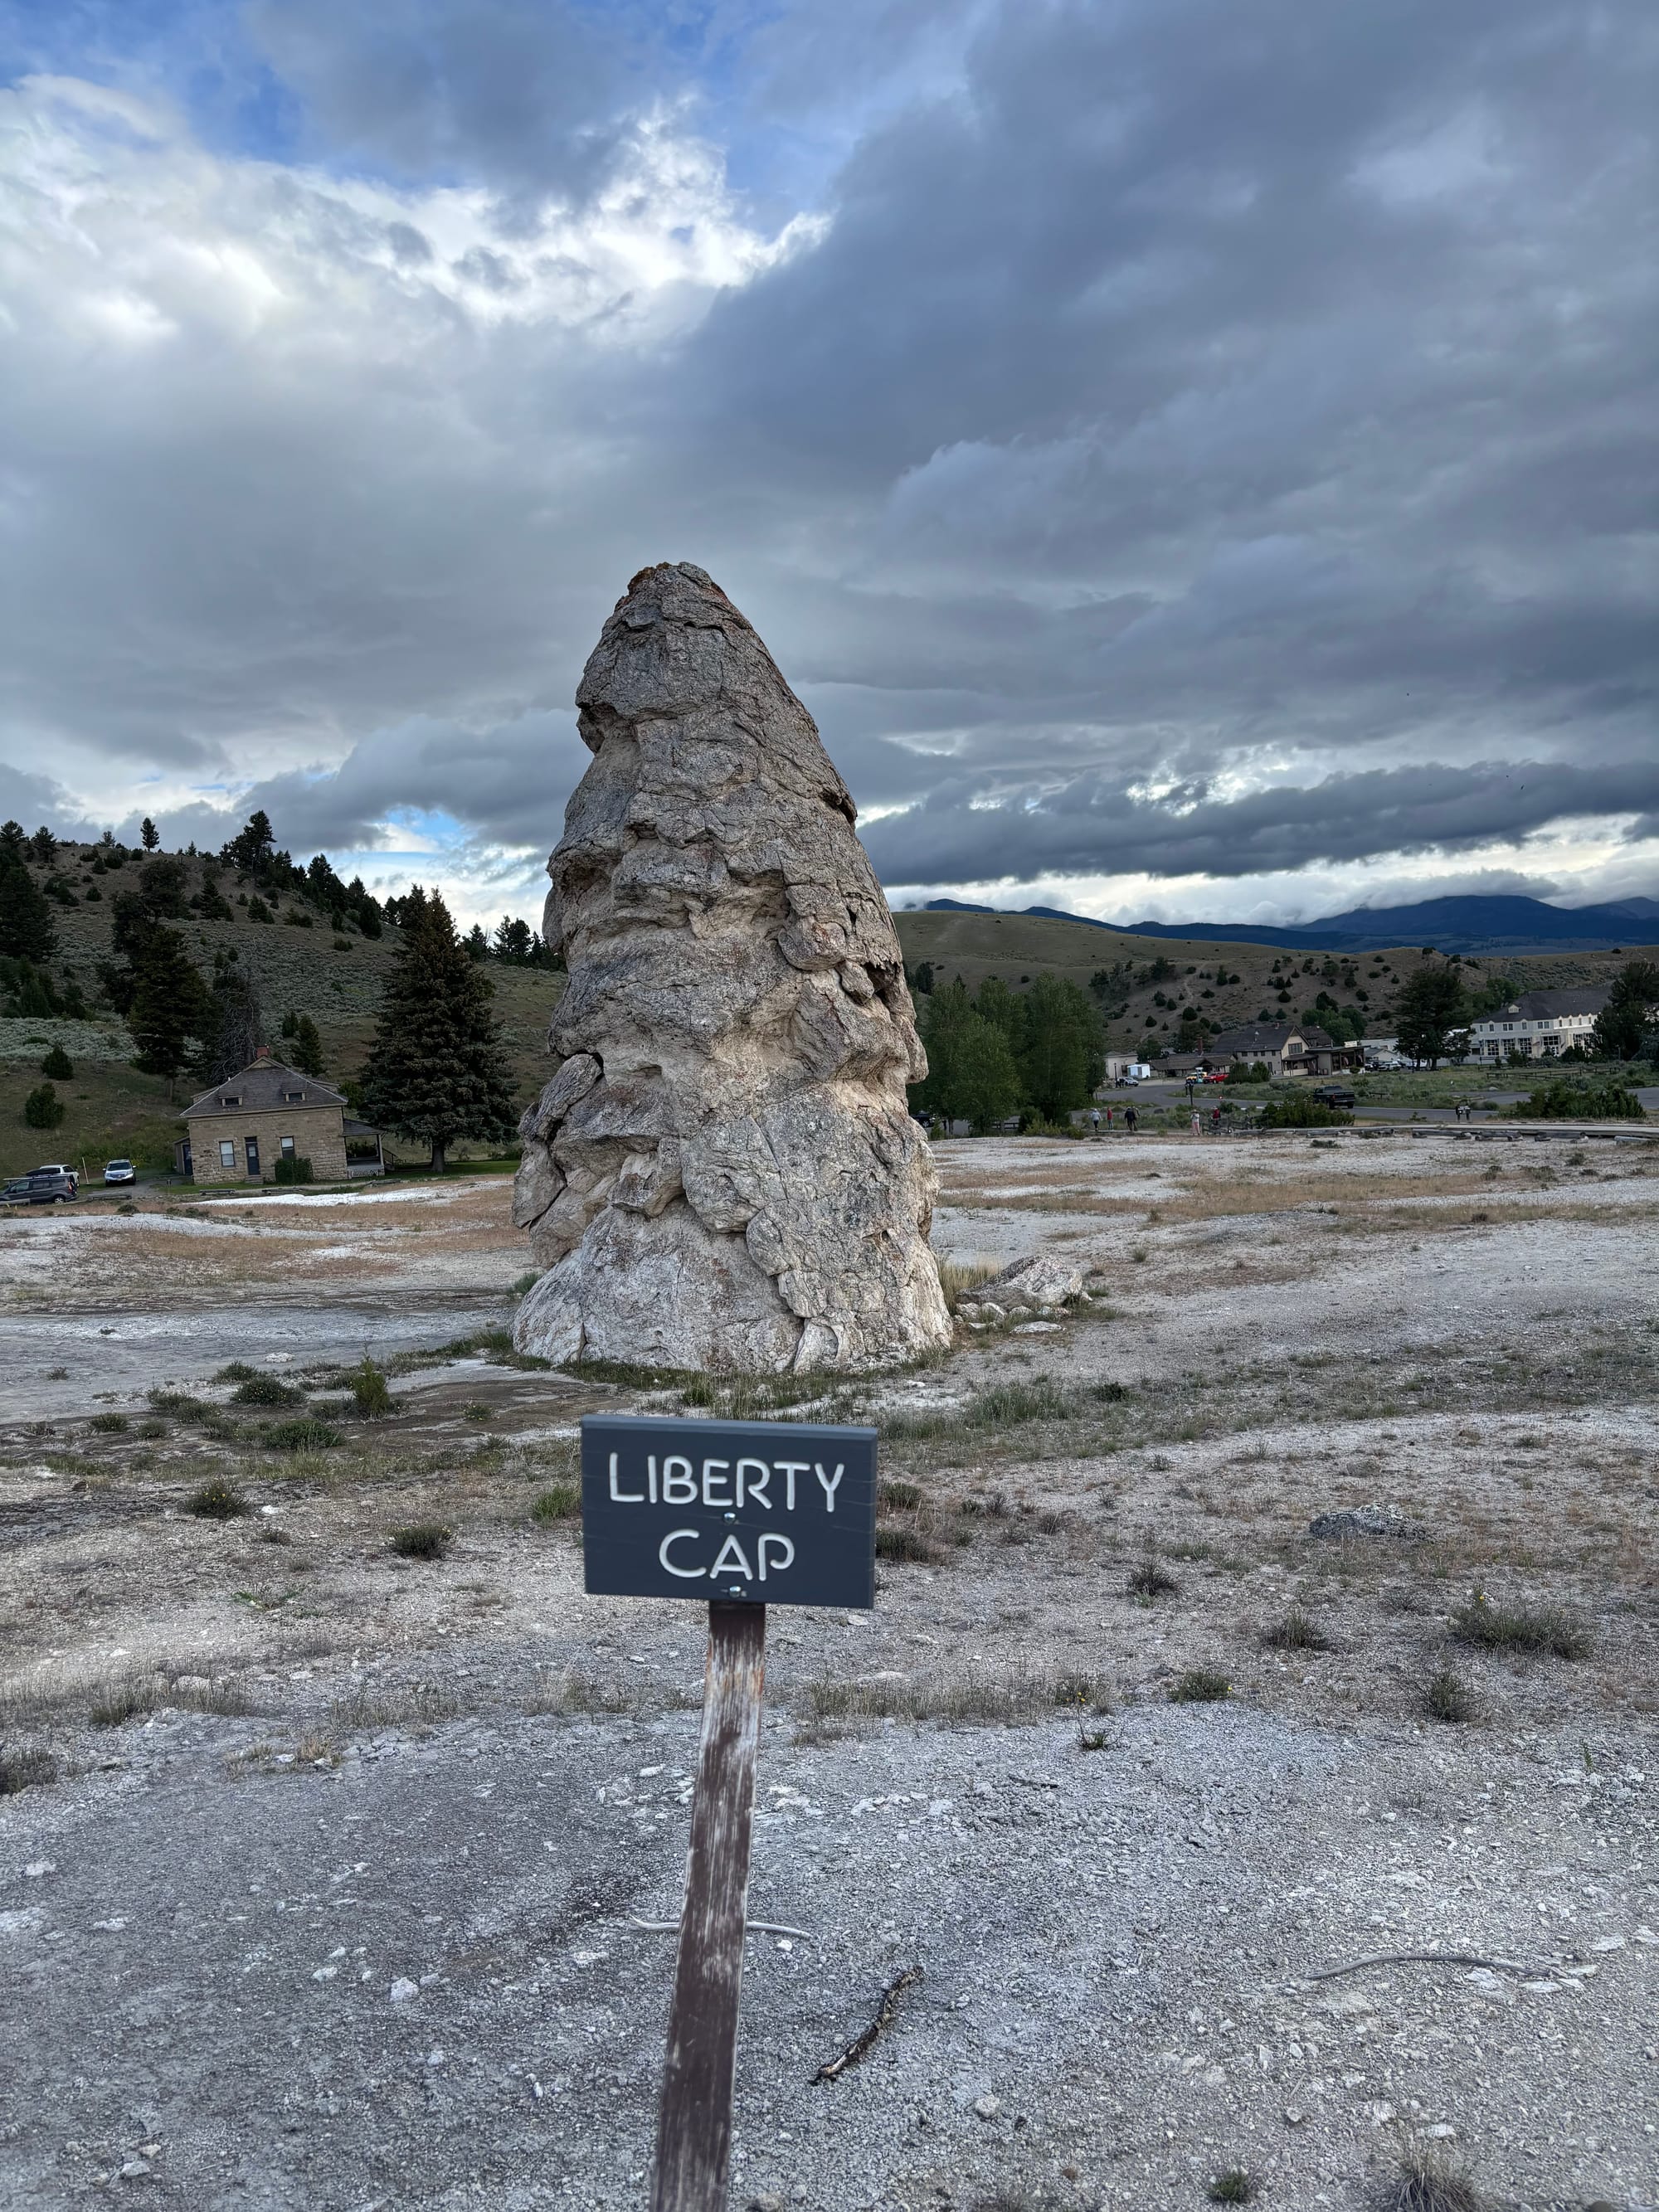
We checked out of our cabin and drove north to Mammoth Hot Springs. Because Mammoth is isolated at the far north end of the park, stopping here on your way out toward Bozeman is the most efficient route. It is a quick, easy stop that only takes a couple of hours.


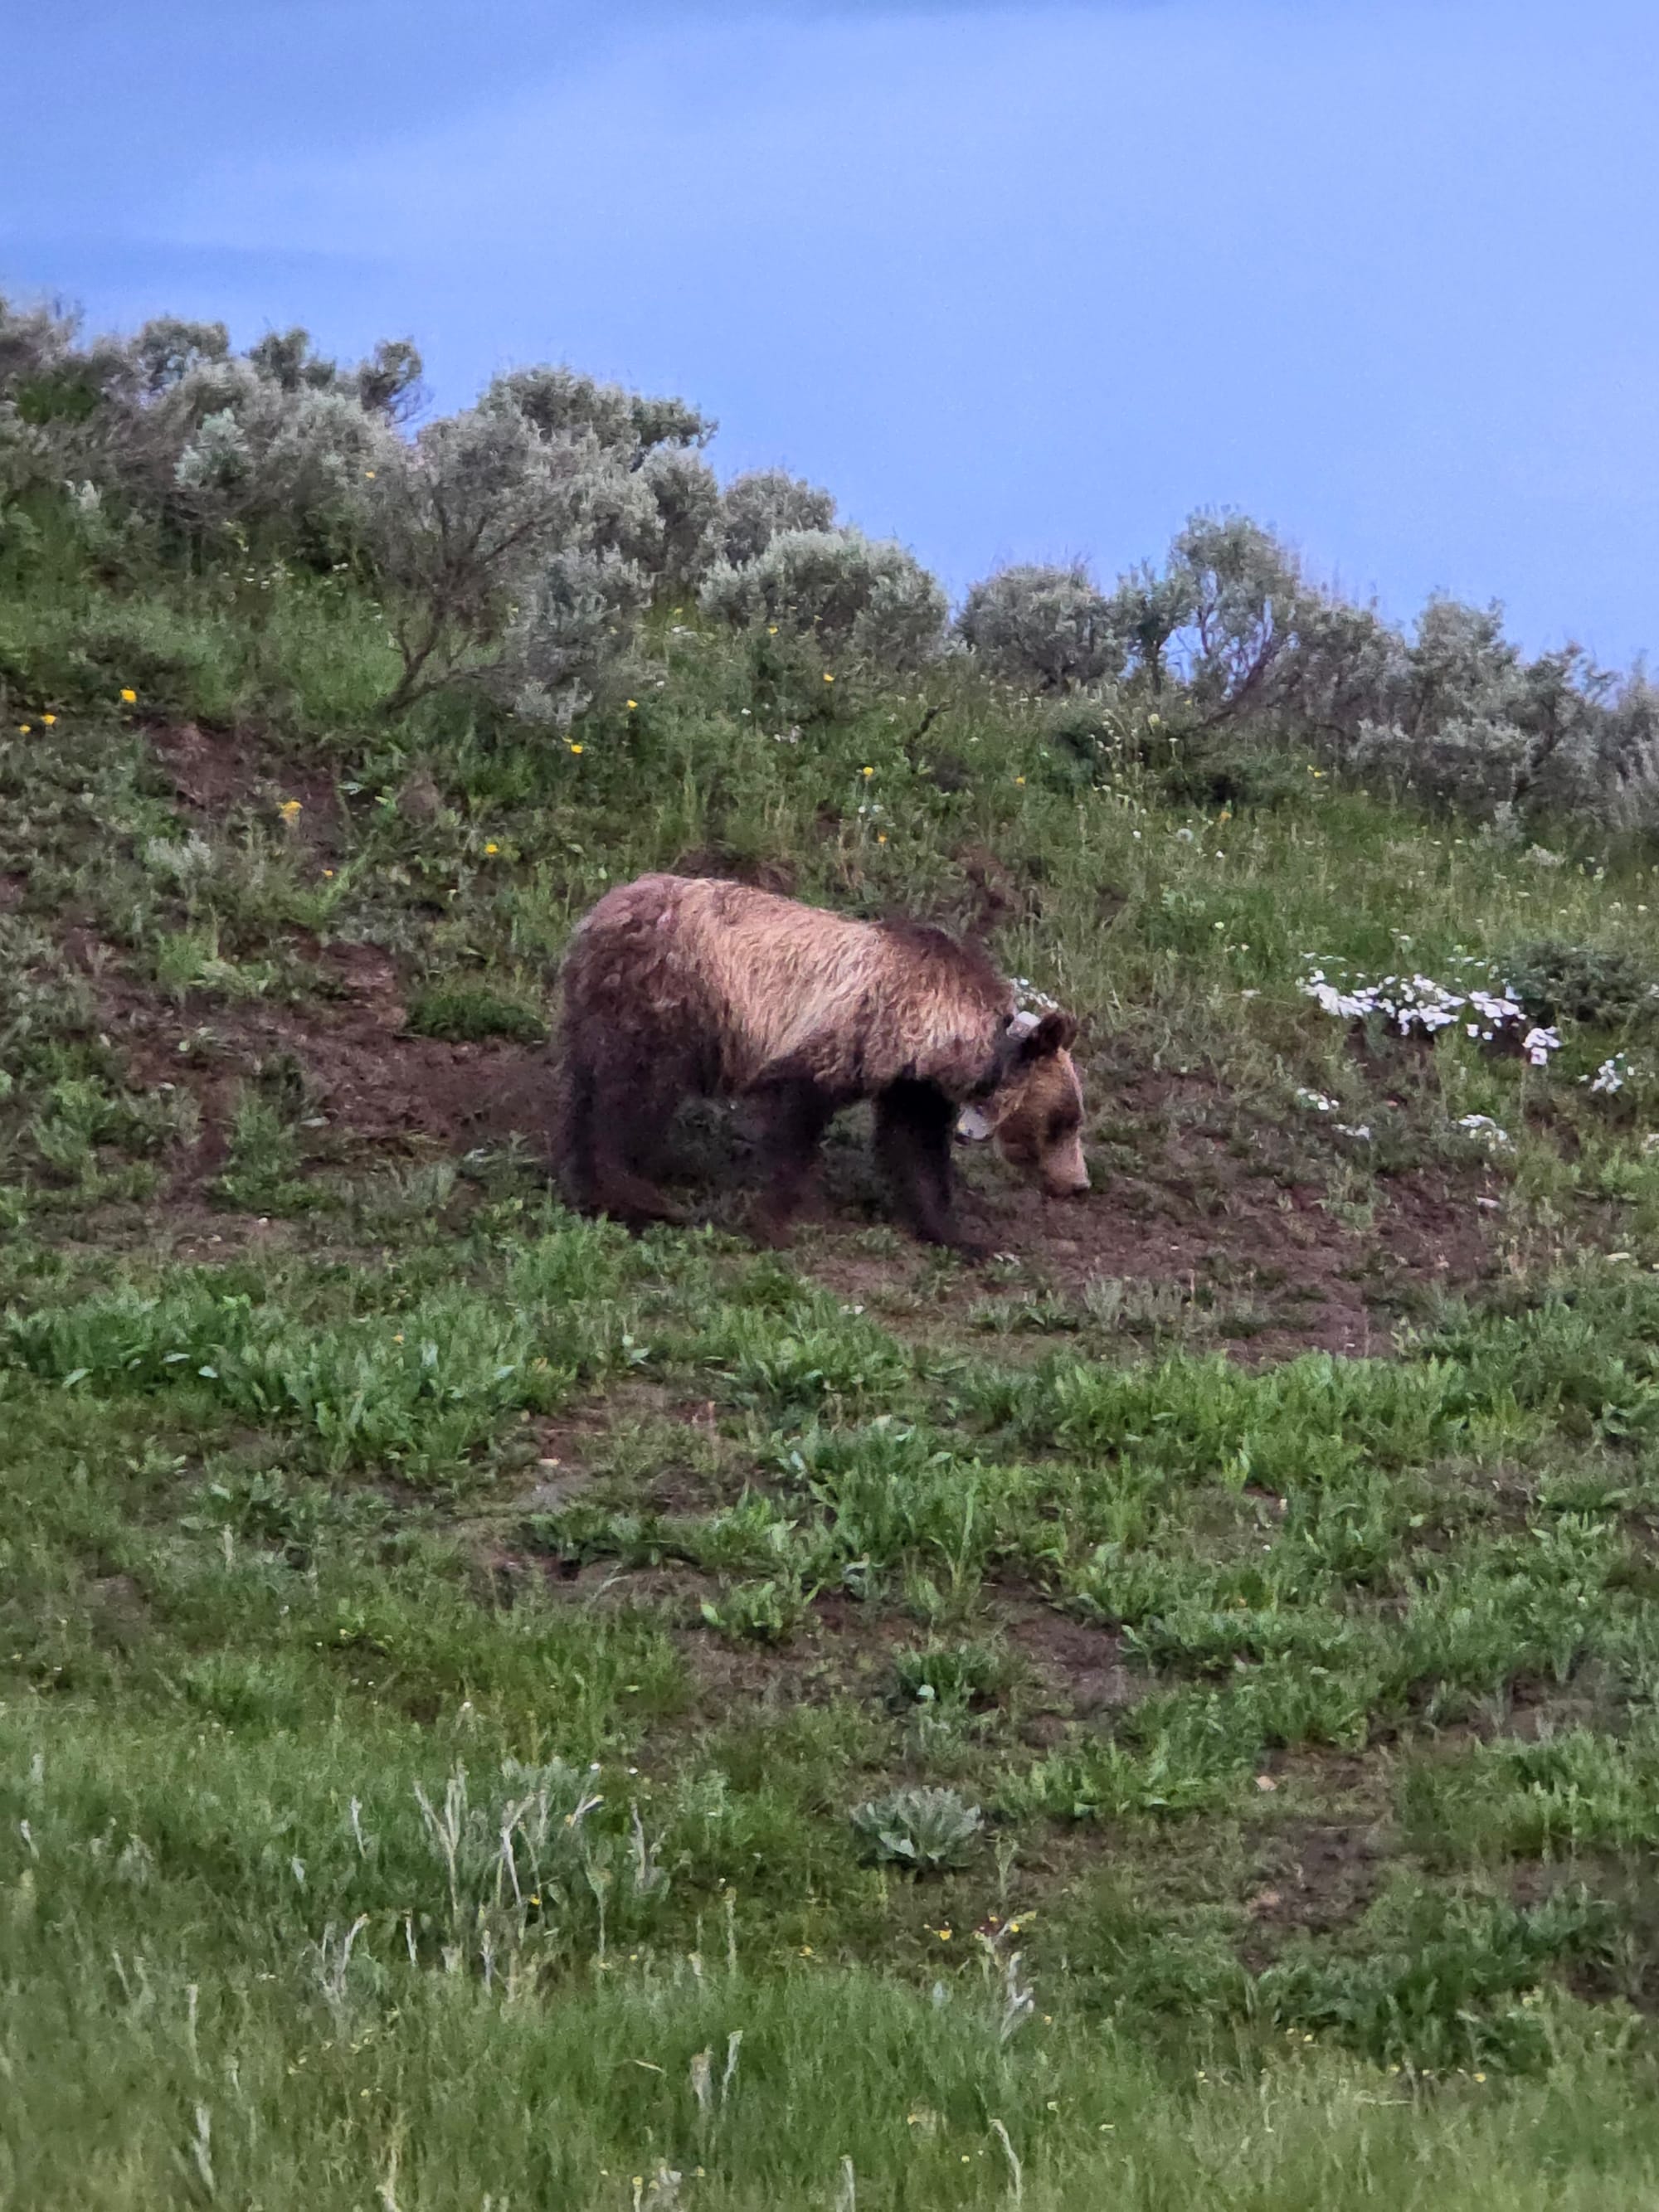
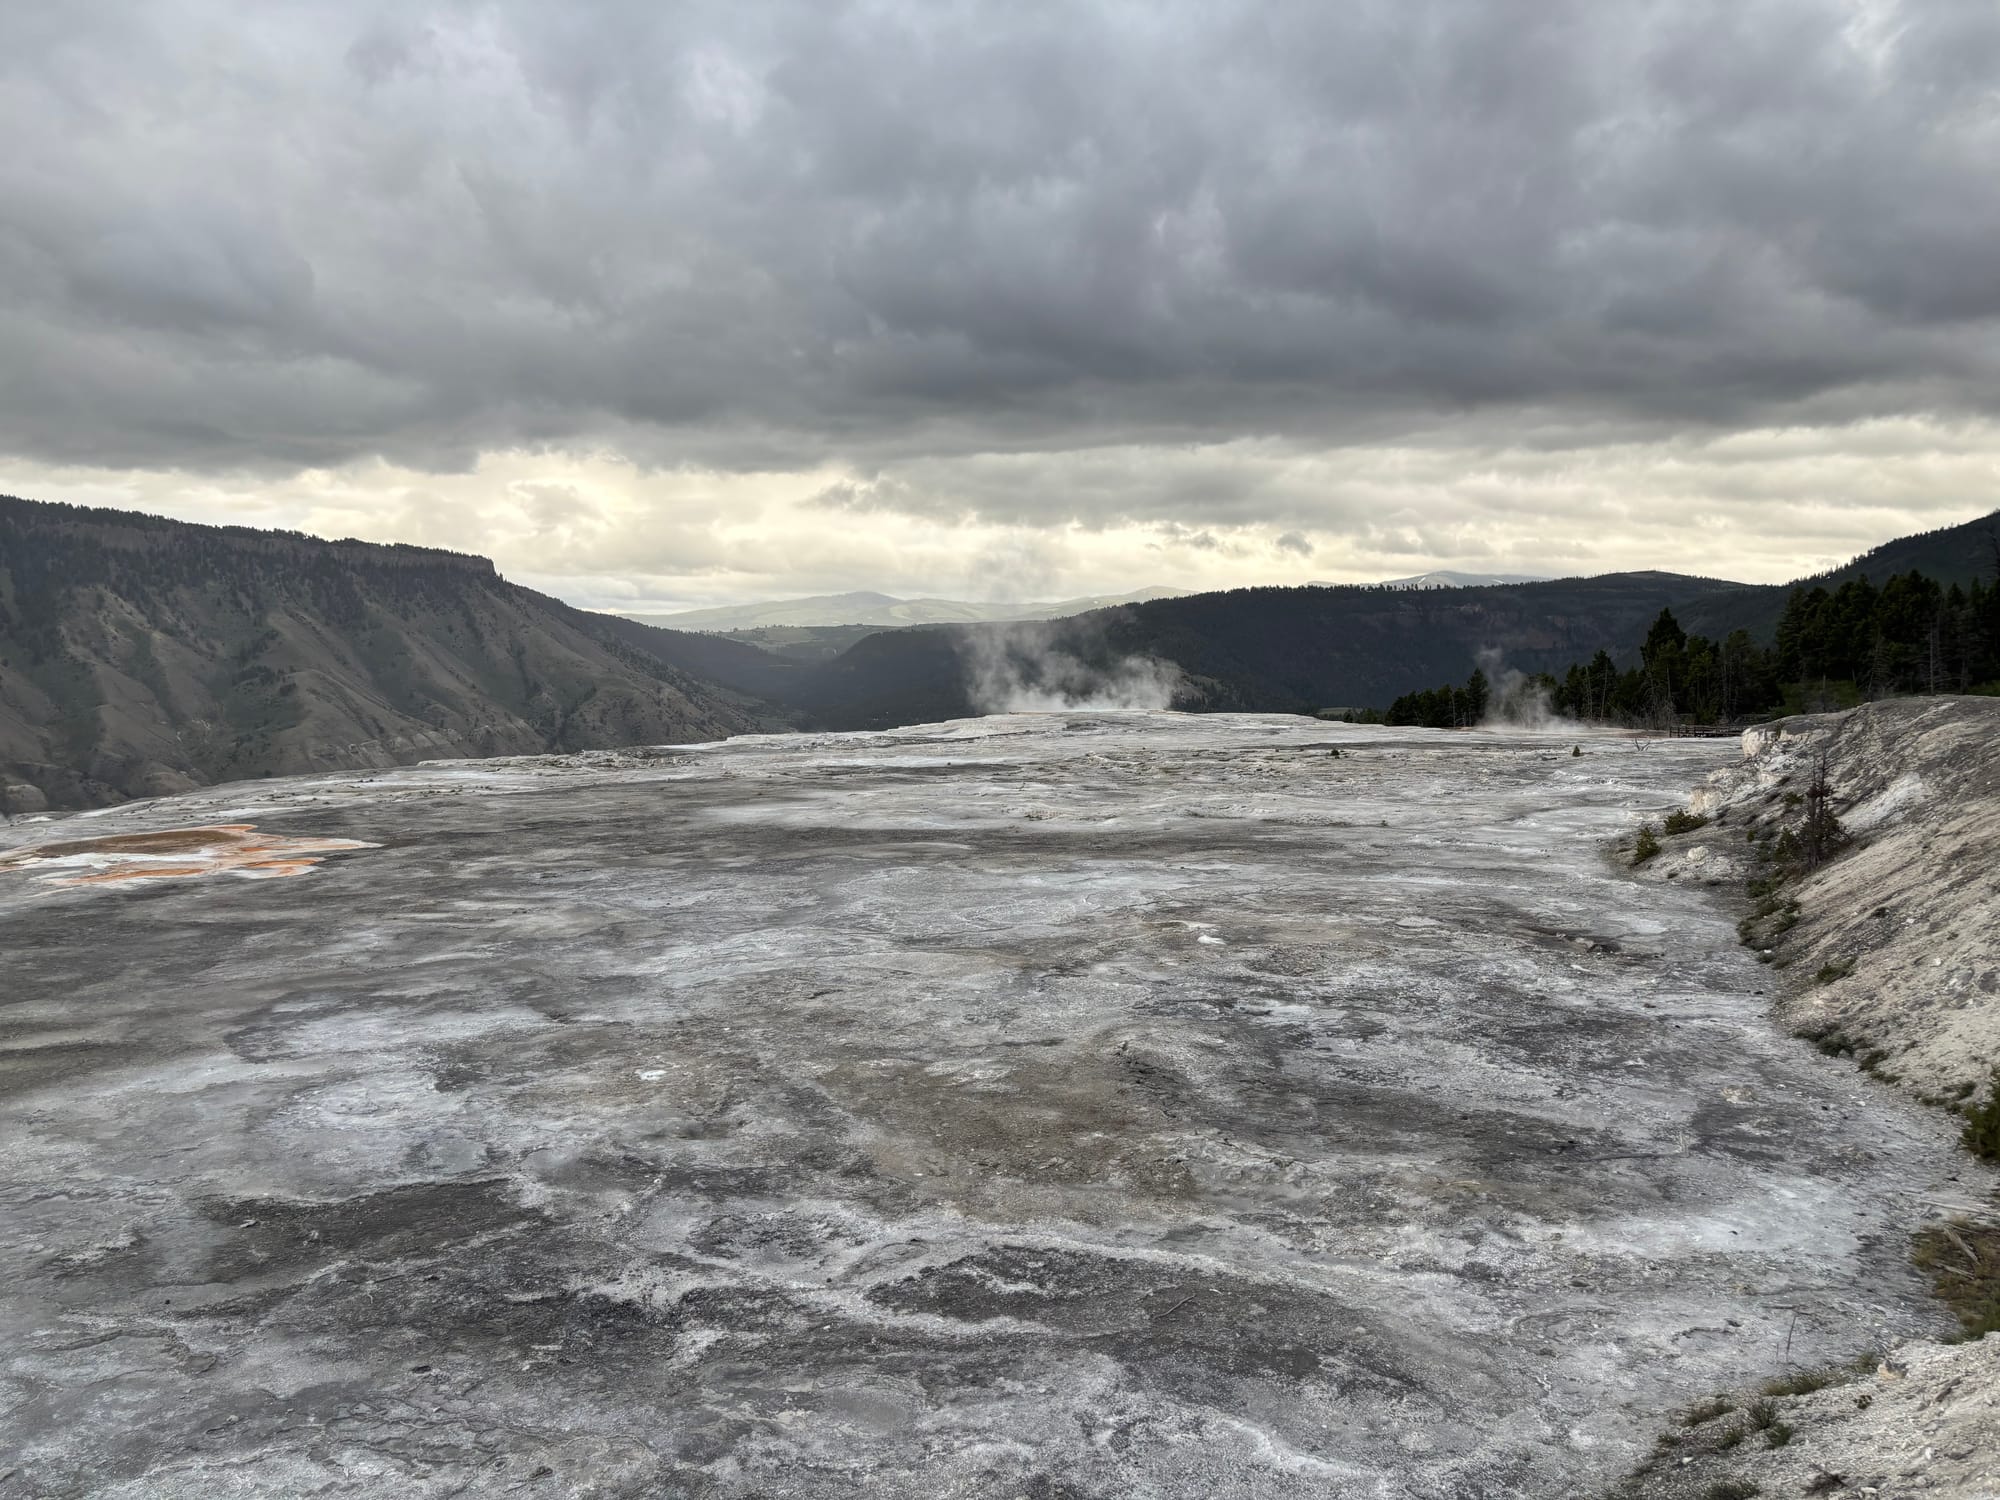
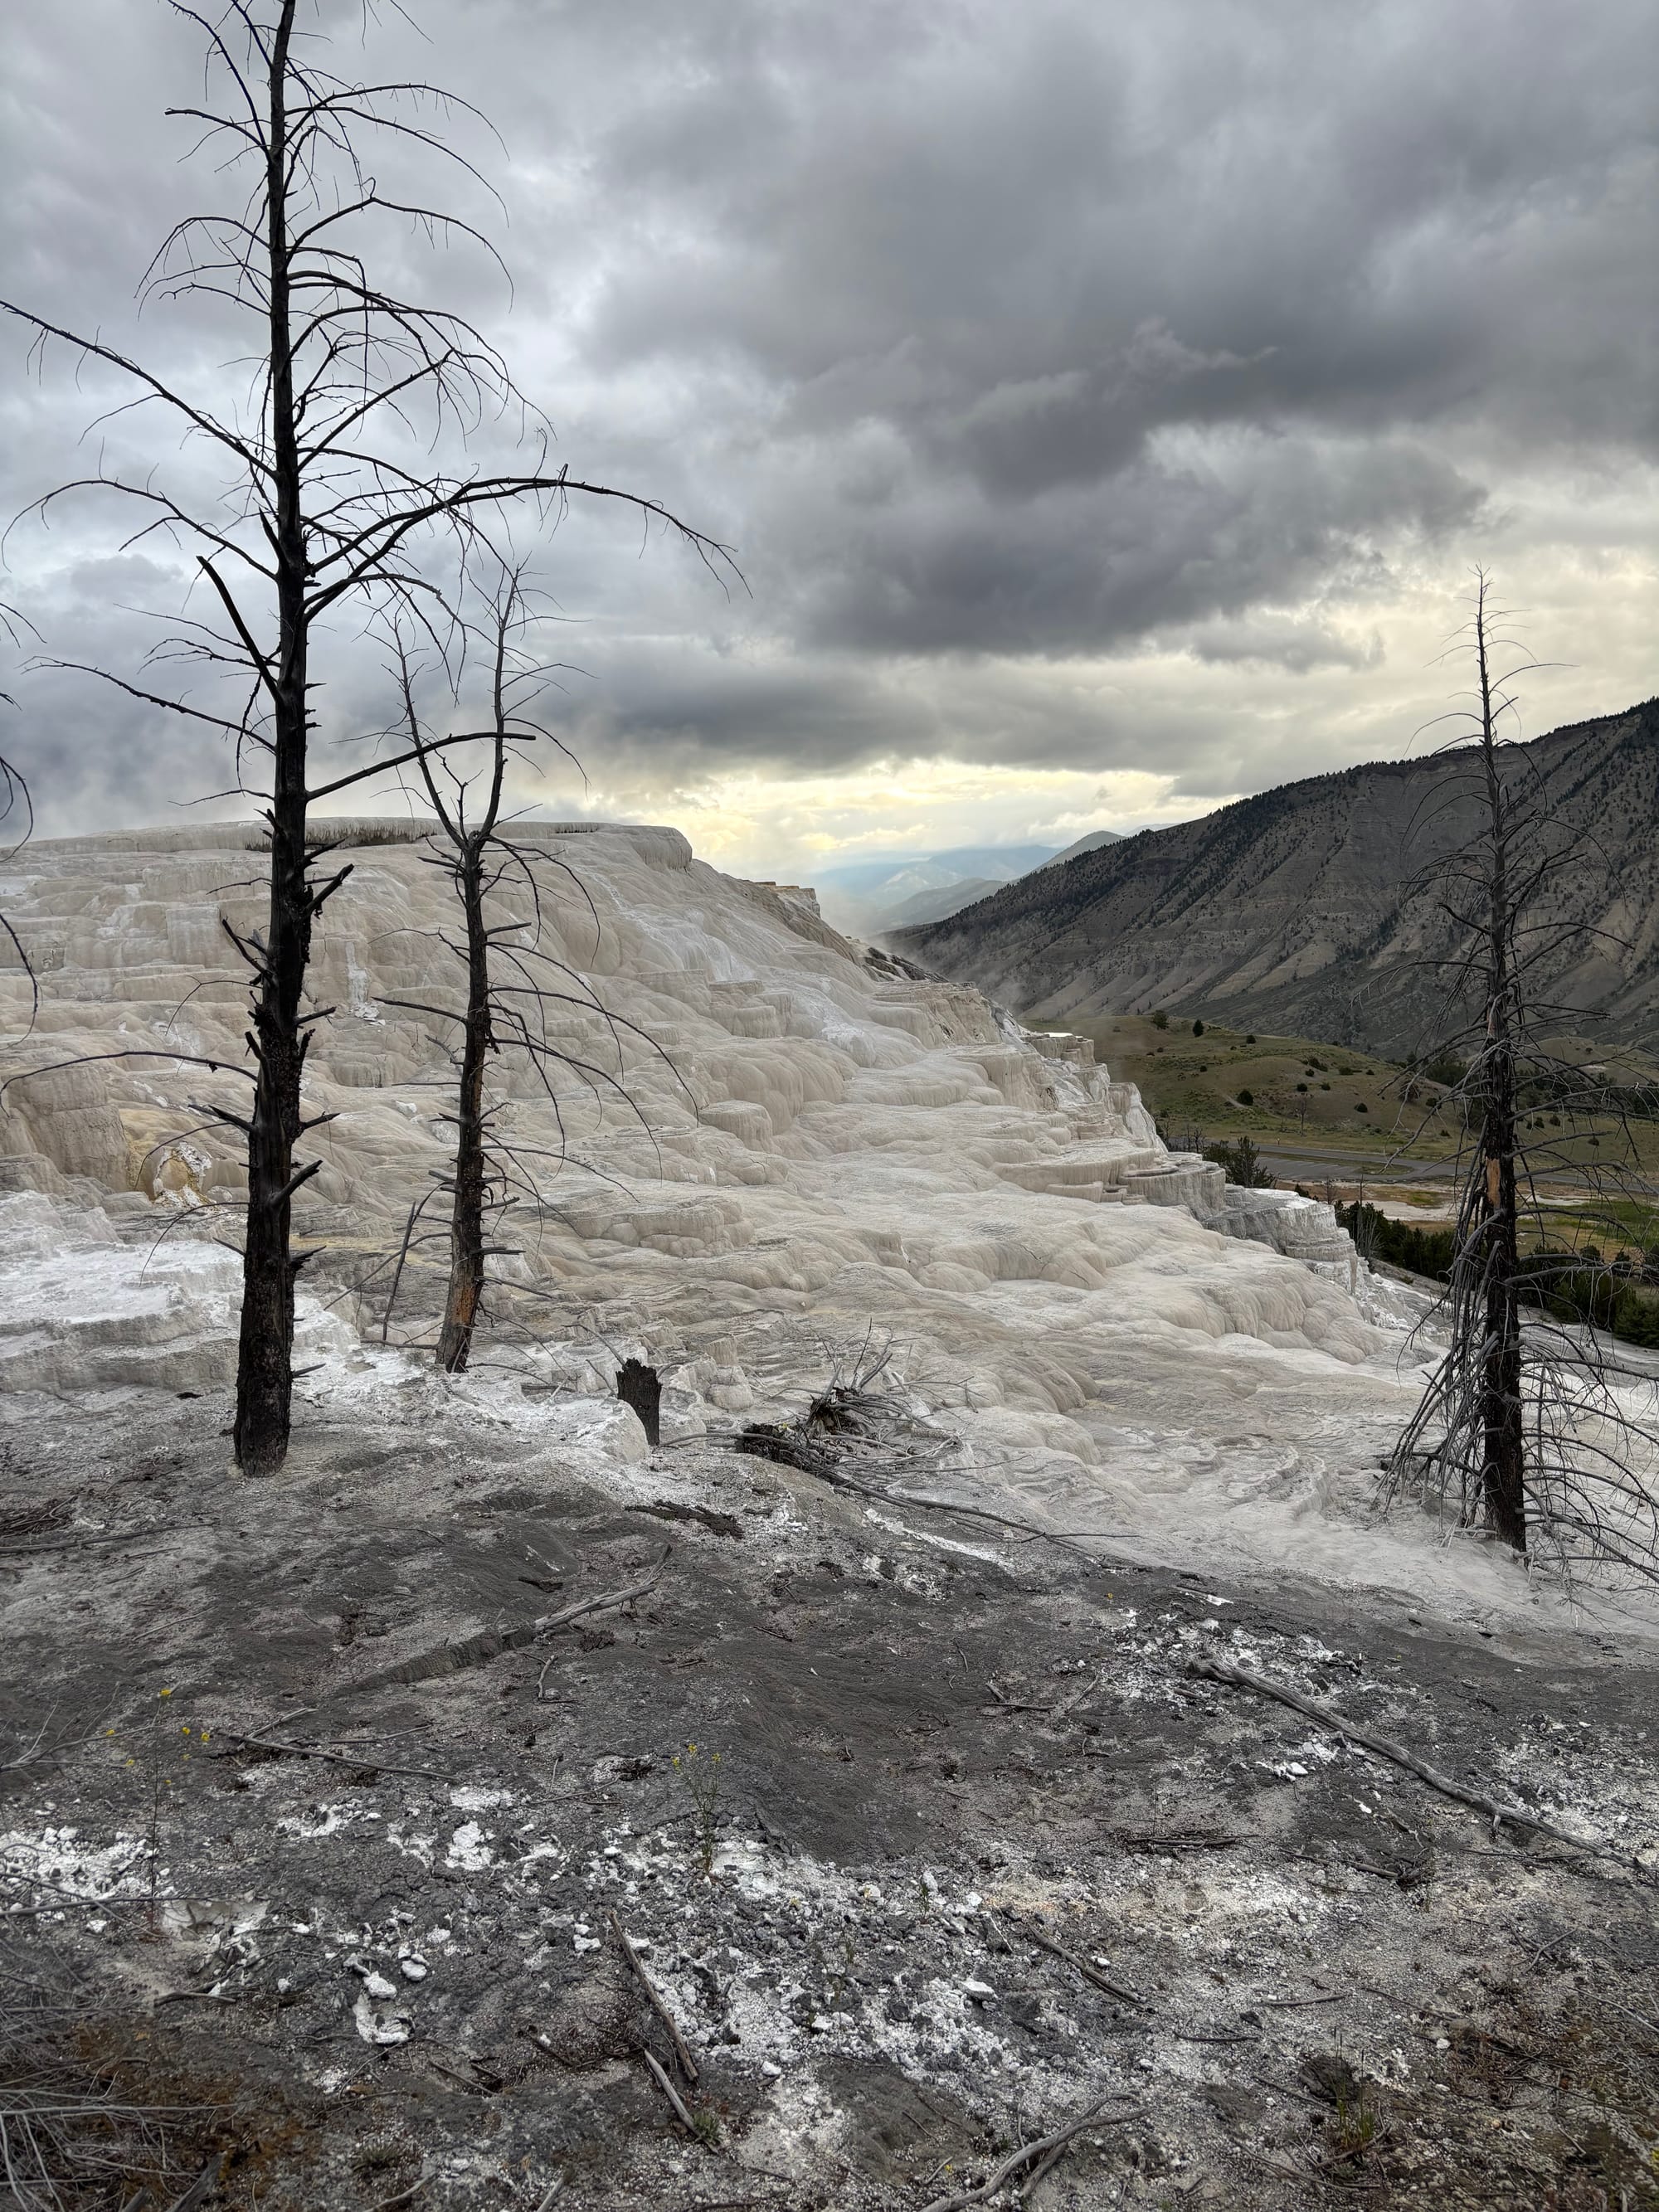

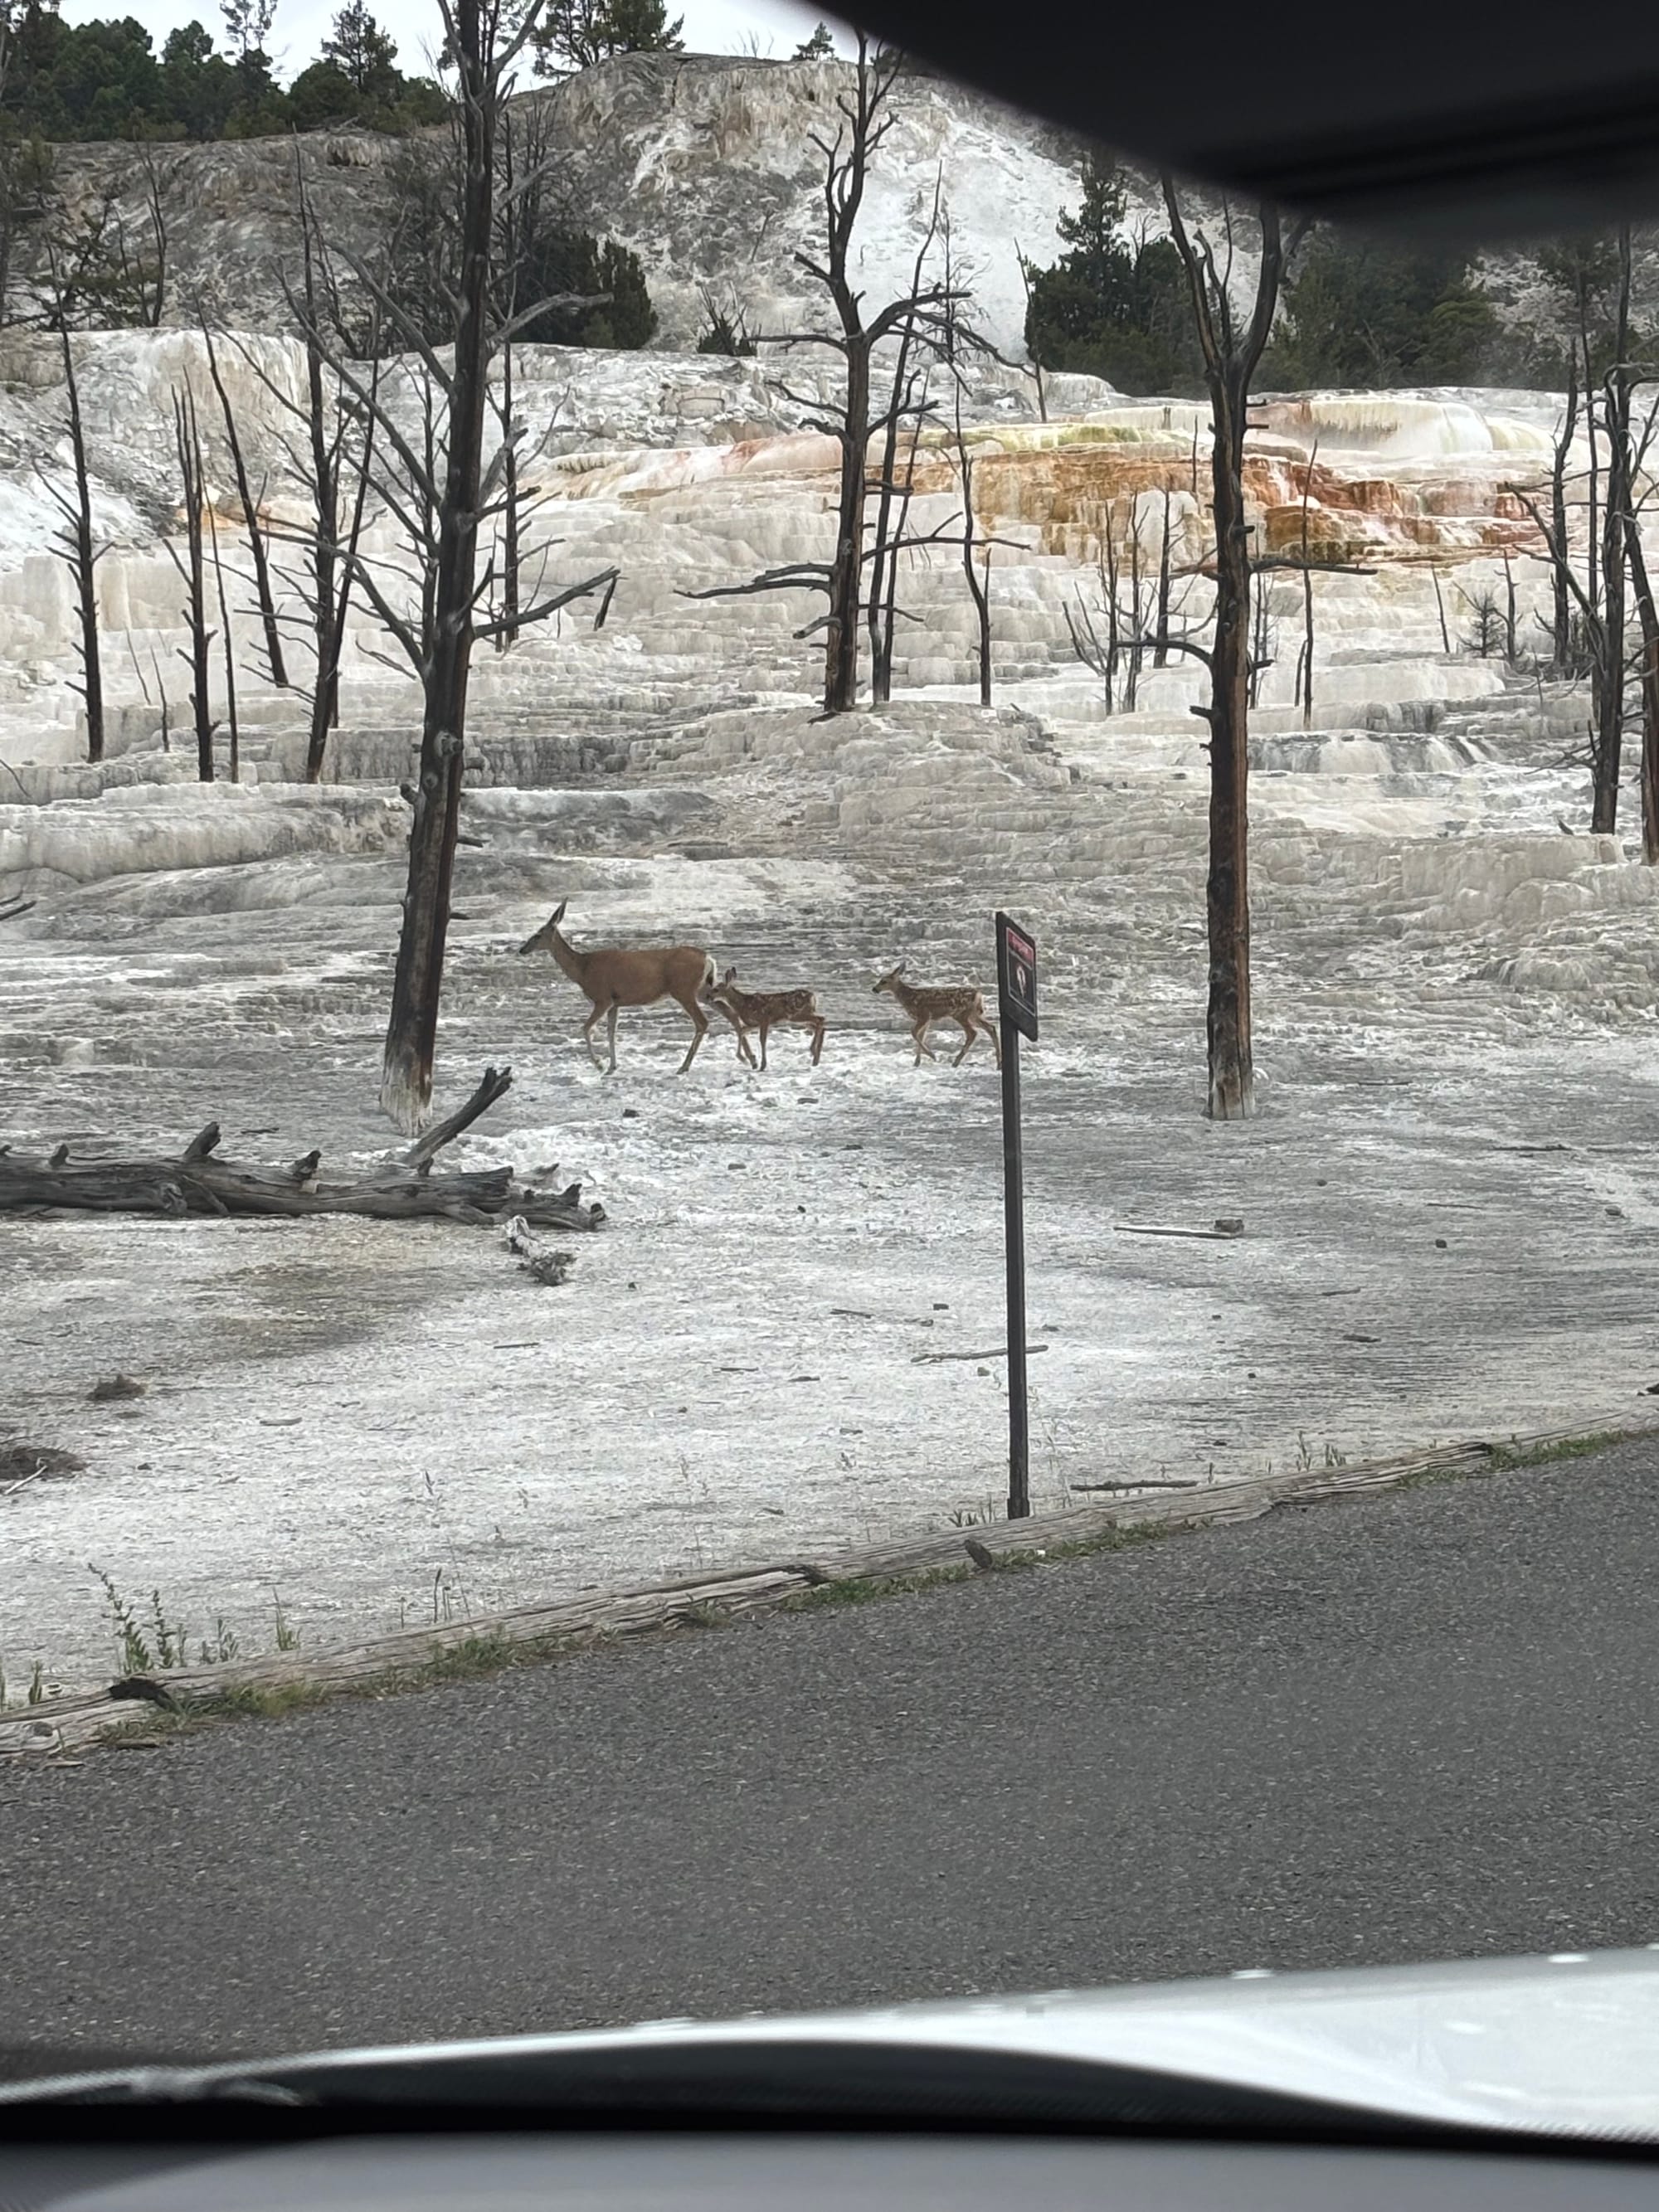
Upper Terraces (and a bear on the way there)
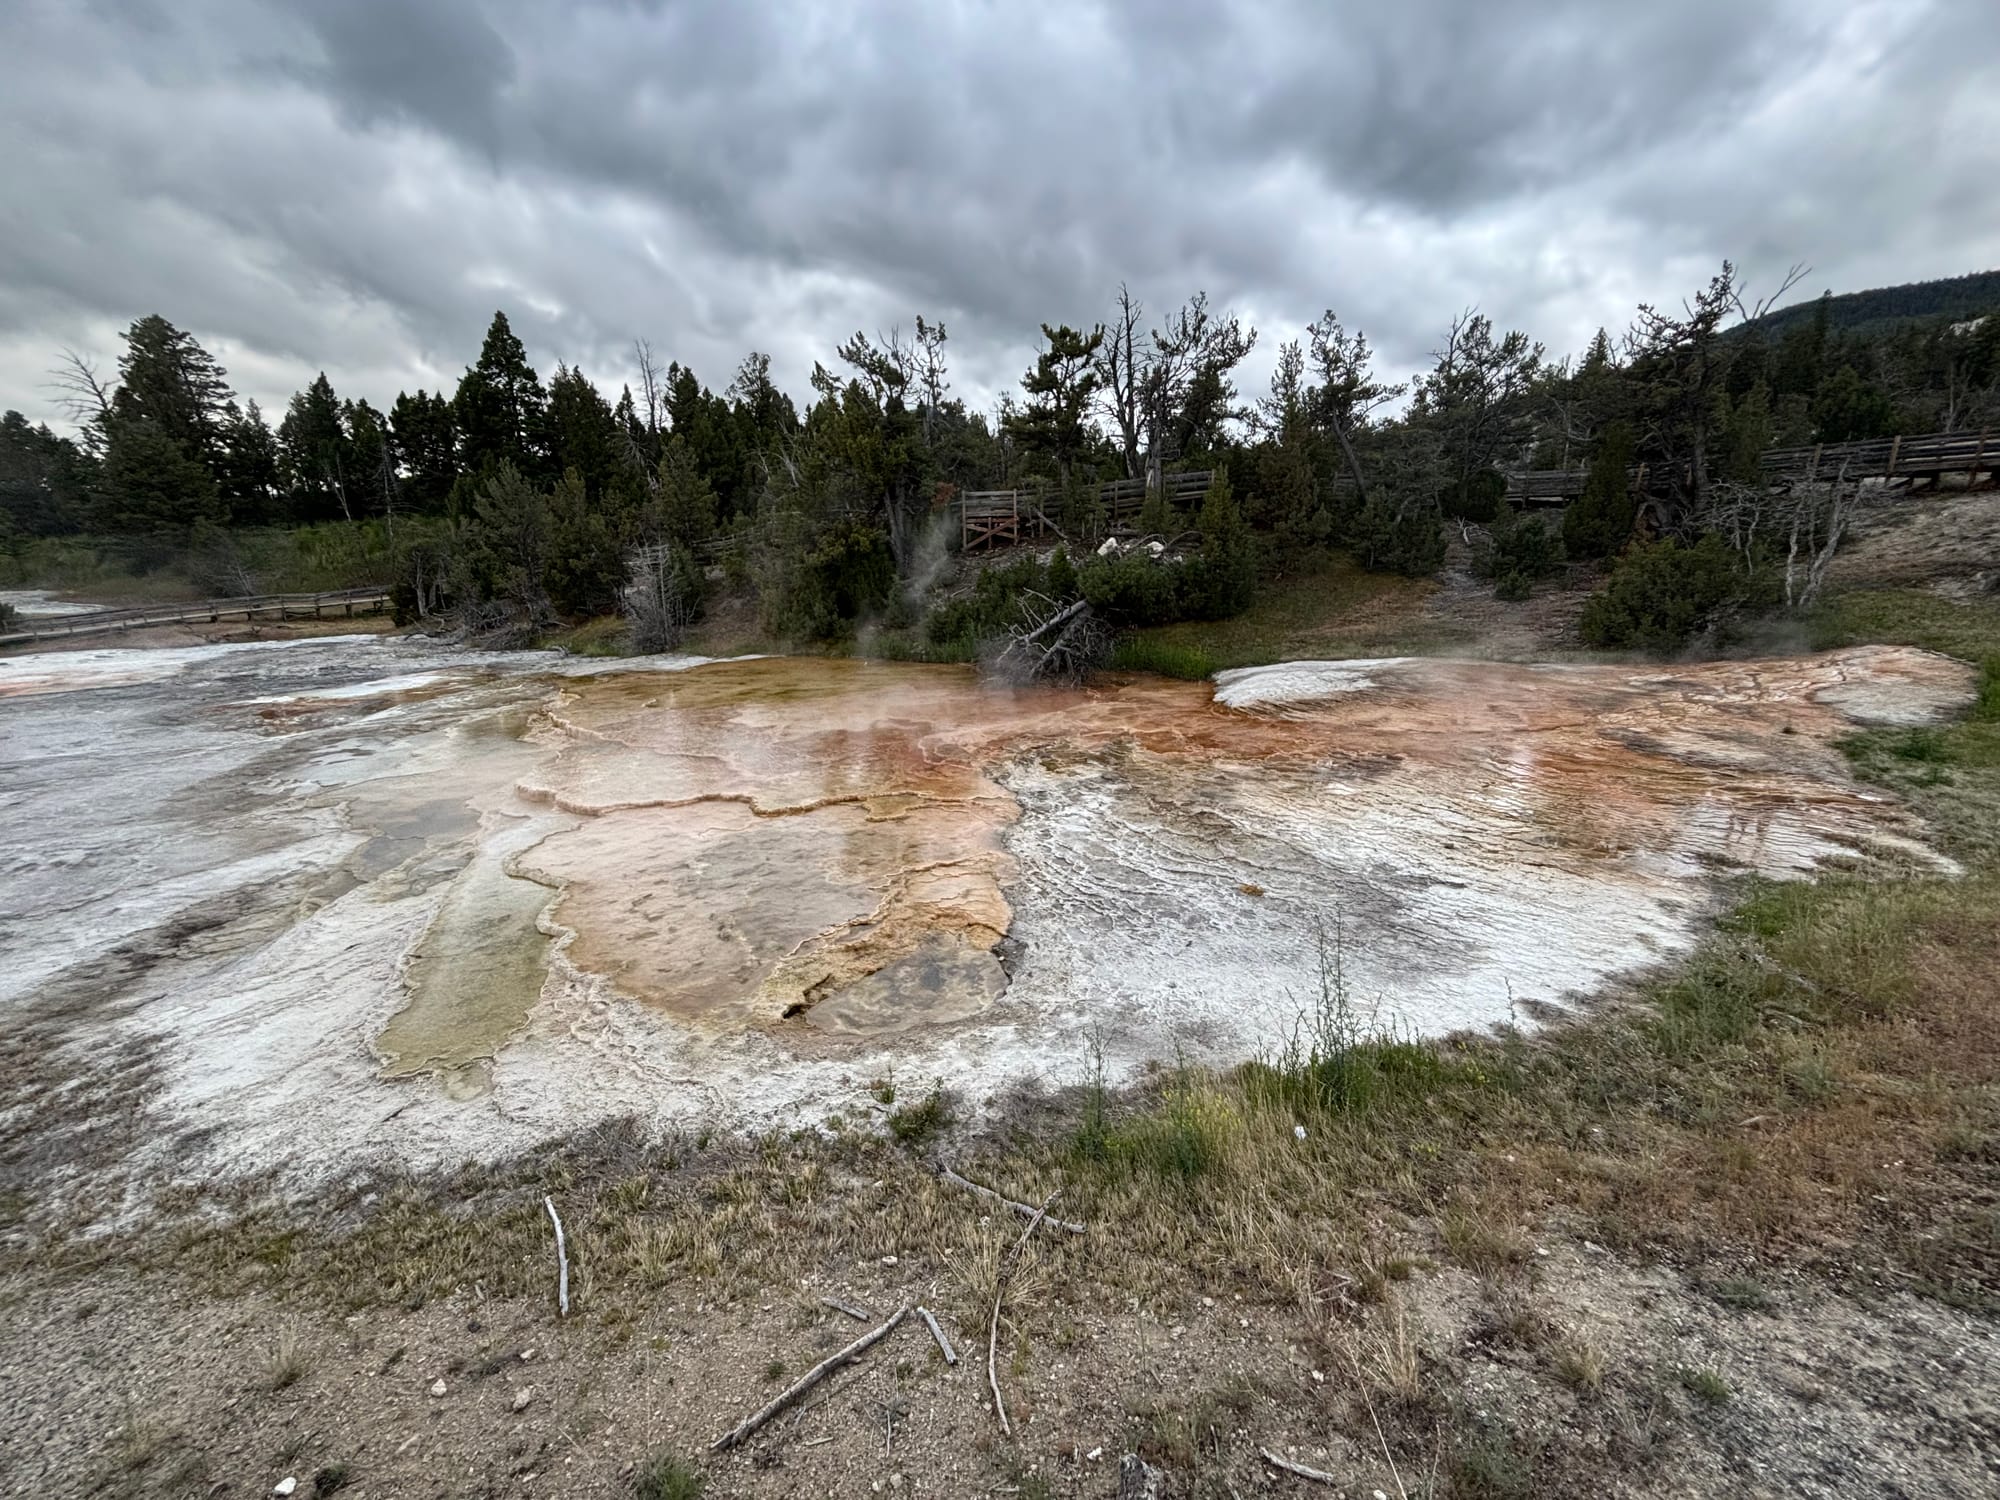
Arriving early in the morning meant we saw tons of elk walking around the travertine formations. Some were even laying directly on the warm terraces to heat themselves. We also stopped at the Albright Visitor Center and drove past the historic stone houses of Fort Yellowstone, which are cool to appreciate from the road.
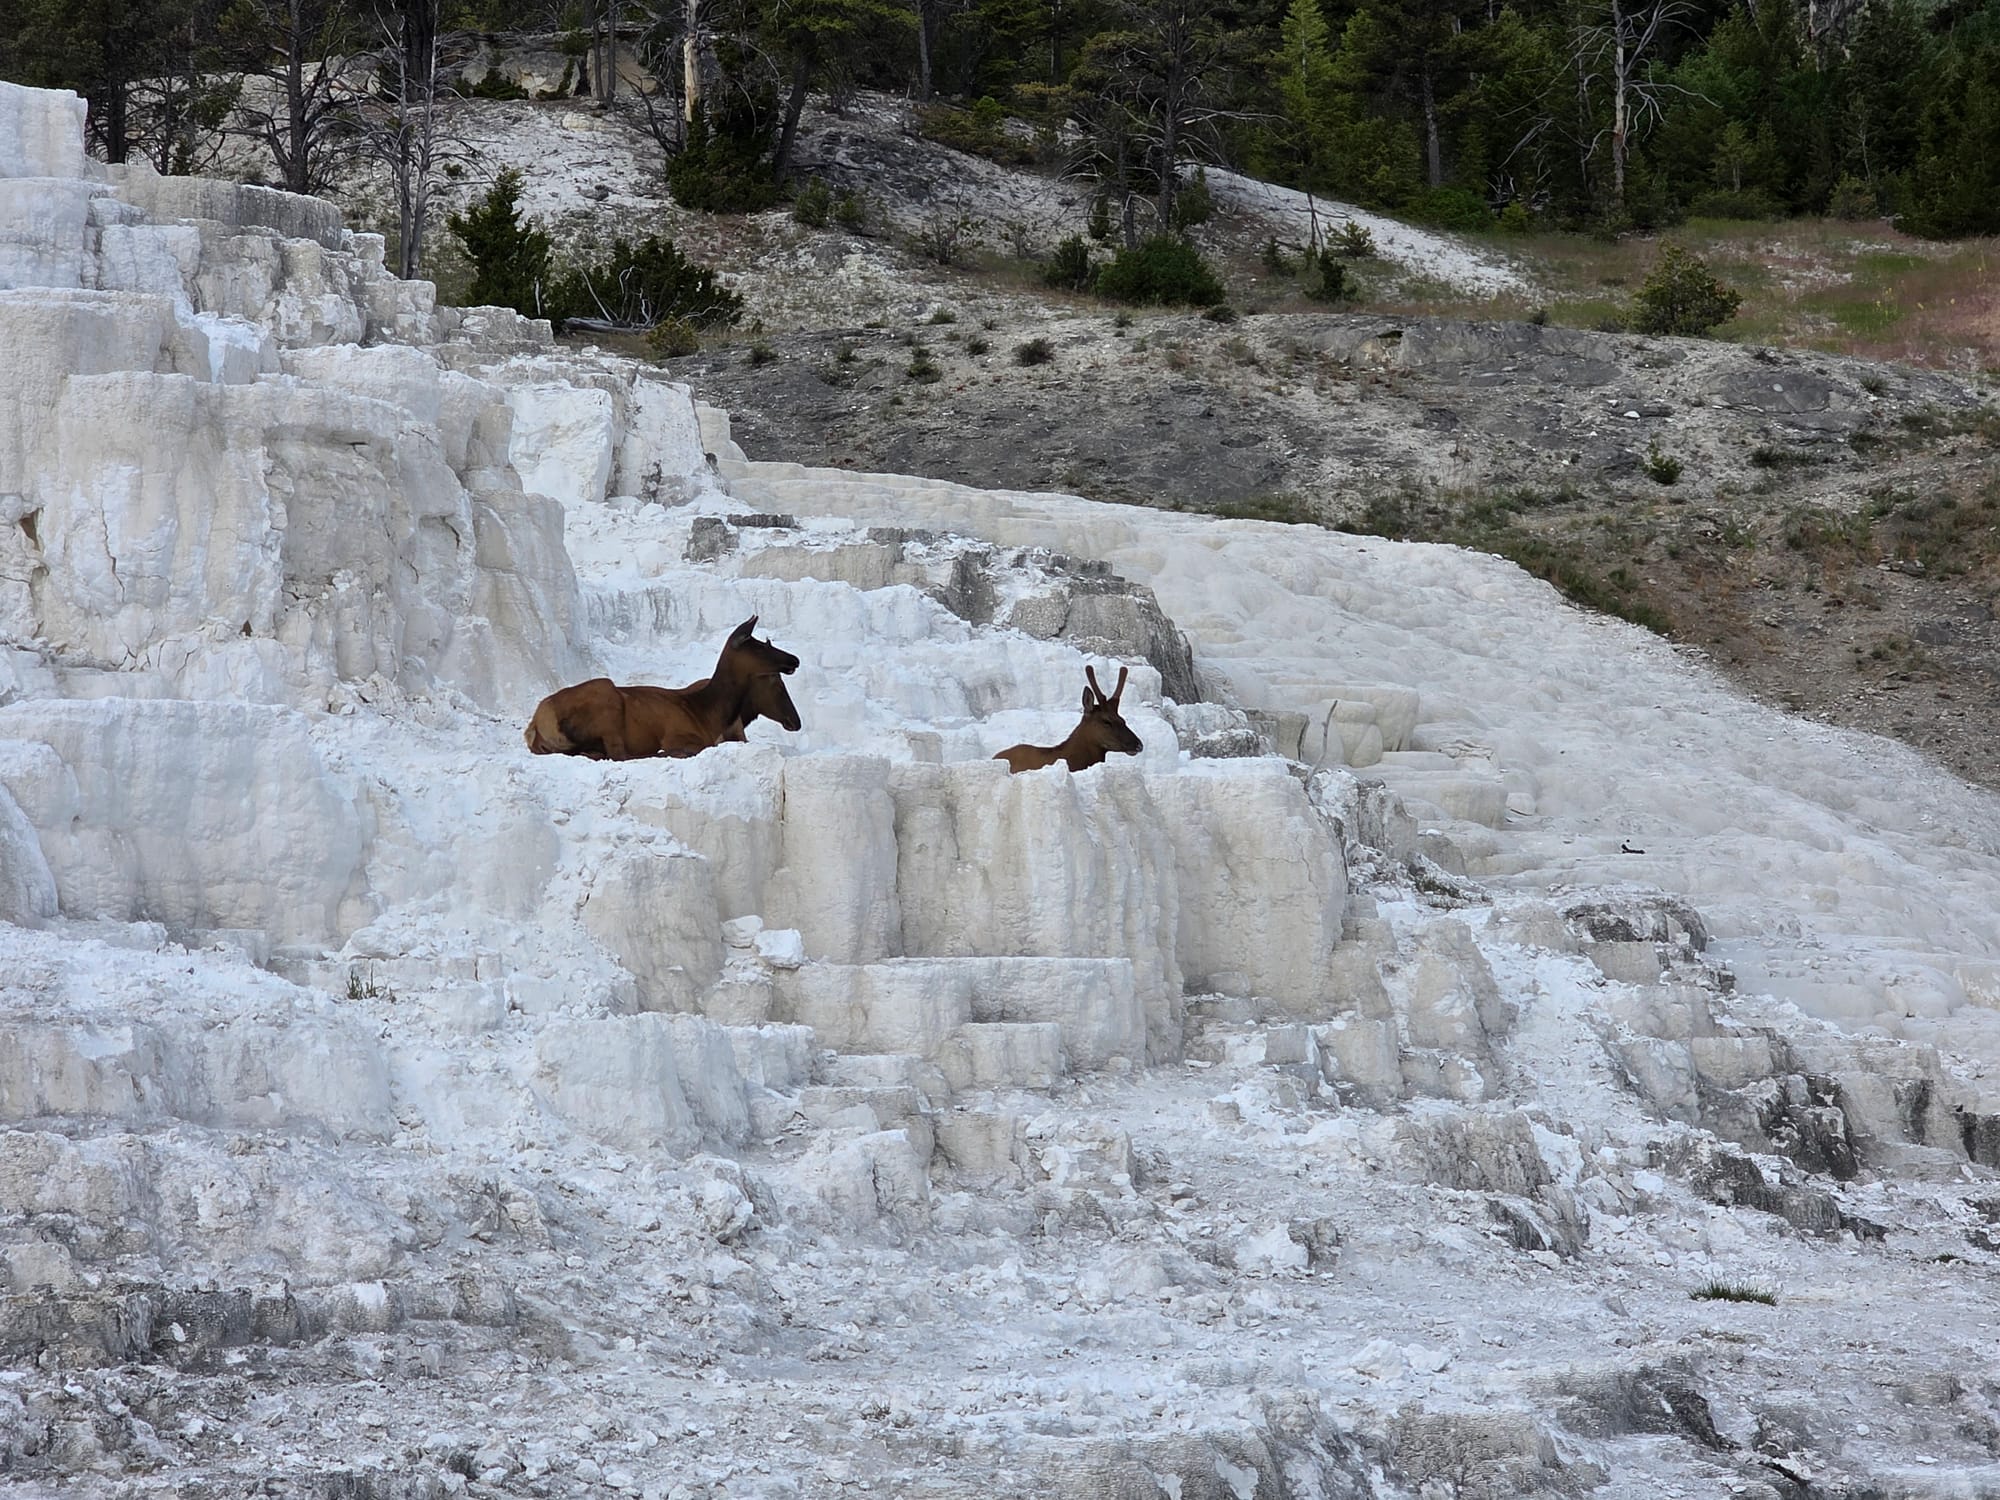
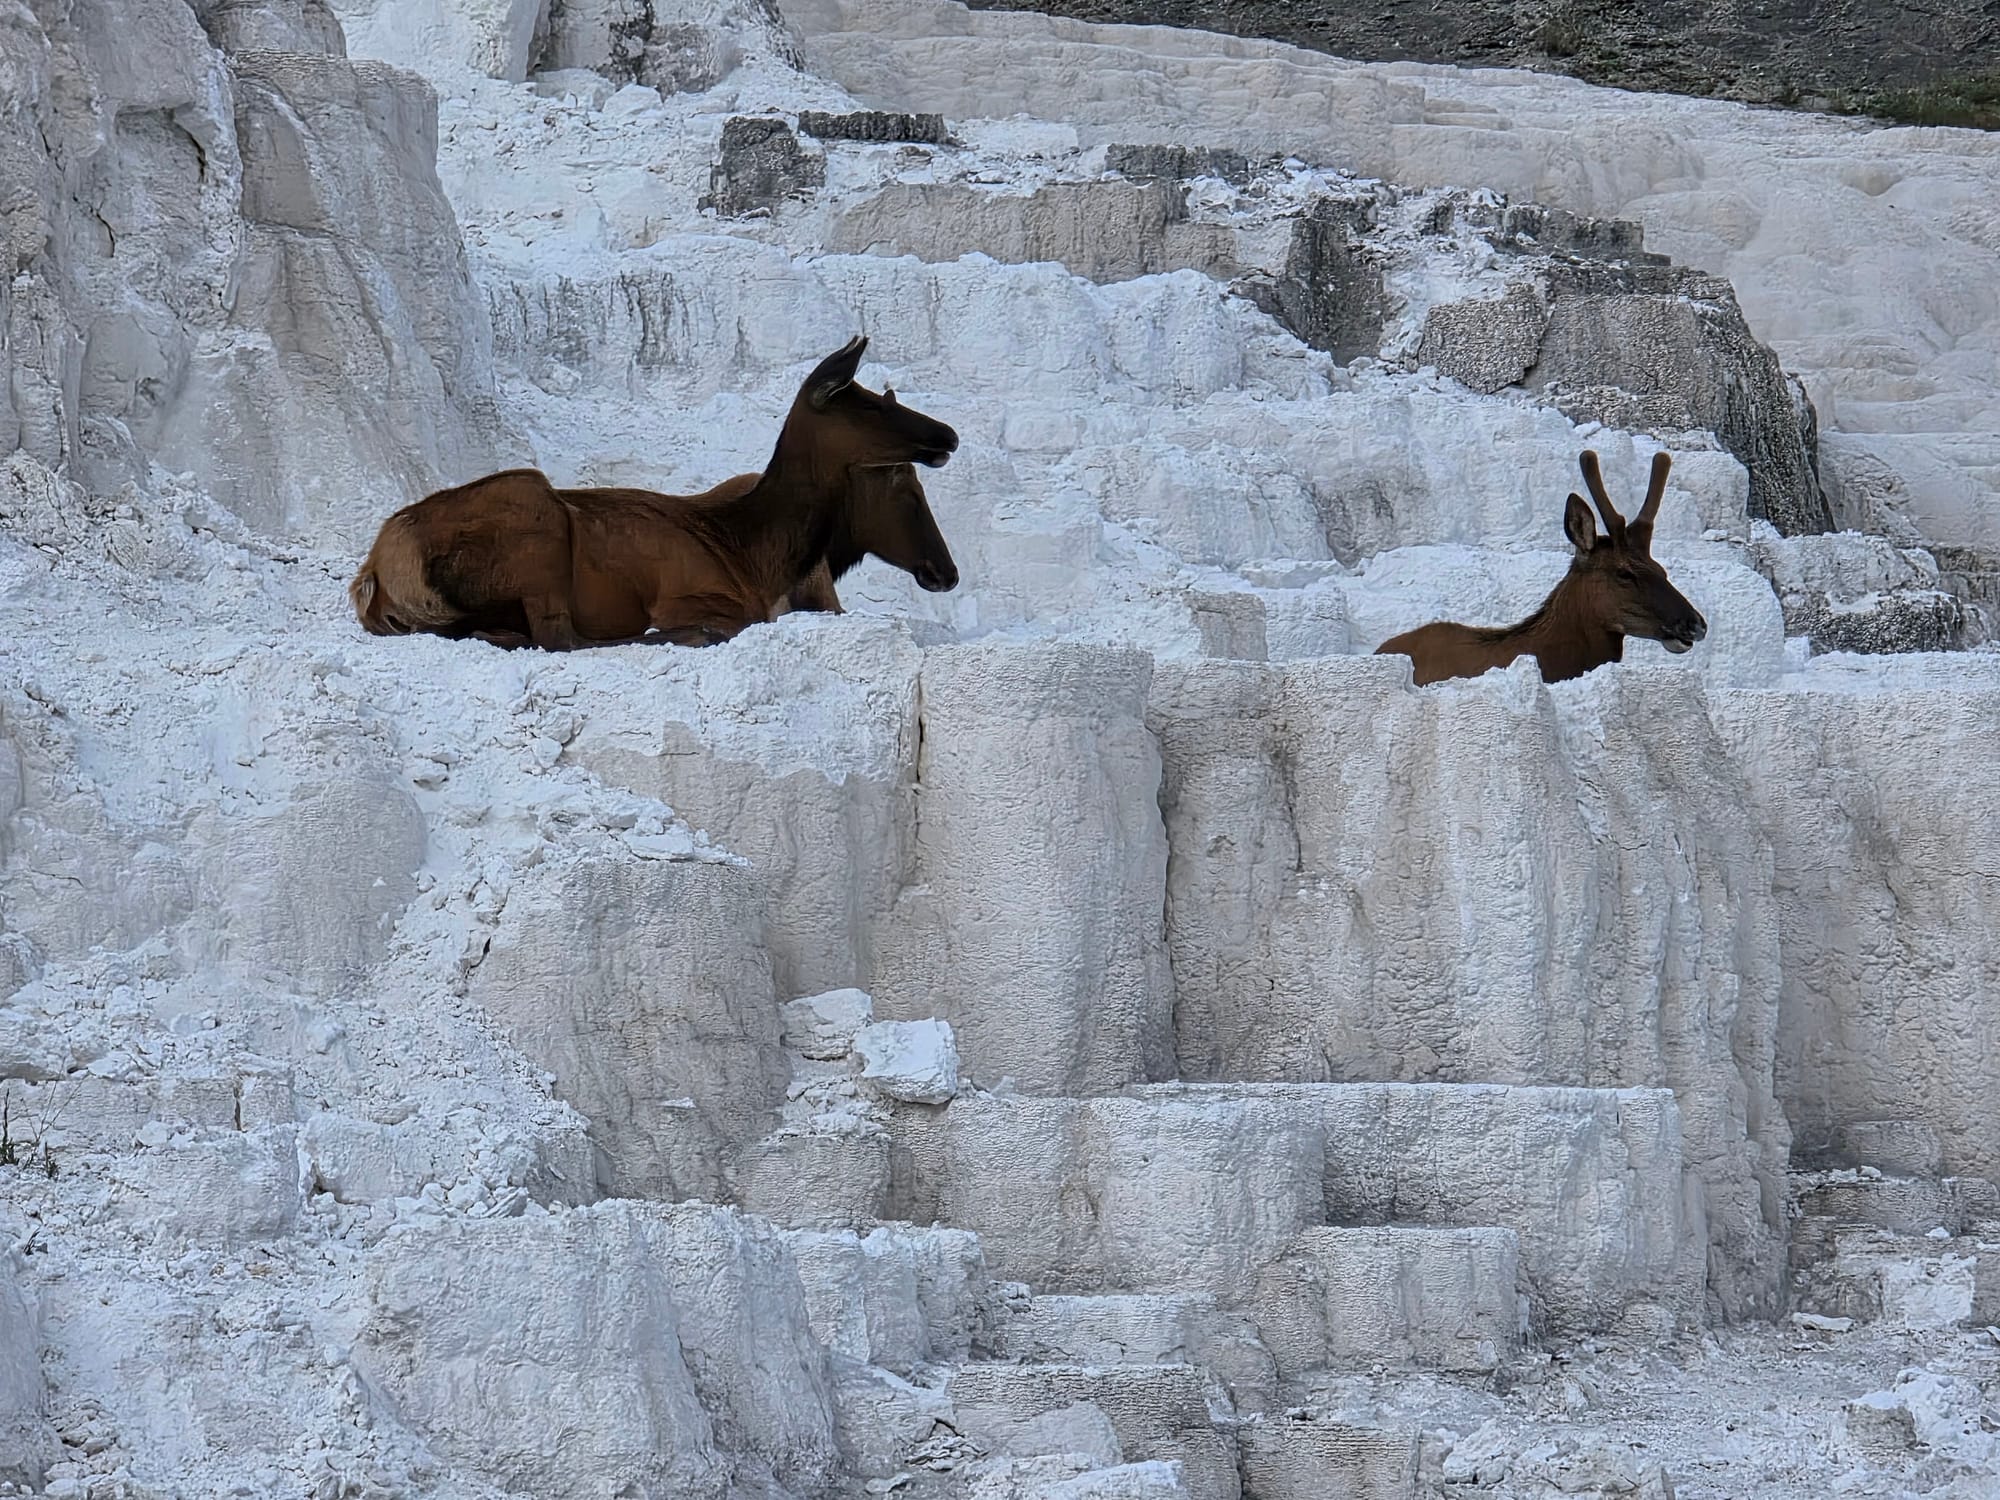
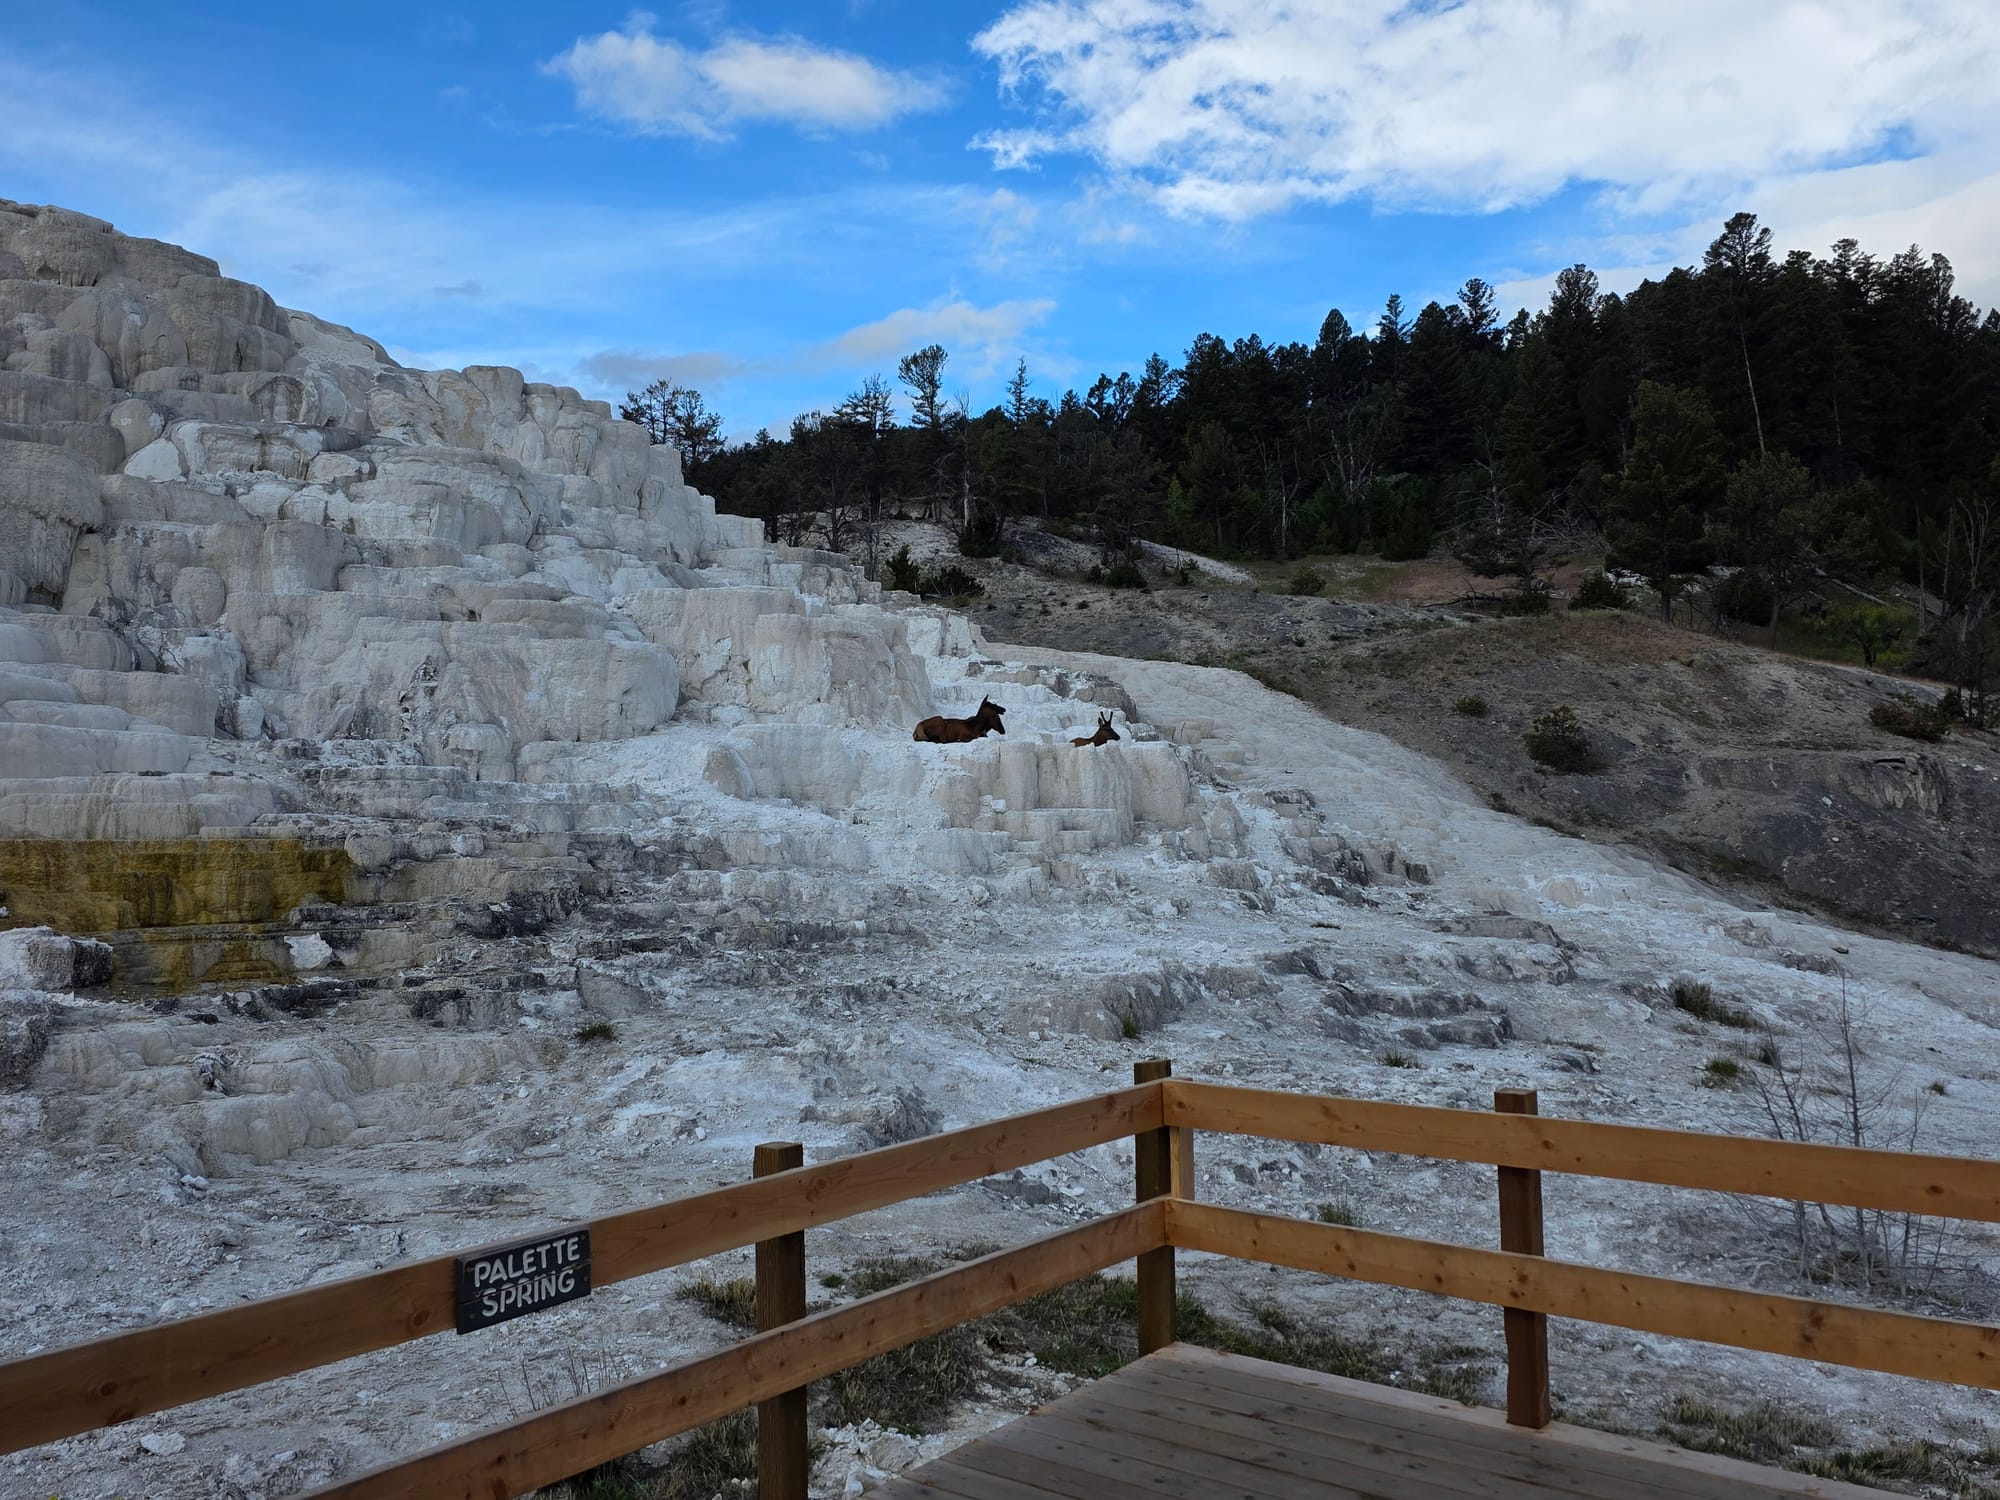
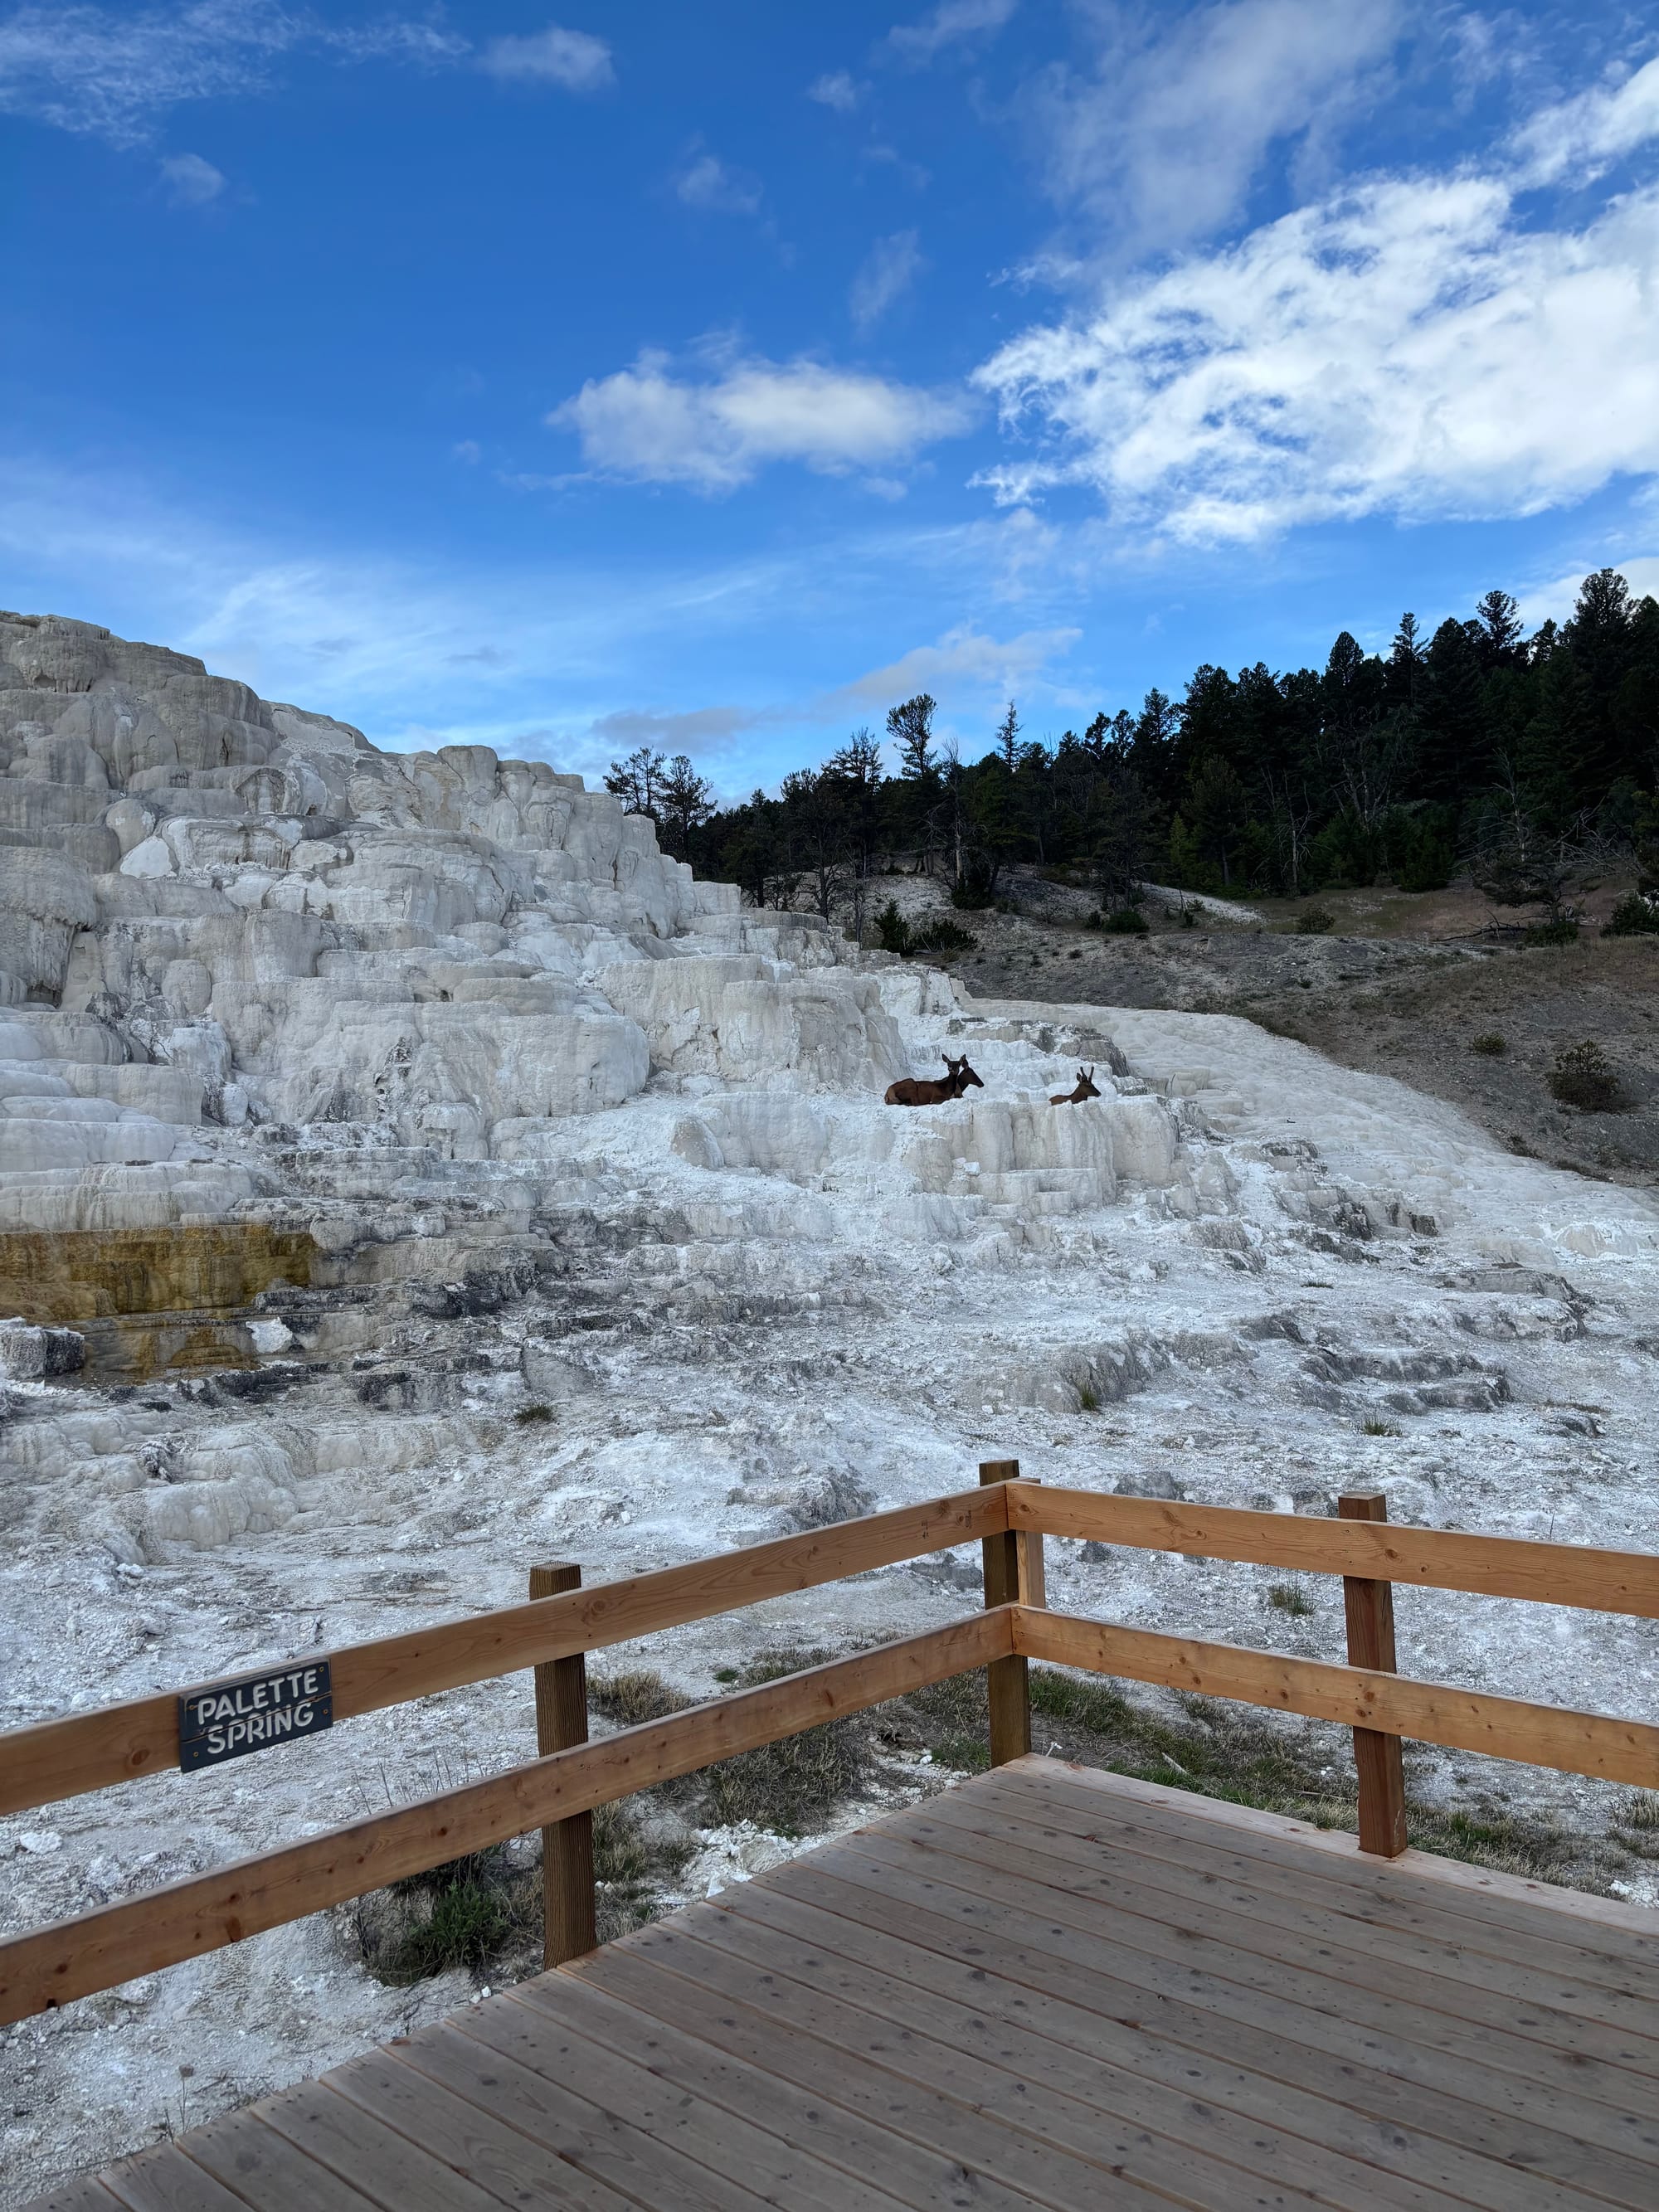
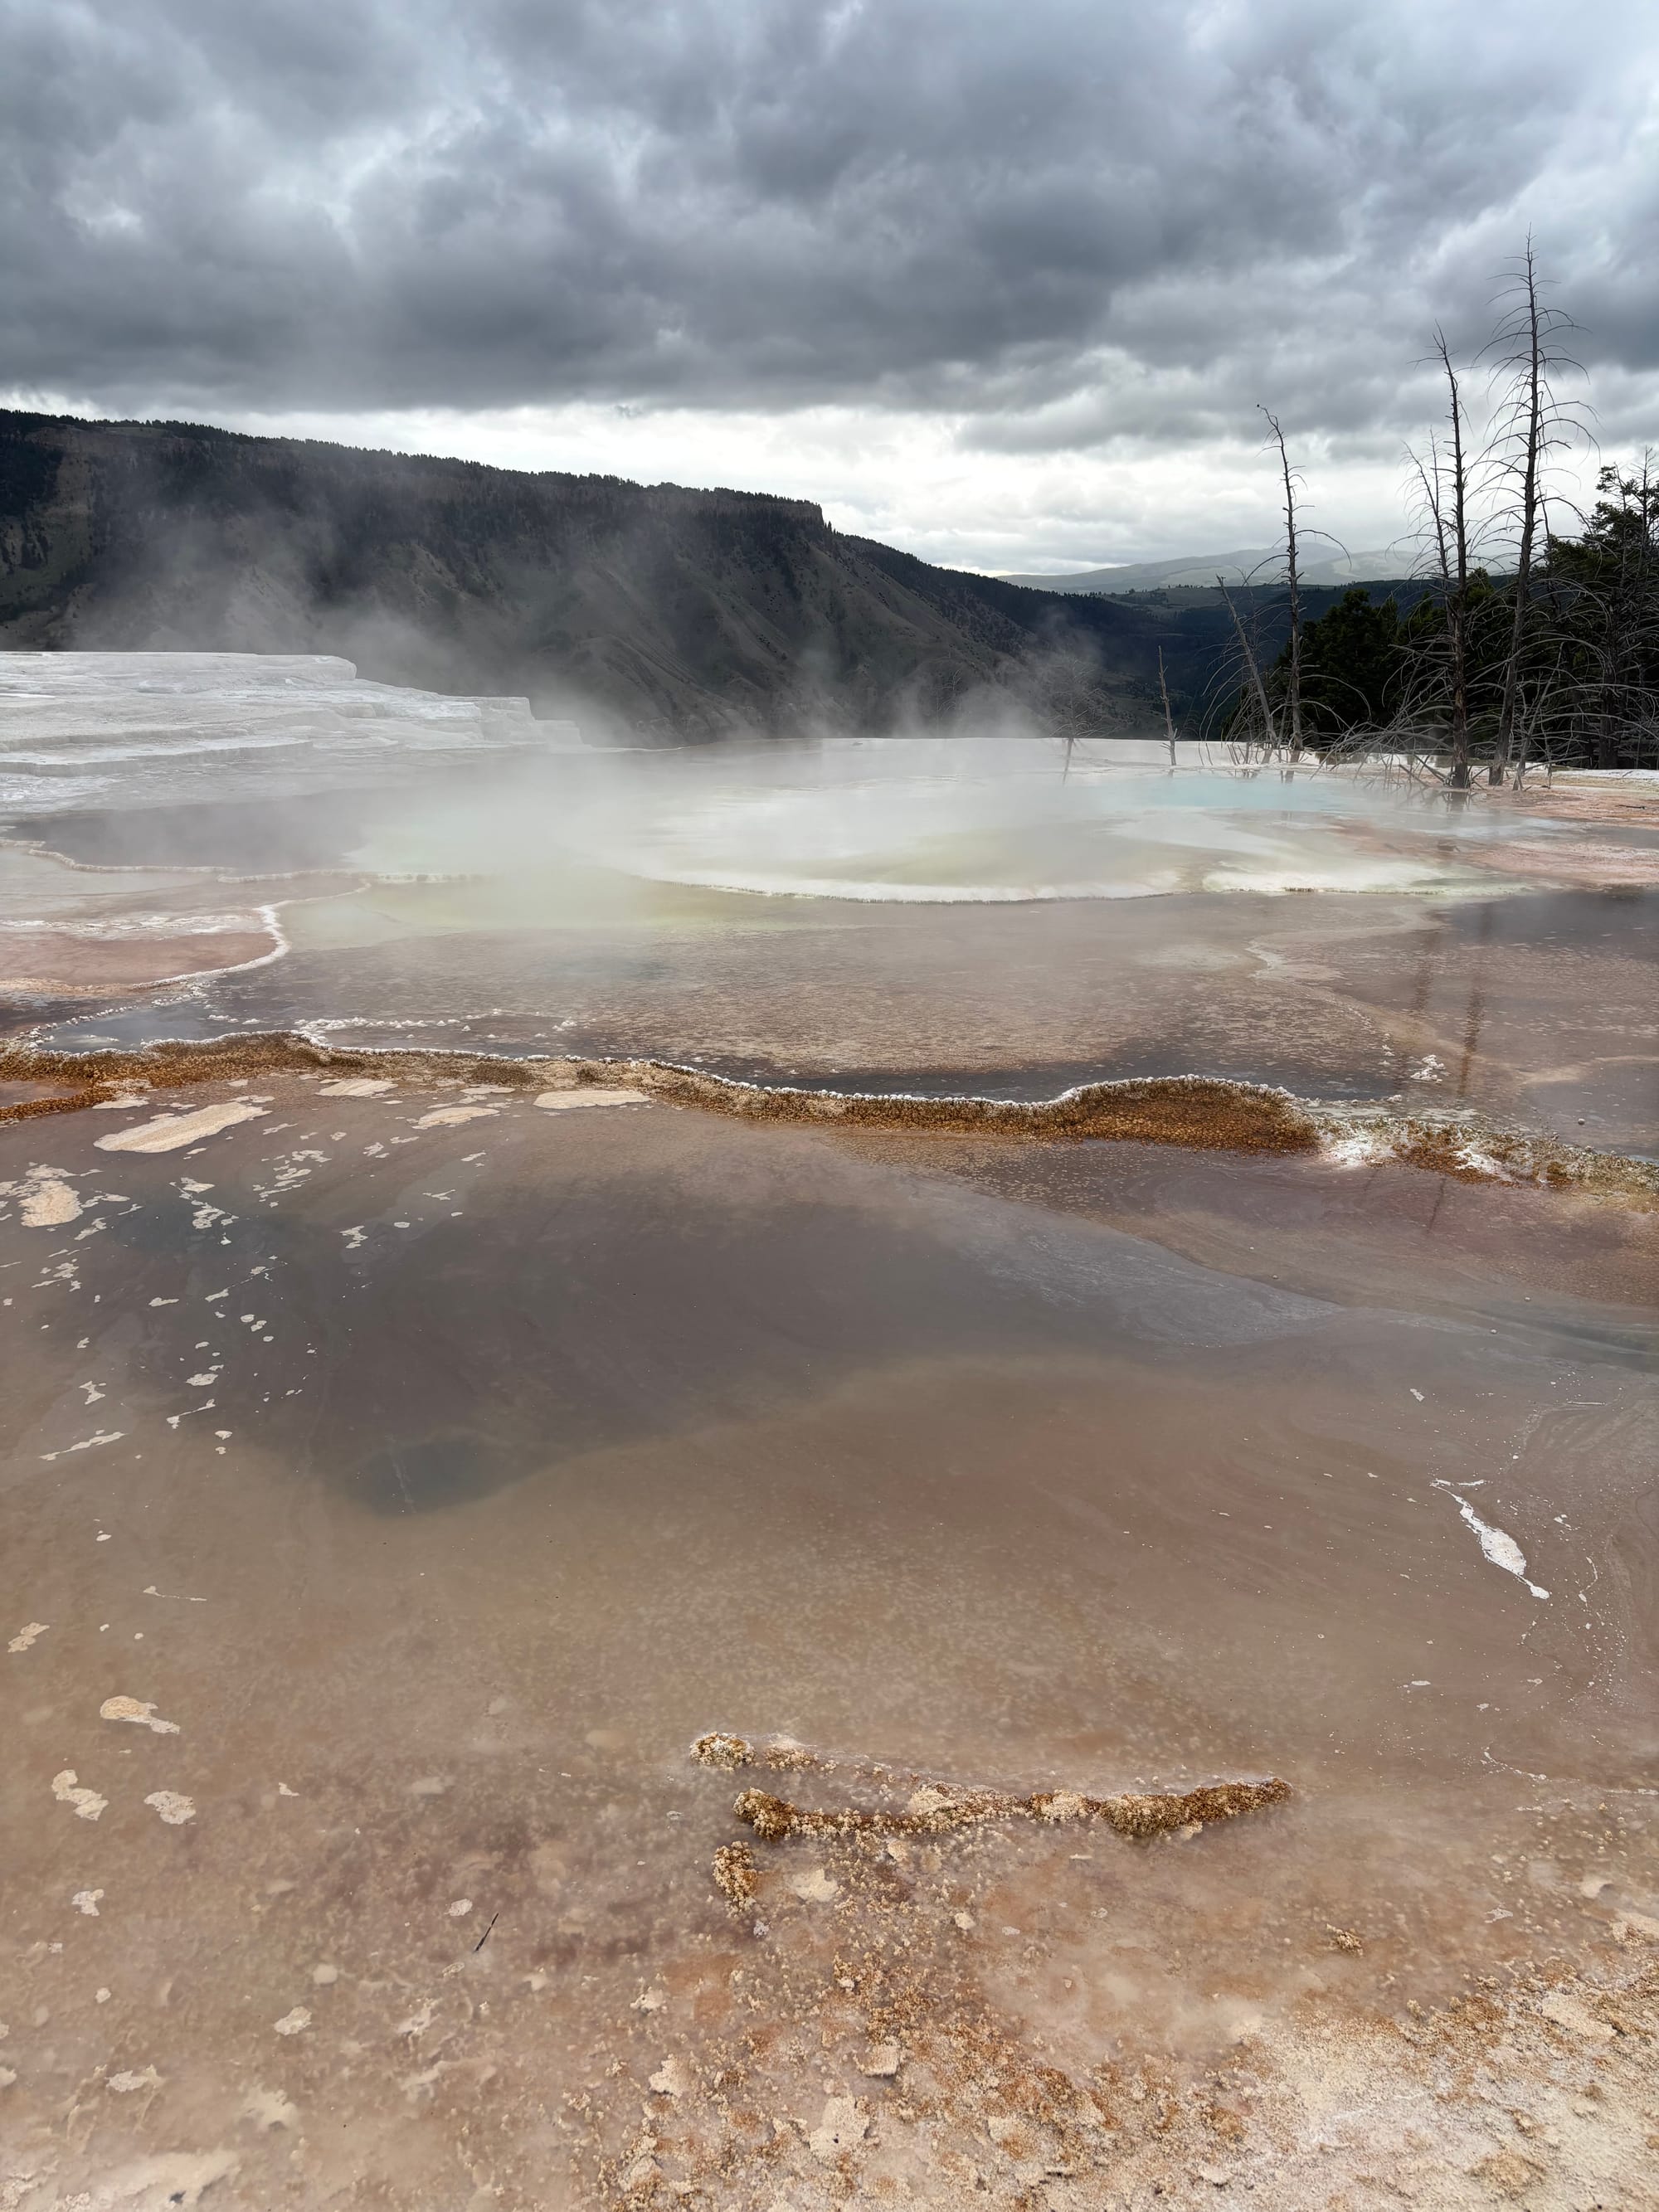
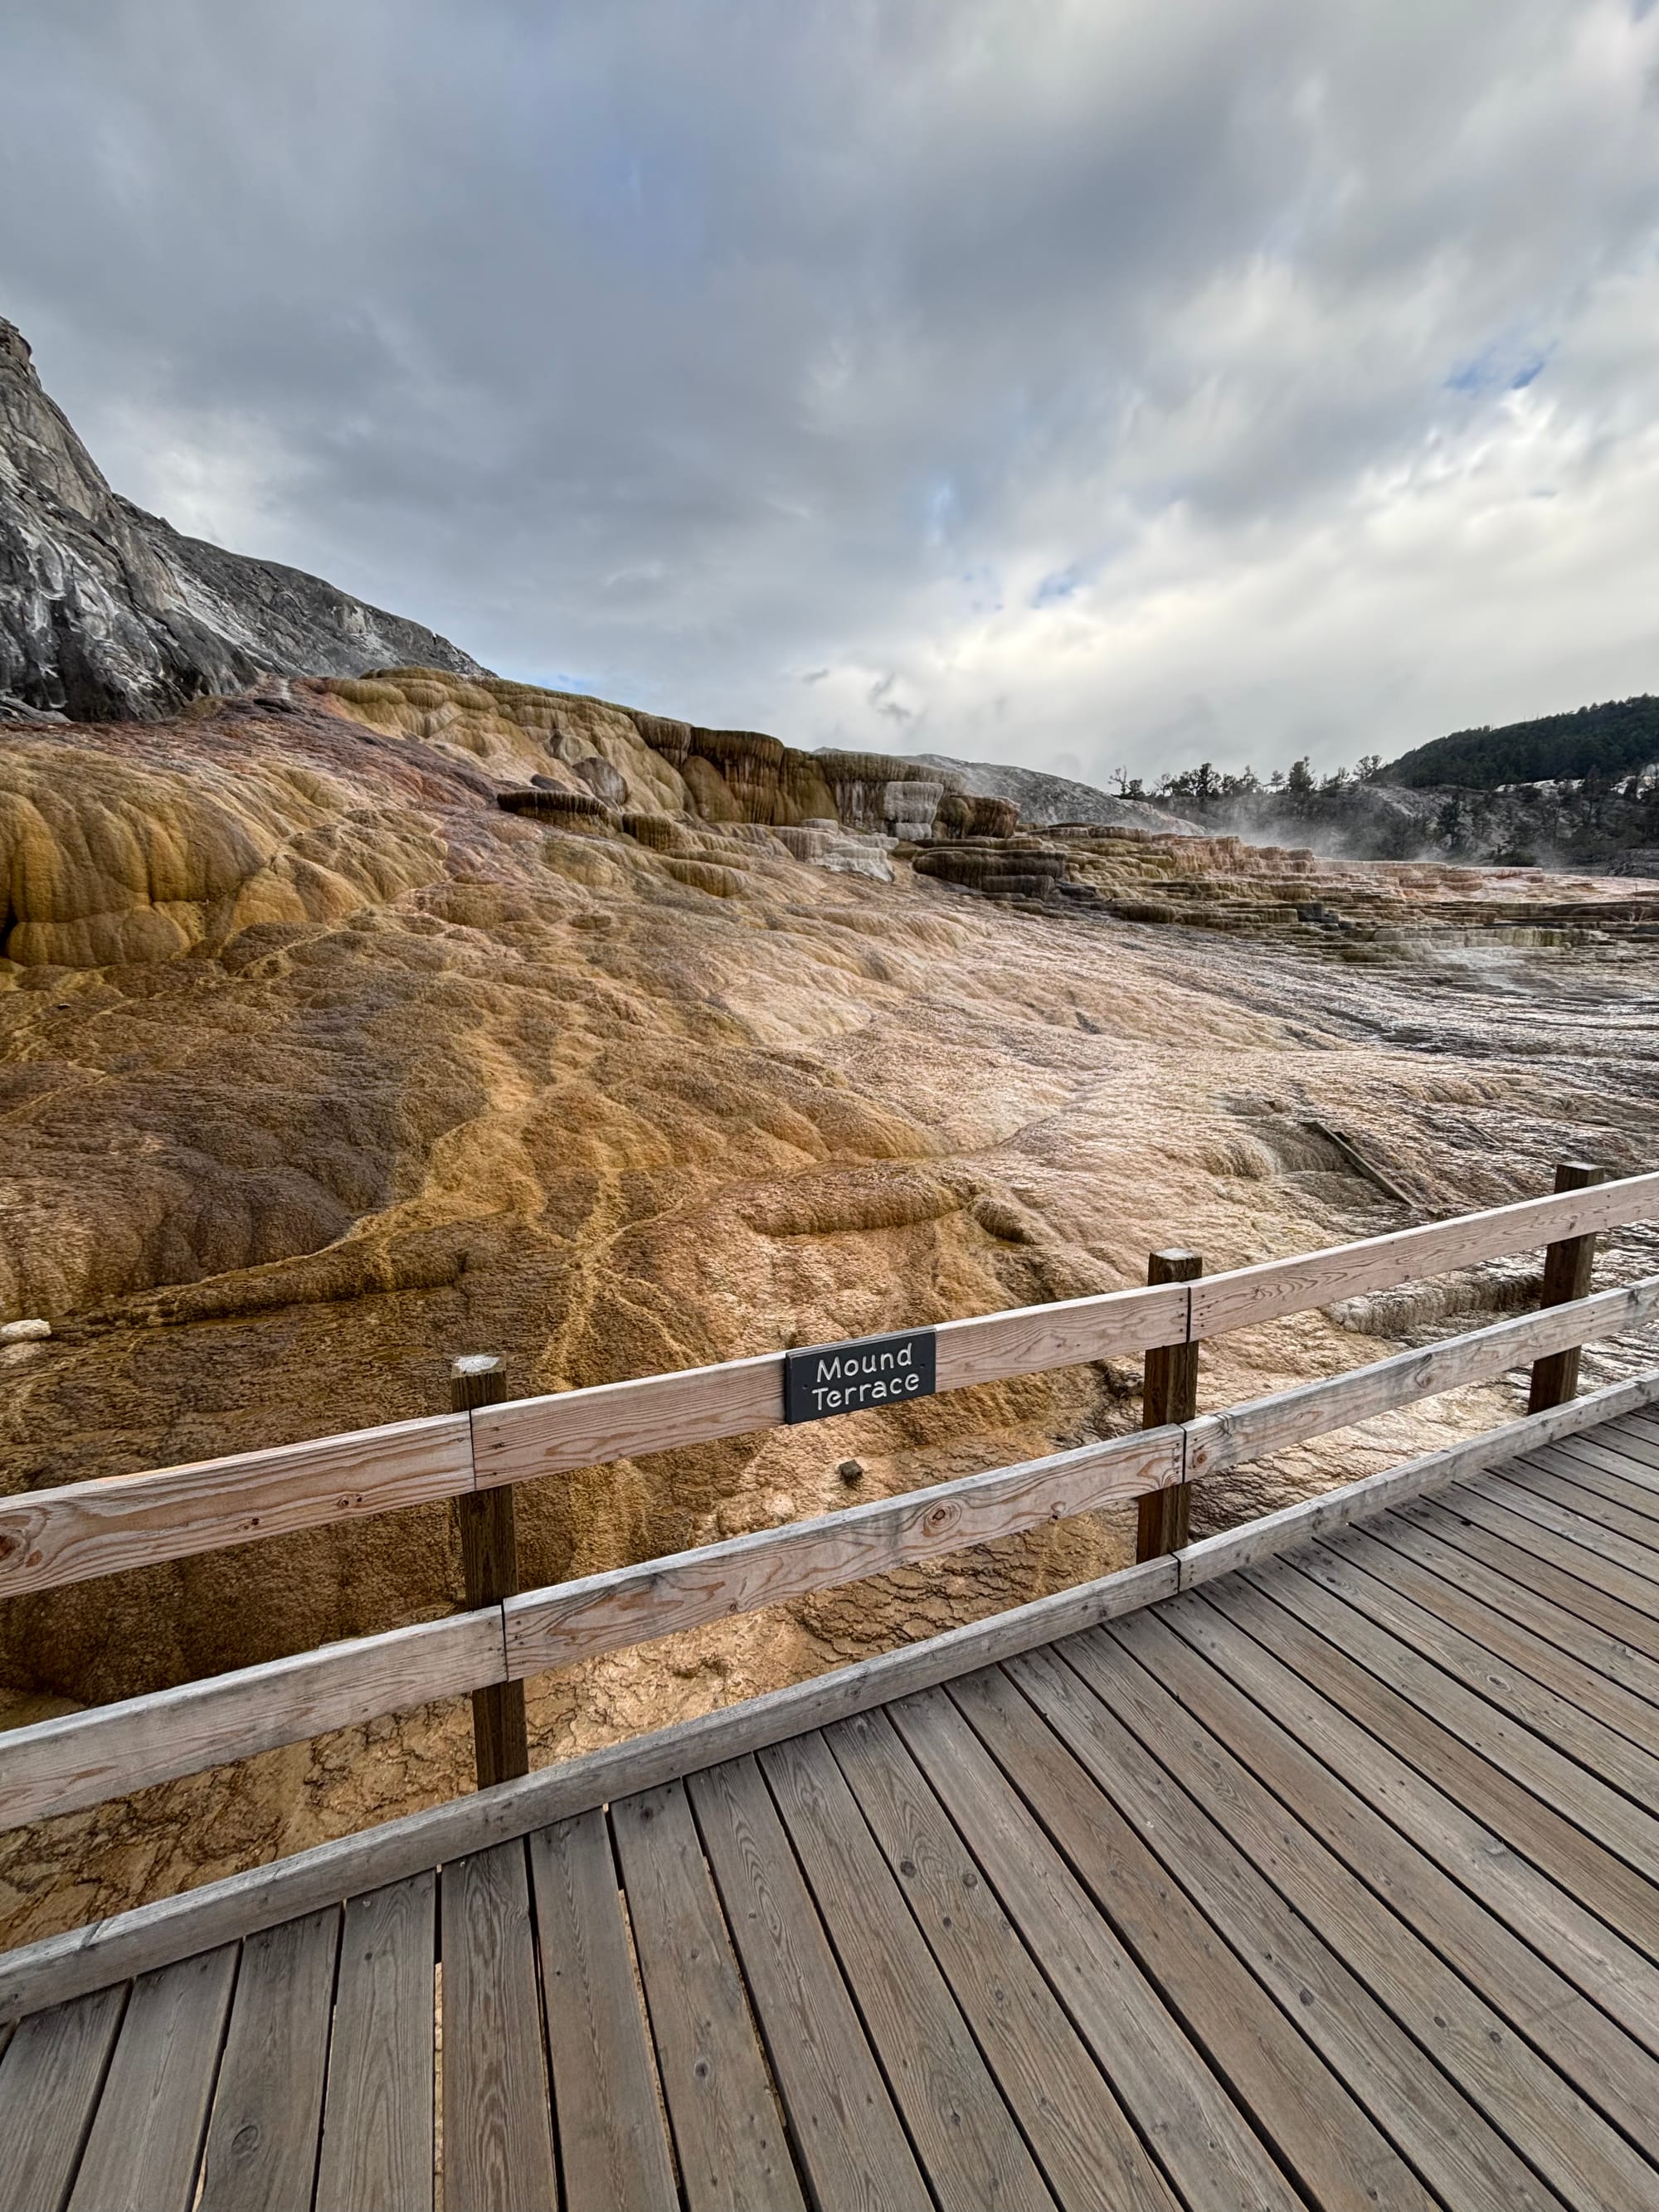
Lower Terraces and Elk
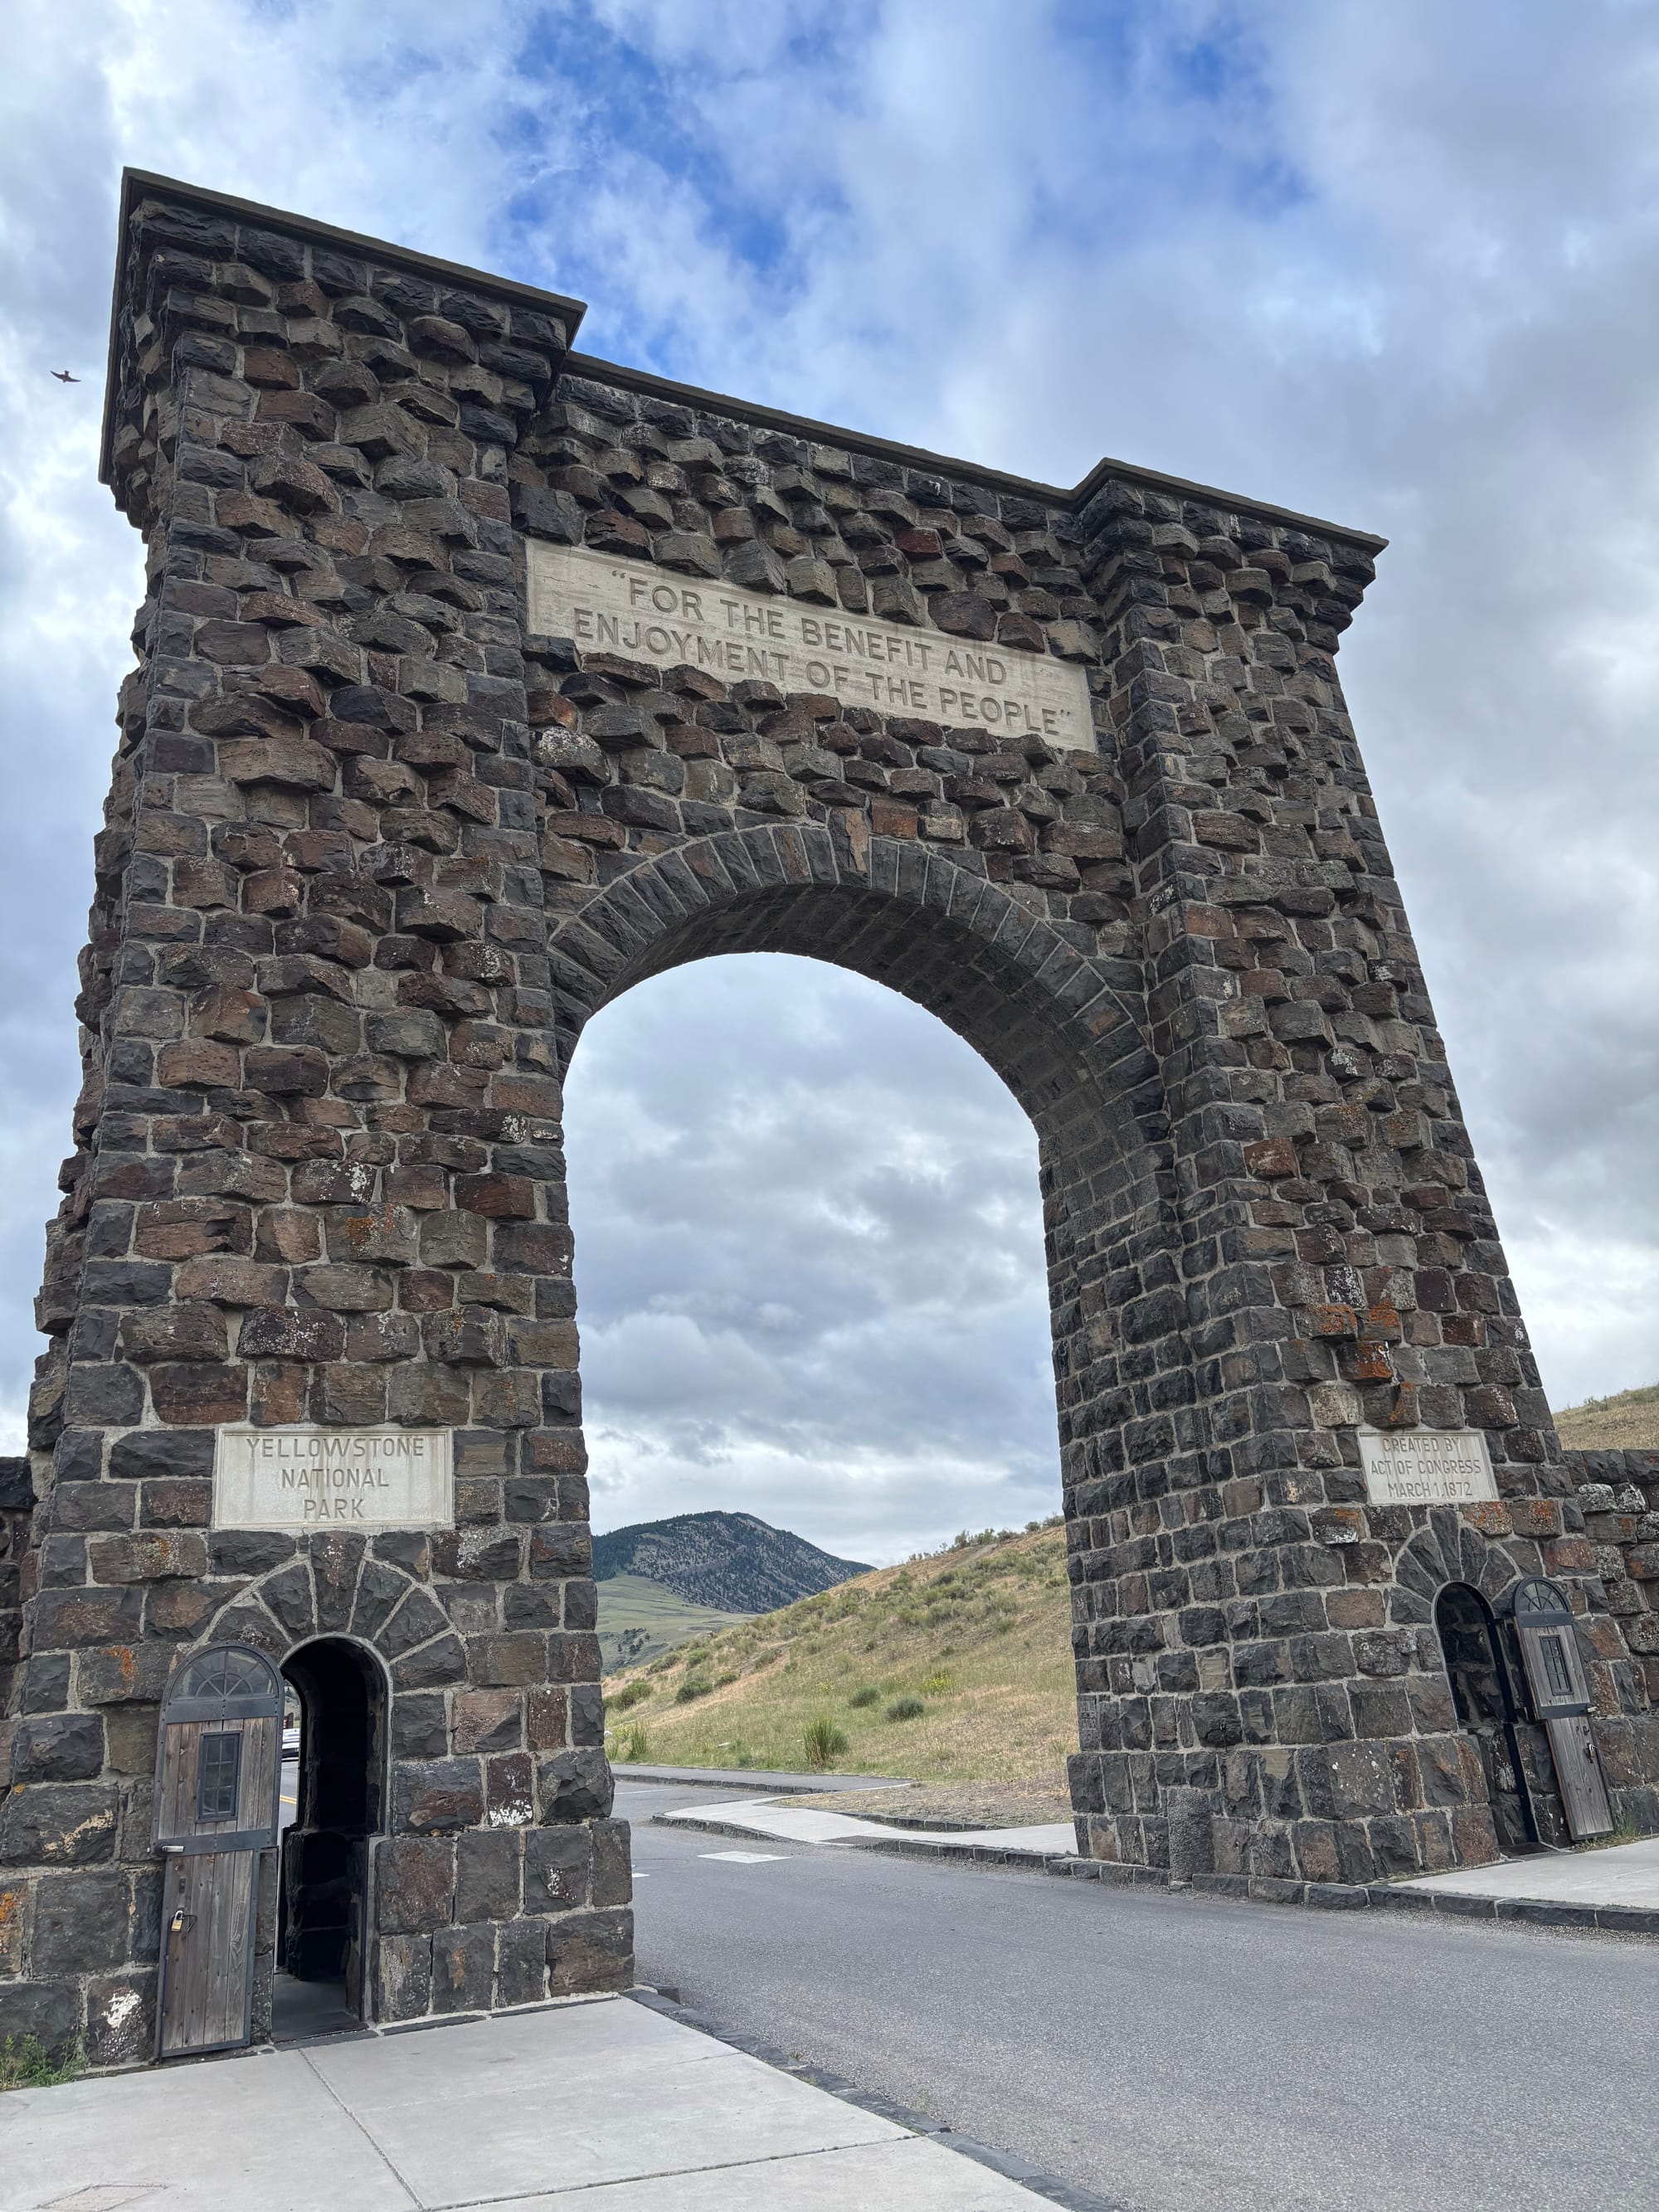
We drove north out of the park through Gardiner, stopping at the iconic Roosevelt Arch to take some pictures, and then headed toward Bozeman.
We are huge fans of their content, so while we were in Bozeman, we made a quick stop at the MeatEater store, and then spent some time walking around downtown browsing the outdoor gear shops along the main drag. We stopped for lunch at Roost Fried Chicken, which was excellent and we highly recommend stopping in if you are going through Bozeman.
We ended up at the Bozeman Airport much earlier than we needed to because we are paranoid about flight times. The airport is beautifully decorated in a rustic style and the restaurants looked decent, but it was incredibly packed. Battling past the long car rental lines made me very thankful that we flew into Jackson Hole; returning our car was quick and efficient, but picking one up at Bozeman looked like a nightmare.